 BERNINA Corporate Blog -

How this bag went to——-
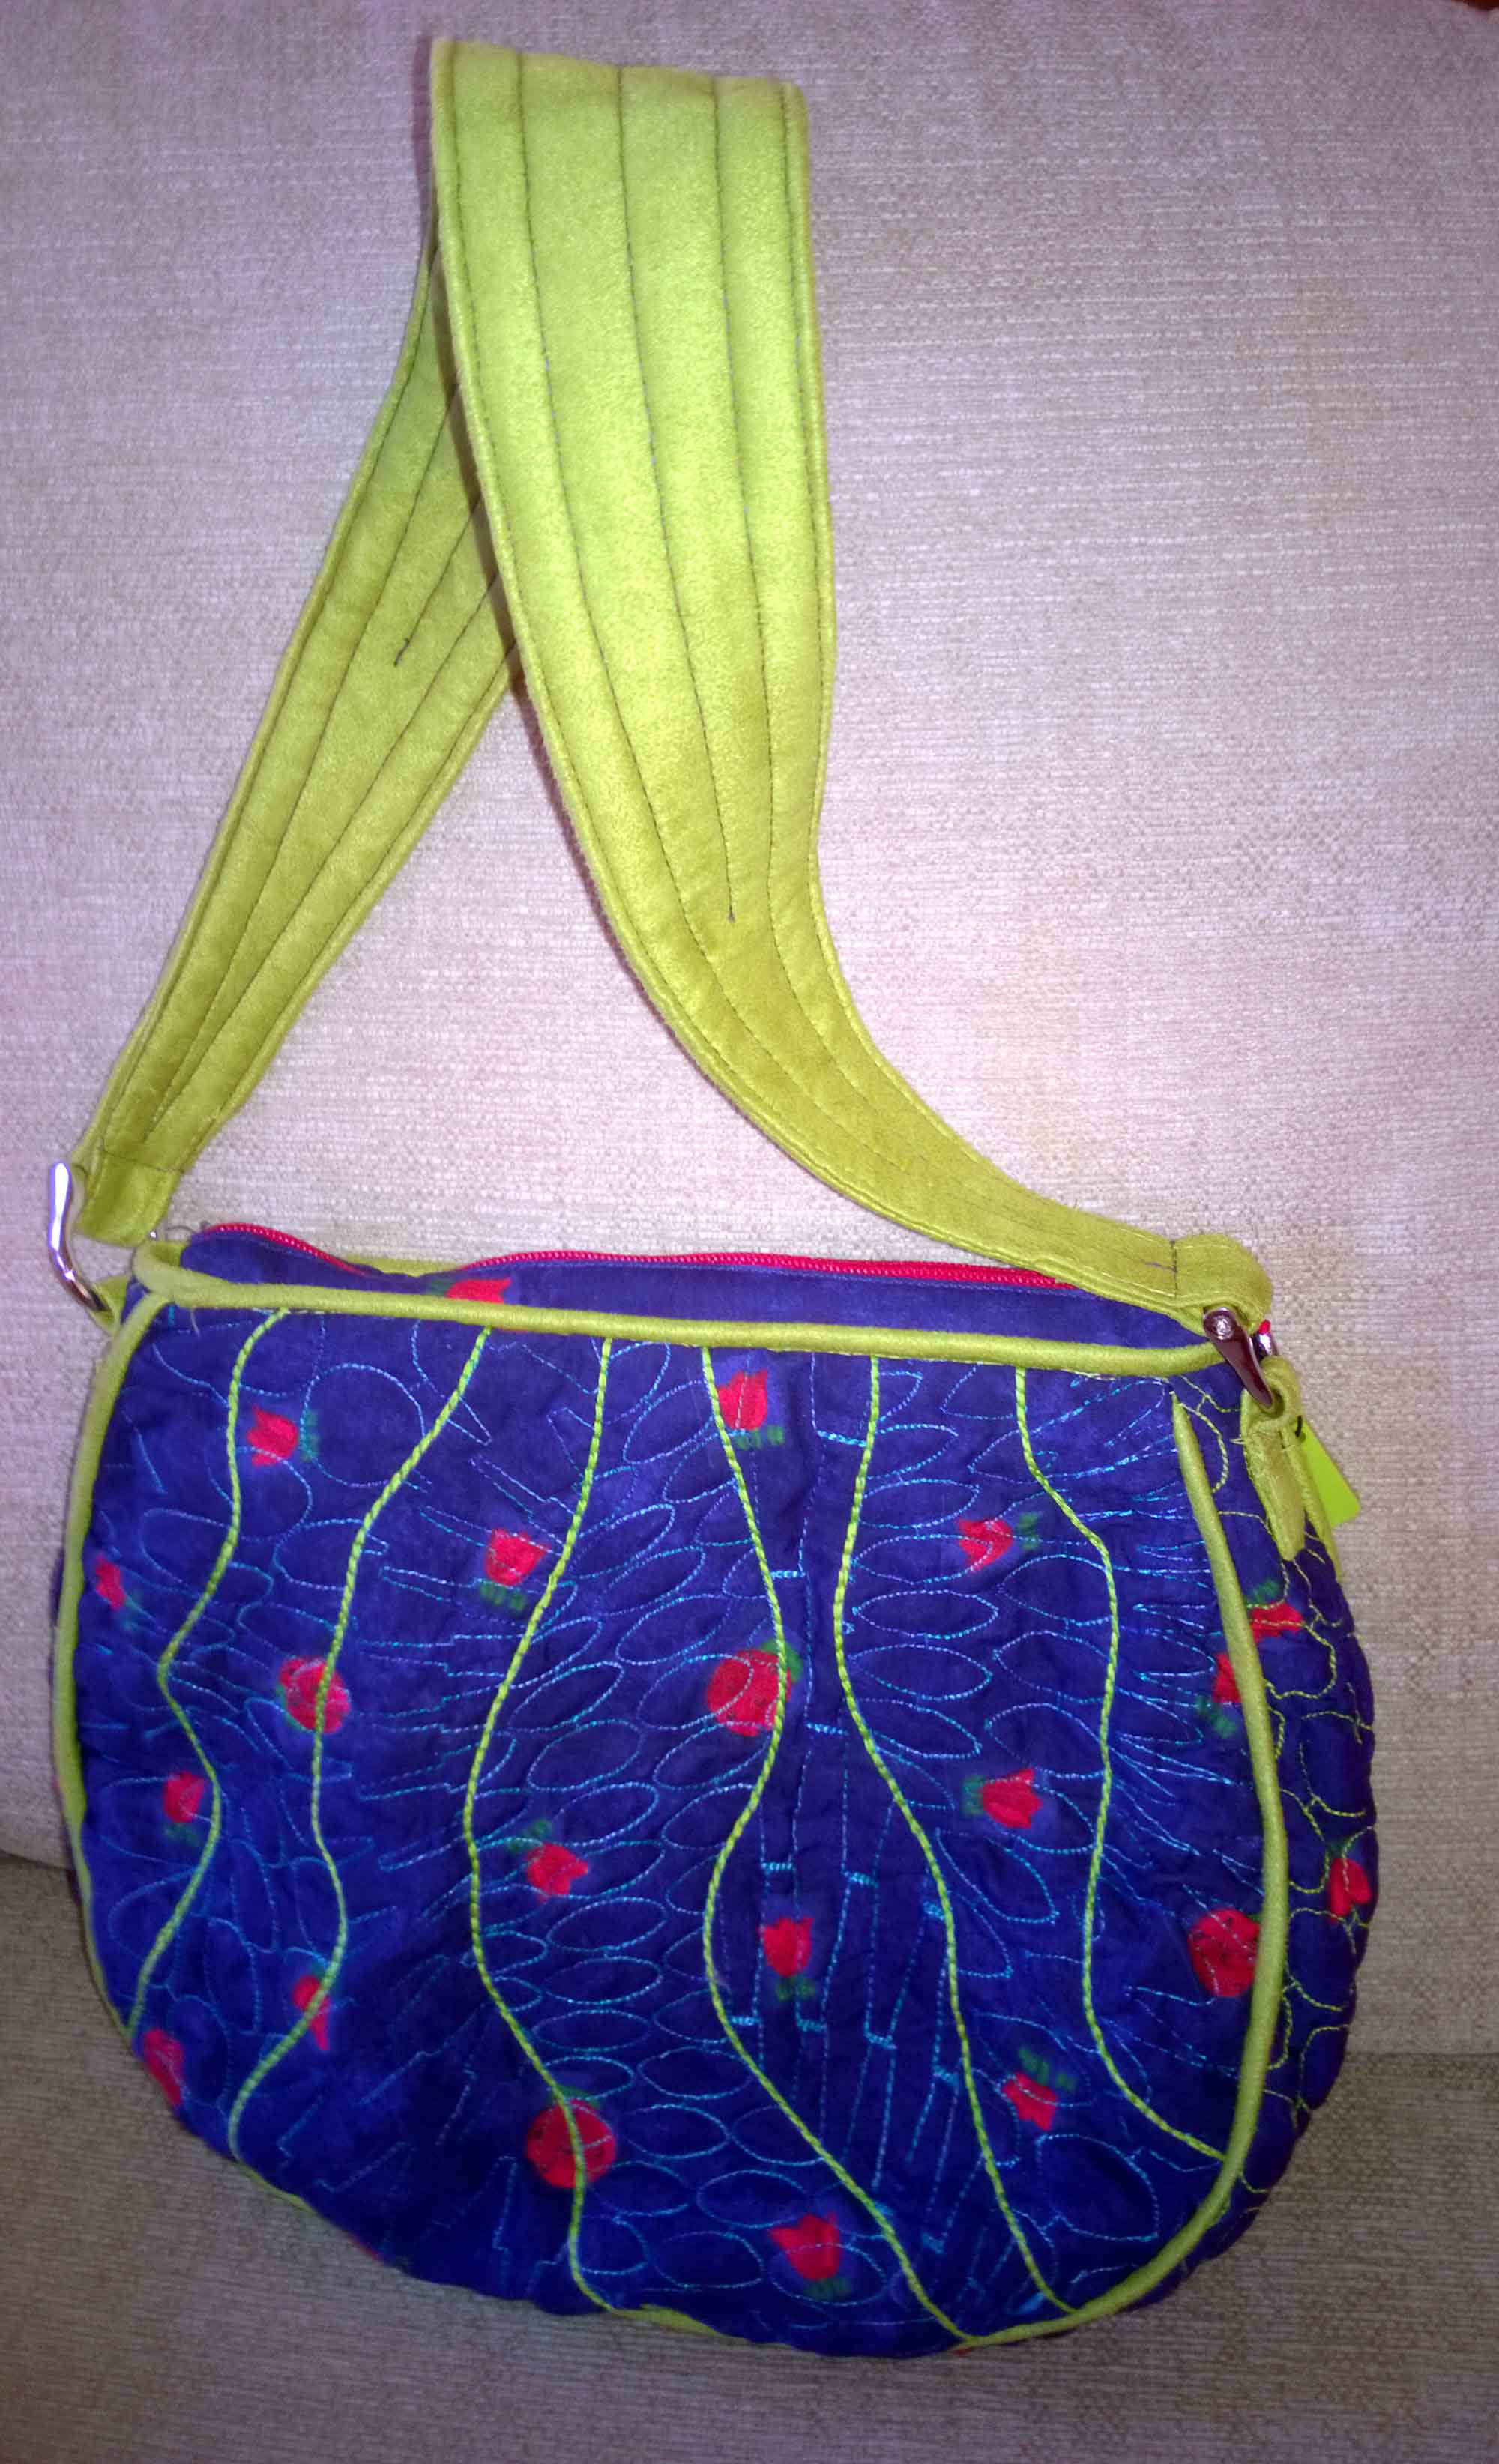
—– this bag with a few experiments in-between.
This project started when I was asked by several schools who all offered a design technology textiles course at GCSE and A’ level. They had all bought embroidery software and embroidery machines for the class room. The schools asked if I would teach the teachers and the students how to make the best use of both the software and the machines to help achieve high grades in the textile exams. As we have a son who is now nearing the end of his degree course in 3D design having studied ‘Design and ‘Technology’ in resistant materials at both GCSE and A’ level I had a certain understanding of what was involved in these courses.
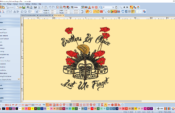
Compared with the usual group of ladies, and the occasional gentleman that I teach, the first problem when thinking of which techniques to teach the schools was a simple one of time. Textiles was only one of a number of subjects that the students were studying and within the class room they had to share the use of embroidery software and embroidery machines. They would all be scanning their hand drawn designs into the embroidery software. So my first bit of advice was how to ensure these drawing scanned clearly into the software. I used this example of a cleanly drawn clutch bag design ensuring there were no gaps in any lines or at joining points.

The second step was to think about what fills and outlines they should use. As ‘step fills’ and ‘fancy fills’ were all solid fills they would take to long to stitch so ‘pattern fills’ or a ‘ripple fill’ were the best choices. For outlines a choice of one of the line stitches would be quicker than a satin outline. These choices also got over the problem of underlay stitches.
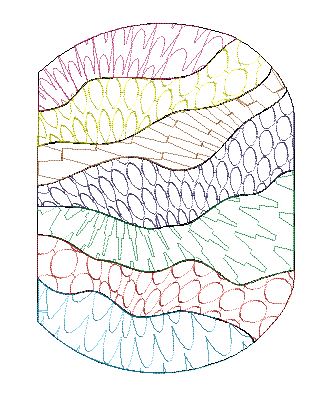
Using the semi automatic digitising tools I converted each area in to stitch filling some areas with pattern fills and others with ripple fills. A different colour was used for each area as it allowed easier editing within the software and more choices of thread when embroidering. To make the patterns large the settings were all changed to numbers between 15mm and 25mm.
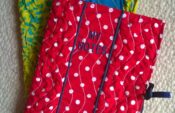
The bag was stitched using a fabric made of small pieces of different colours of organza bonded with bondaweb onto an initial layer of organza and covered with a fine net to hold everything in place. This technique shows the examiners that the students have created their own base fabrics, organza’s are inexpensive which shows thought of costs, and you can incorporate any waste thread, metallic sweet wrappers and tiny scraps of other fabrics which ticks the recycling boxes.
Hooped with water soluble stabiliser it was embroidered with variegated and metallic threads. The decorative leaves were created within the software and used up left over scraps of the organza fabric.
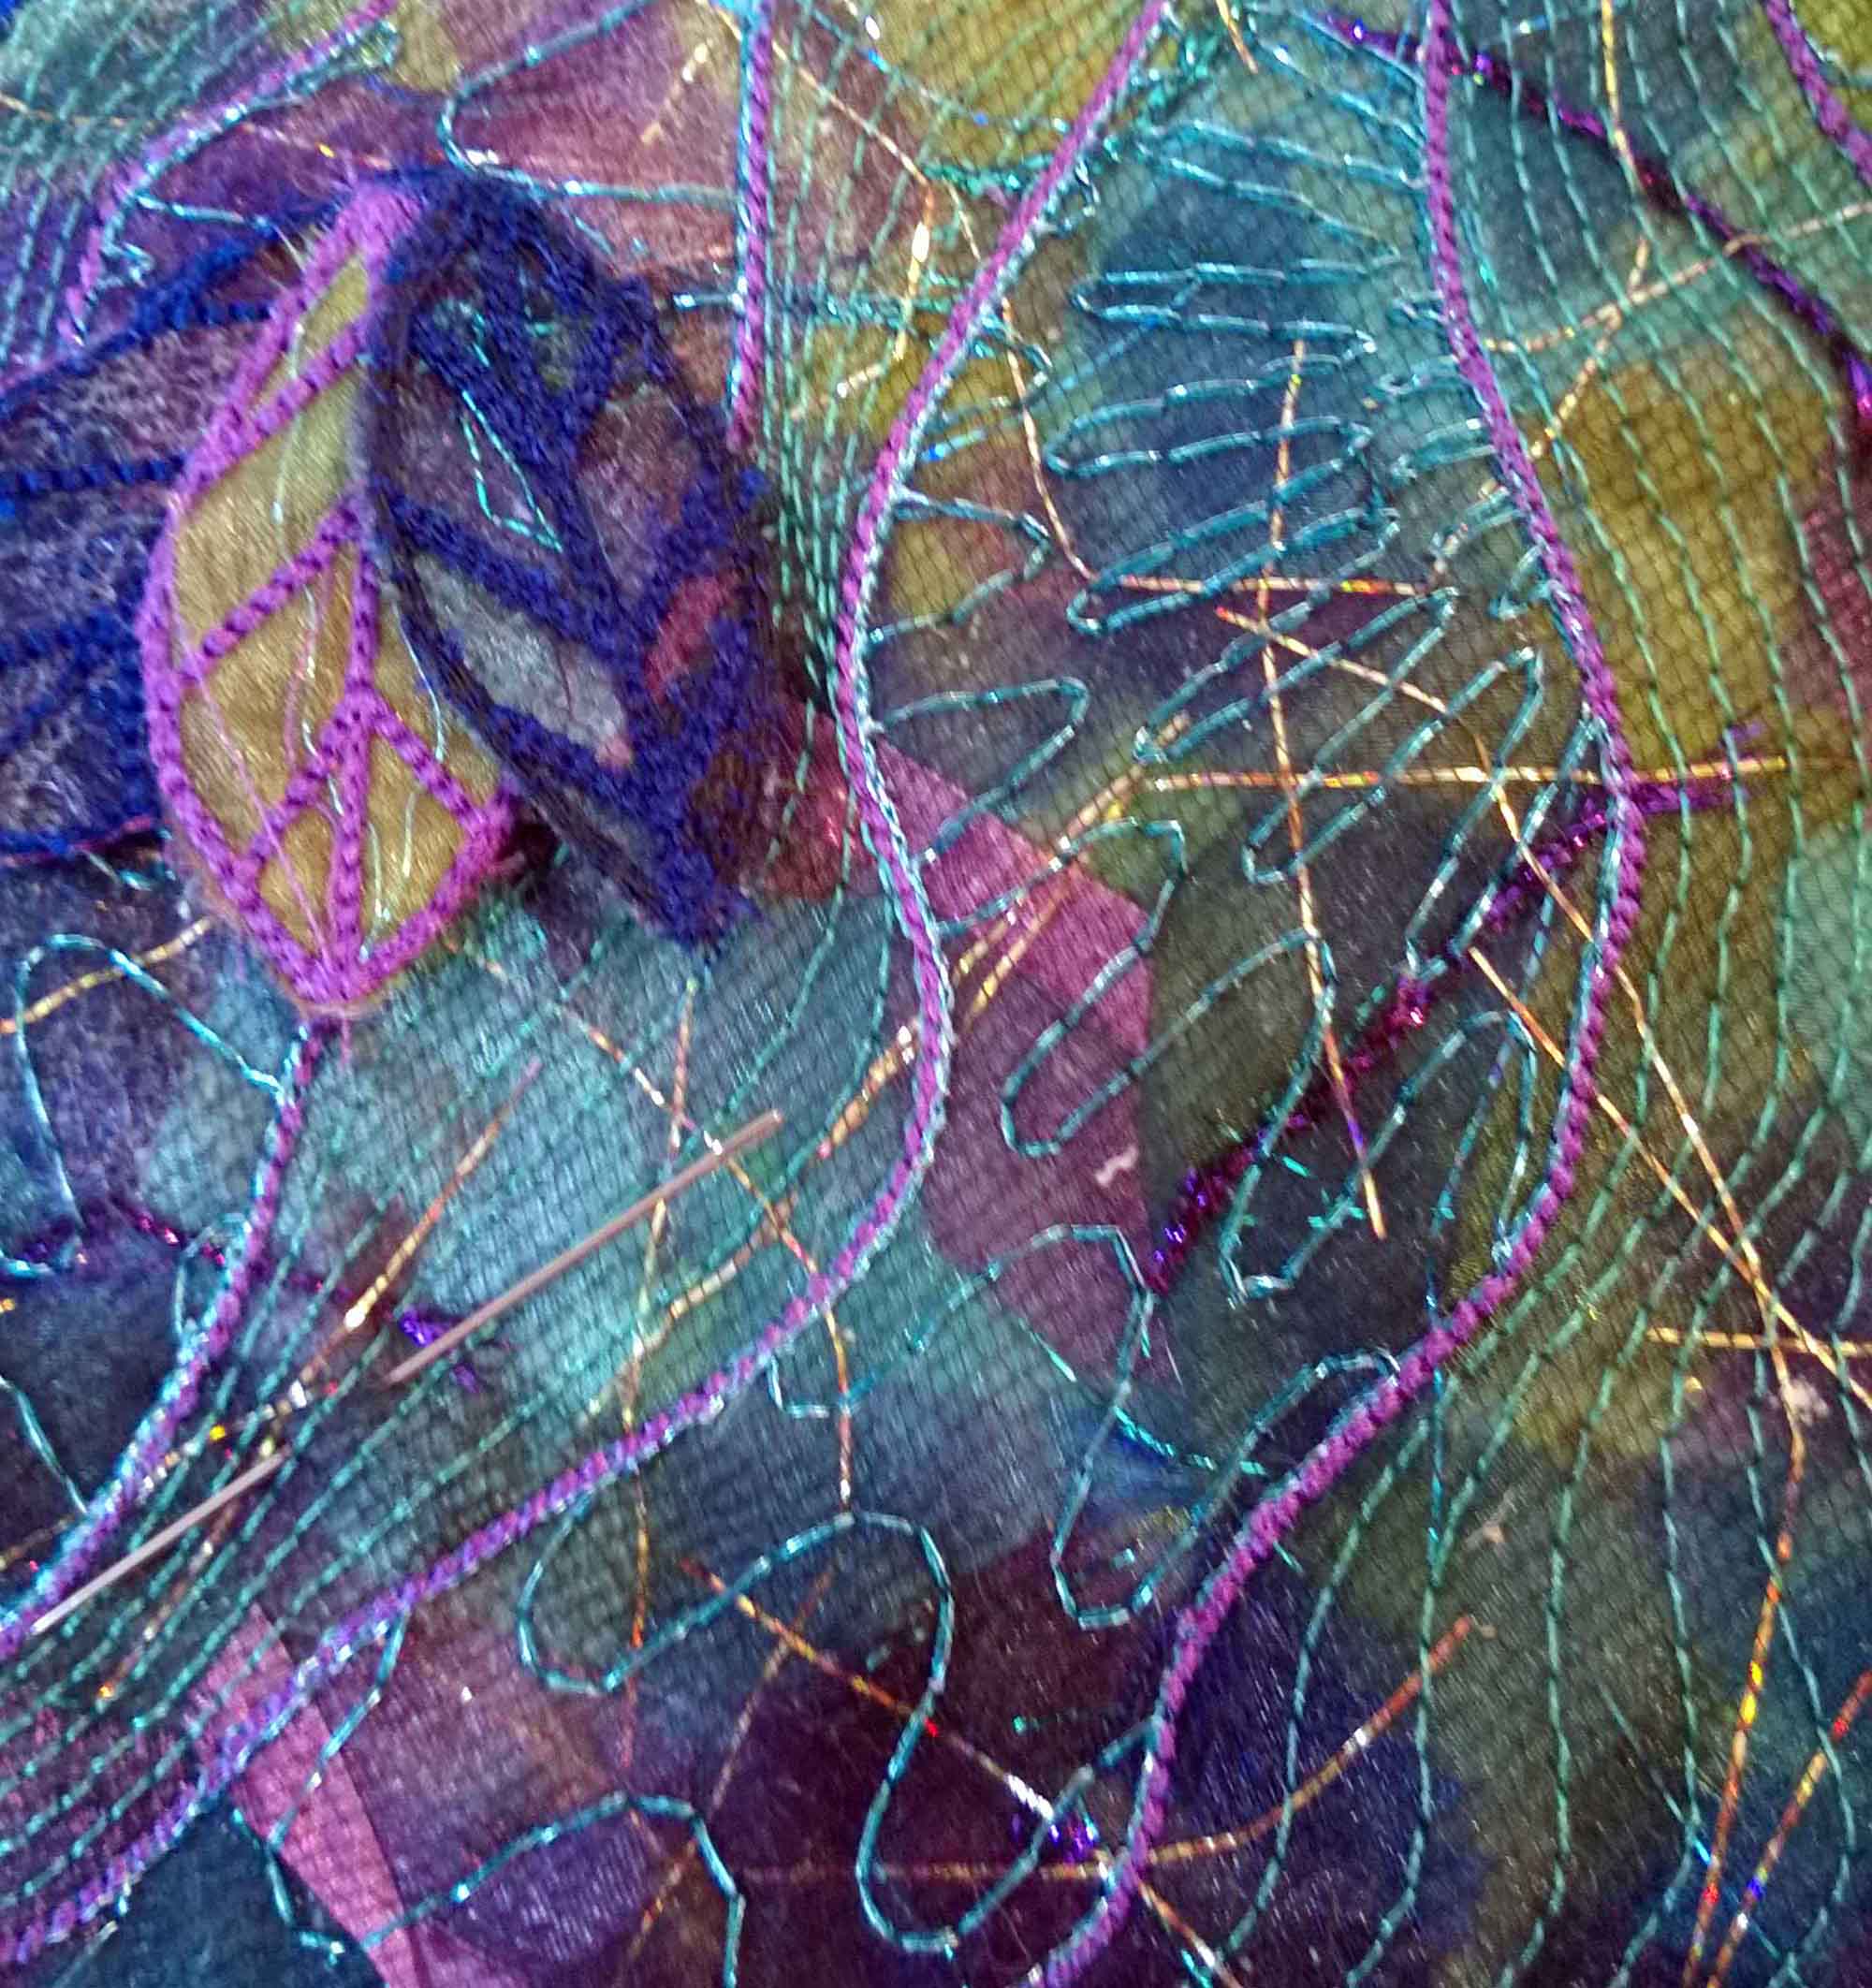
close up of embroidery and leaves
I lined and completed the purse in the hoop with a satin stitch edging by using an embroidery applique technique so all that was left to was hand sew edges of the back and front together.
But as I worked on this project I came upon a technique on the internet that used bondaweb and water-soluble stabiliser under a fabric which was free machine embroidered in an open pattern then heat applied to the stabiliser side which caused it to shrink up to create a texture fabric. I have always enjoyed creating unusual textured fabric and had used this technique before, but with either a special heat shrinking fabric or thread. As I always have soluble fabric and bondaweb to hand and had just created some very open patterns of embroidery for the clutch purse I quickly tried out the technique. I hooped up some fabric with the bondaweb and stabiliser and set the embroidery machine to work. Once the embroidery was finished as suggested on the internet I hovered a hot iron over the stabiliser side waiting for it to start shrinking. Getting bored as nothing seemed to be happening very quickly I dug out my much loved heat gun and within seconds my fabric was crumpling up beautifully to create a wonderfully textured surface!! The schools loved this idea!
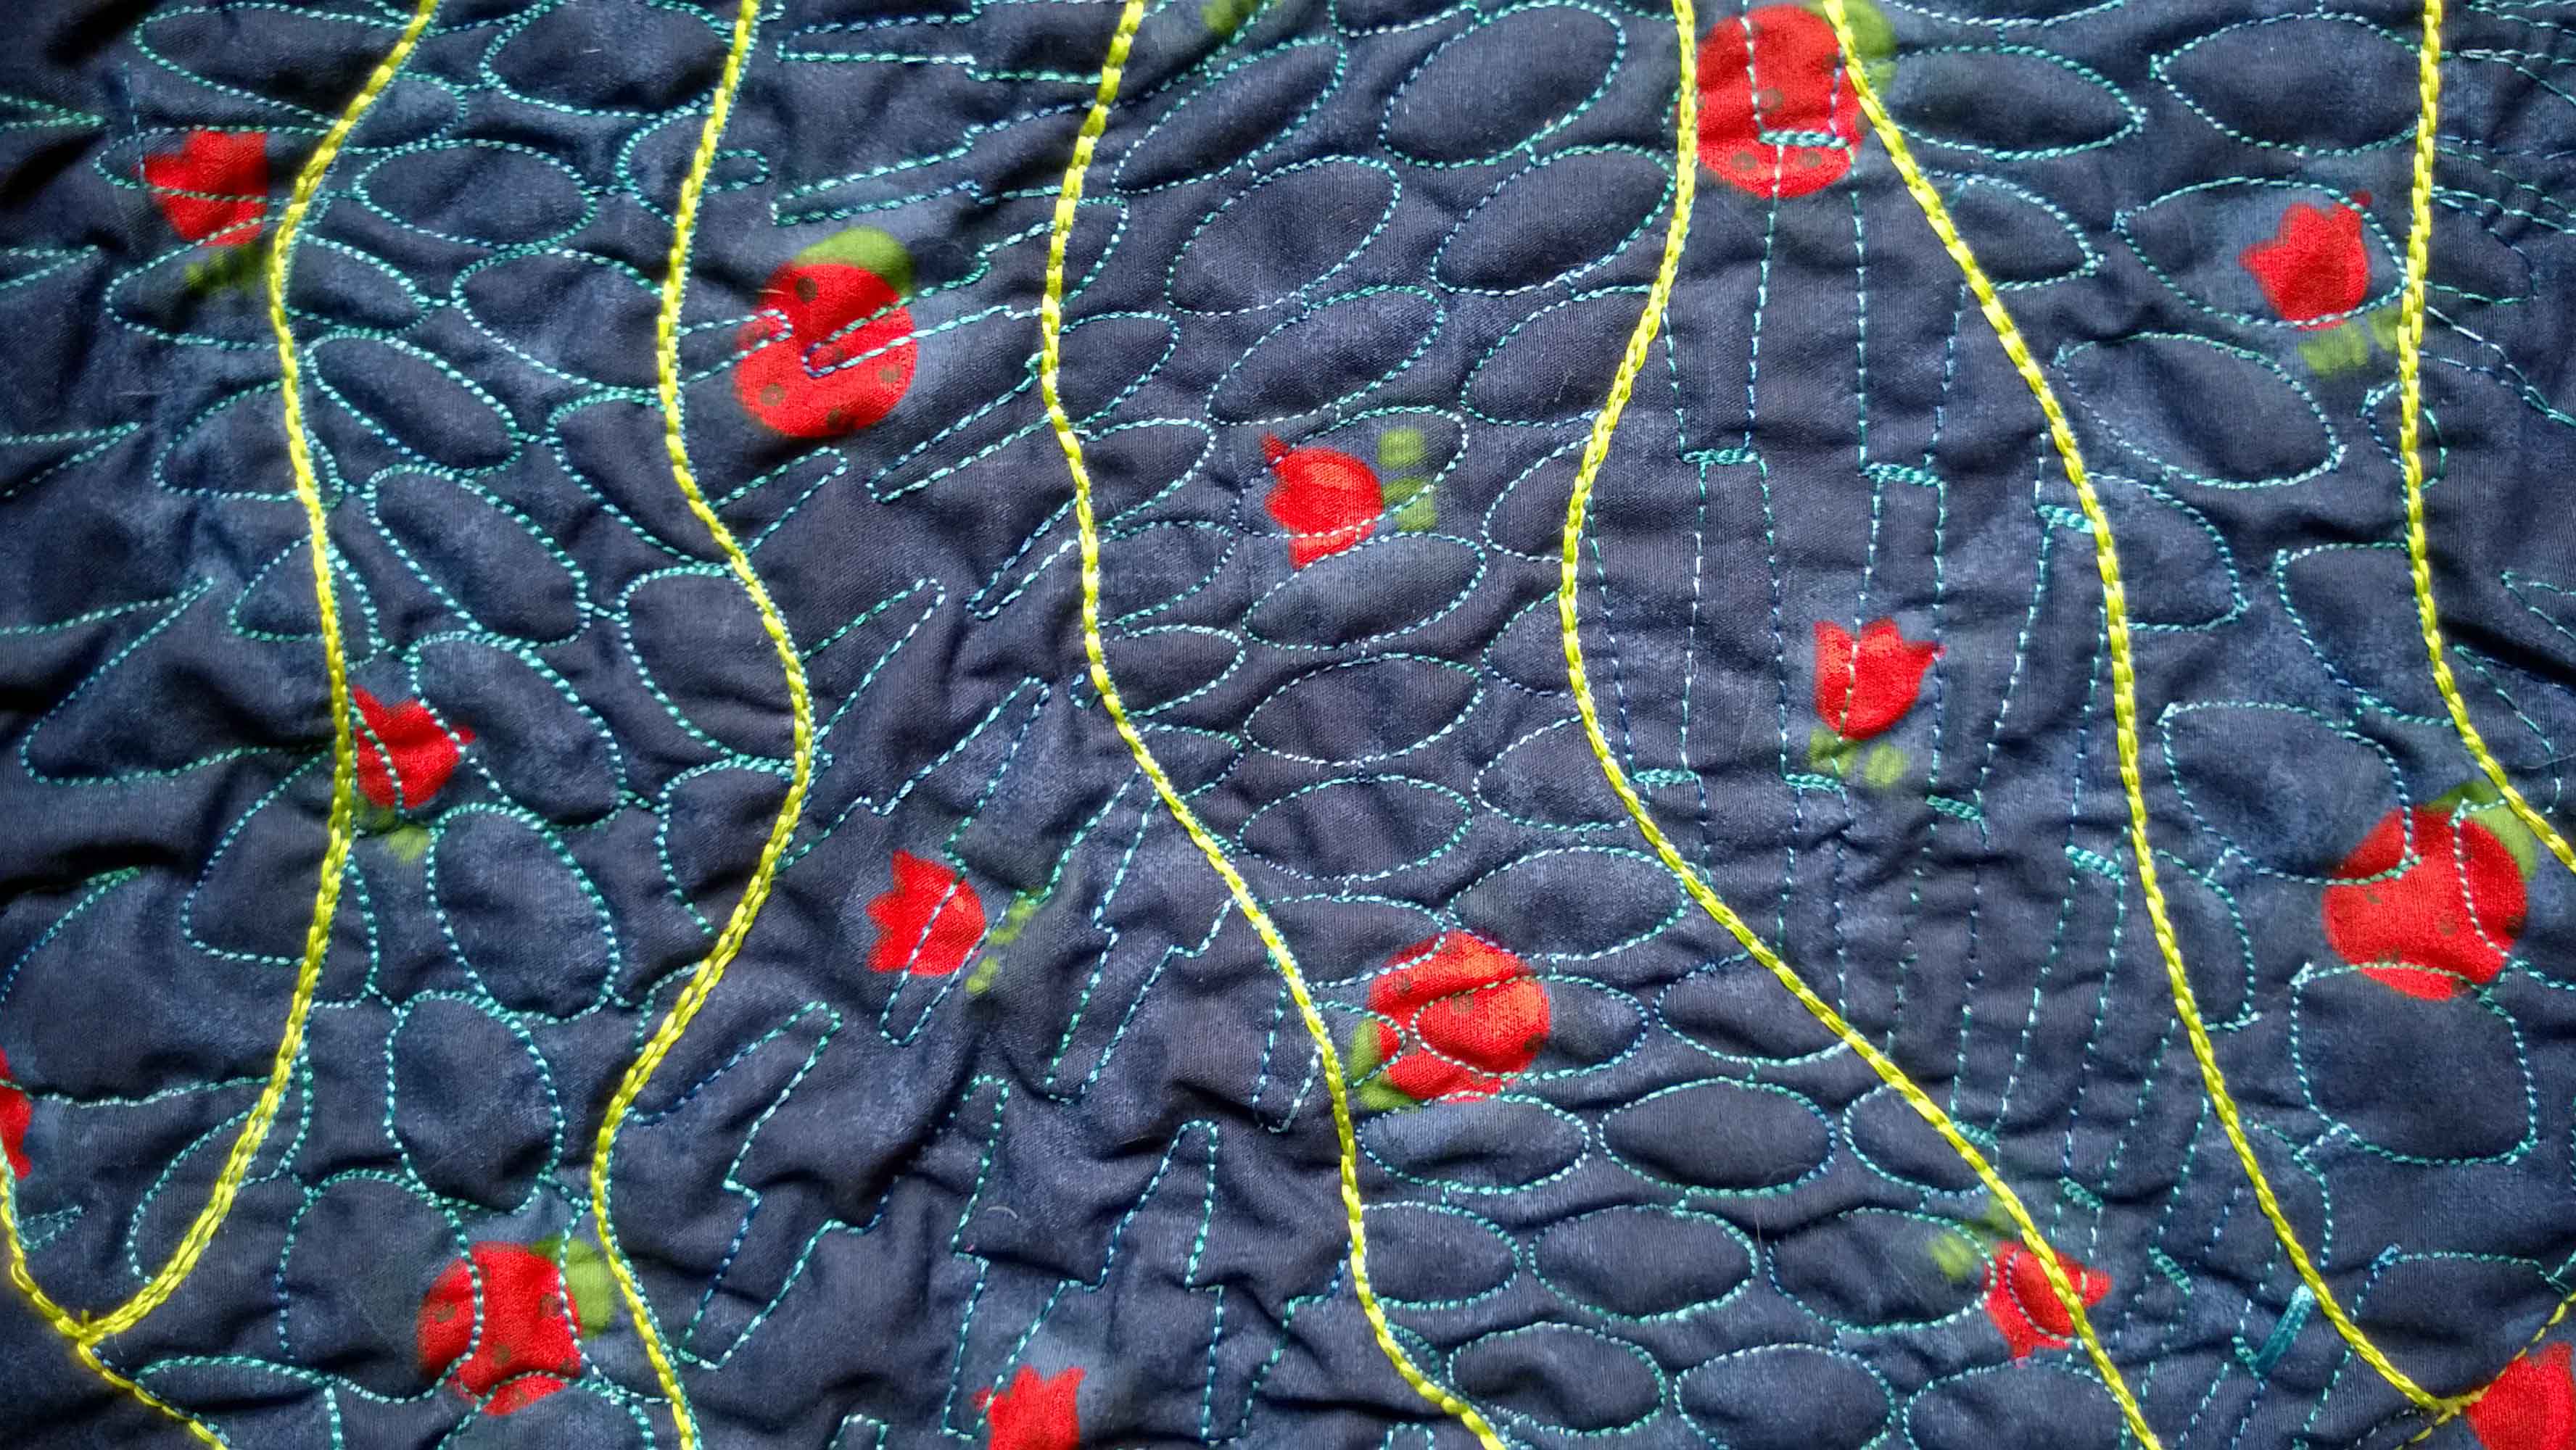
textured fabric after heating with a heat gun
They were not alone when I took my sample to the December class and guess what; my ladies have asked to do this for their first class of 2015! So in my next post I will show the samples I have prepared for this class which finally lead to the finished blue, red and green bag (I like bright colours). I will explain in more detail the techniques involved, tricks and tips that I have discovered and hopefully have a few photographs of the examples that are created in class.
0 Responses