 BERNINA Corporate Blog -
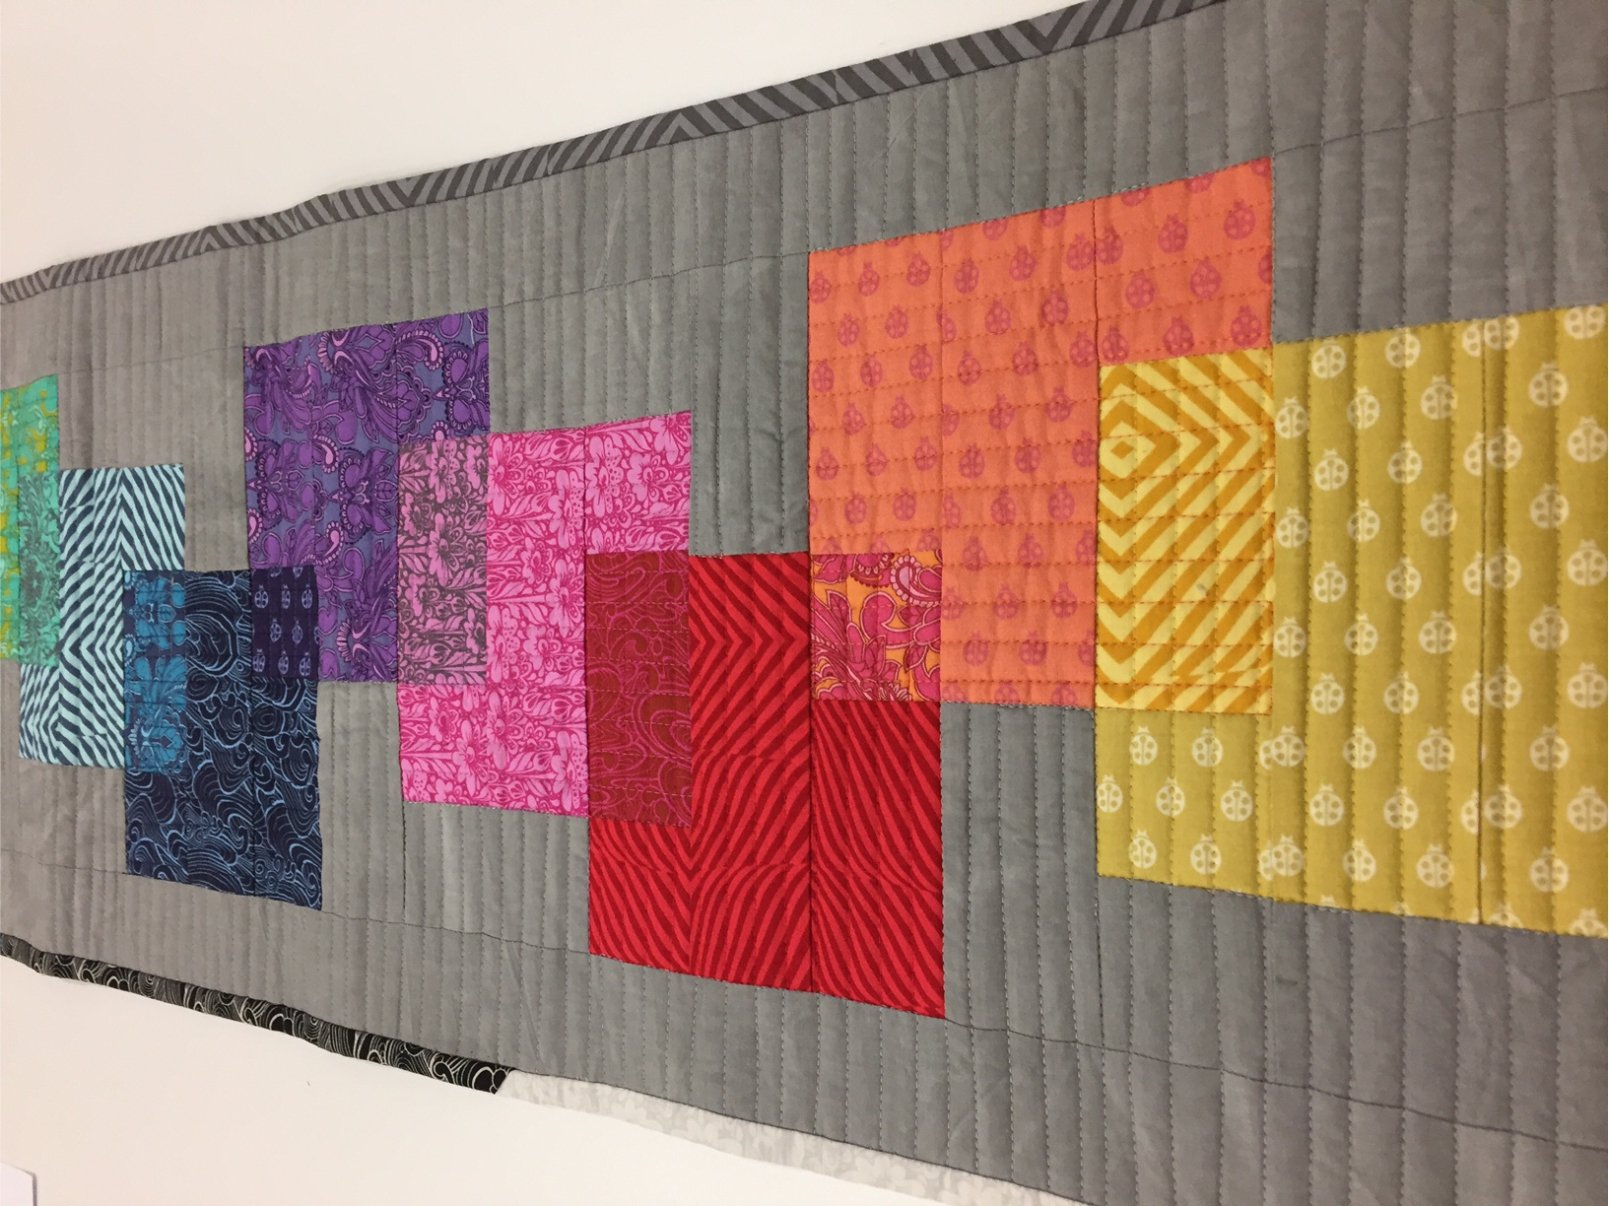
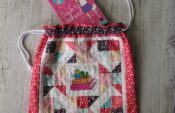
I heard the scariest thing the other day: It’s less than 12 weeks until Christmas!!!! Eeek, how on earth did that happen? Wasn’t it Easter just last week? Well there is nothing else for it, it’s time to start the Christmas sewing and the first cab off the rank is my sister. She’s the easiest one to start with as she is always telling me exactly what she wants (especially if she sees a photo of something else I have made, she’s great at suggestion how I should change it to suit her!). Her order this year was a rainbow table runner. So taking some inspiration from Pinterest, and seeing what I had in my stash to use, I came up with this…….
Rainbow Runner Requirements
19 x 2.5” strips (I used a jelly roll because I was feeling lazy 🙂 )
6 x 2.5” strips of Grey fabric
17” x 50” of Wadding
17” x 50” of Backing (I joined both the fabric and the wadding to make it more efficient)
Binding
Lots of coloured threads
Construction
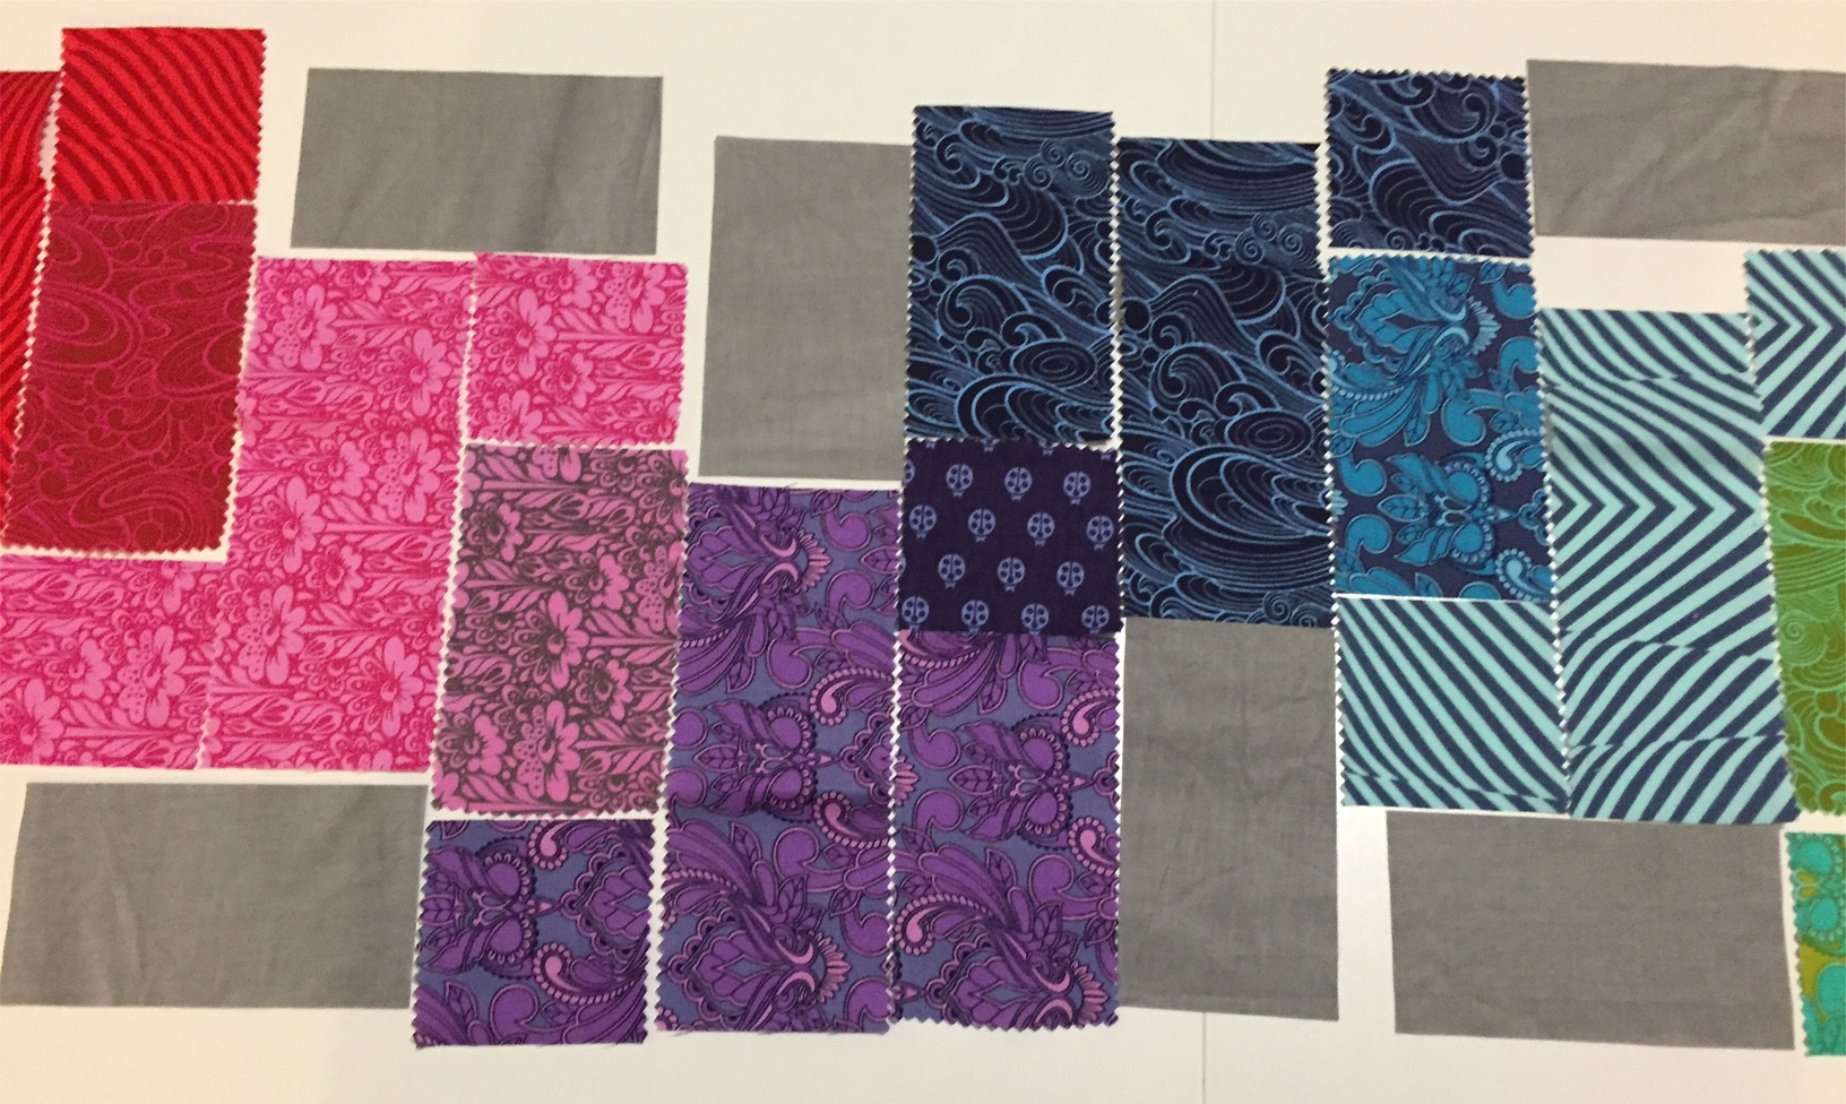
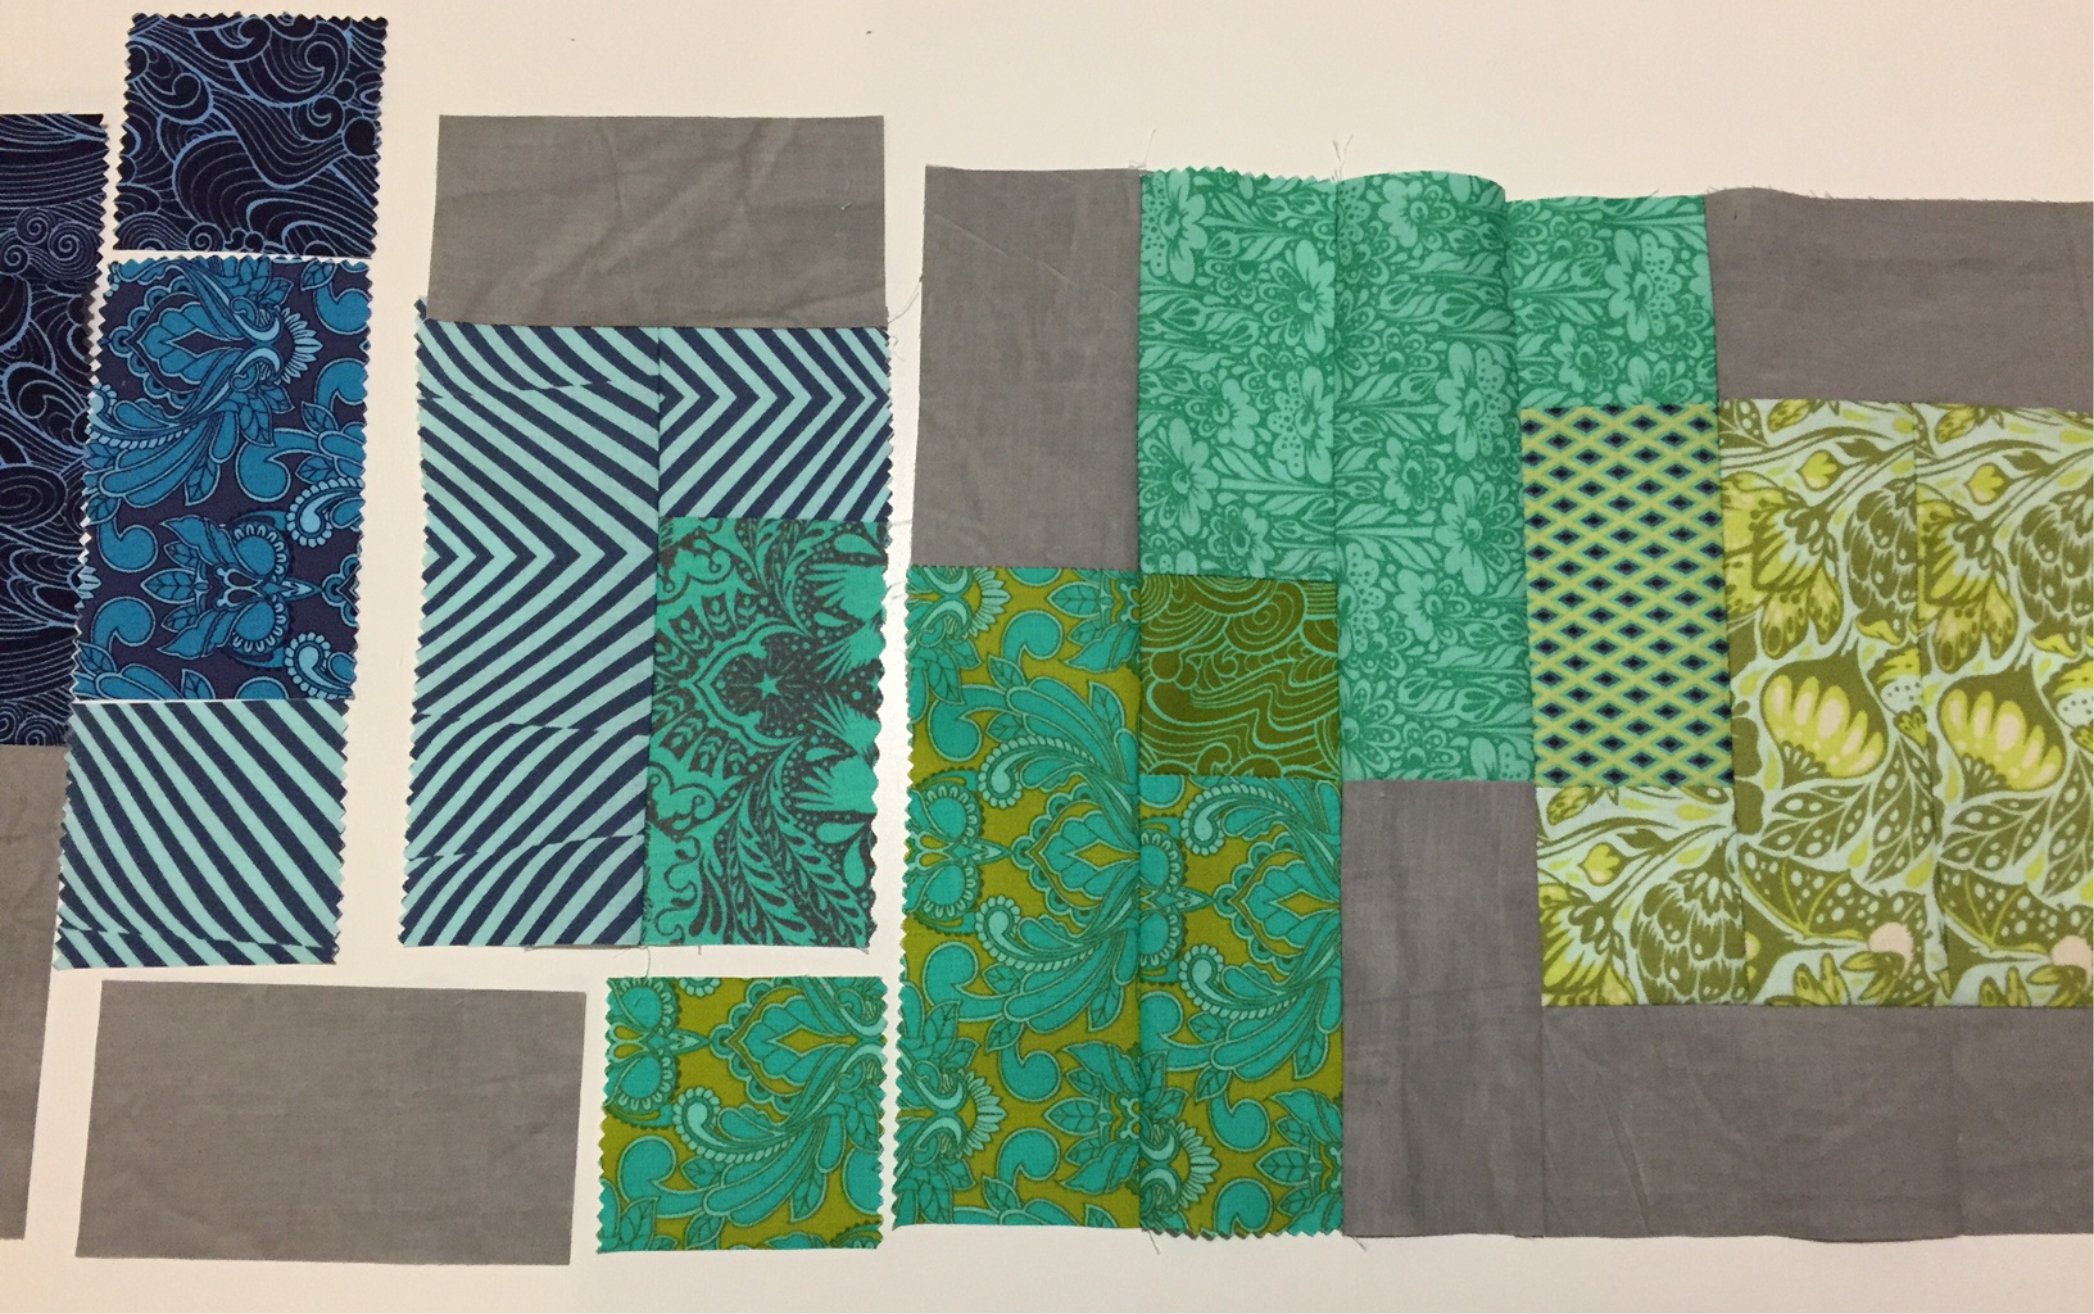
The first part is the hardest! Work out where you want each fabric to go and lay them out in order. Use the pattern (available at the bottom of the page) as your guide.

Cut out your coloured pieces. Work slowly and methodically as you do it’s really easy to get confused. Cut your grey strips. Lay the coloured pieces and the grey out in the correct order (again go slowly here, getting this right will save problems later).
Start piecing your squares together using a ¼ inch foot (I am hopeless at keeping accurate so I use BERNINA foot 57 with the guide). Have a good look at each row and decide how you would like to put it together. Give it a good press before joining it to the last row.
Continue piecing until the main section is complete. If anything has gone a bit wonky, trim it back.

Add a 2.5 inch border to the long sides first, then to the top and bottom. Trim any excess away and give it a good press.
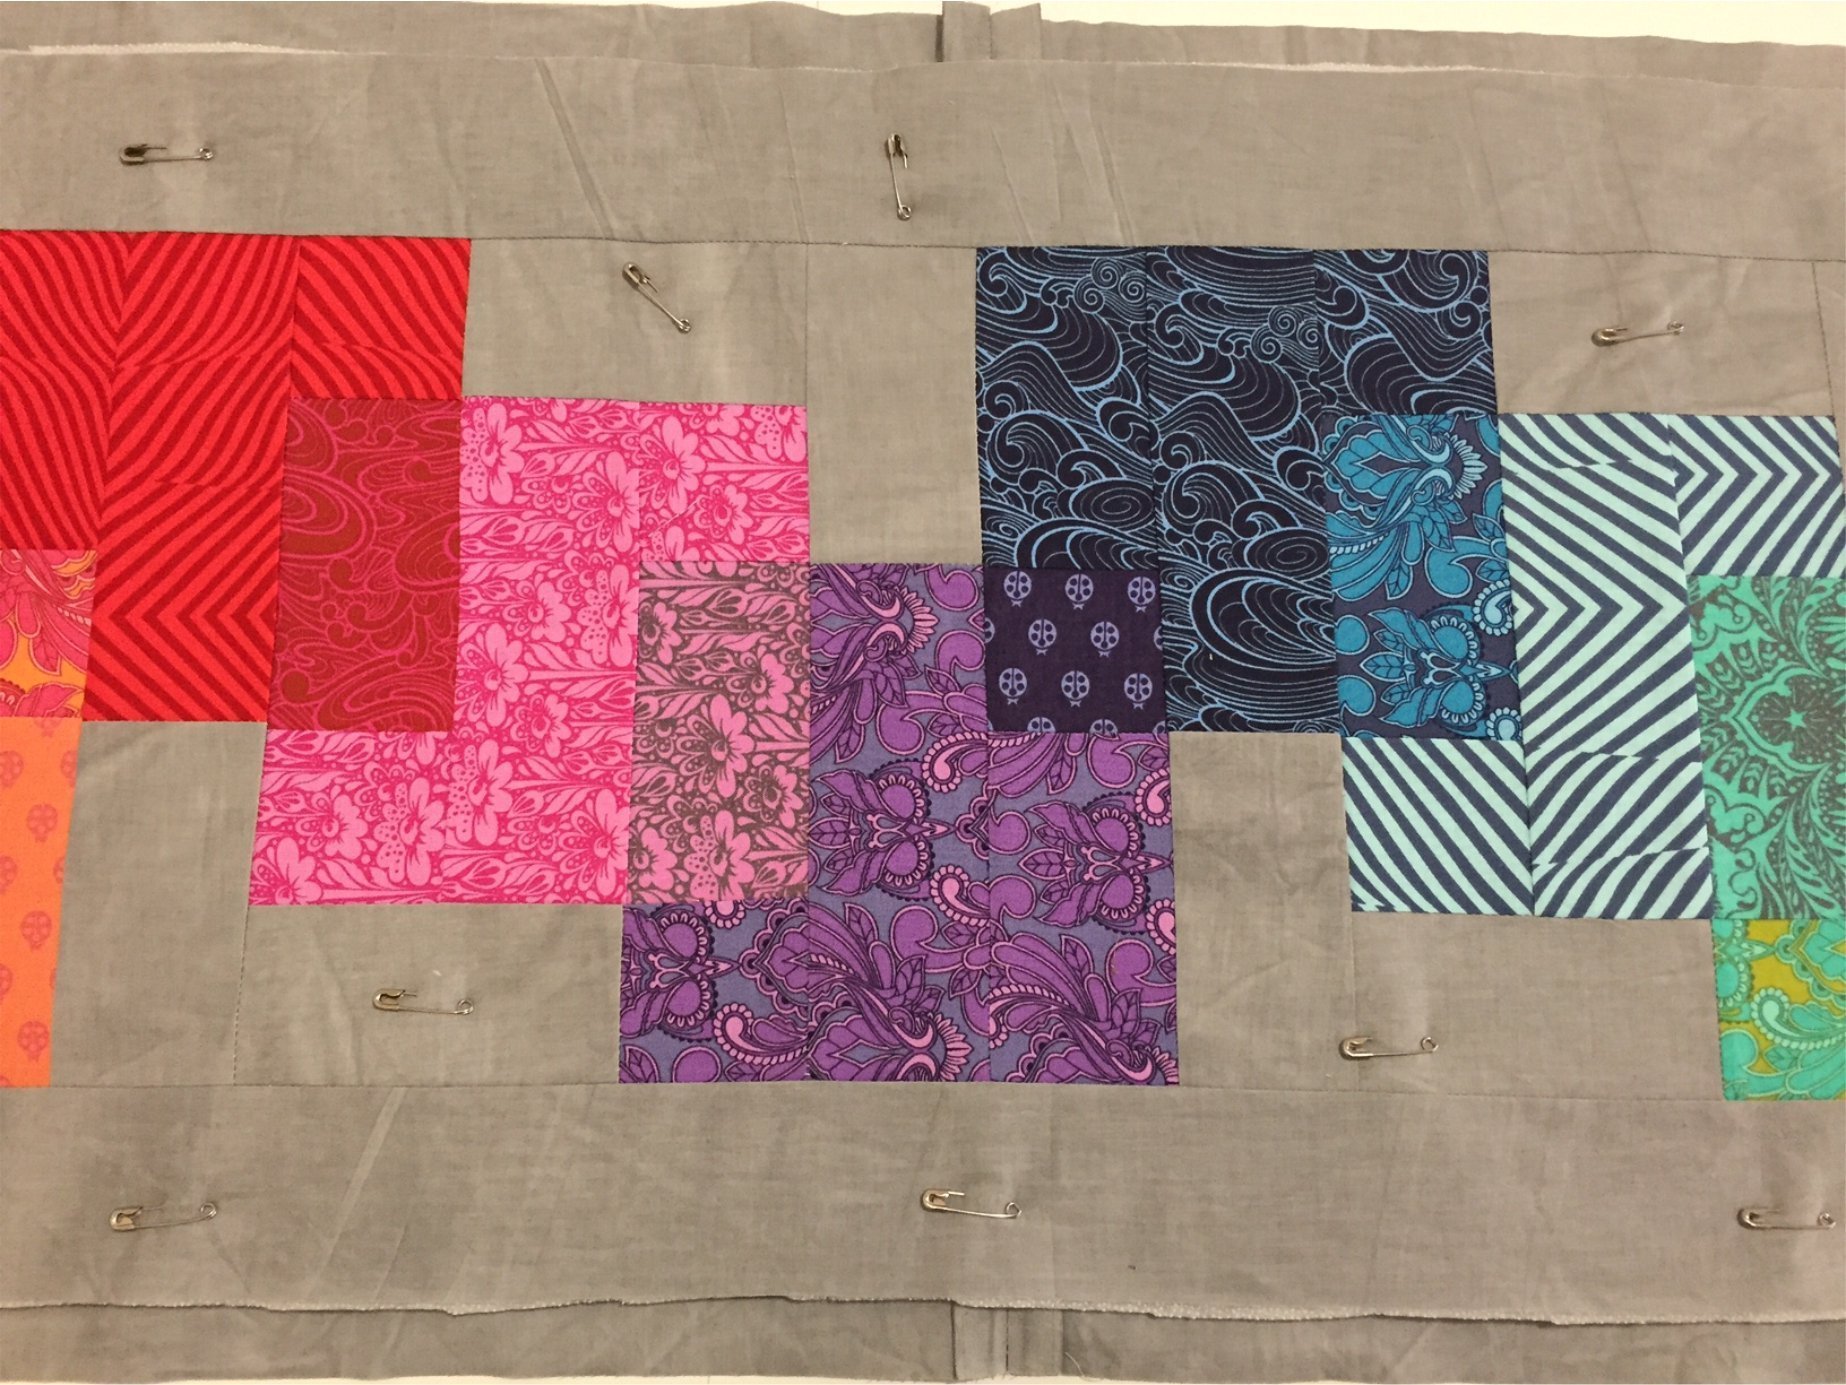
Make a sandwich of the runner, your wadding and backing. Pin all three layers together (I recommend that you put the pins in the grey section only as that will make the first stage of quilting easier).
Place a walking foot on your machine and thread the top with the colour of your first square. Select the quilting securing stitch (1324 on my B720). This stitch will start with 4 small stitches to secure the end. Increase the stitch length to 3. Start quilting along the ditch of the first square, then keep quilting in parallel lines until you reach the end of the square Press the reverse button to finish off with 4 tiny stitches. Charge thread colour to match the next square. Quilt in the same way, but change direction (i.e. up and down, rather than side to side). Overlap the quilting at the contrast square.


Continue quilting in this way until all the coloured squares are done. Change the top thread to grey. Quilt the grey sections of the runner with parallel lines running across.
Trim back the excess backing and wadding. Bind the runner using your favourite method. Give it a good press and you’re done! First Christmas present done and dusted, with goodness knows how many more to go!
PS: Oh and Hope if you are reading this, just act surprised when you open it 🙂
Download the pattern from here: Pattern
I’d love to see your runners, please share your photo’s at:
https://www.facebook.com/TheSharedStitch


Thats`s wonderful – i like the colours!
Thanks !
Wiebke
Thanks Wiebke