 BERNINA Corporate Blog -
A tutorial share from BERNINA USA’s WeAllSew blog.
by LUKE
Hey everyone! I want to share with you the way I disassemble a shirt into working yardage. I use this all the time to get material from the clothes I get from myself or from Goodwill.
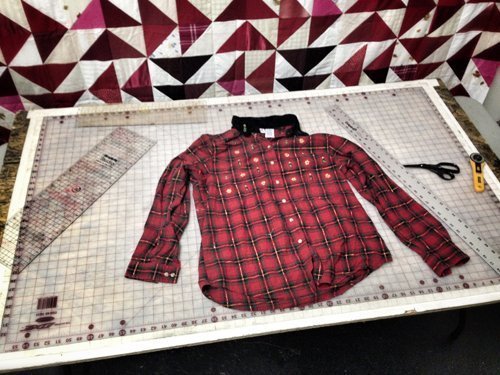
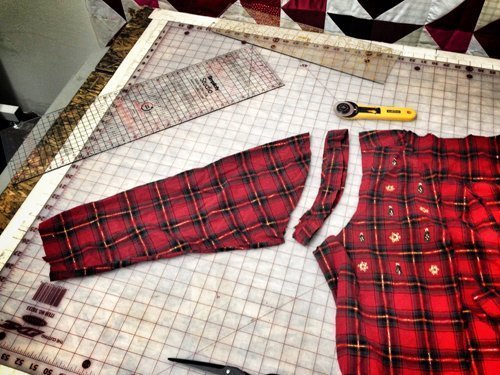
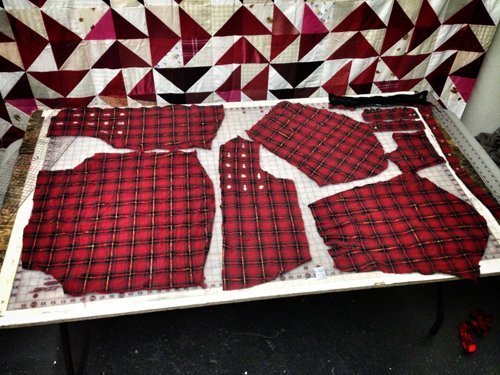
The first thing I do is cut off the sleeves and collar.
What I am doing is getting all the pieces off that will damage my rotary cutter or aren’t worth the time it would take to pick out the seams.
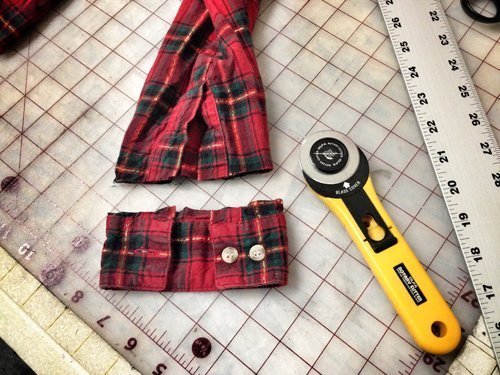
I cut a little slit next to both sides of the button placket and rip them off.
Continuing with cutting off the seams that are dense and will make later sewing difficult I cut on both sides of the seam on the upper sleeve.
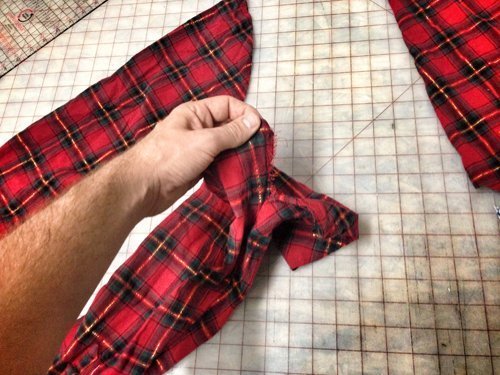
After I get both sleeves cut I tear the seams of both and set them aside. NOTE: tear from the large side to the narrow. [upper to lower] because then it tears along the seam and not into the material along the weave.
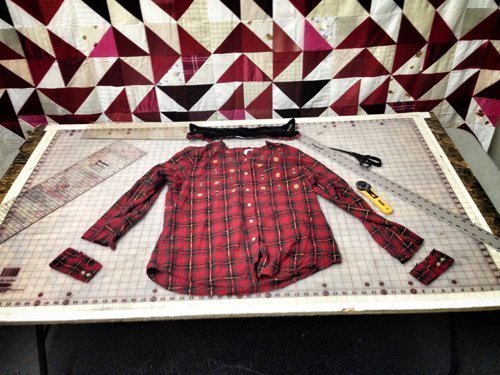
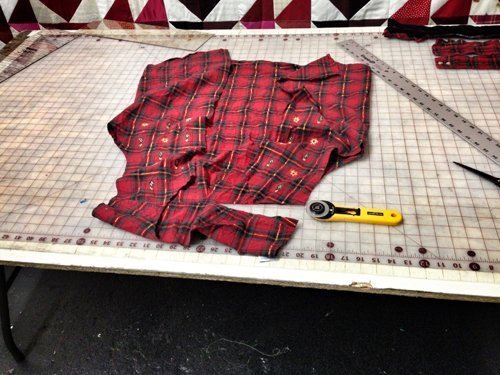
We still have the body to finish, we need to cut off the yoke. I lay the piece out like a vest and cut just below the seam. I have tried to save this part in the past and with the darts its usually rather difficult to use because its folded.
Open it up after and tear the seams between the panels.
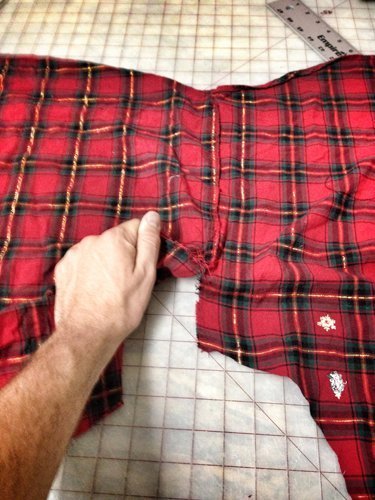
And now you are done if you want to use the fabric as it is.
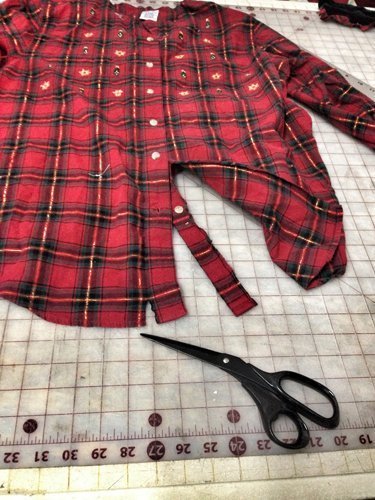
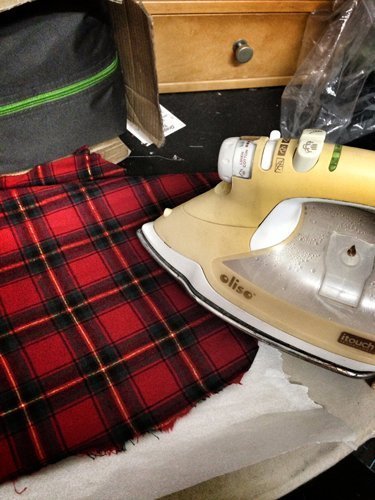
What I do from here is to cut it down to 6″ strips because that for me is the easiest to store.
Iron it.
Then lay it out on your cutting mat. largest to smallest so you can see what you are cutting. I use the lines on the cutting mat to line up the 6″ cut but you can use your clear ruler if you’d prefer.

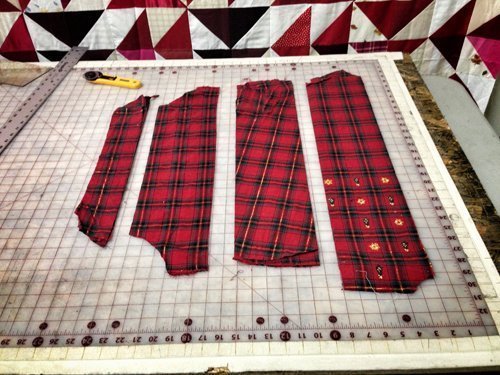
Then I store it in large clear bins so I can arrange it by color for the projects.

Of course, before I start I try the garment on. Just in case it fits and is awesome….
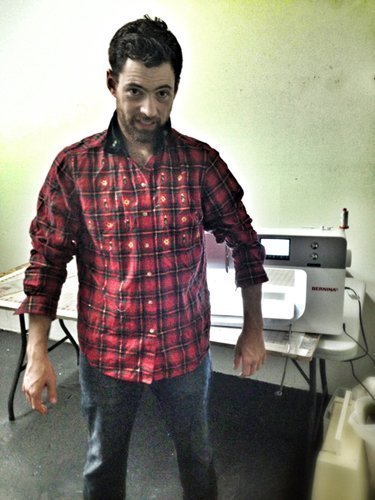
What do you use your old clothing for?


0 Responses