 BERNINA Corporate Blog -
Winter is Coming … in Australia anyway!
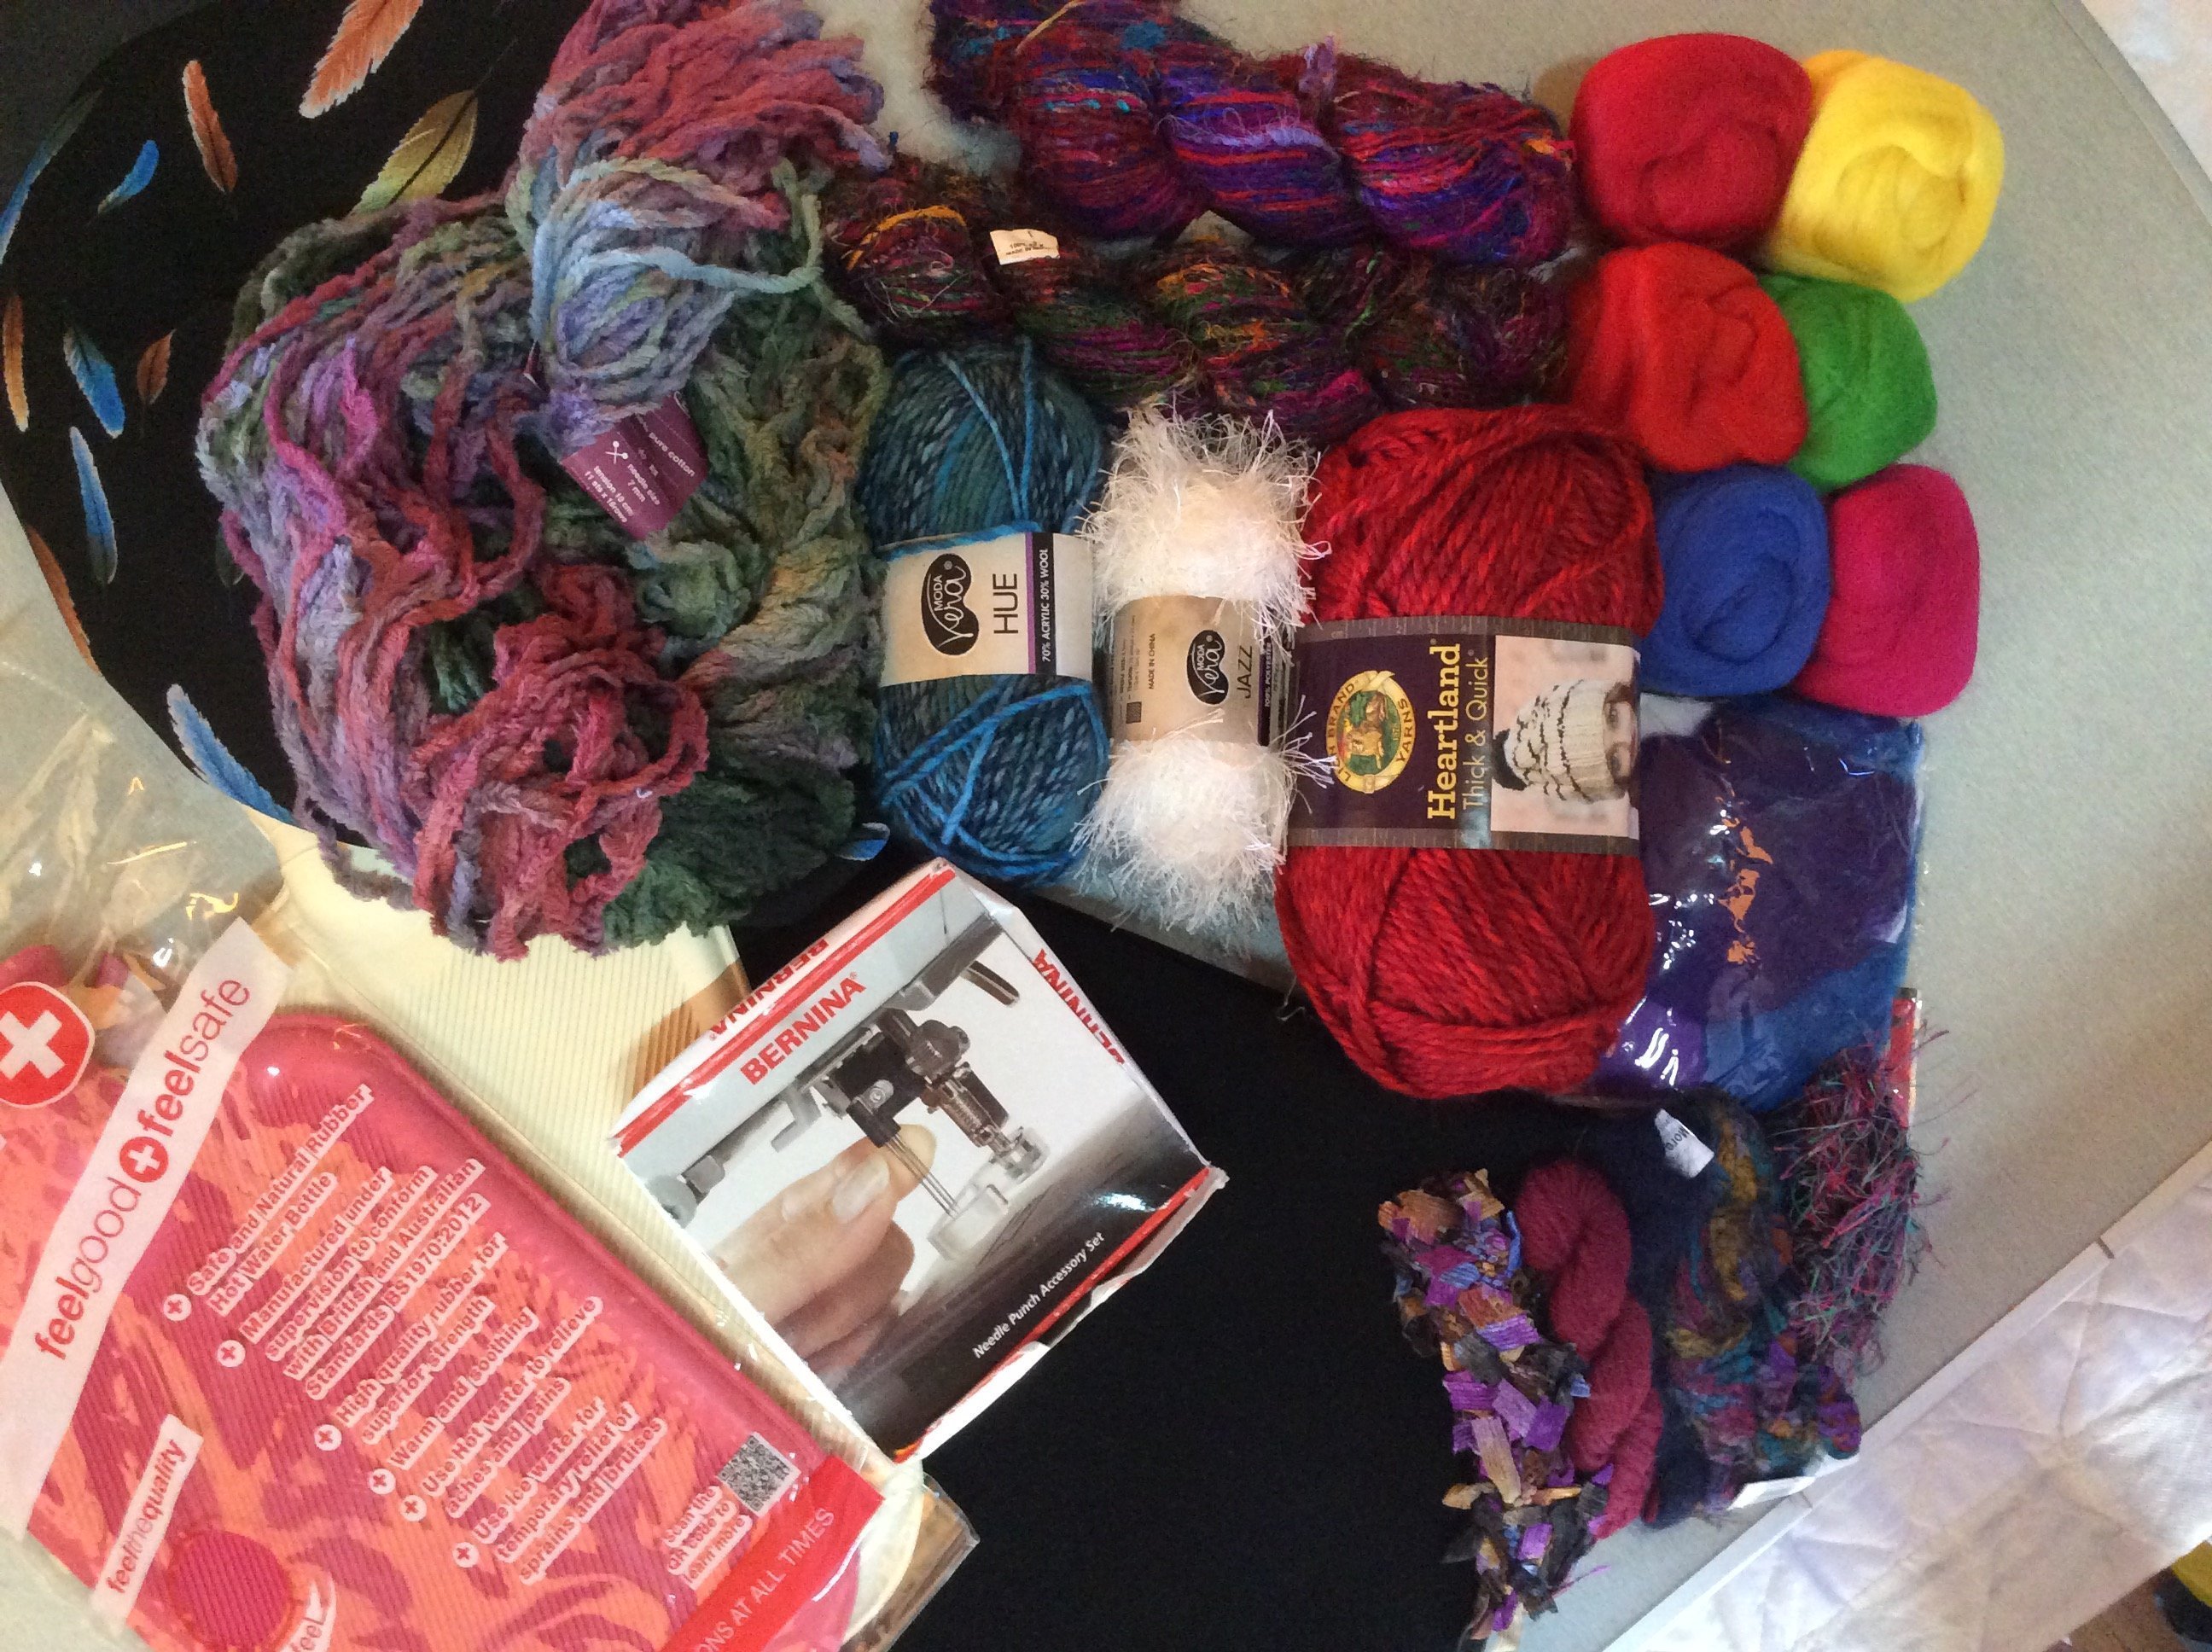
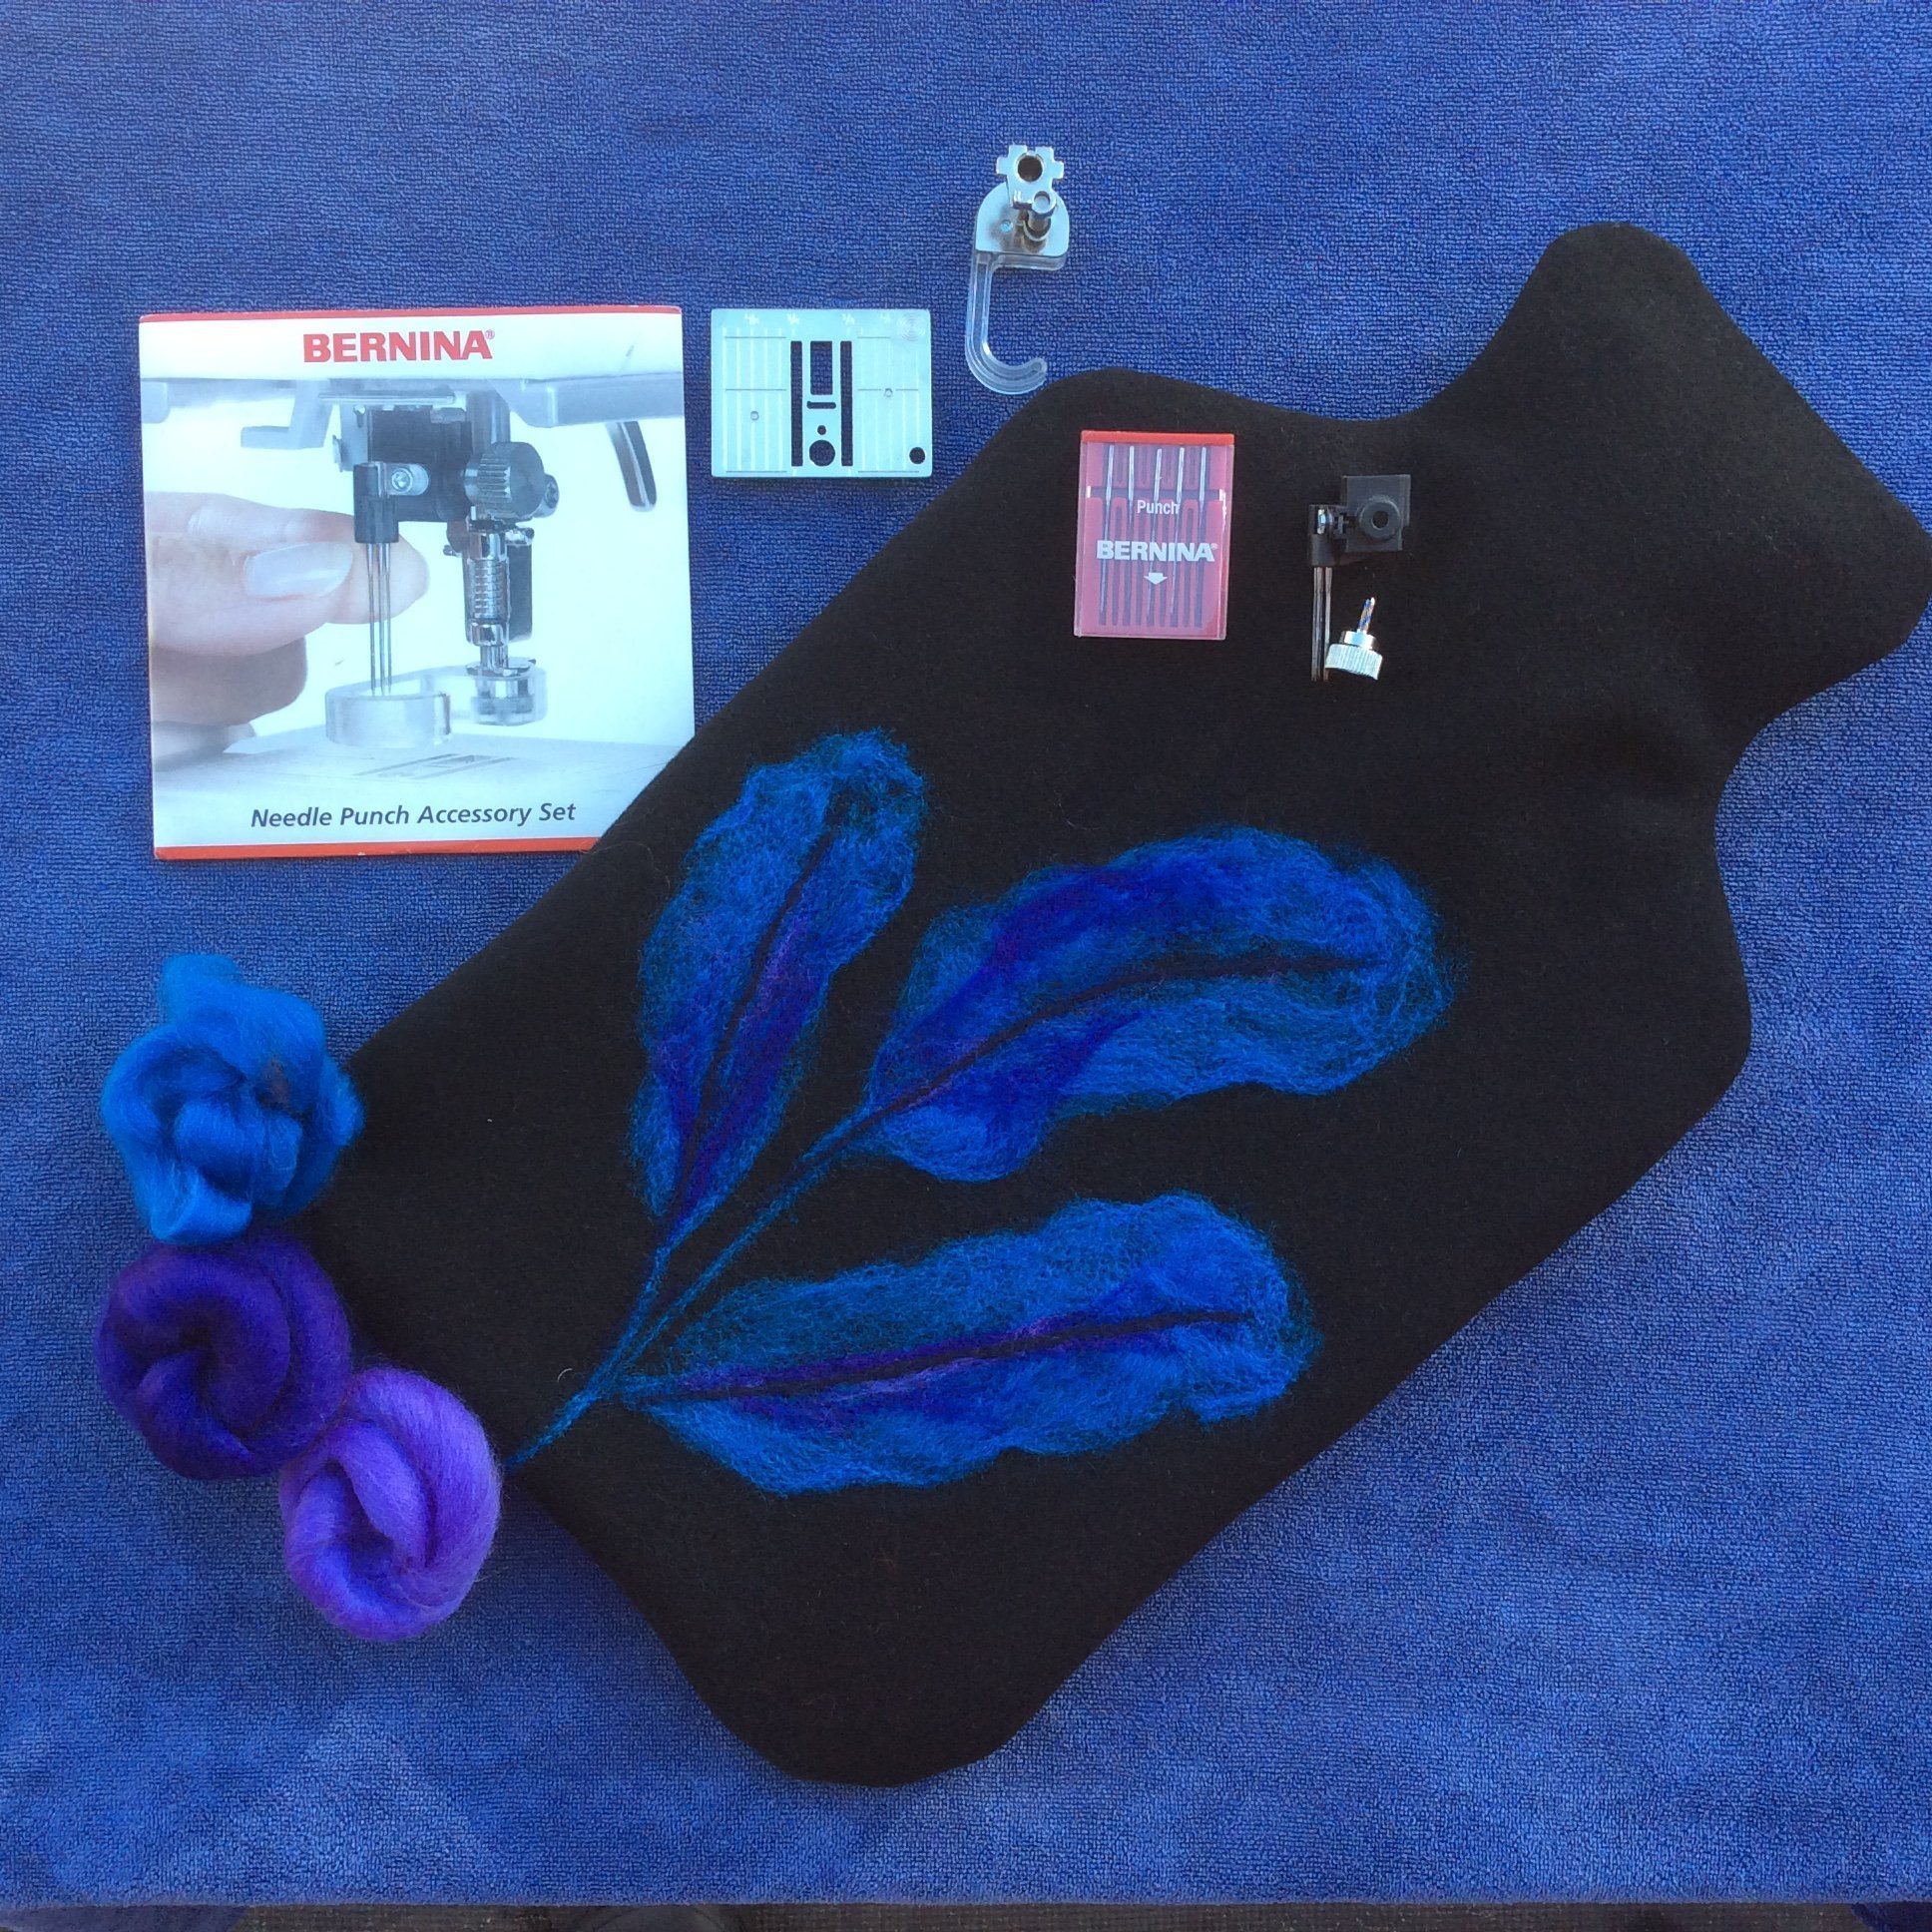
As a Bernina Ambassador for the last year, I have been travelling Australia, am presently in Tasmania … and living out of a Kimblerley Kamper camper trailer. We have no inside heating!! During winter I know that it is going to be a little bit of a problem for my toes!! I always suffer from cold feet, so I decided to buy myself a good old-fashioned Hot Water Bottle … and of course I then needed a cover! Enter … My Bernina Needle Punch Accessory Kit! … some lovely Woollen fabric, and an assortment of yarns and fibres that I packed to come away with me … seriously, who packs wool roving just in case? … um, me …
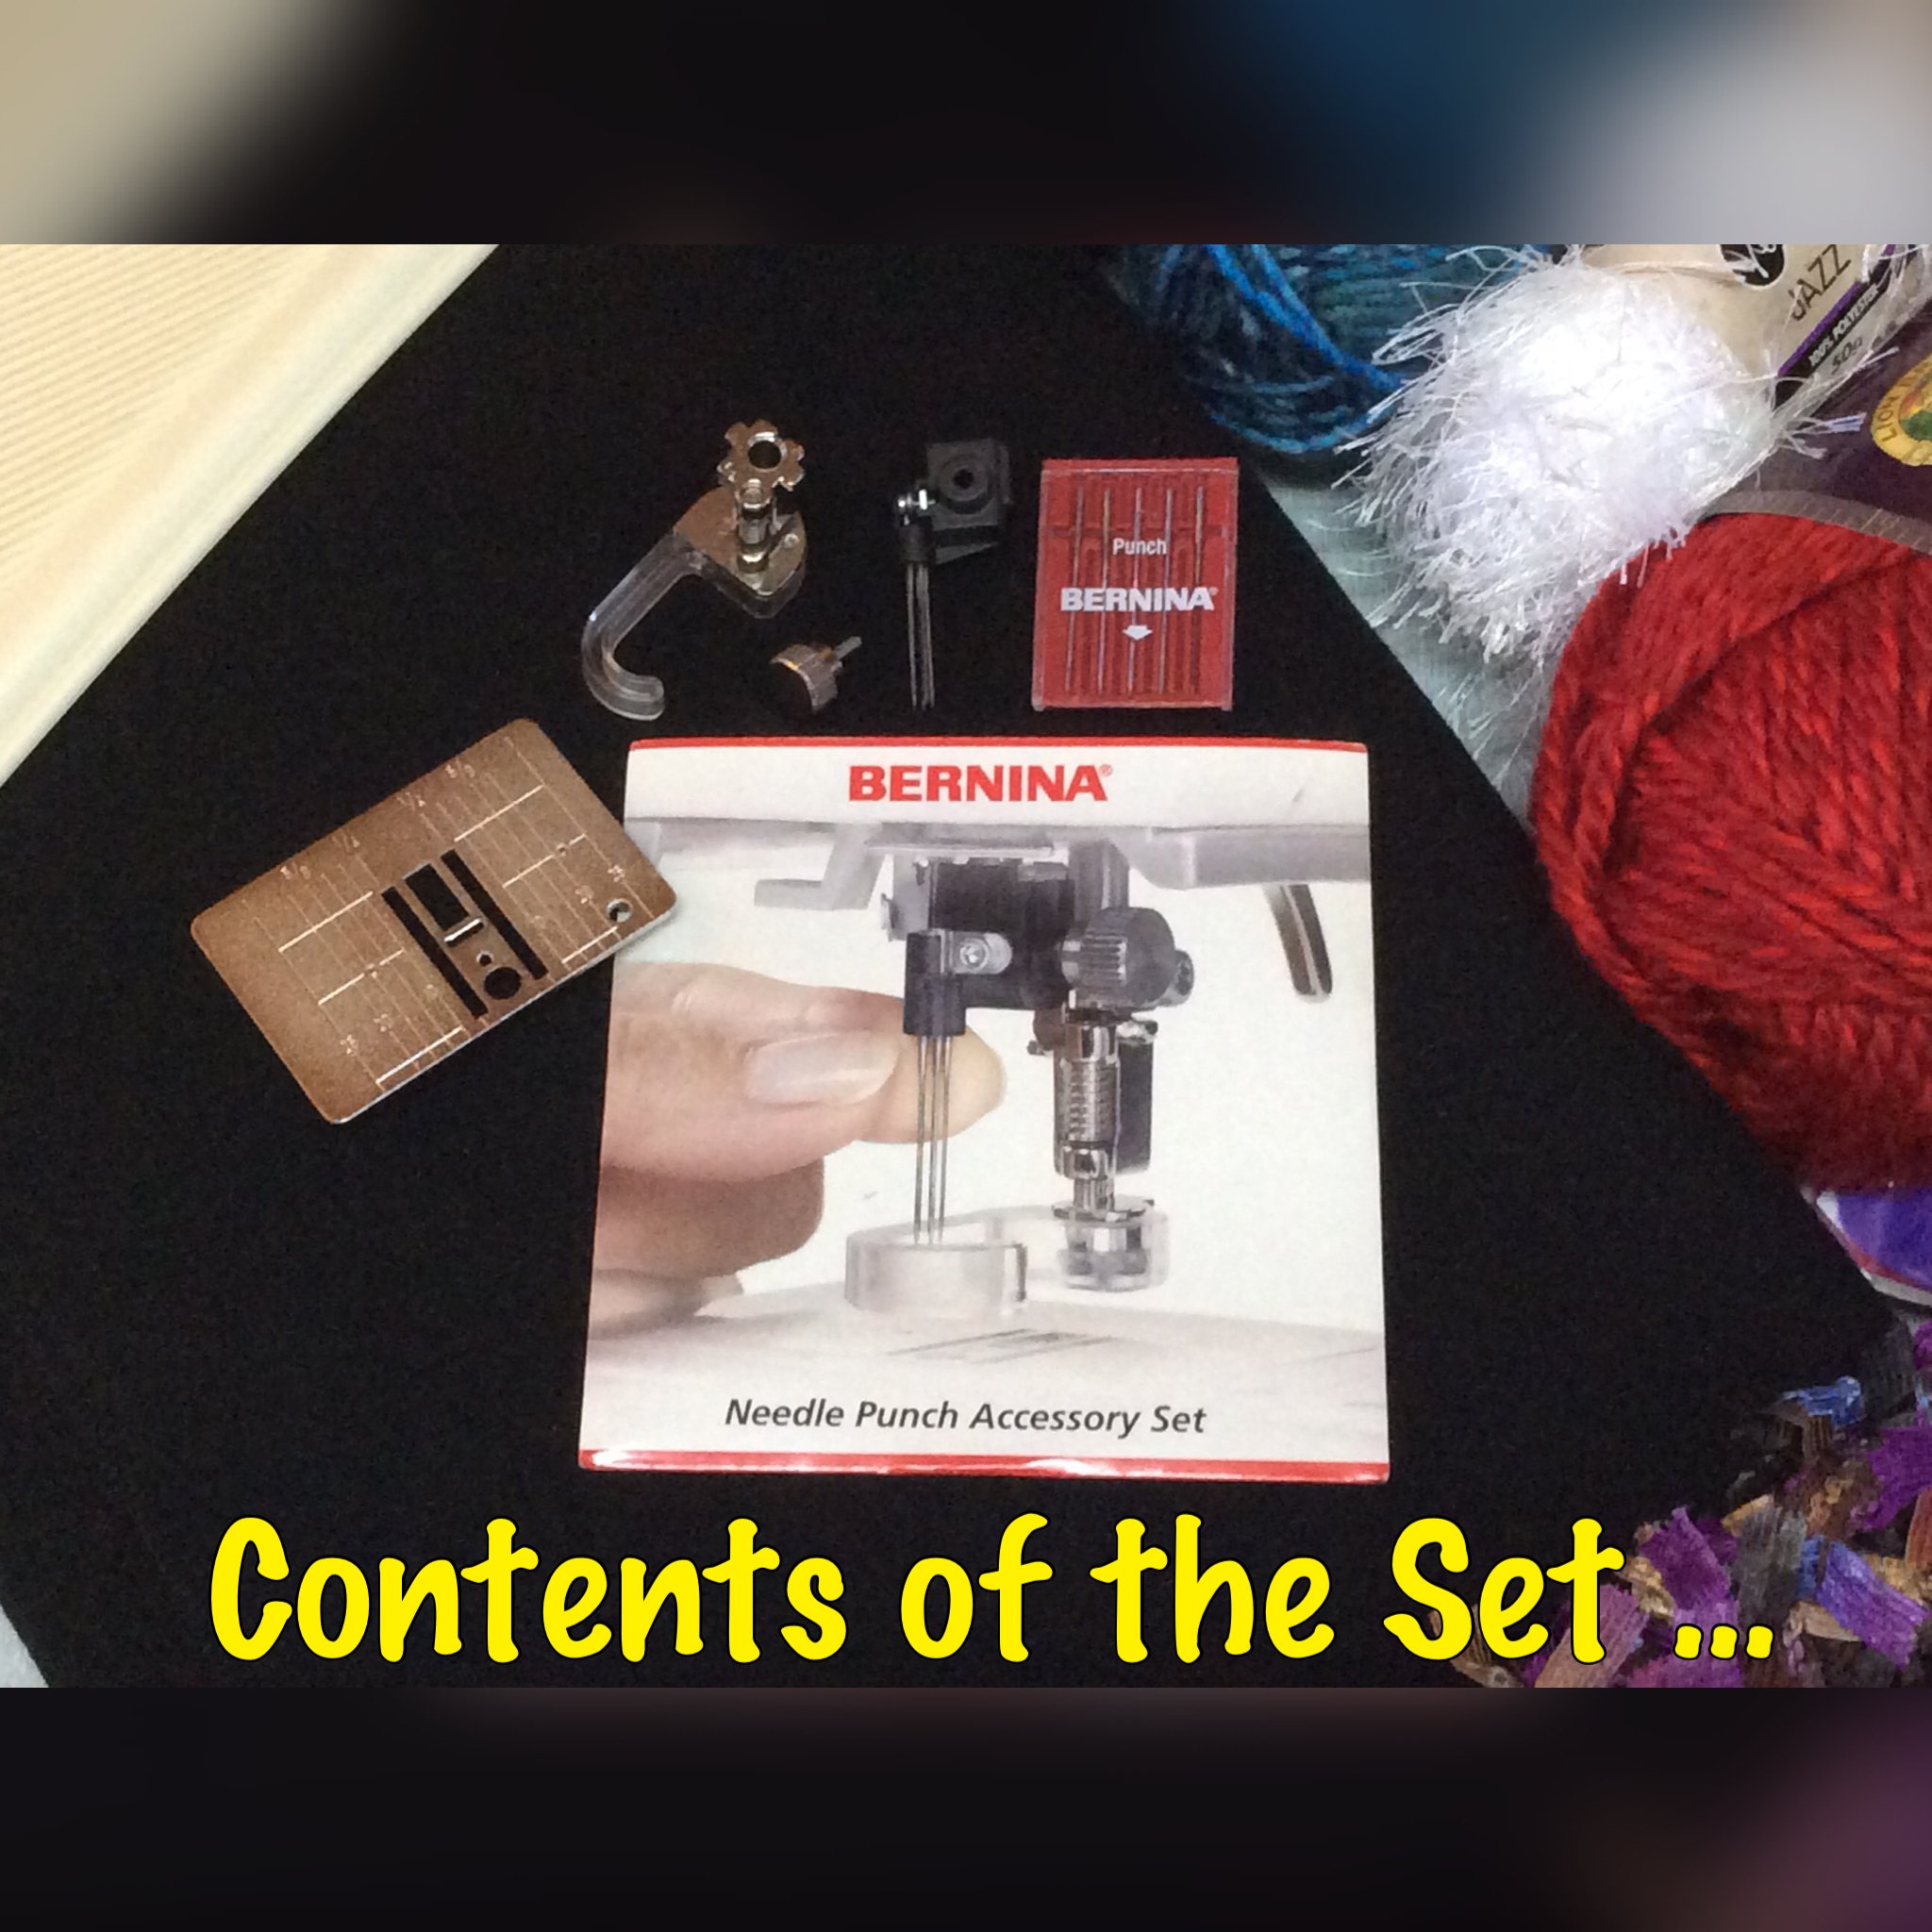
I bought this Accessory many years ago* when I owned a magical Bernina Aurora 440QEE – what a fabulous machine she was (my eldest daughter Sally now has the joy of sewing for her family on it). I had a lot of fun needle punching – it was a relatively new accessory then. As I now am travelling and back sewing on a 5.5mm stitch width machine, (my gorgeous ‘Bridget’, B570QEE) I packed this accessory along with all my others, knowing it would ‘star’ somewhere soon again. *Packaging may have changed – mine has been well travelled (a little squashed!) but well loved! The Kit I have is specially designed for Bernina Oscillating hook models (CB Hook), but please note that you can also needle felt with Bernina rotary-hook machines by purchasing the appropriate Needle-punch tool for rotary hook systems.
I chatted about what I was doing on the road to my dear friend, and fellow Bernina Ambassador, Lou Robertson, who blogs on here also (Software side of things), and she commented … “I just wouldn’t know where to start with something like that!’ … and I said … “That’s why I’m blogging about it!”
I always trial stitches, techniques and embroidery before I add to any of my projects. So, out came the yarns and fibres, samples pieces of the woollen fabric (cut to just smaller than A4 size, as I put them in plastic folders for later reference), and of course, my notebook and cup of tea!
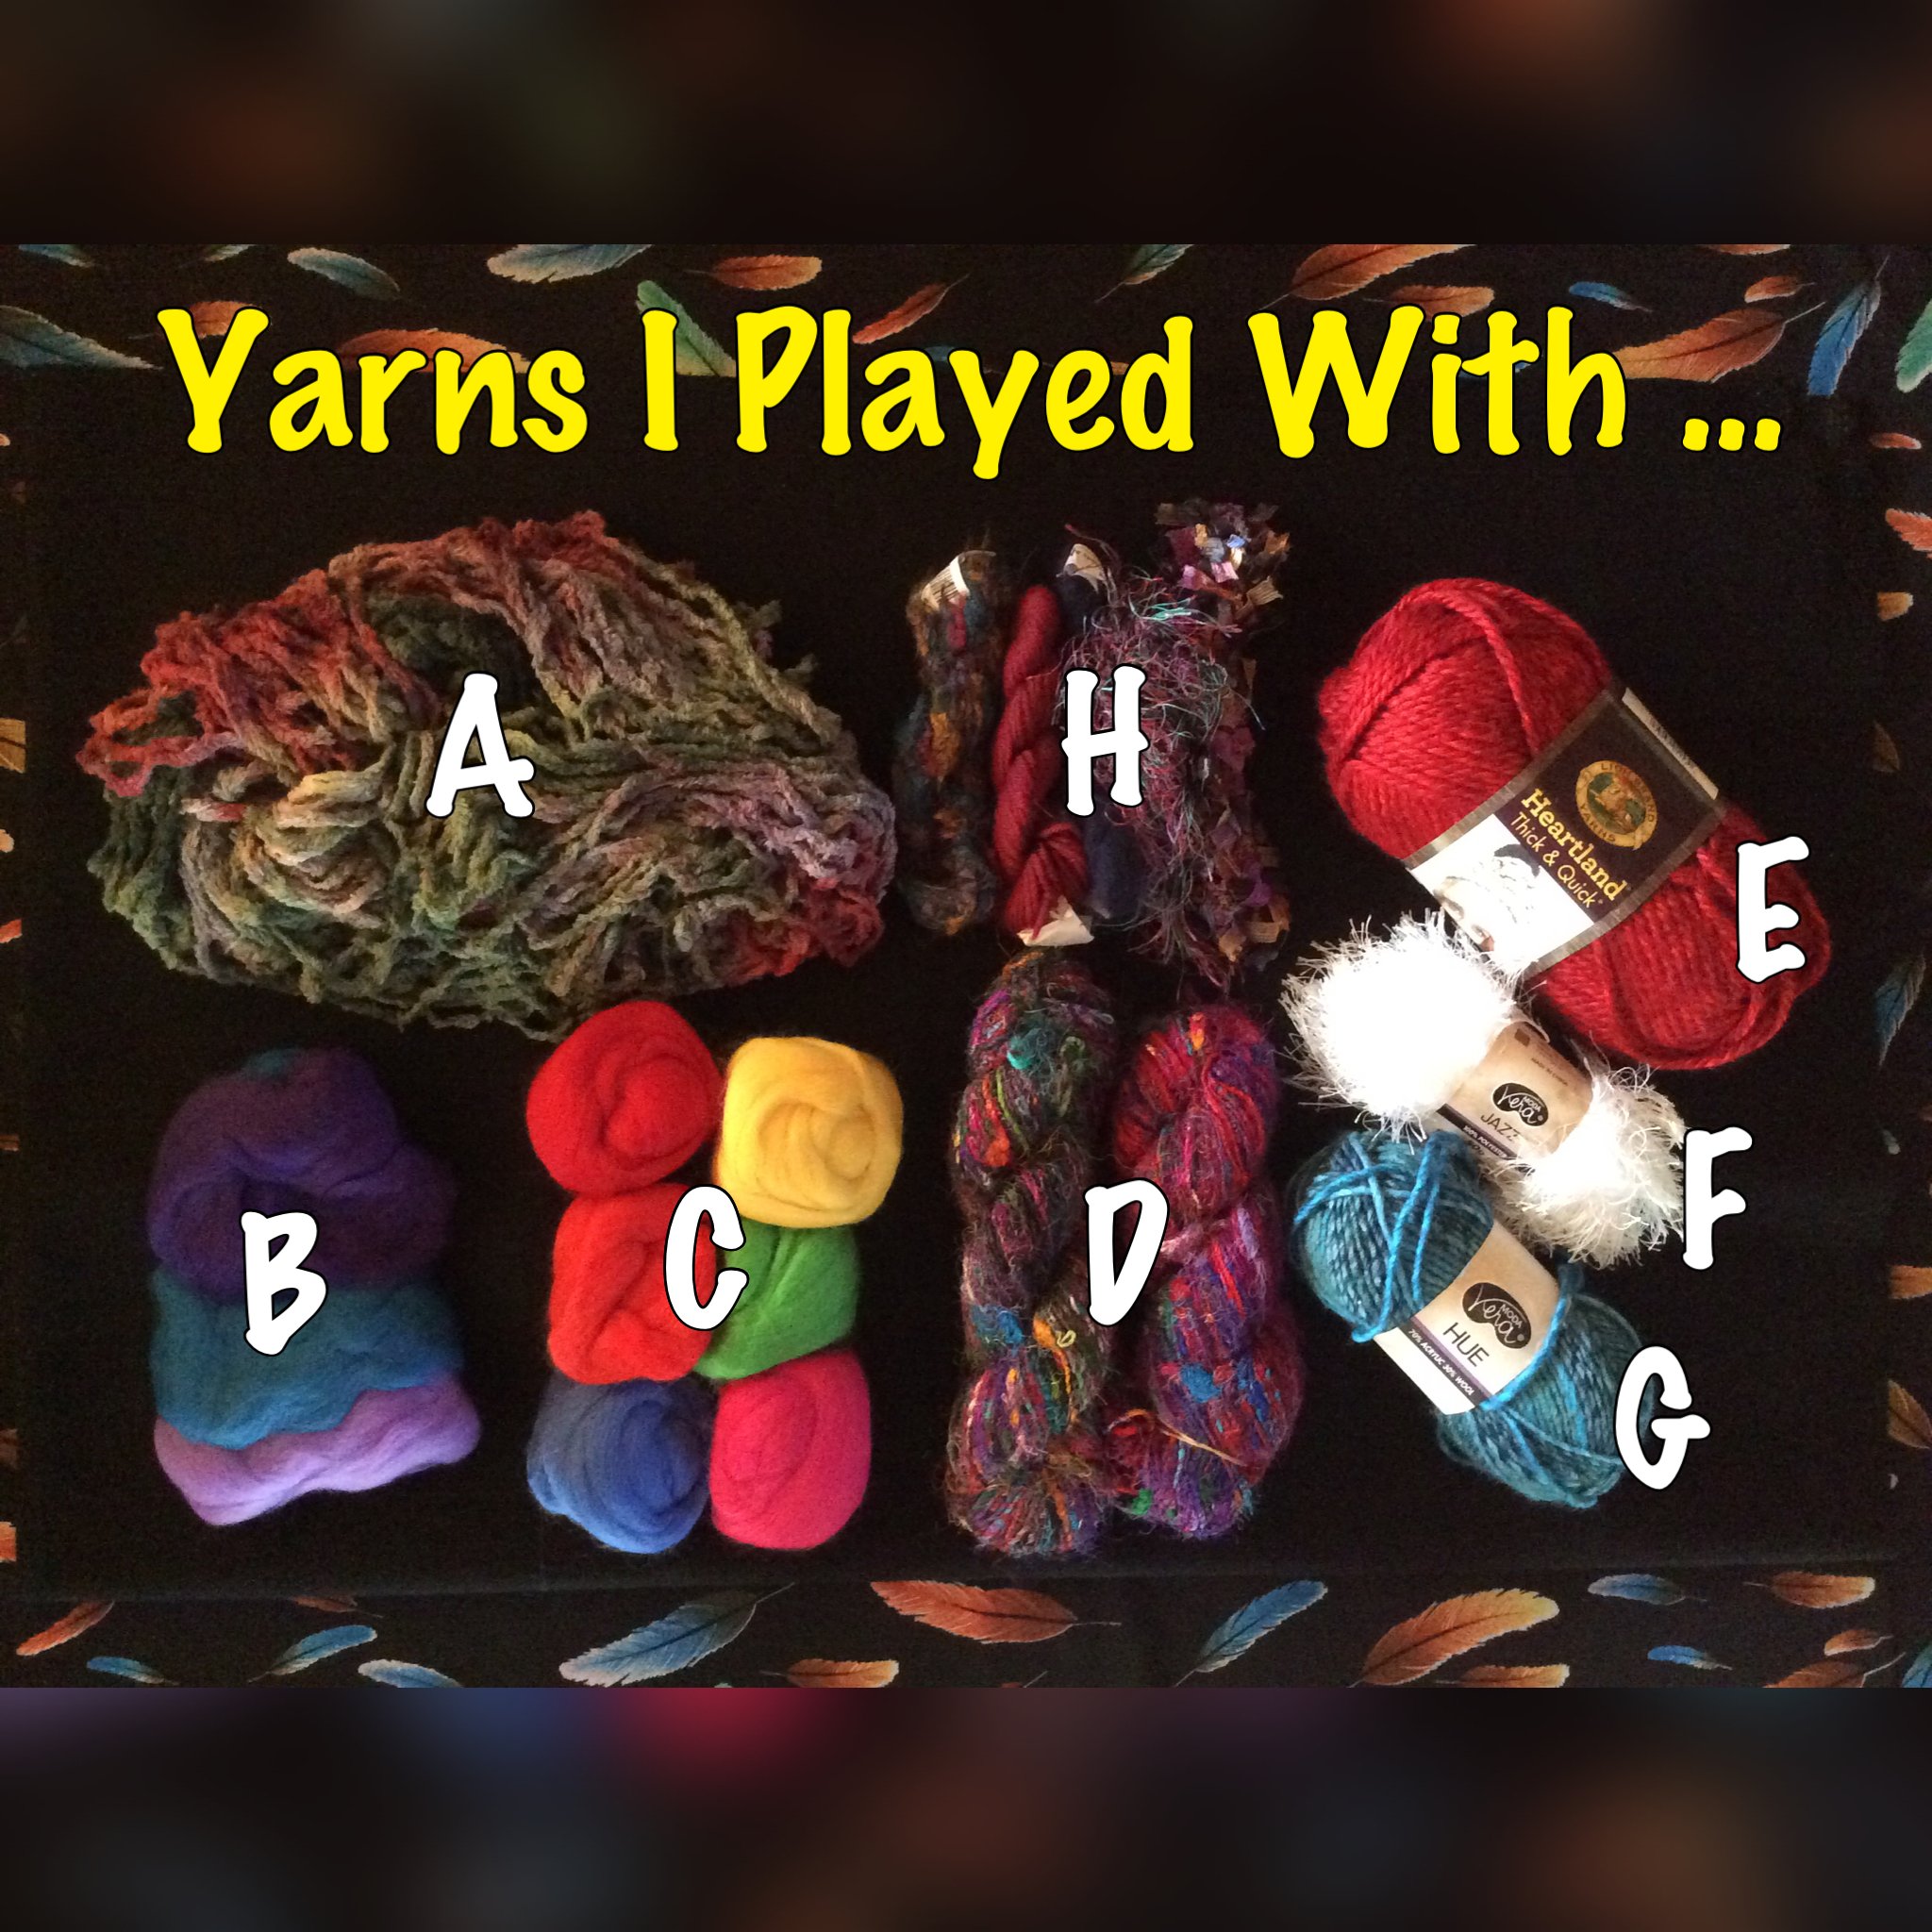
- A – 100% Cotton Chenille yarn, hand dyed
- B – 100% Merino Wool Roving (made in Australia)
- C – Wool Roving (made in China)
- D – 100% Silk yarn made from old Indian Saris
- E – 100% Acrylic Knitting Yarn
- F – 100% Polyester Eyelash type Knitting Yarn
- G – 70% Acrylic 30% Wool Knitting Yarn
- H – Various Yarns e.g. Tapestry Wool, etc
Firstly, set up the machine (an instruction sheet and DVD are included with the accessory)
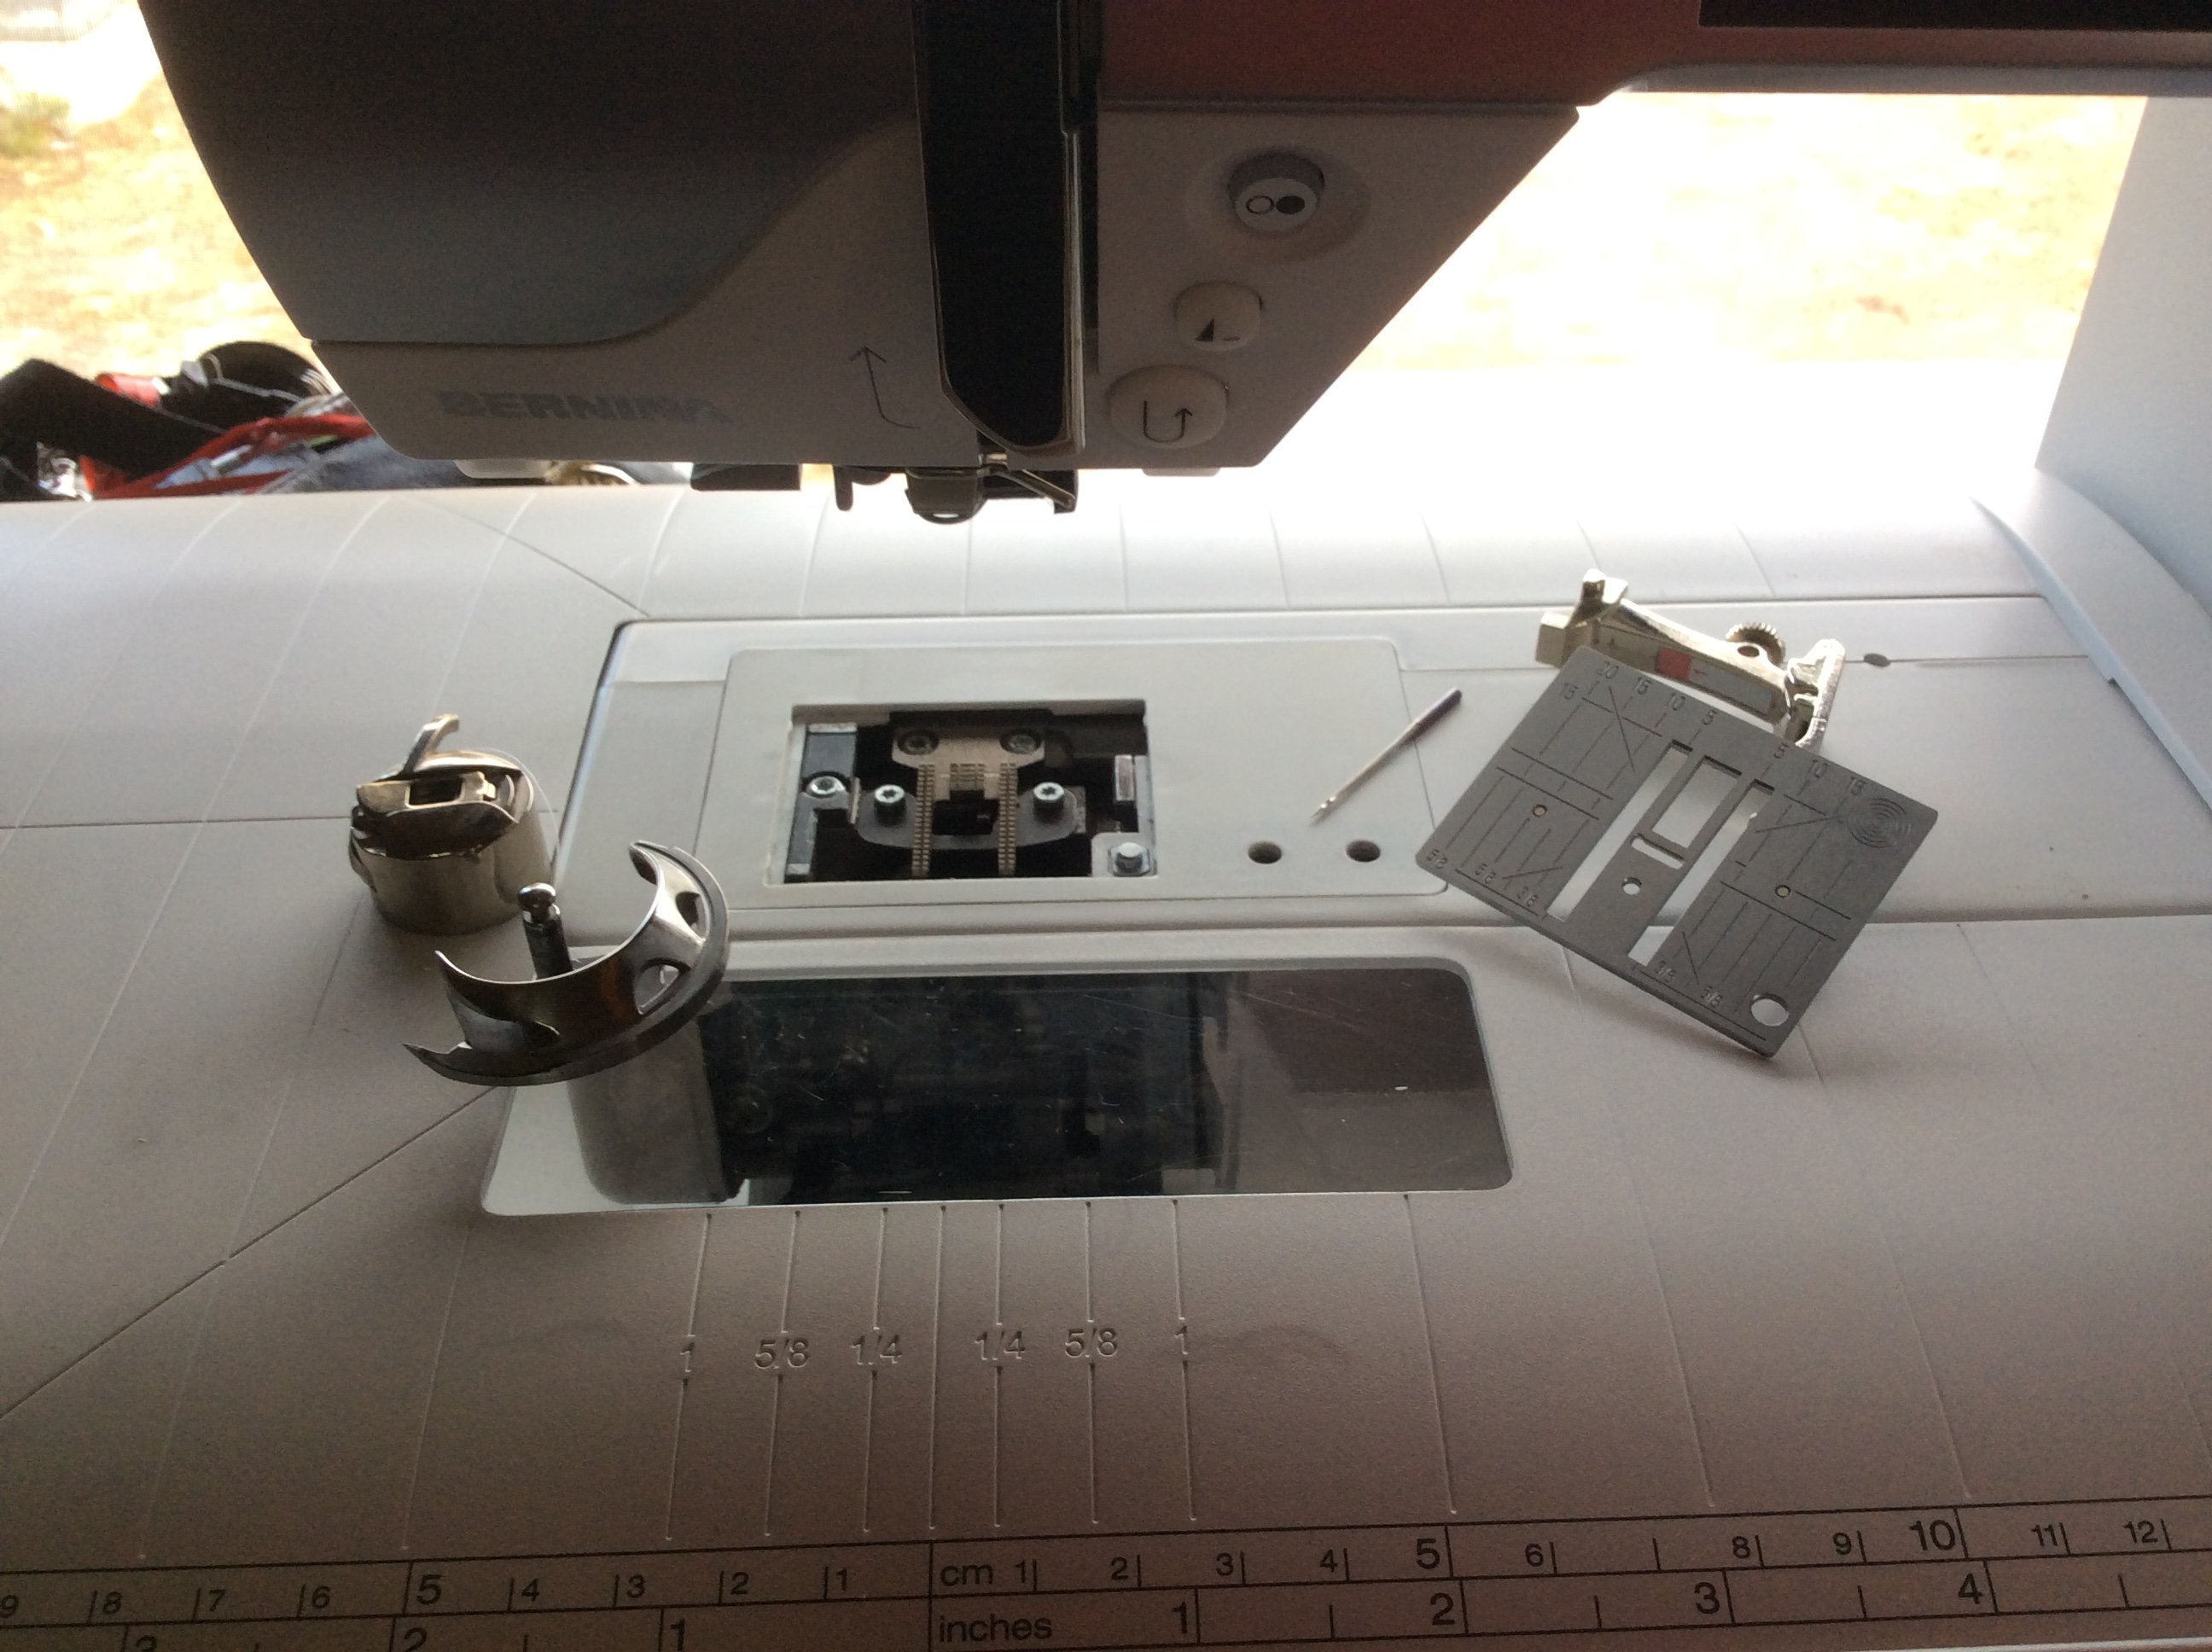
Remove sewing machine needle, stitch plate, Presser Foot, Bobbin Case and Shuttle Race – leave Bobbin Door open!!
Remove Needle Set Screw.
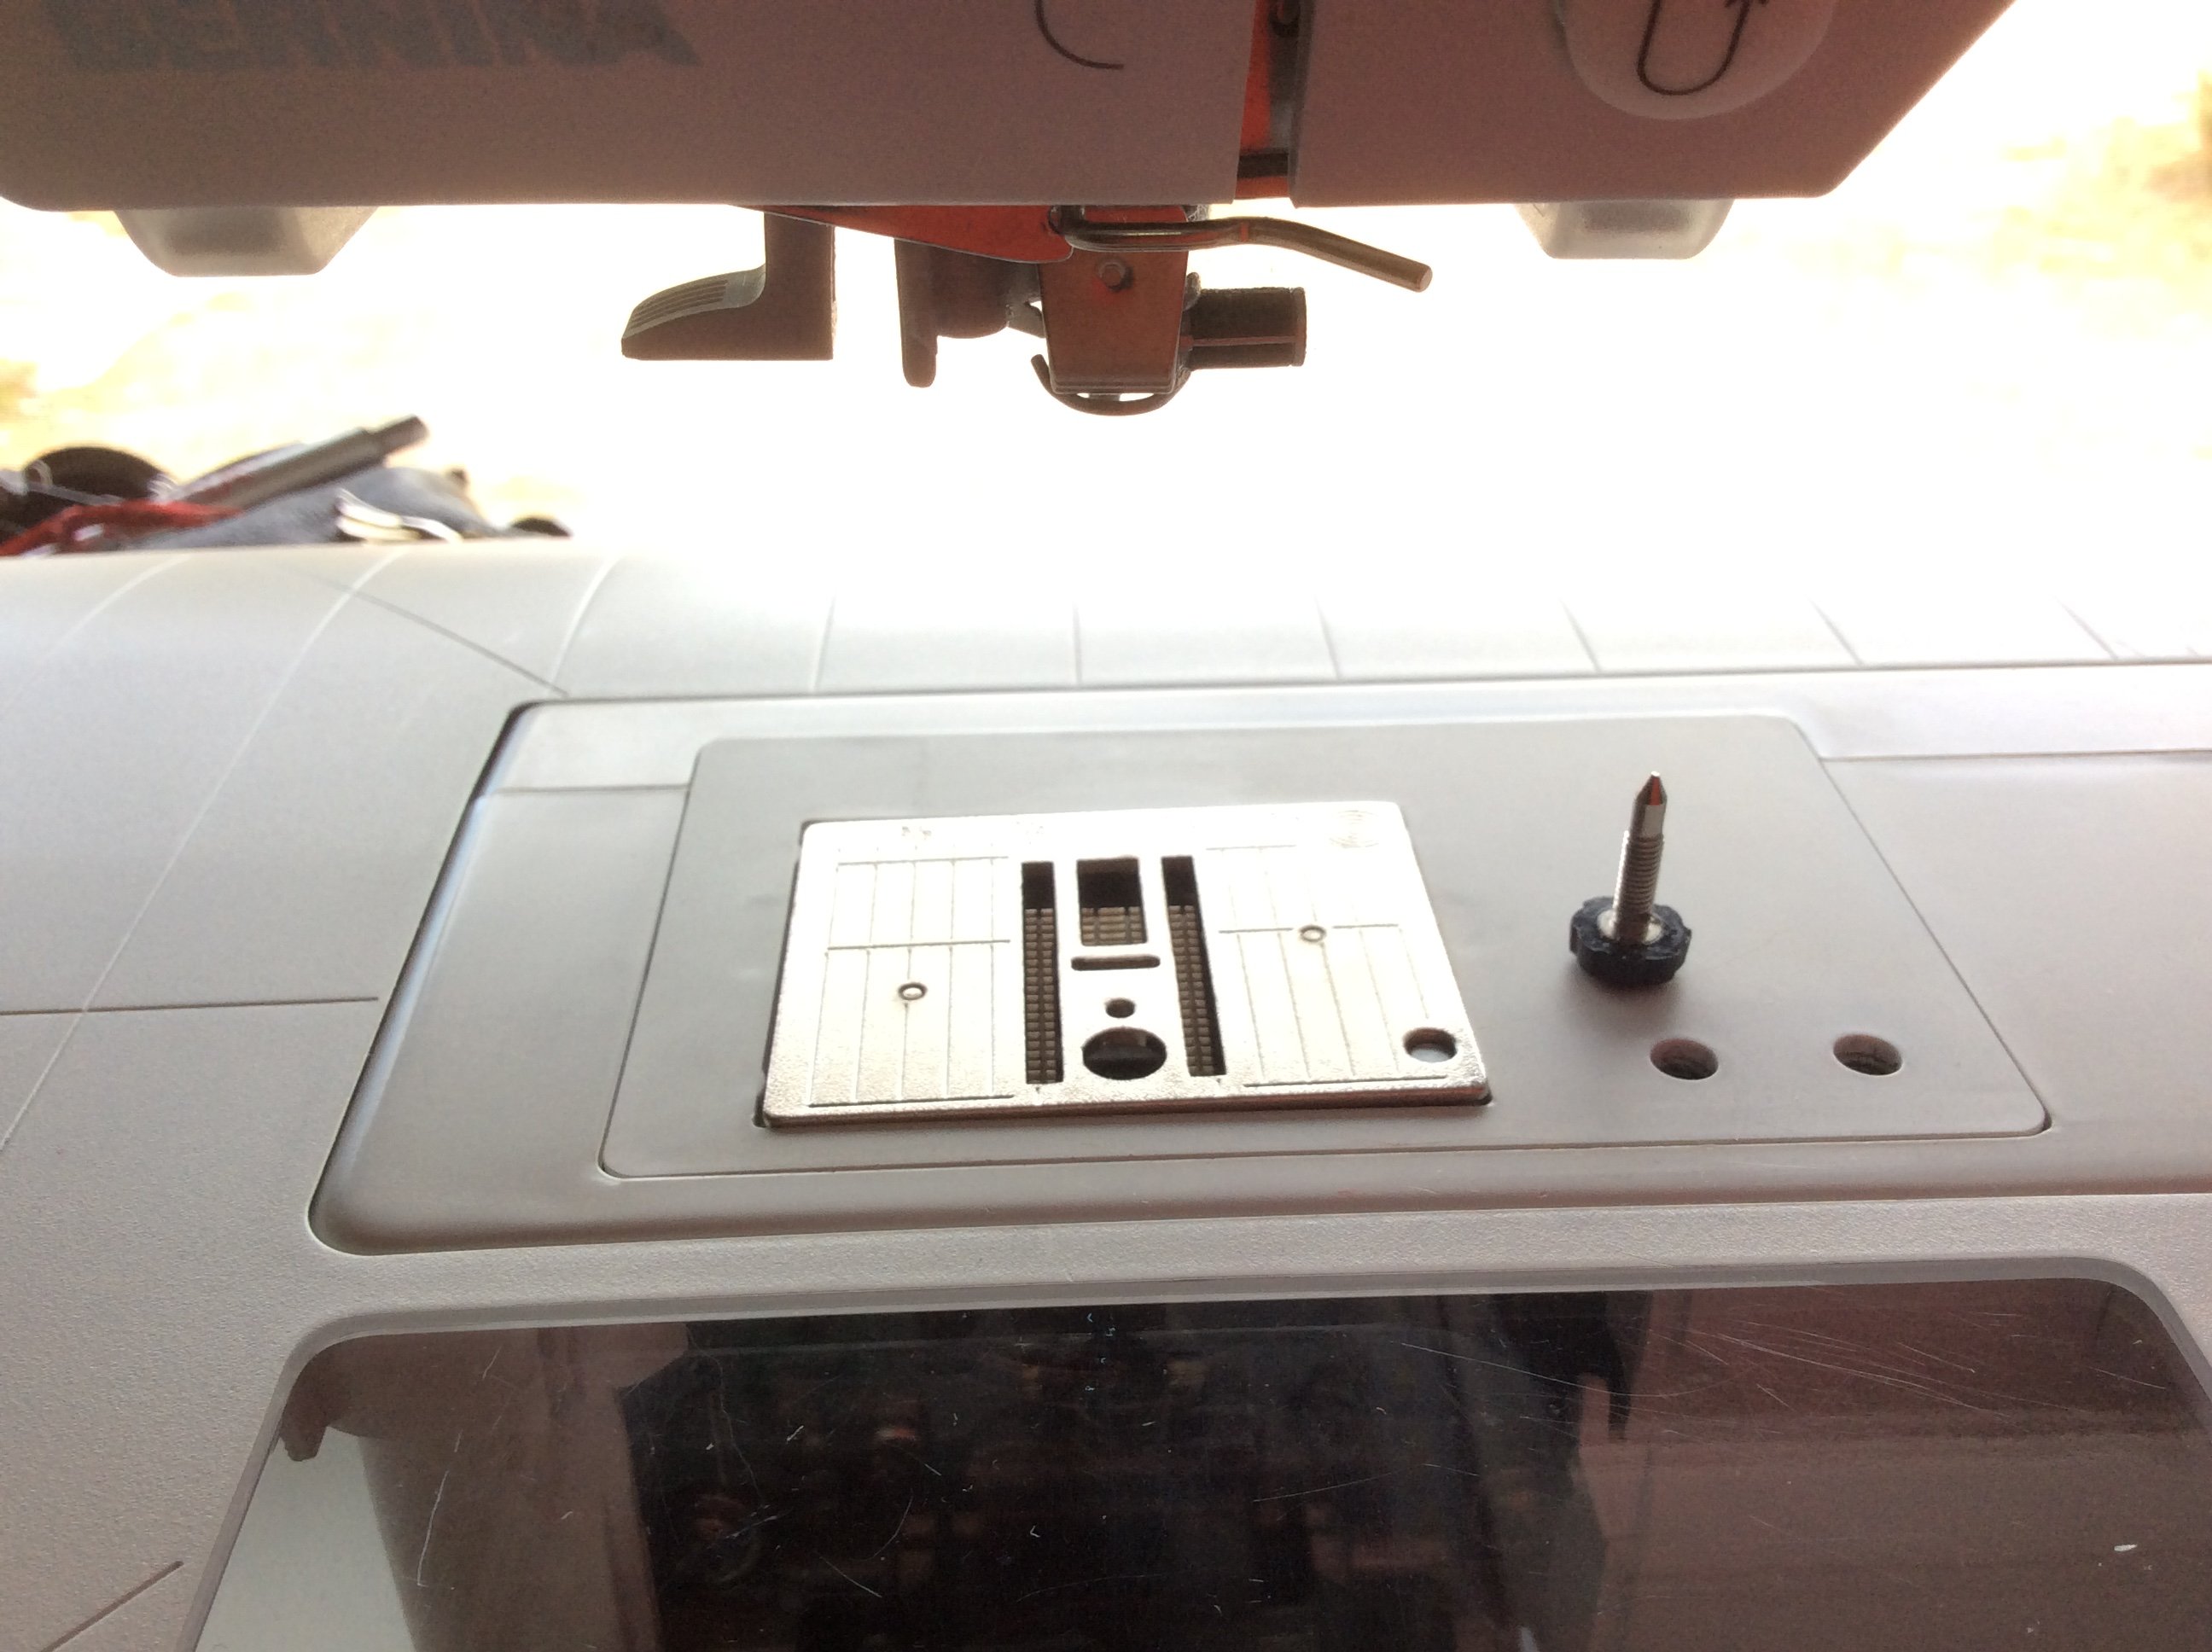
Attach the special needle plate, appropriate for your machine. At time of purchase, you nominate what plate you require. Additional plates are available if you have multiple machines. Attach the needle punch set and secure with the screw from the kit. Hand wheel to ensure the needles clear the hole in the plate.
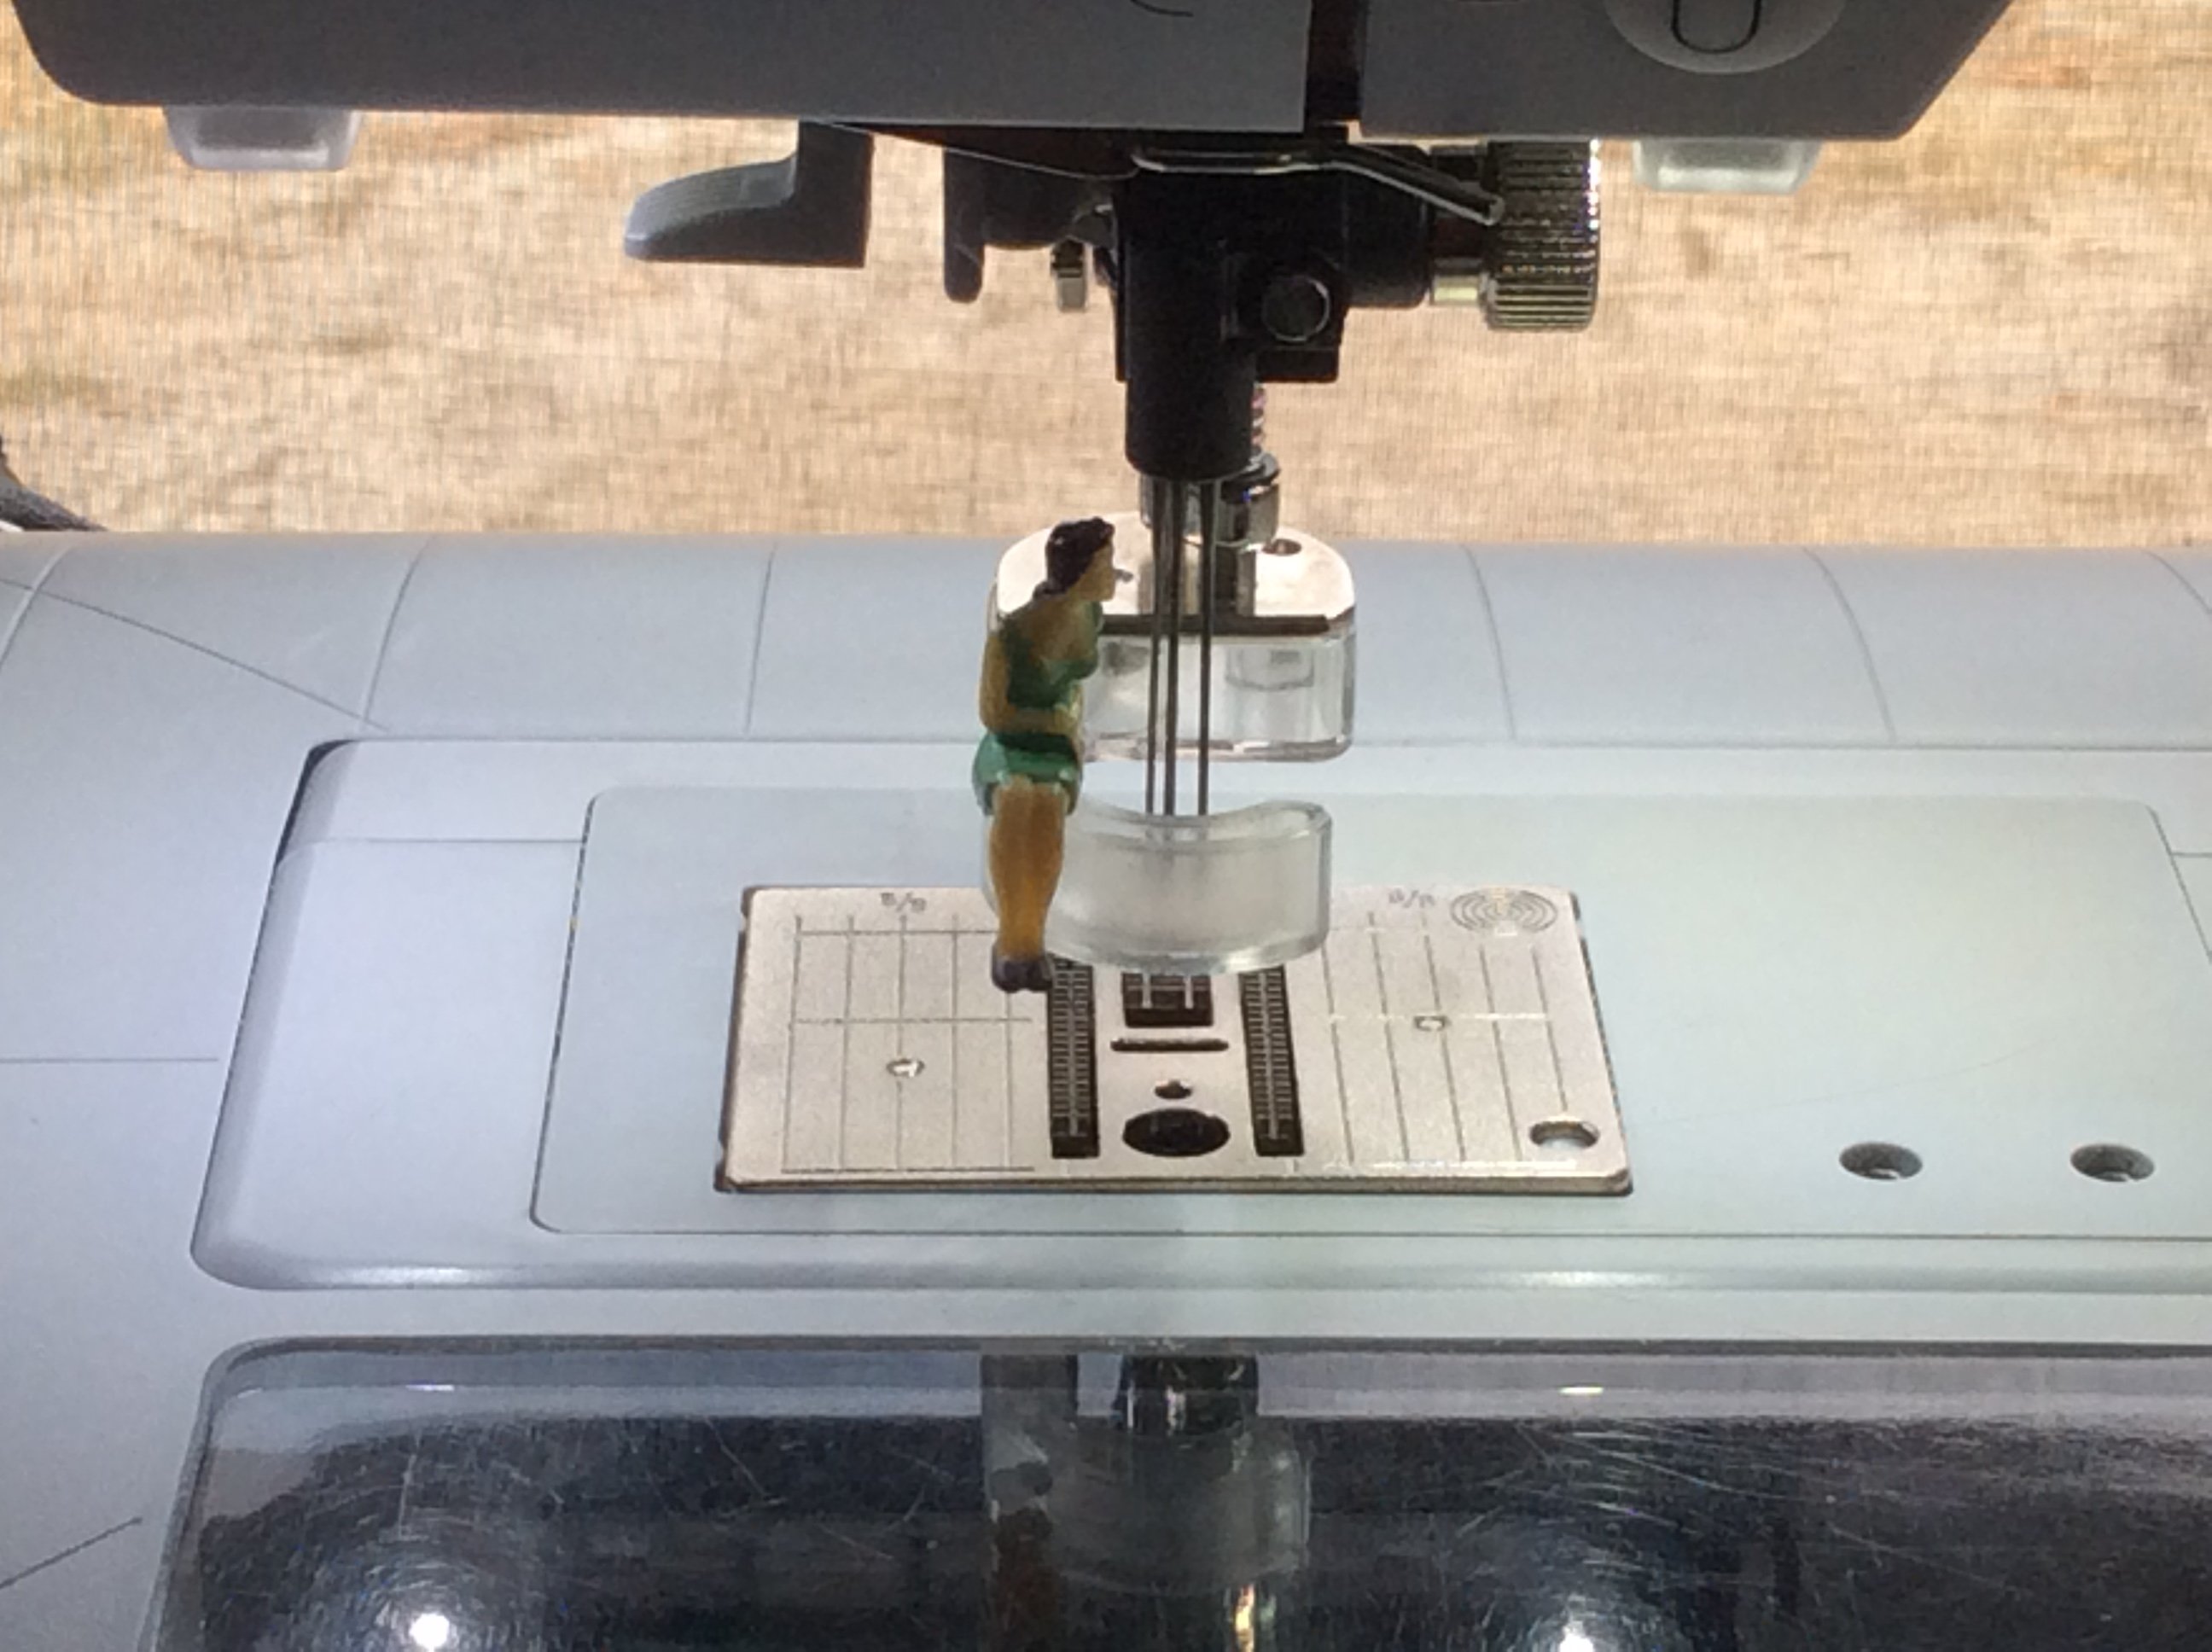
Attach Presser Foot from the kit (this is my little Sewing Gypsy sitting on the foot – she accompanies my machine everywhere – a true Bernina Fan!)
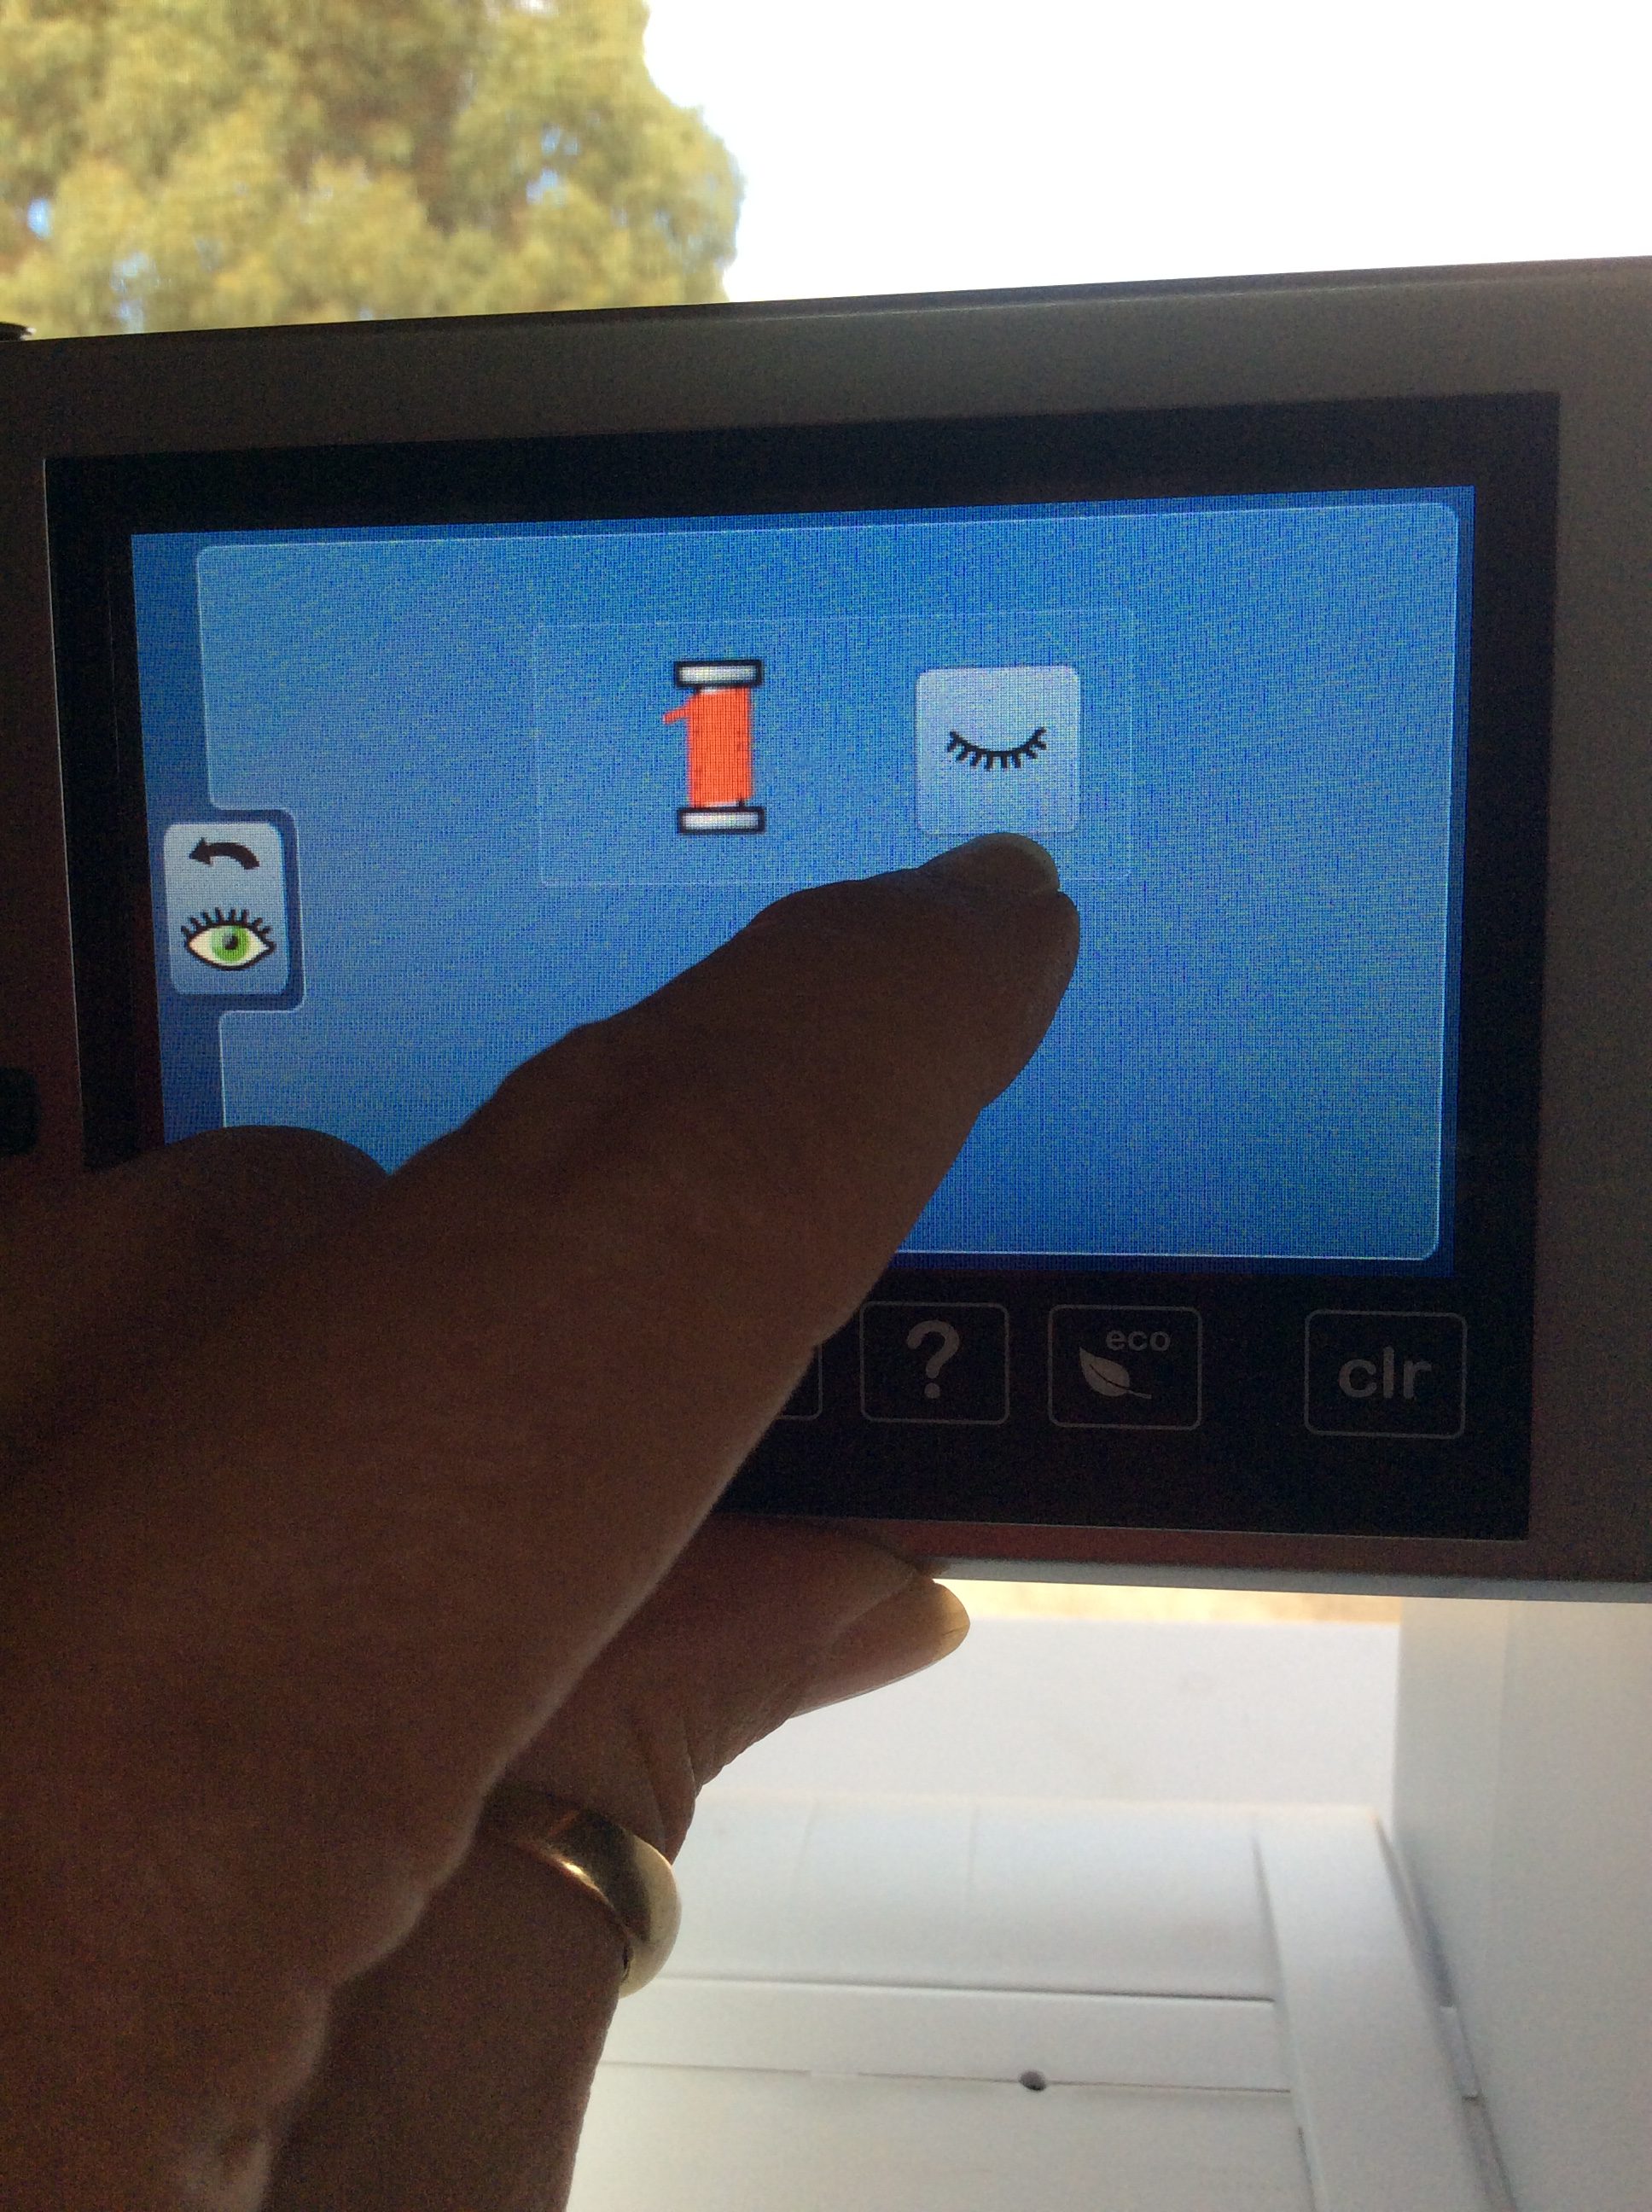
When Needle Punching, no upper or lower threads are used. Choose only straight stitch, with the feed dogs dropped … I ensure that I have my settings in the machine as ‘no upper thread sensor engaged’. I also select the Straight stitch plate in the settings so that there is no chance of needles hitting the plate.
I run the machine with the foot control for speed, when i am trialling yarns/roving. However, once the fibres are ‘tacked down’ and I begin the project in earnest, I engage the stop/start button to begin and end. The speed can be controlled via the Speed Selector on the head of the machine.
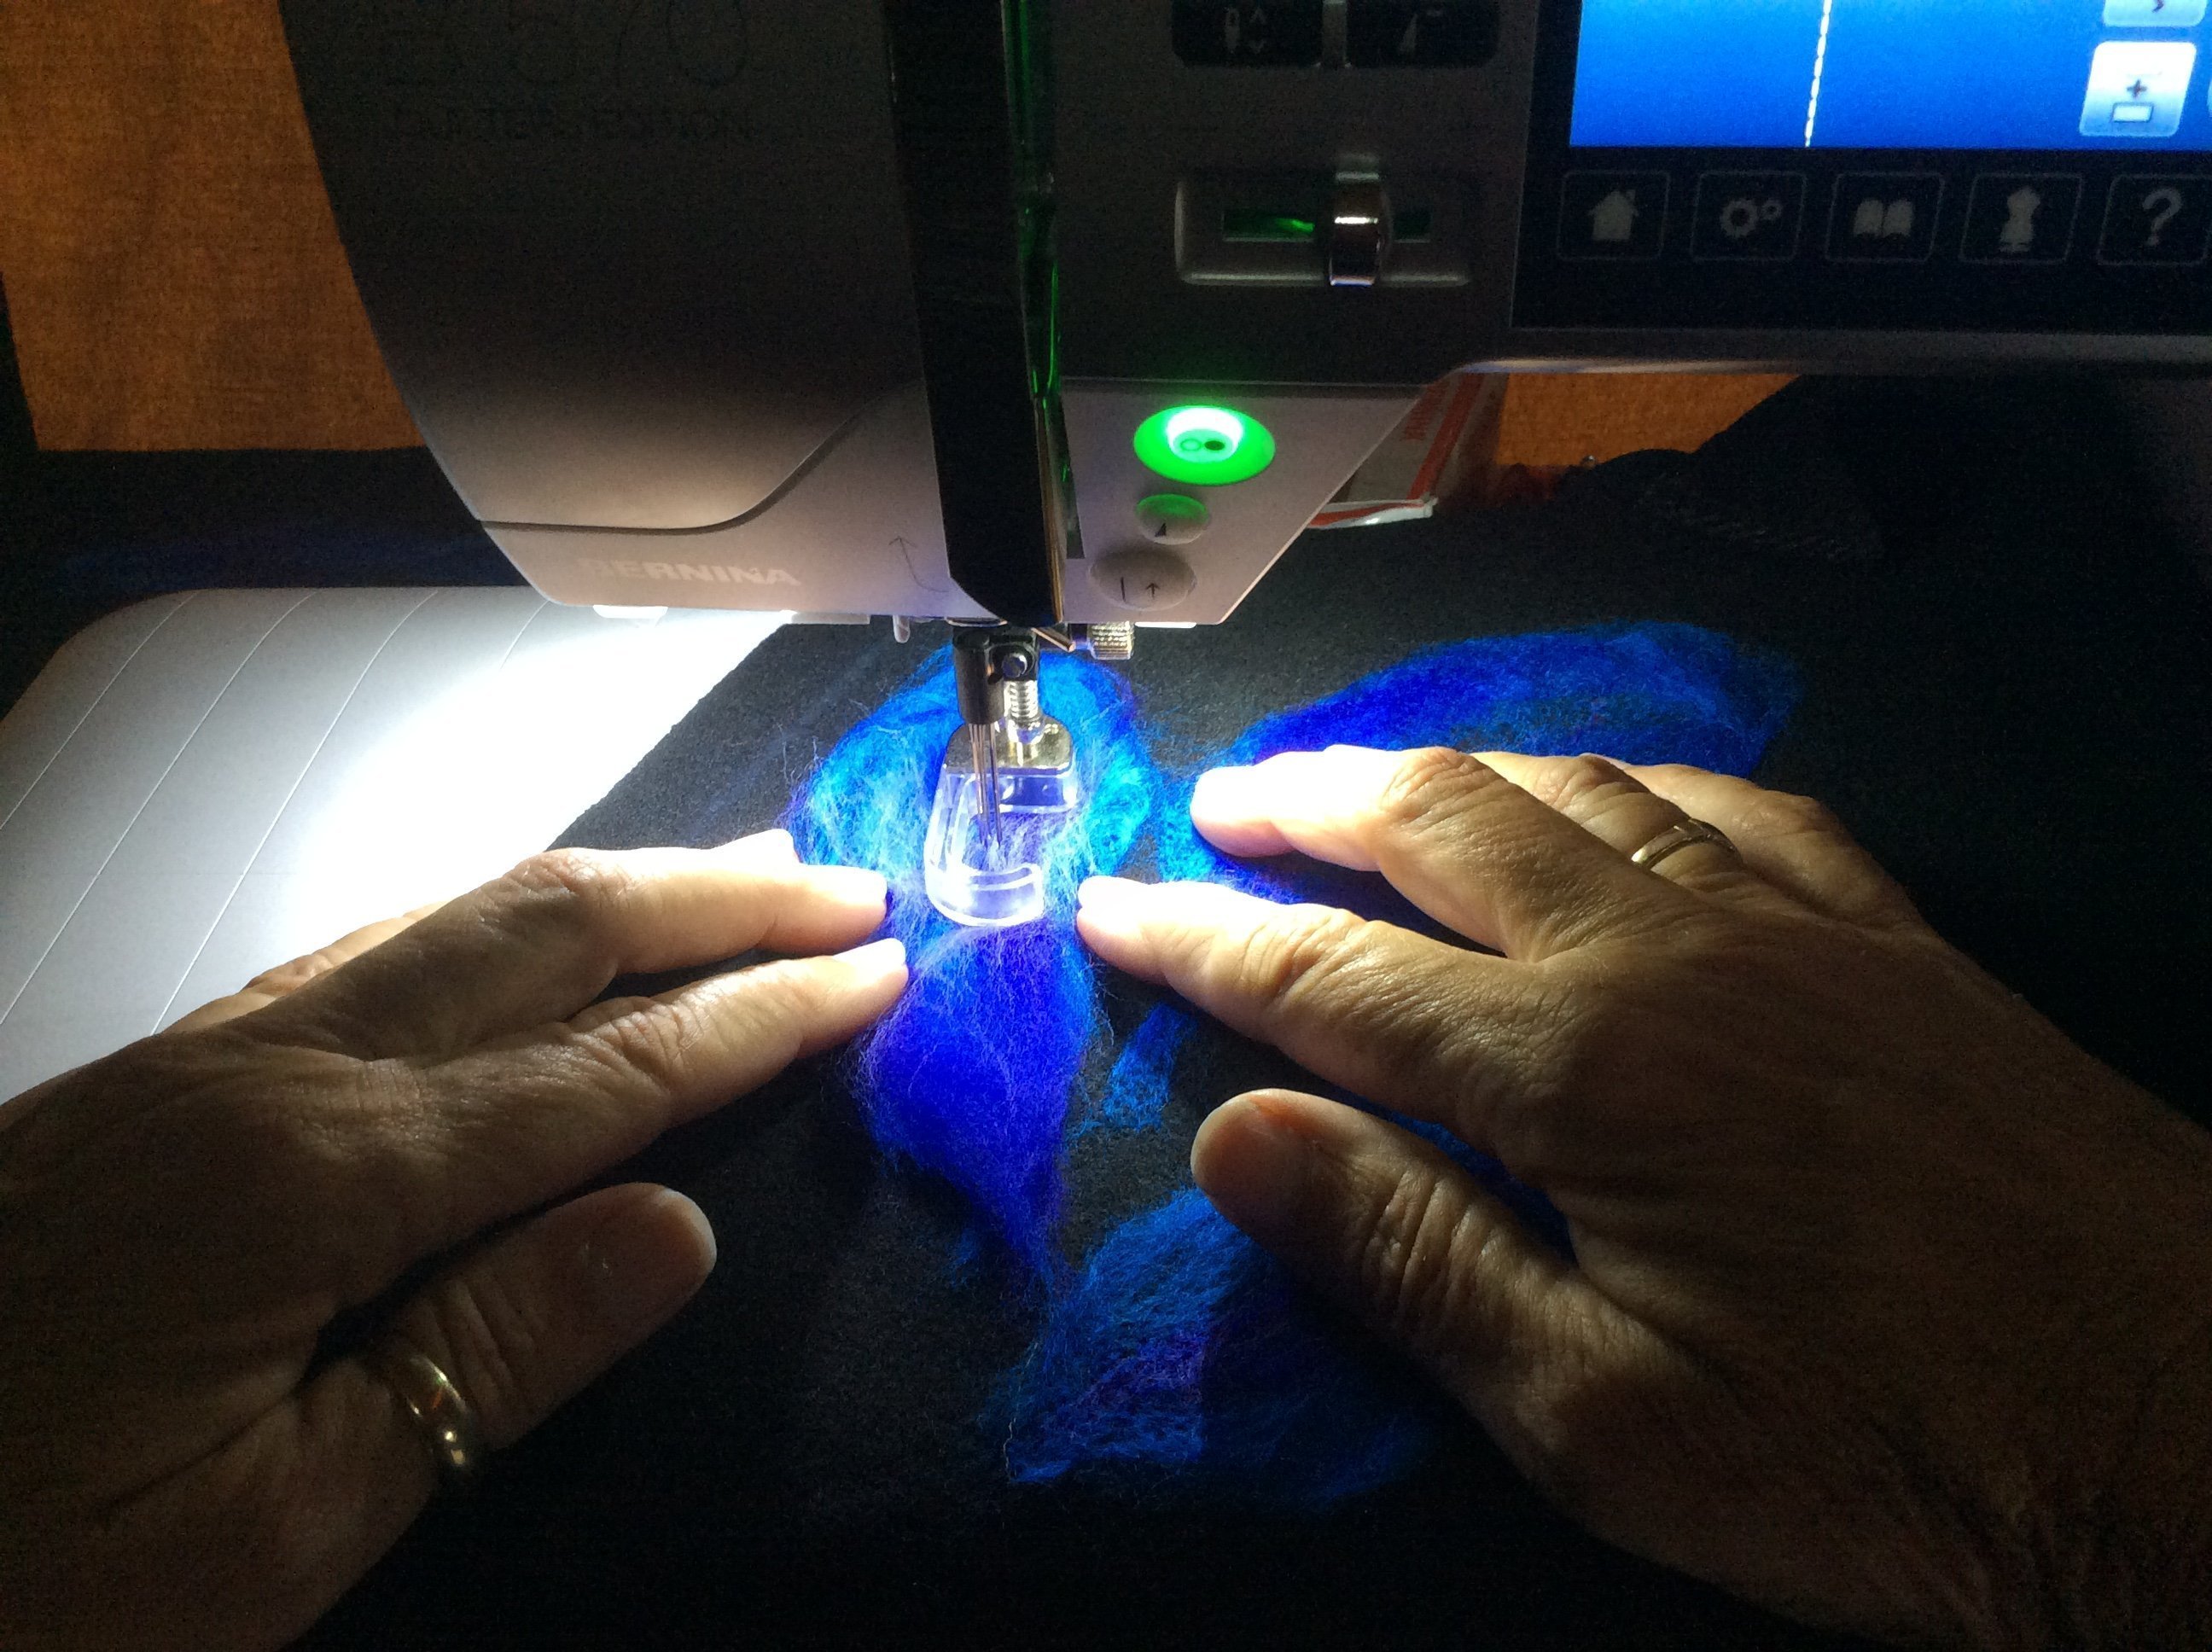
To begin ‘punching’, move slowly at the start to simply tack down the fibres, and then ‘needle punch’ them all over to secure them into the fabric.
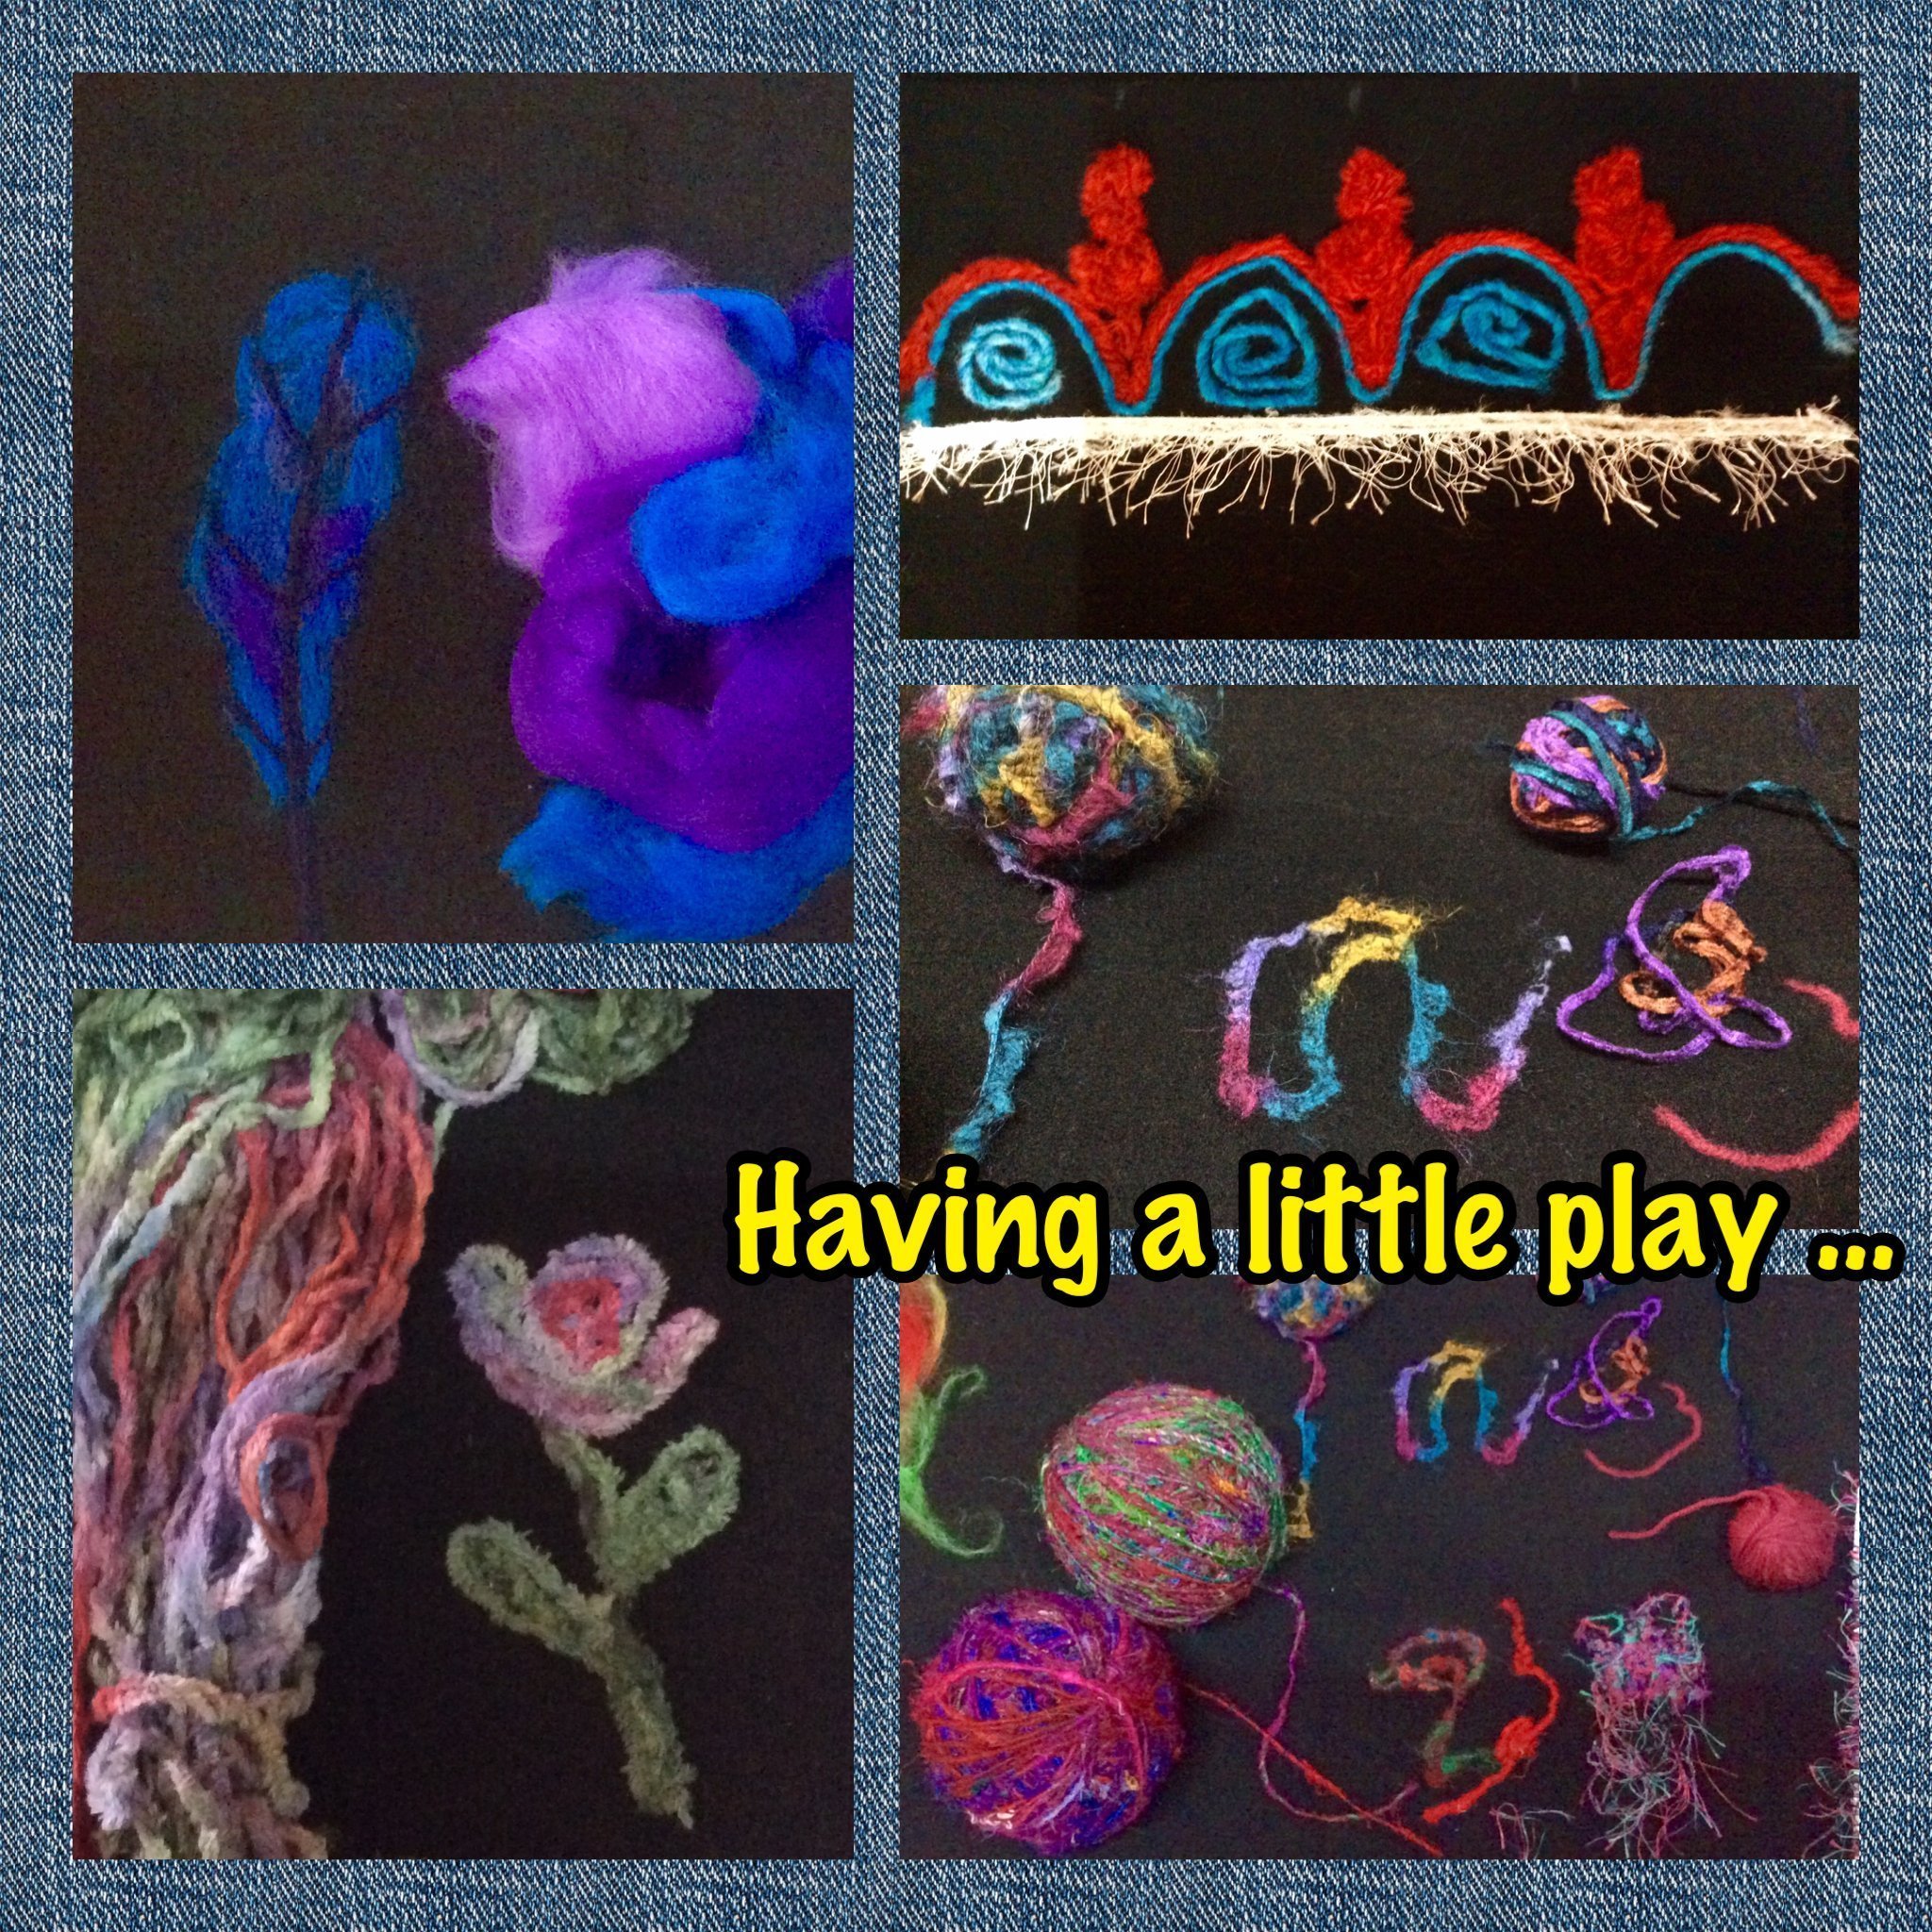
I had a real little play to start with … As you ‘punch’ the fibres are sent through to the back of the fabric and locked into place – second photo – on the front, you can see in this closeup, the needle marks as they ‘punched’ the fibres in – first photo … so now the fun begins … machine all set up, and working lovely!!
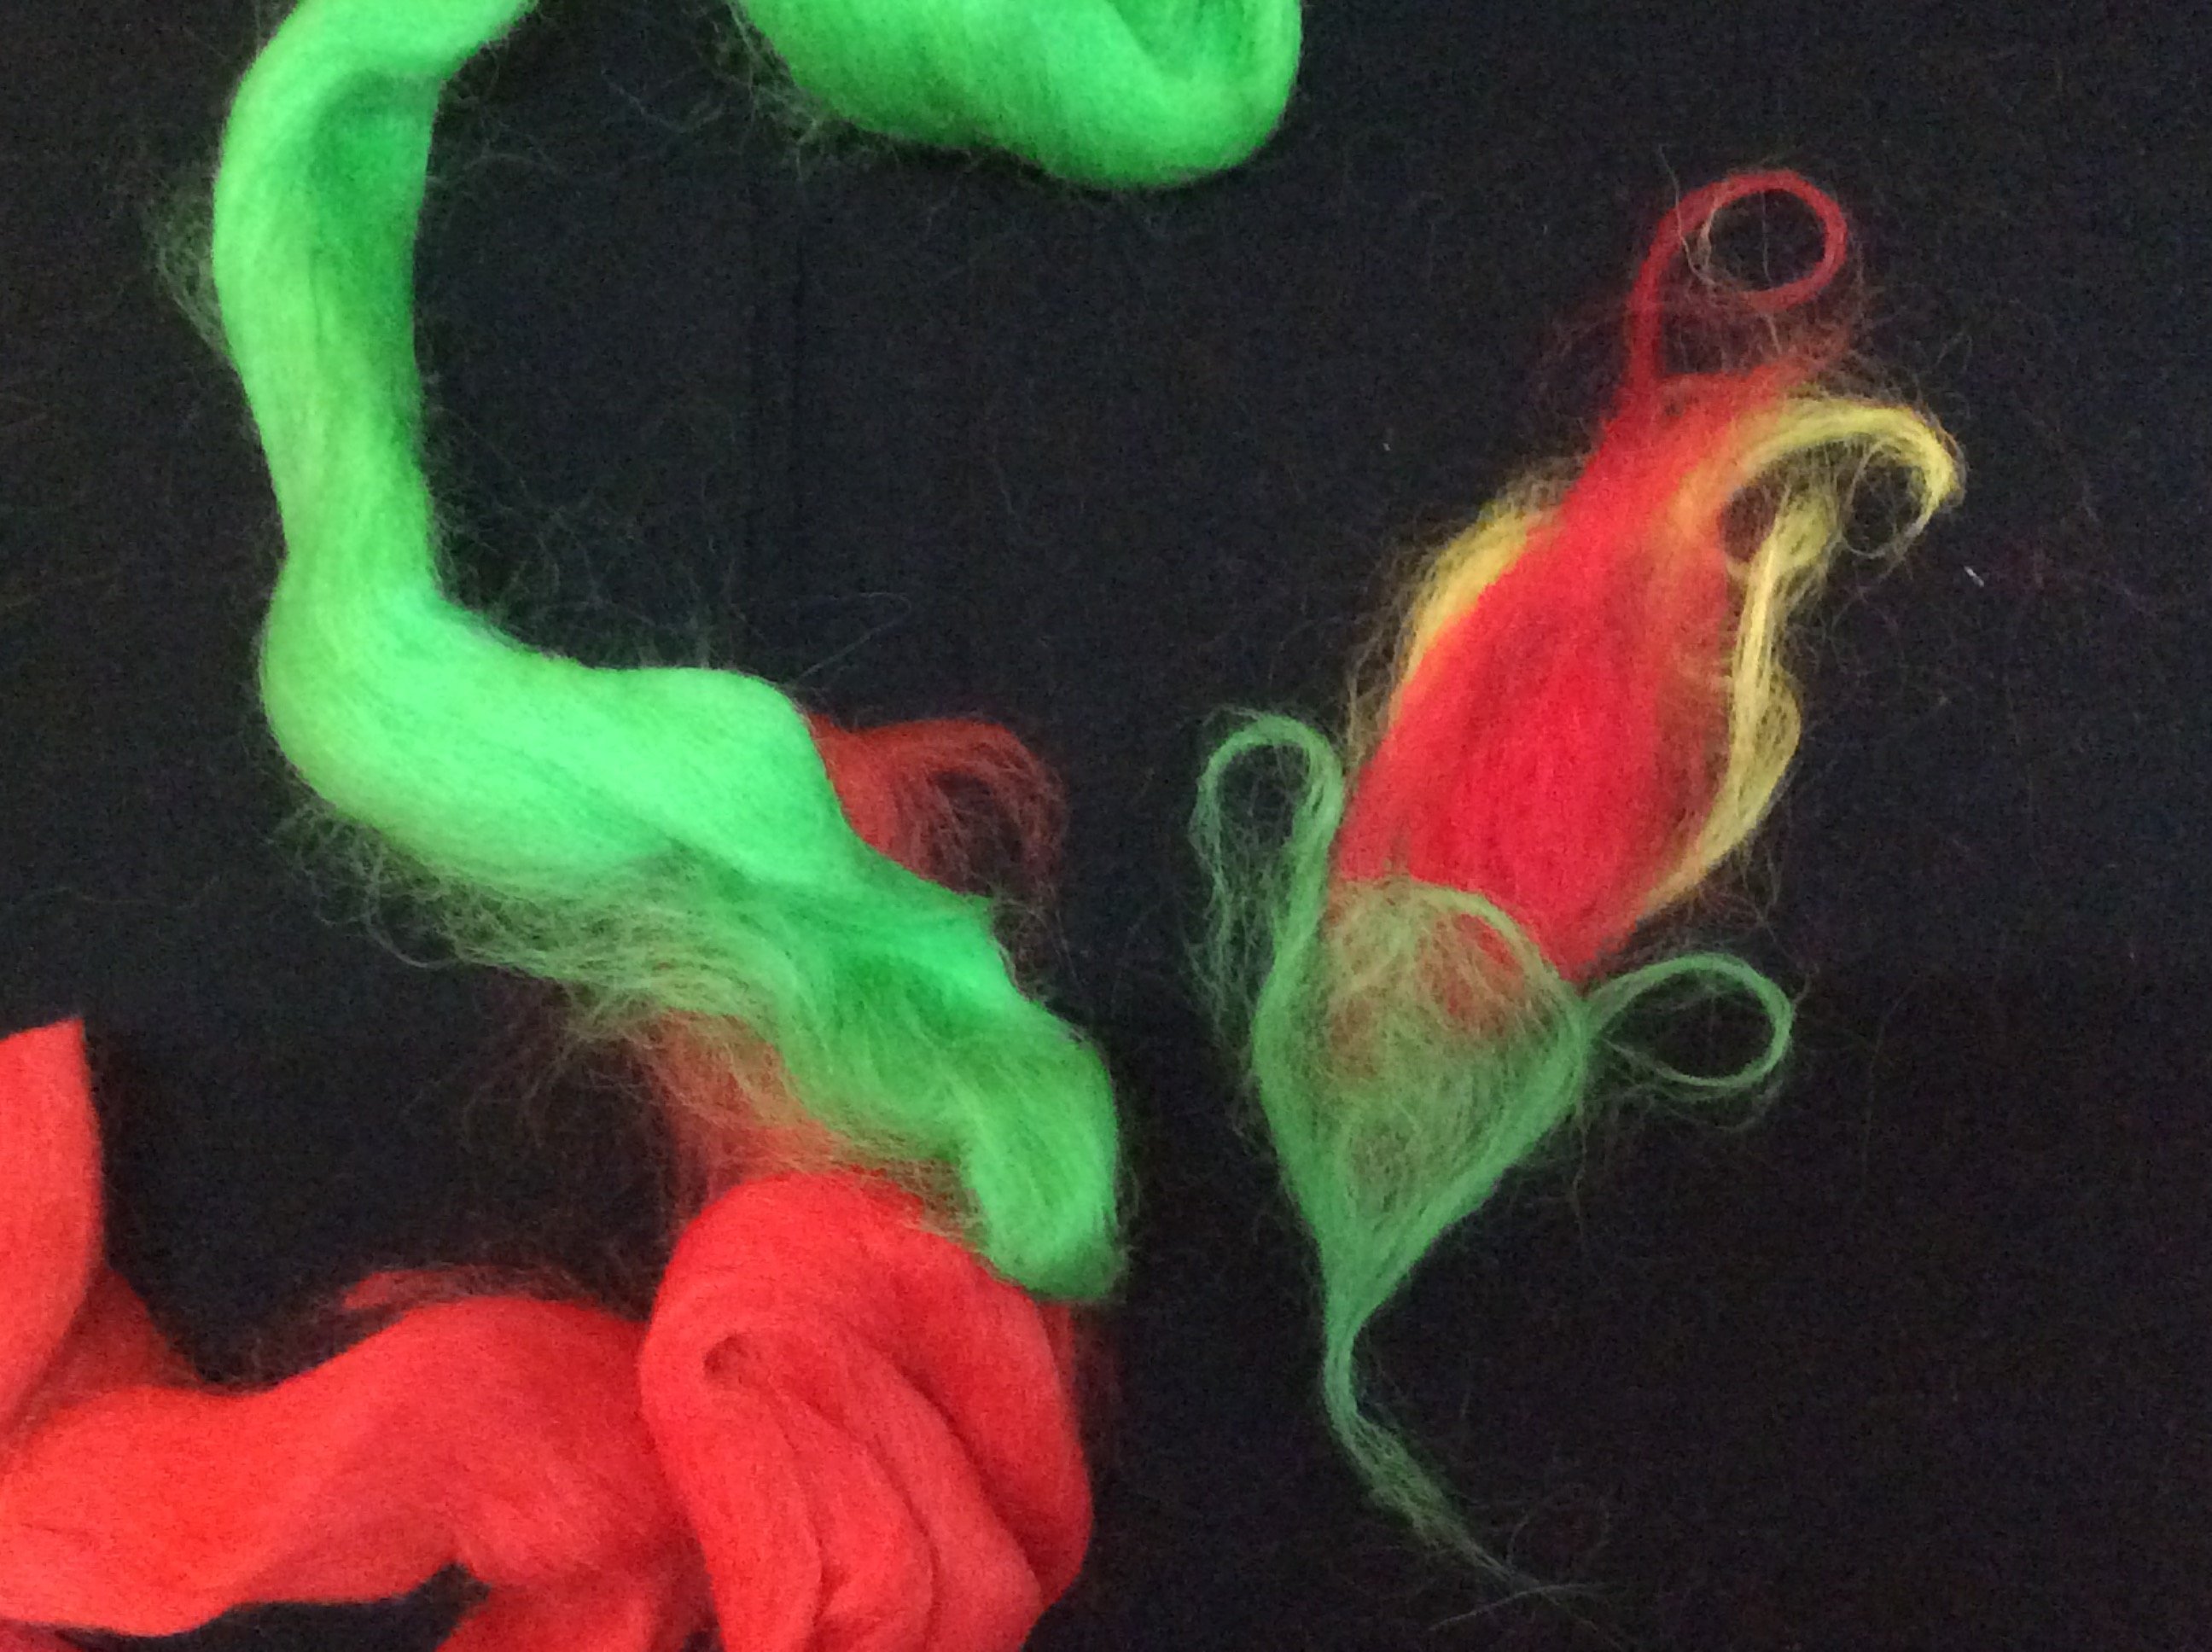

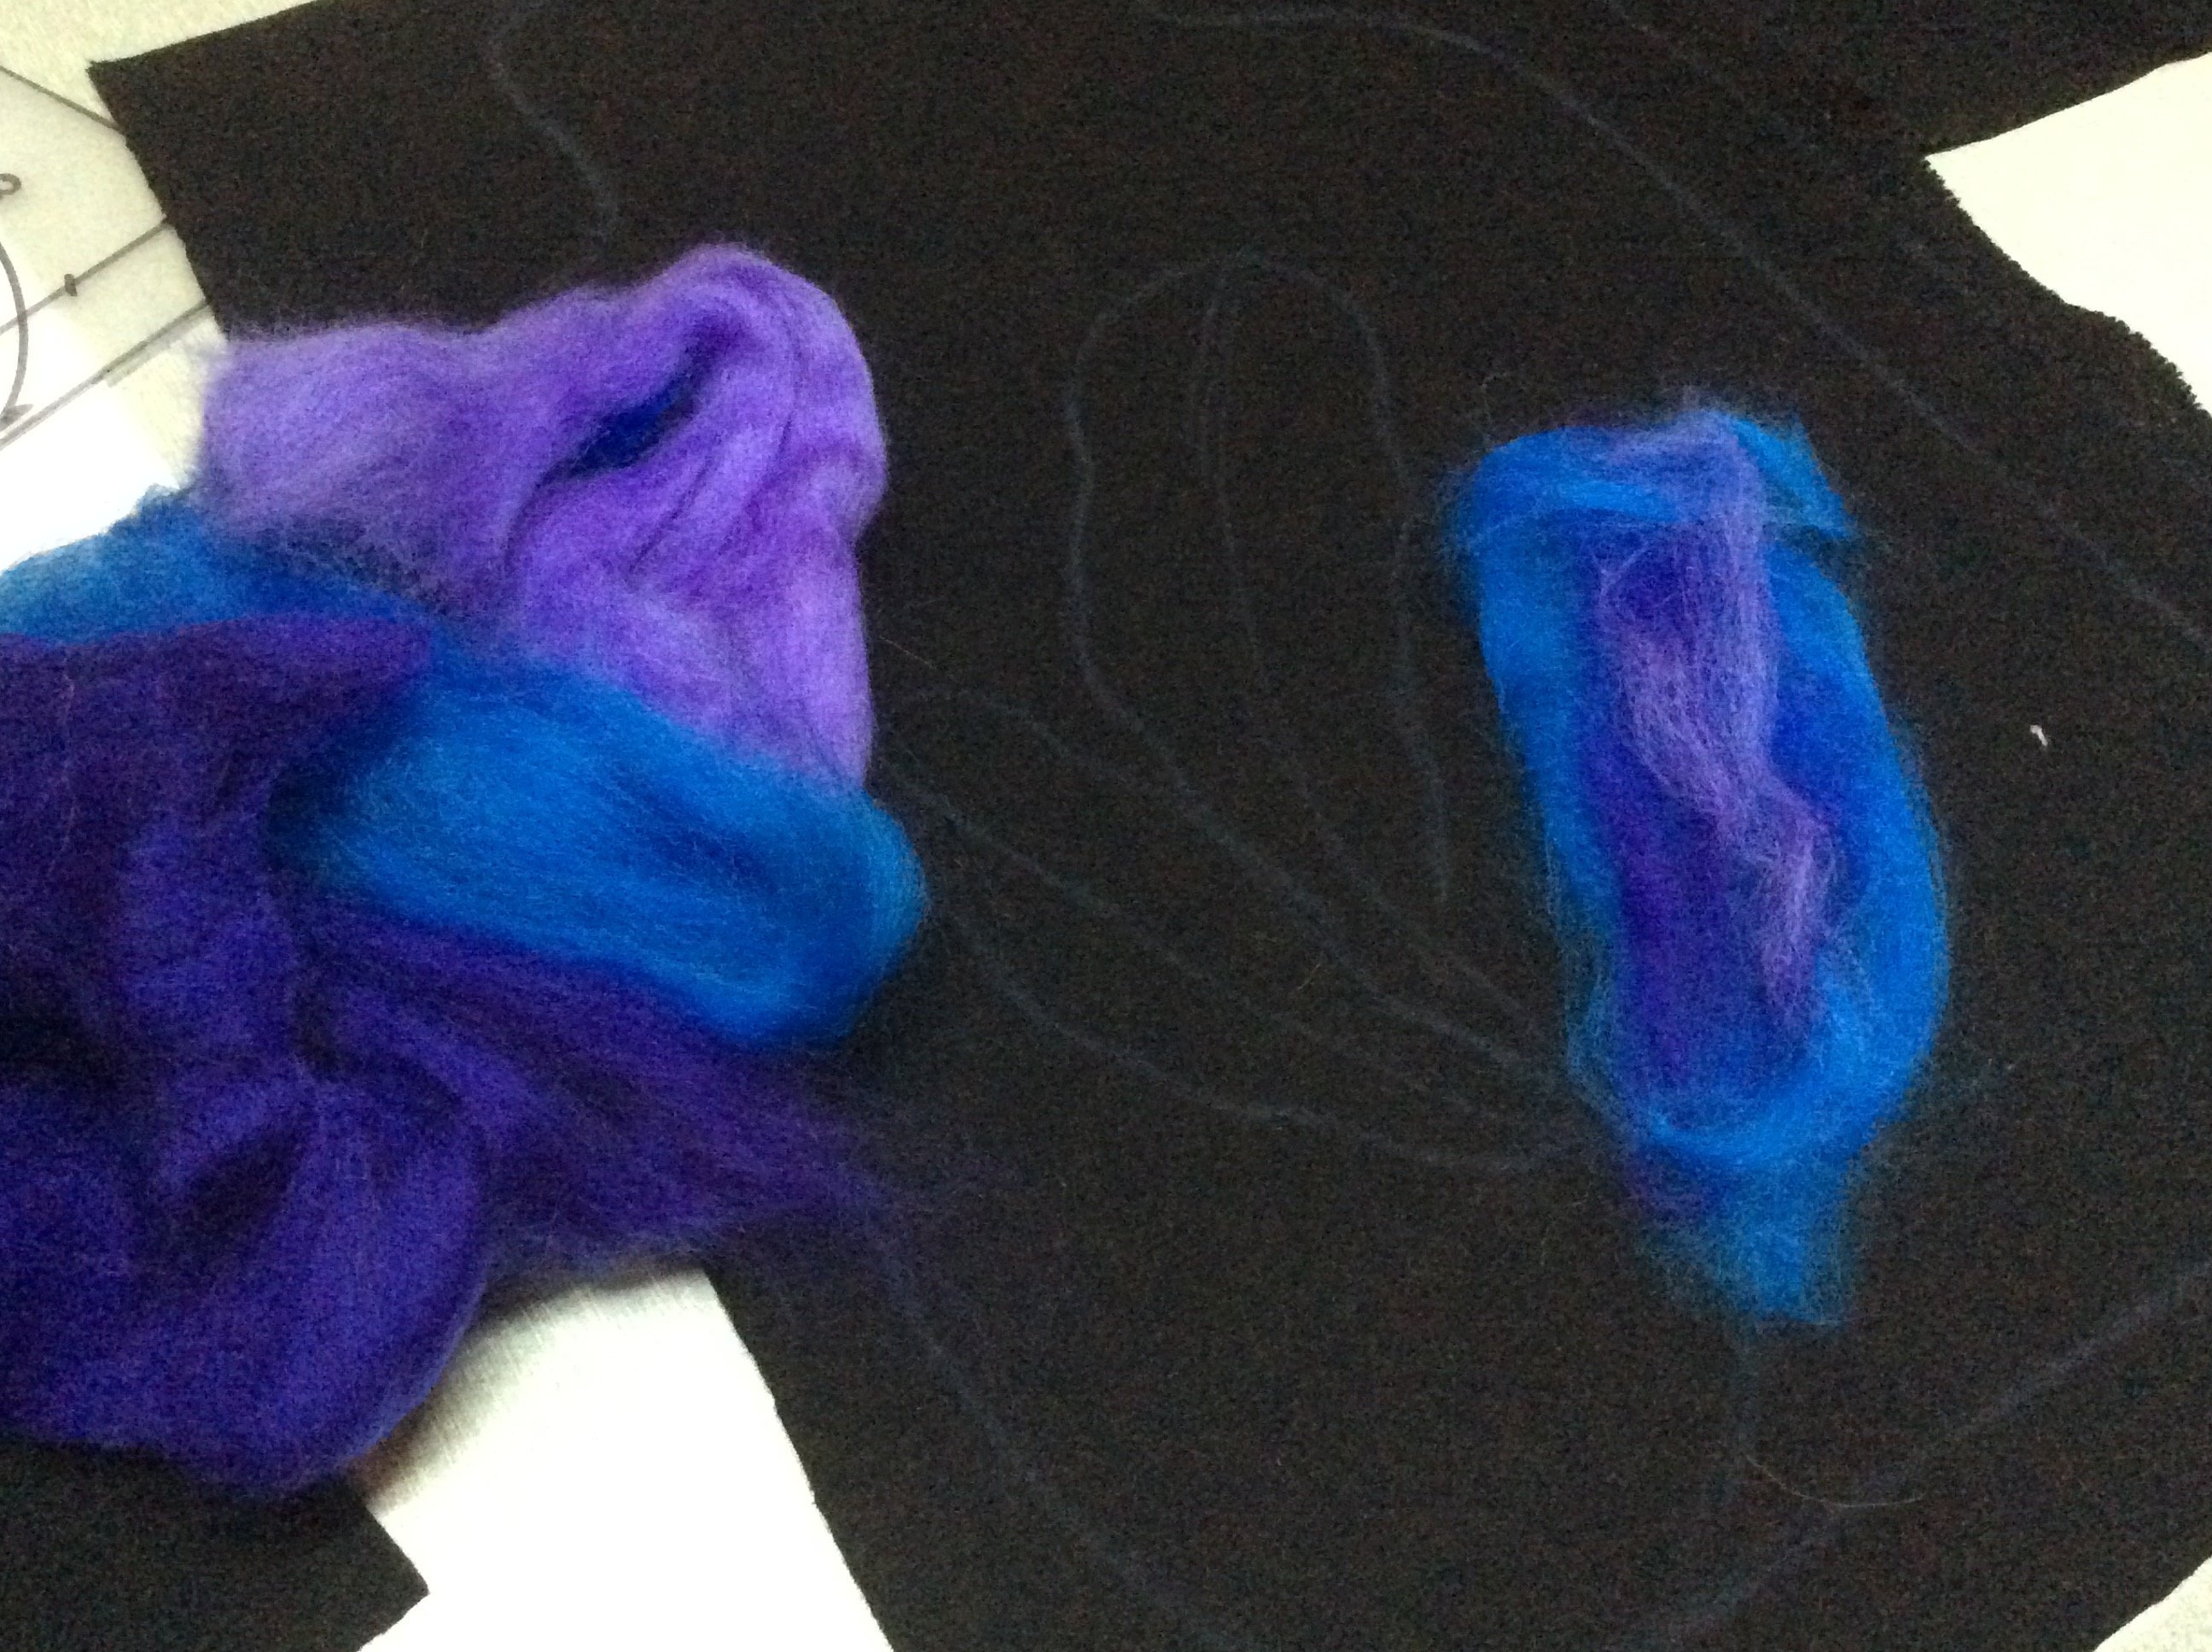
This is the little flower I created using the 100% Wool Roving (C) – #1 pic is laid out ready to ‘punch’, #2 is front of ‘punching’, #3 is back of ‘punching’ … I do more ‘punching’ to embed the fibres on actual projects … I was happy with the finish using these fibres.
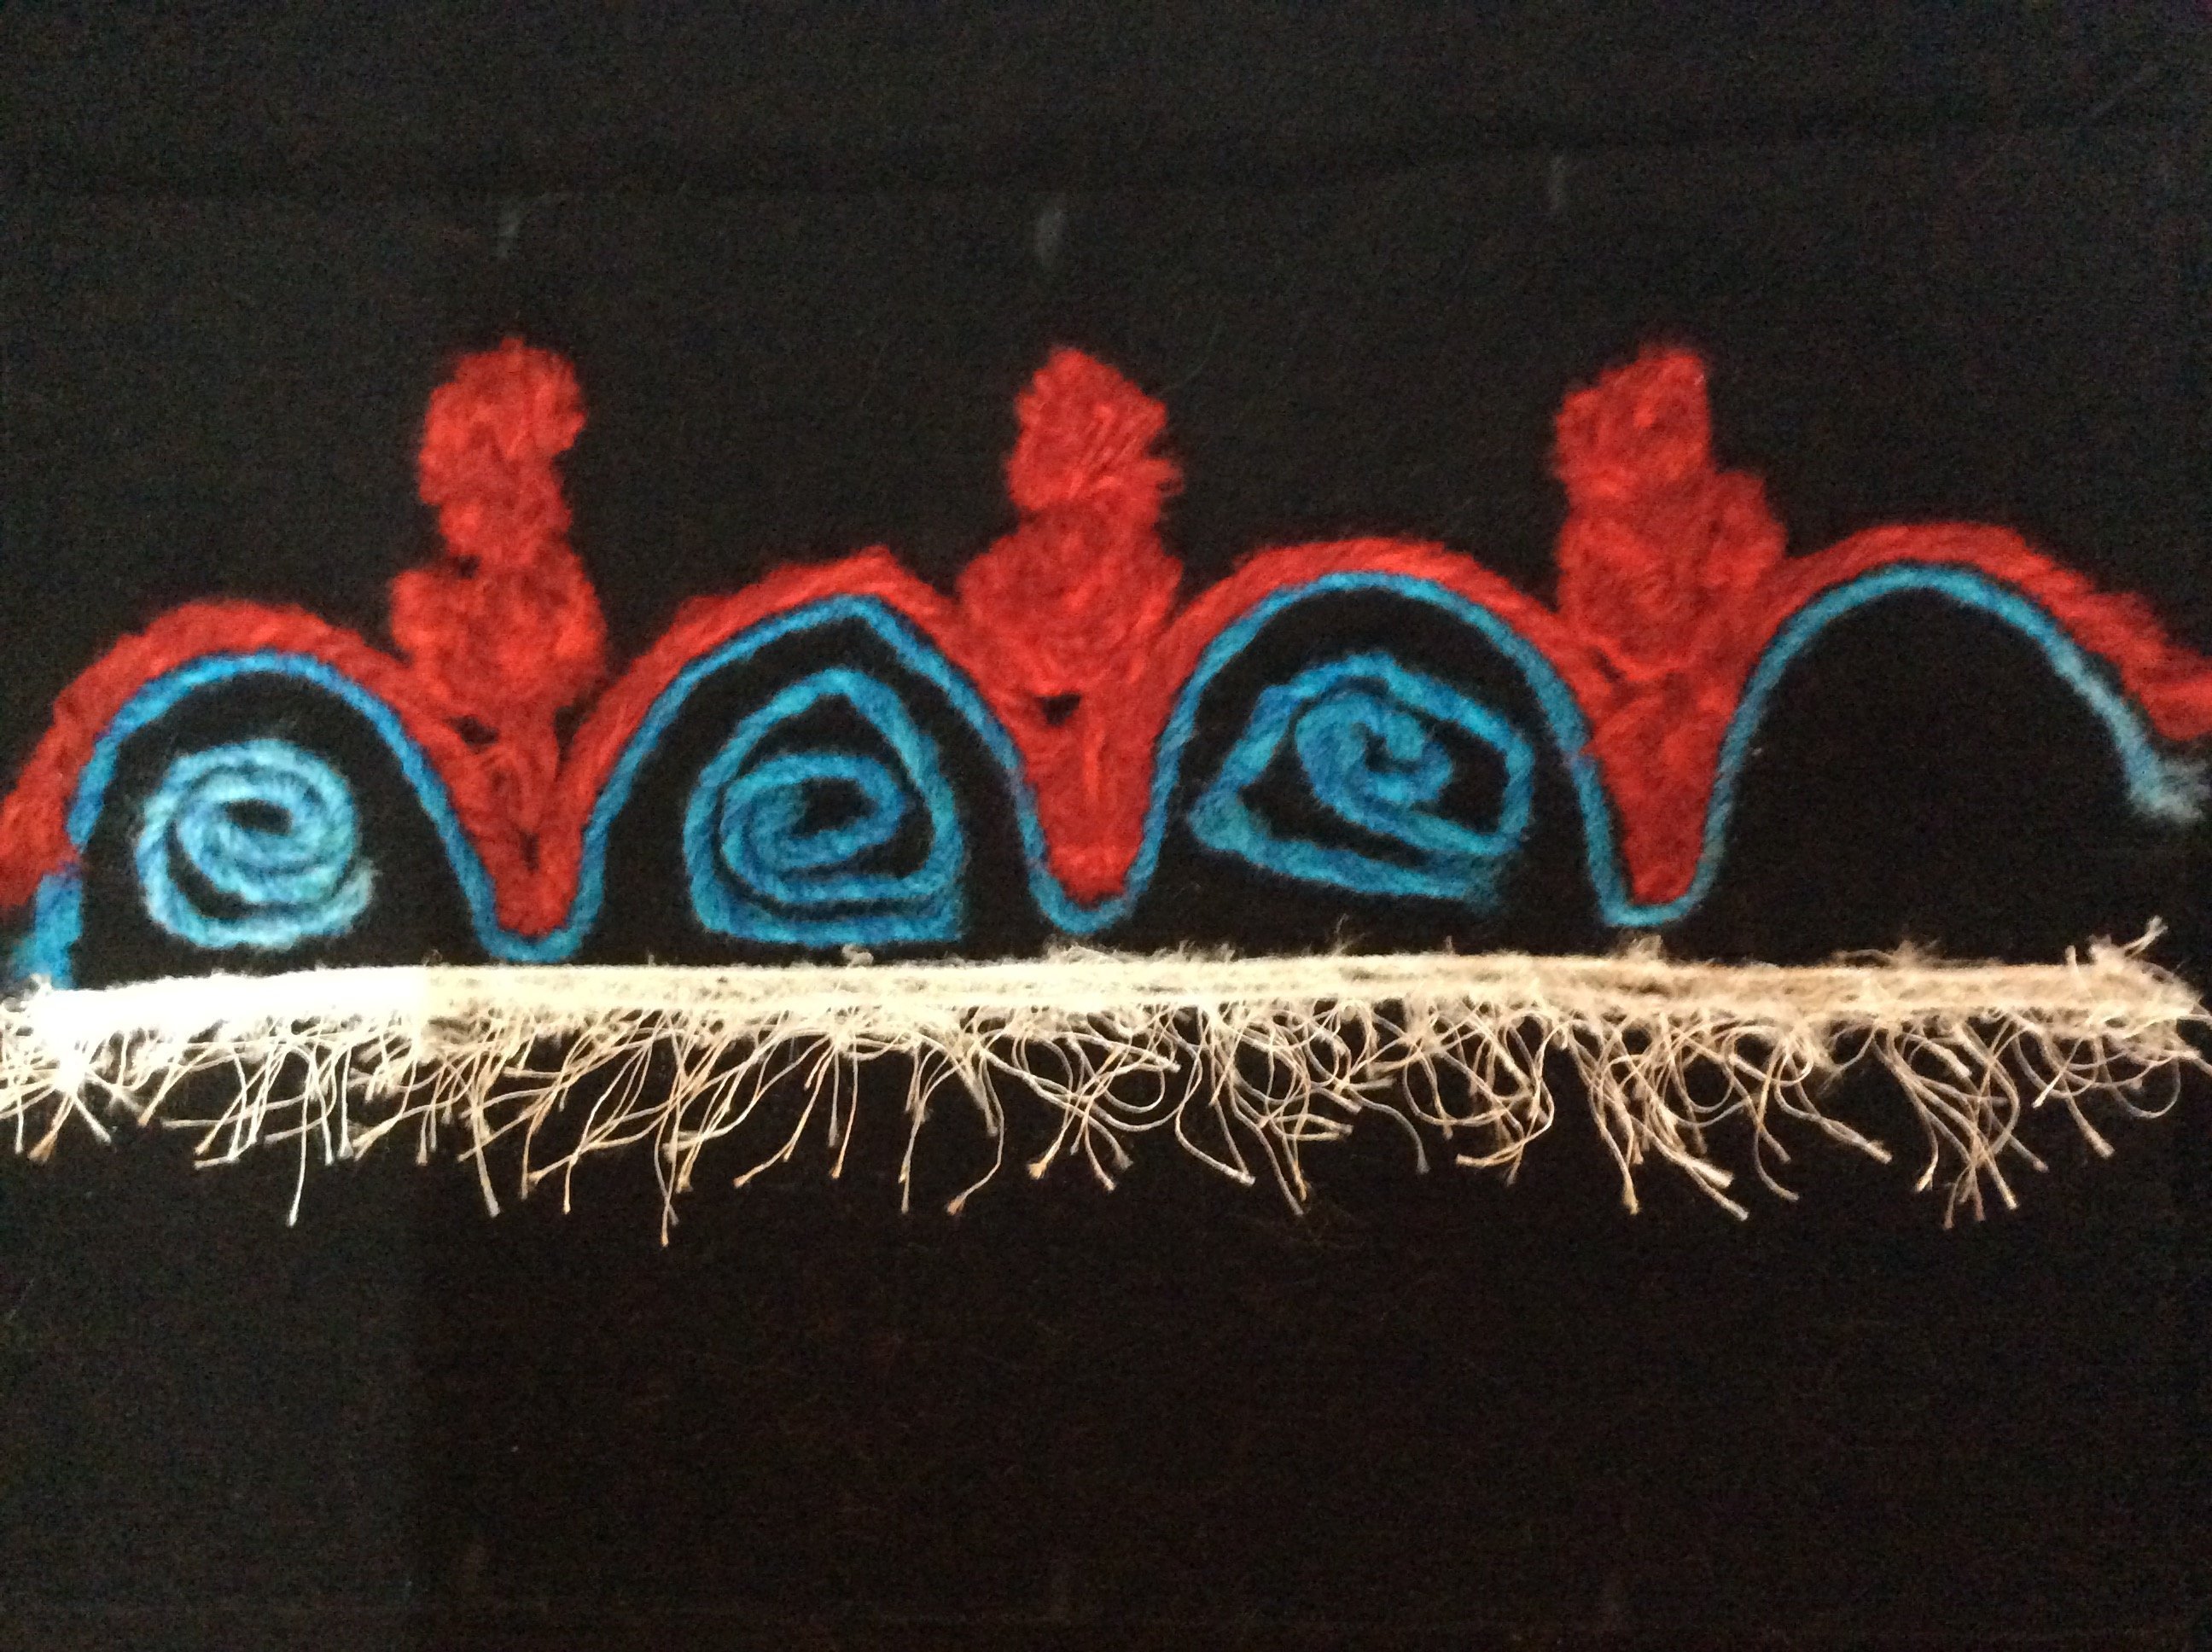
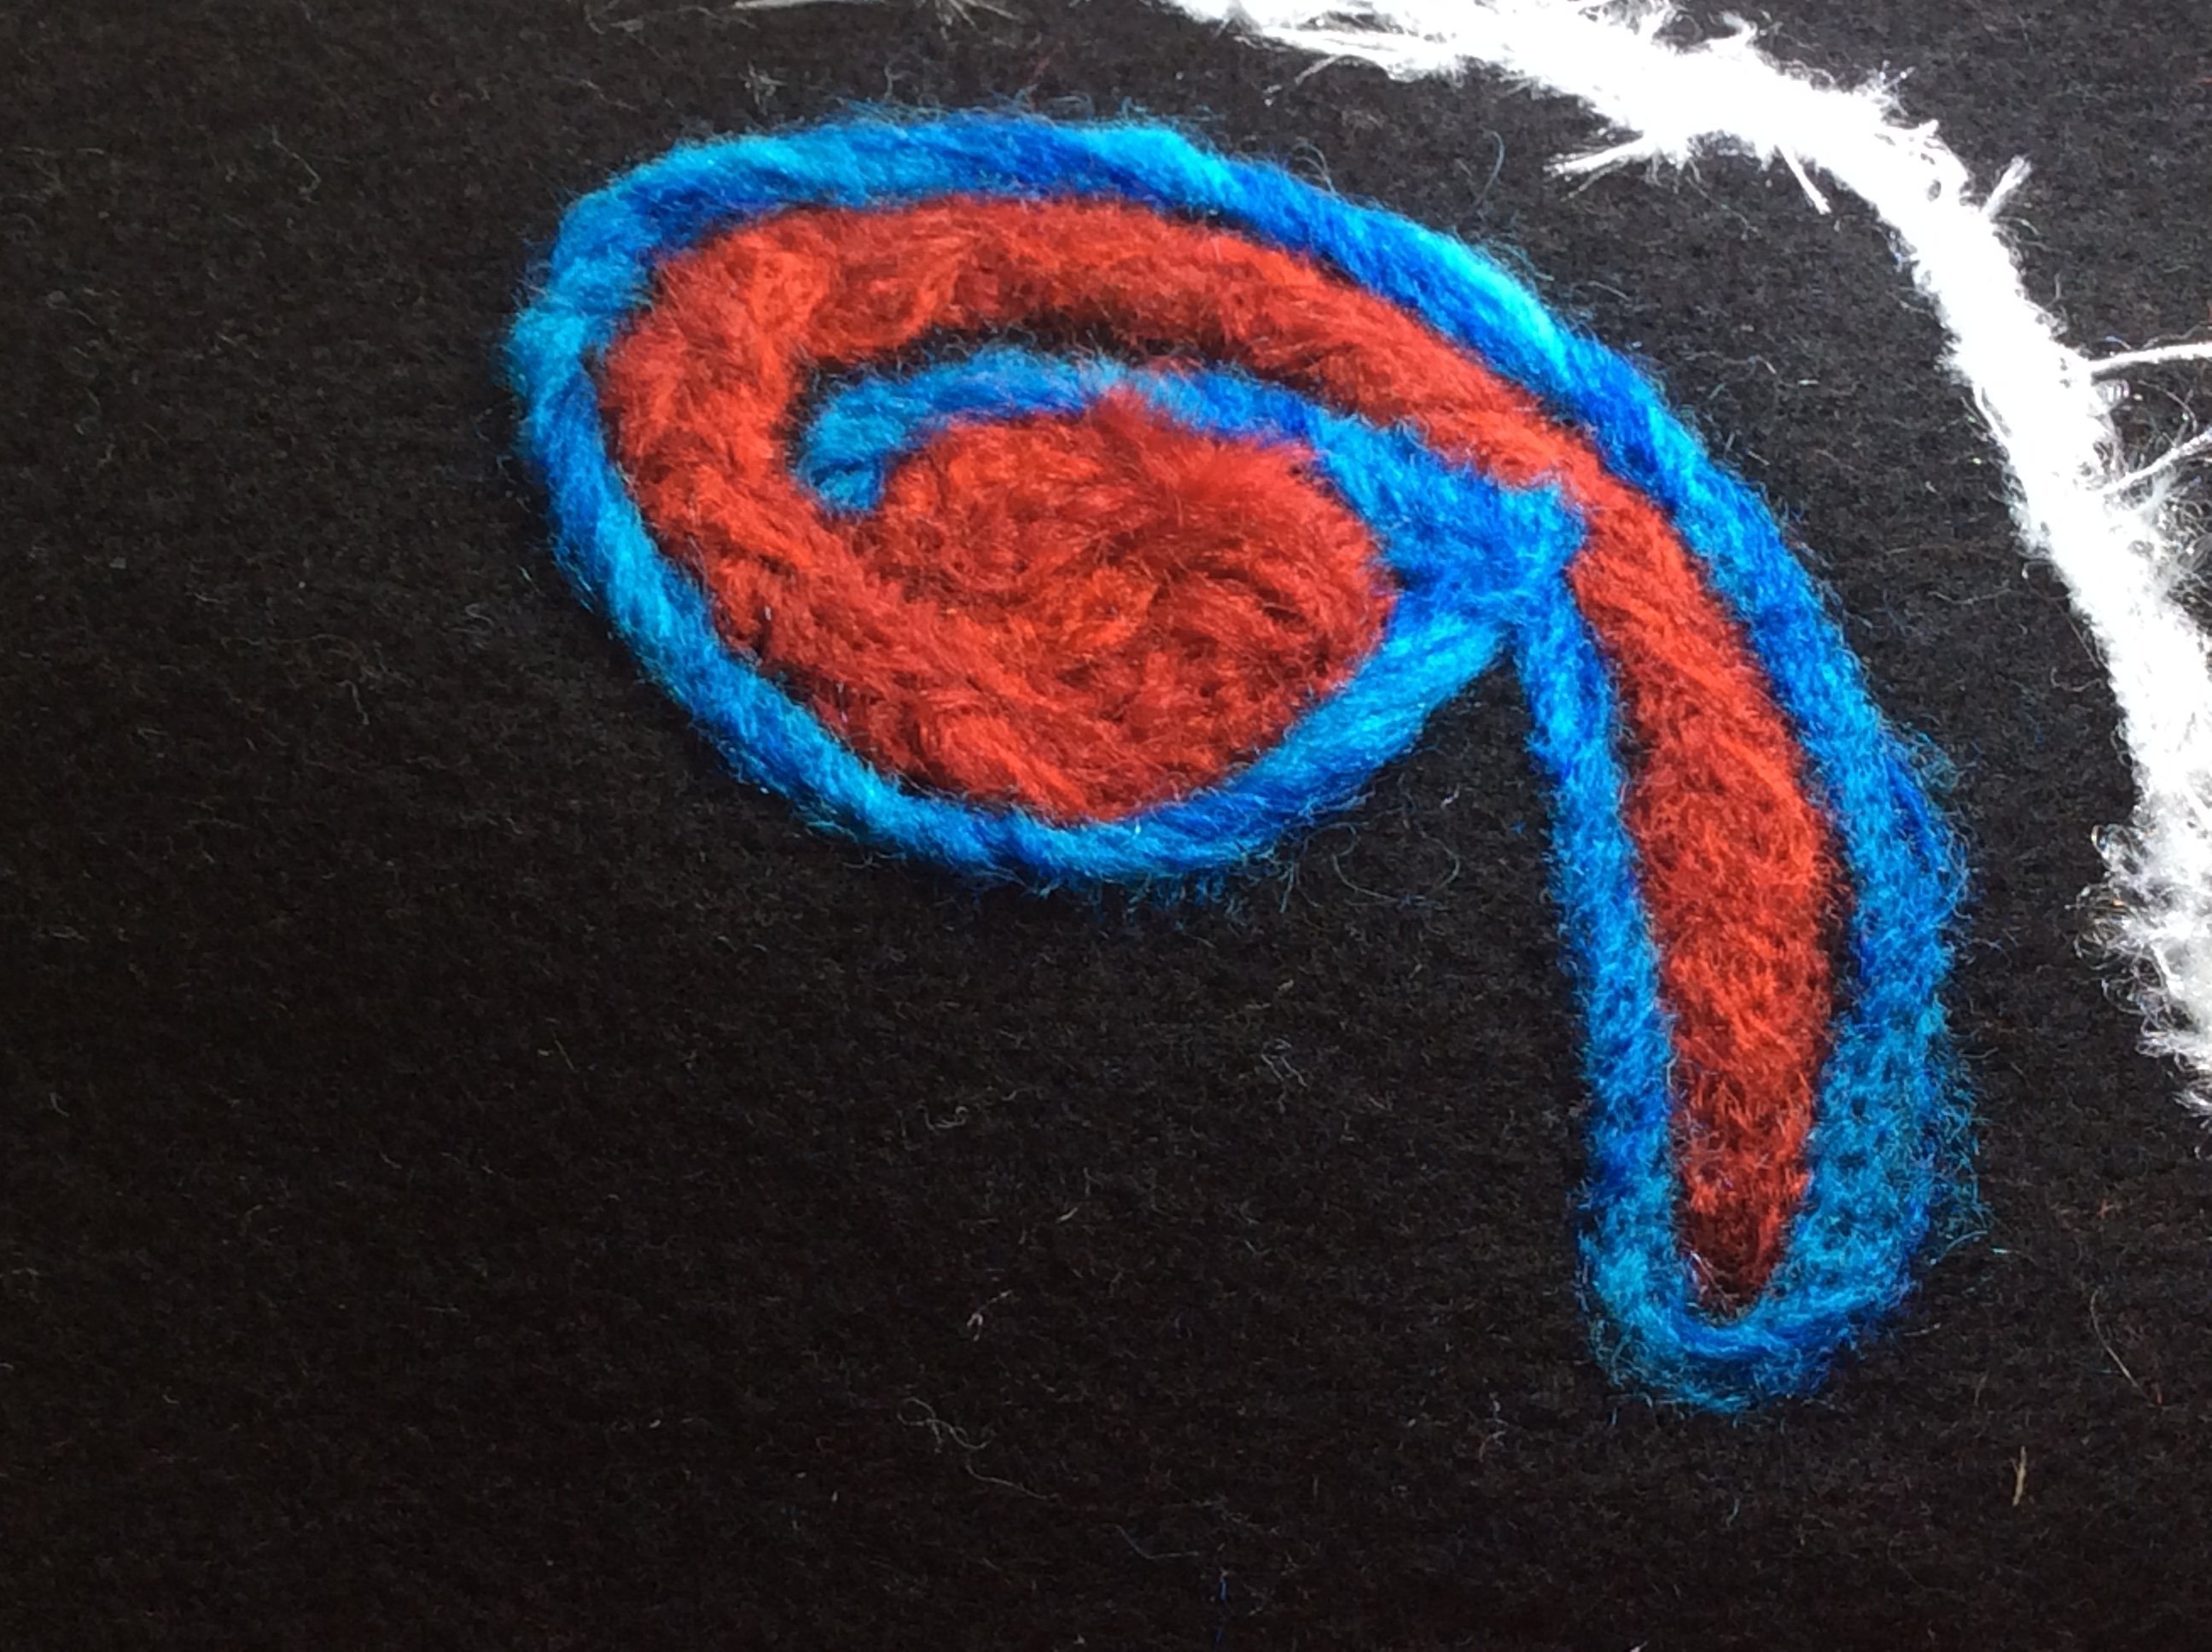
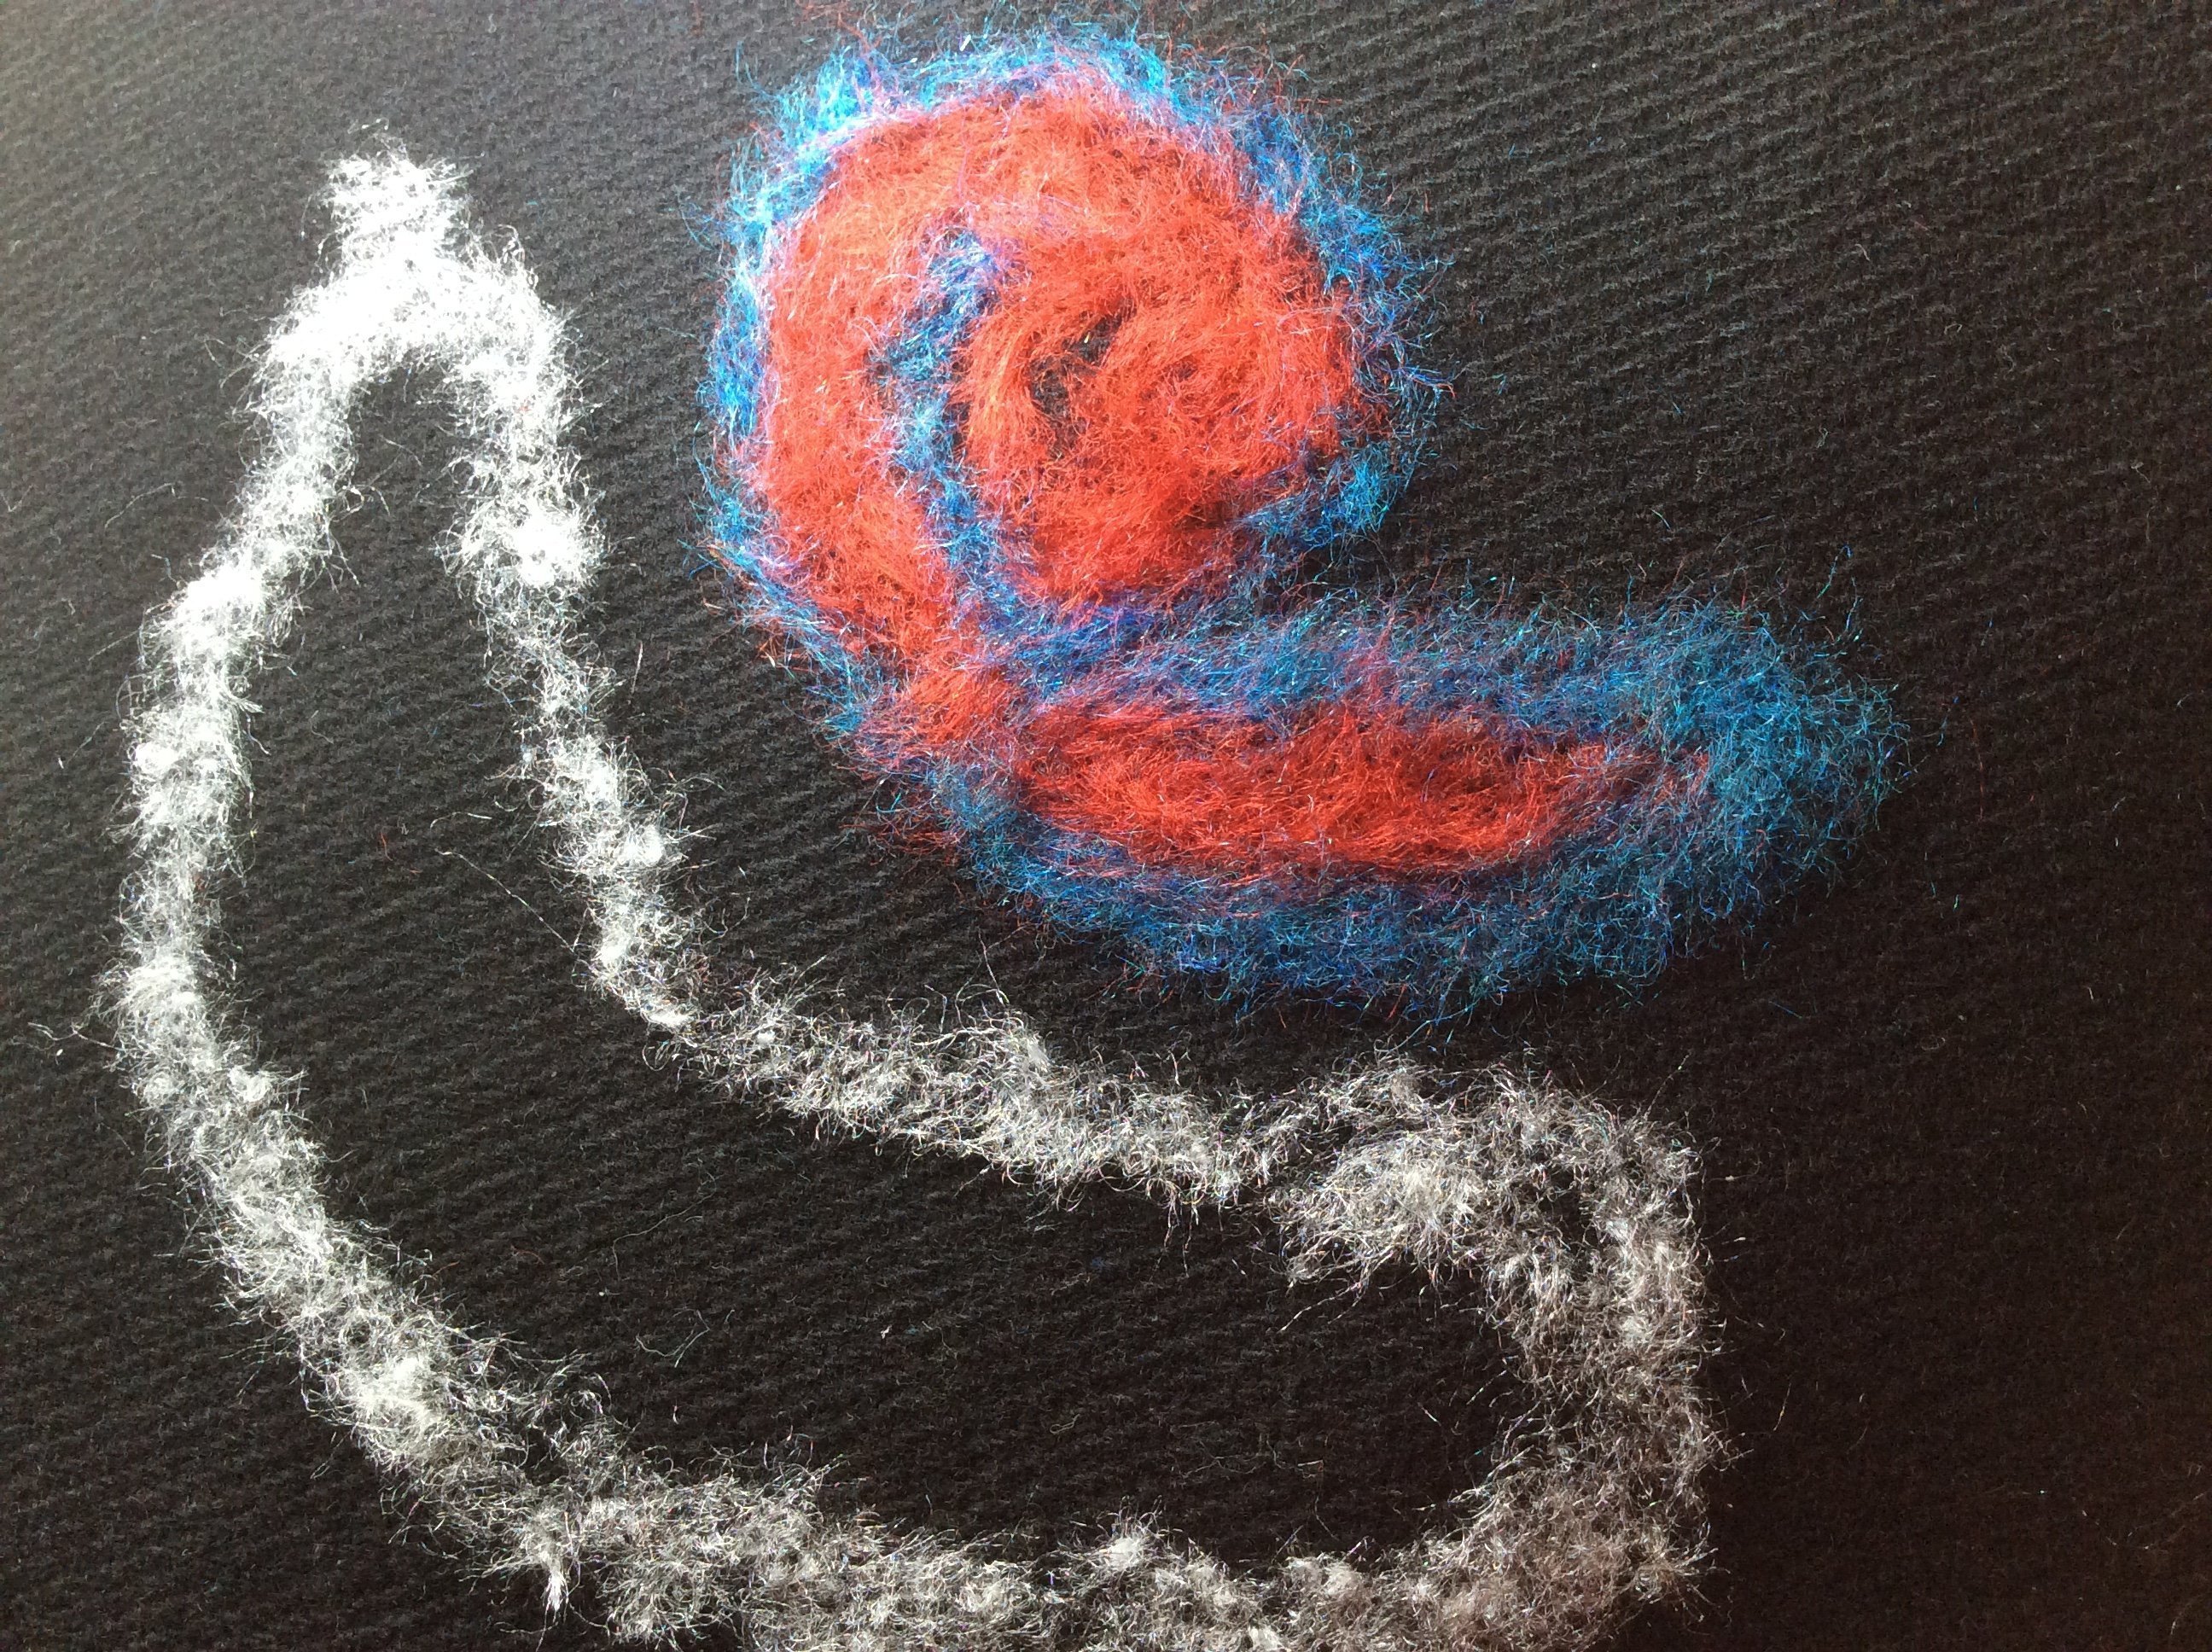
This is the rough little design I made using the Knitting yarns I had on hand – (E,F and G) – I liked the red and aqua, the white was a little ‘shaggy looking’ – could be a possibility …
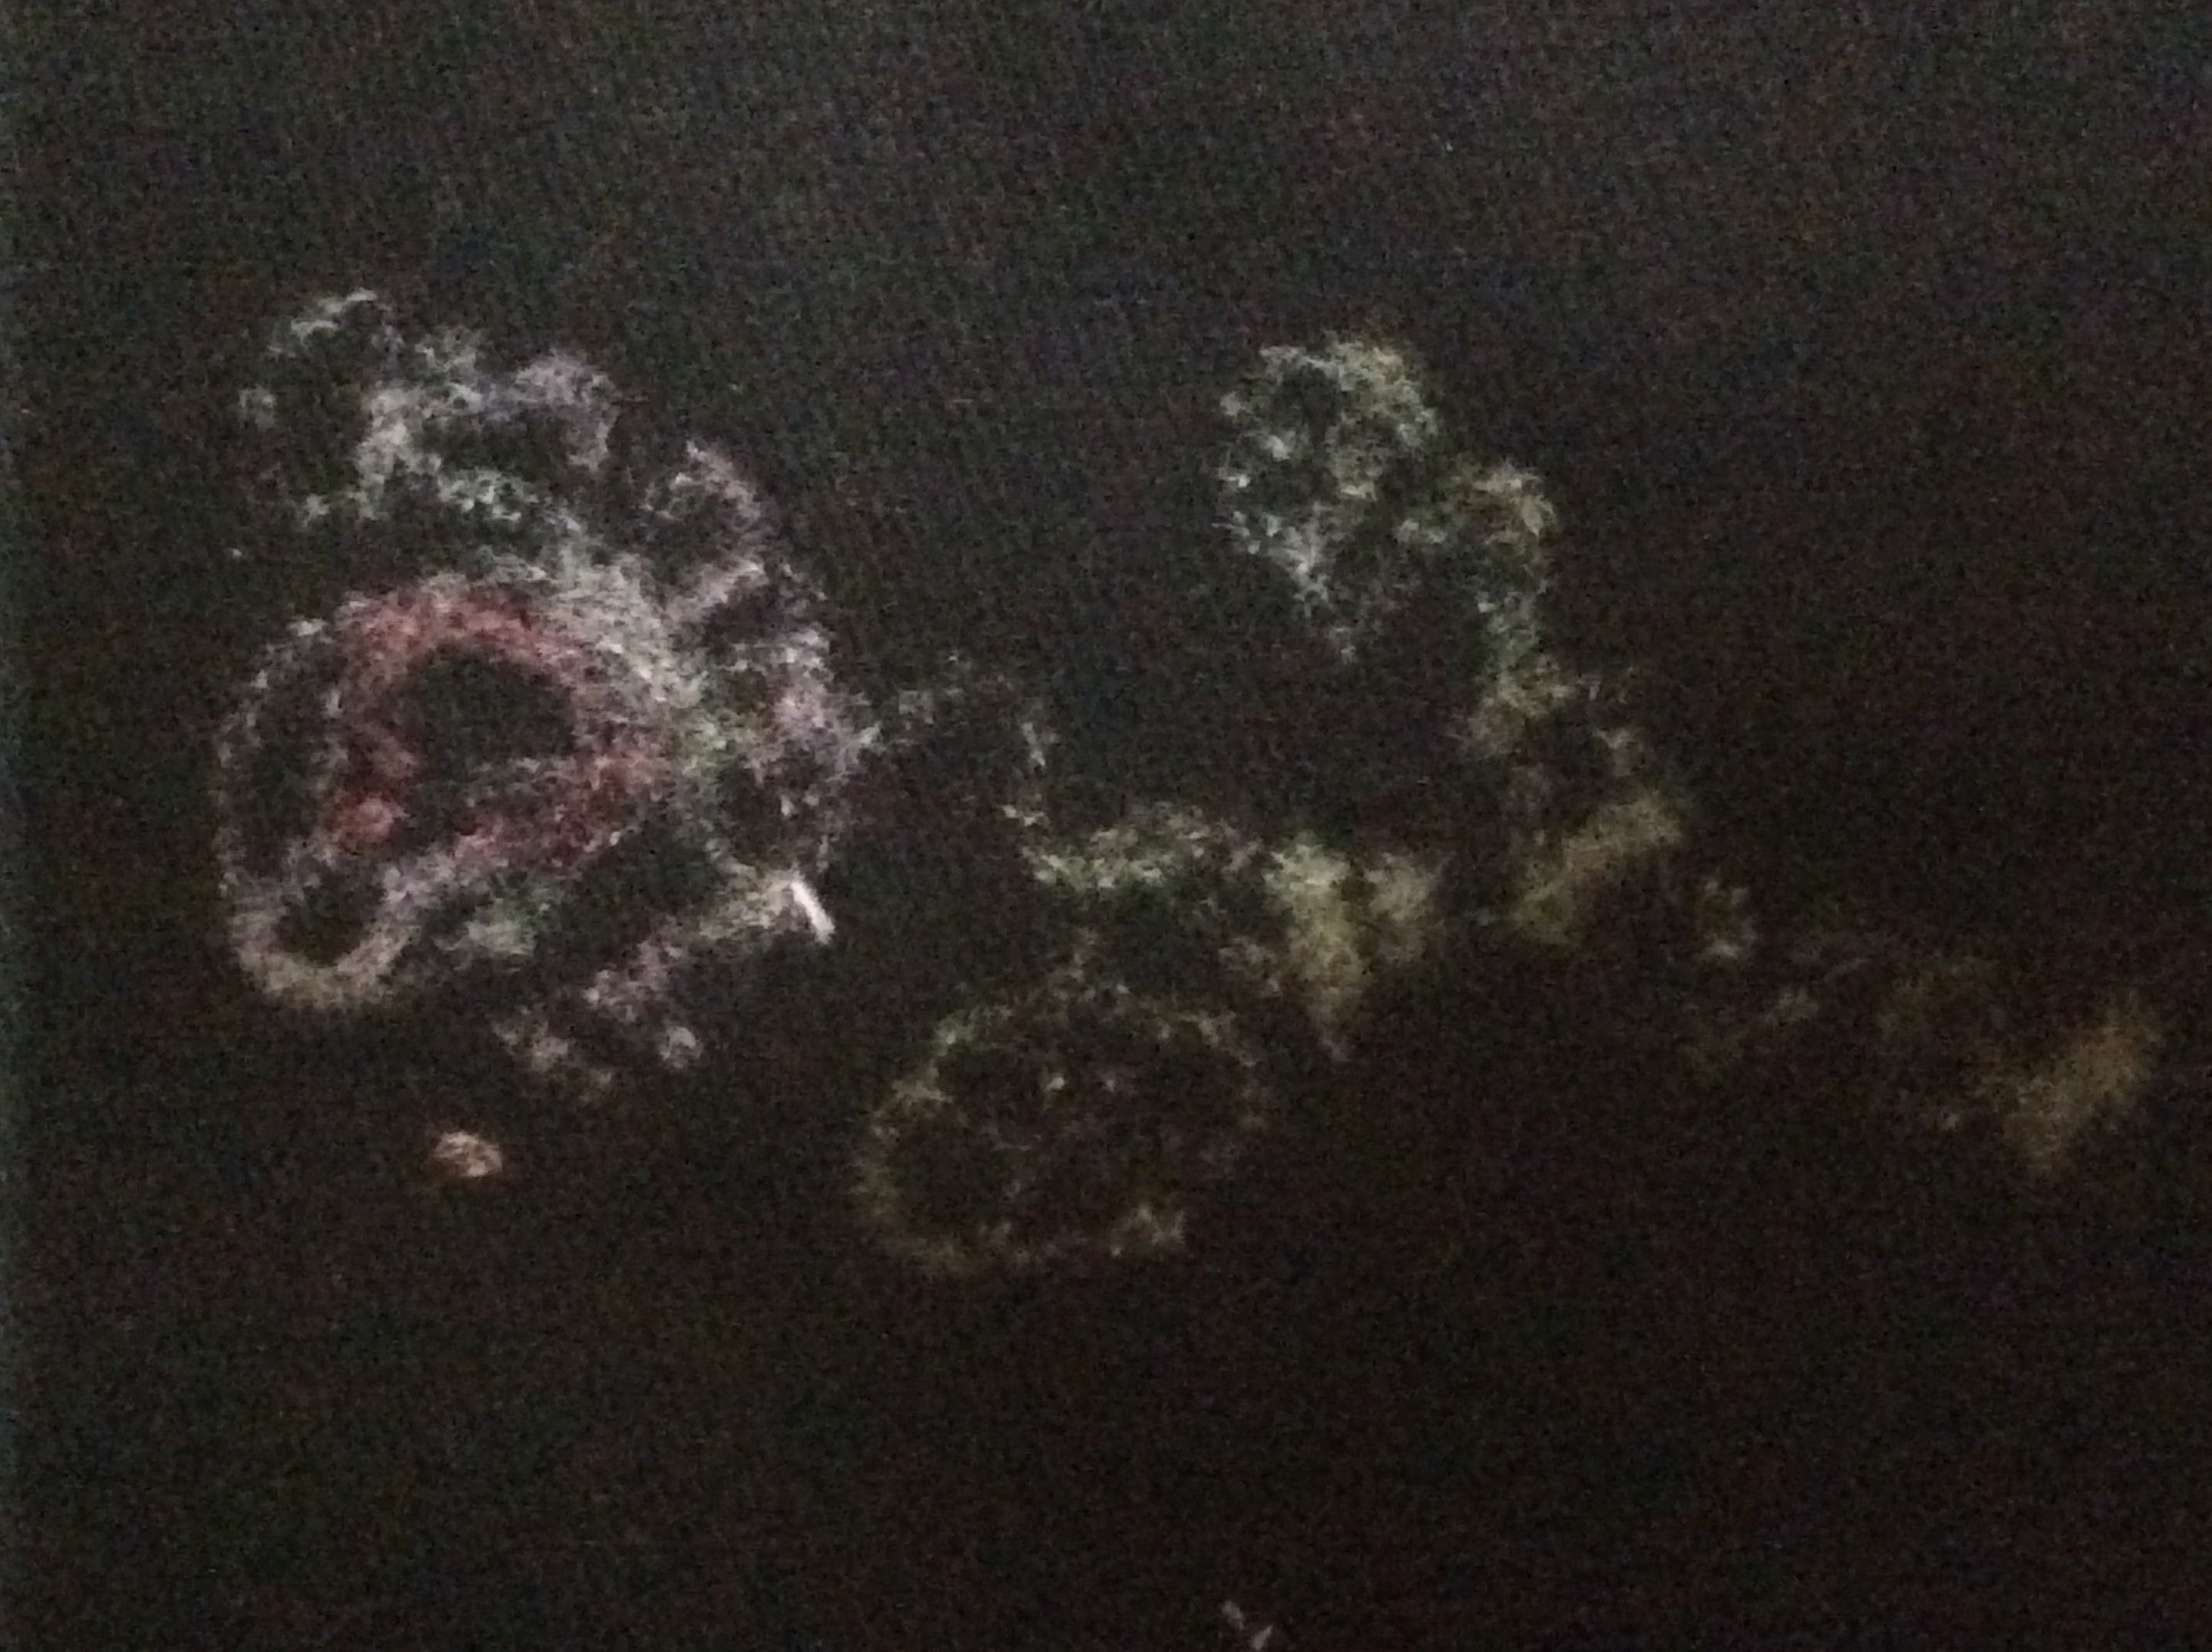
Another quick flower design using the hand dyed Chenille Yarn 100% Cotton (A) – shading worked extremely well, and ‘punched’ through nicely. I did ‘punch’ over a bit more after taking the back of sample photo to secure futher … still had that nice old fashioned chenille look I love!
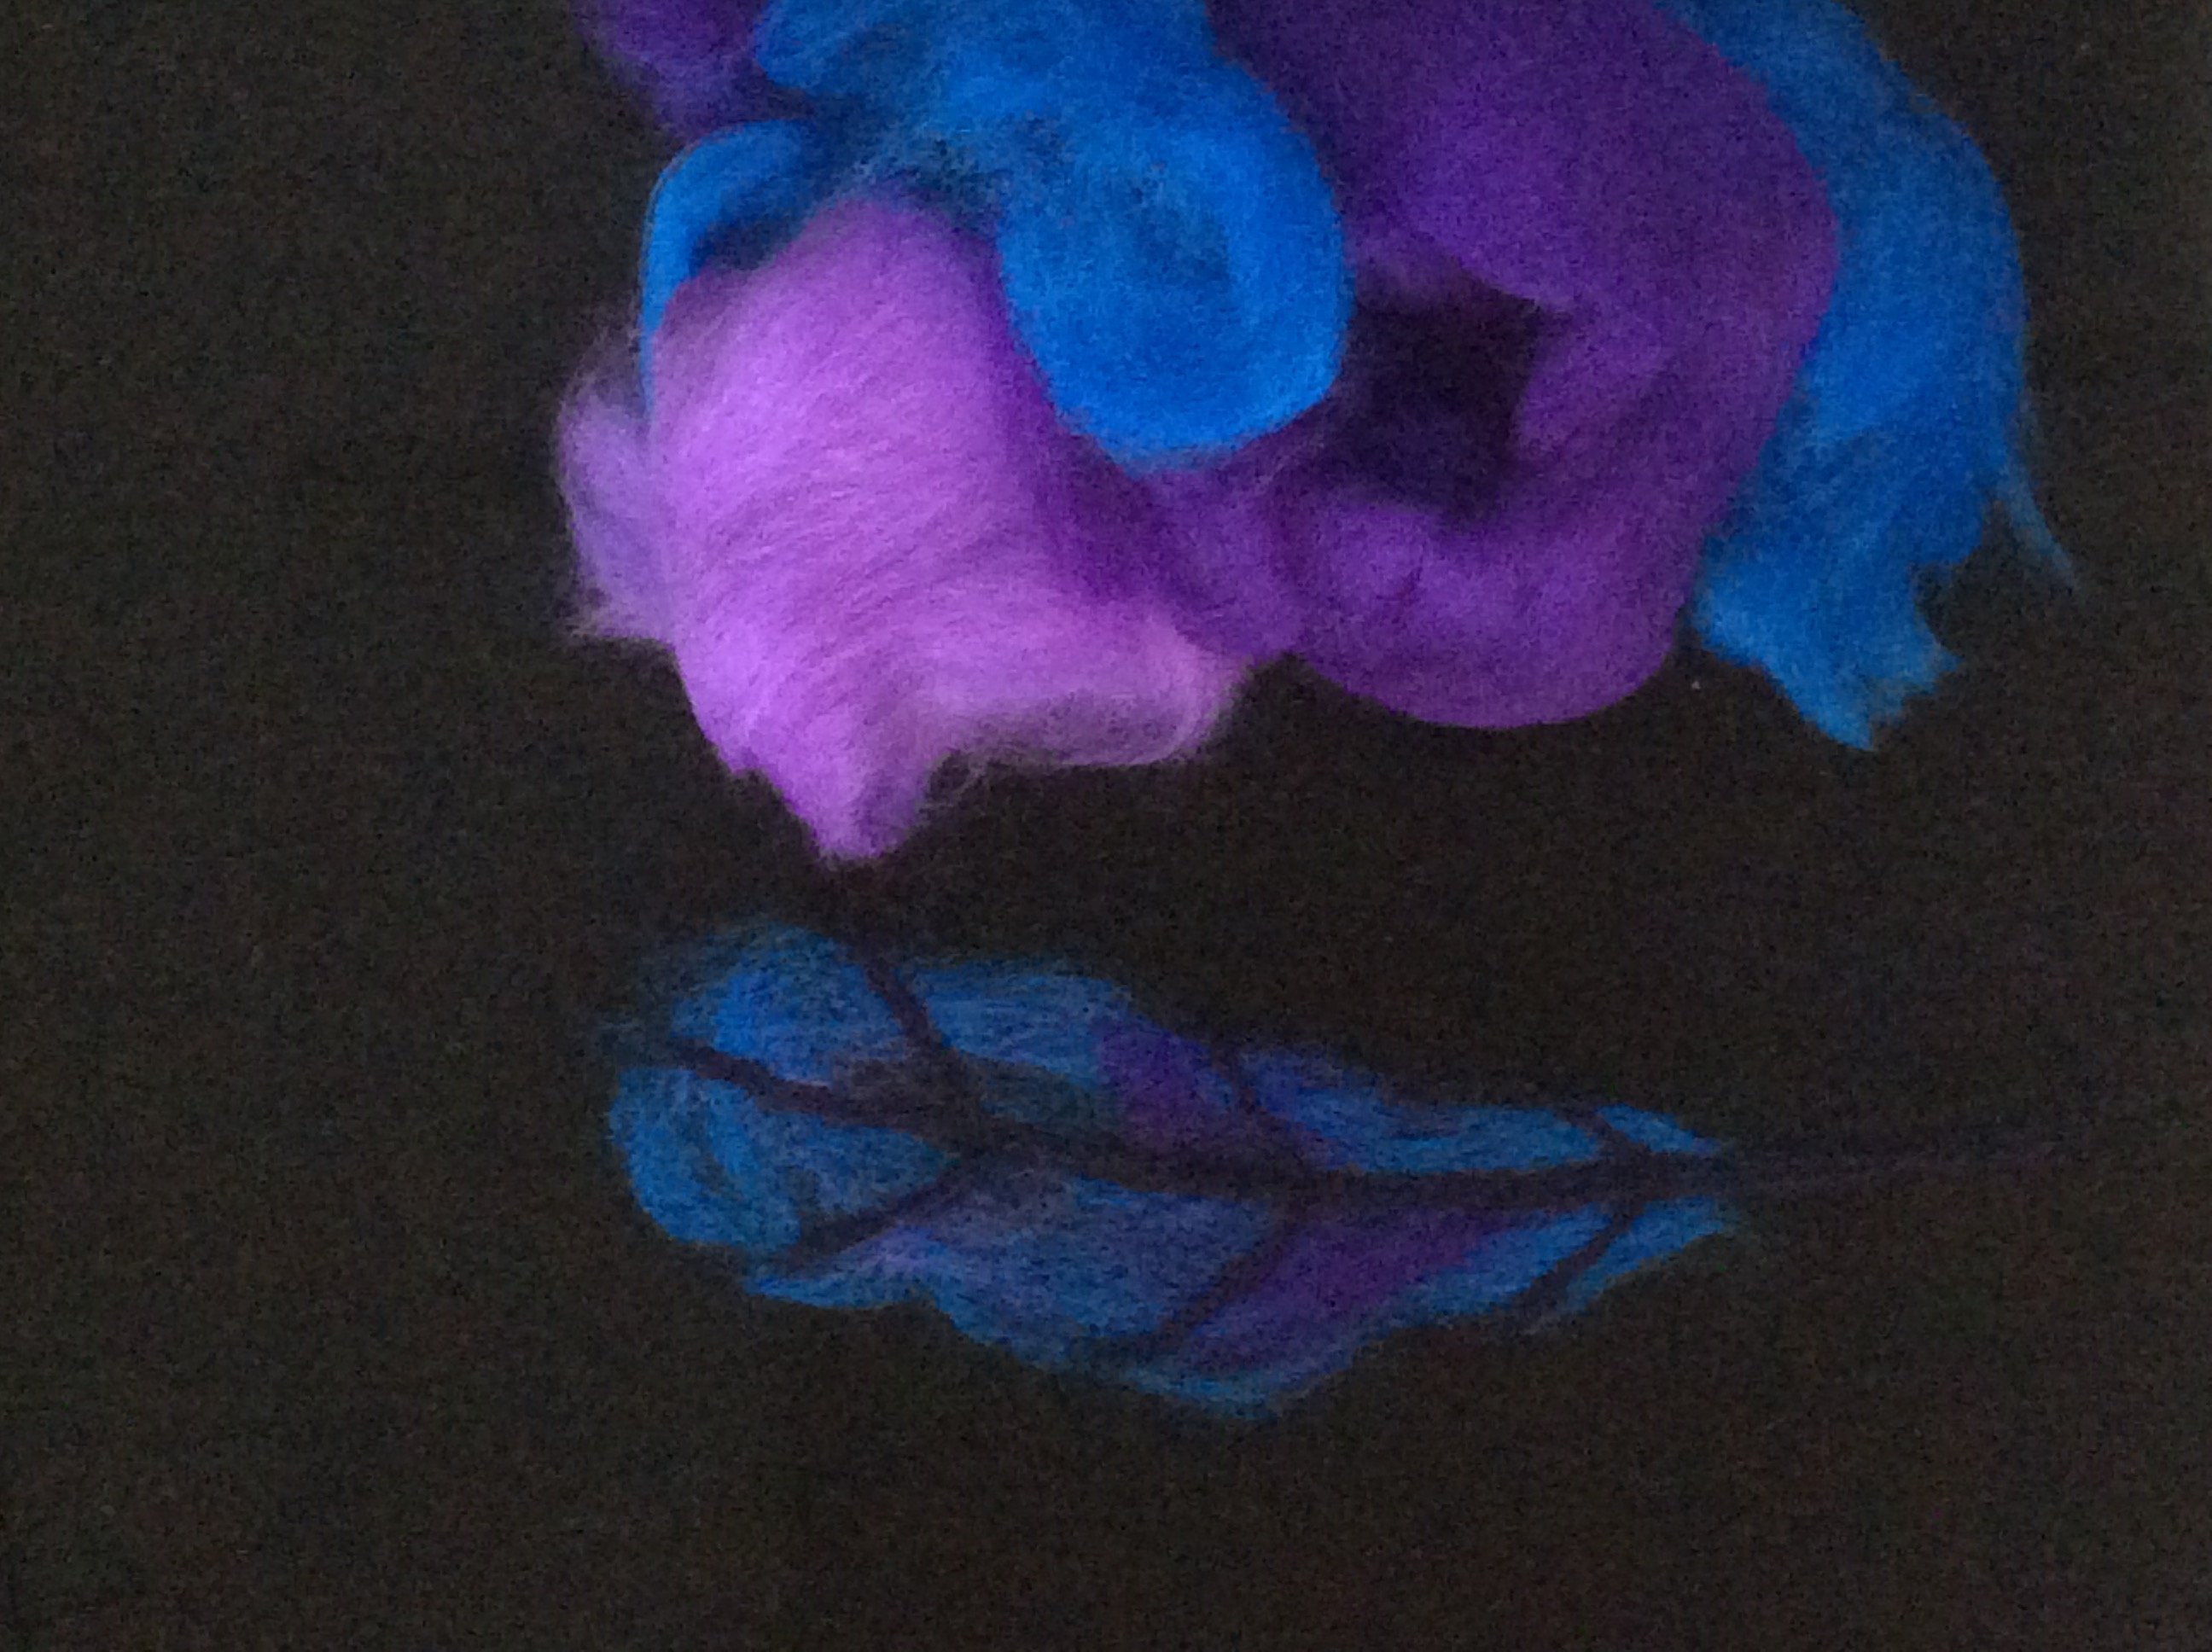
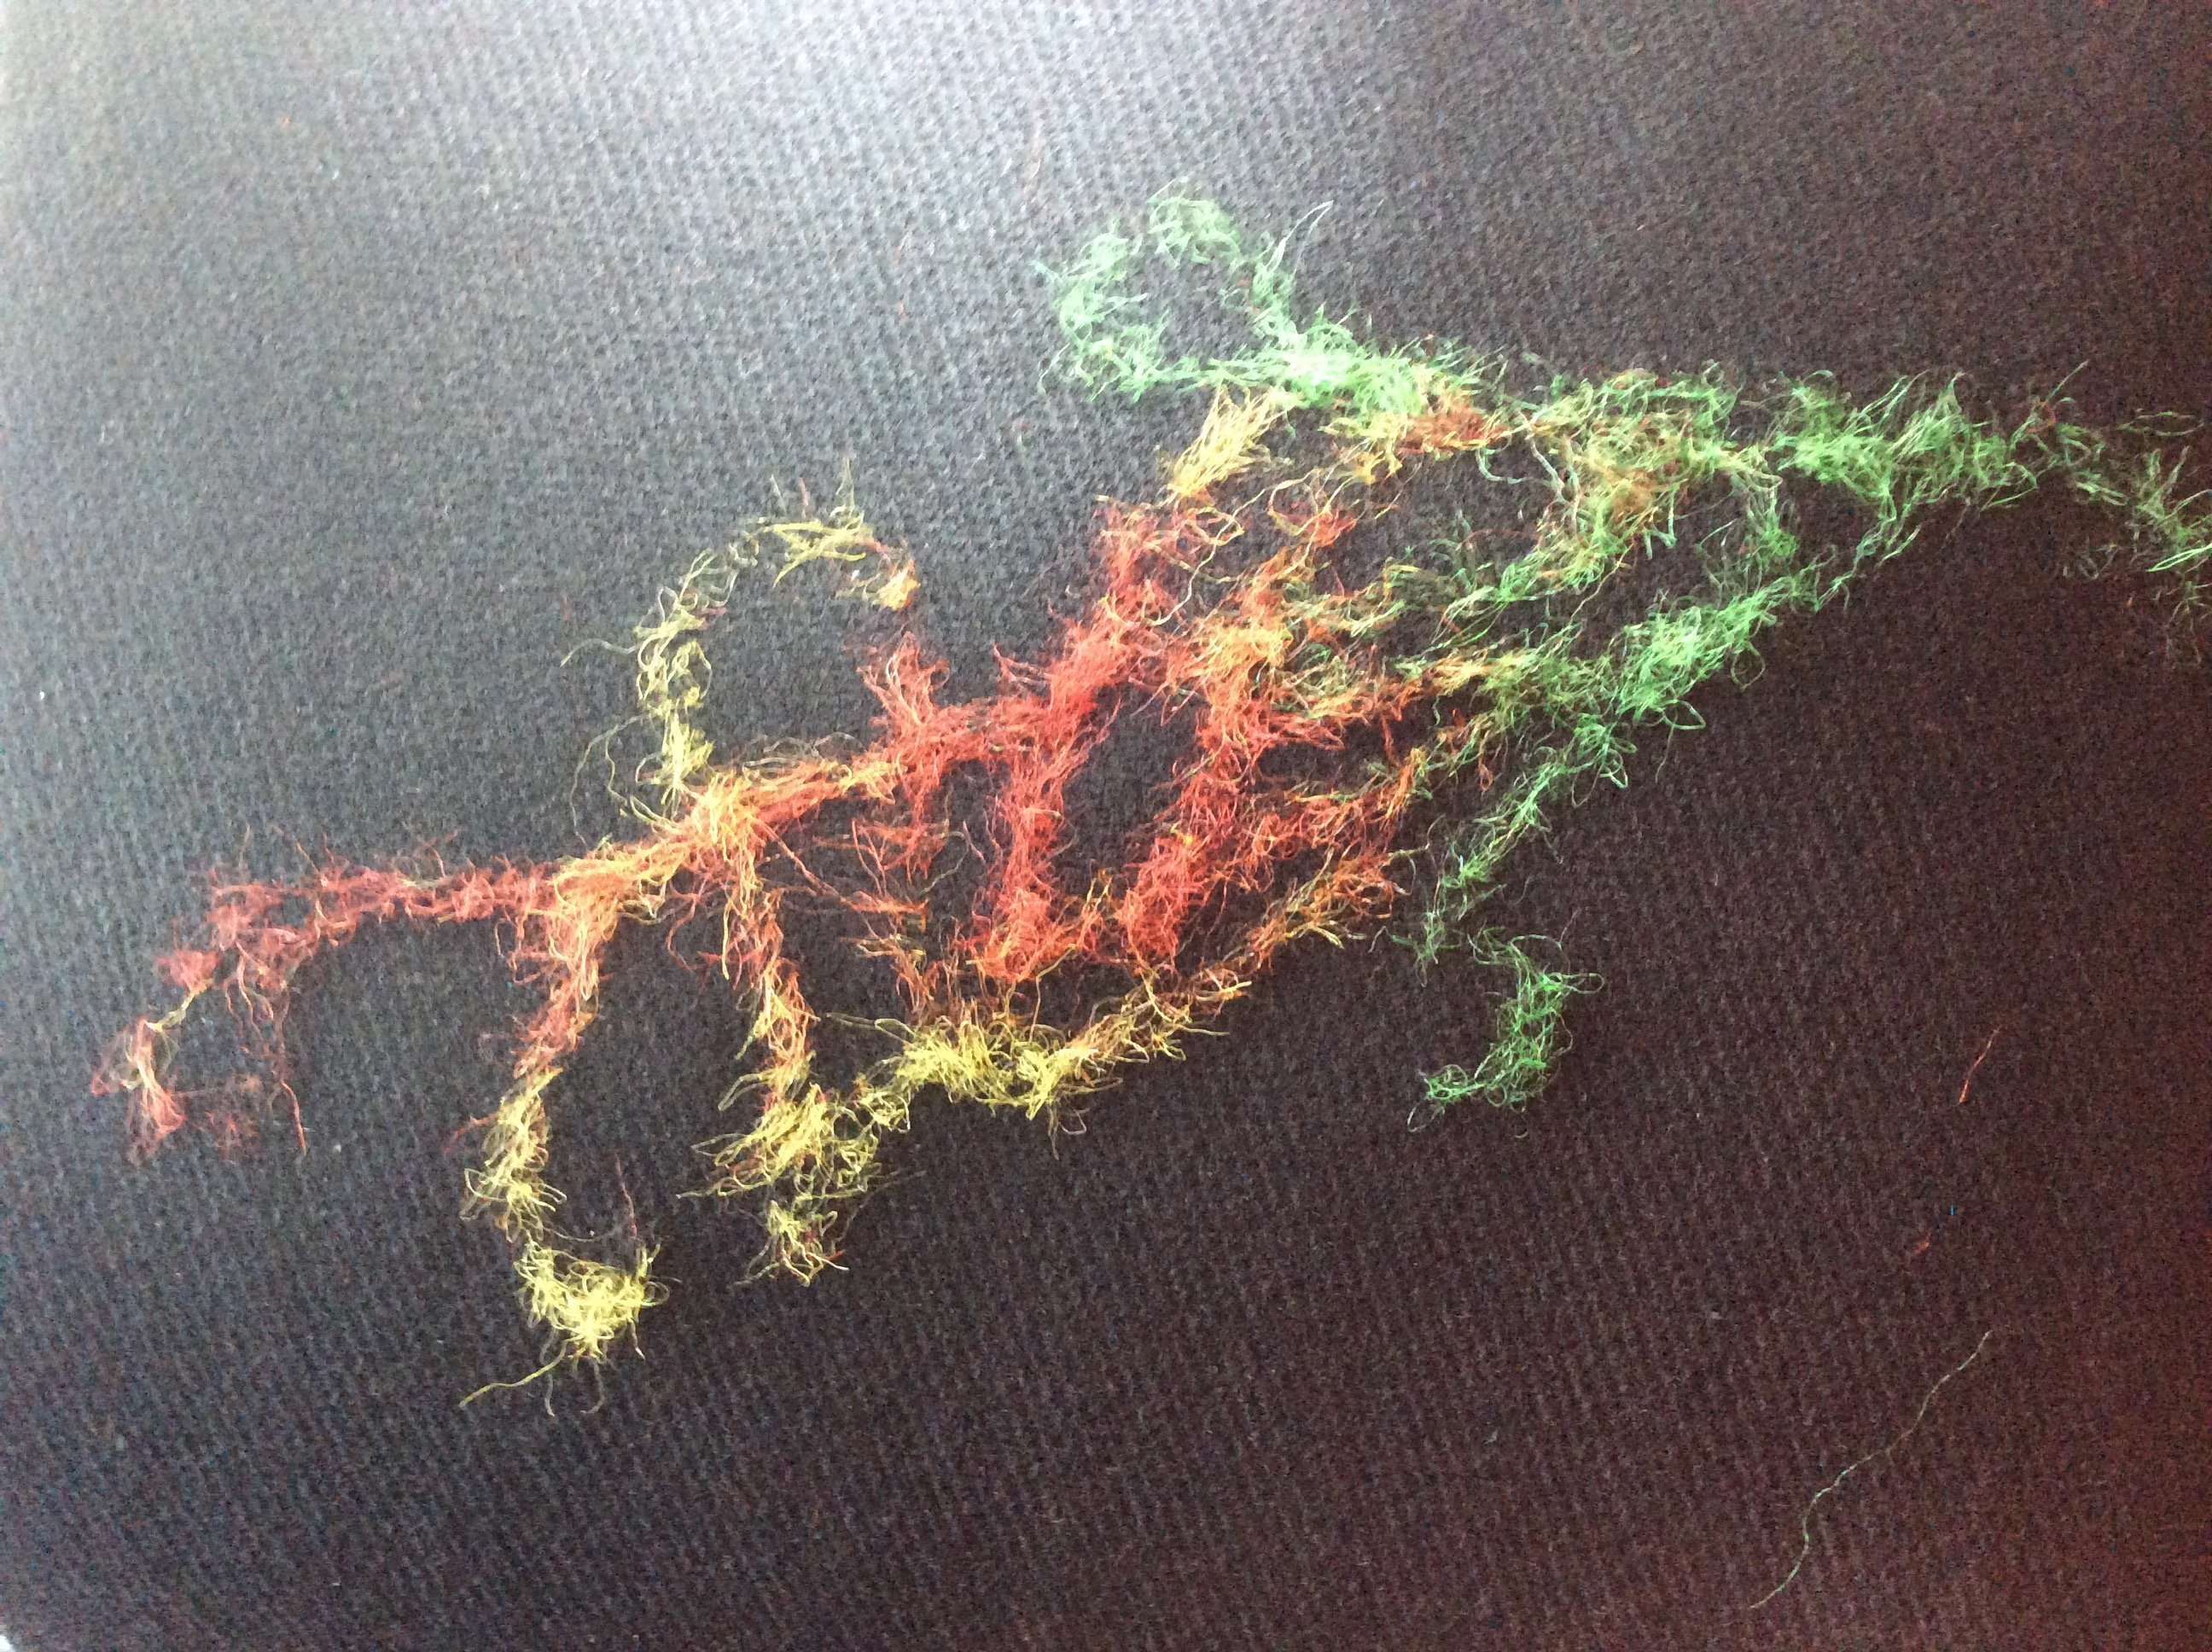
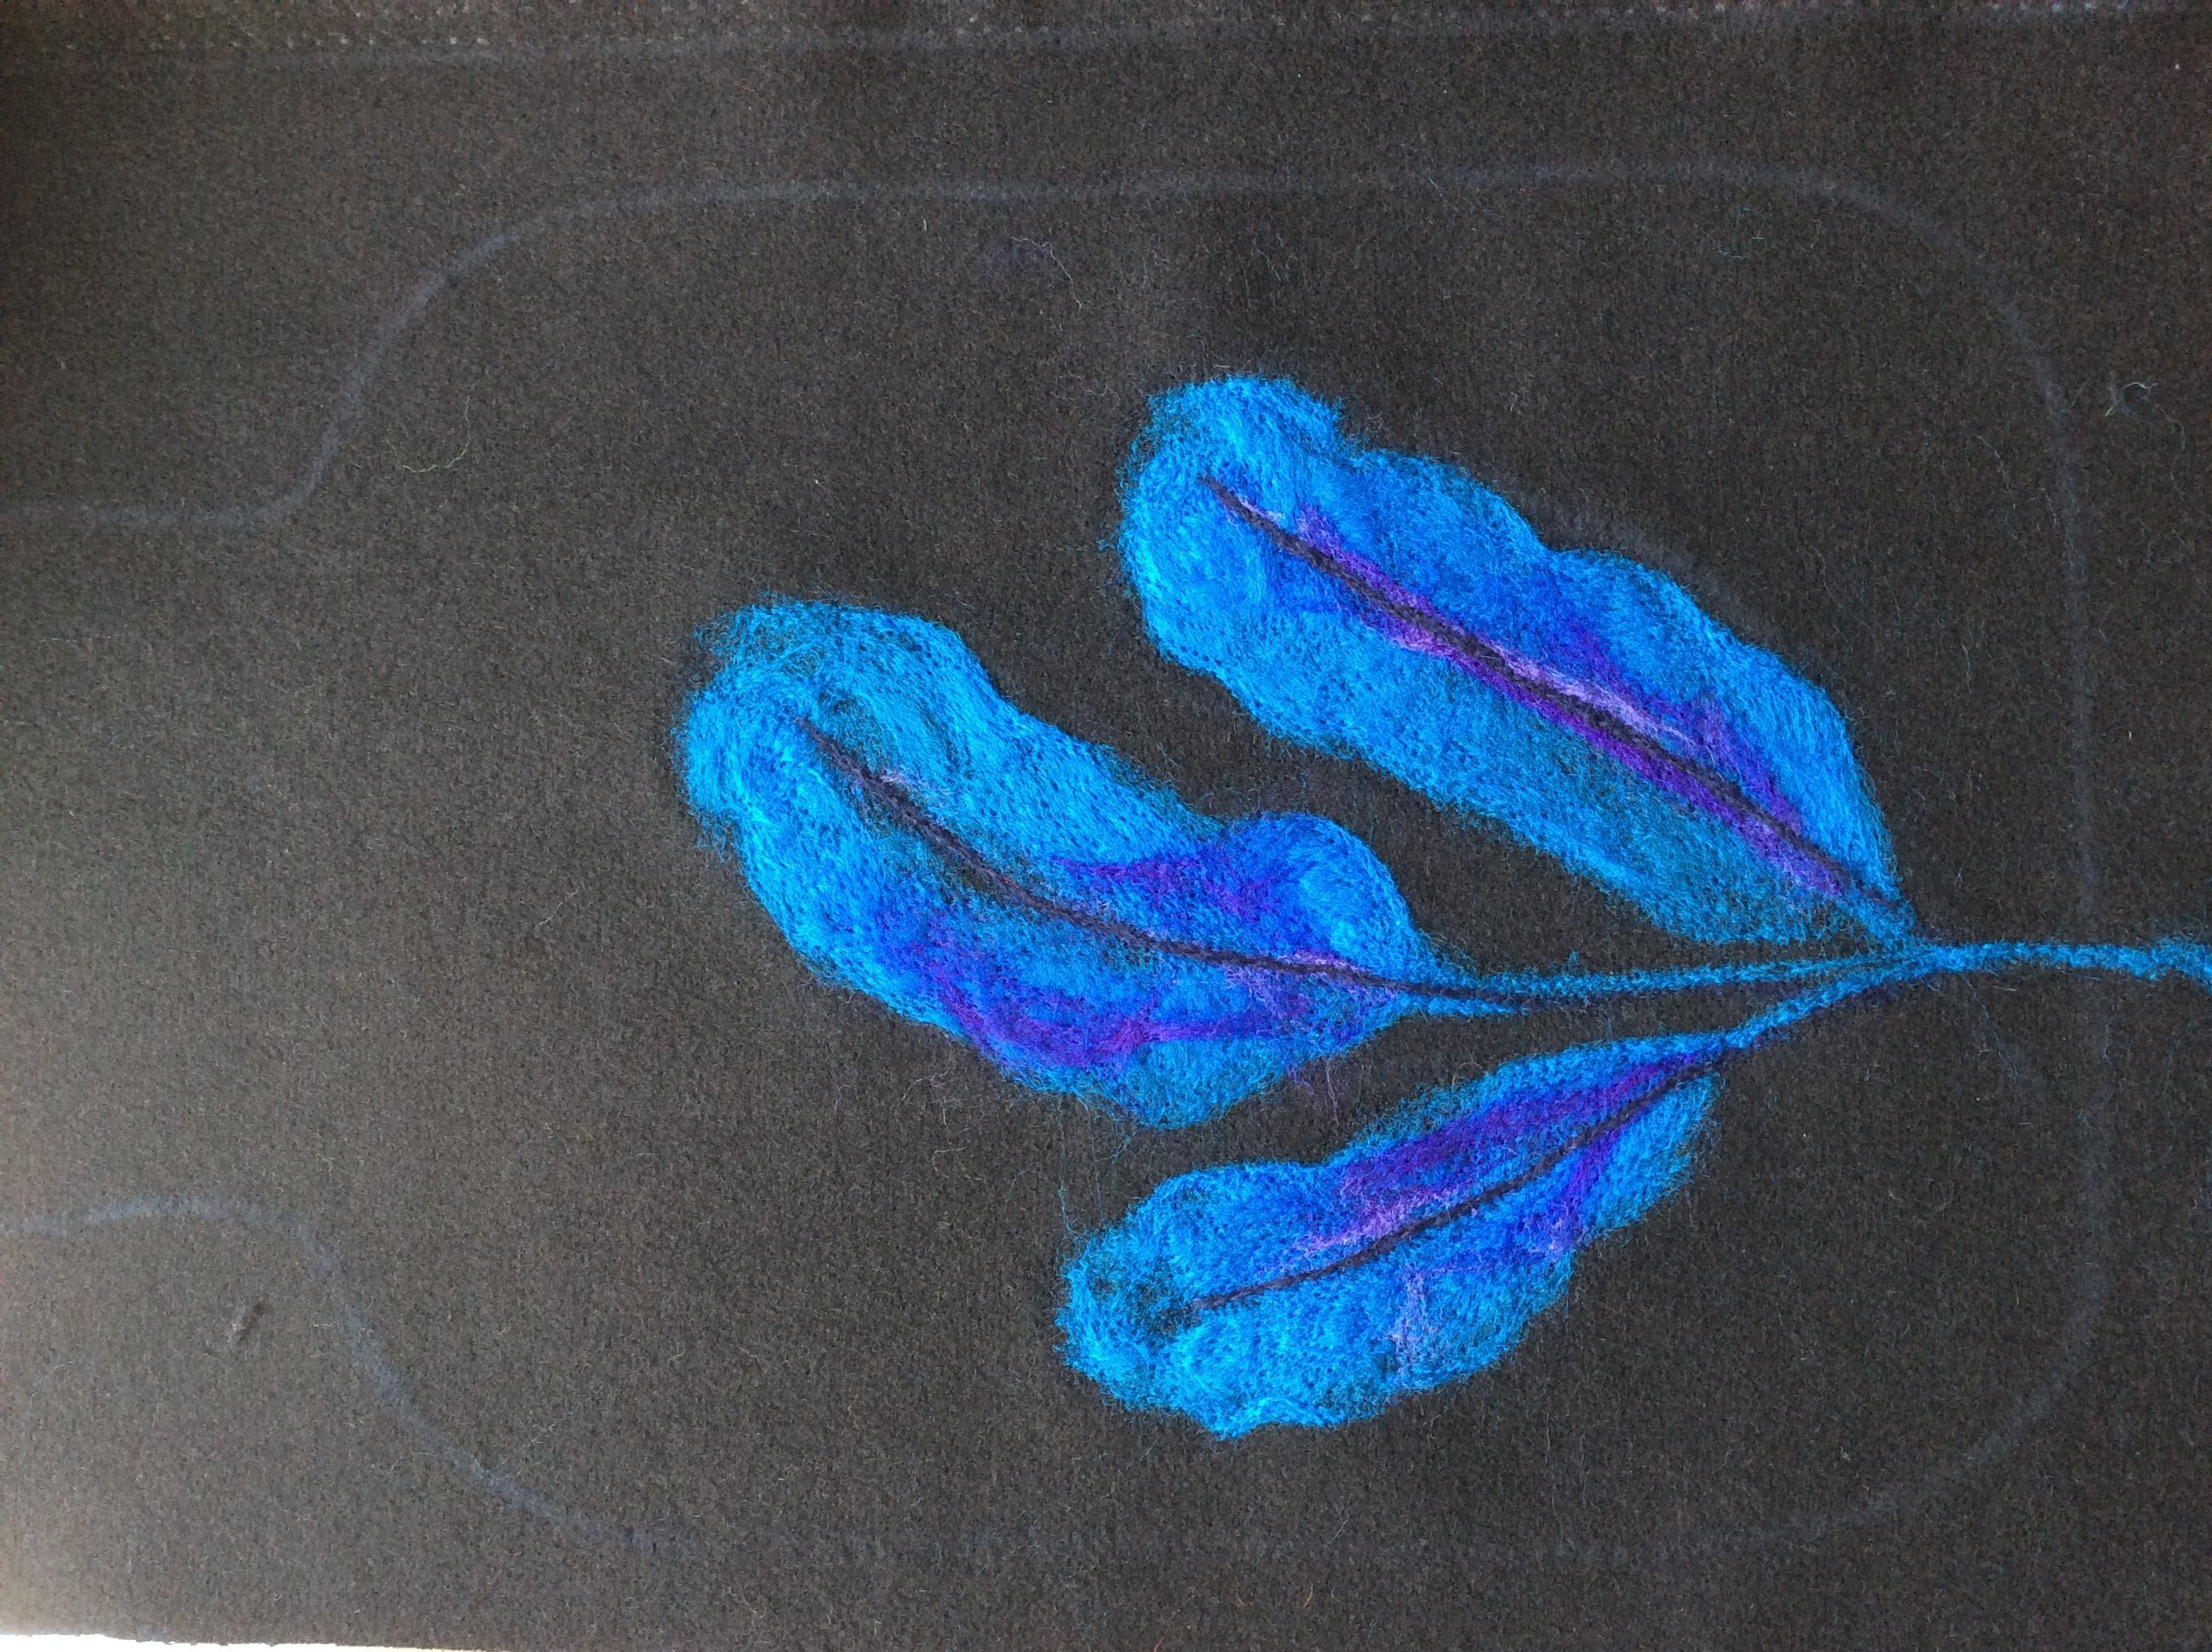
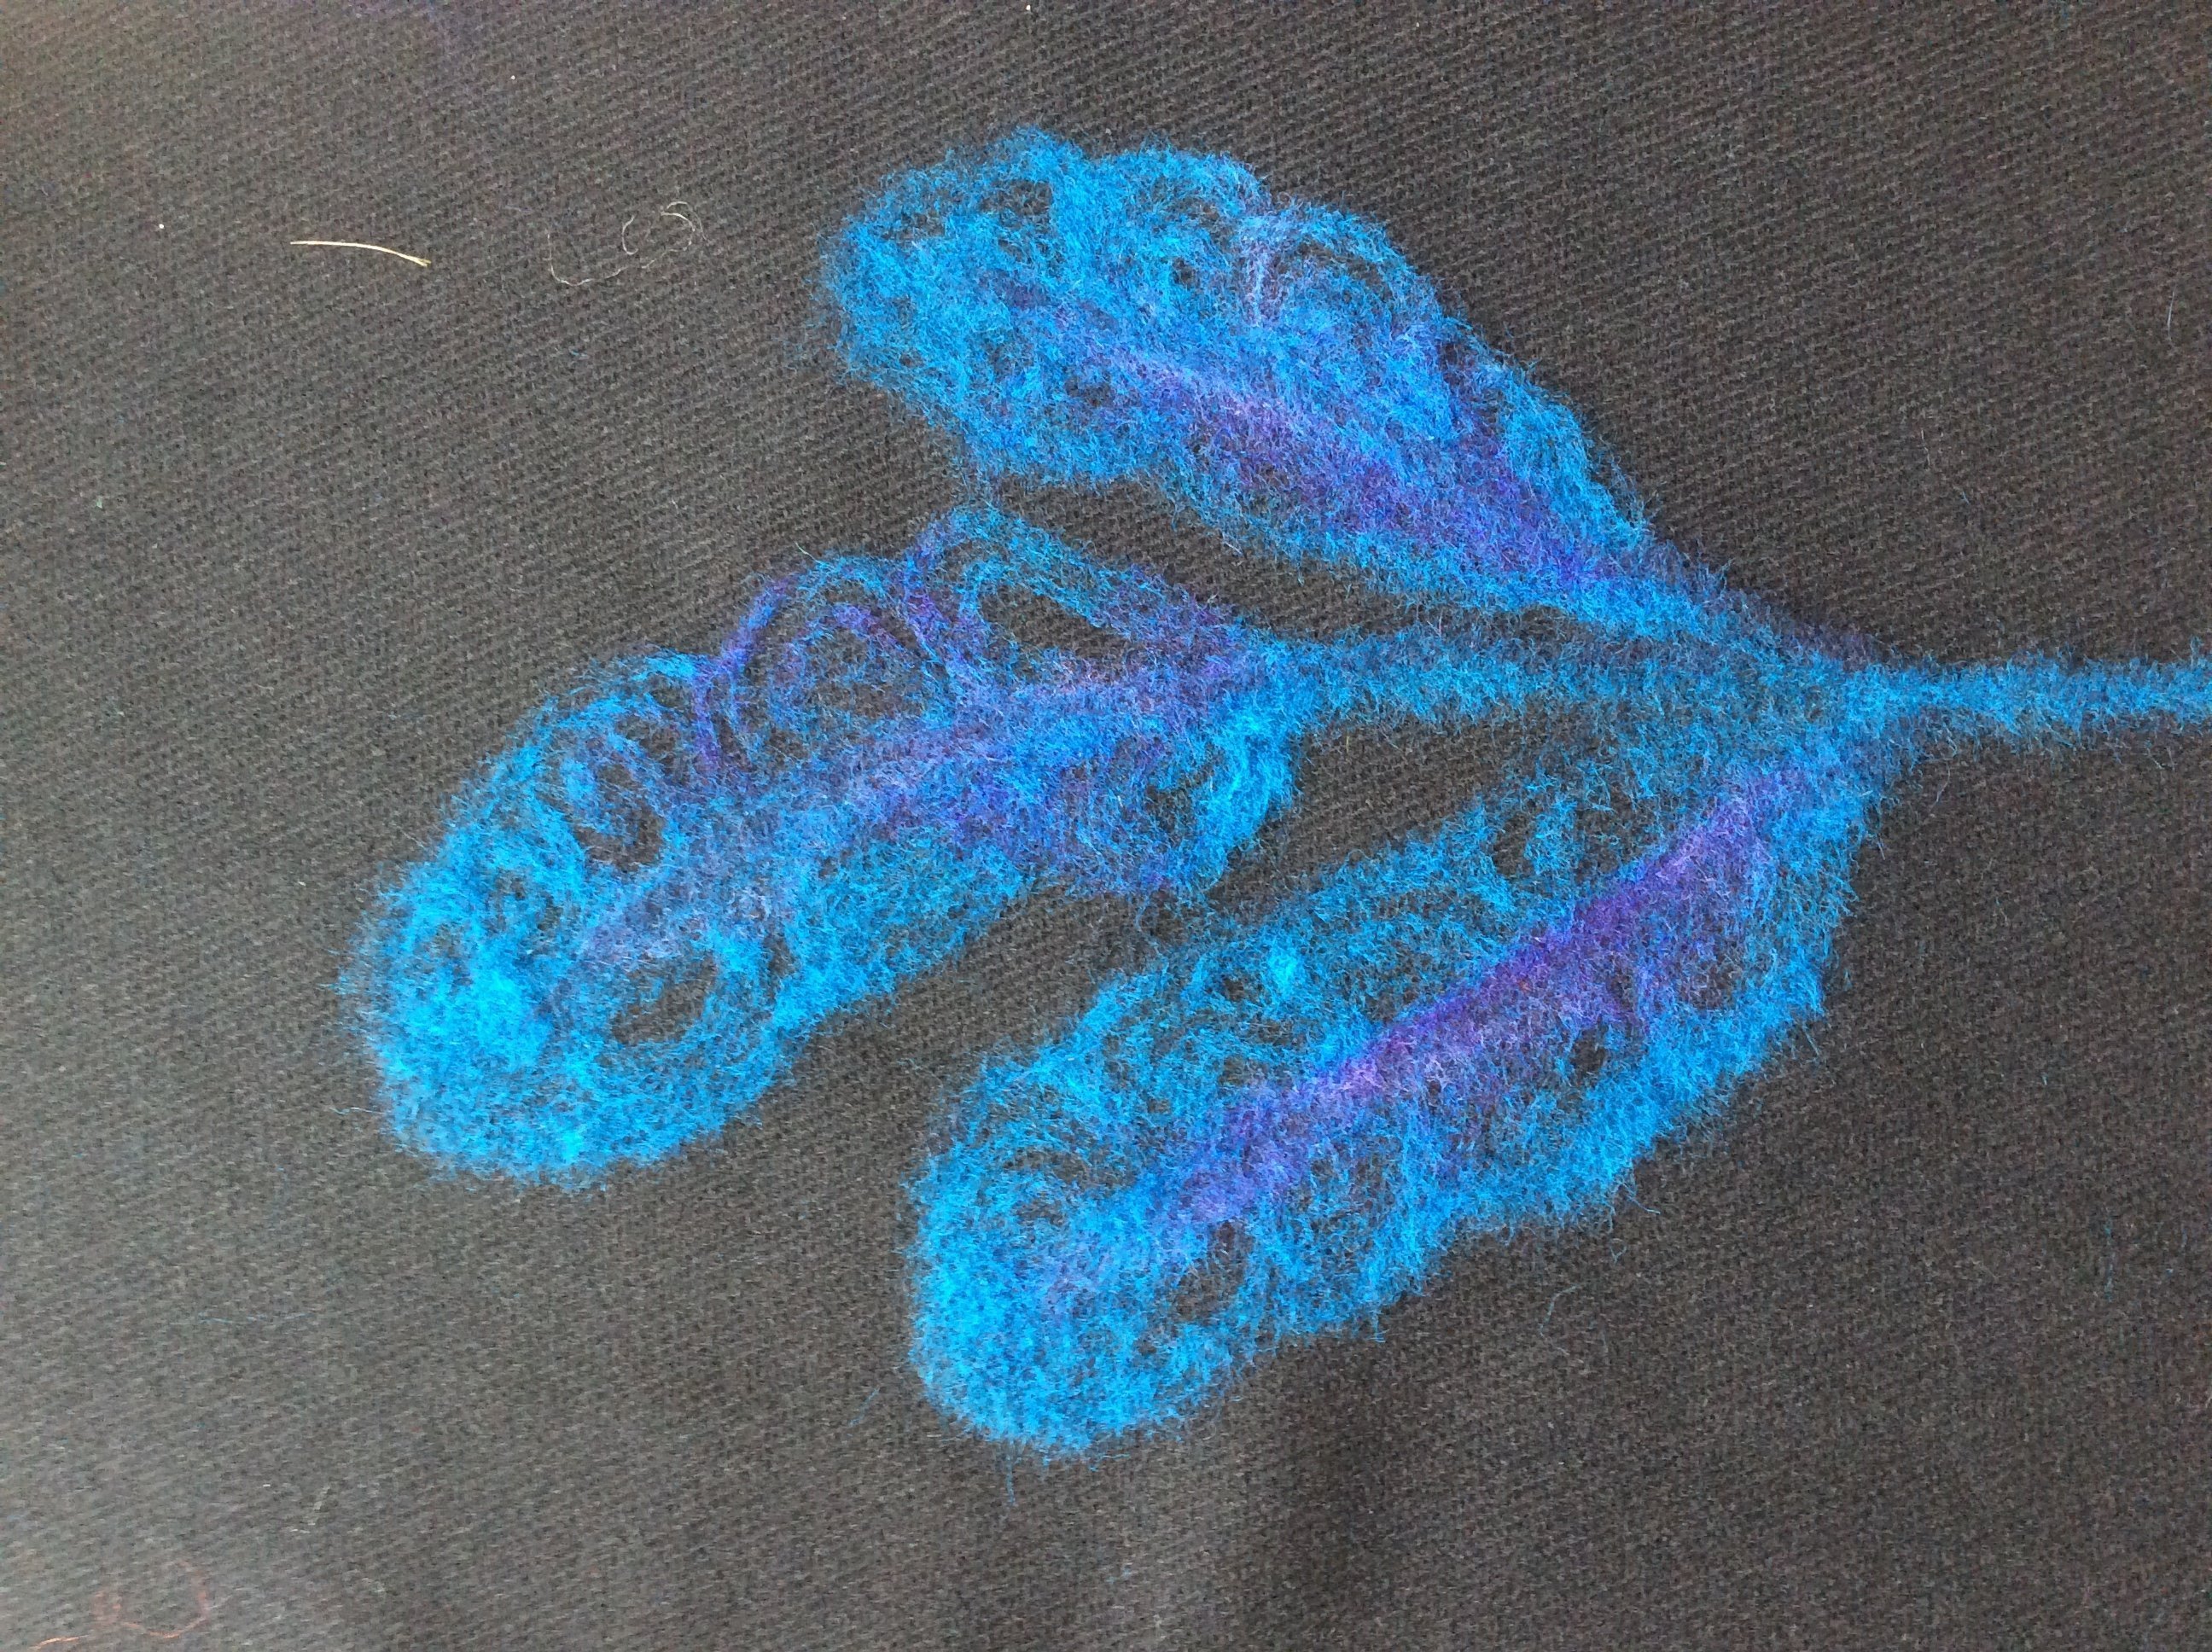
I loved the Merino Roving (B) to work with the most. I blended in the fibres to form a feather and added some tapestry wool for the detail on it …
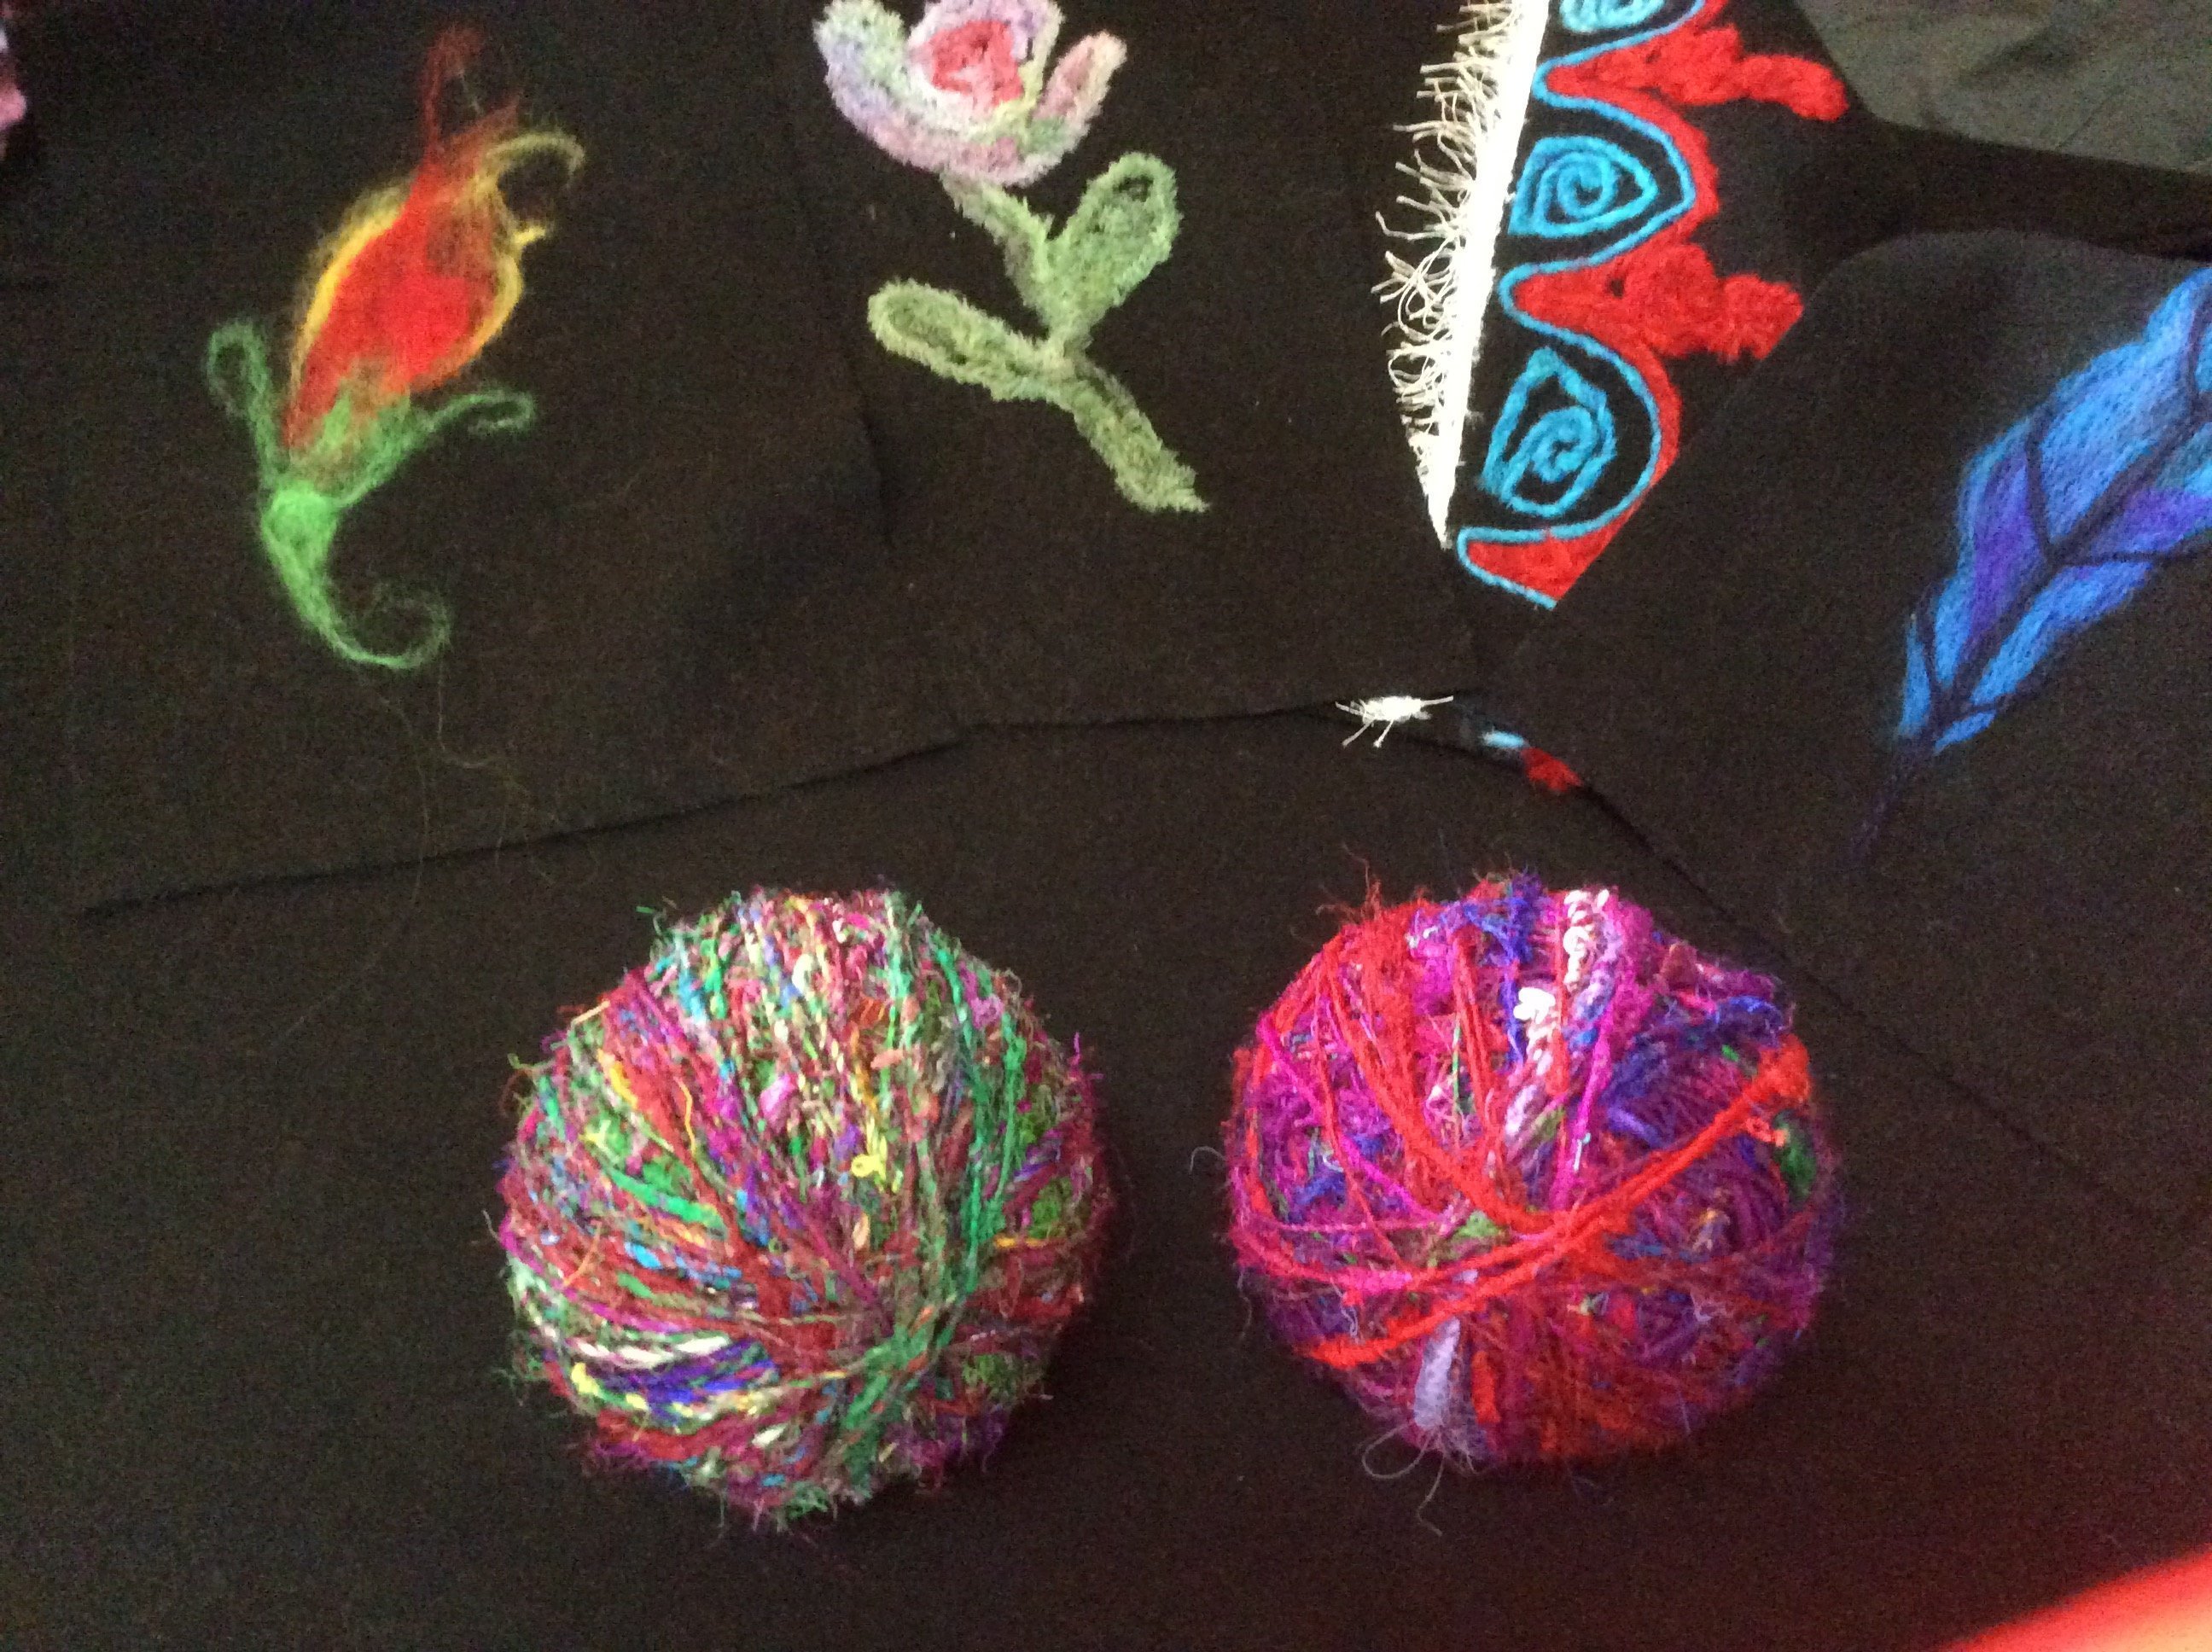
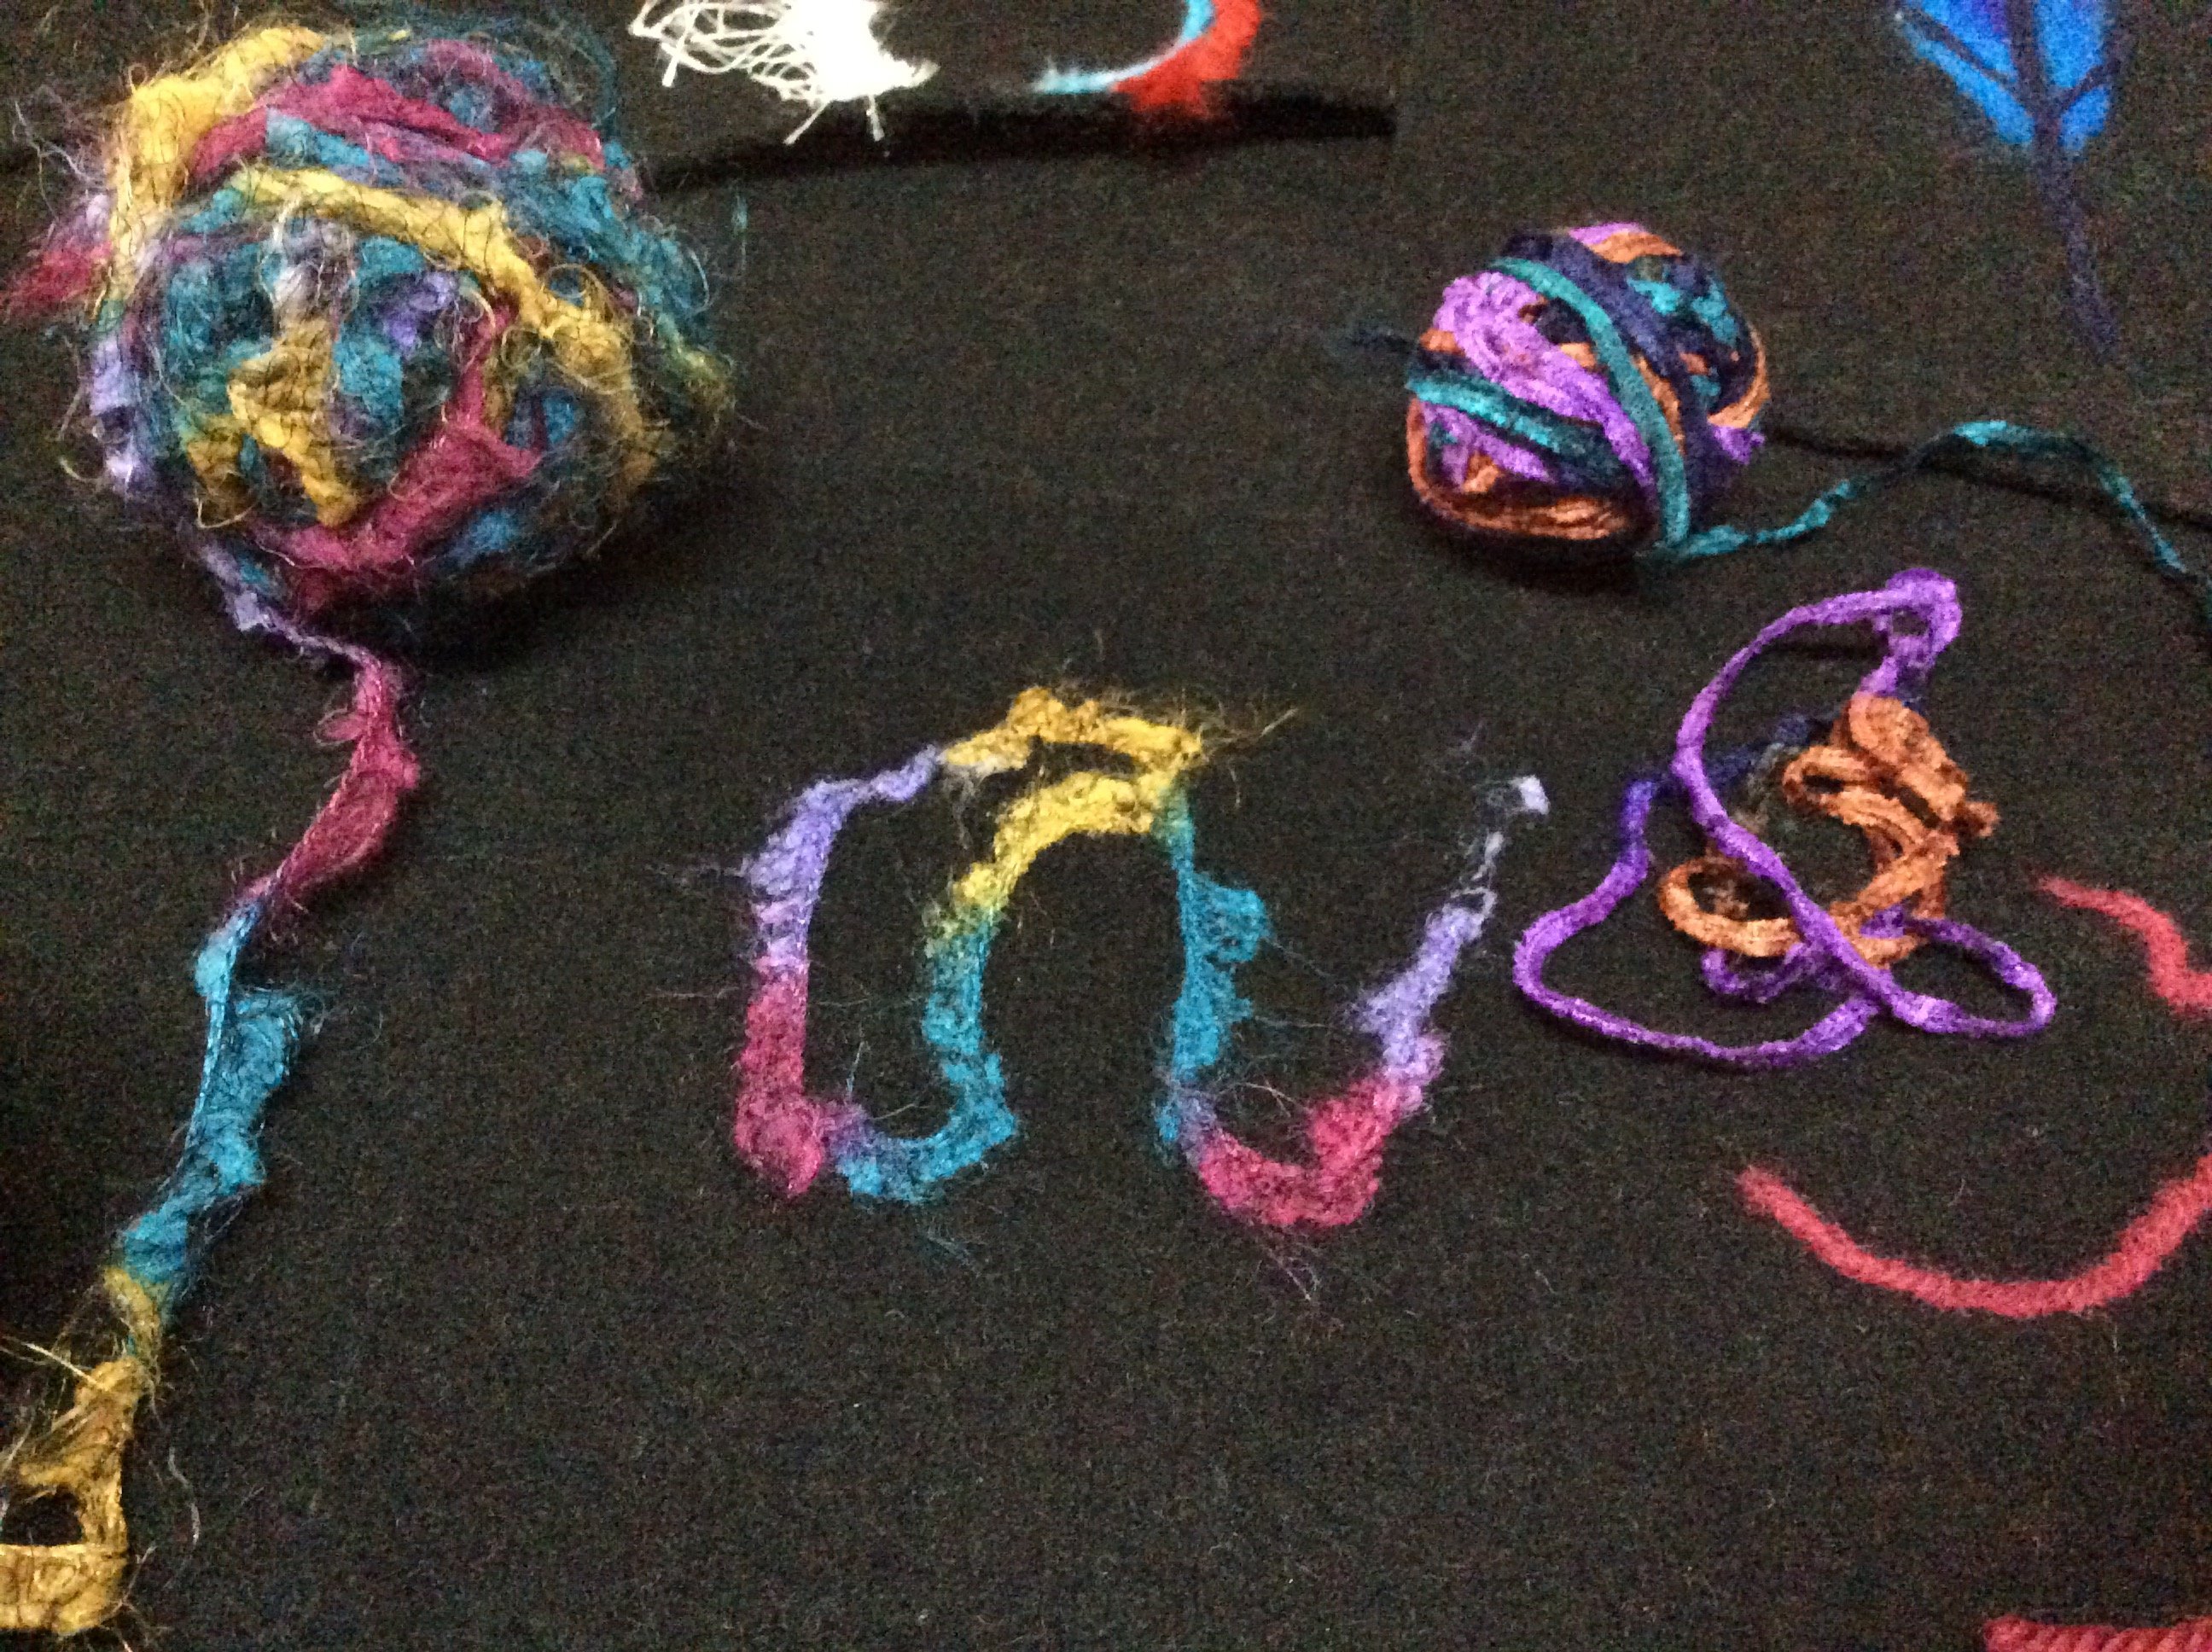
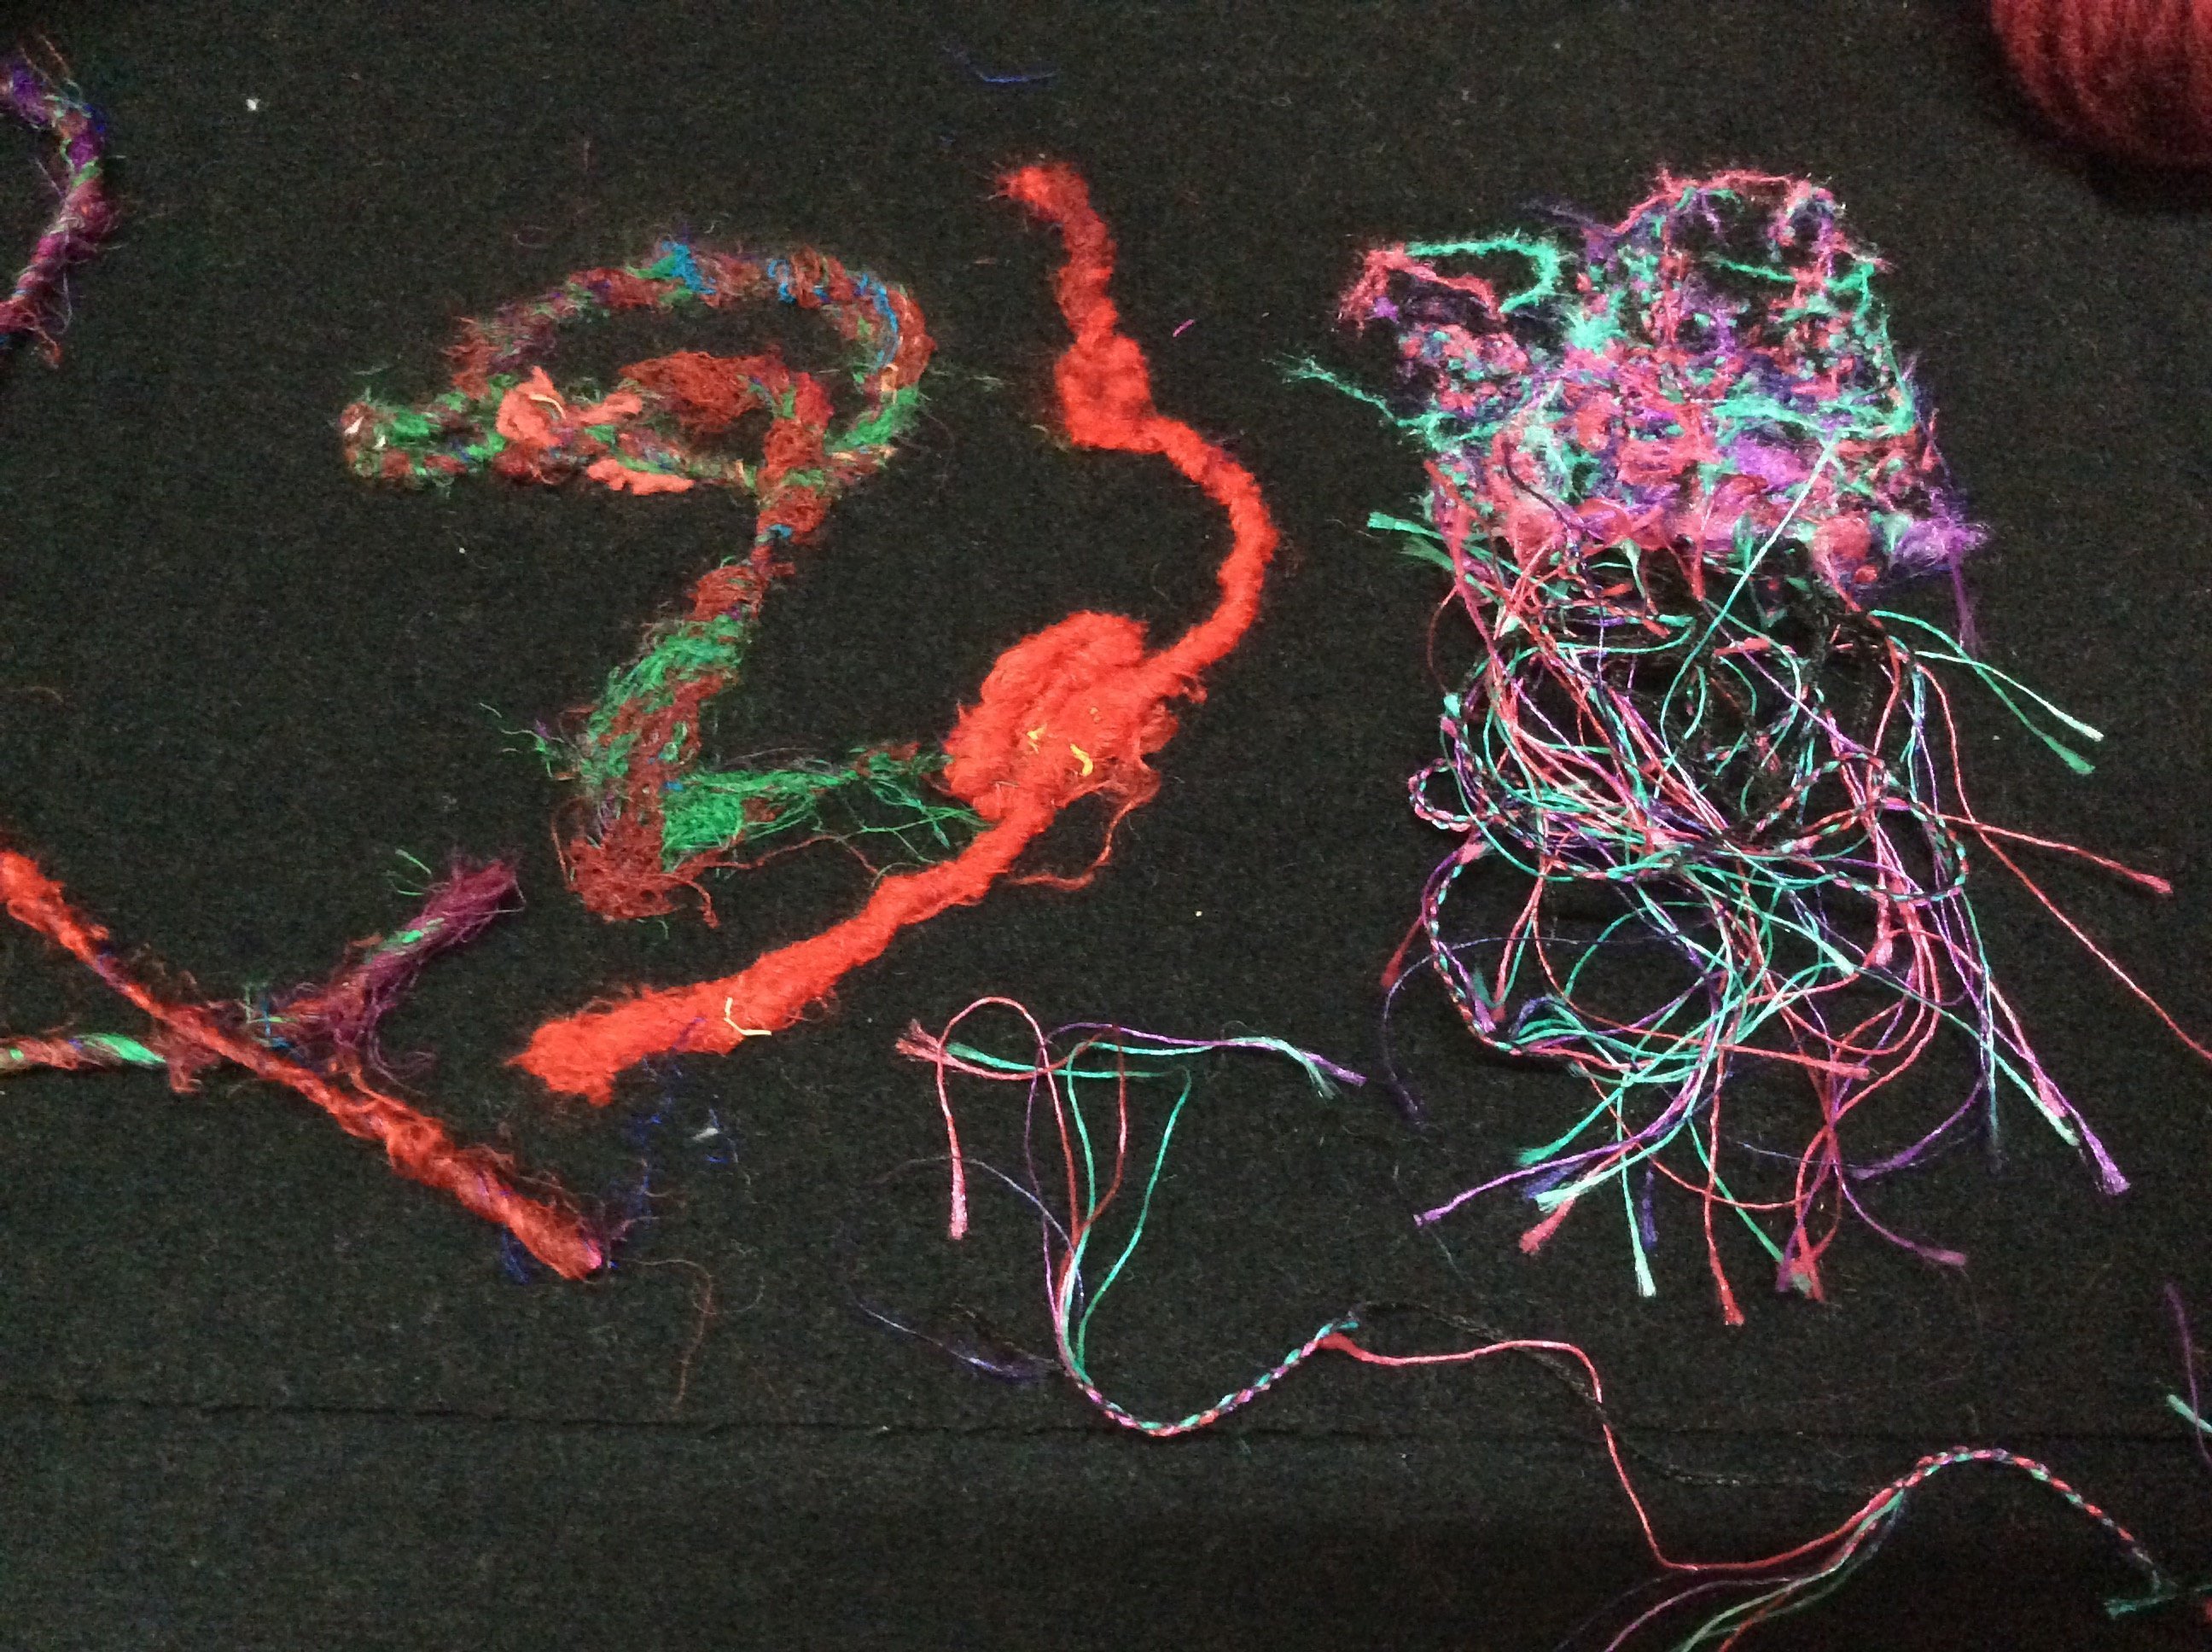
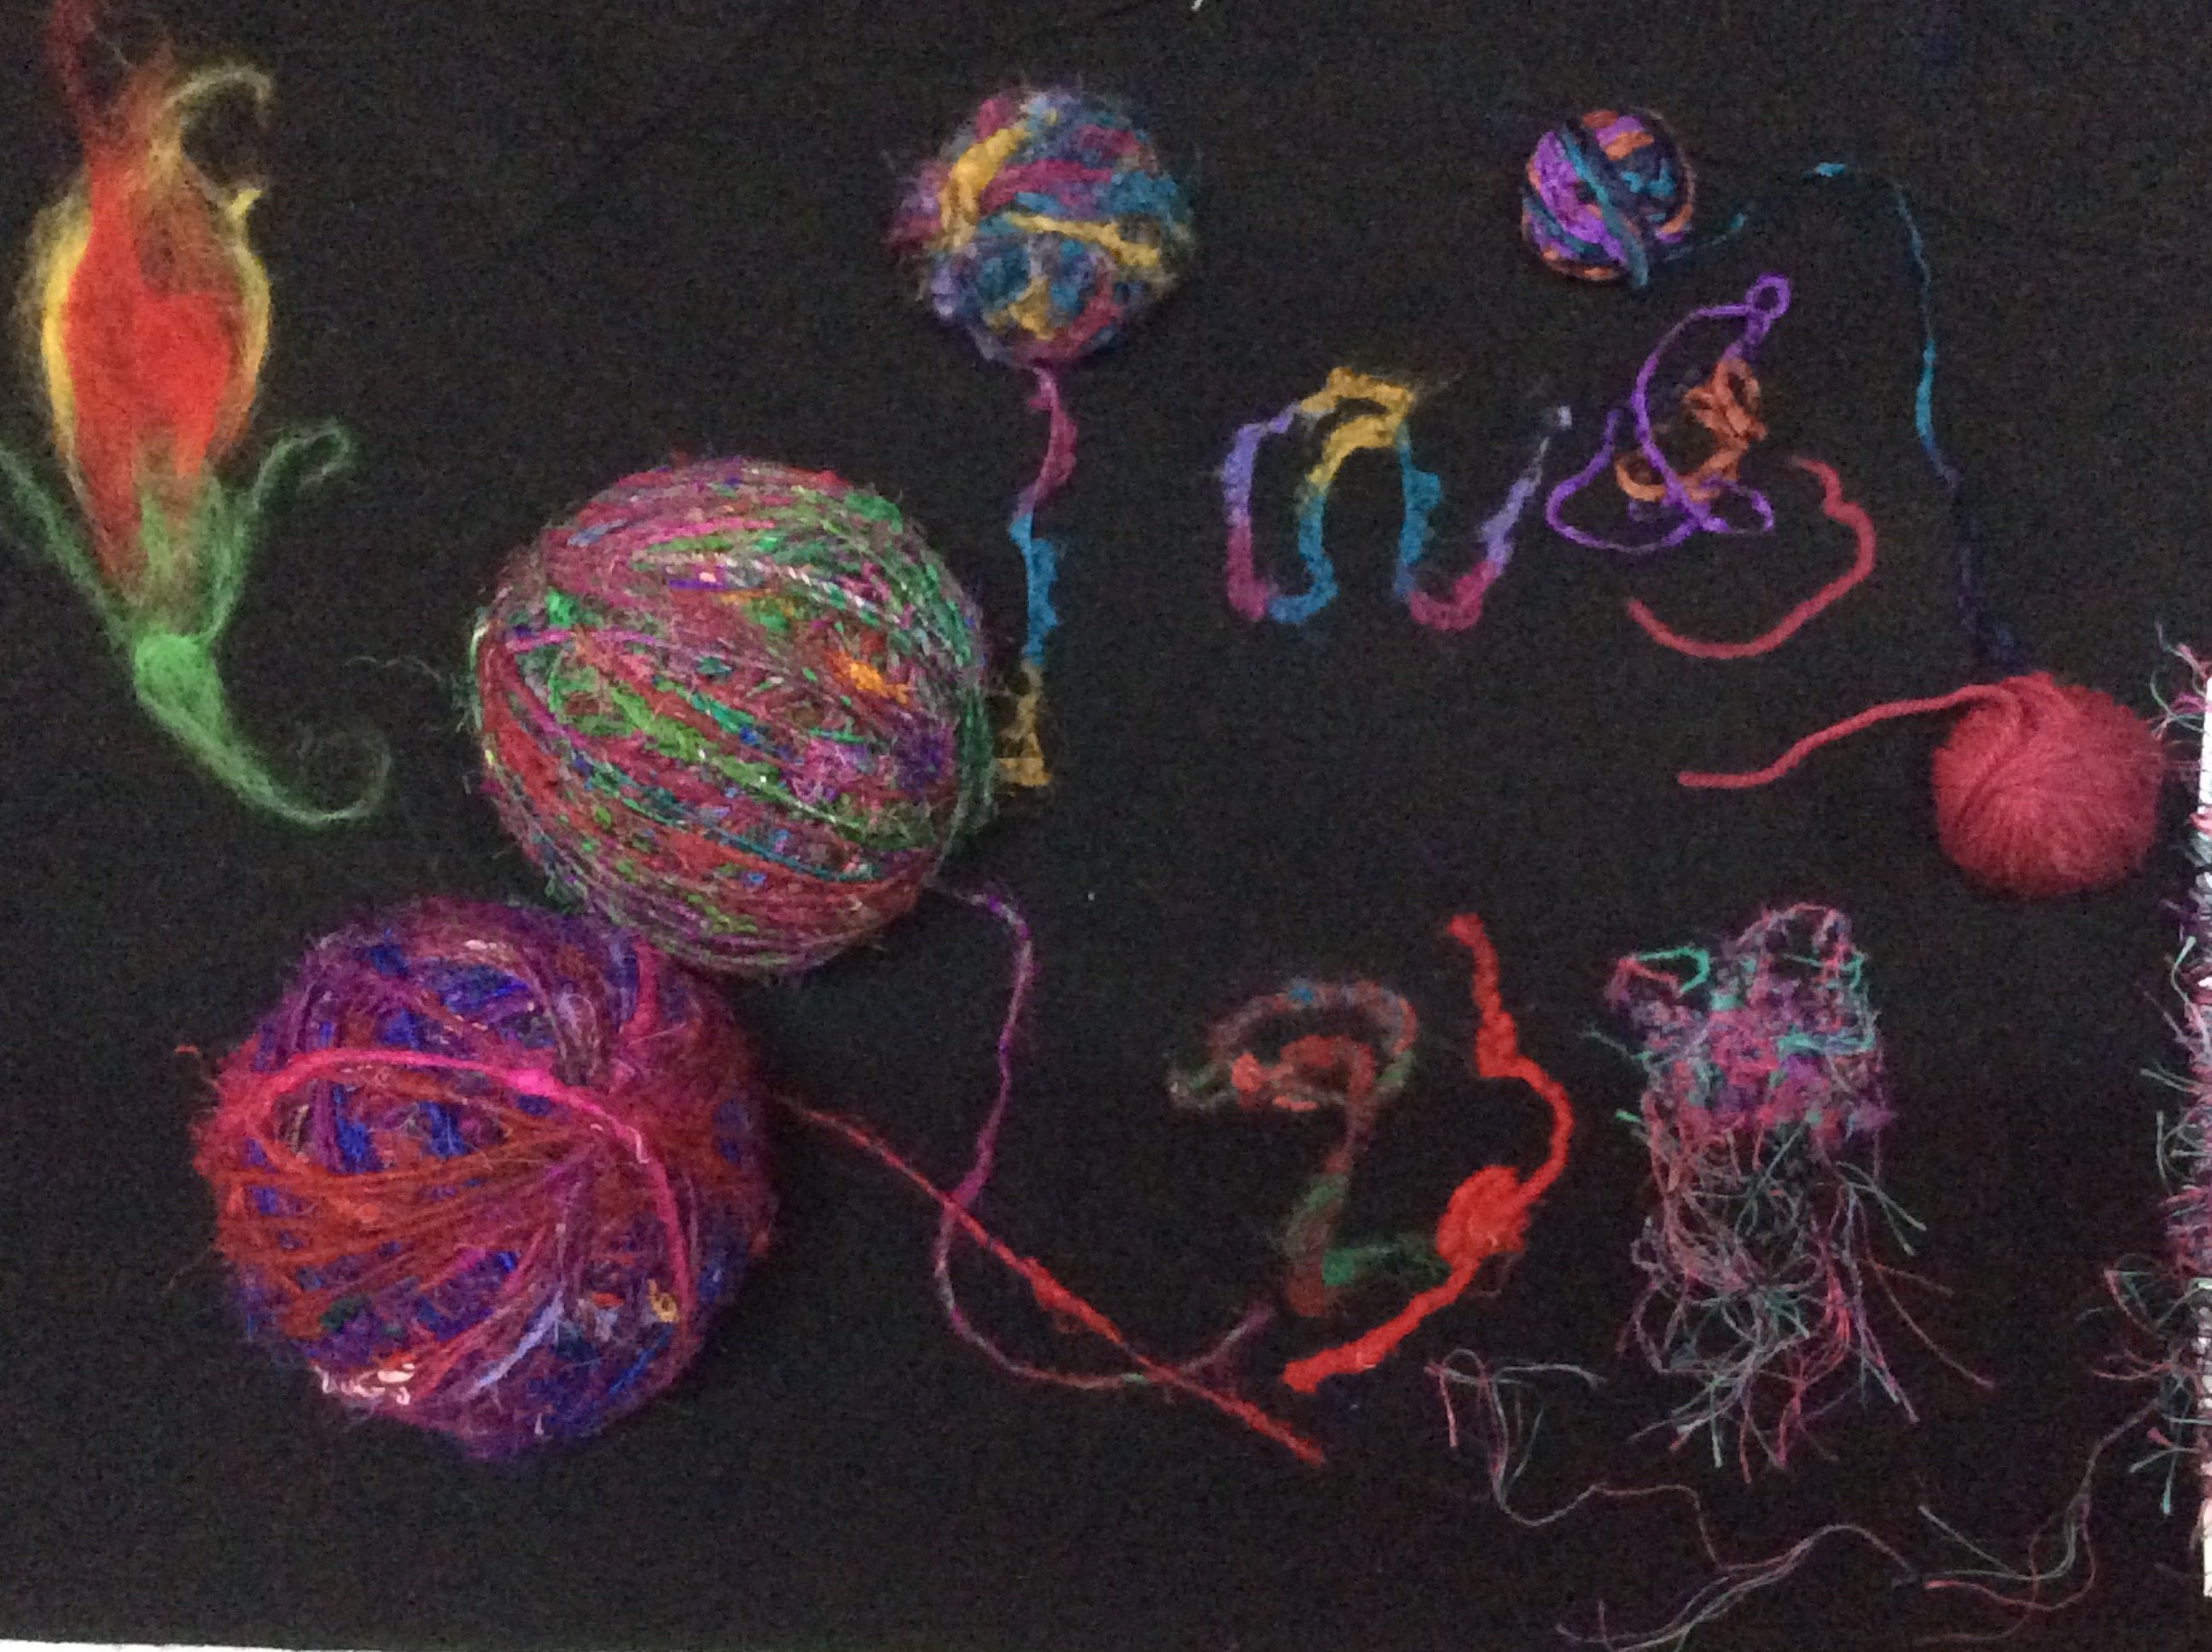
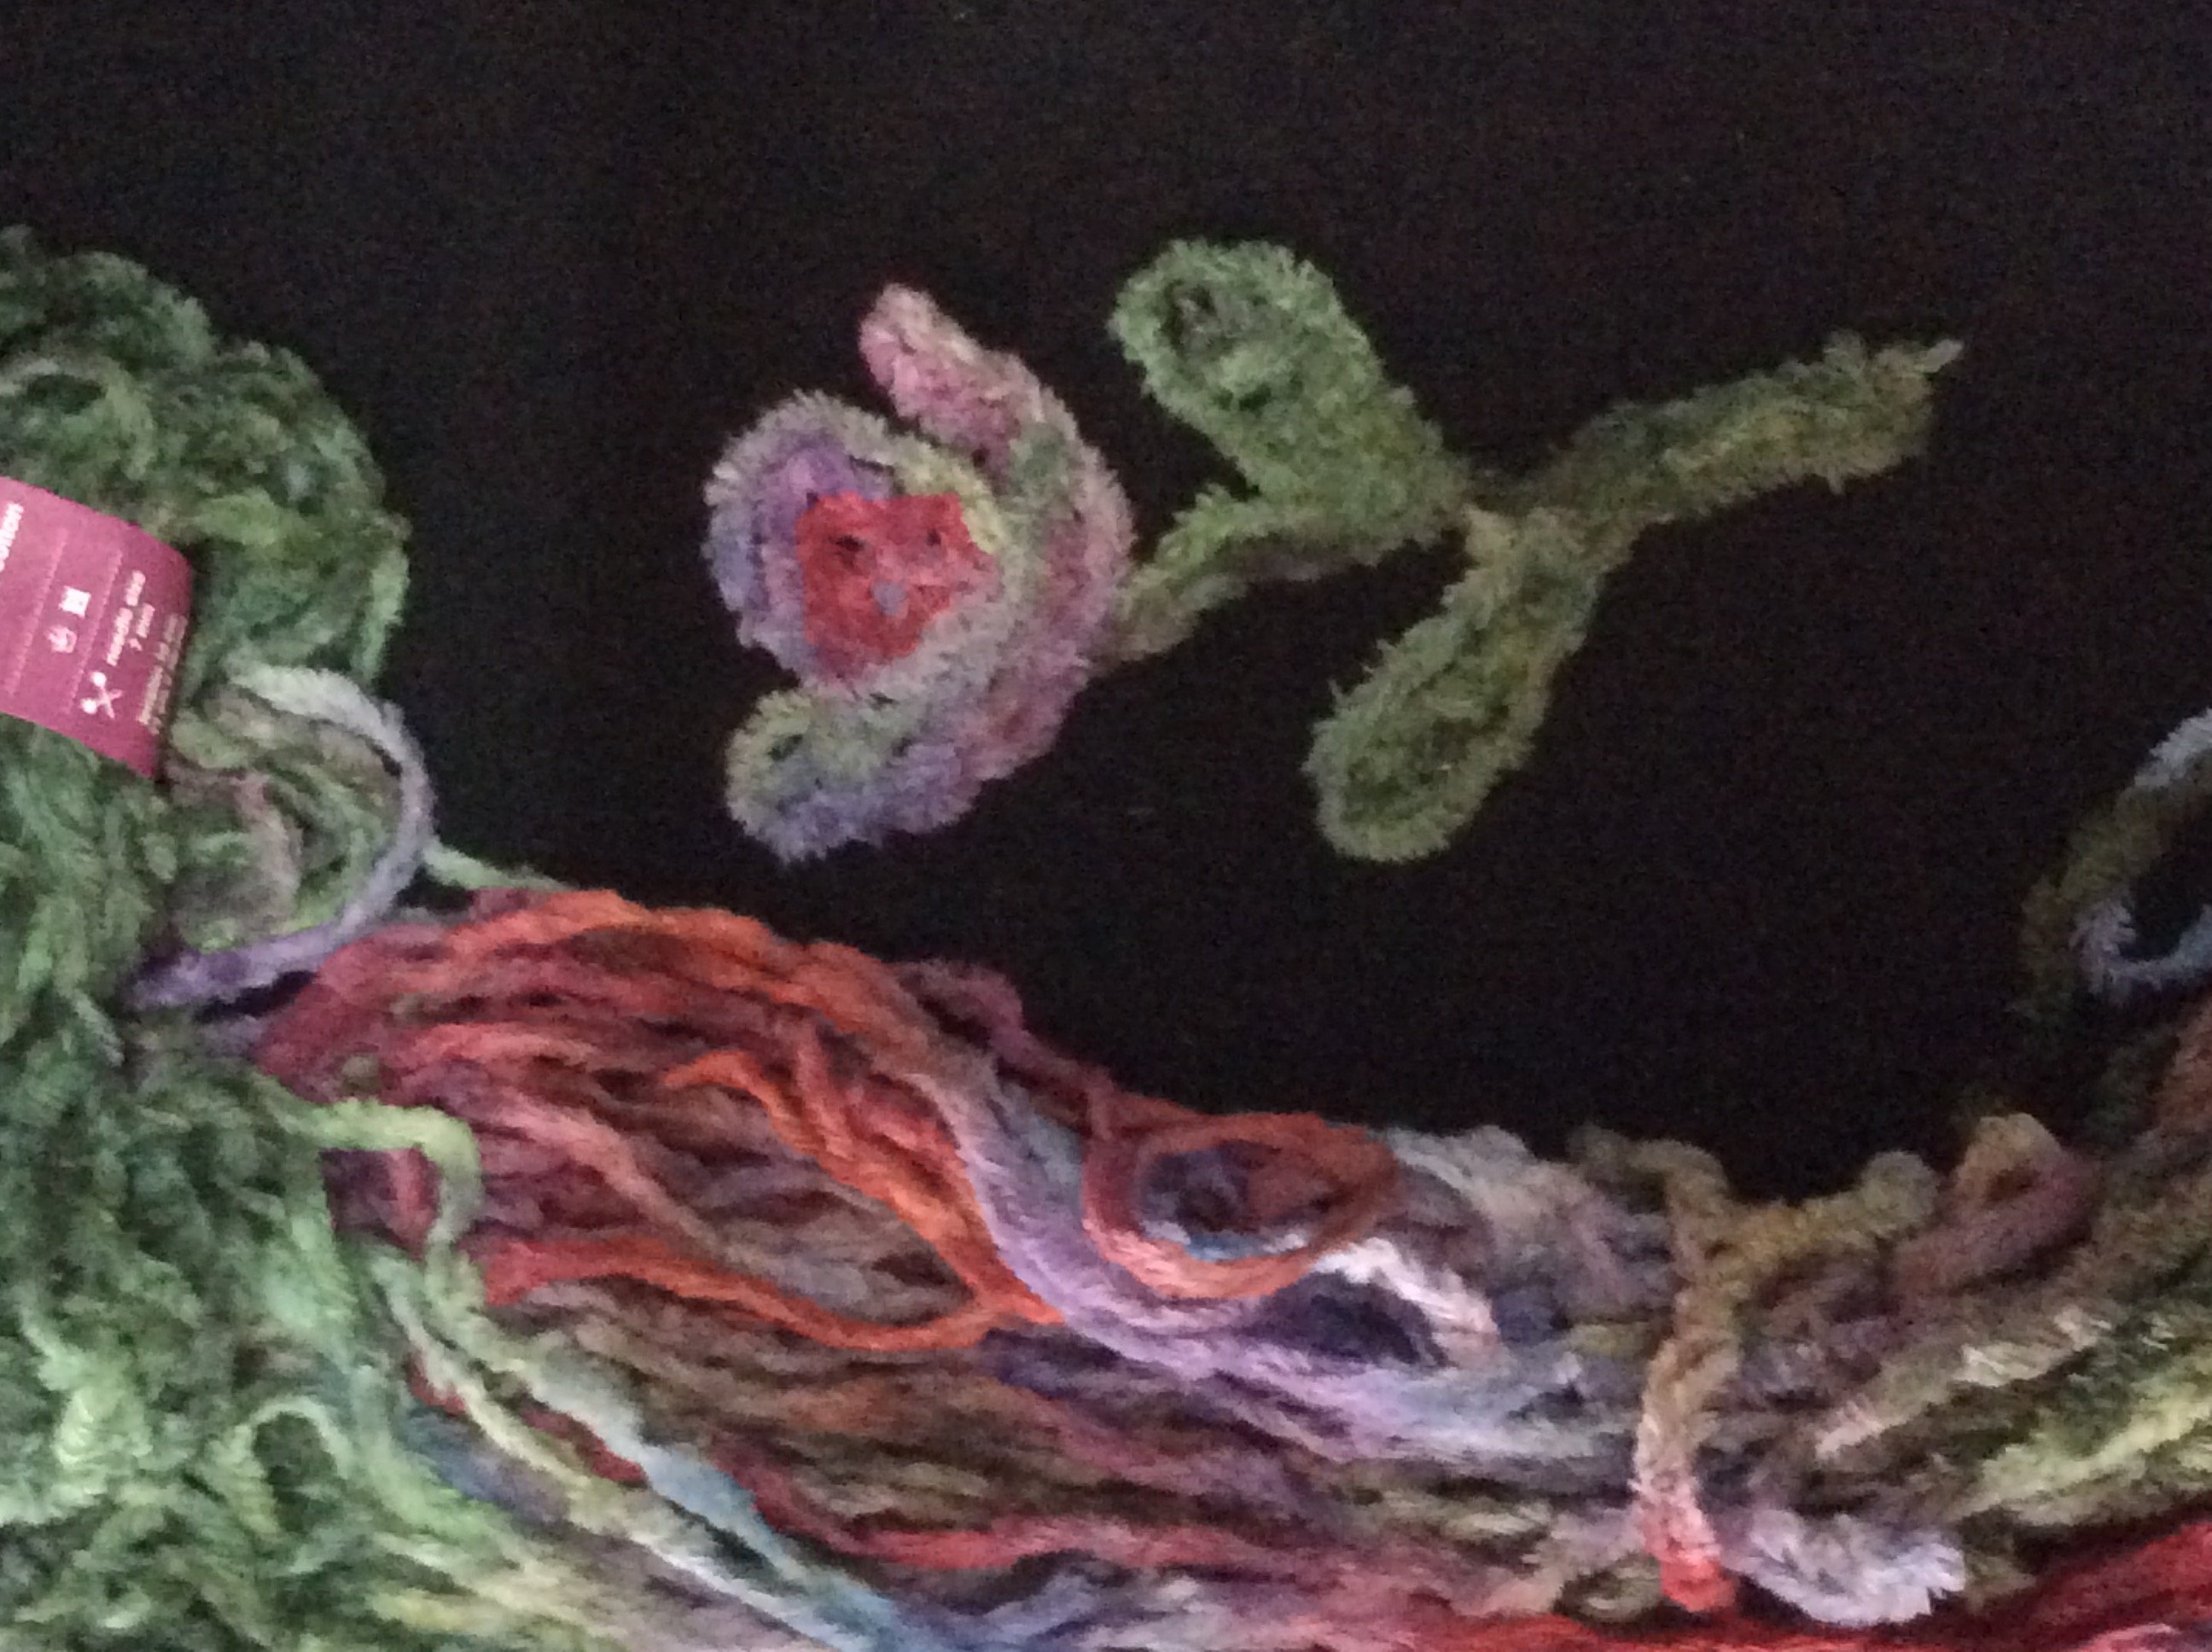
The last sample used the remaining yarns I had to trial, B and H … mostly in hanks so I had help with rolling them into balls first. Love having a helper!! Too shy to have his pic here … They all ‘punched’ up well, except for one that simply would not embed itself into the fabric!! (Top right hand corner – last photo) That’s why we trial everything first, people!! So here’s most of the sample ‘bits’ together …
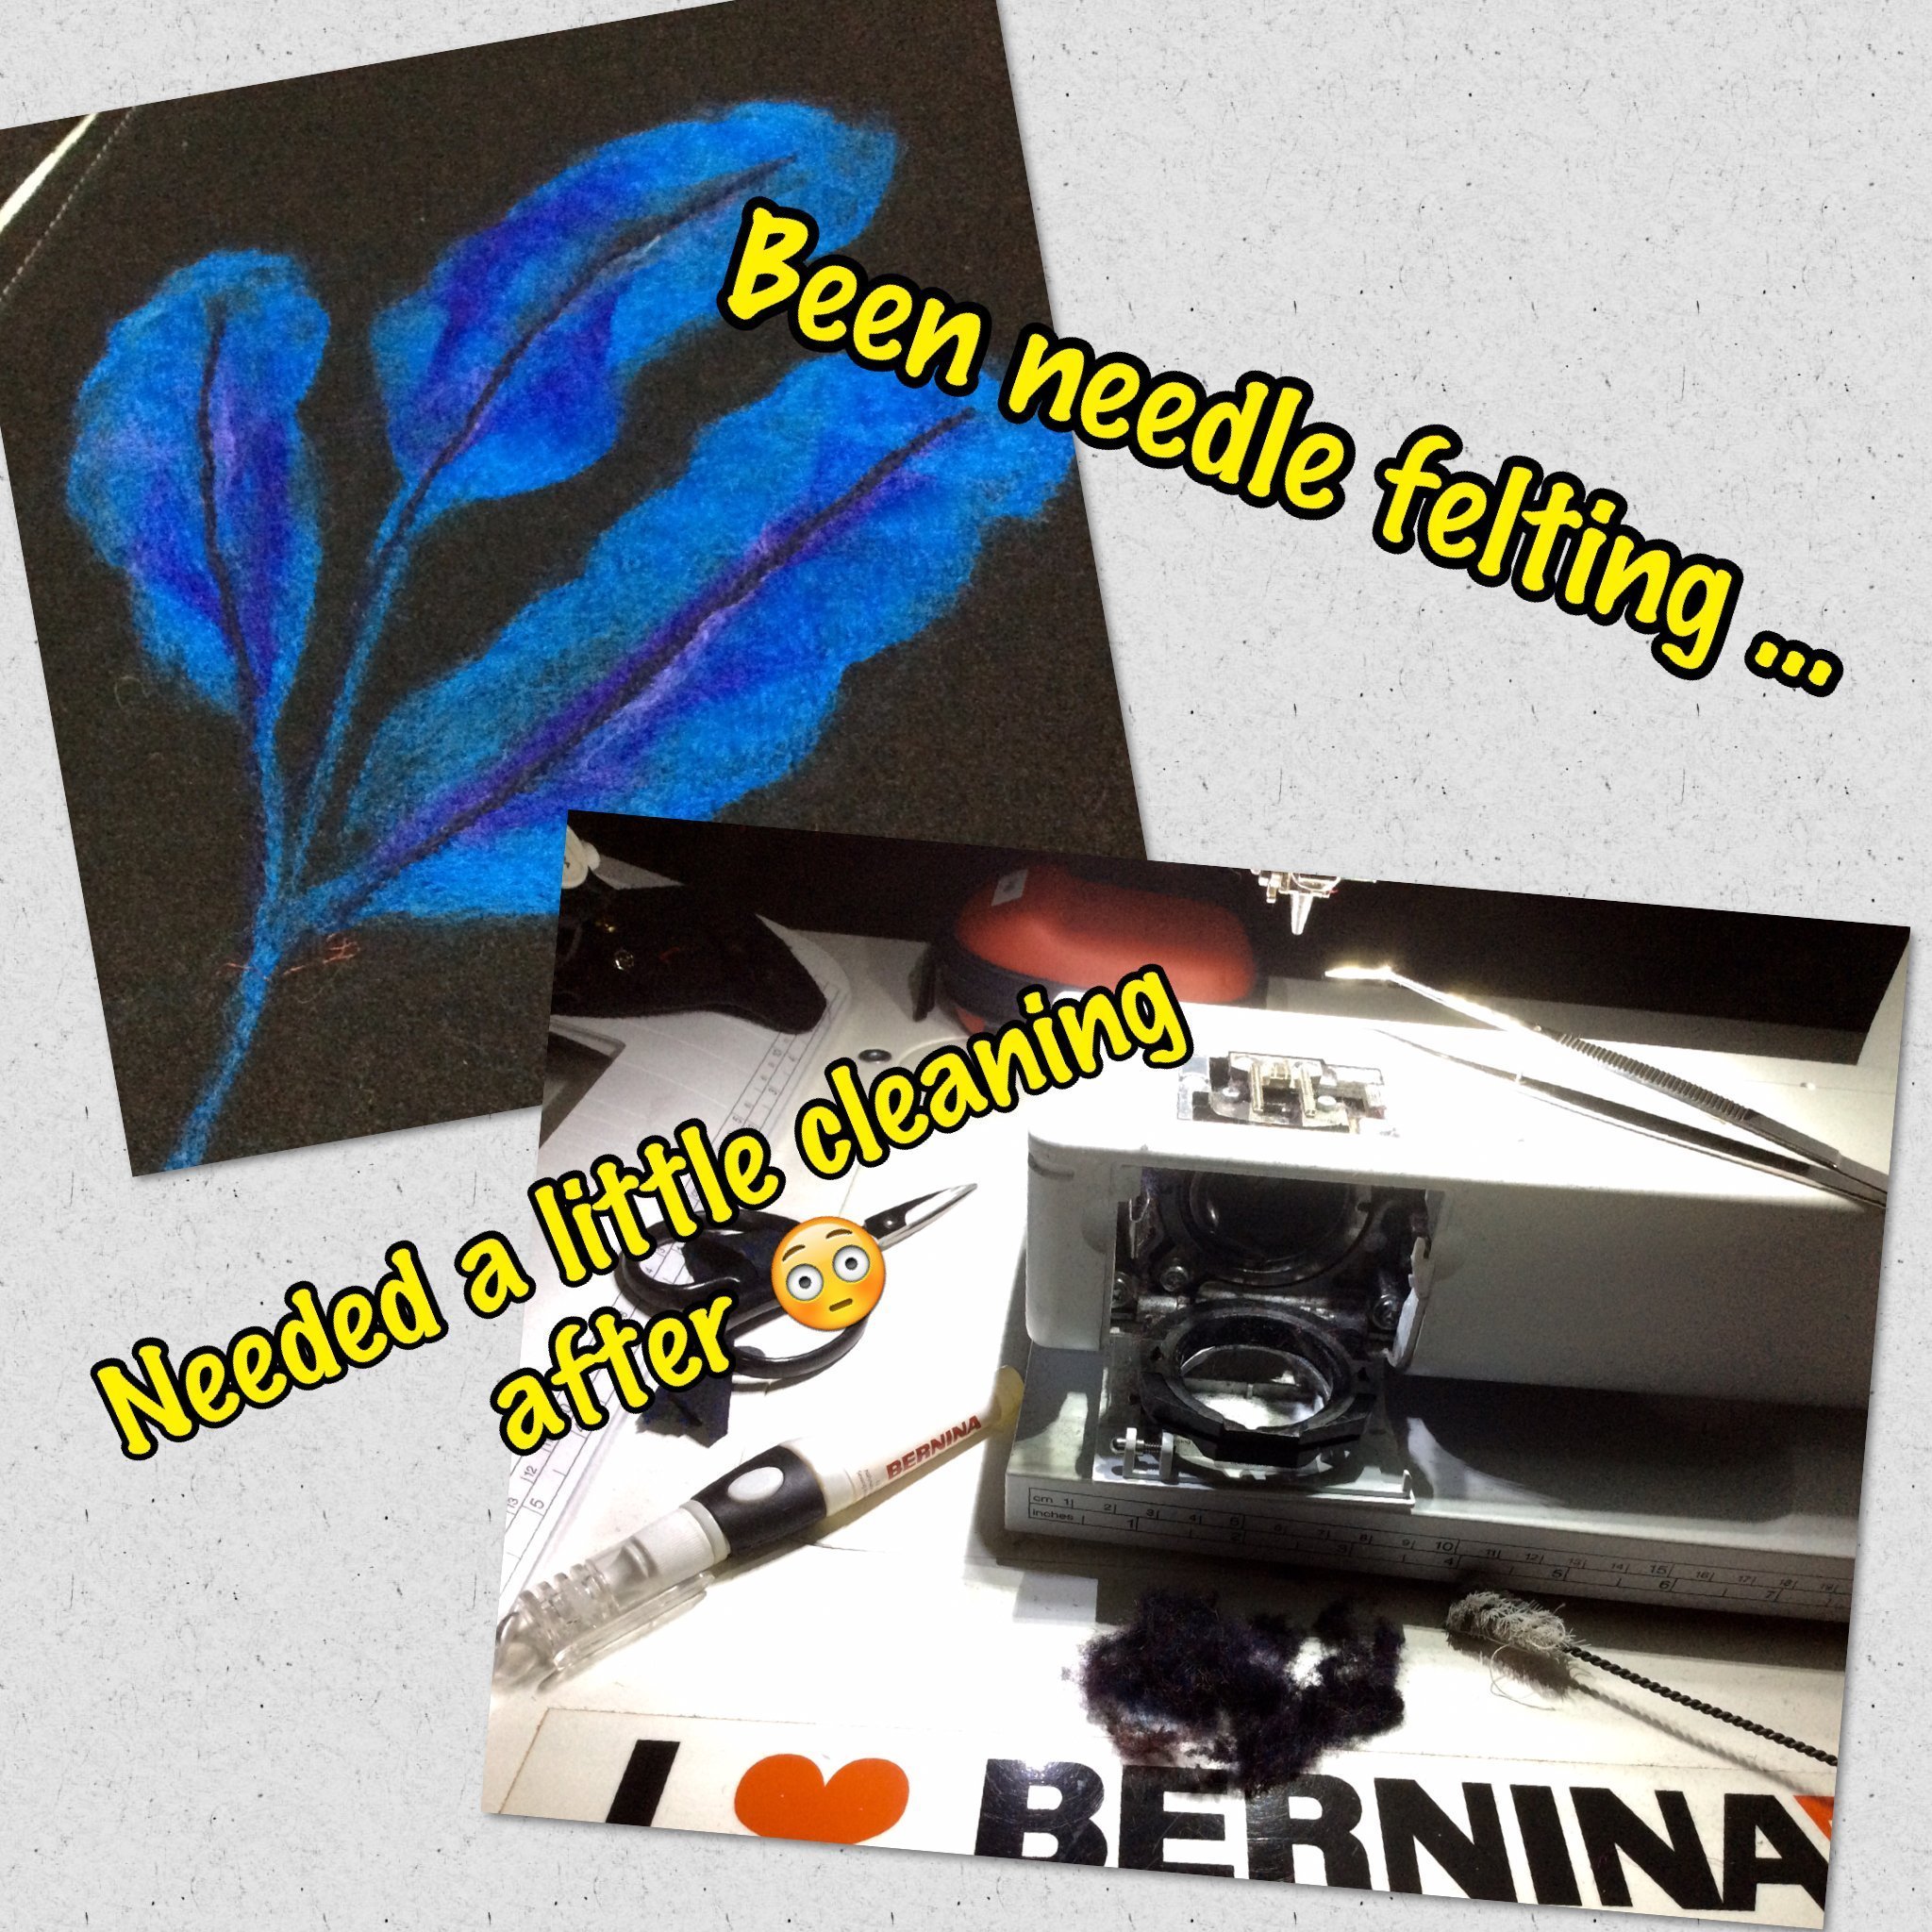
Well, before we can make this up – please remember that Needle Punching will push a lot of fibres into your machine – so cleaning out the bobbin area and under the needle plate is VERY important before you start sewing again! Oh, and a bit of oil as well – all this is in the Instruction Leaflet – please read through it!
Time to Make it up
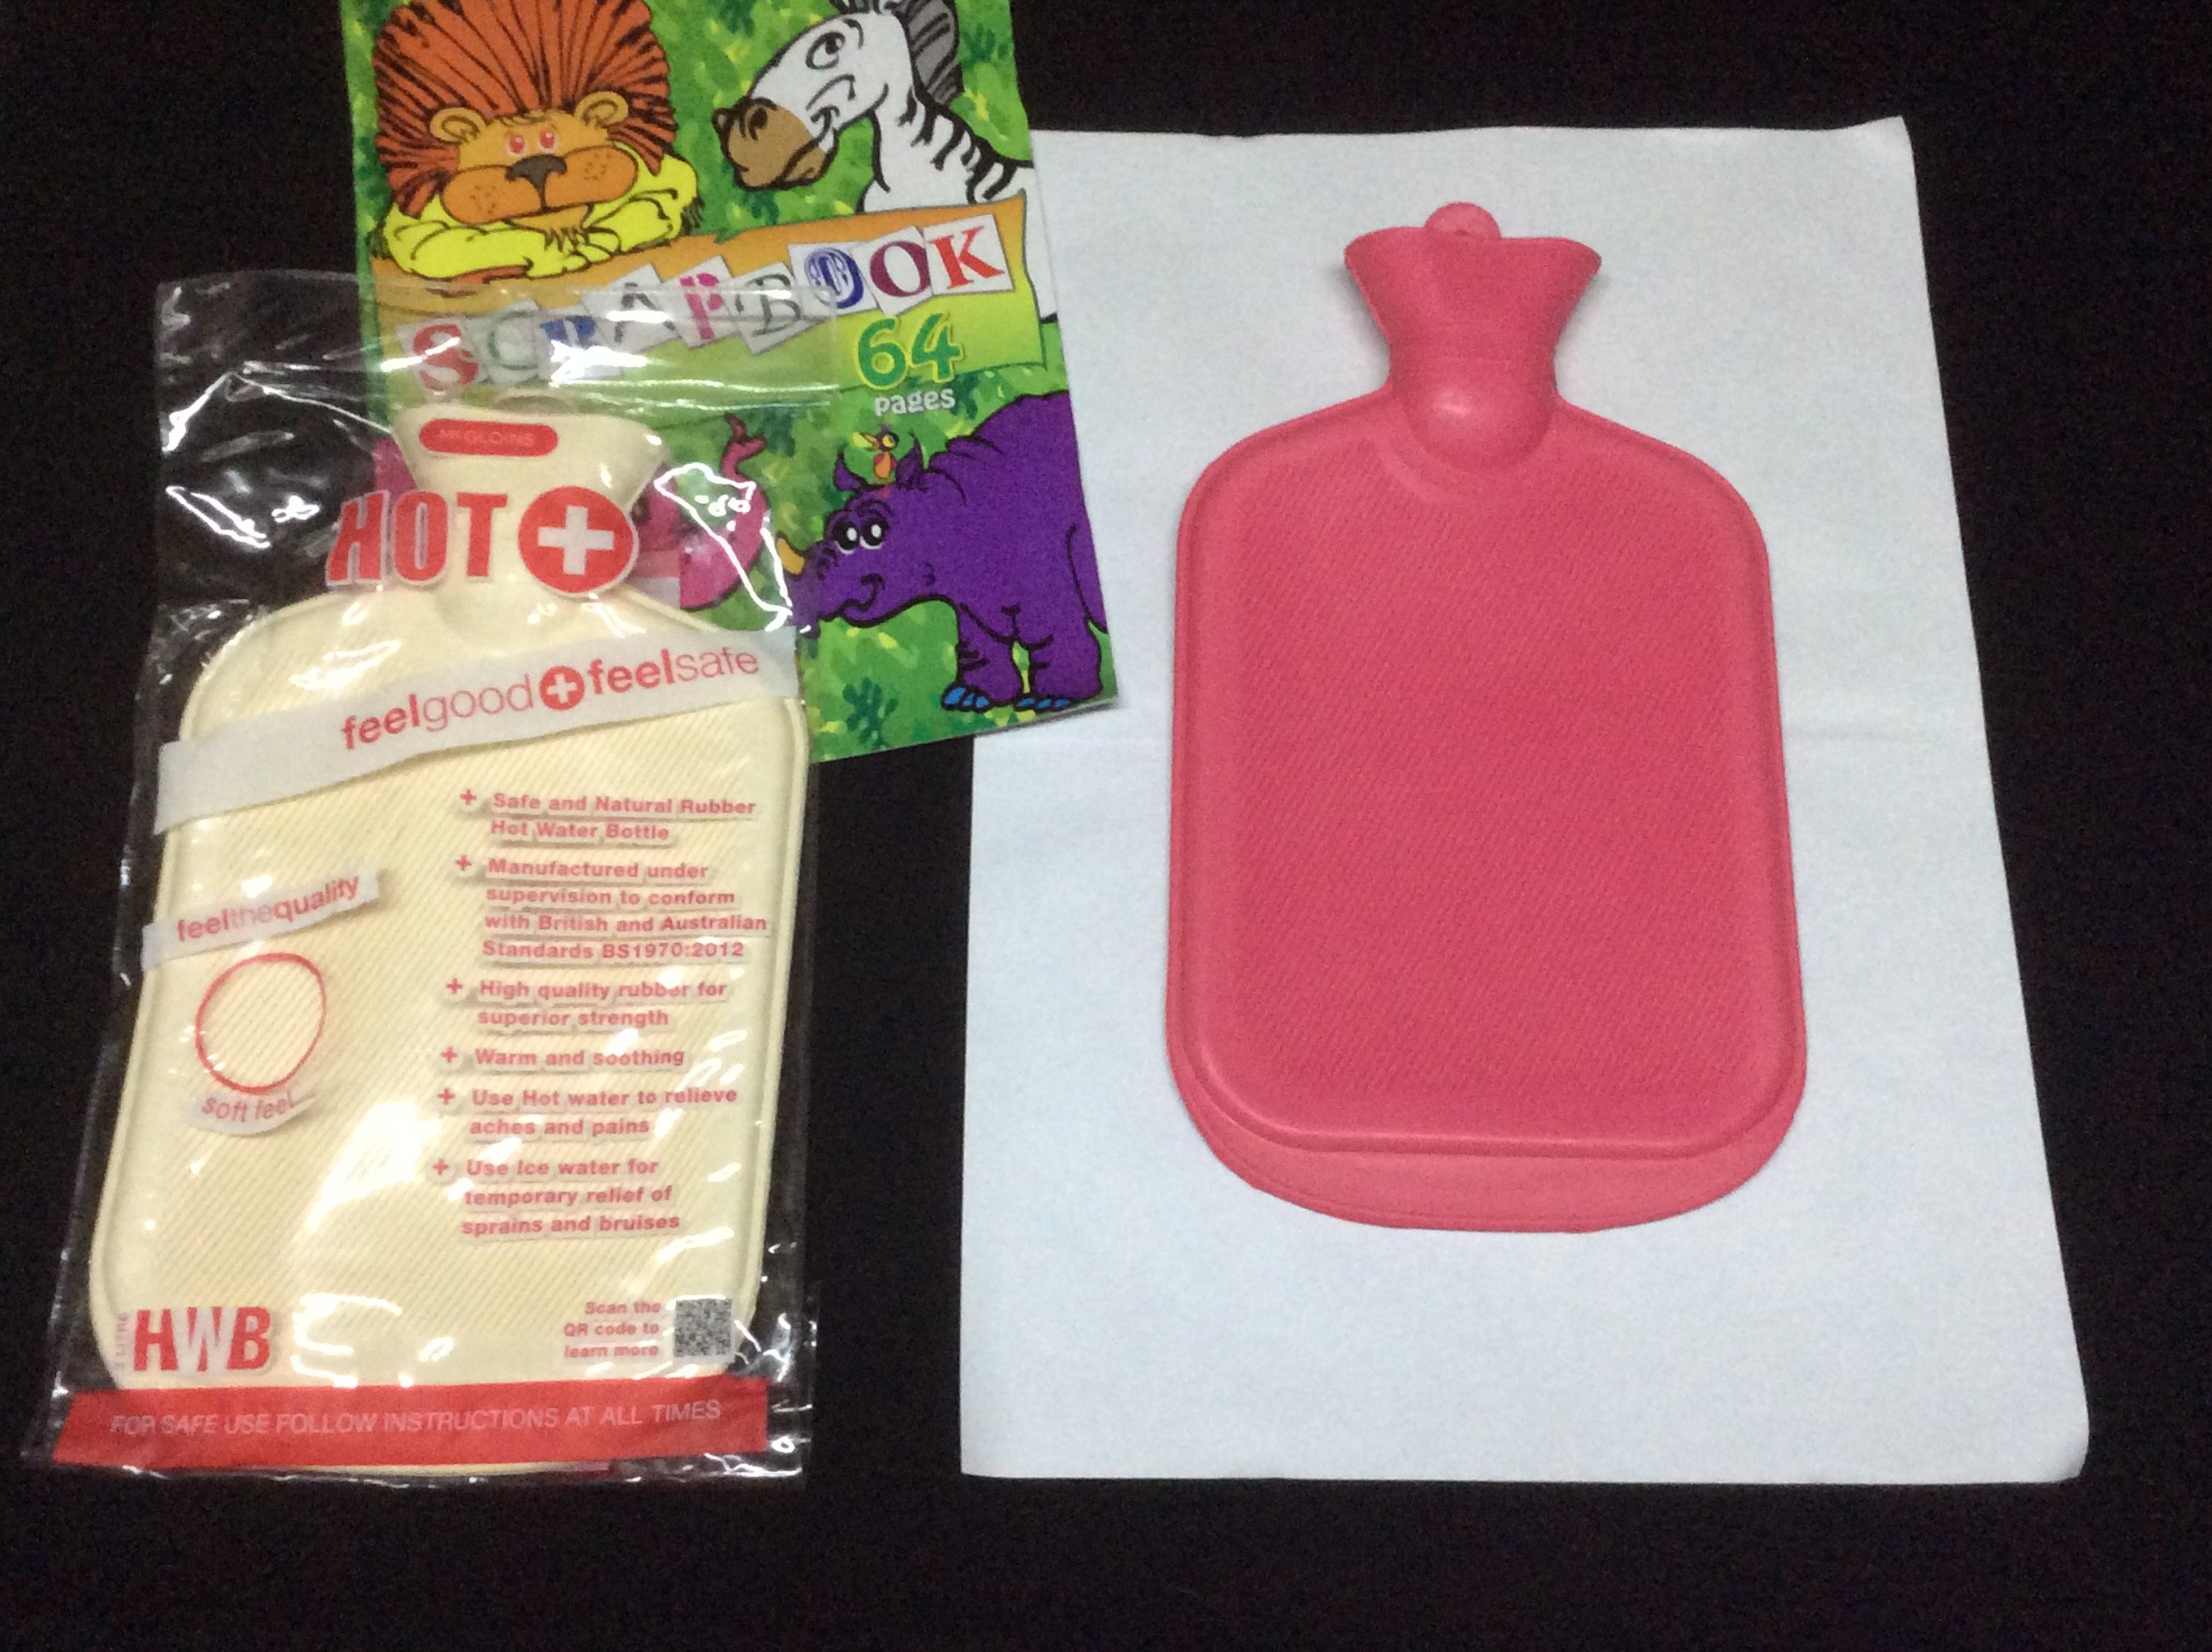
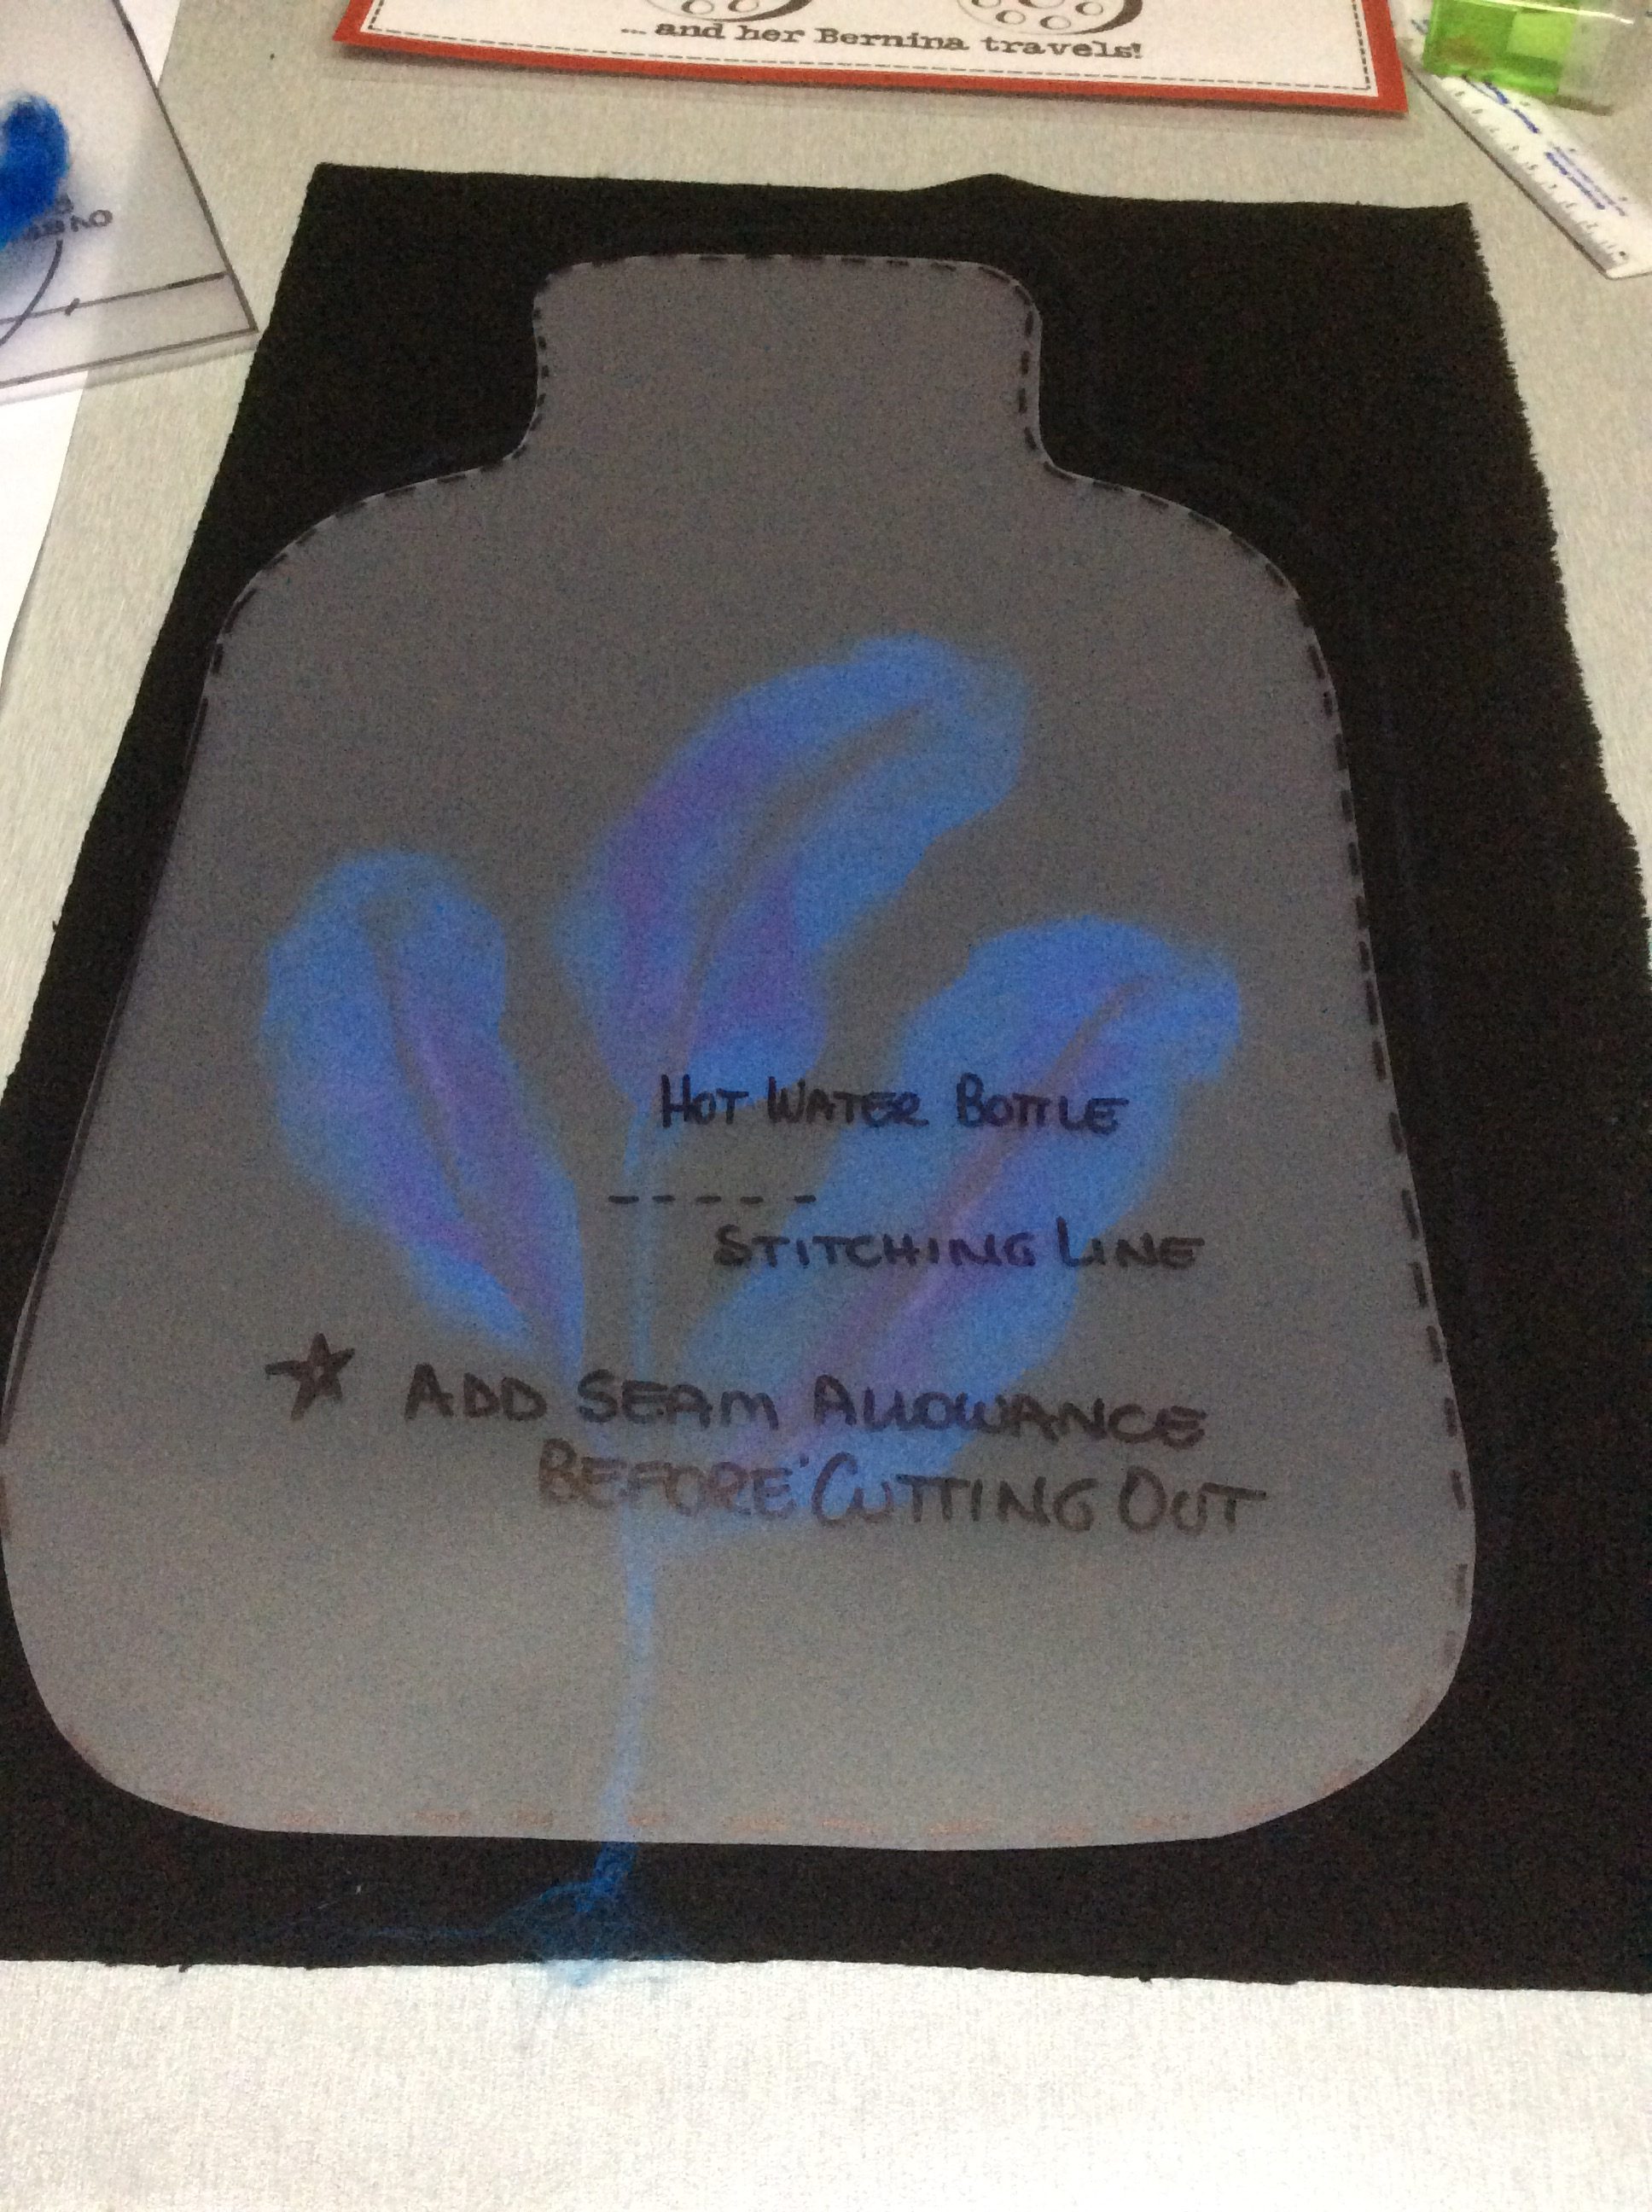
It really is an easy project and now that the needle punching trials have been done, I selected the feather design and put all the other stuff away so as not to distract me. On a large piece of white paper (I have an inexpensive Scrap Book that I pull pages out of all the time – remember I am on the road travelling!), trace around the shape of the ‘bottle’ (small dotted line, and then add about a ½”/1cm to the sides, top and bottom, simplifying the shape at the top and bottom as you go. This will be your stitching line.
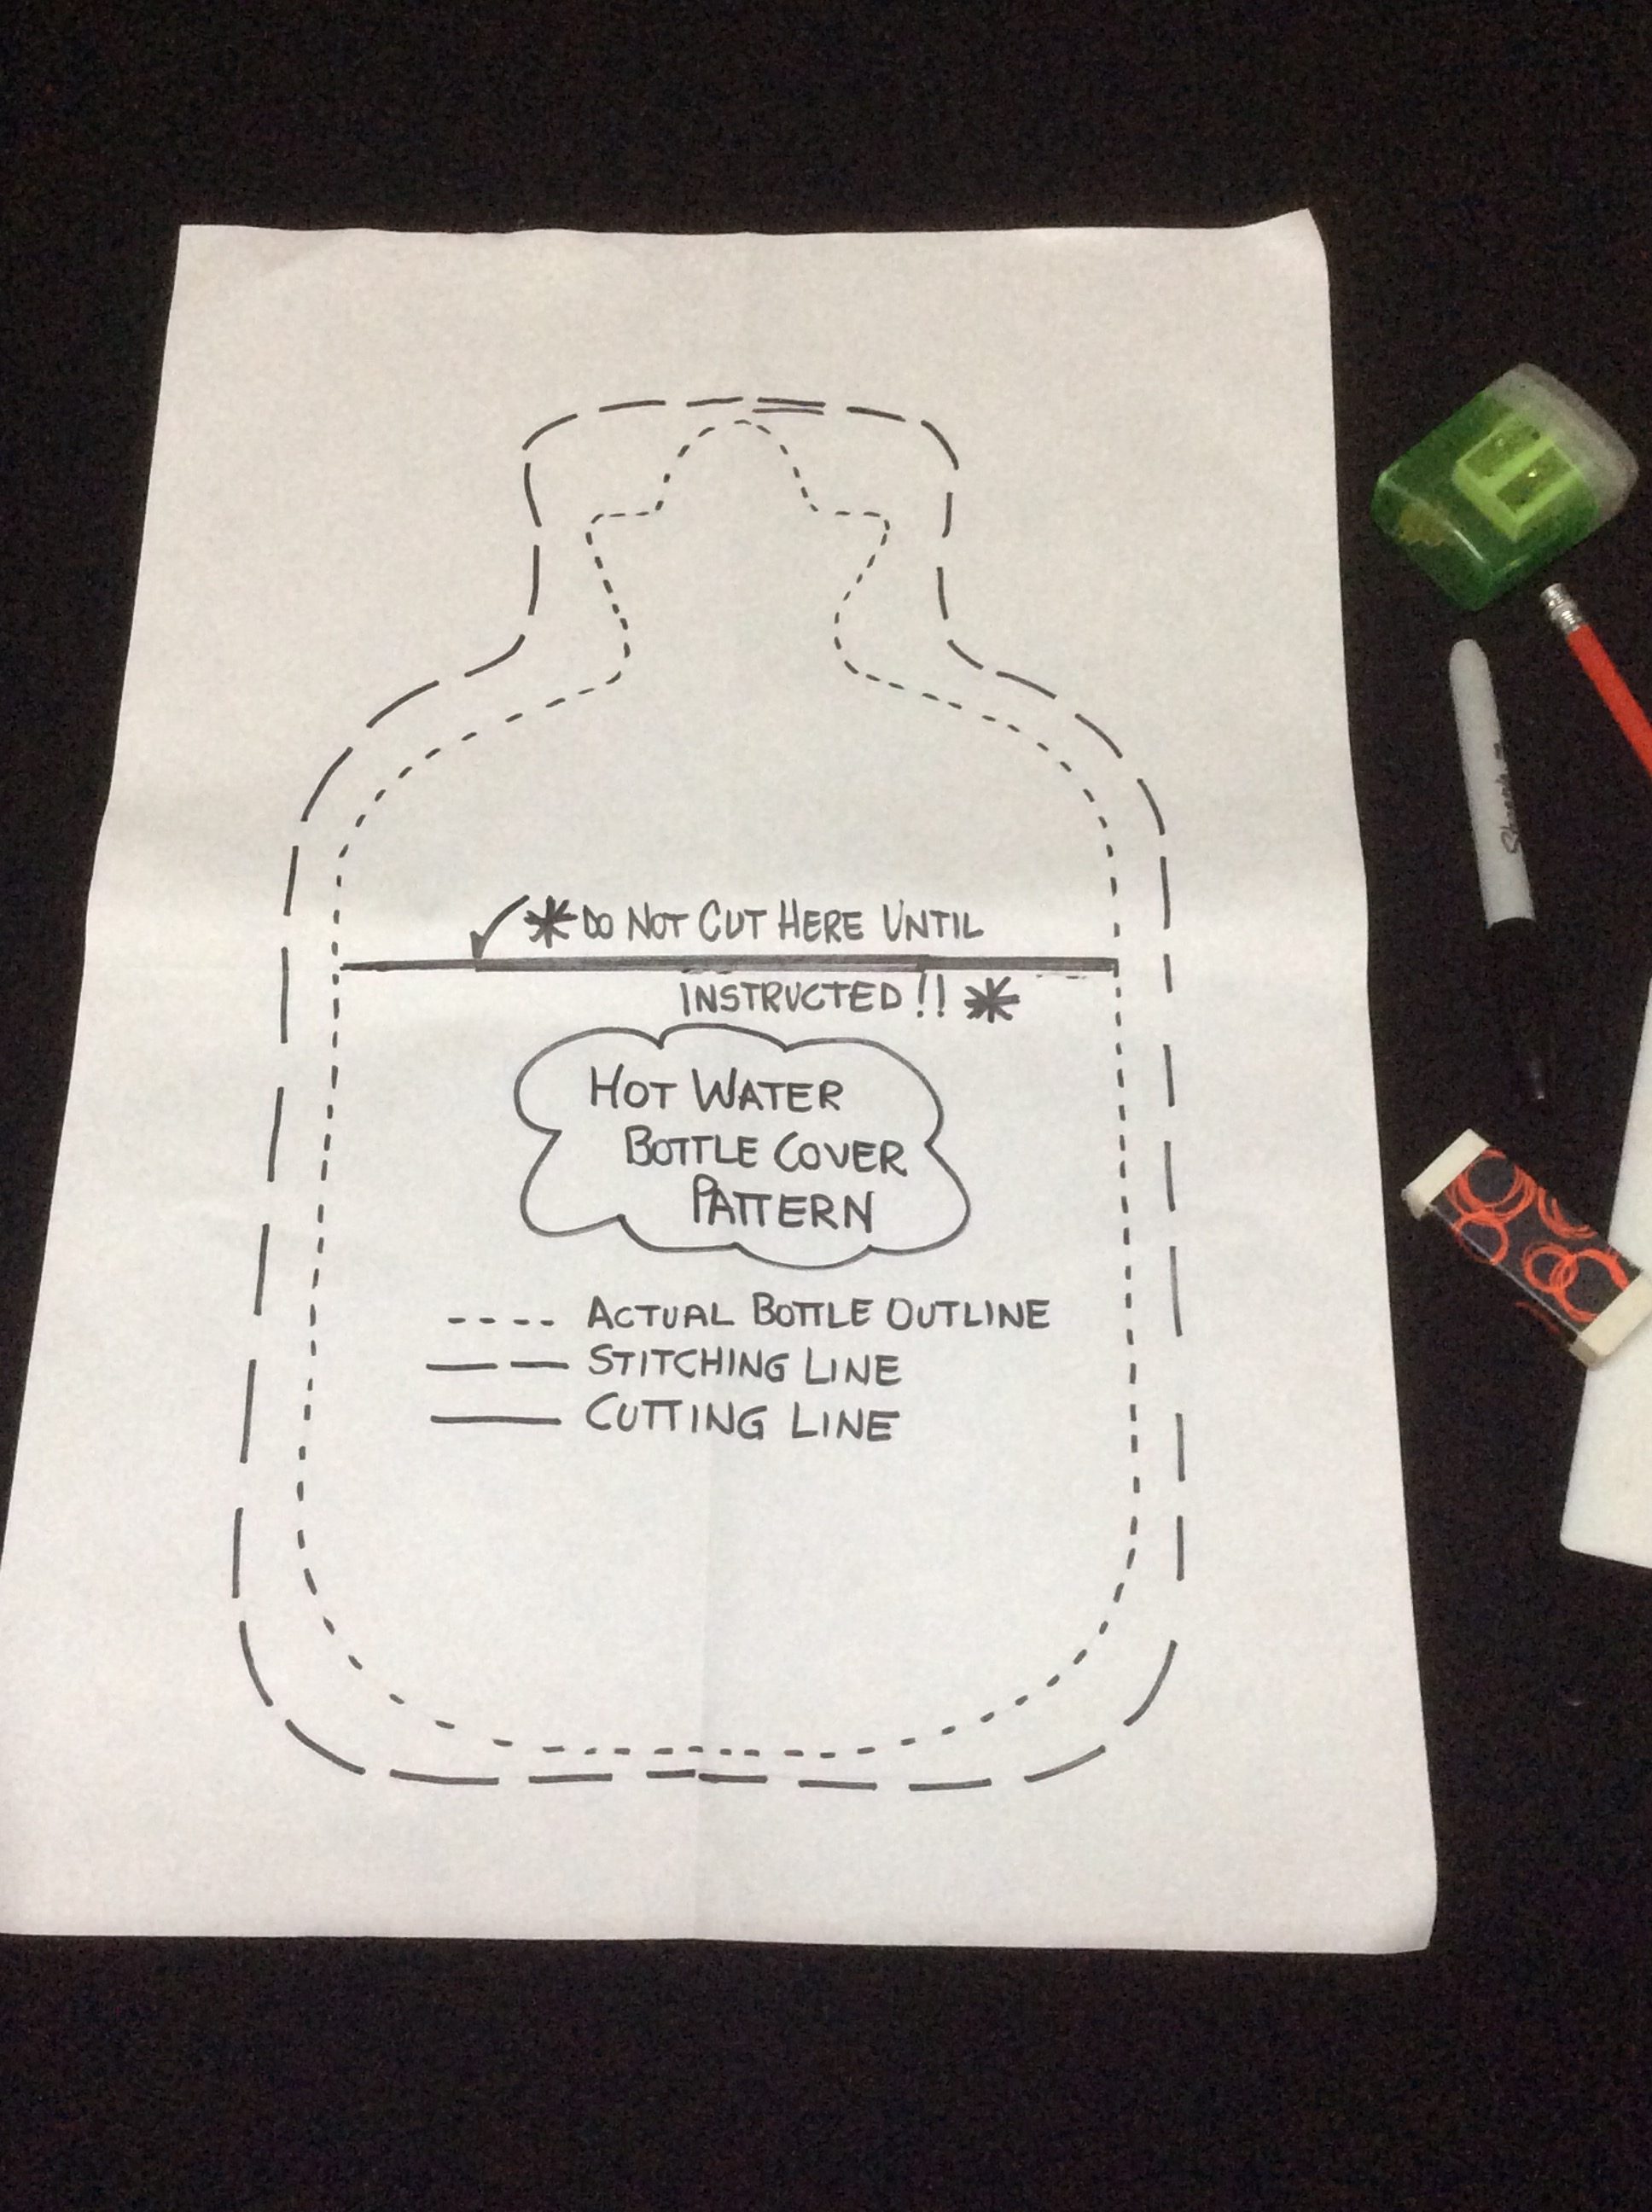
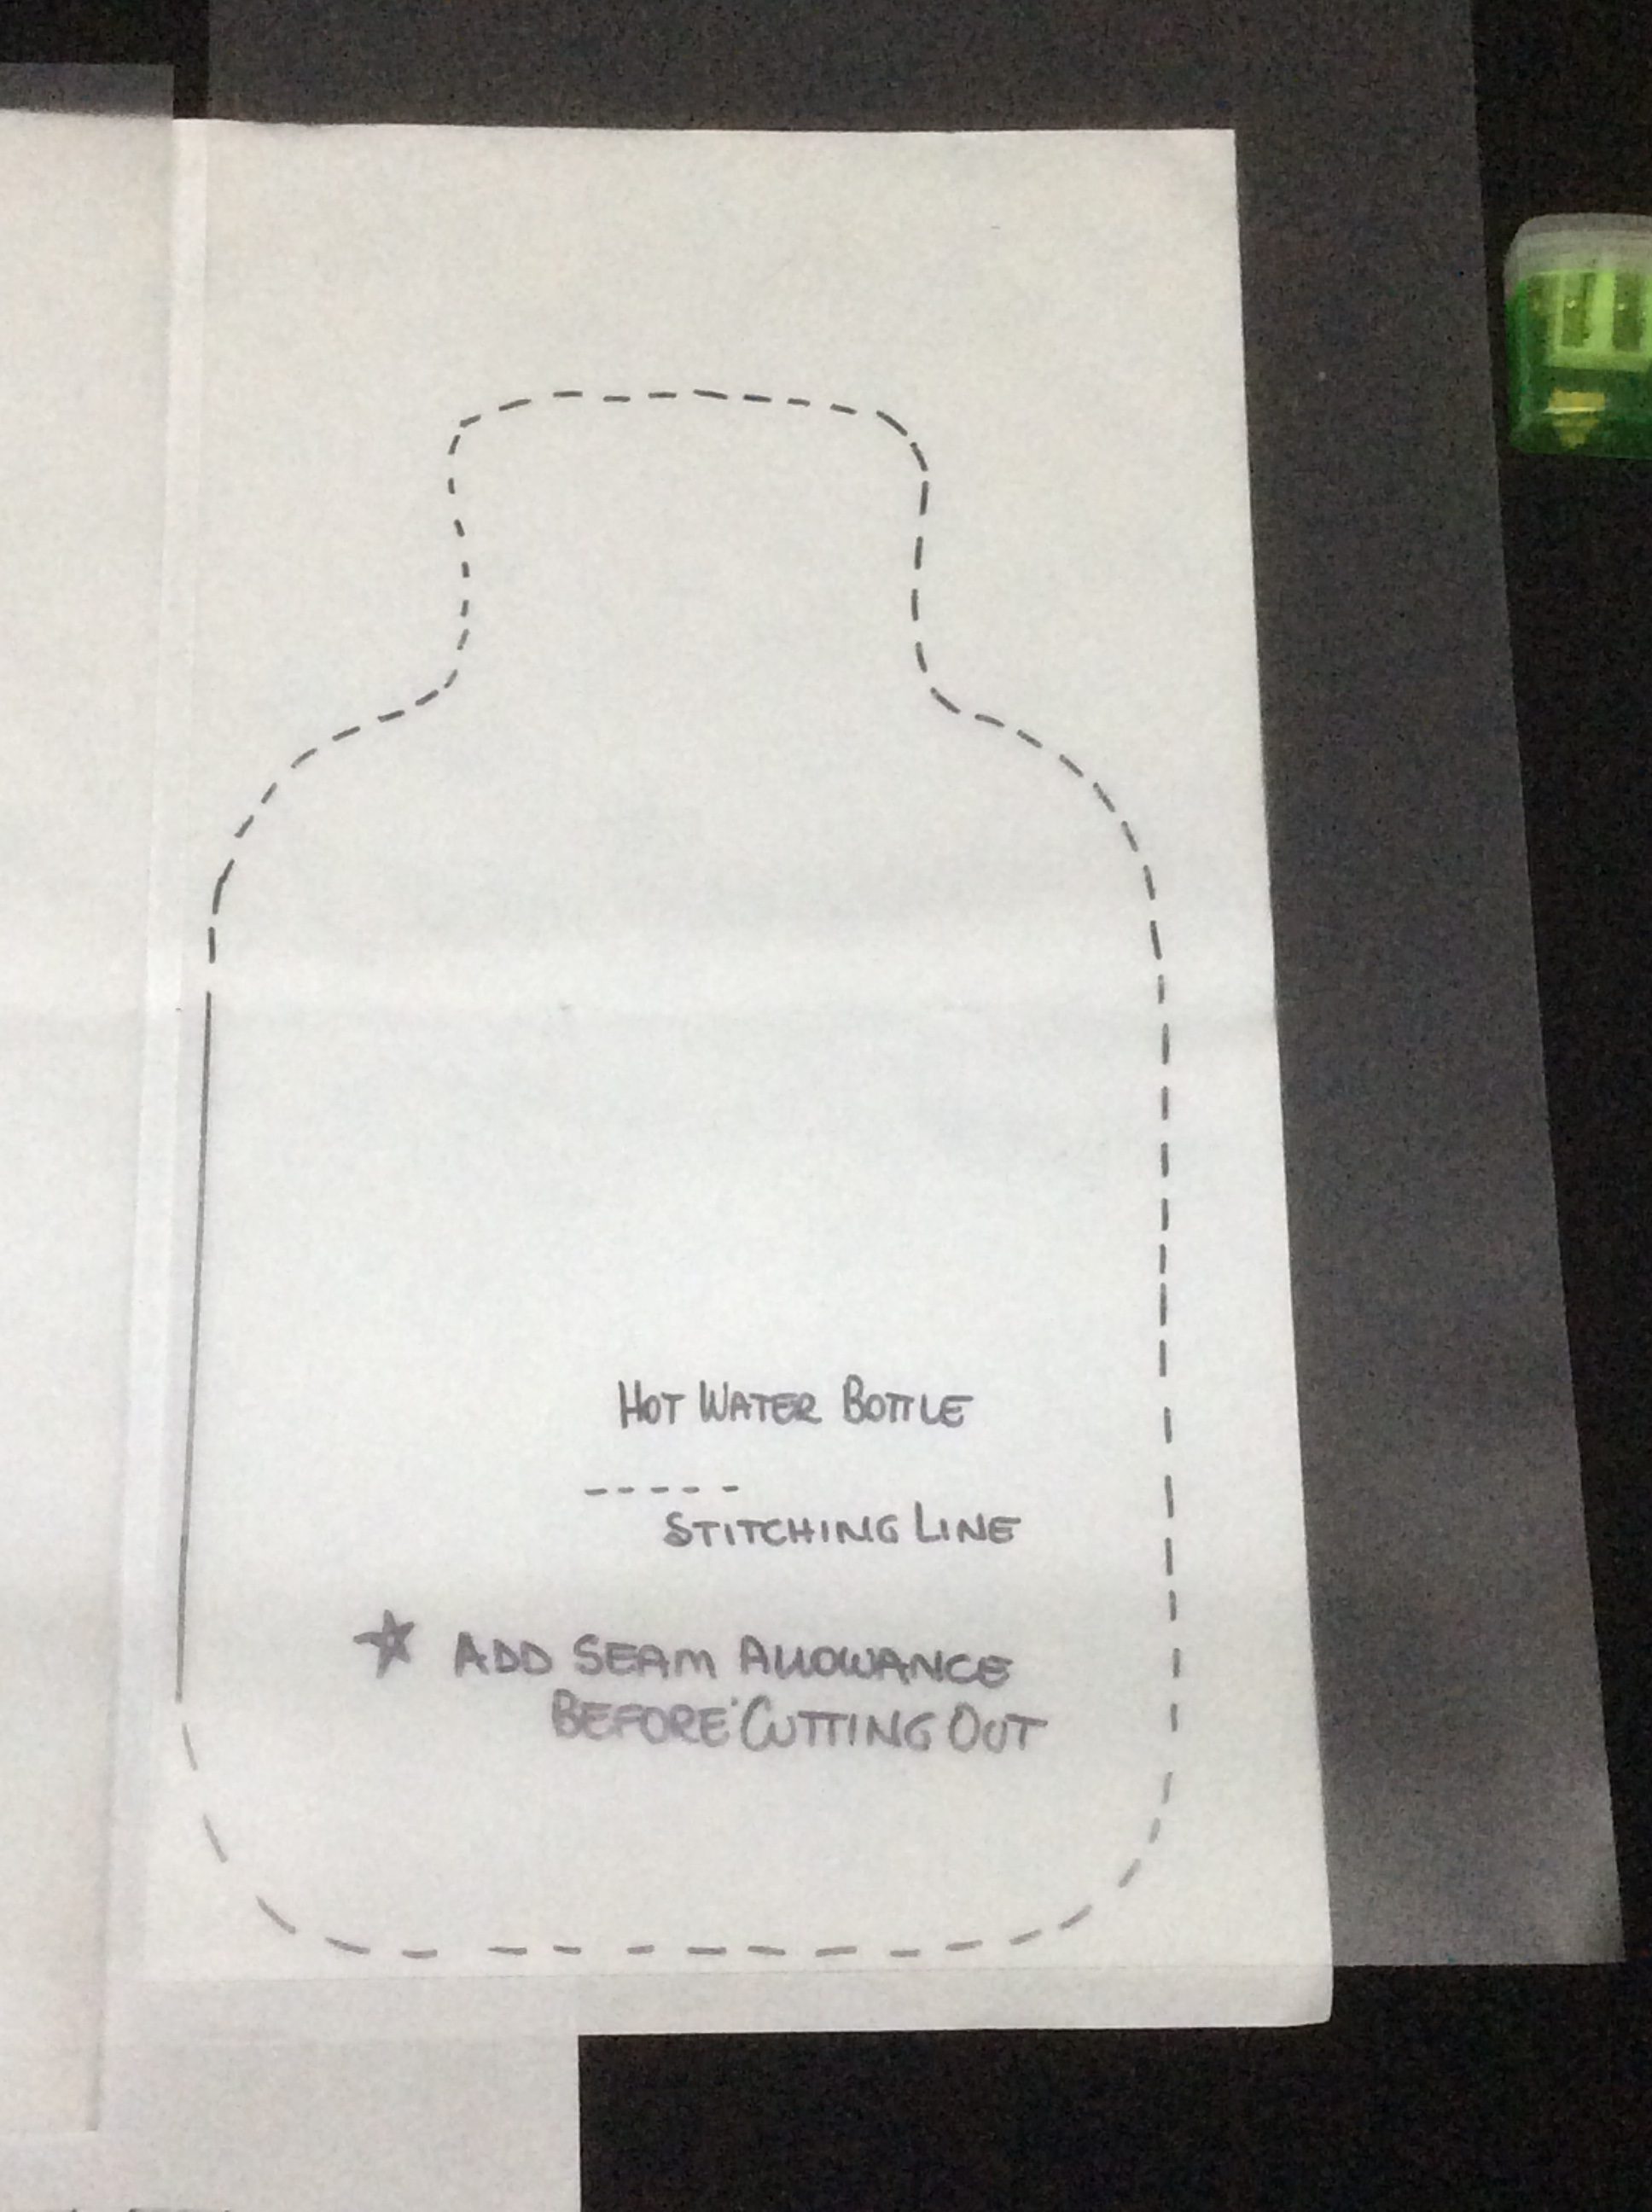
I use Template plastic for a lot of my ‘patterns’, – For the front of the cover, I transferred the stitching line to Template Plastic and cut out the shape on this line – no seam allowances added …
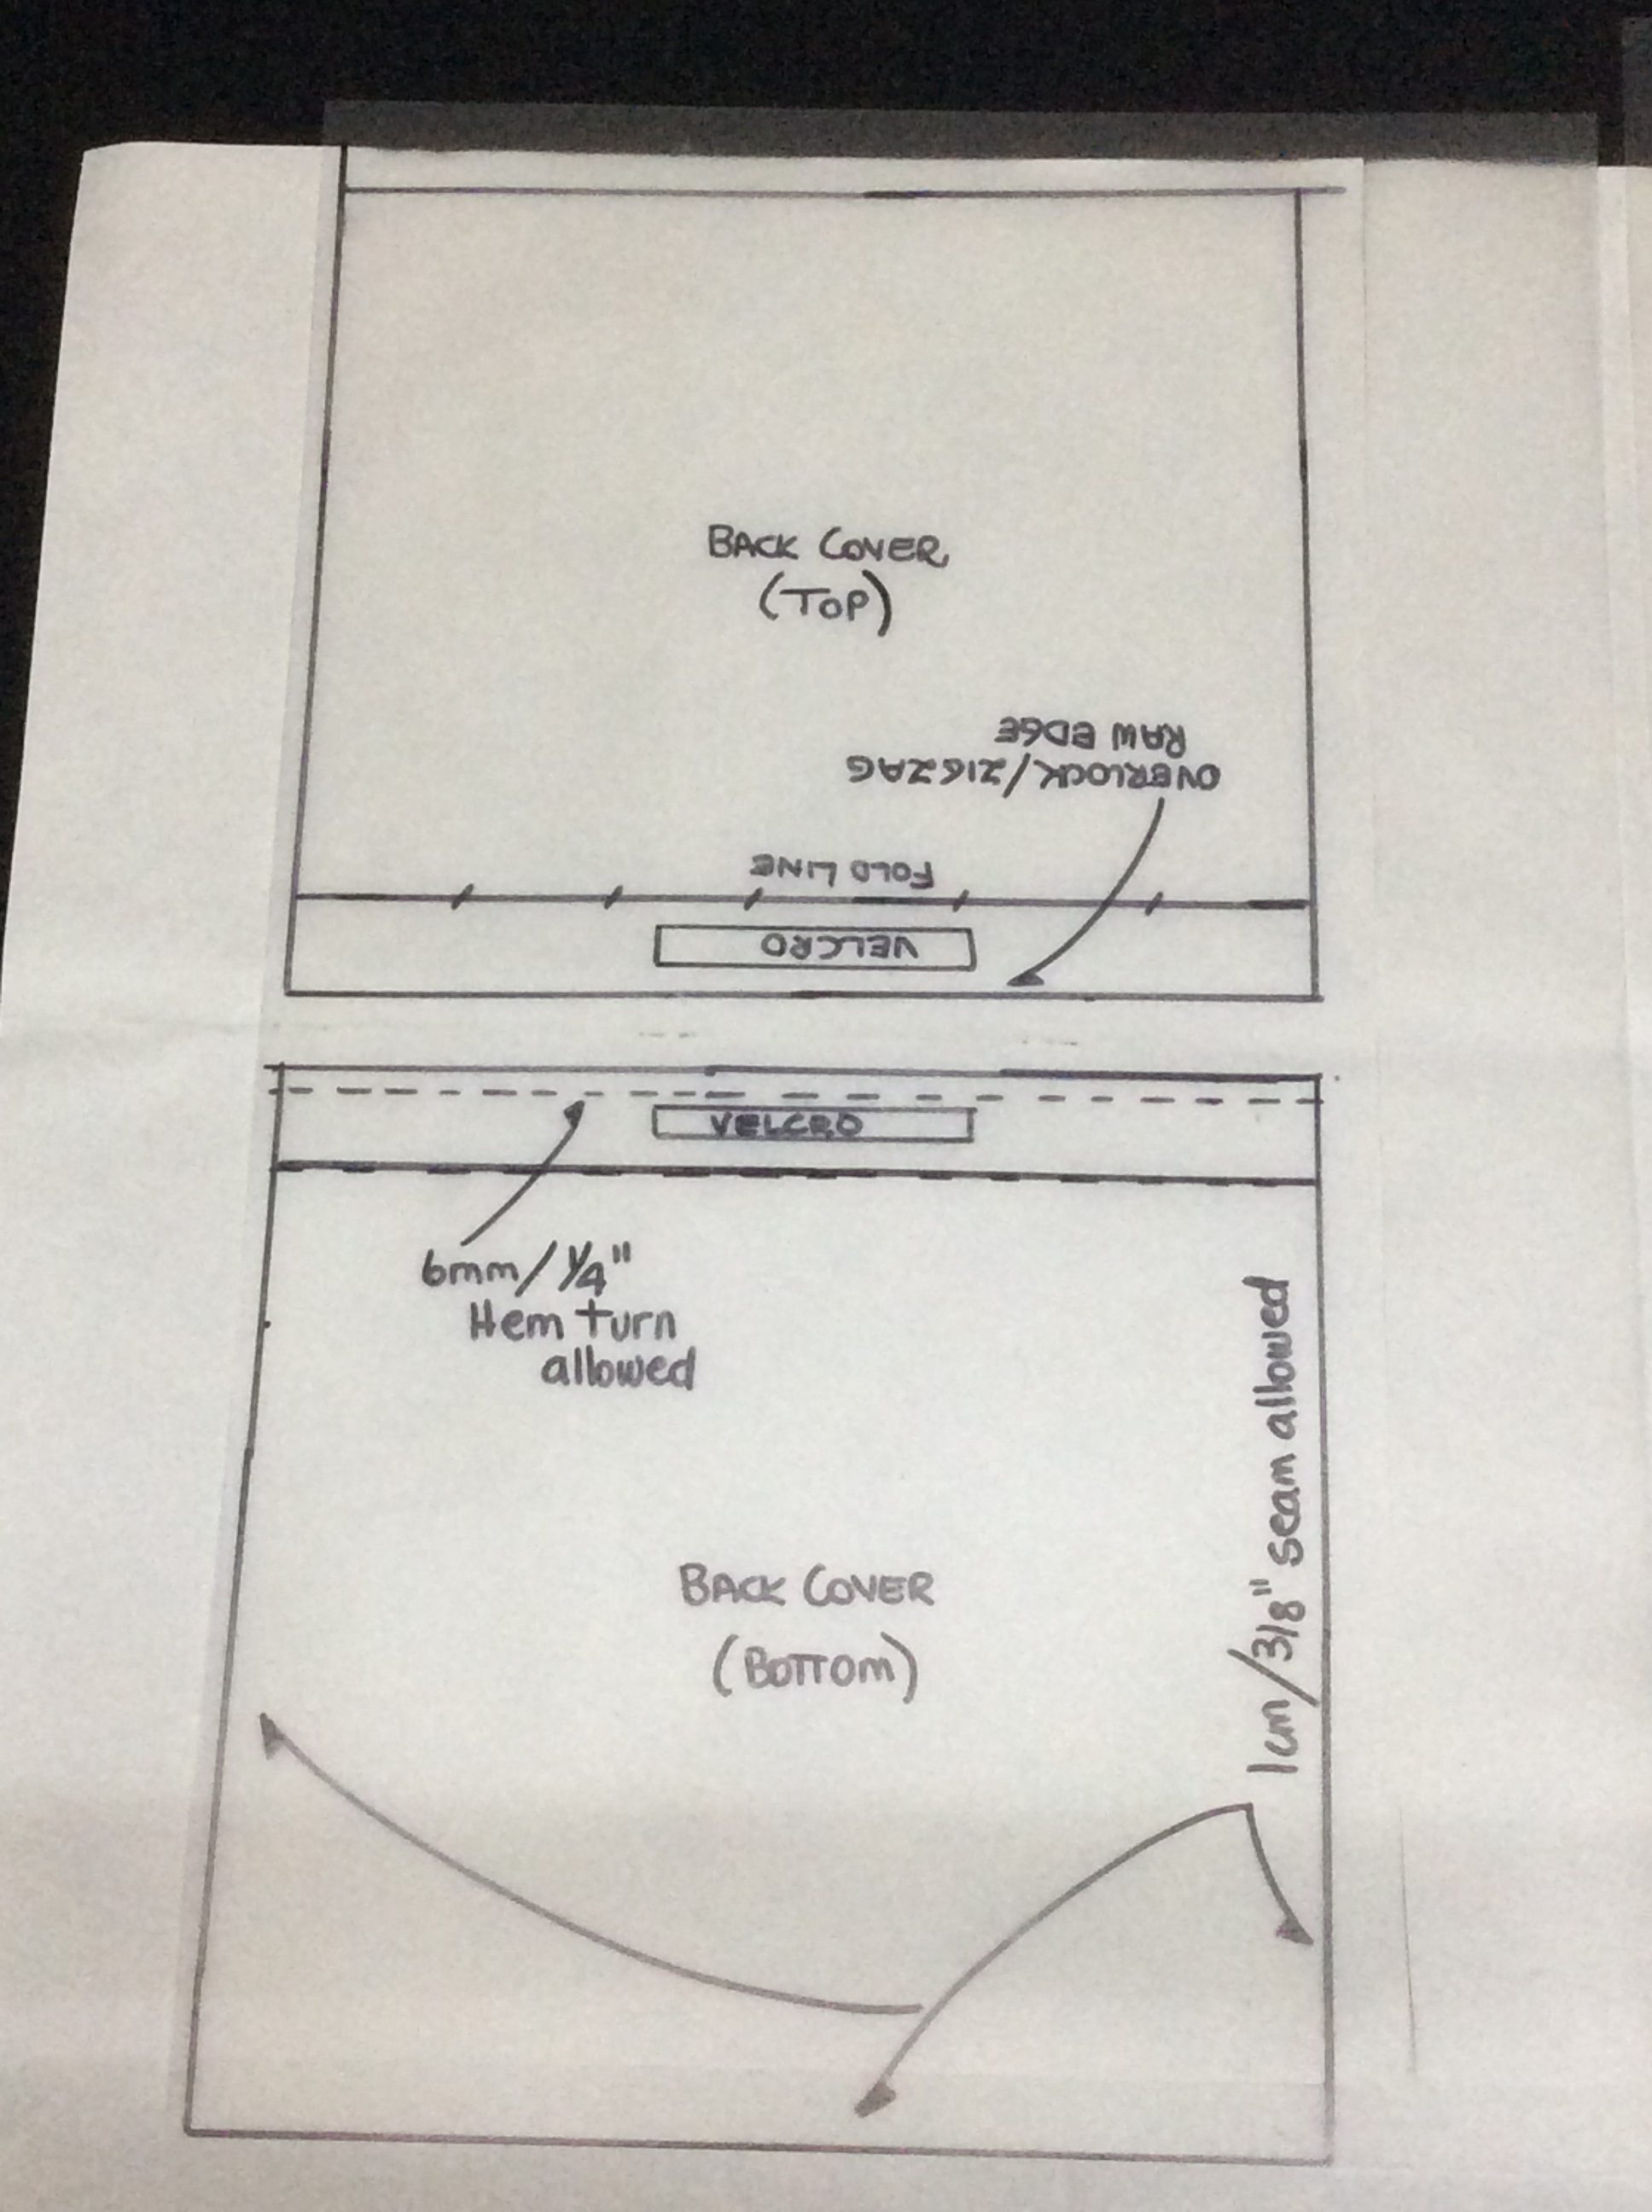
The second sheet of template plastic was for the back of the cover – Top piece measures 9 1/2″ high x 10 1/2″ wide (24cm x 26cm) …, with the fold line measuring 1″/2.5cm from the edge. Bottom piece measures 10″ high x 10 1/2″ wide (25cm x 26cm) This will be a basic rectangle made up and trimmed back to shape after sewing hems and Velcro on.
Cut out one Back Cover Top, one Back Cover Bottom, and one Front measuring 17″ high x 11″ wide (44cm x 28cm) … from your chosen fabric.
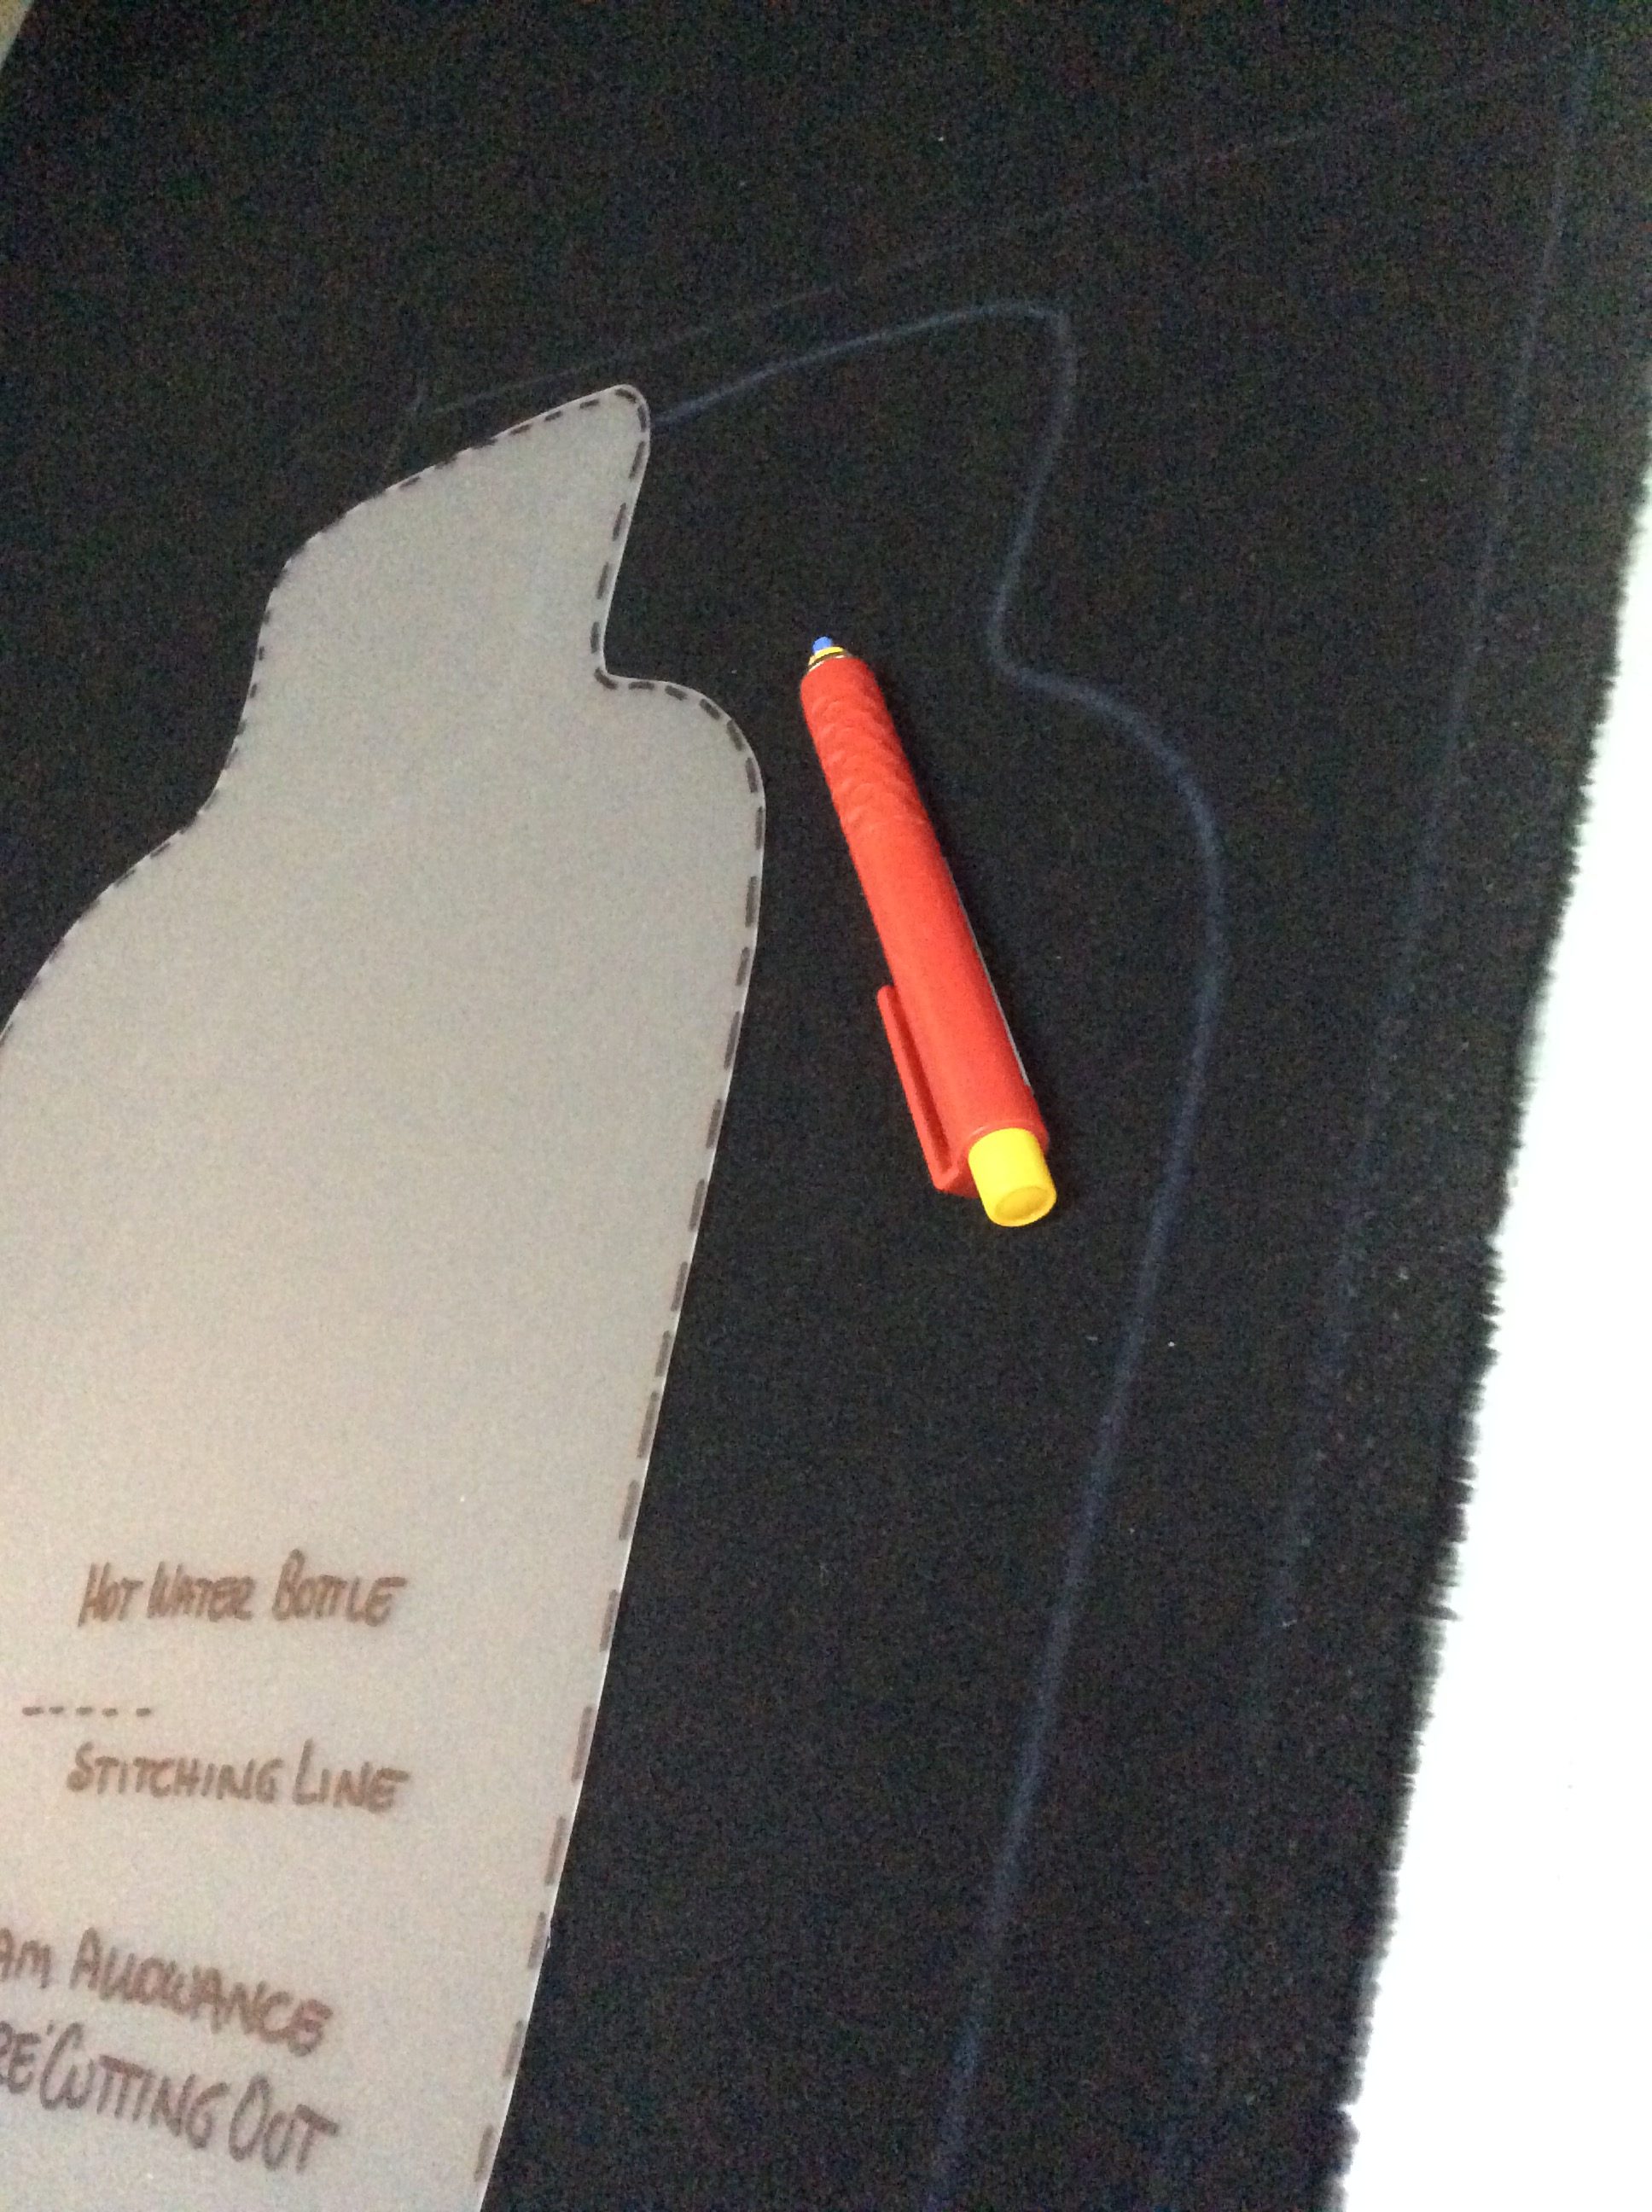
Centre and mark around the Template Plastic Front Pattern with a chalk marker on the right side of the Front Cover piece of fabric.

For ease, I made some templates of a small and larger feather and traced around these as well, before ‘punching’. I was making two covers, so cut out a Gypsy Wagon for my second one …
Next comes laying out the fibres, the ‘punching’, adding some detail, and then checking the front and back, before really getting into making it up. You may notice I ‘punched’ the feather, in a feather quilting design …
After ‘punching’, draw around the Front Cover shape again with chalk, ( actually moved mine over a bit to centre the design …) and stitch with a high contrast colour thread, ¼” outside the drawn line.
On Bottom Back Cover, zigzagg one of the 10 1/2″ edges, and turn it to the wrong side and hem with a 1/4″/6mm hem. Stitch on a ‘prickly side’ piece of Velcro – 2″ x 1/2″ (5cm x 12mm), to the centre of the right side of the fabric edge. On the Top Back Cover, zigzag one of the 10 1/2″/26cm edges, fold it 1″/2.5cm to the wrong side, and then stitch the hem. Next, stitch the ‘fluffy side’ piece of Velcro to the underneath edge, in the centre.

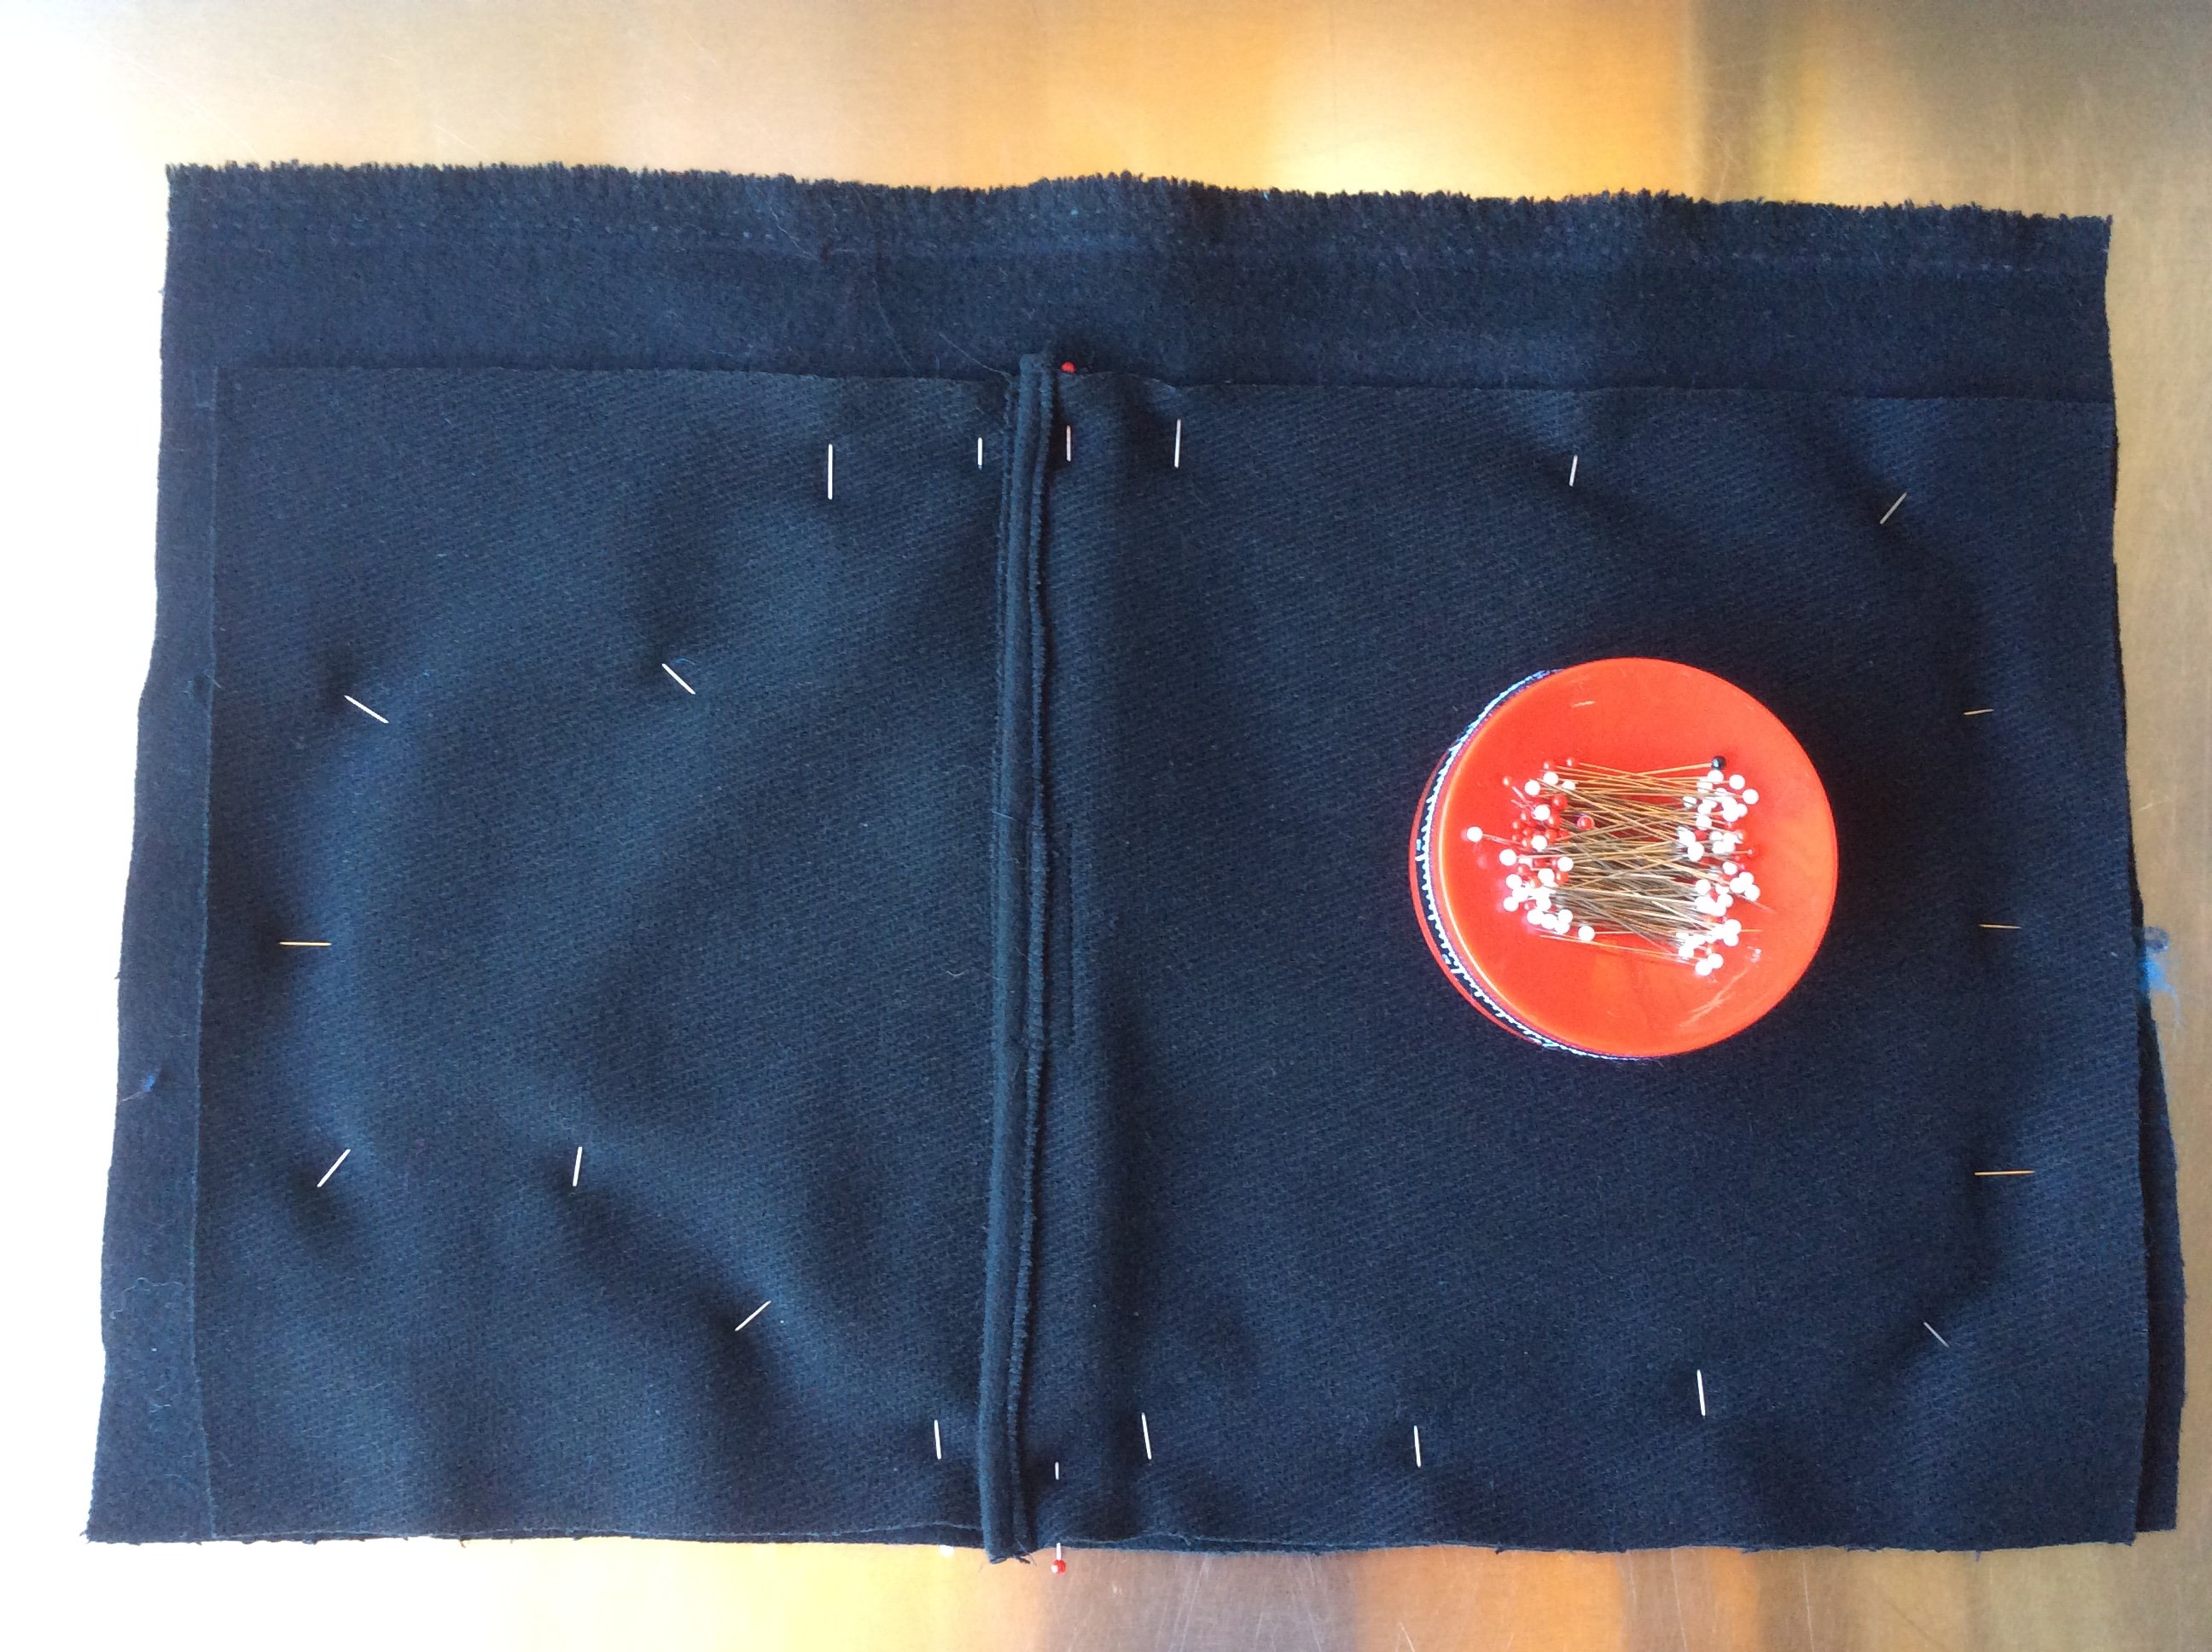
Velcro top and bottom pieces together to form the back of the cover, and with right sides together with Front Cover, pin around the shape from the Front Cover side, turning over to ensure all the Back Cover is within the stitching area.
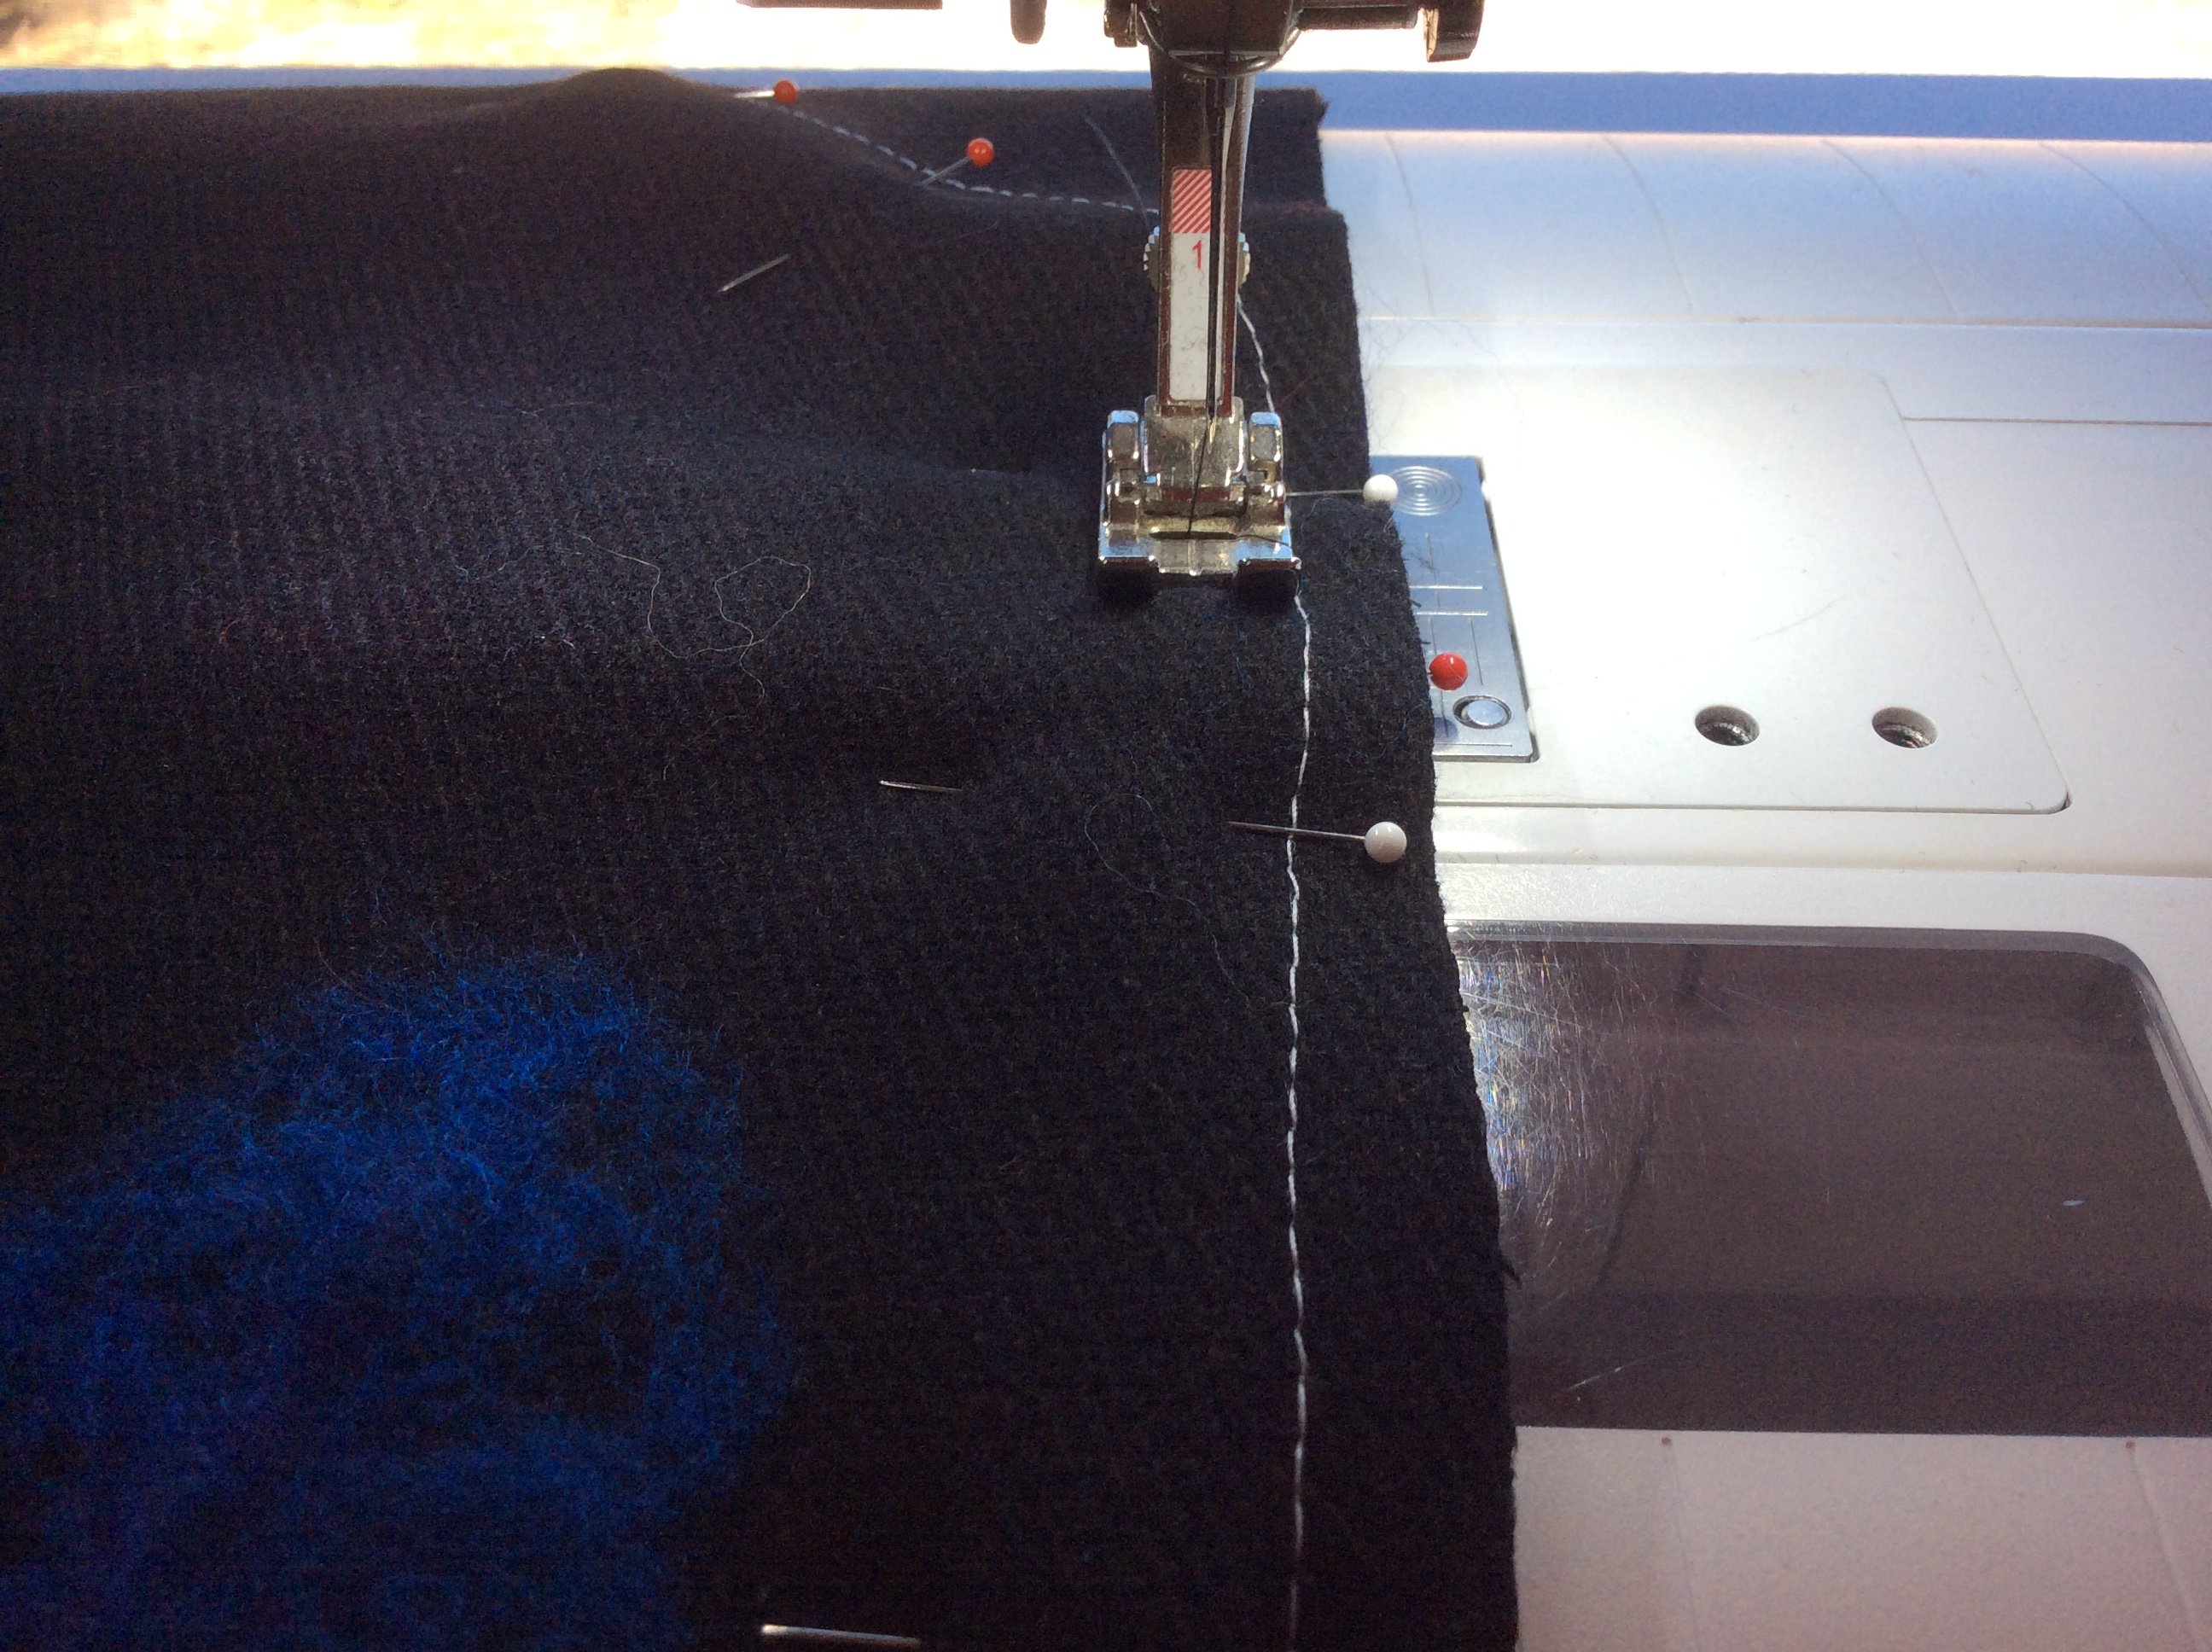
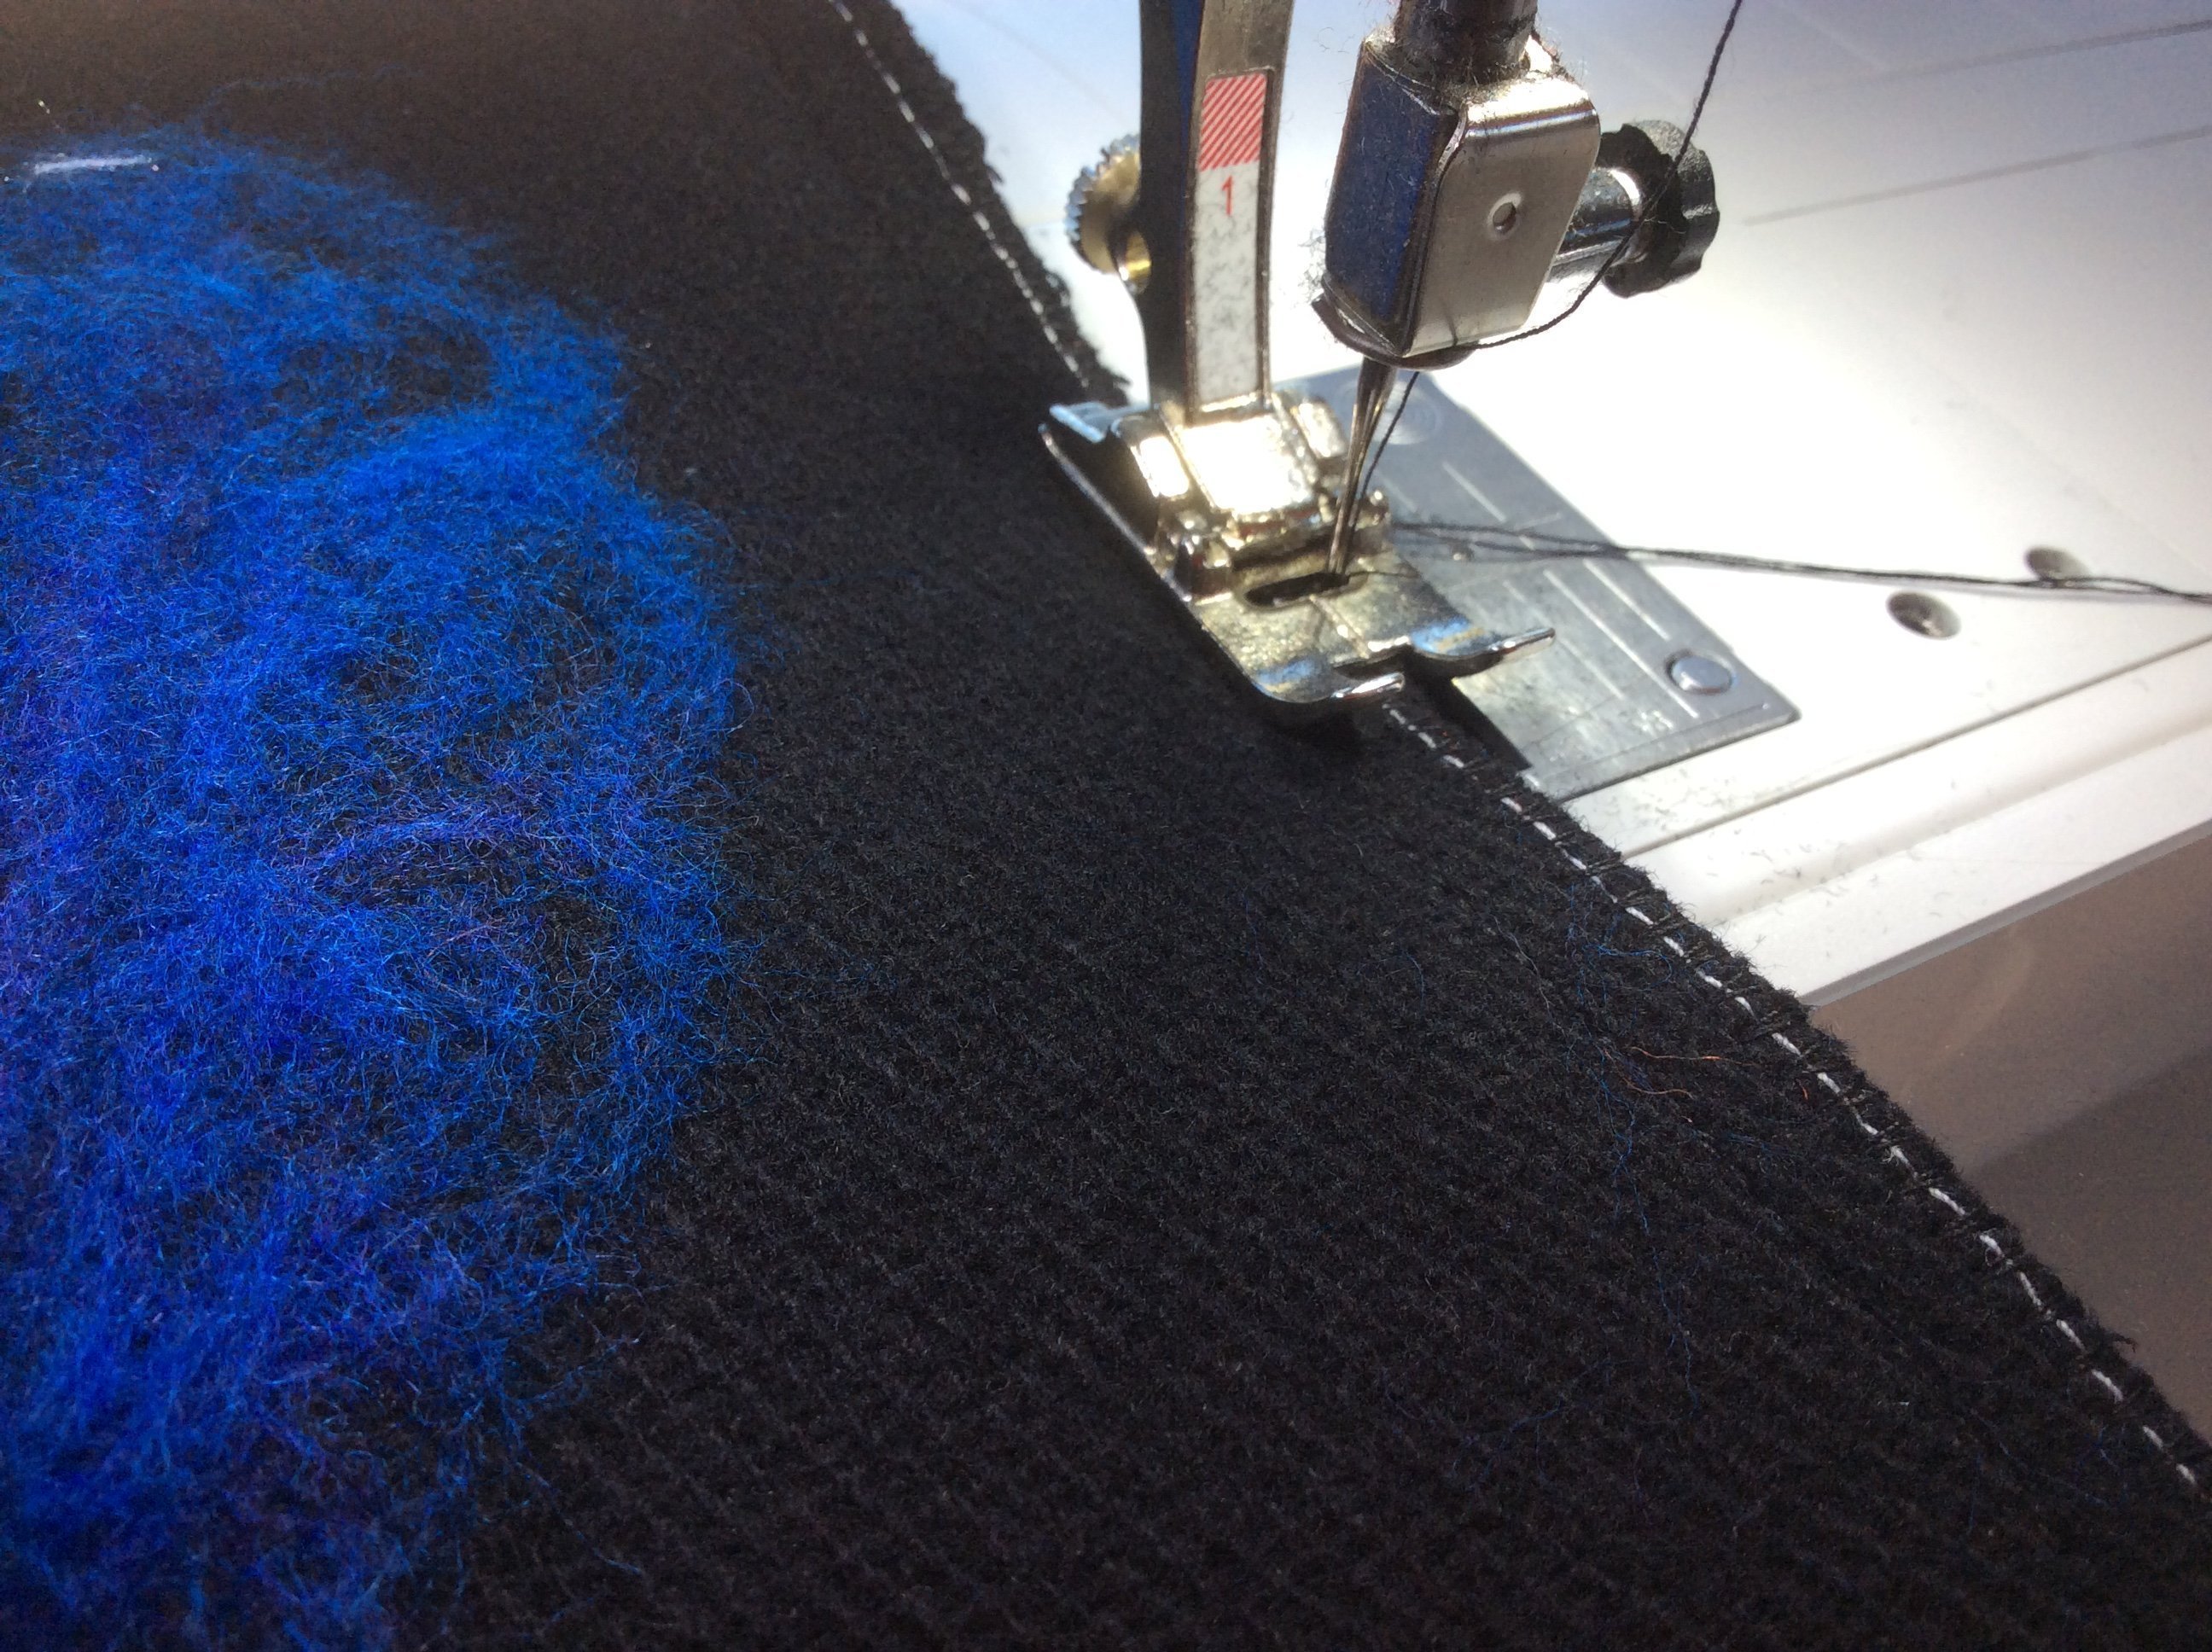
Stitch around the shape, ¼” in from previous line (Use Foot #37 or I used my #1 Foot with the Needle Position changed to +2 positions to the right), removing pins as you go. I stitched around twice.
Trim around entire shape on the first contrast stitching line – clip into curves … lastly, zigzag the edge to prevent fraying.
Turn through, pushing out corners, place filled bottle in … Voila!! Warm Toes!!

A Final note …
Many different types of fabric can be used for Needle Punching – I’ve used Denim in the past, silk, and finely woven cotton. Try some others for yourself, remembering the heavier the fabric, more caution is needed so that needles do not bend and break … always carry extra Punch Needles in your Kit … yes, experience tells me that!!
Until next time …![IMG_7334[1]](https://blog.bernina.com/en/wp-content/uploads/sites/4/2016/06/IMG_73341.png)


Can’t wait to play with this !! As I’m a huge wool and fiber person as well as a quilter !!♥️
Have lots of fun Mary!!! I love it!!
Thanks Sylvia! Needle punch goes really fast though – so not that much work 🙂 Takes me more time to decide on a design than to punch it!!
Wow. A lot of work, with fun result!