 BERNINA Corporate Blog -
Isn’t the blue denim dress just beautiful? Imagine wearing it in the summer with nice shoes, a cute top and cool sunglasses. The jeansskirt is coming in cool denim, with zipper on the side, the typical buttons and pockets on the back. We are just in love with this dress from bernette.
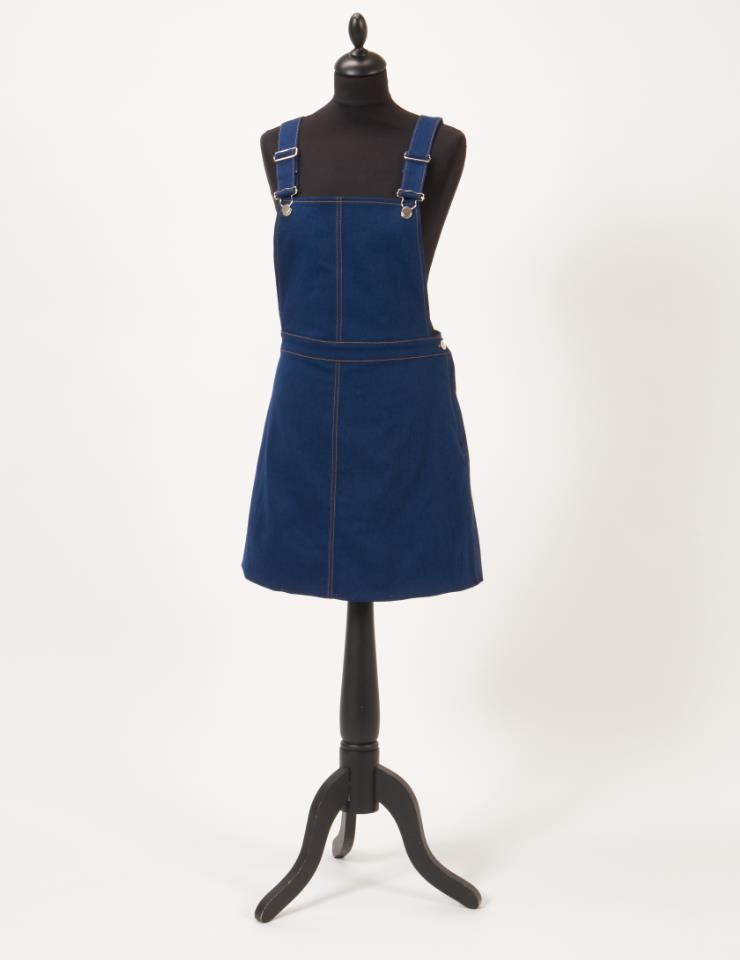
You’ll find the sewing pattern for size 34 to 46 and the step-by-step instructions below.
Free download of the sewing pattern for the denim dress
You can download the free sewing pattern from mybernette.com here: Download sewing pattern denim dress
Materials
- 0.9 – 1.1 m denim fabric, 150 cm wide (1.1 – 1.4 m at 135 wide)
- 1 metal zip fastener, 16 cm
- 2 sliding bar adjusters 40 mm
- 2 dungaree clasps 40 mm
- 3 jeans buttons
- Normal sewing thread in matching colour
- Extra strong sewing thread for typical jeans seam
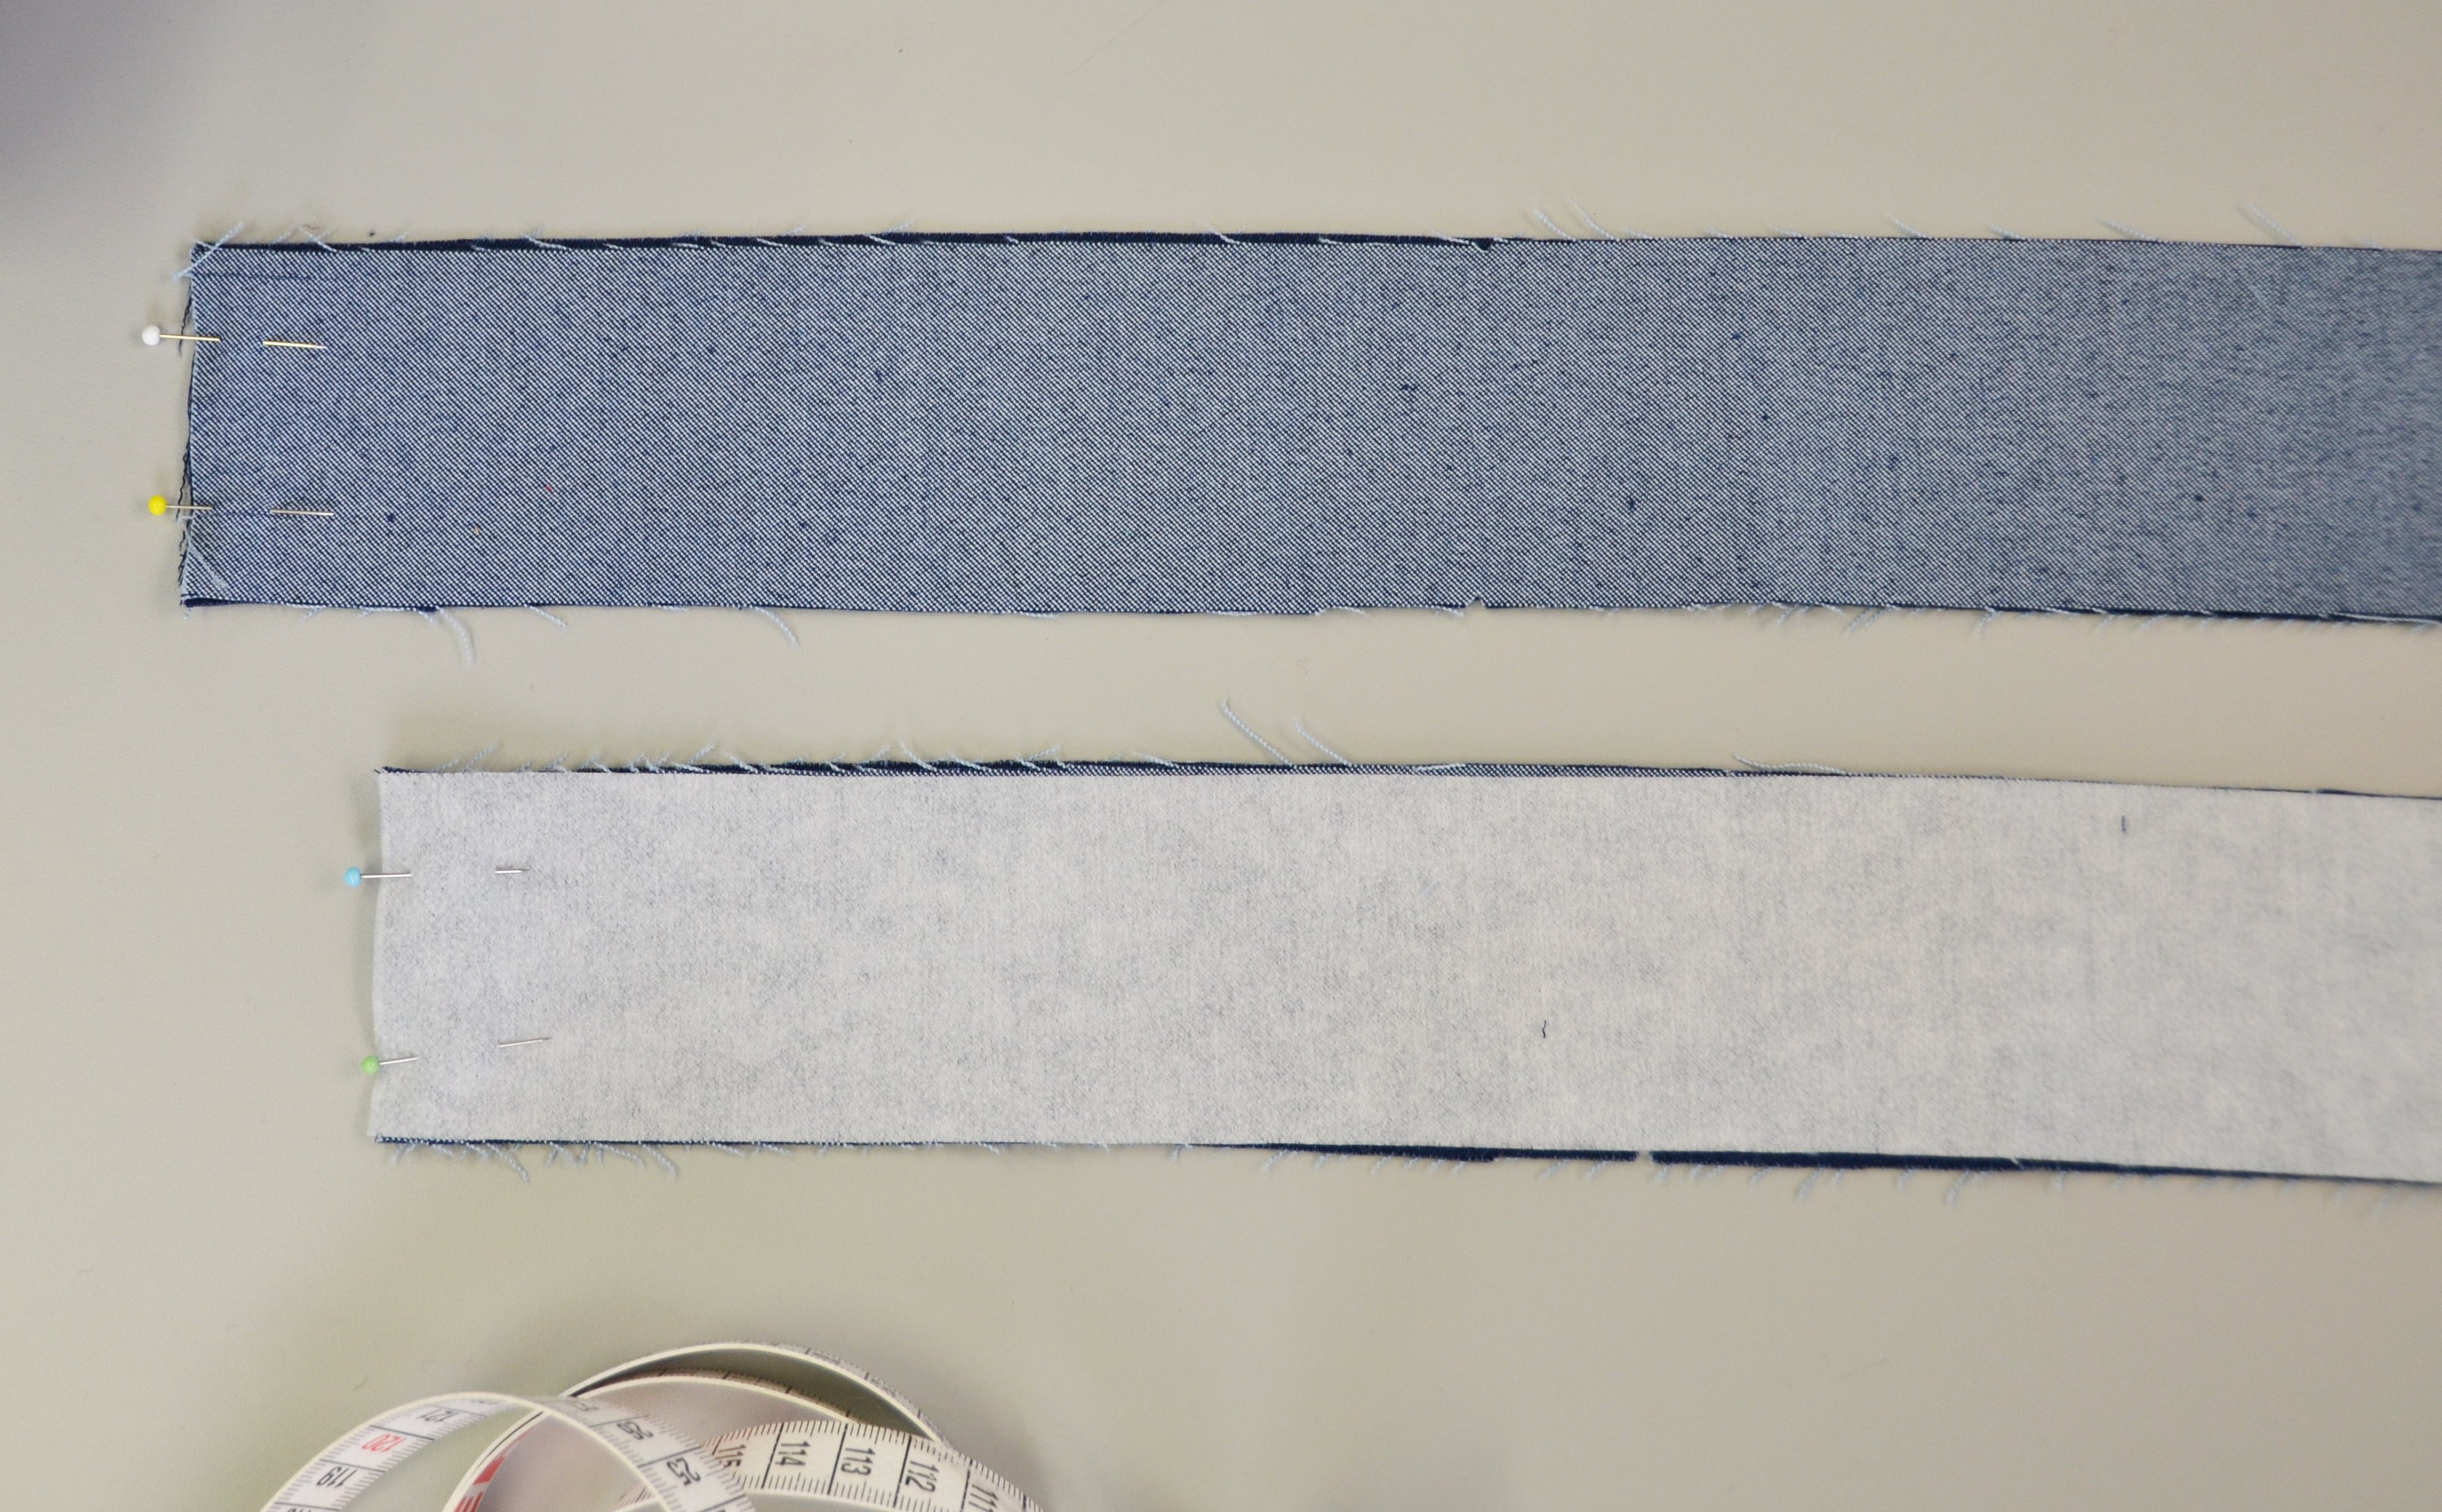
- Fleece interfacing for reinforcing the waistband
- bernette b33 or b35 sewing machine
- Straight stitch foot (optional)
- Jeans needle 90
Tip
Always wash the fabric before cutting, as fabrics can shrink.
Cutting out
None of the paper sections include seam allowances. During cutting, the seam allowances must be added to the pattern in accordance with the specifications (=green number)
Important: The front and back of the dungarees are cut out 1x each to the fold and 2x each with the seam allowance in the middle. The border allowance for the zip fastener at the front part of the skirt is only cut on the left side.
A 2 x front sections (outer side)
B 1 x front section to the fabric fold (inner side)
C 2 x front of waistbands
D 2 x front of skirt sections
E 2 x back sections (outer side)
F 2 x back sections to the fabric fold (inner side)
G 2x back of waistband sections
H 2 x back of skirt sections
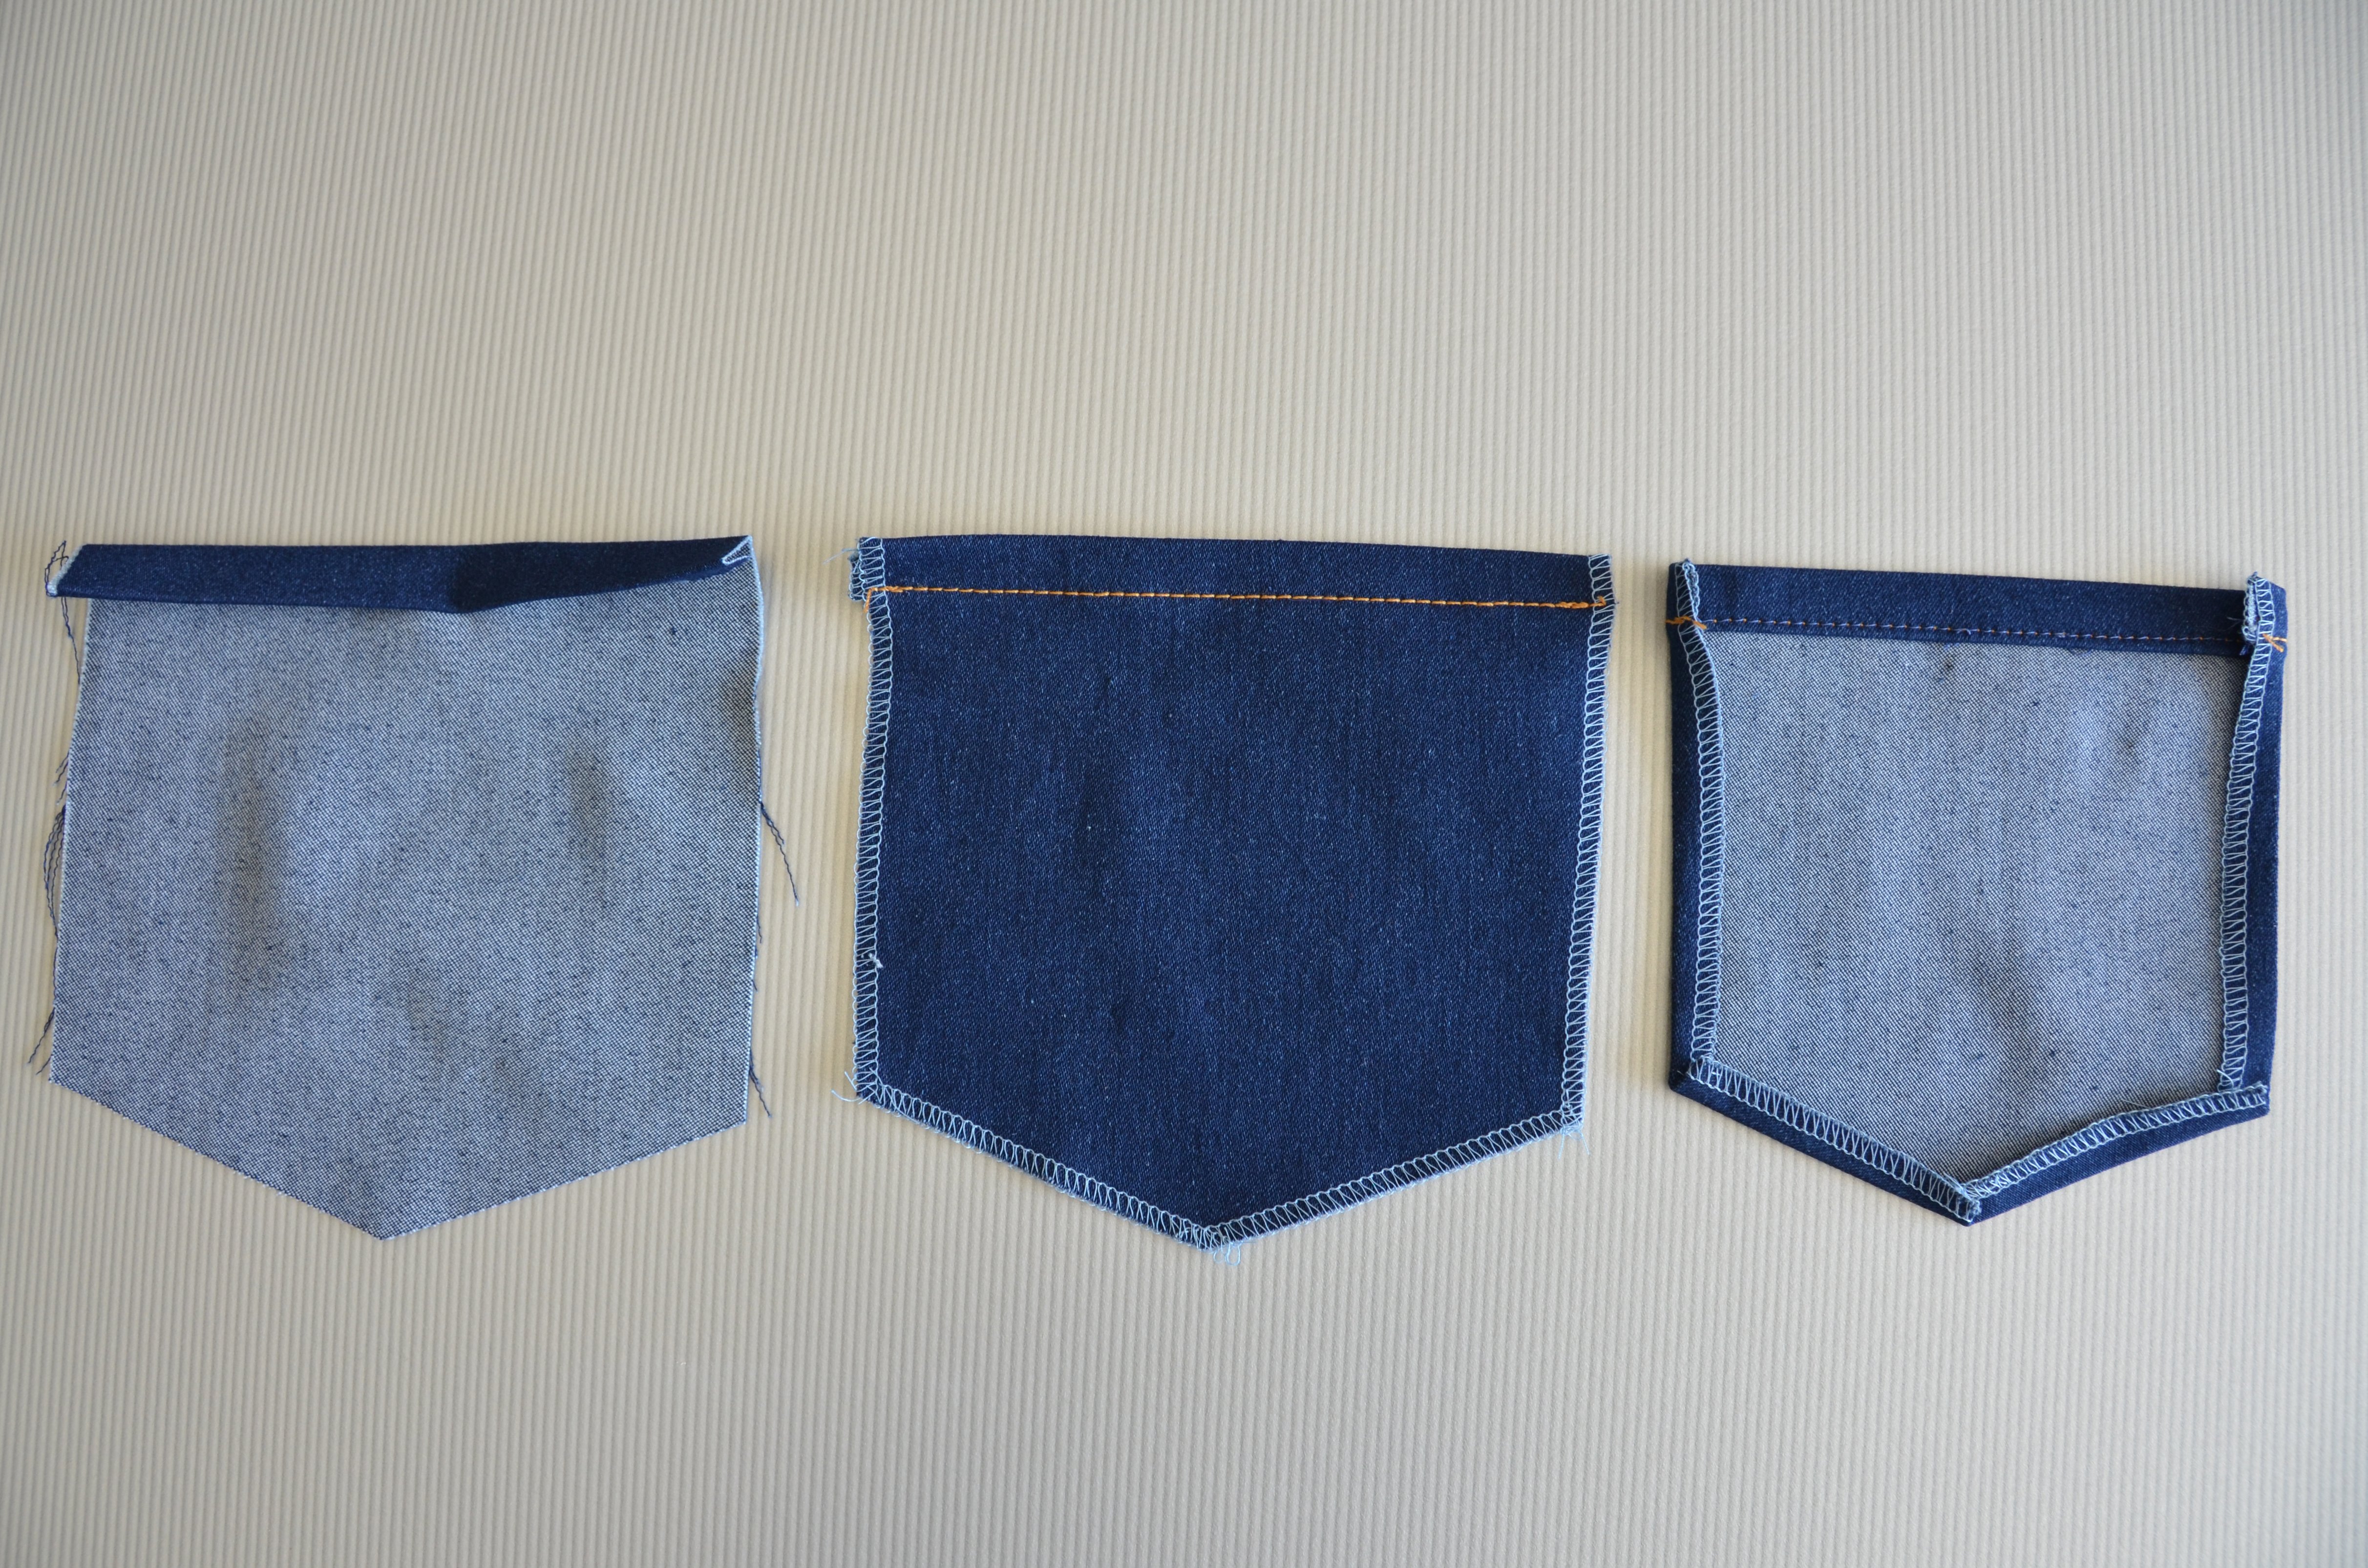
I 2 x pockets
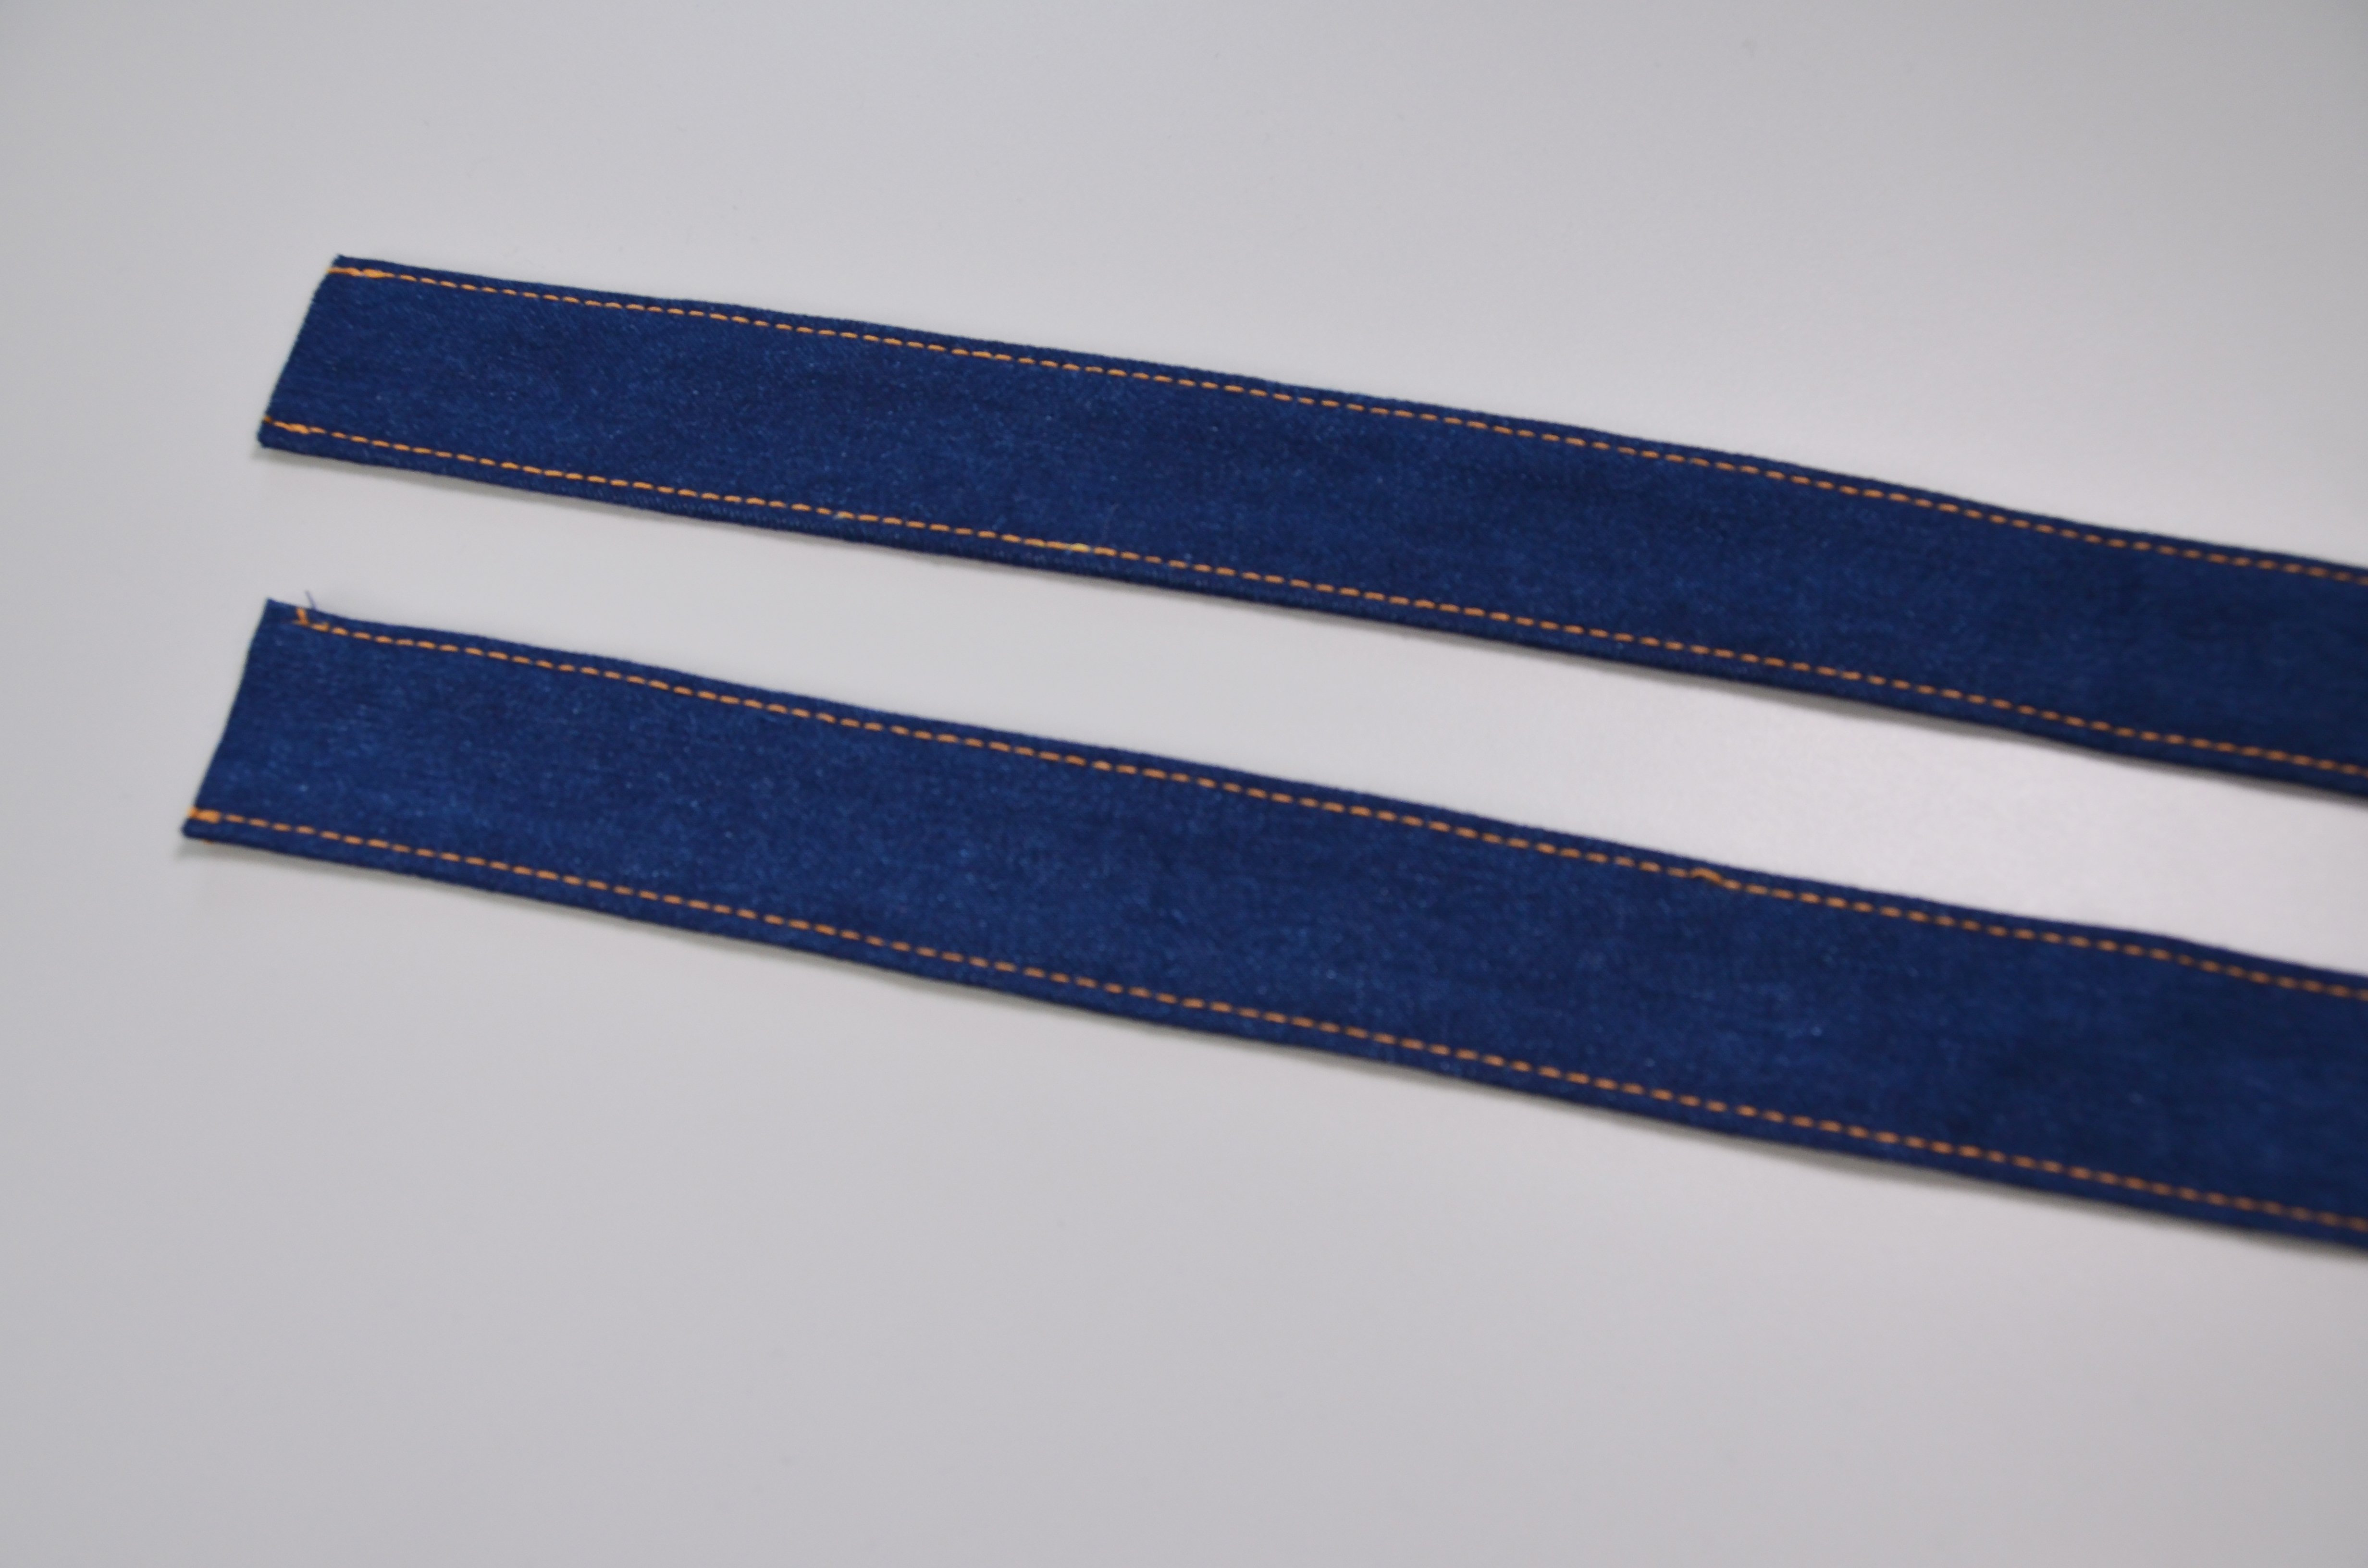
J 1x placket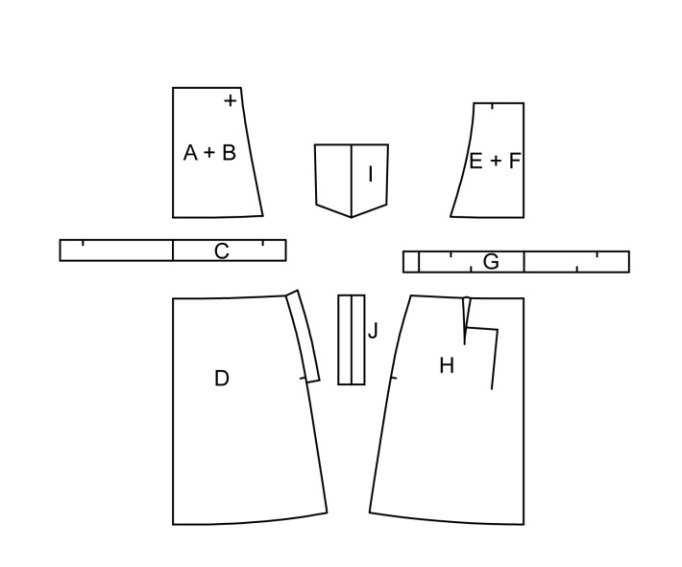 In addition (without pattern): Two 58 x 10 cm strips for the straps (including 1 cm seam allowances), final width 3.8 cm.
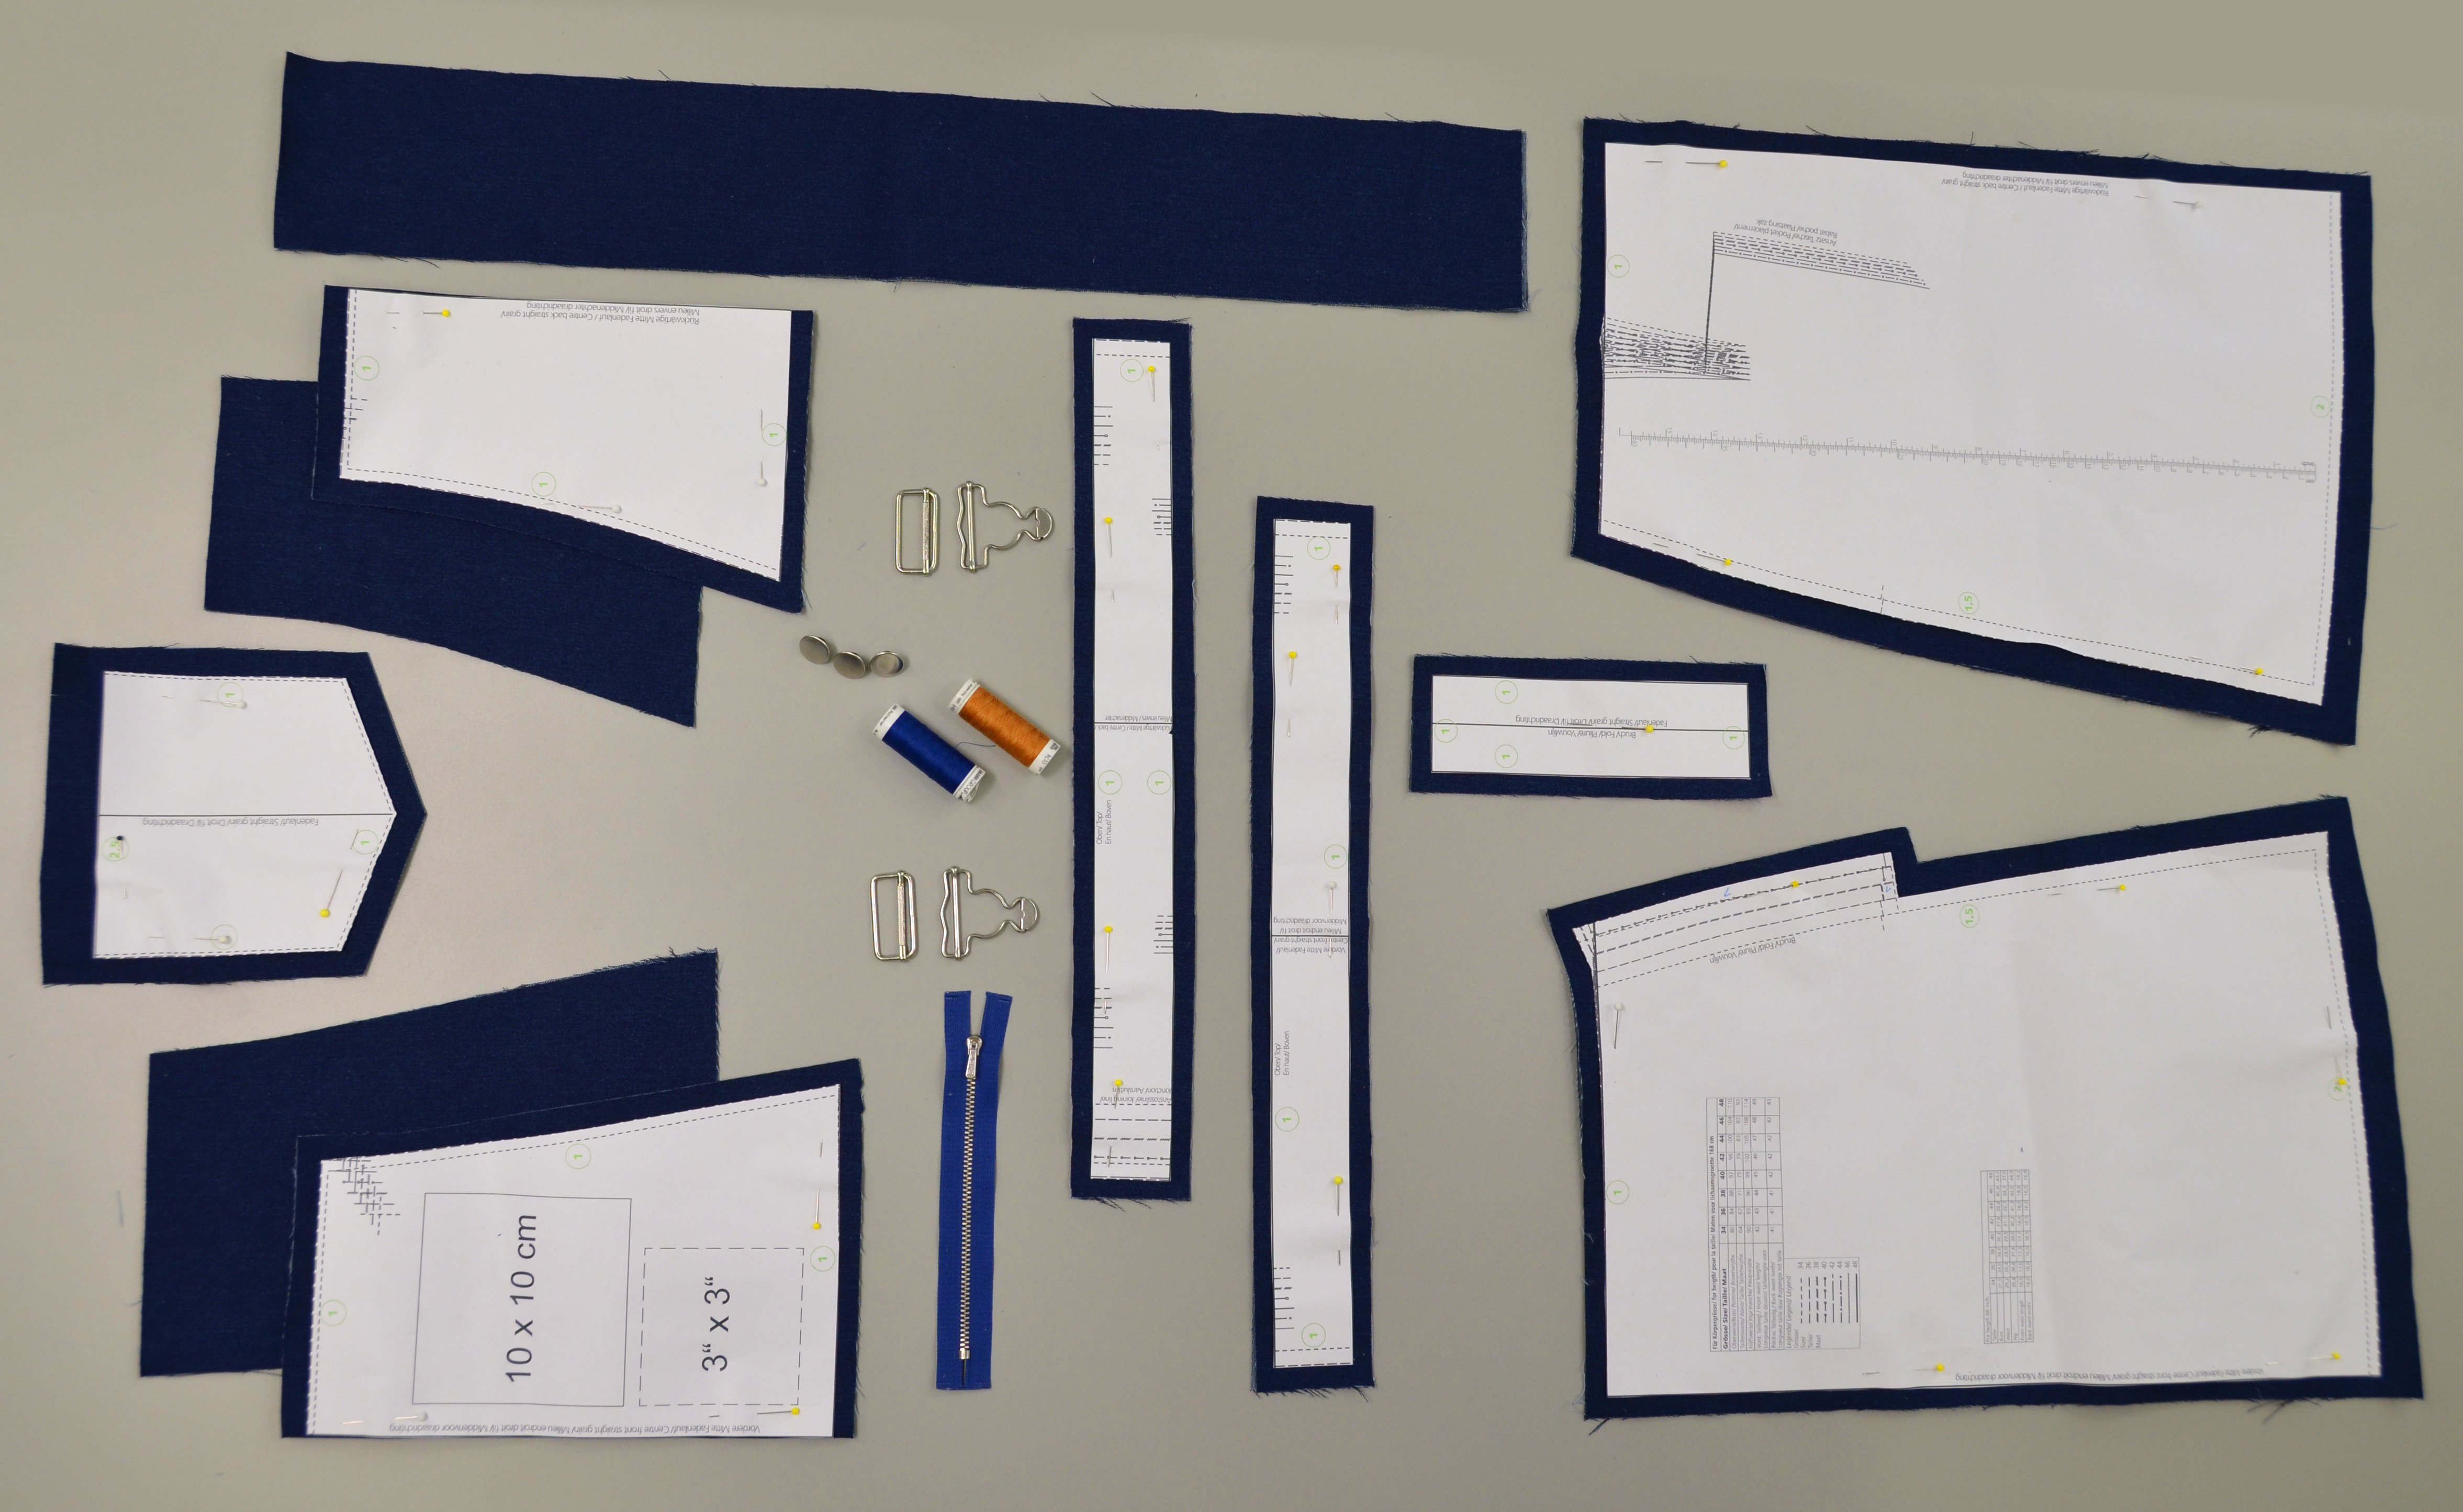
Important: Transfer the markings on the pattern for darts, pockets and the buttons onto the fabric
Stitches: Stitch together, use straight stitch and a stitch length of 2.5
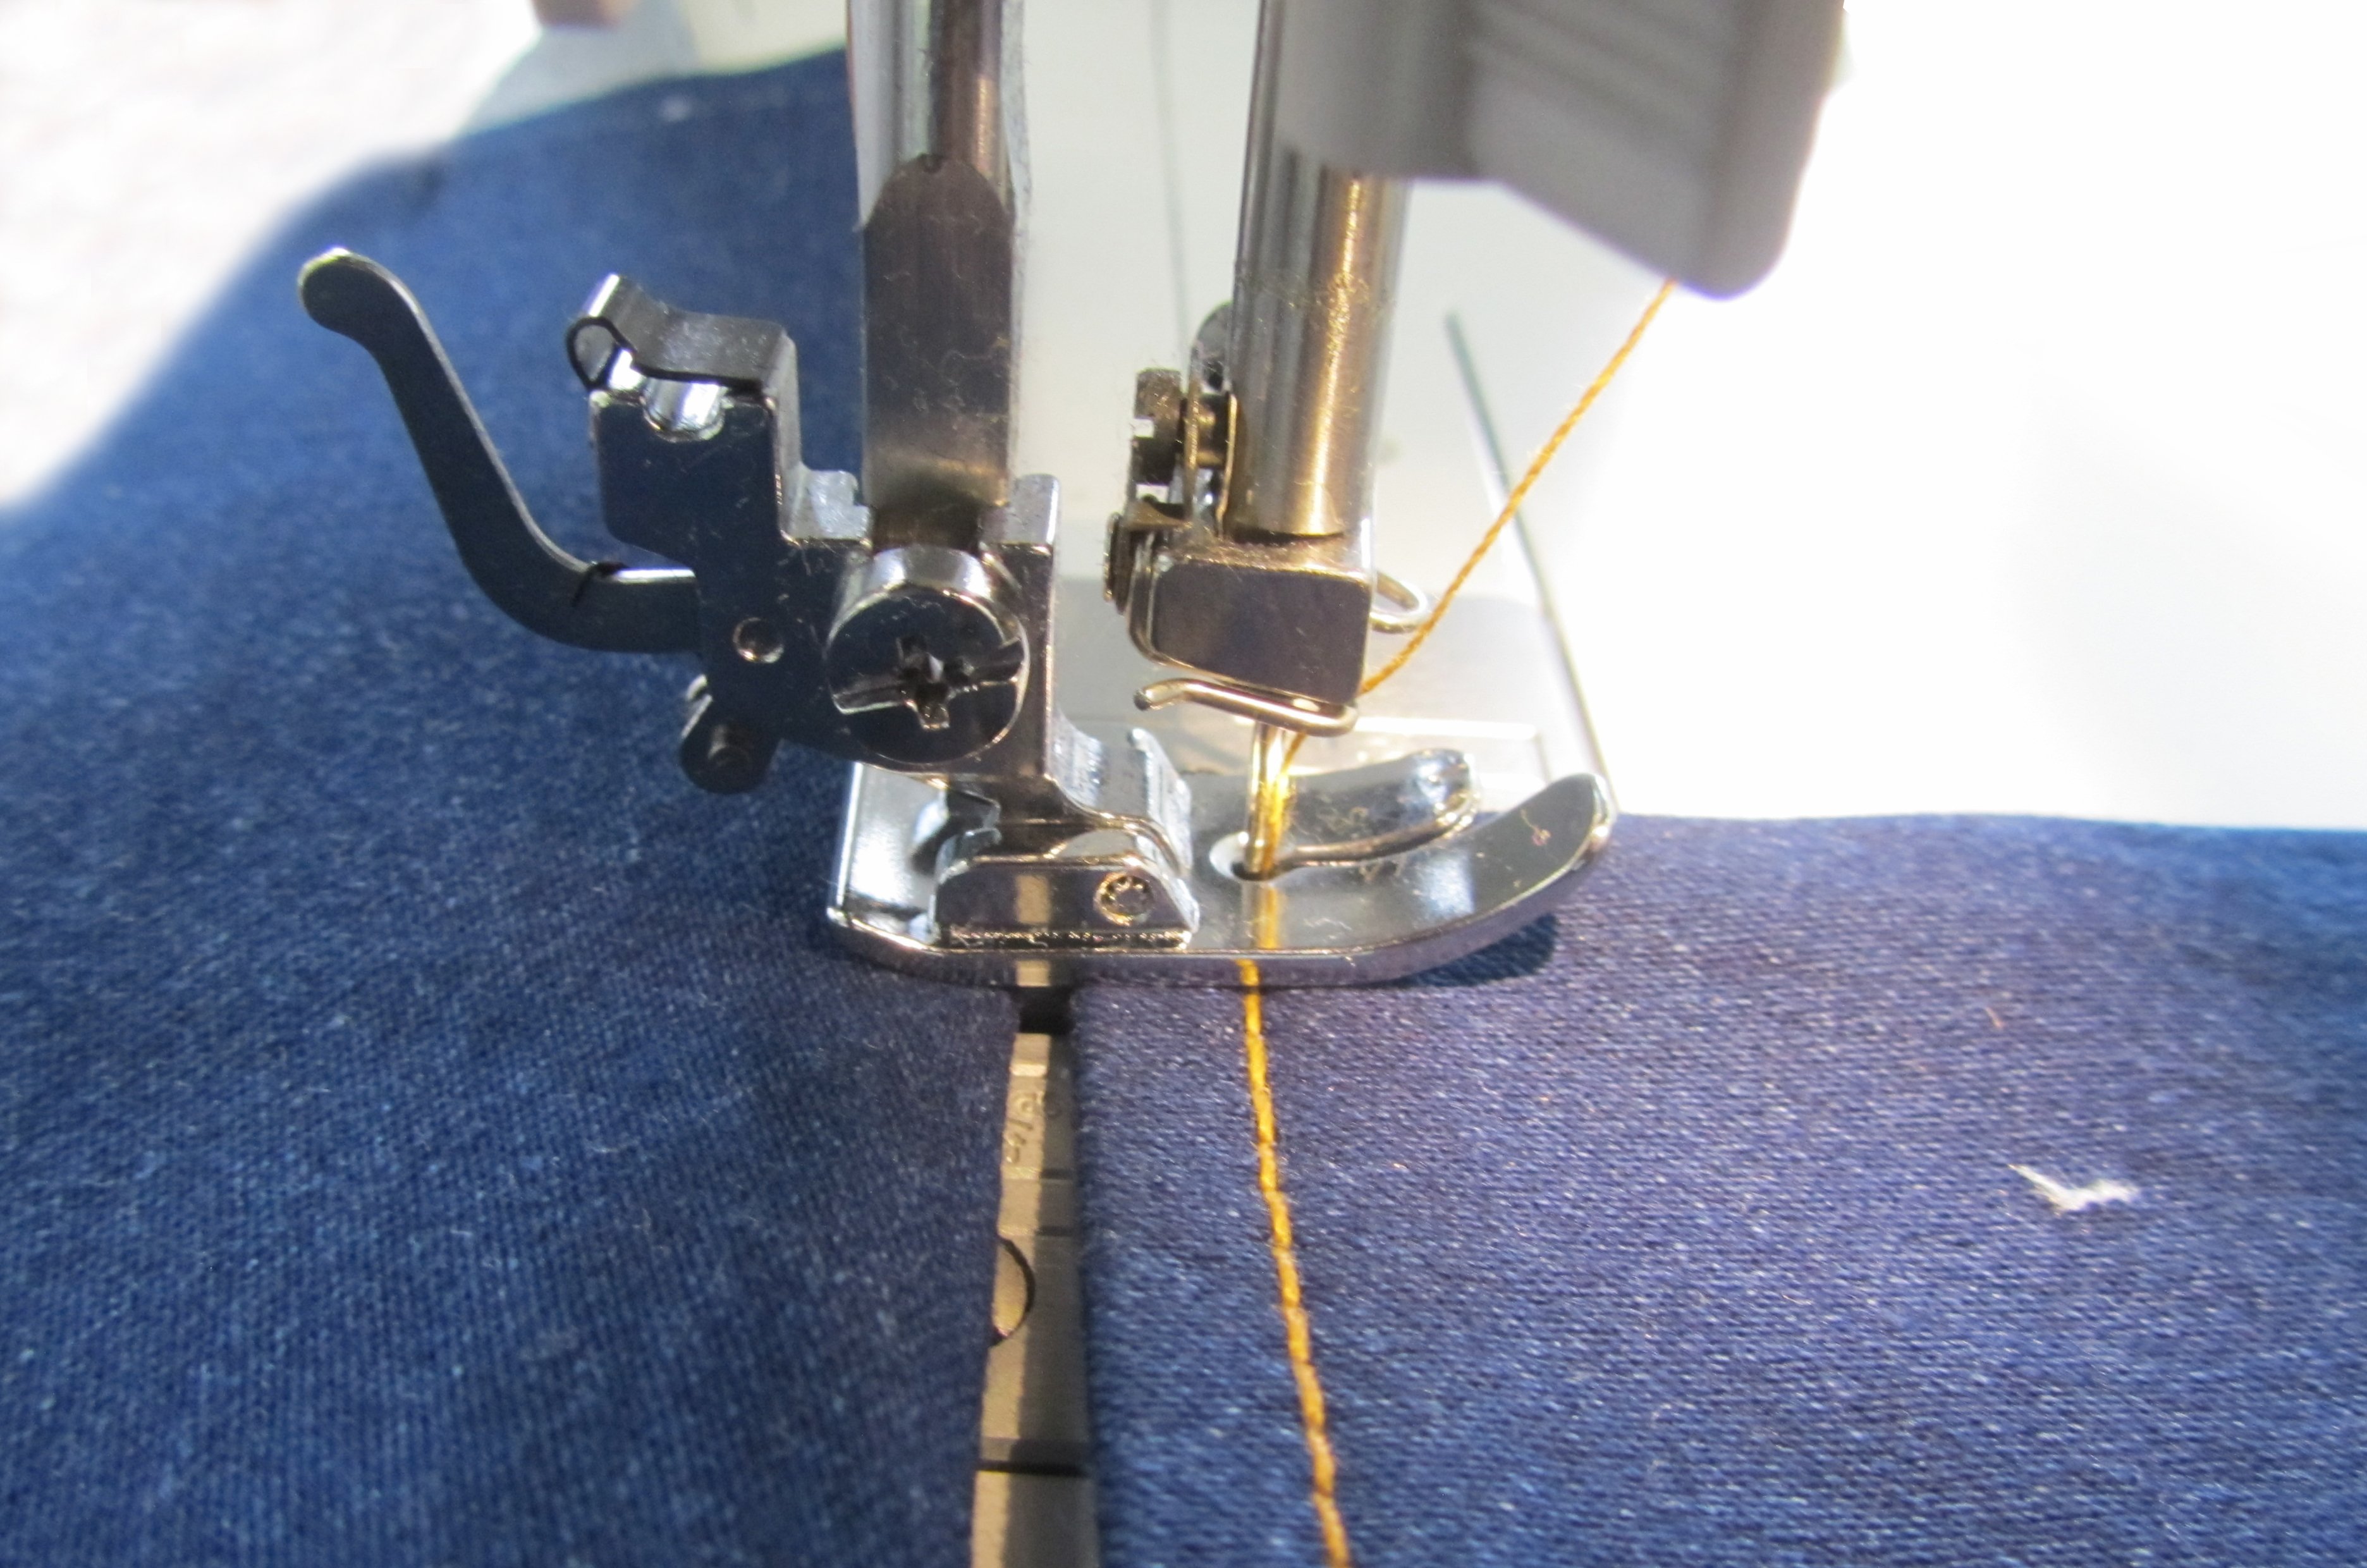
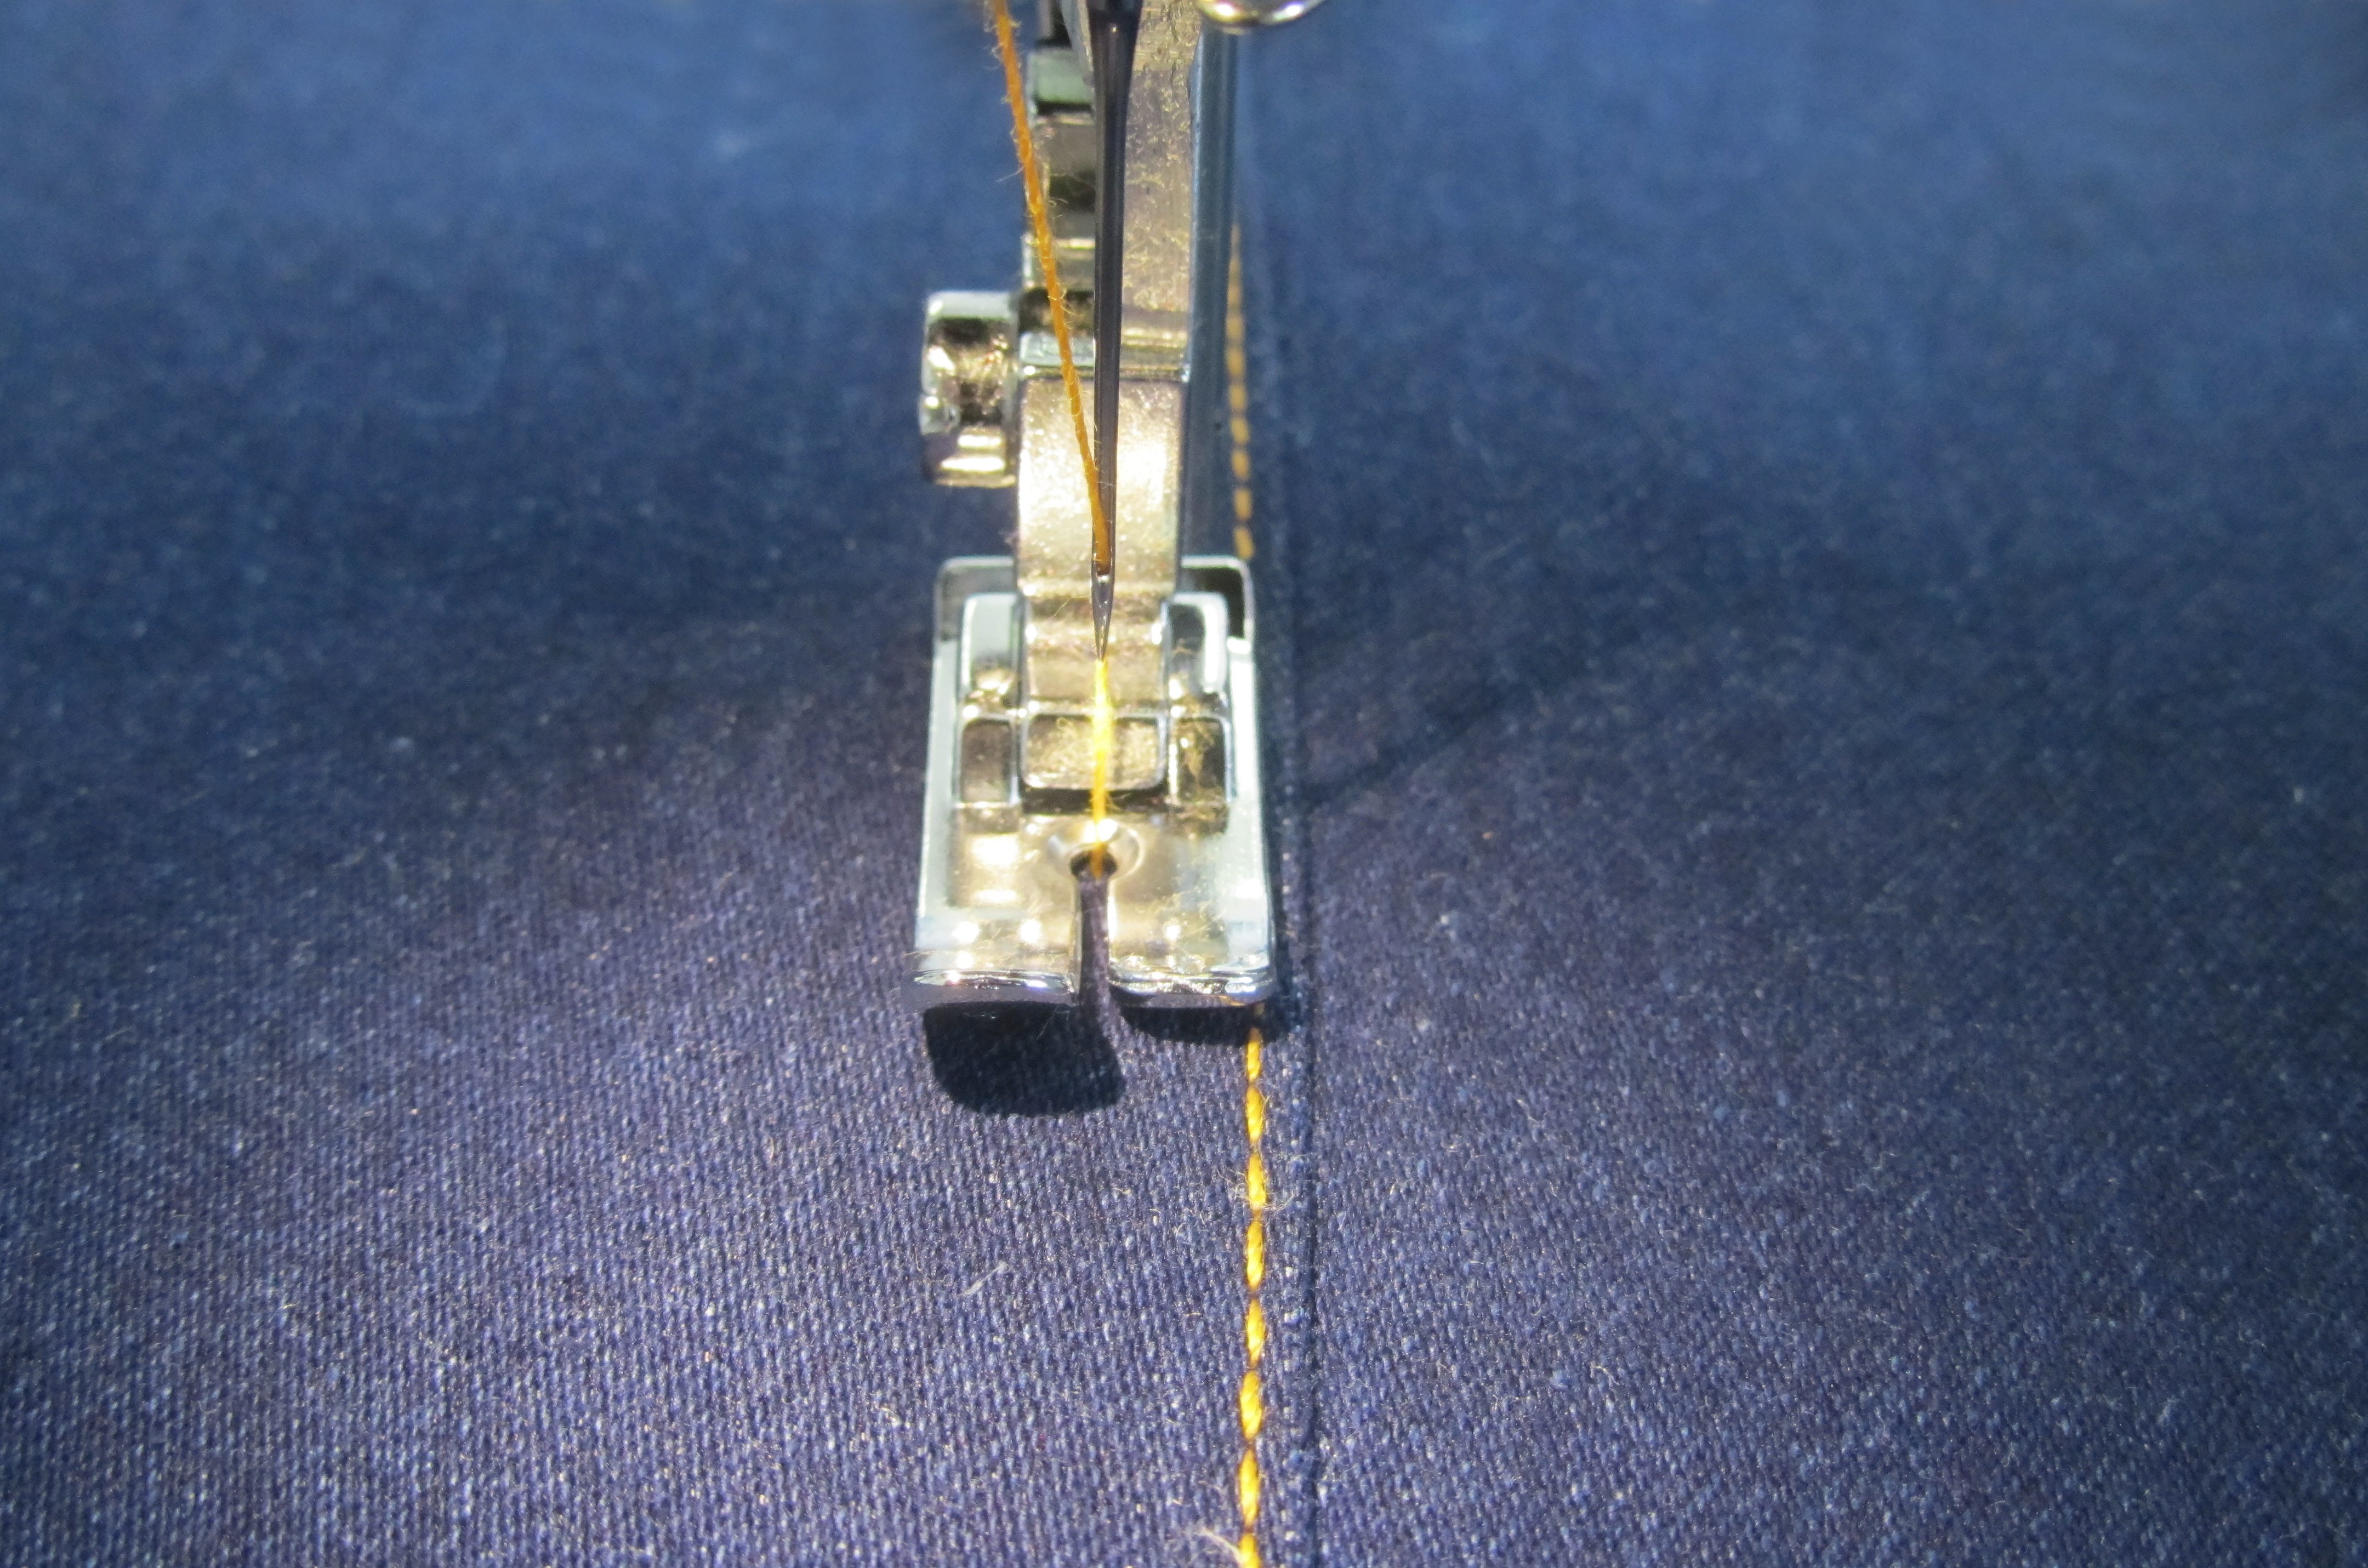
Topstitching: For topstitching of the typical jeans seam, use Mettler extra strong thread as the upper thread and a 90 jeans needle. Increase stitch length to 3.5. Increase thread tension as well (to approx. 6).
Overcasting: Overcast the edges with a zigzag stitch (stitch width 5, stitch length 2) or with the overlock machine.
Sewing
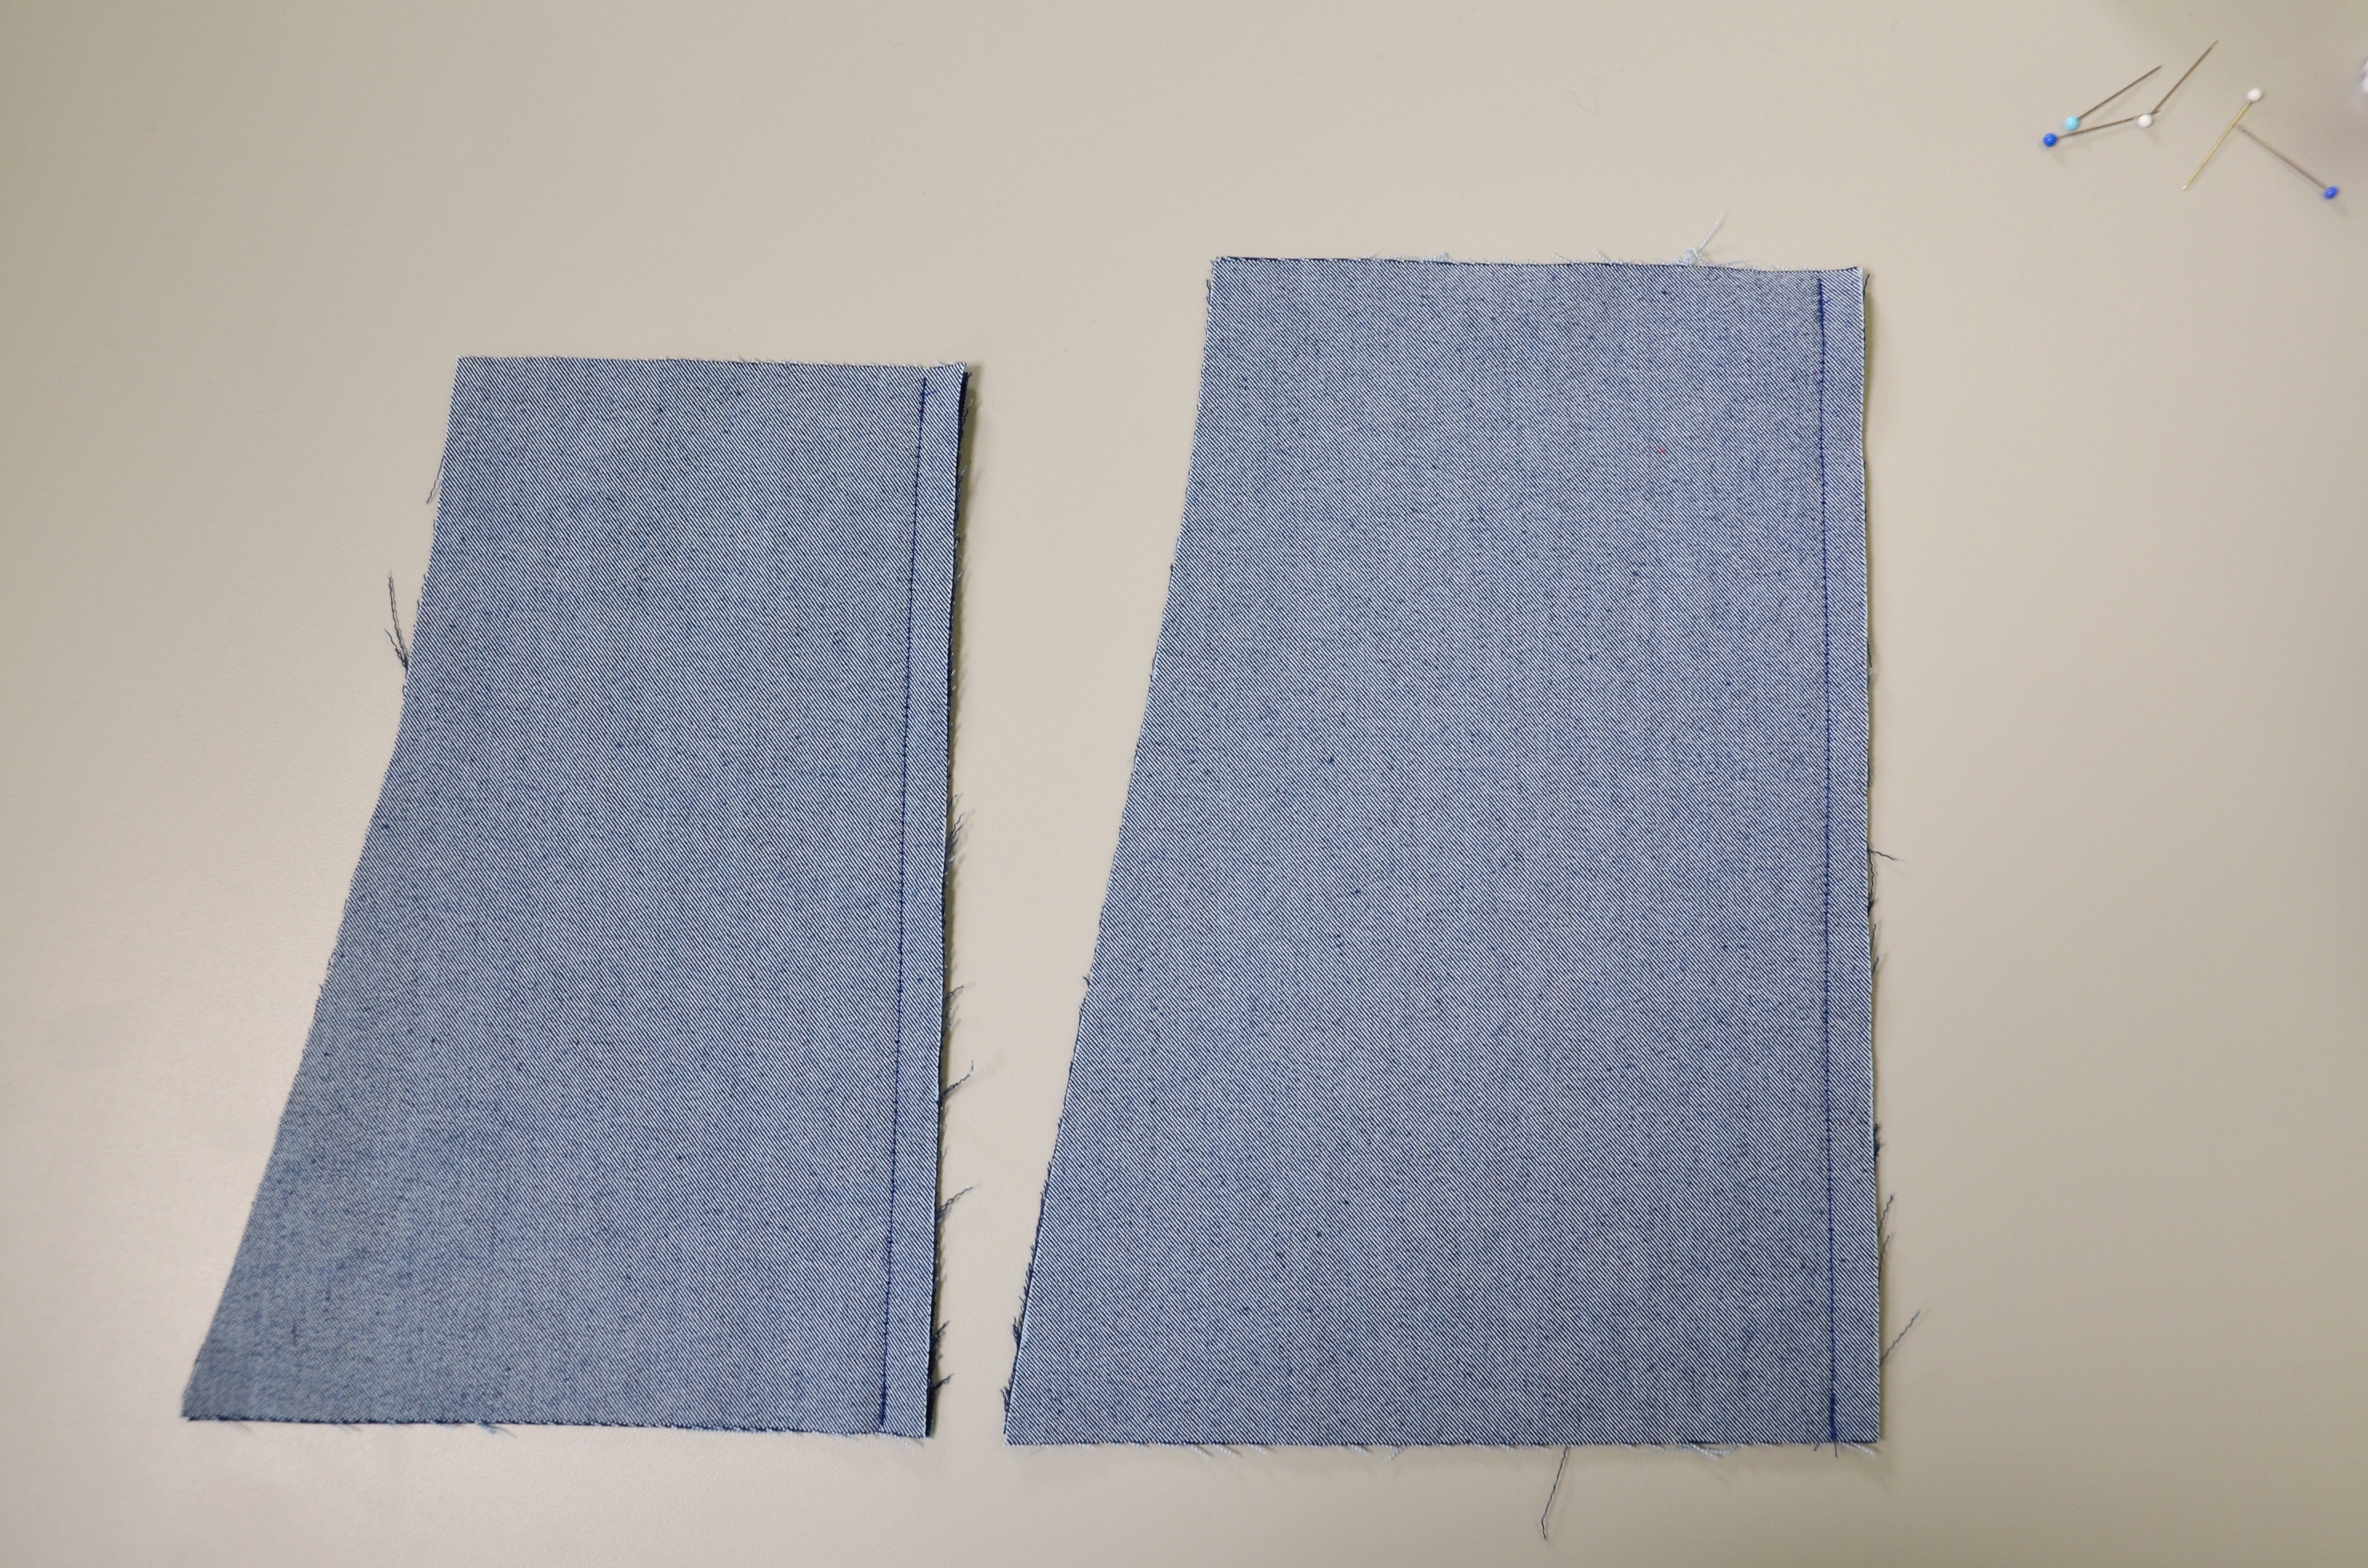
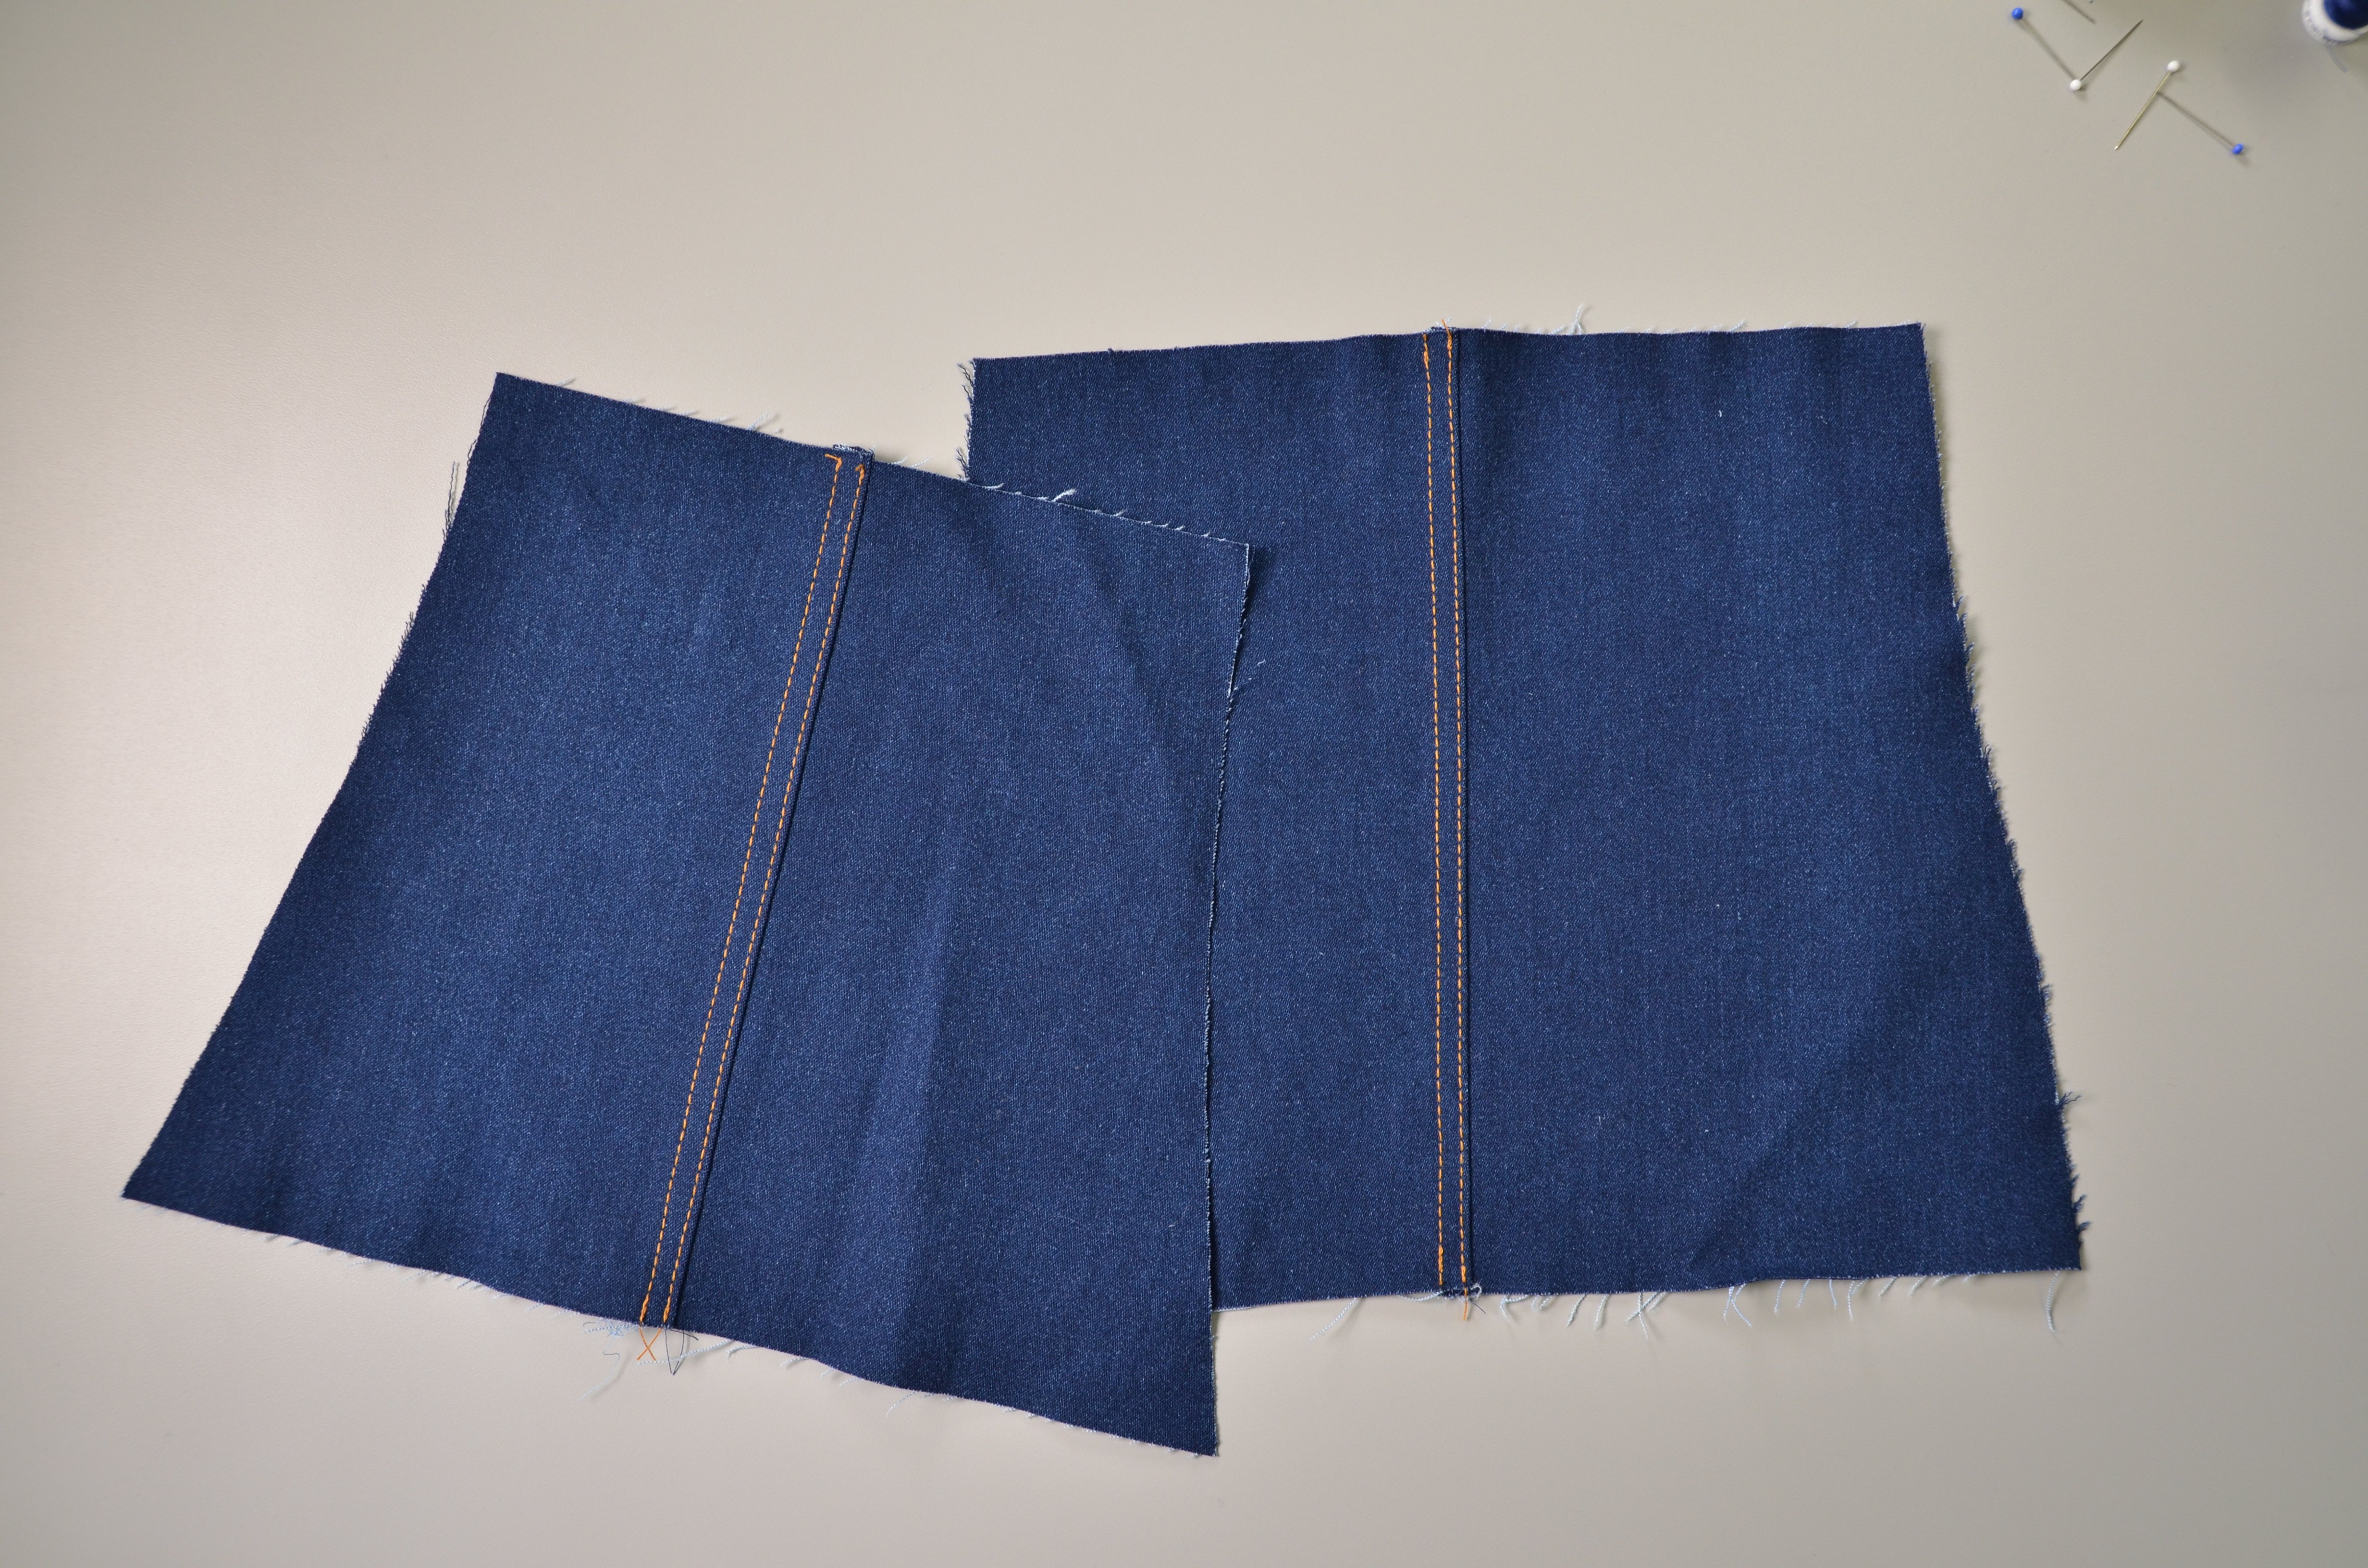
Front and back of dungarees: Lay both outer dungaree sections for the front and the back right side to right side and close the middle seam. Iron the seam allowances to one side and double topstitch with the extra strong thread – once 2 mm wide and once with 8 mm spacing, this is best done with the straight-stitch
foot. For the narrow topstitch seam, use the innermost marking on the stitching foot, for the wider topstitching you can lead the foot along the already stitched seam.
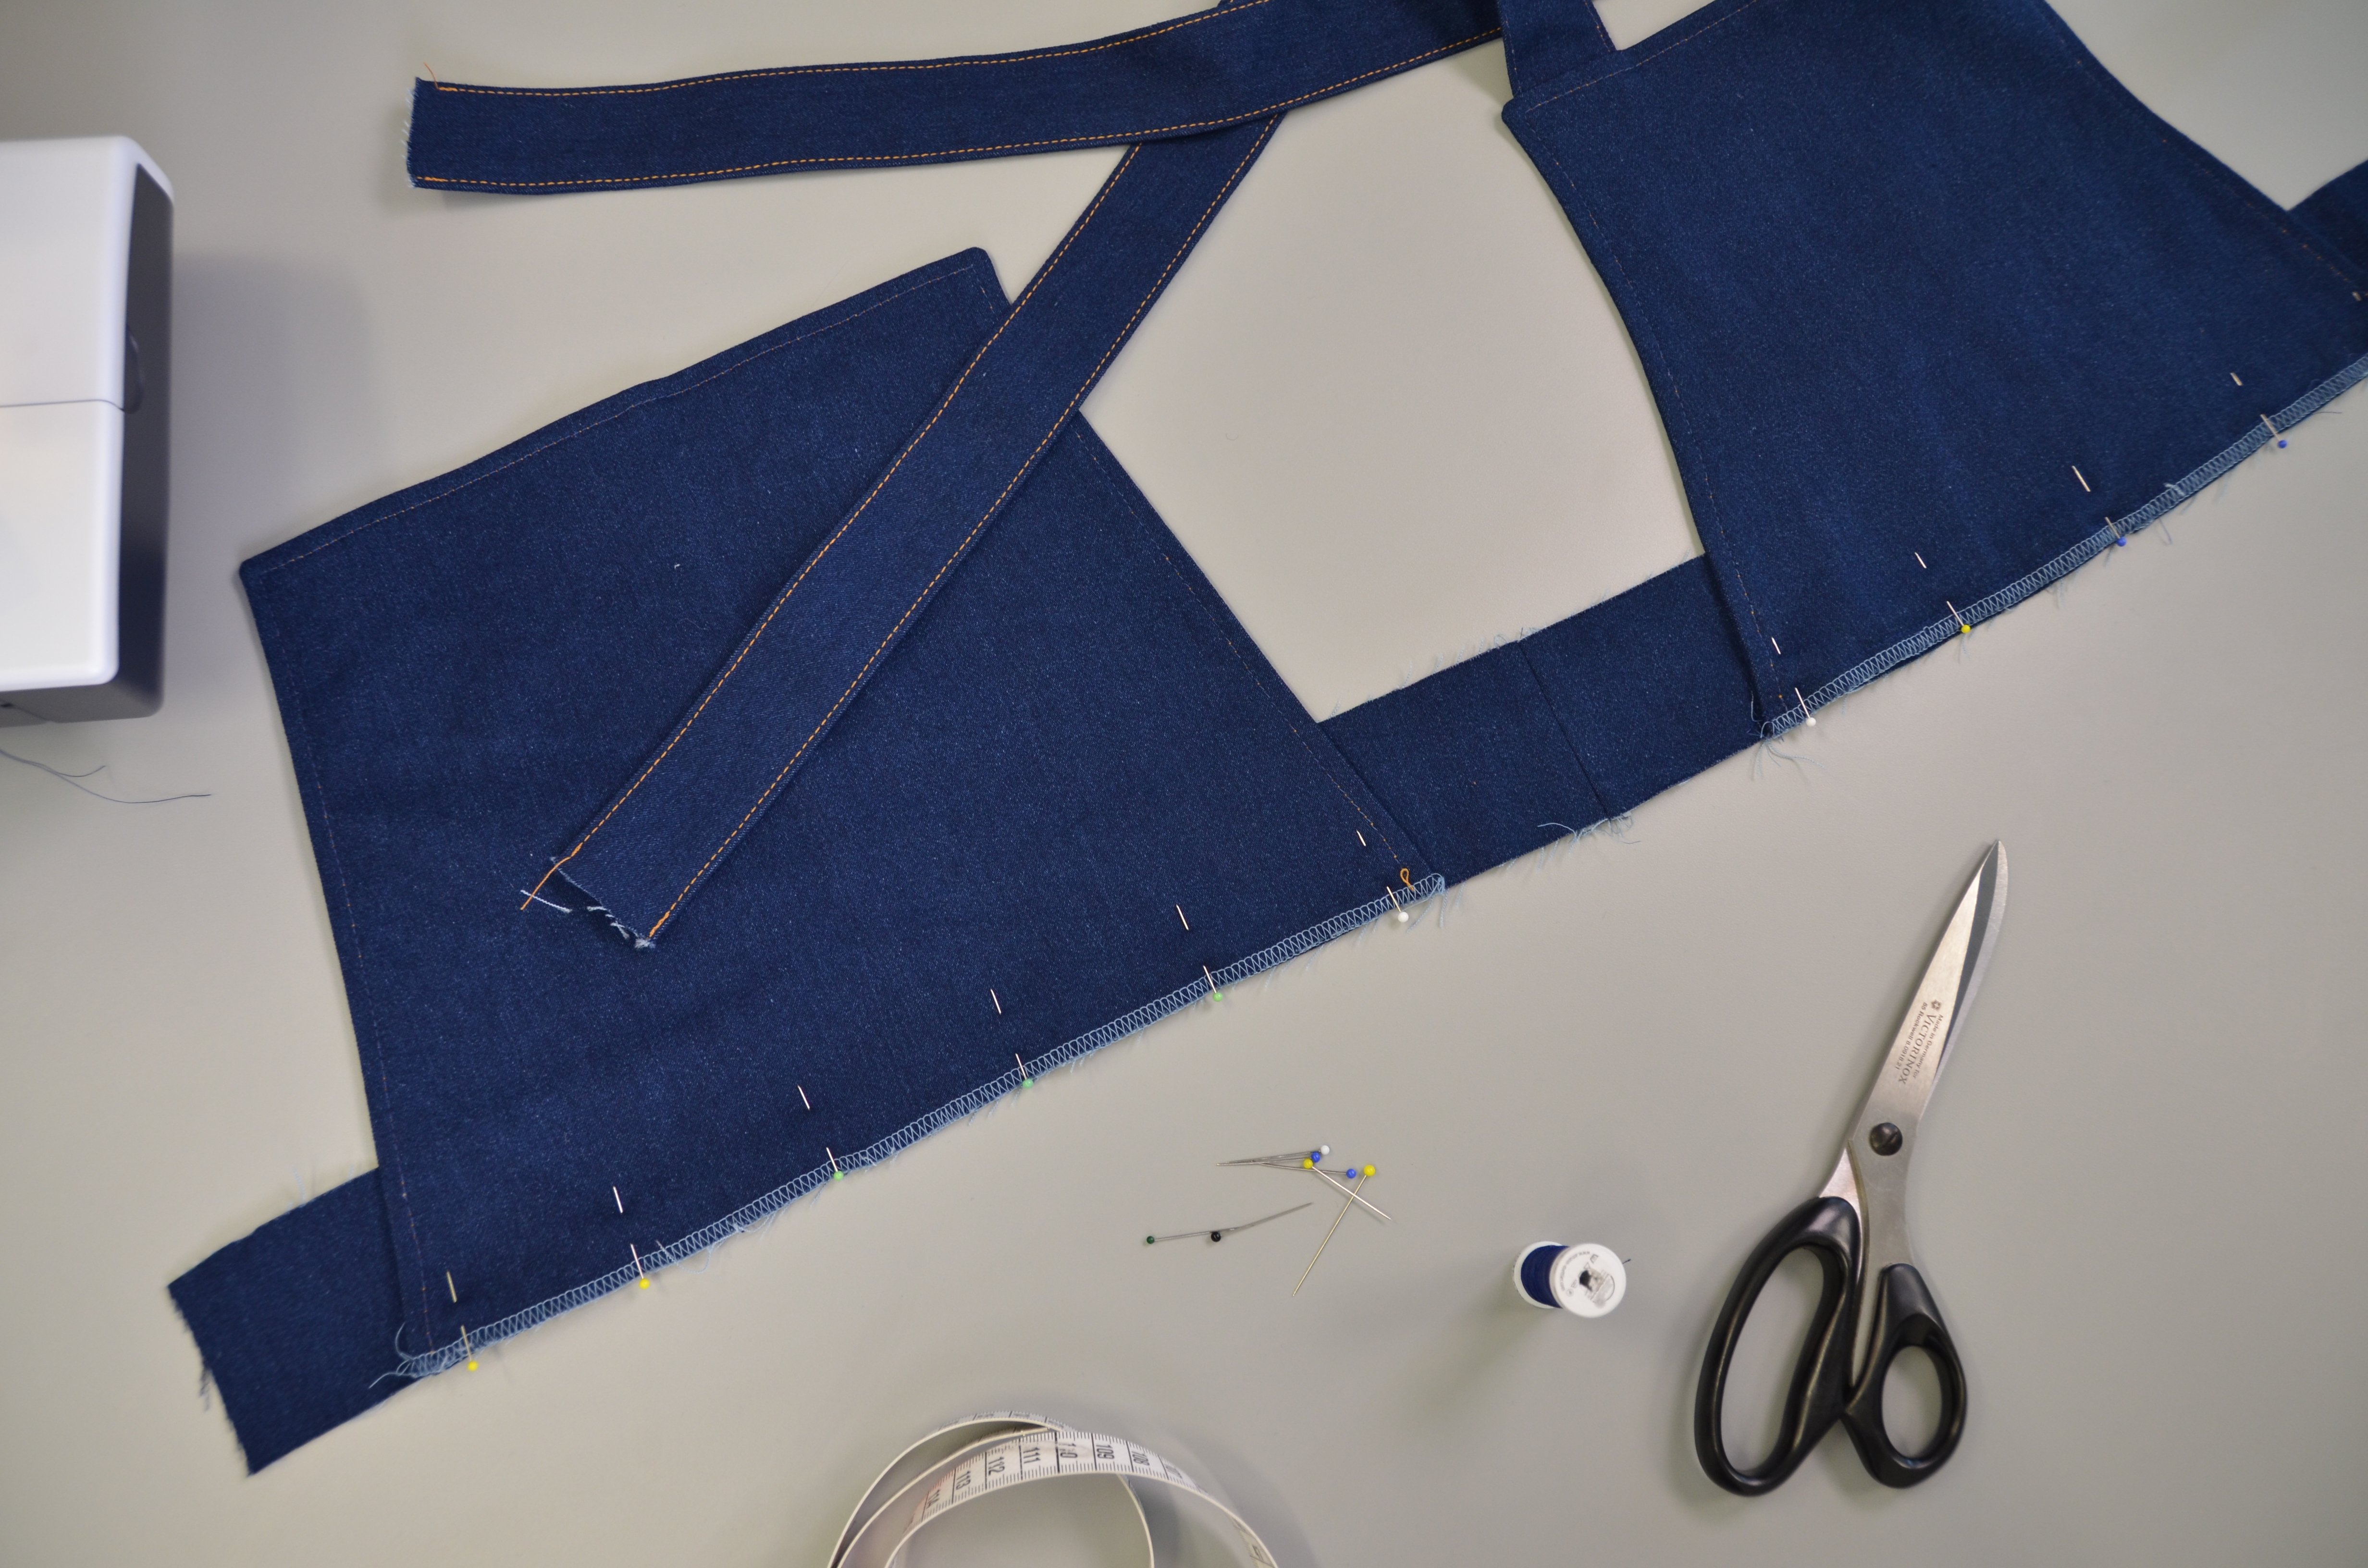
Sew the straps: Lay the strap sections together right side to right side and stitch together along the long edge. Also stitch one of the two short ends together, so that the straps can be turned right side out more easily.
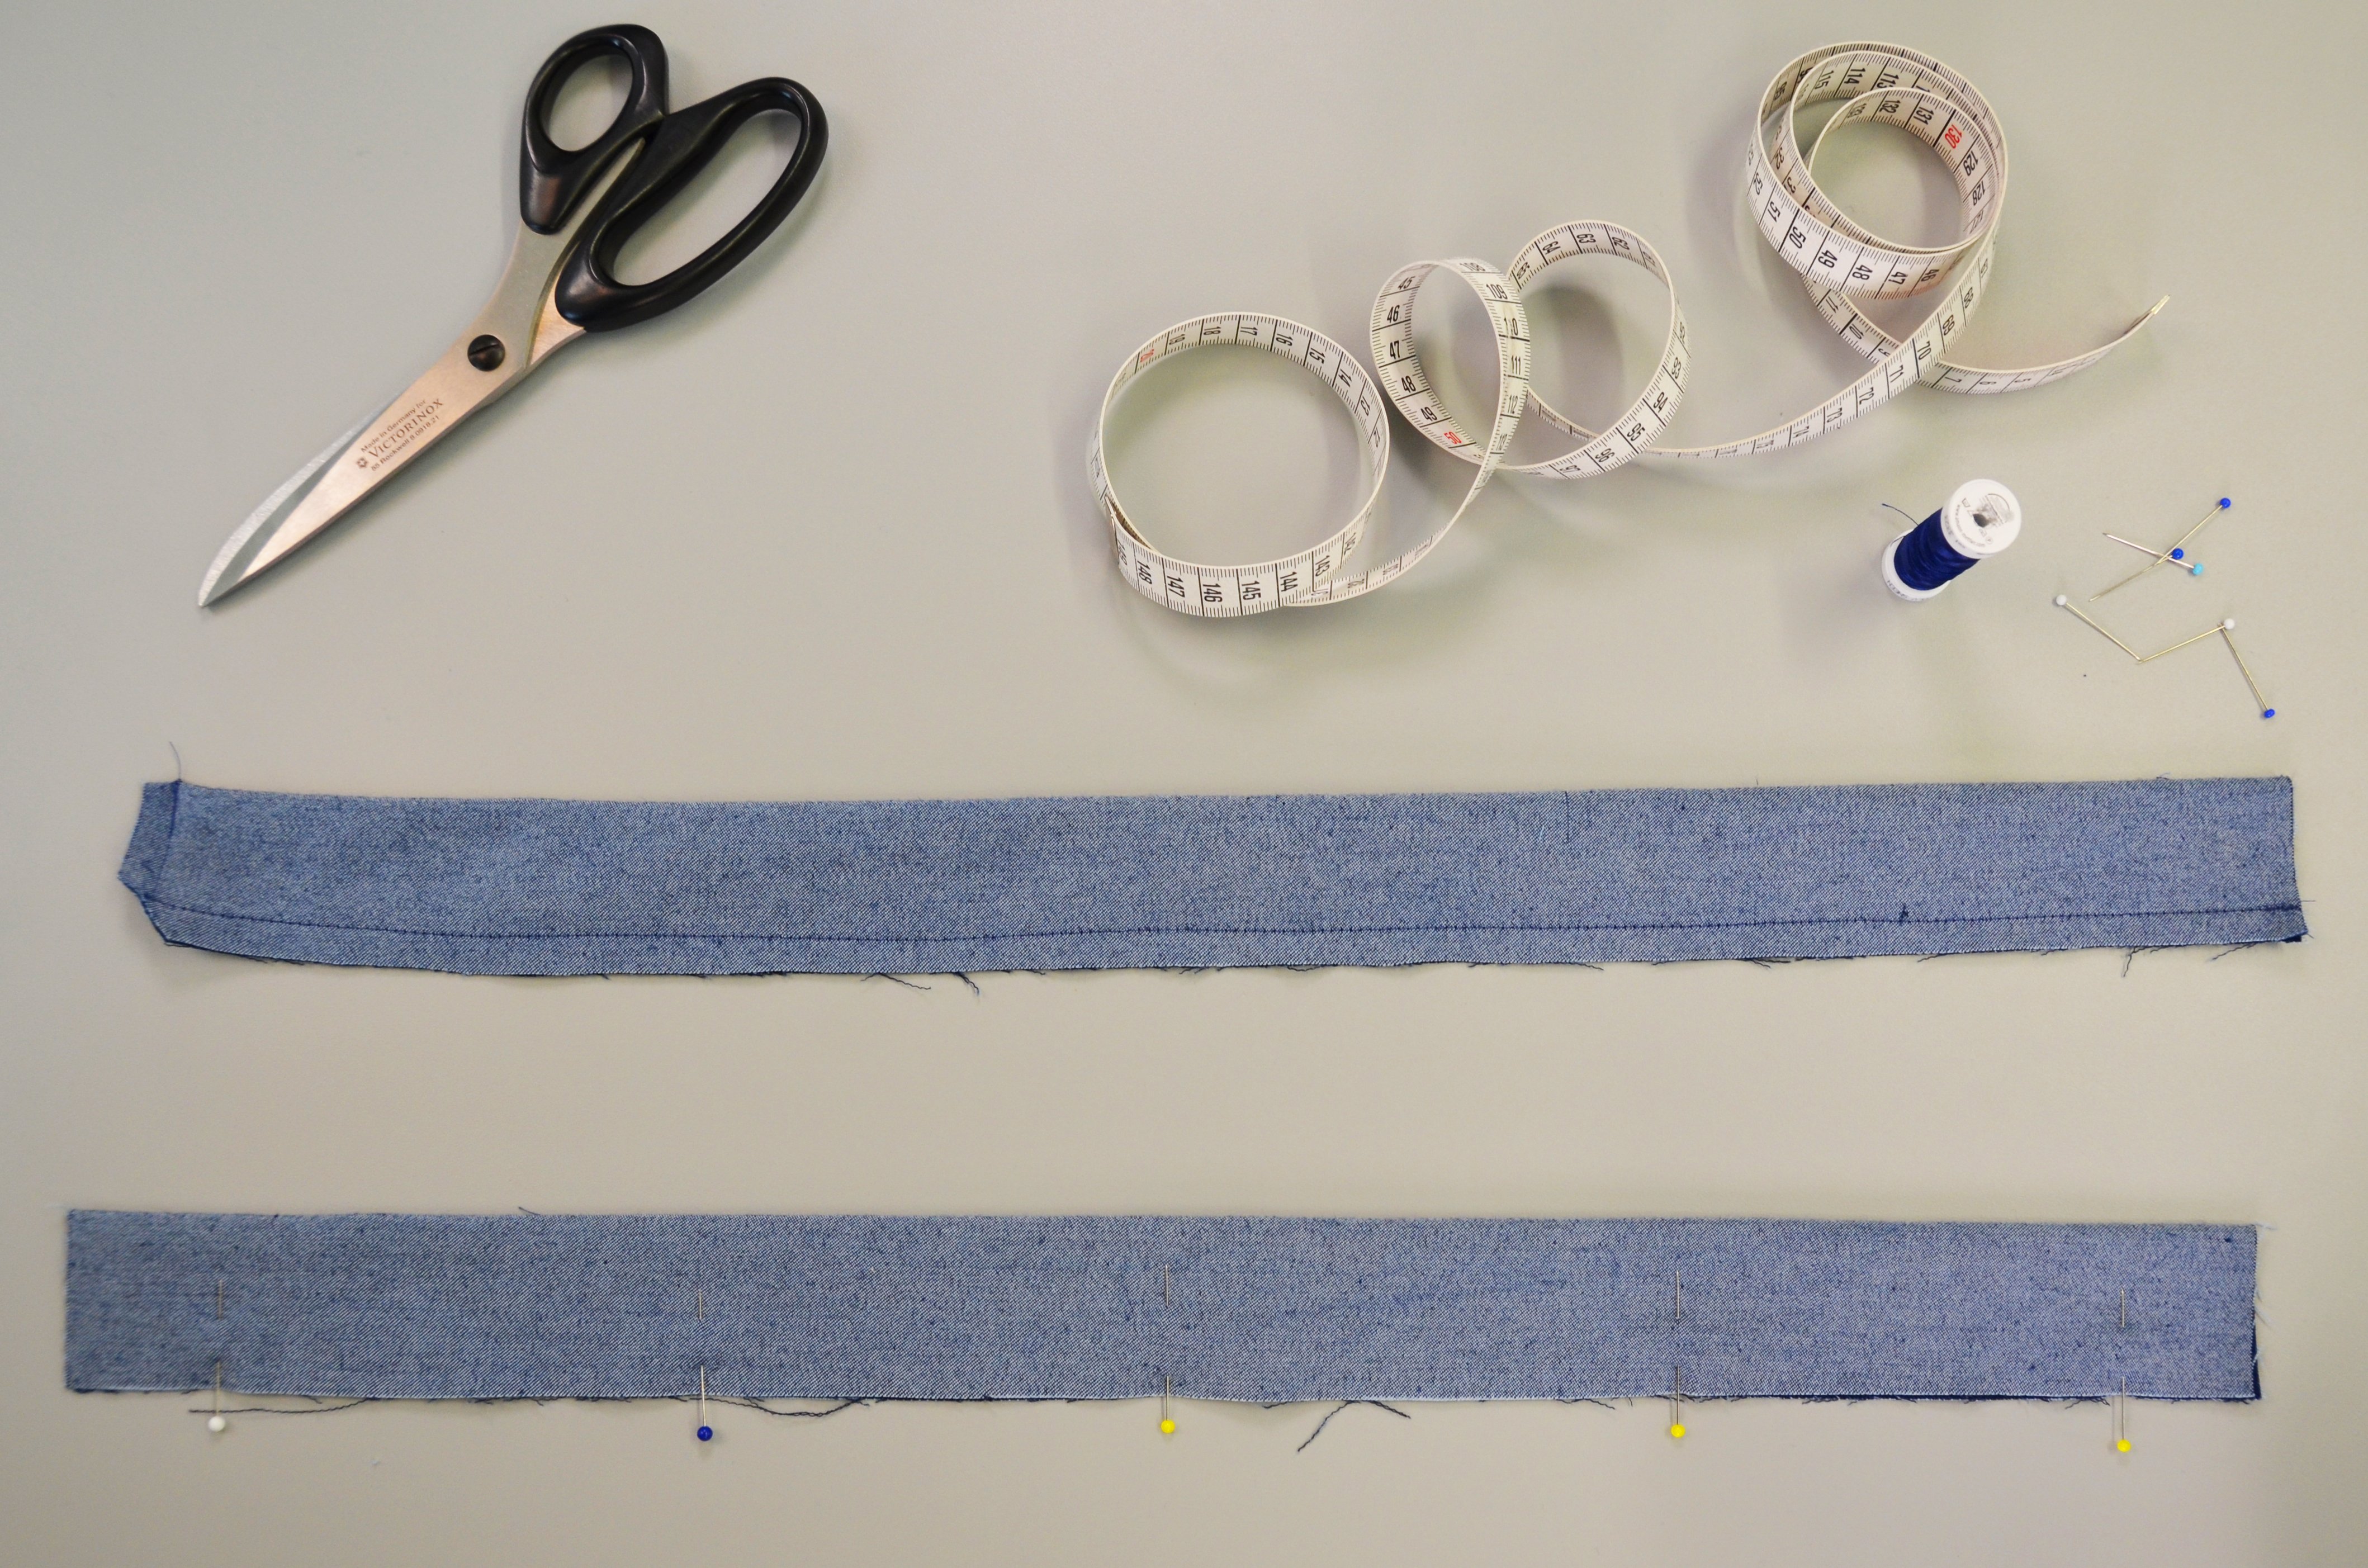
Turn the straps right side out and do a narrow topstitch on both sides, to do this you can use the straight stitch foot and the second marking to help guide you.
Lay against the edge of the top of the back section of the dungarees right side to right side with a spacing of 1.5 cm from the edge.
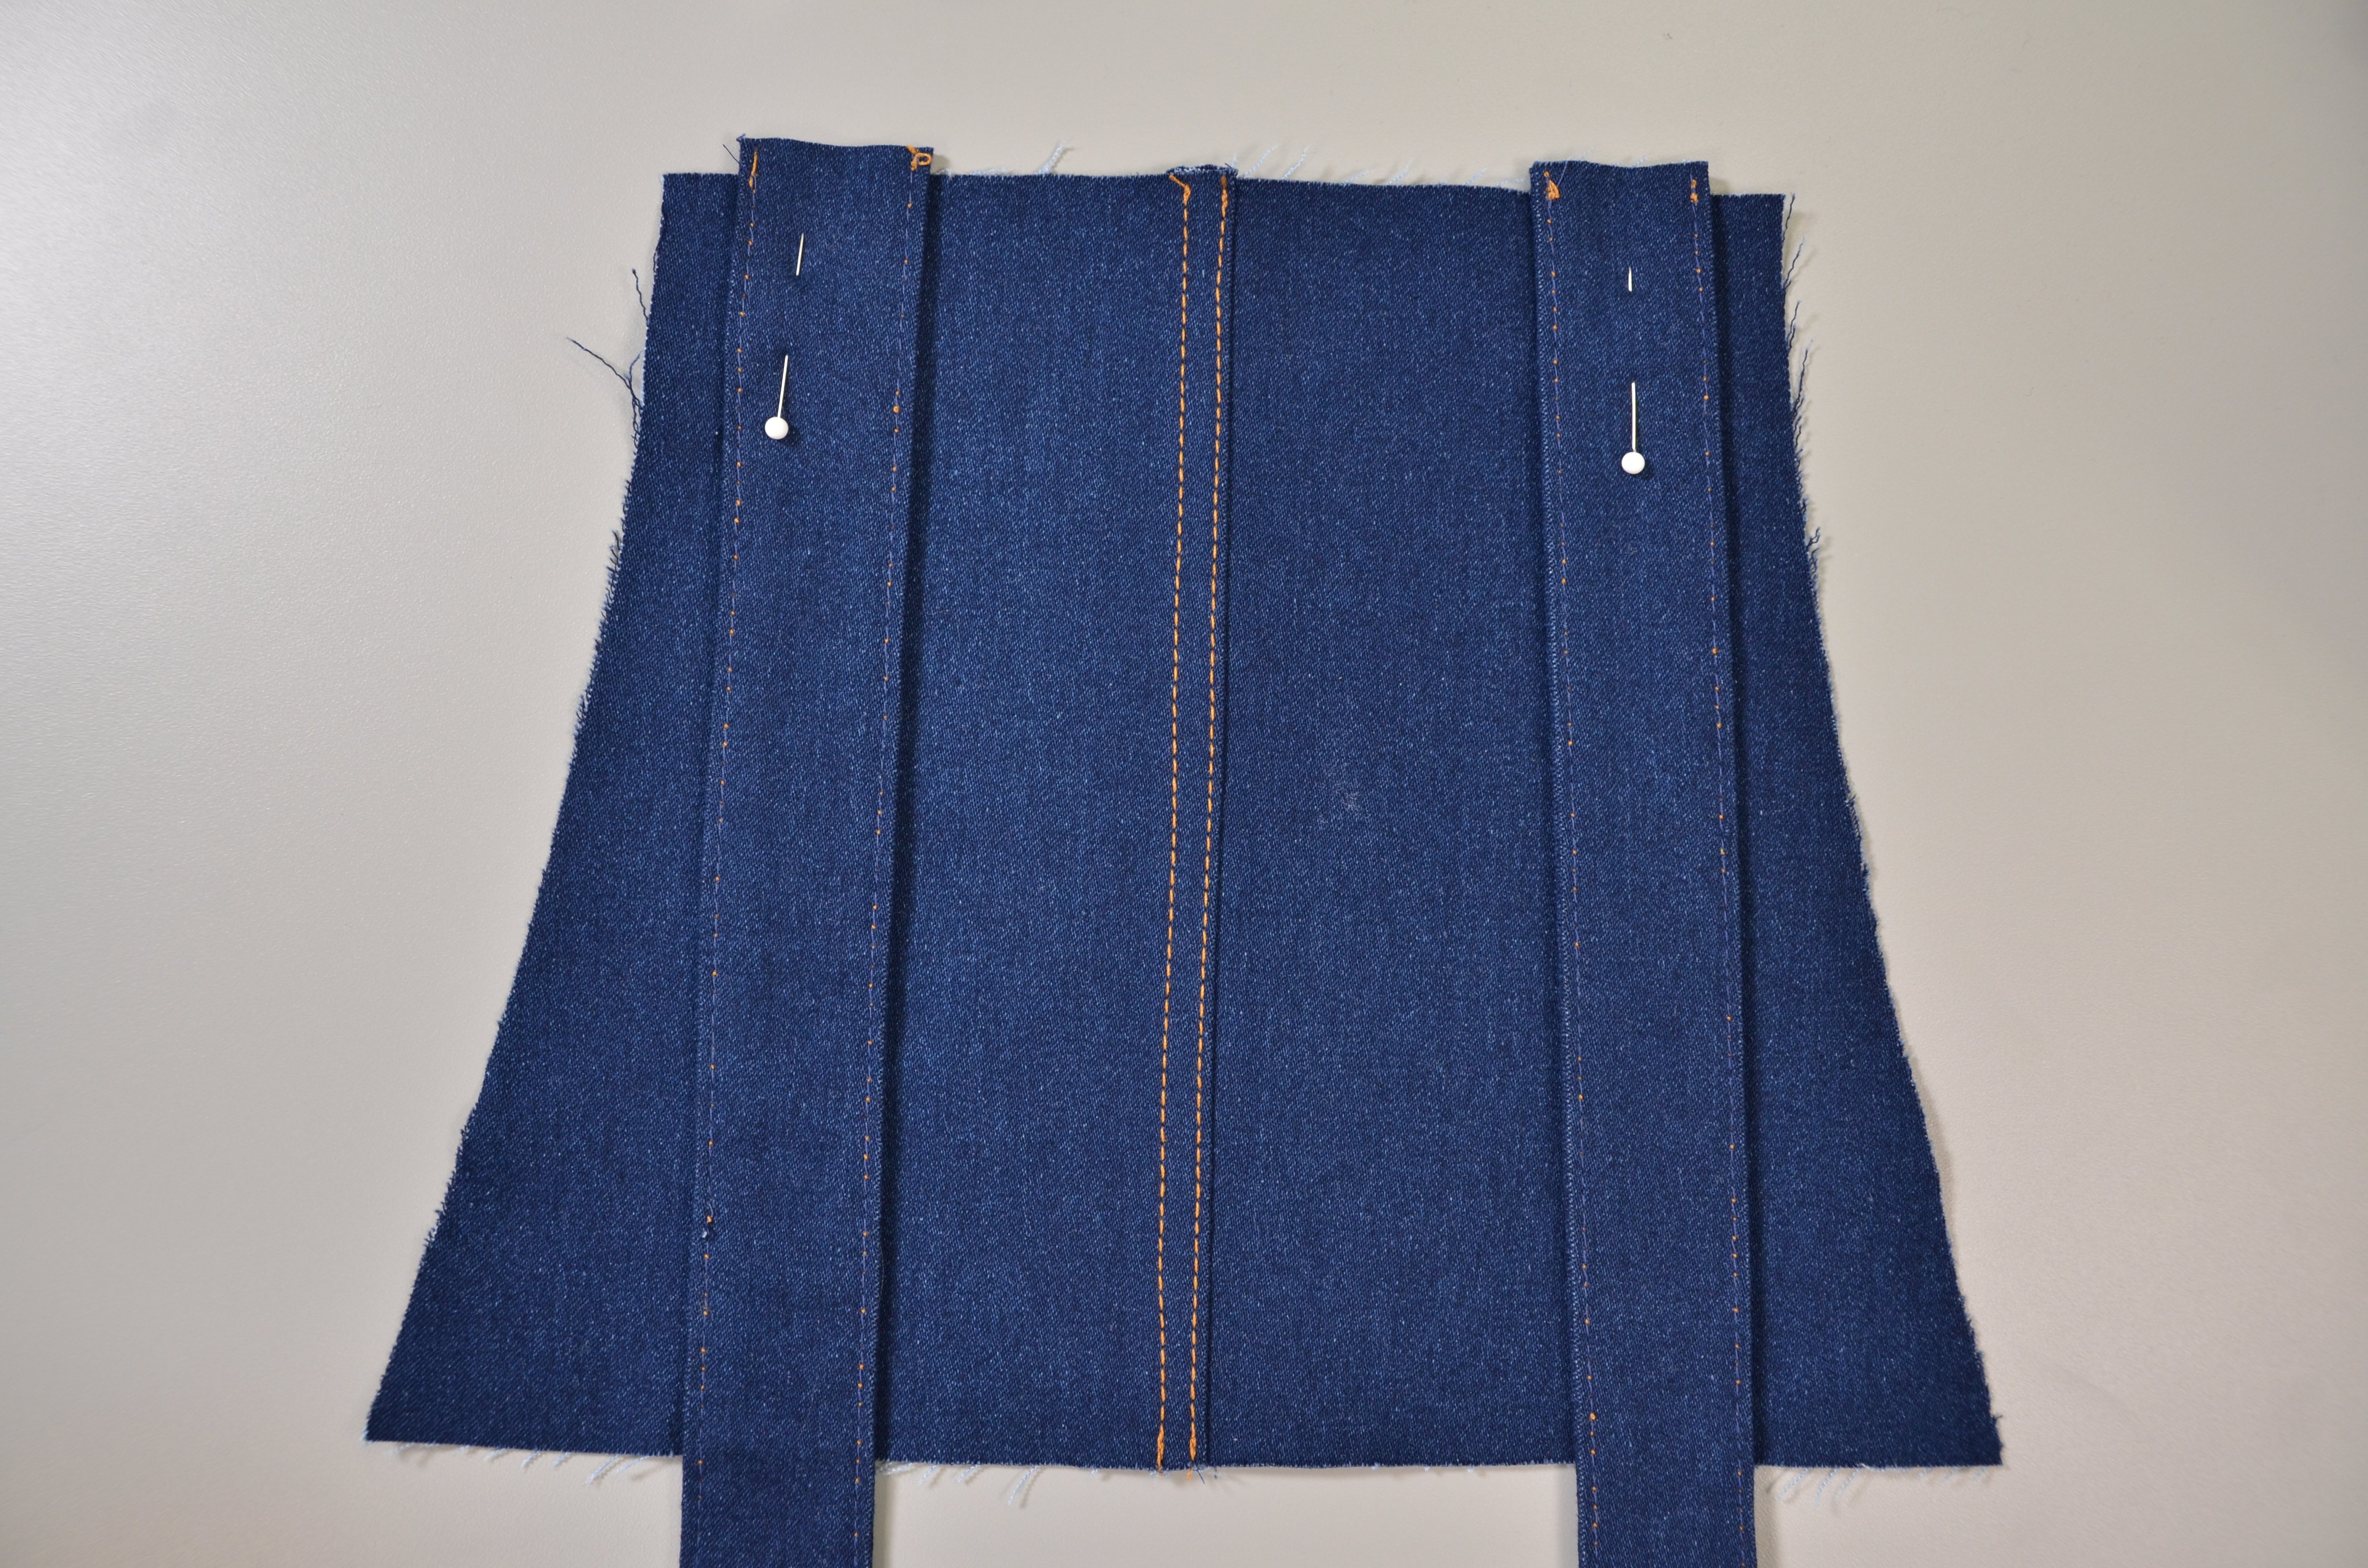
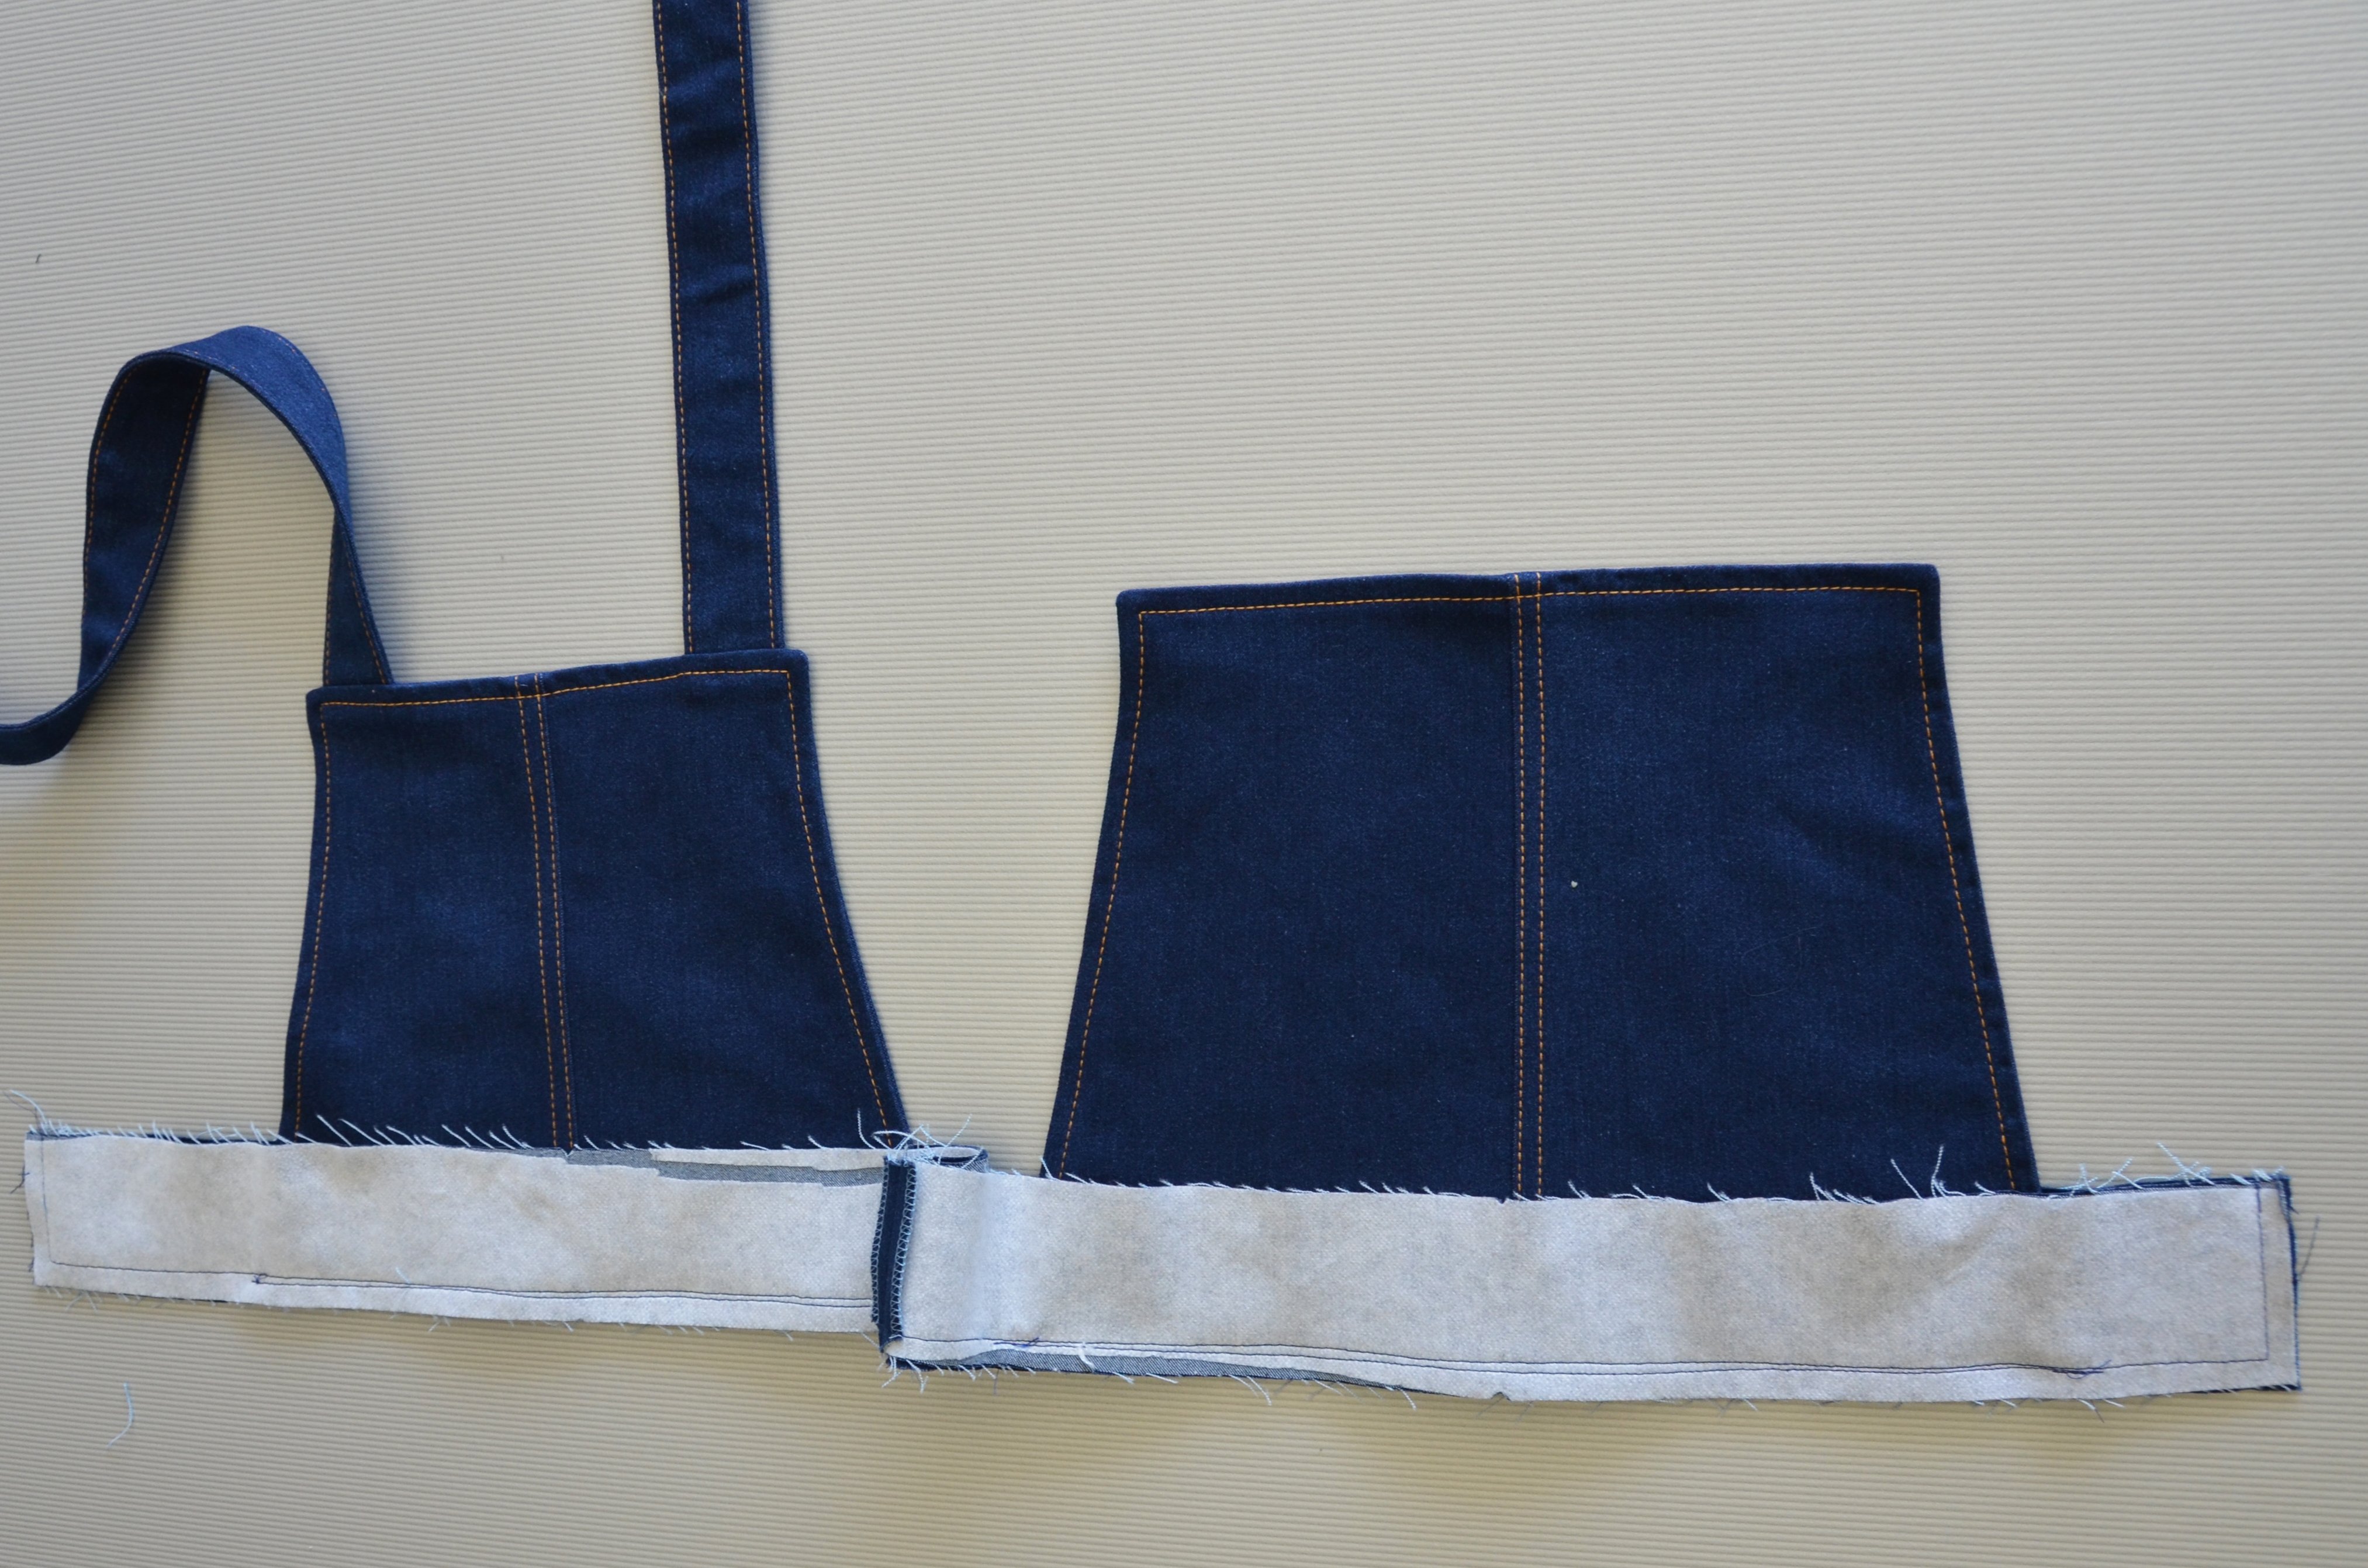
Complete the dungaree sections: Lay the inner dungaree sections against the outer sections right side to right side, stitch them together at the top and sides, this will also attach the straps to the back section. Cut the seam allowances back in the corners, cut into them allowing some space at the rounded edges. Turn the
dungarees right side out. Topstitch the dungaree sections with the extra strong sewing thread, with a spacing of 7 mm from the edges. You can also use the edge of the sewing foot as a guide (=depth of a small foot).

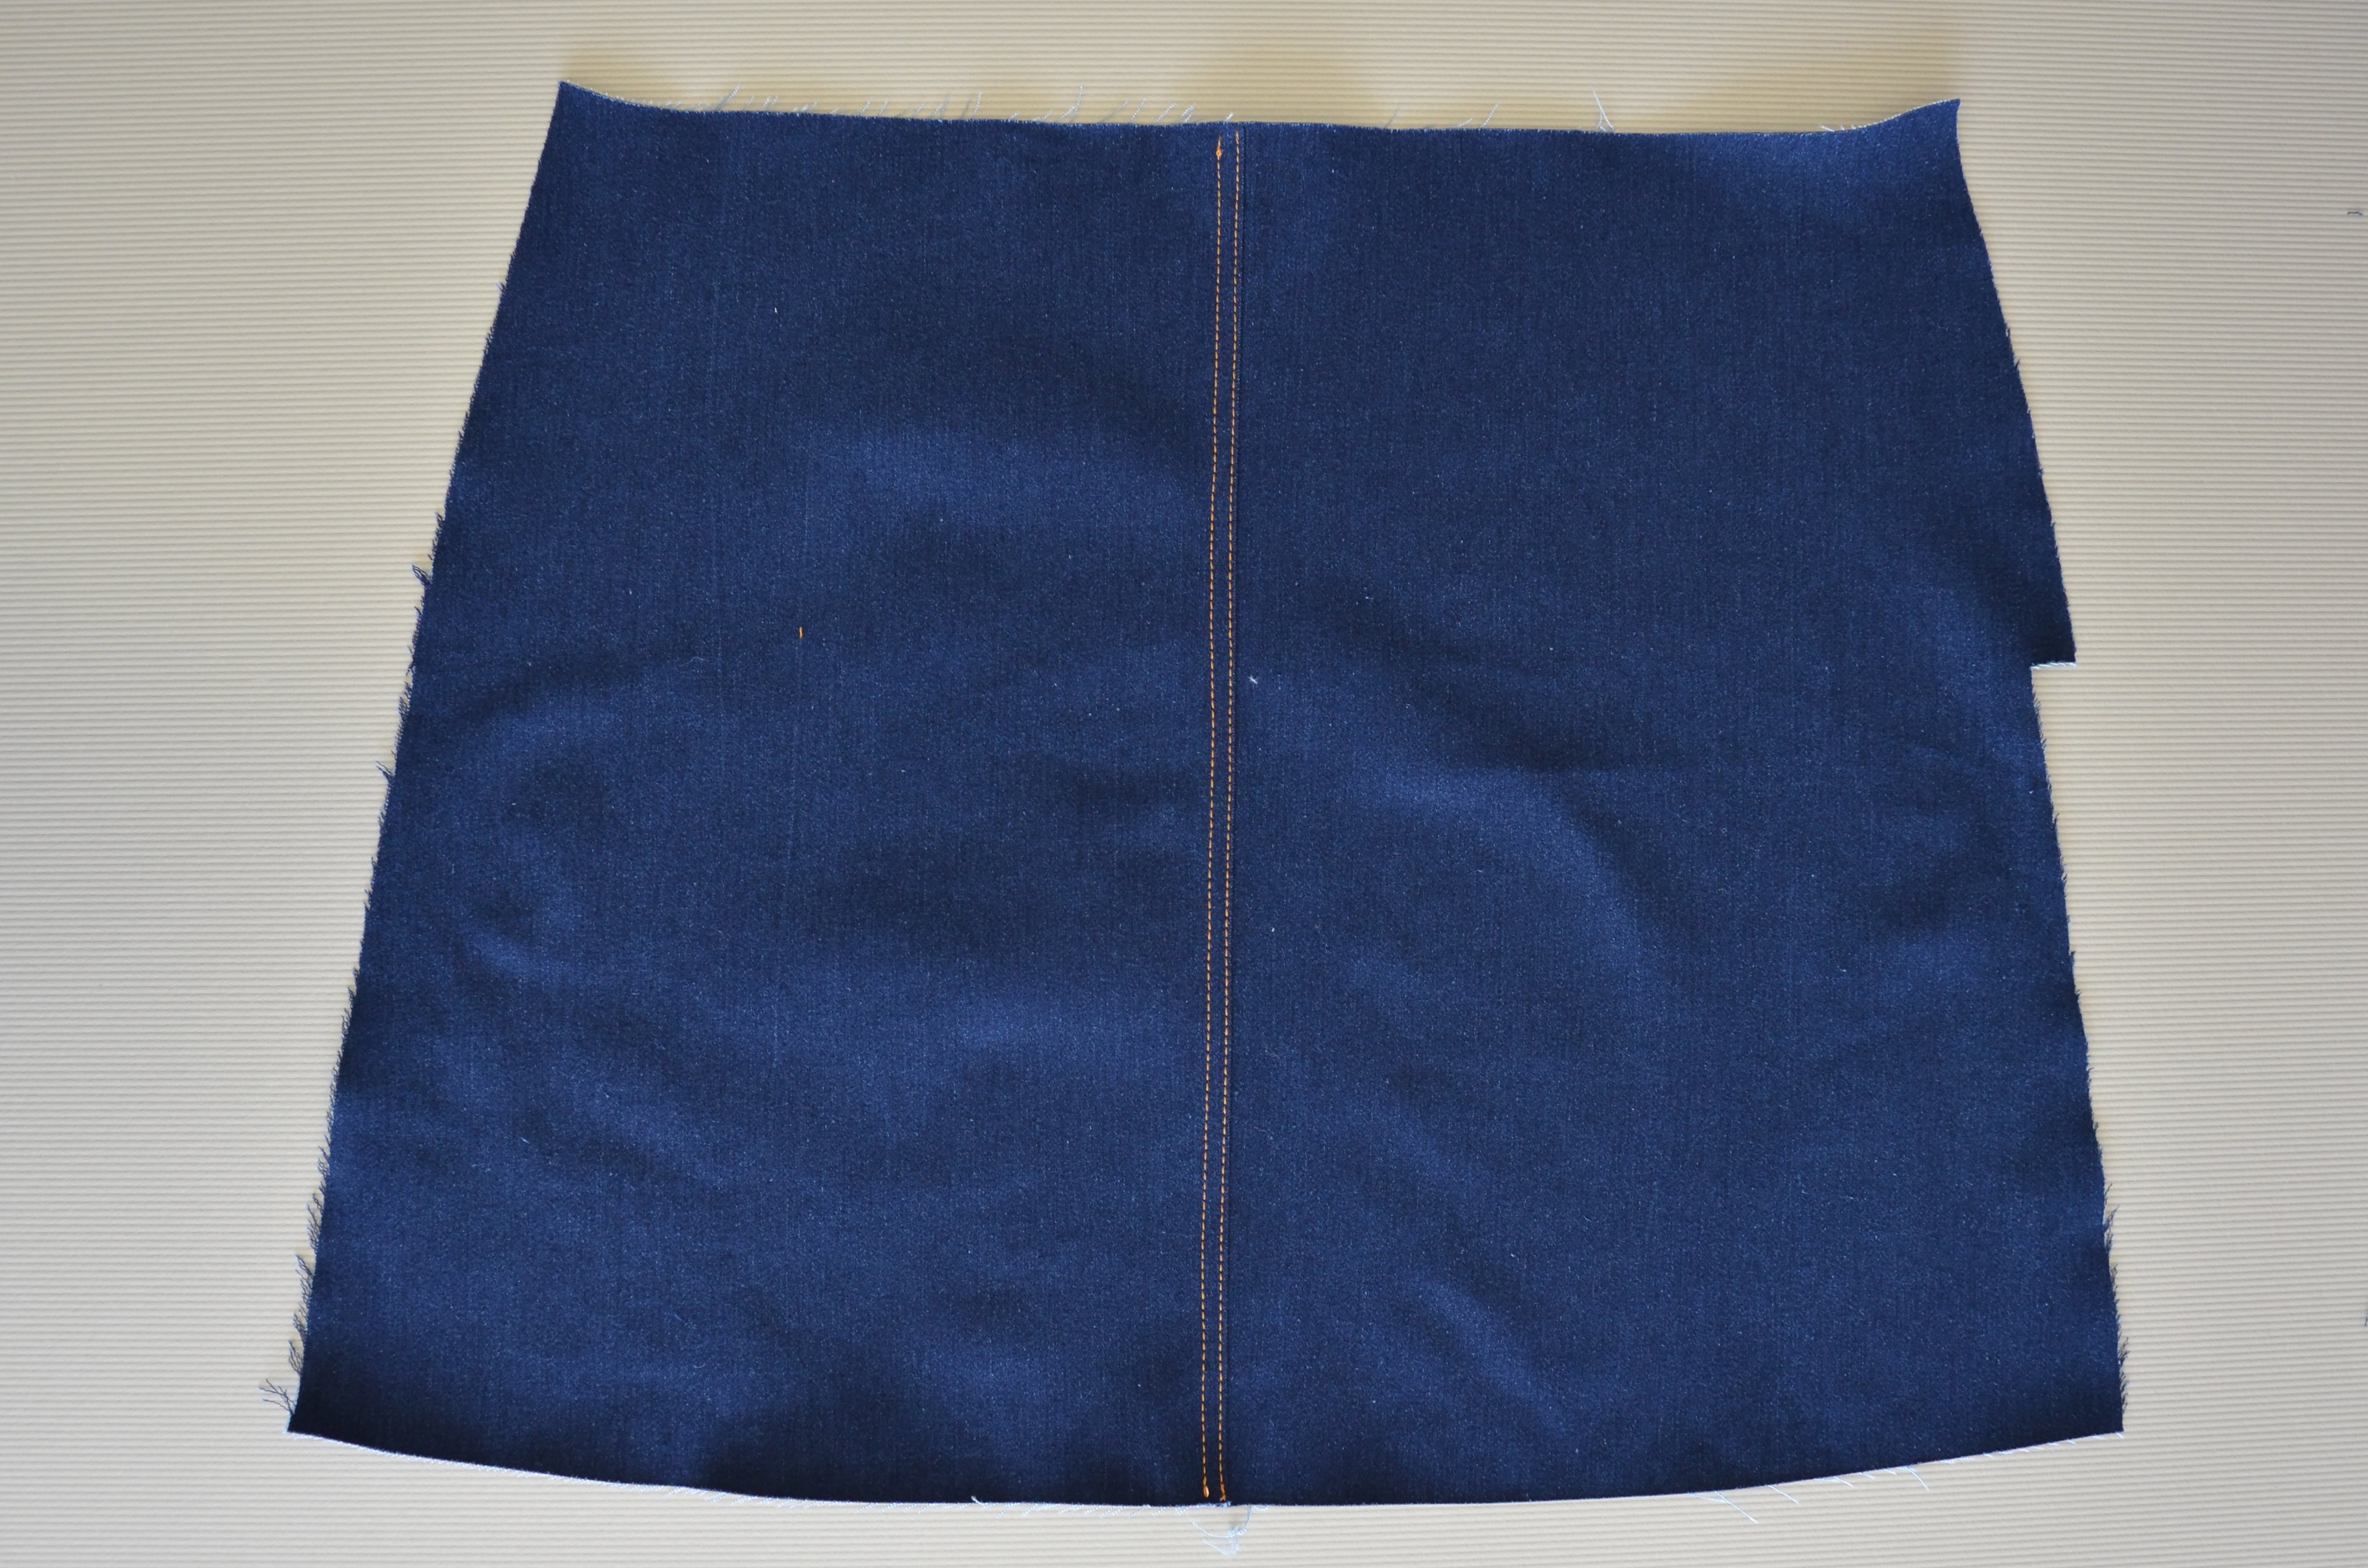
Darts: Close the darts in the back sections of the skirt. Iron the seam allowances towards the middle of the body and do a narrow topstitch.

Pockets: Overcast around the edges of the pockets. Go around the upper edge initially 1 cm, then 1.5 cm and stitch with the extra strong sewing thread. Iron 1 cm around the rest of the edges and pin to the back sections of the skirt (note marking). Stitch on the pockets with a spacing of 2 and 8 mm. Finally, stitch a diagonal bar with a narrow zigzag stitch (stitch width: 2.5, stitch length:1).

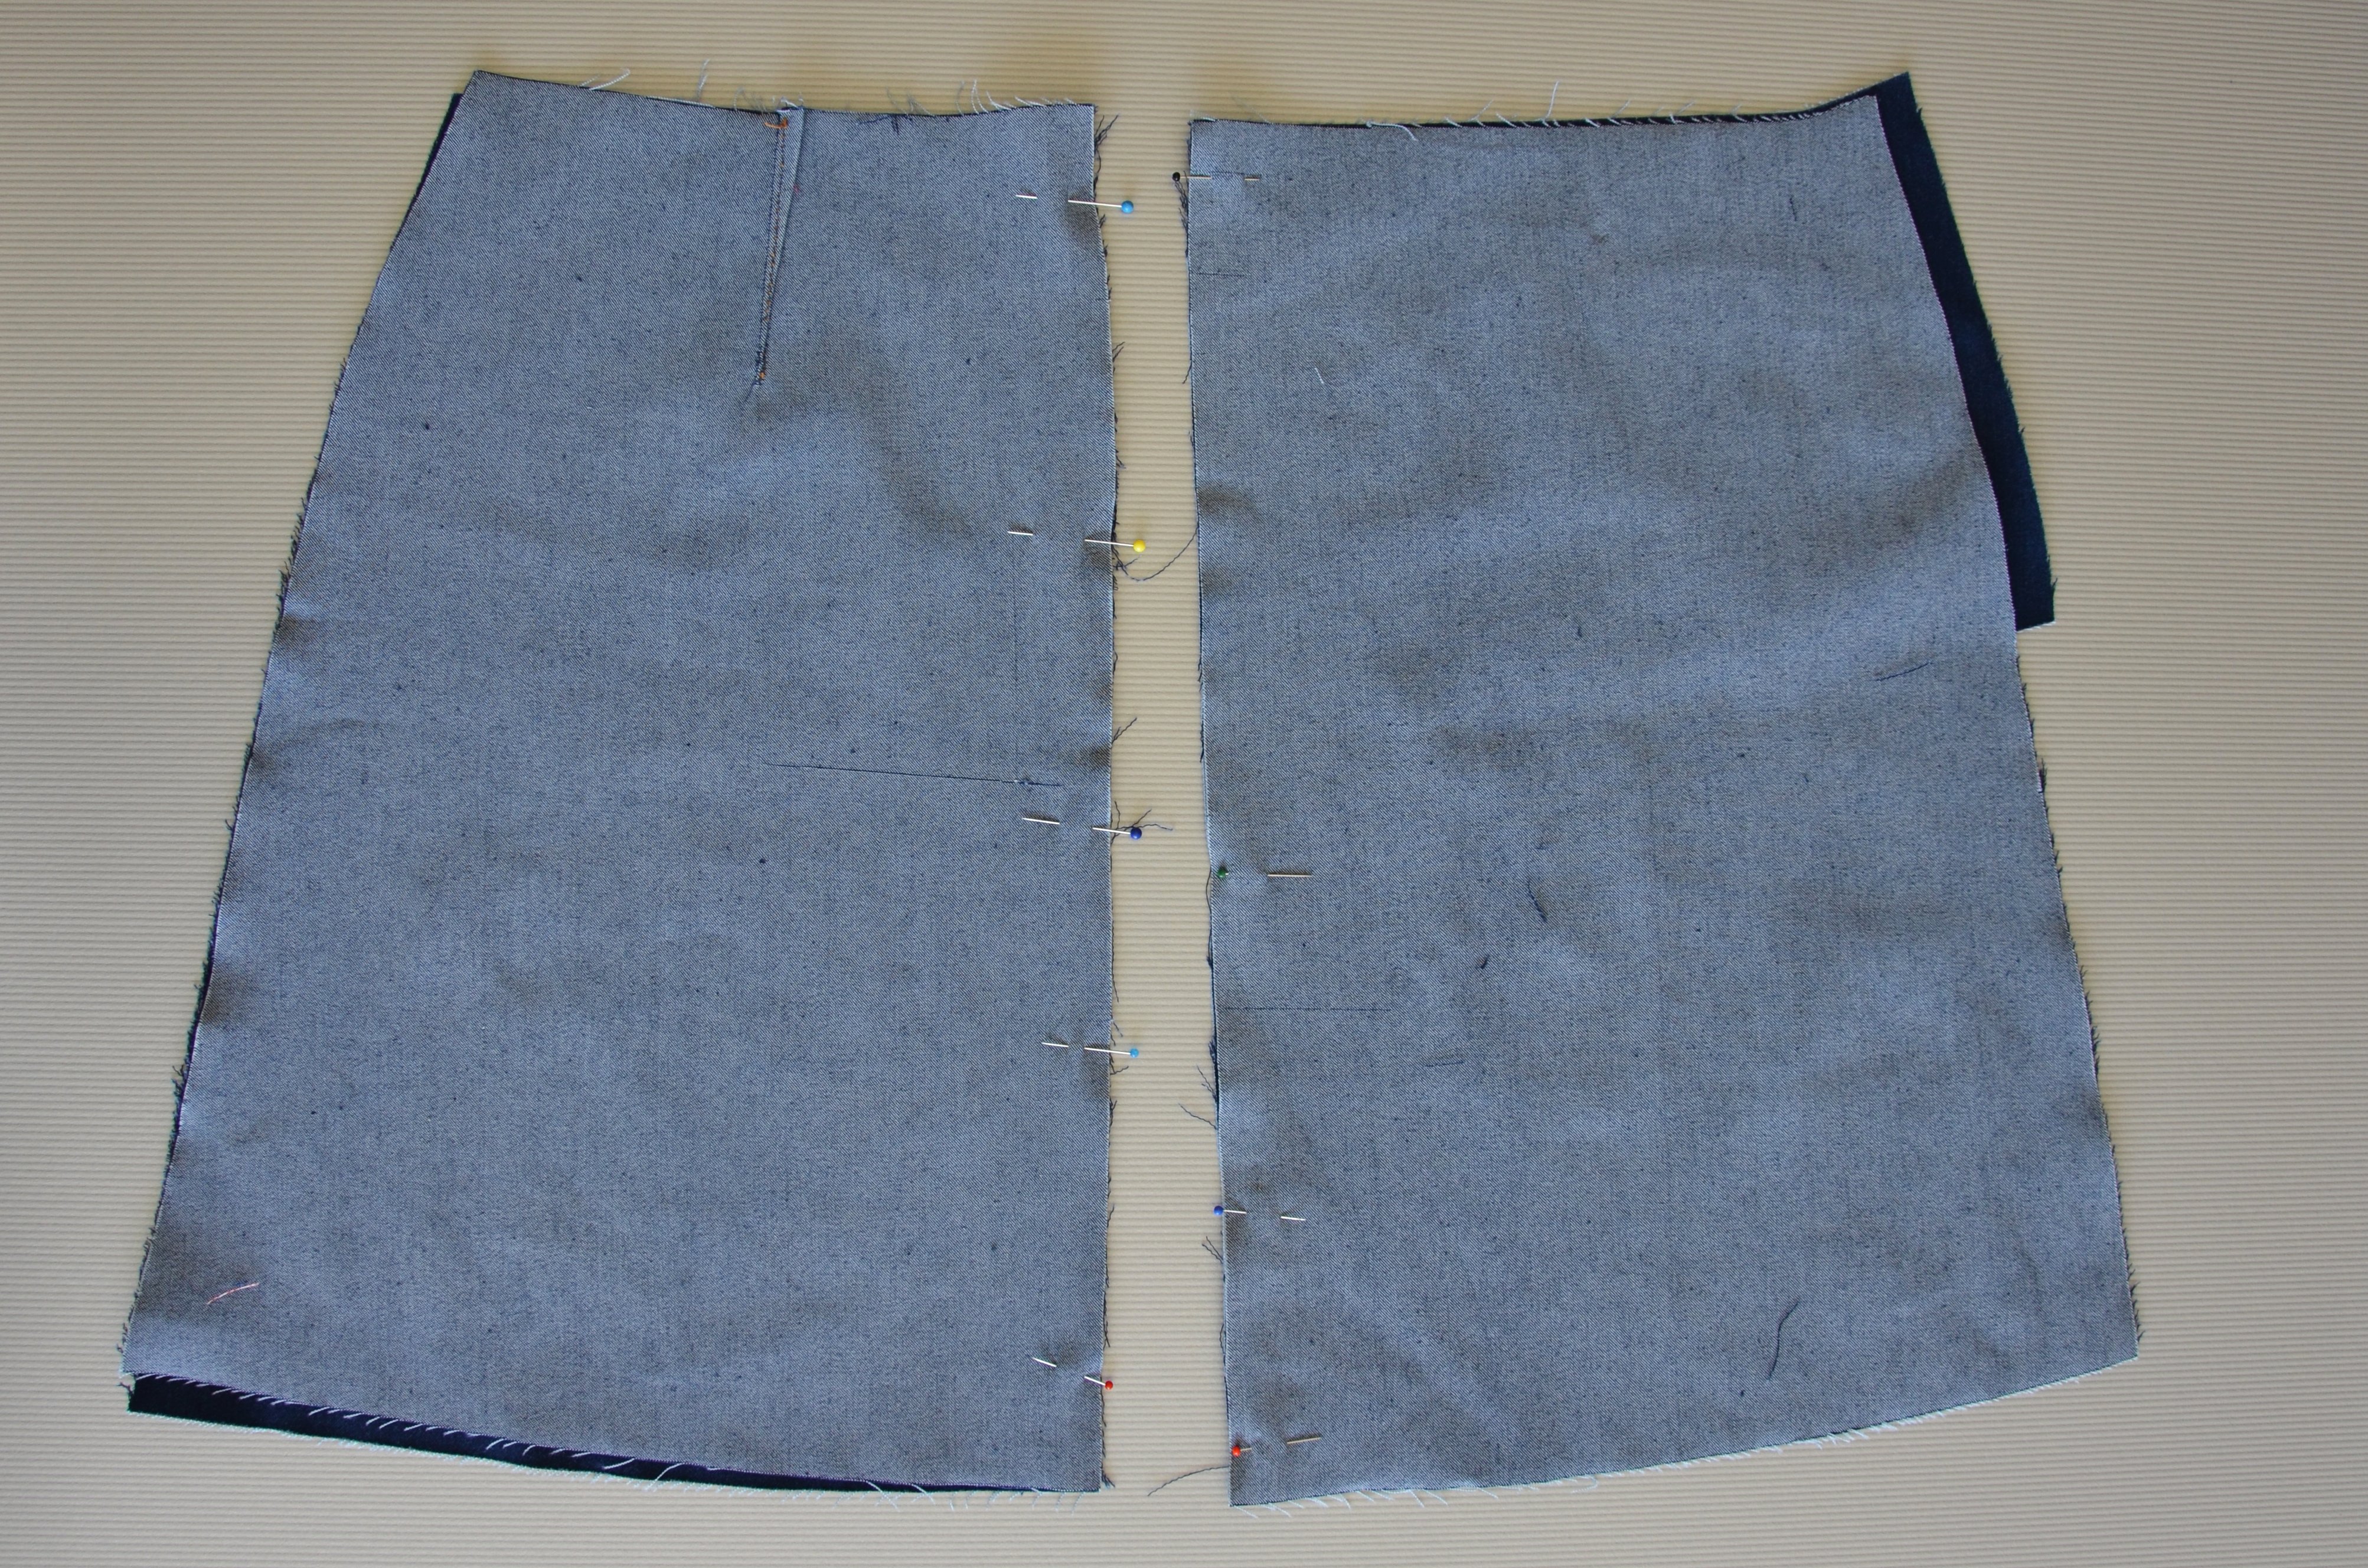
Skirt sections: Lay the front and back sections of the skirt together right side to right side and close the middle seam. Topstitch with a spacing of 2 and 8 mm.
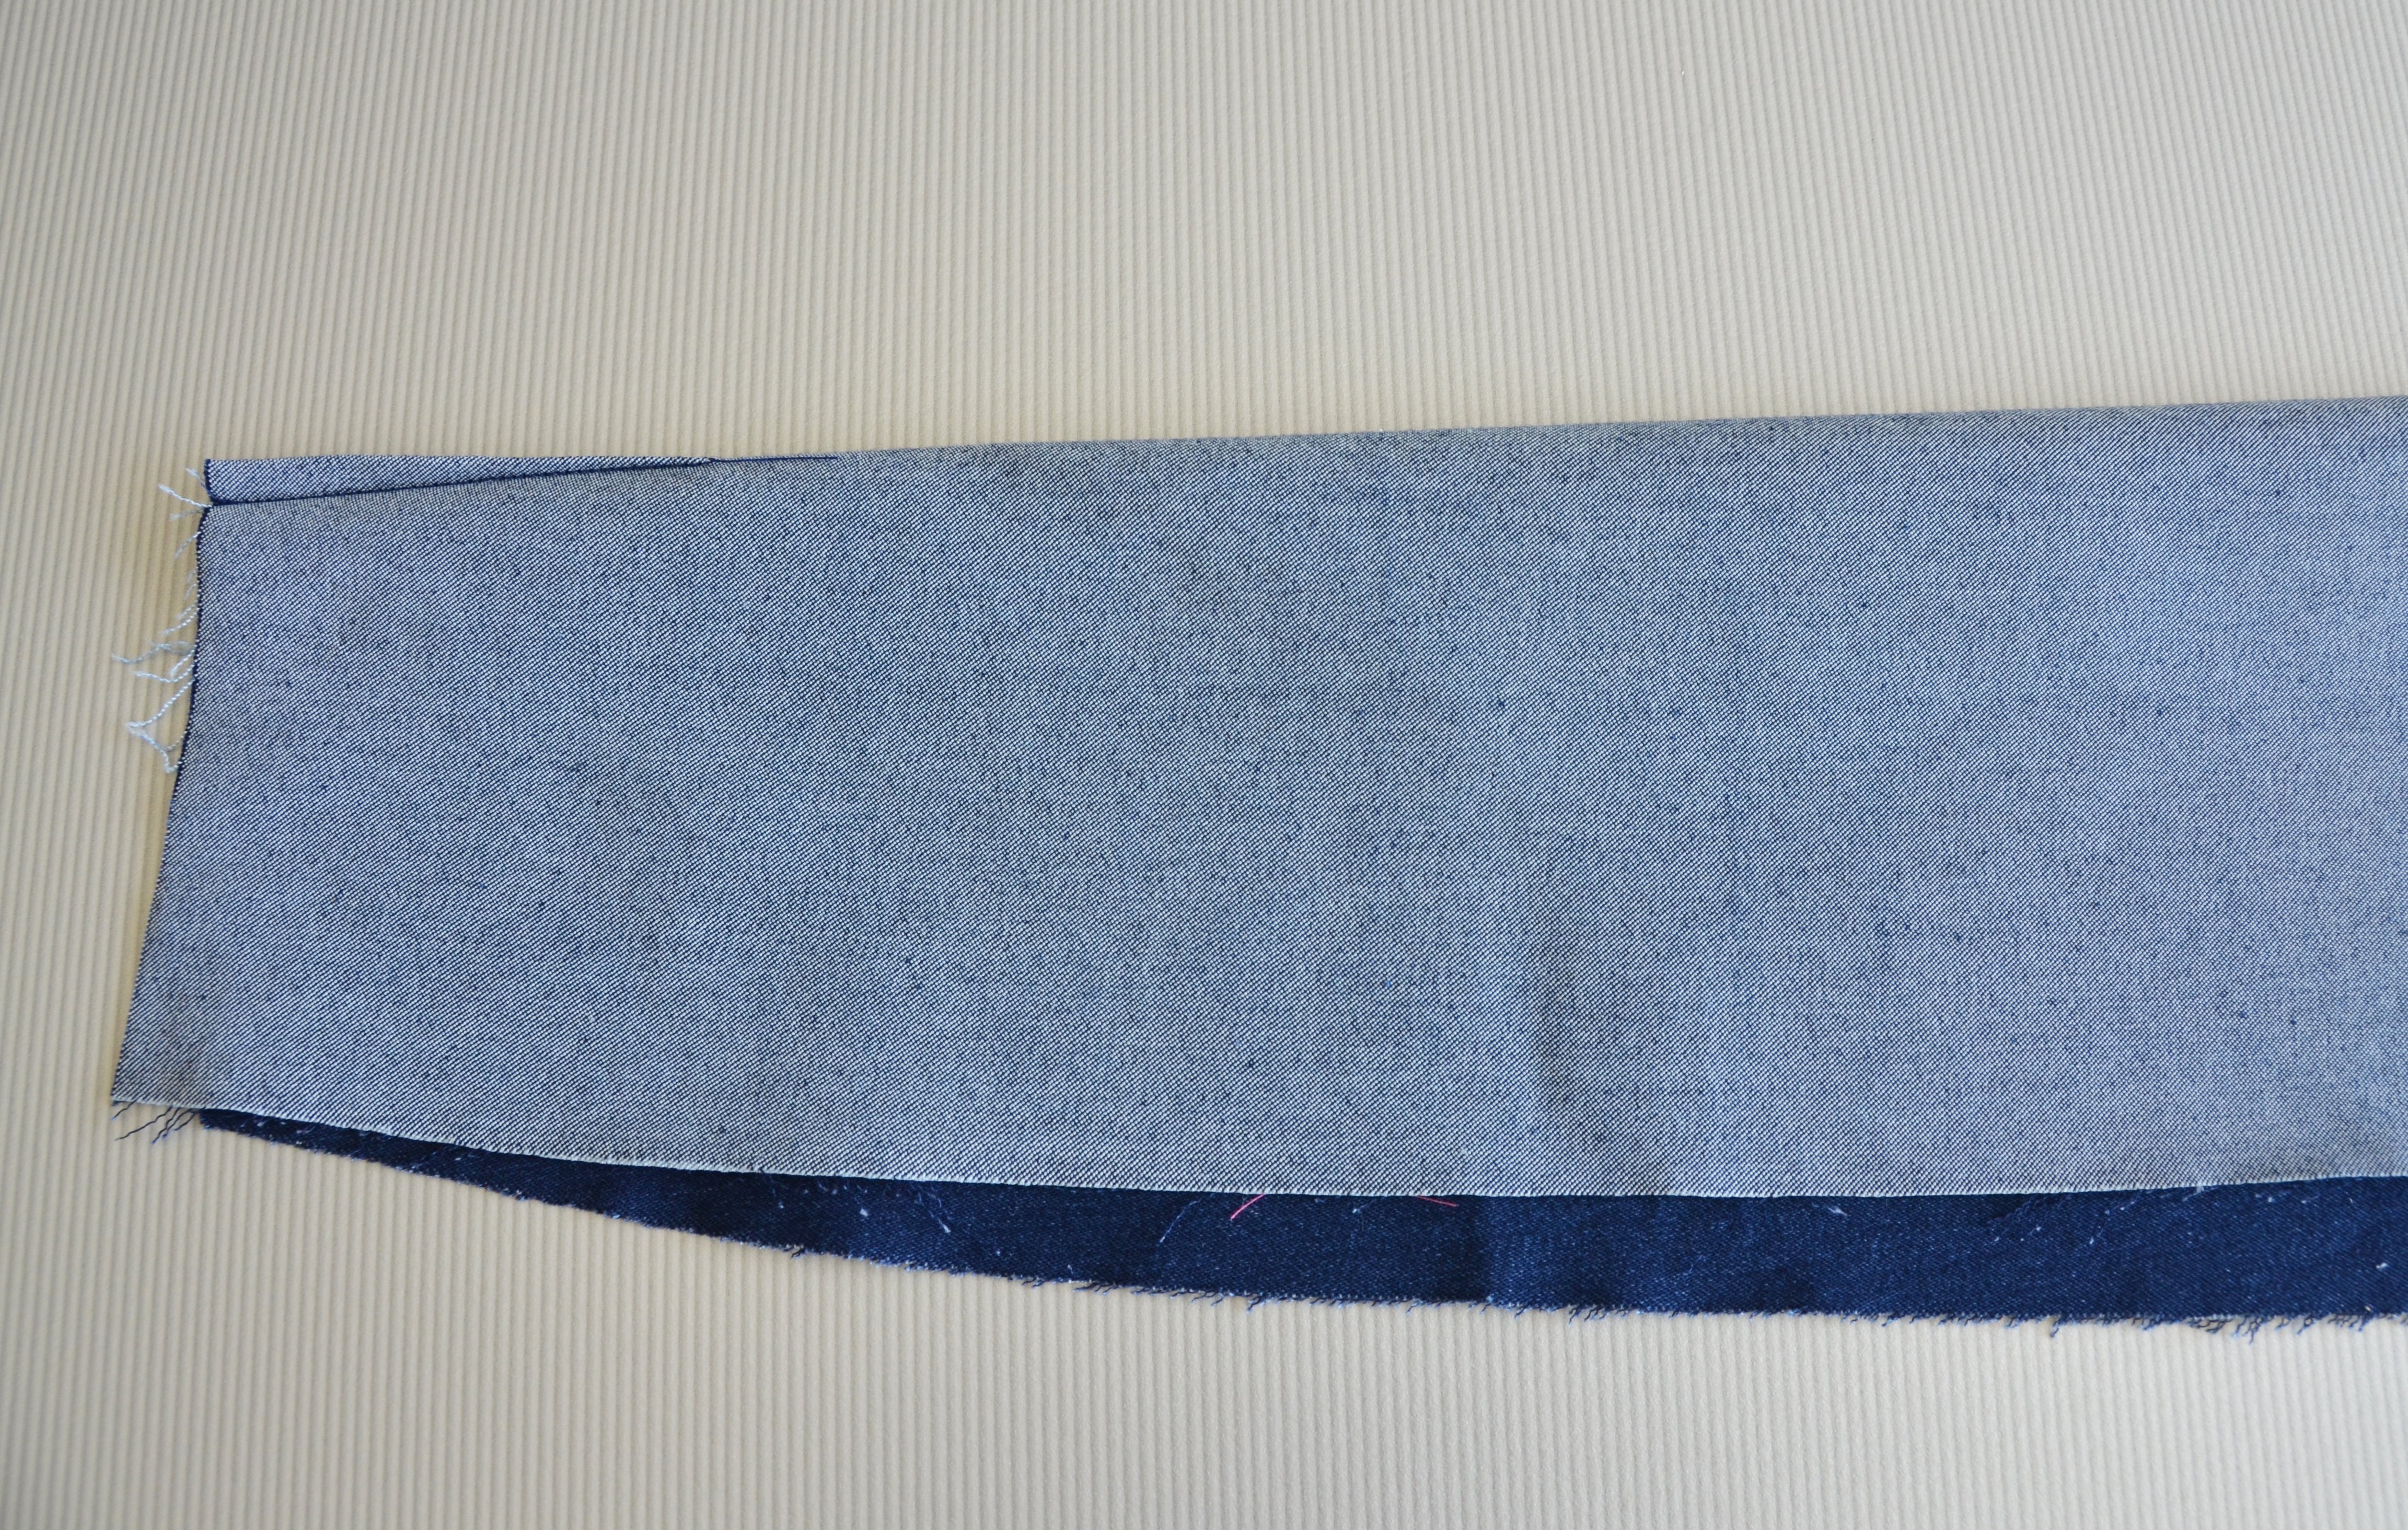
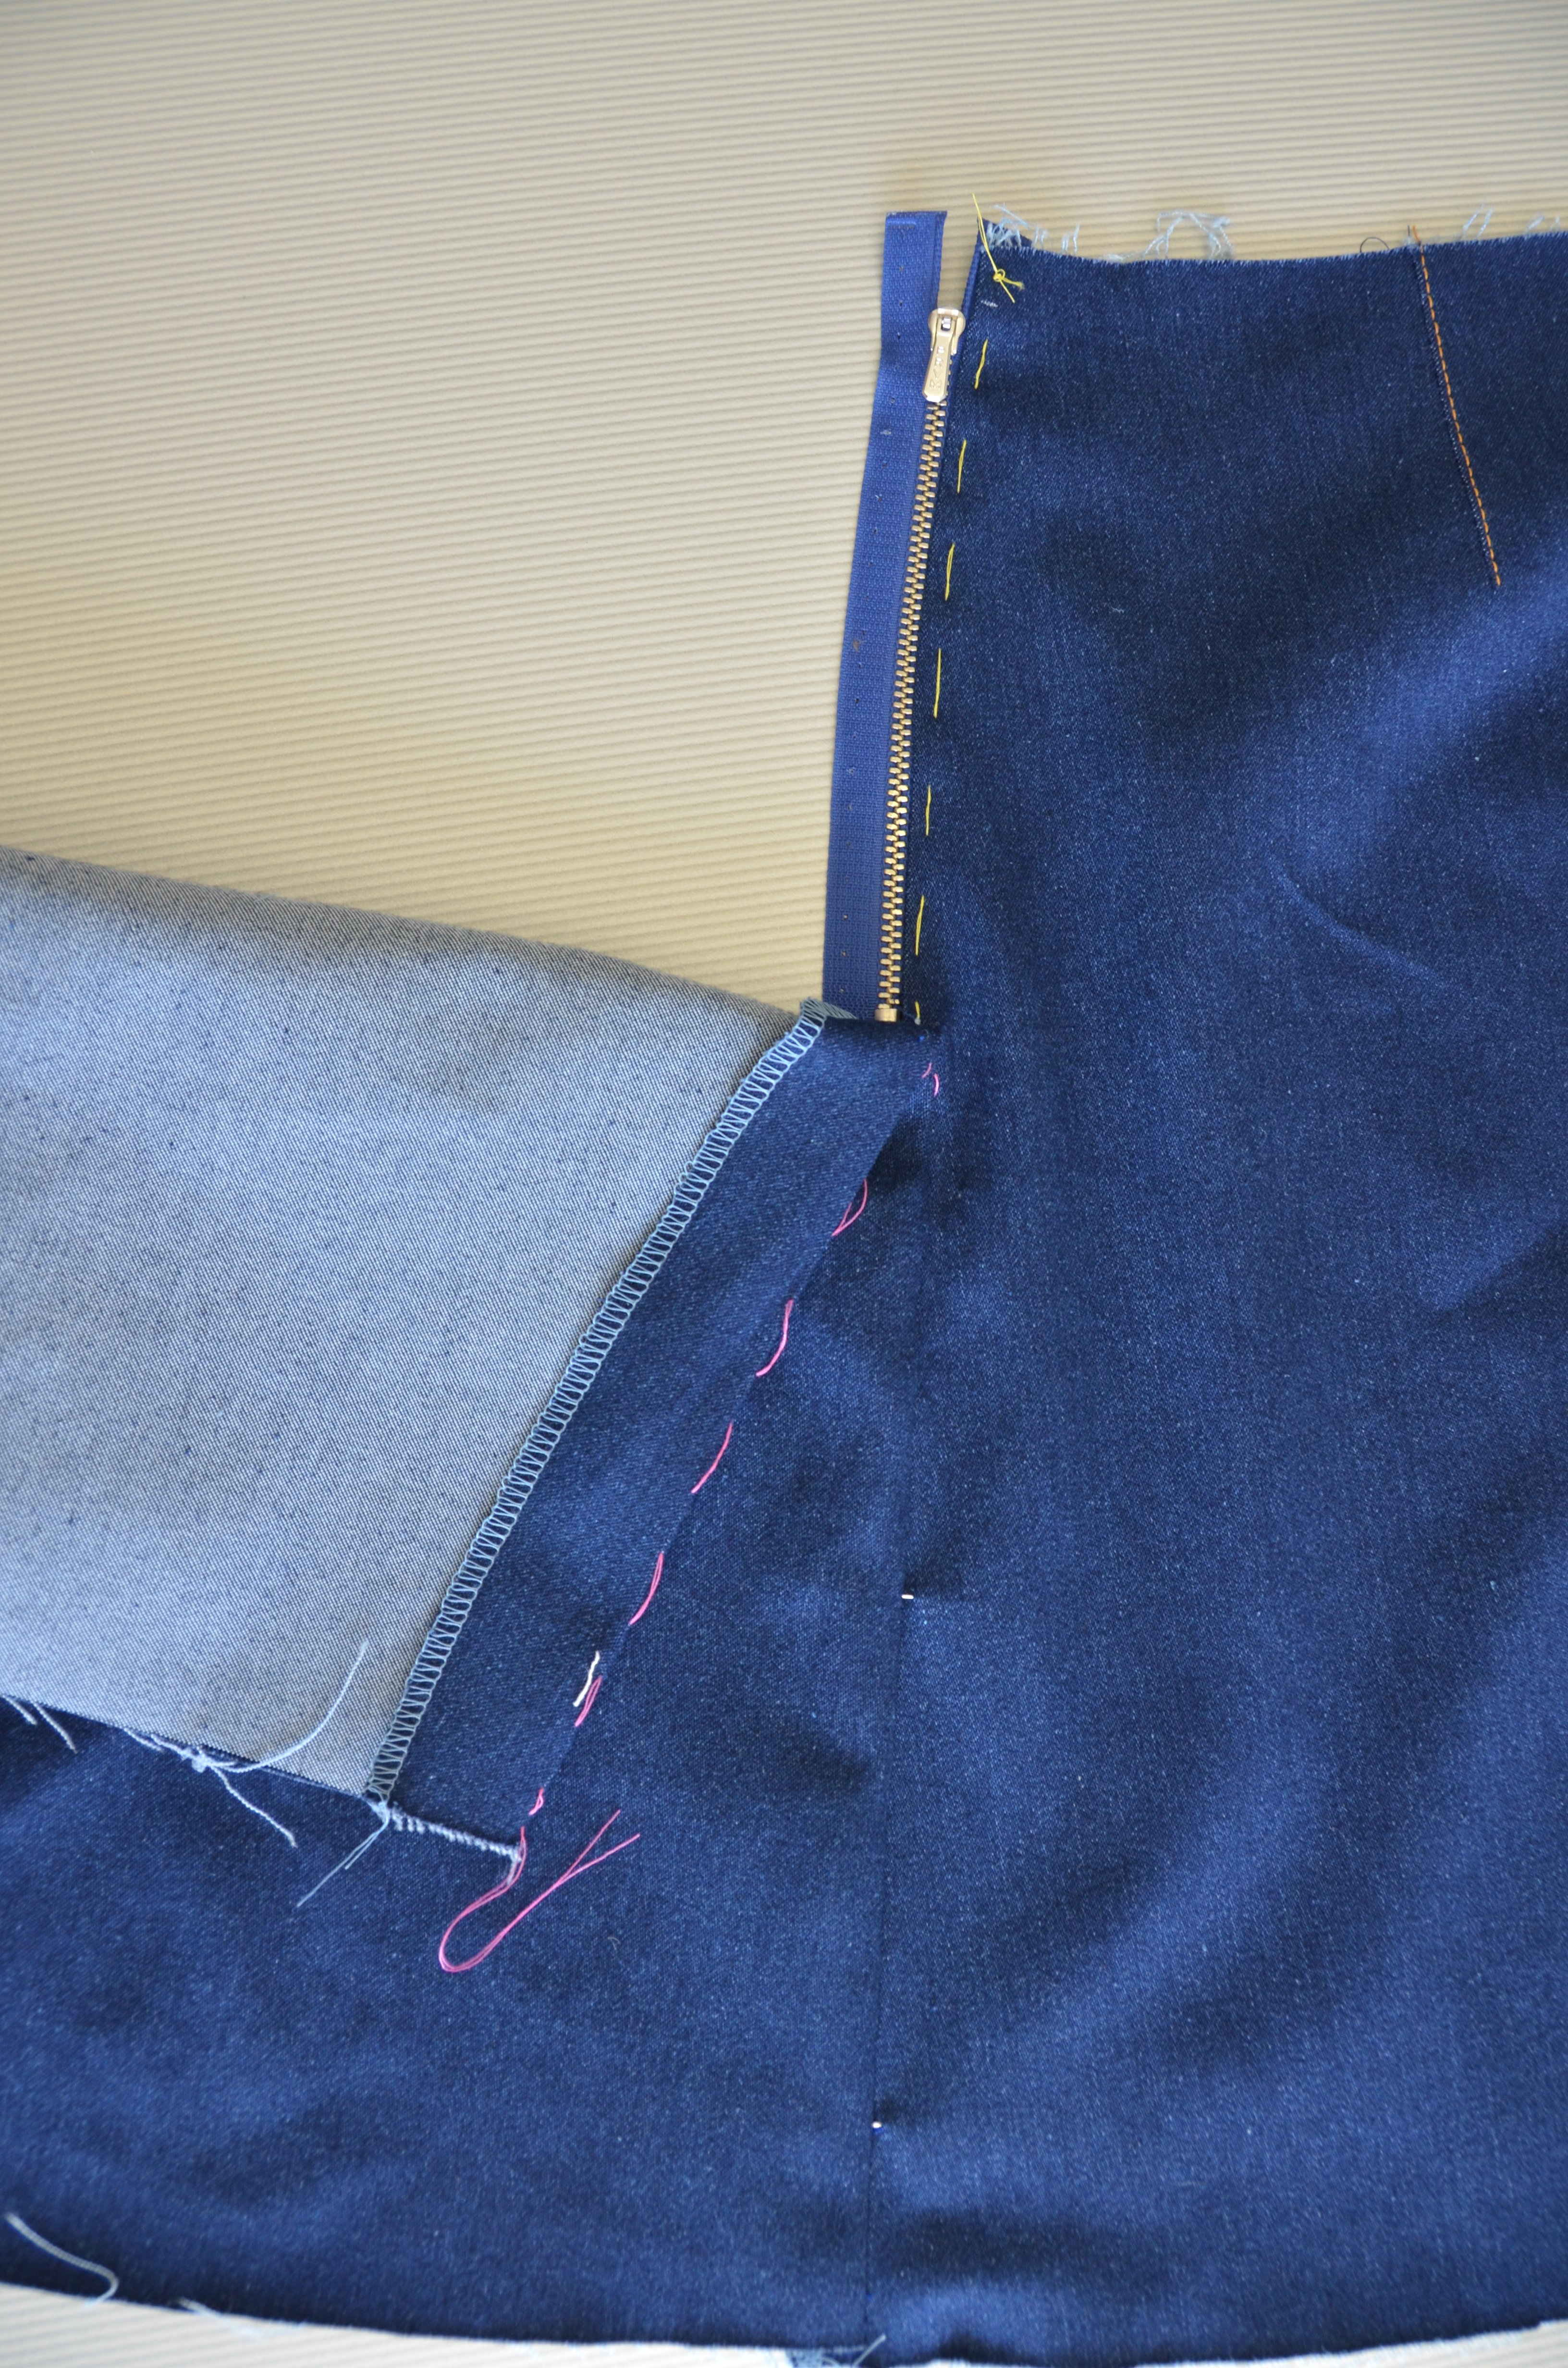
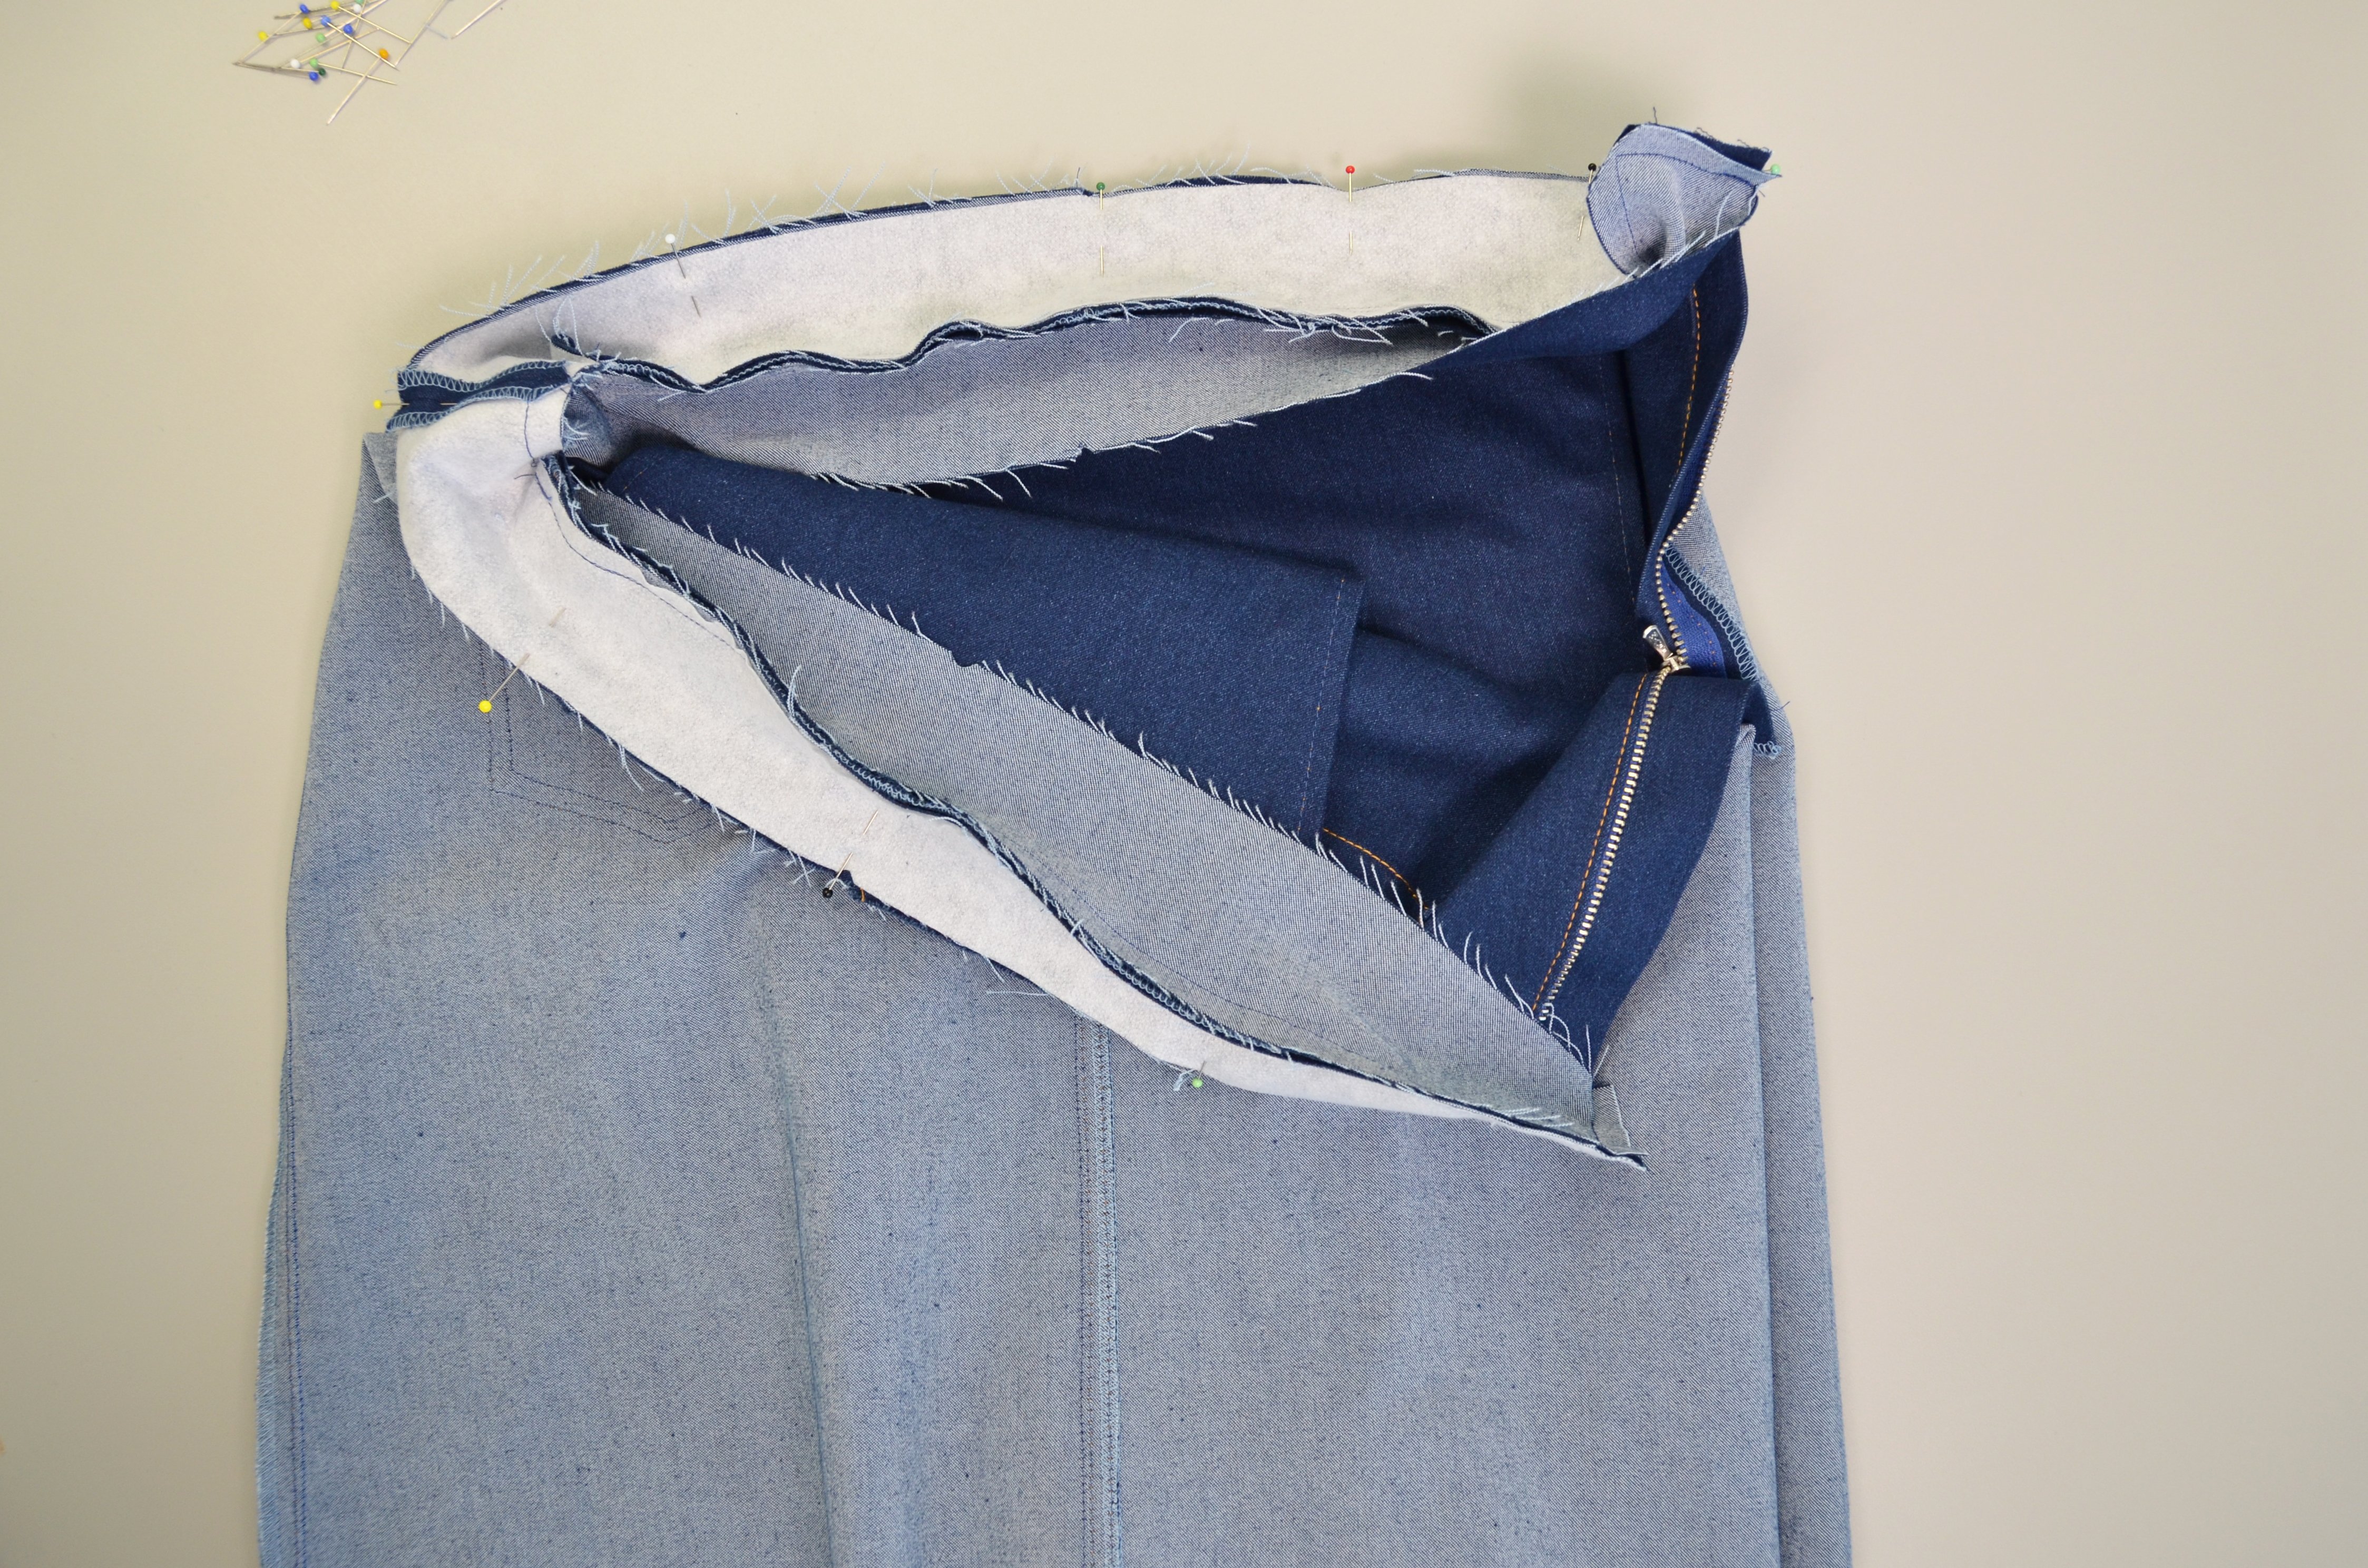
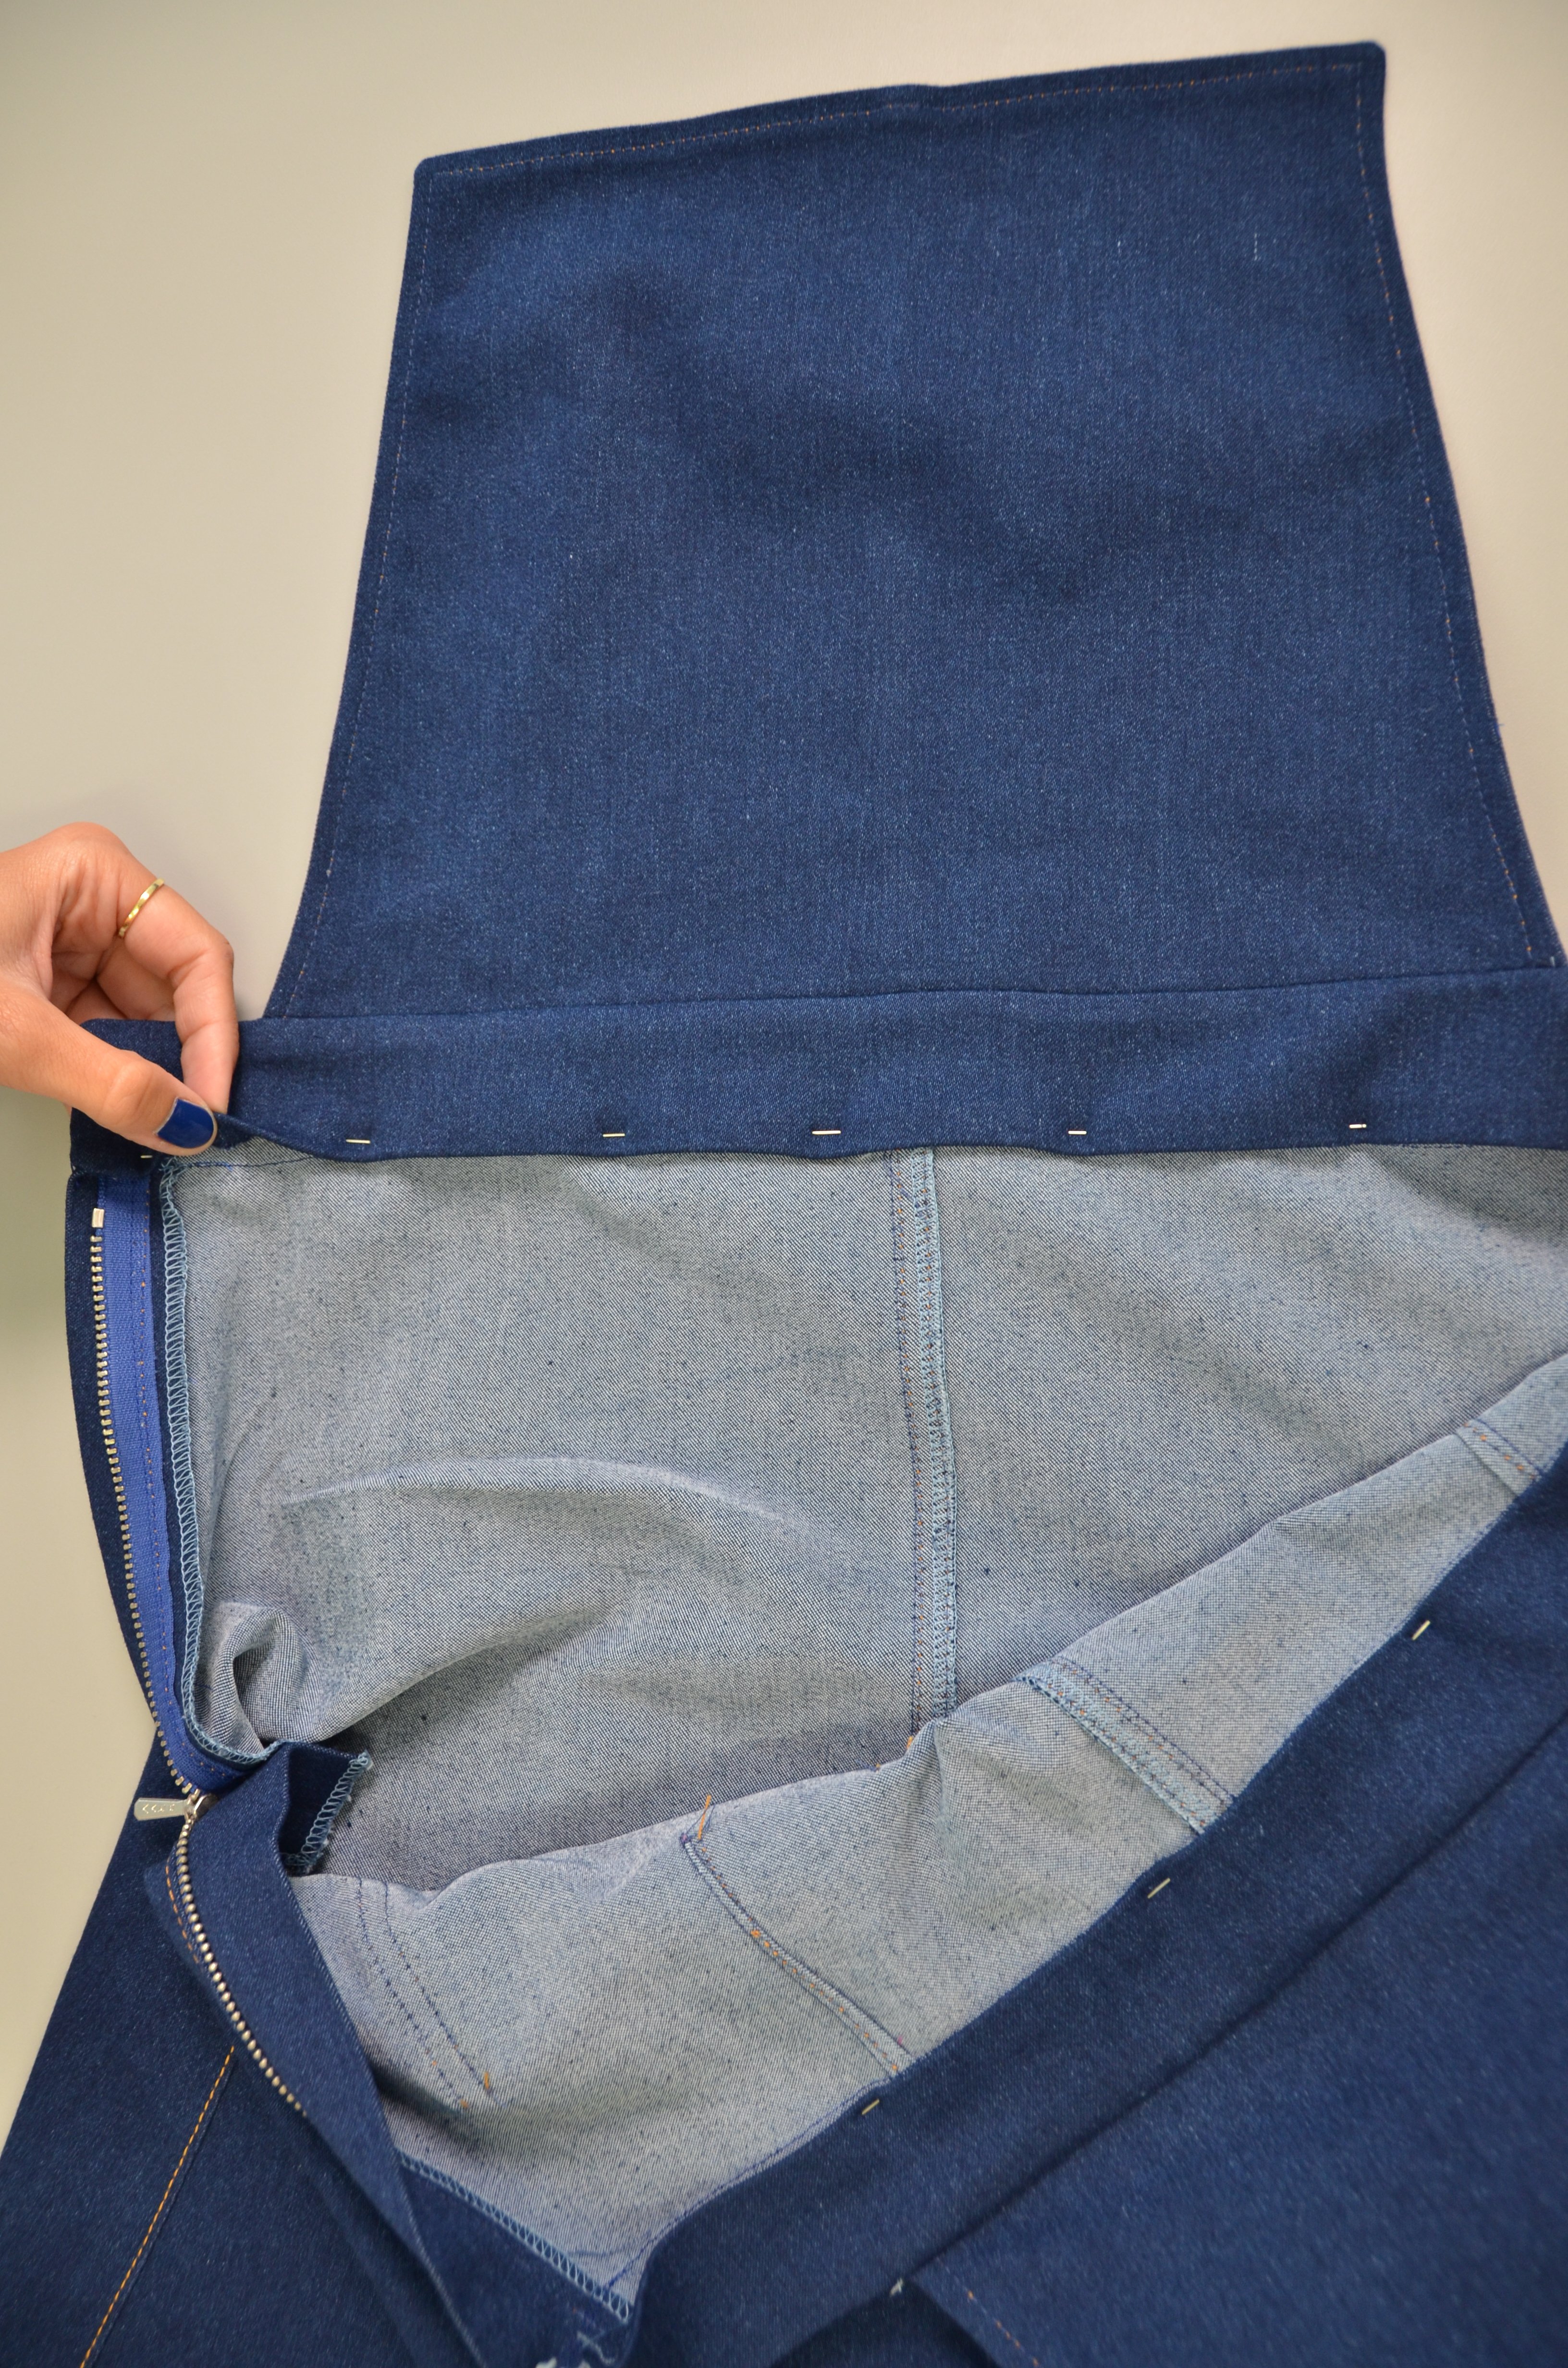
Left side seam + zip fastener: Close the left side seam below the slit mark. Overcast the seam allowances together up to the already closed section. Overcast the edges that are still open, where the zip fastener is to go, individually.

Sewing in the zip fastener: Iron around the seam allowances at the open section above the slit mark: at the front section along the seam marking, at the back section 1 cm (= the raw edge is located 5 mm from the seam marking at the edge).
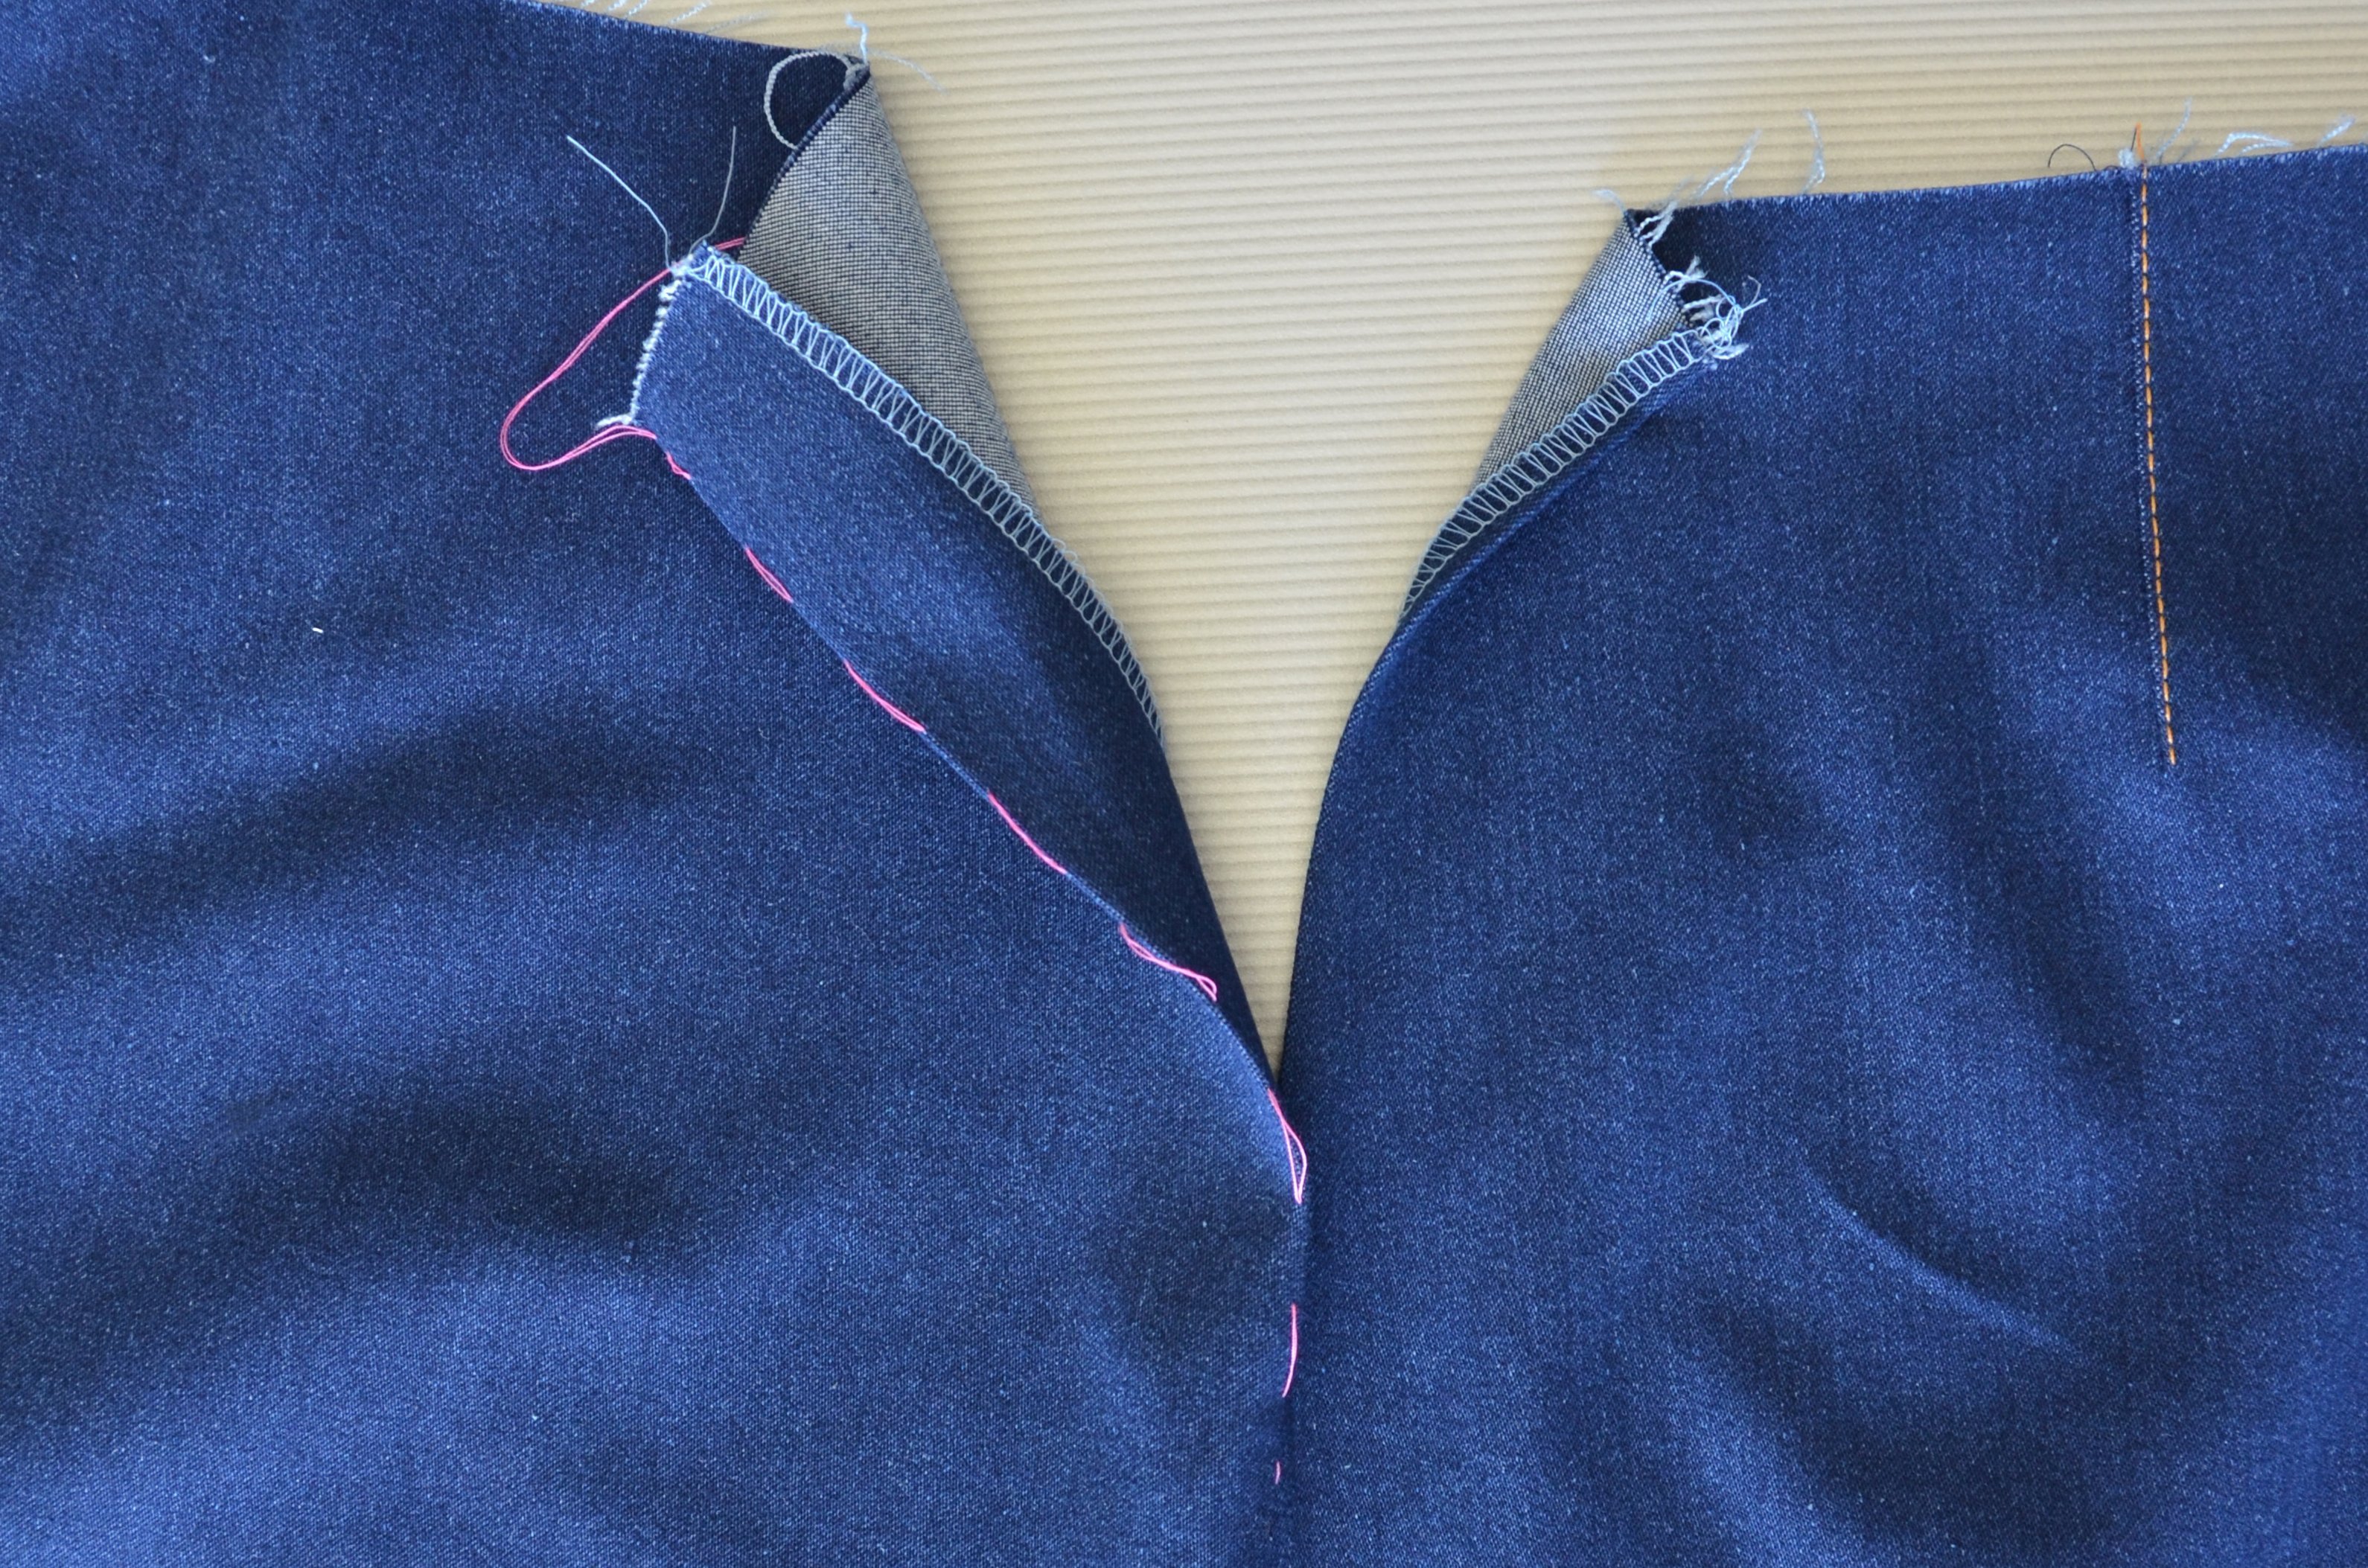
Pin in the zip fastener below the back section and baste it. This is simplest to do by hand with a basting stitch.
Den Schlitzbesatz der Längskante entlang falten, die rechten Seiten liegen aussen. Die Schnittkanten zusammen versäubern.

Fold the placket along the longitudinal edge, right sides out. Overcast the cut edges together. Lay the placket below the already basted zip fastener and pin all the layers together. Stitch the zip fastener in place. Use the zip fastener foot to stitch through all the layers.

Close the zip fastener Pin the edge of the front section to the seam marking of the back section (the zip fastener is now concealed beneath this).
Pin the other side of the zip fastener to the placket allowance of the front section (do not also pin the outer side down).
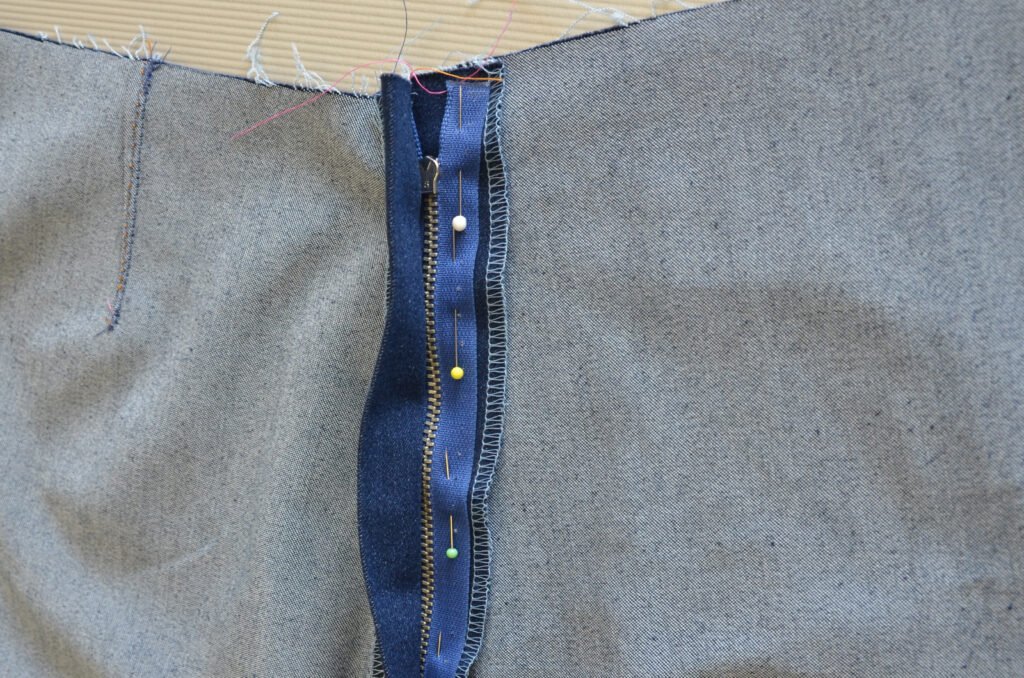
Remove the pins that were used to pin together the two parts of the skirt and fold the placket towards the outside. Stitch the zip fastener to the placket section.
Lay the placket towards the inside again and topstitch it from the front side out and stitch it in place. Ensure that you do not also stitch the placket to the back section by mistake. Finally, lay the placket against the front section and stitch a diagonal seam below the zip fastener.
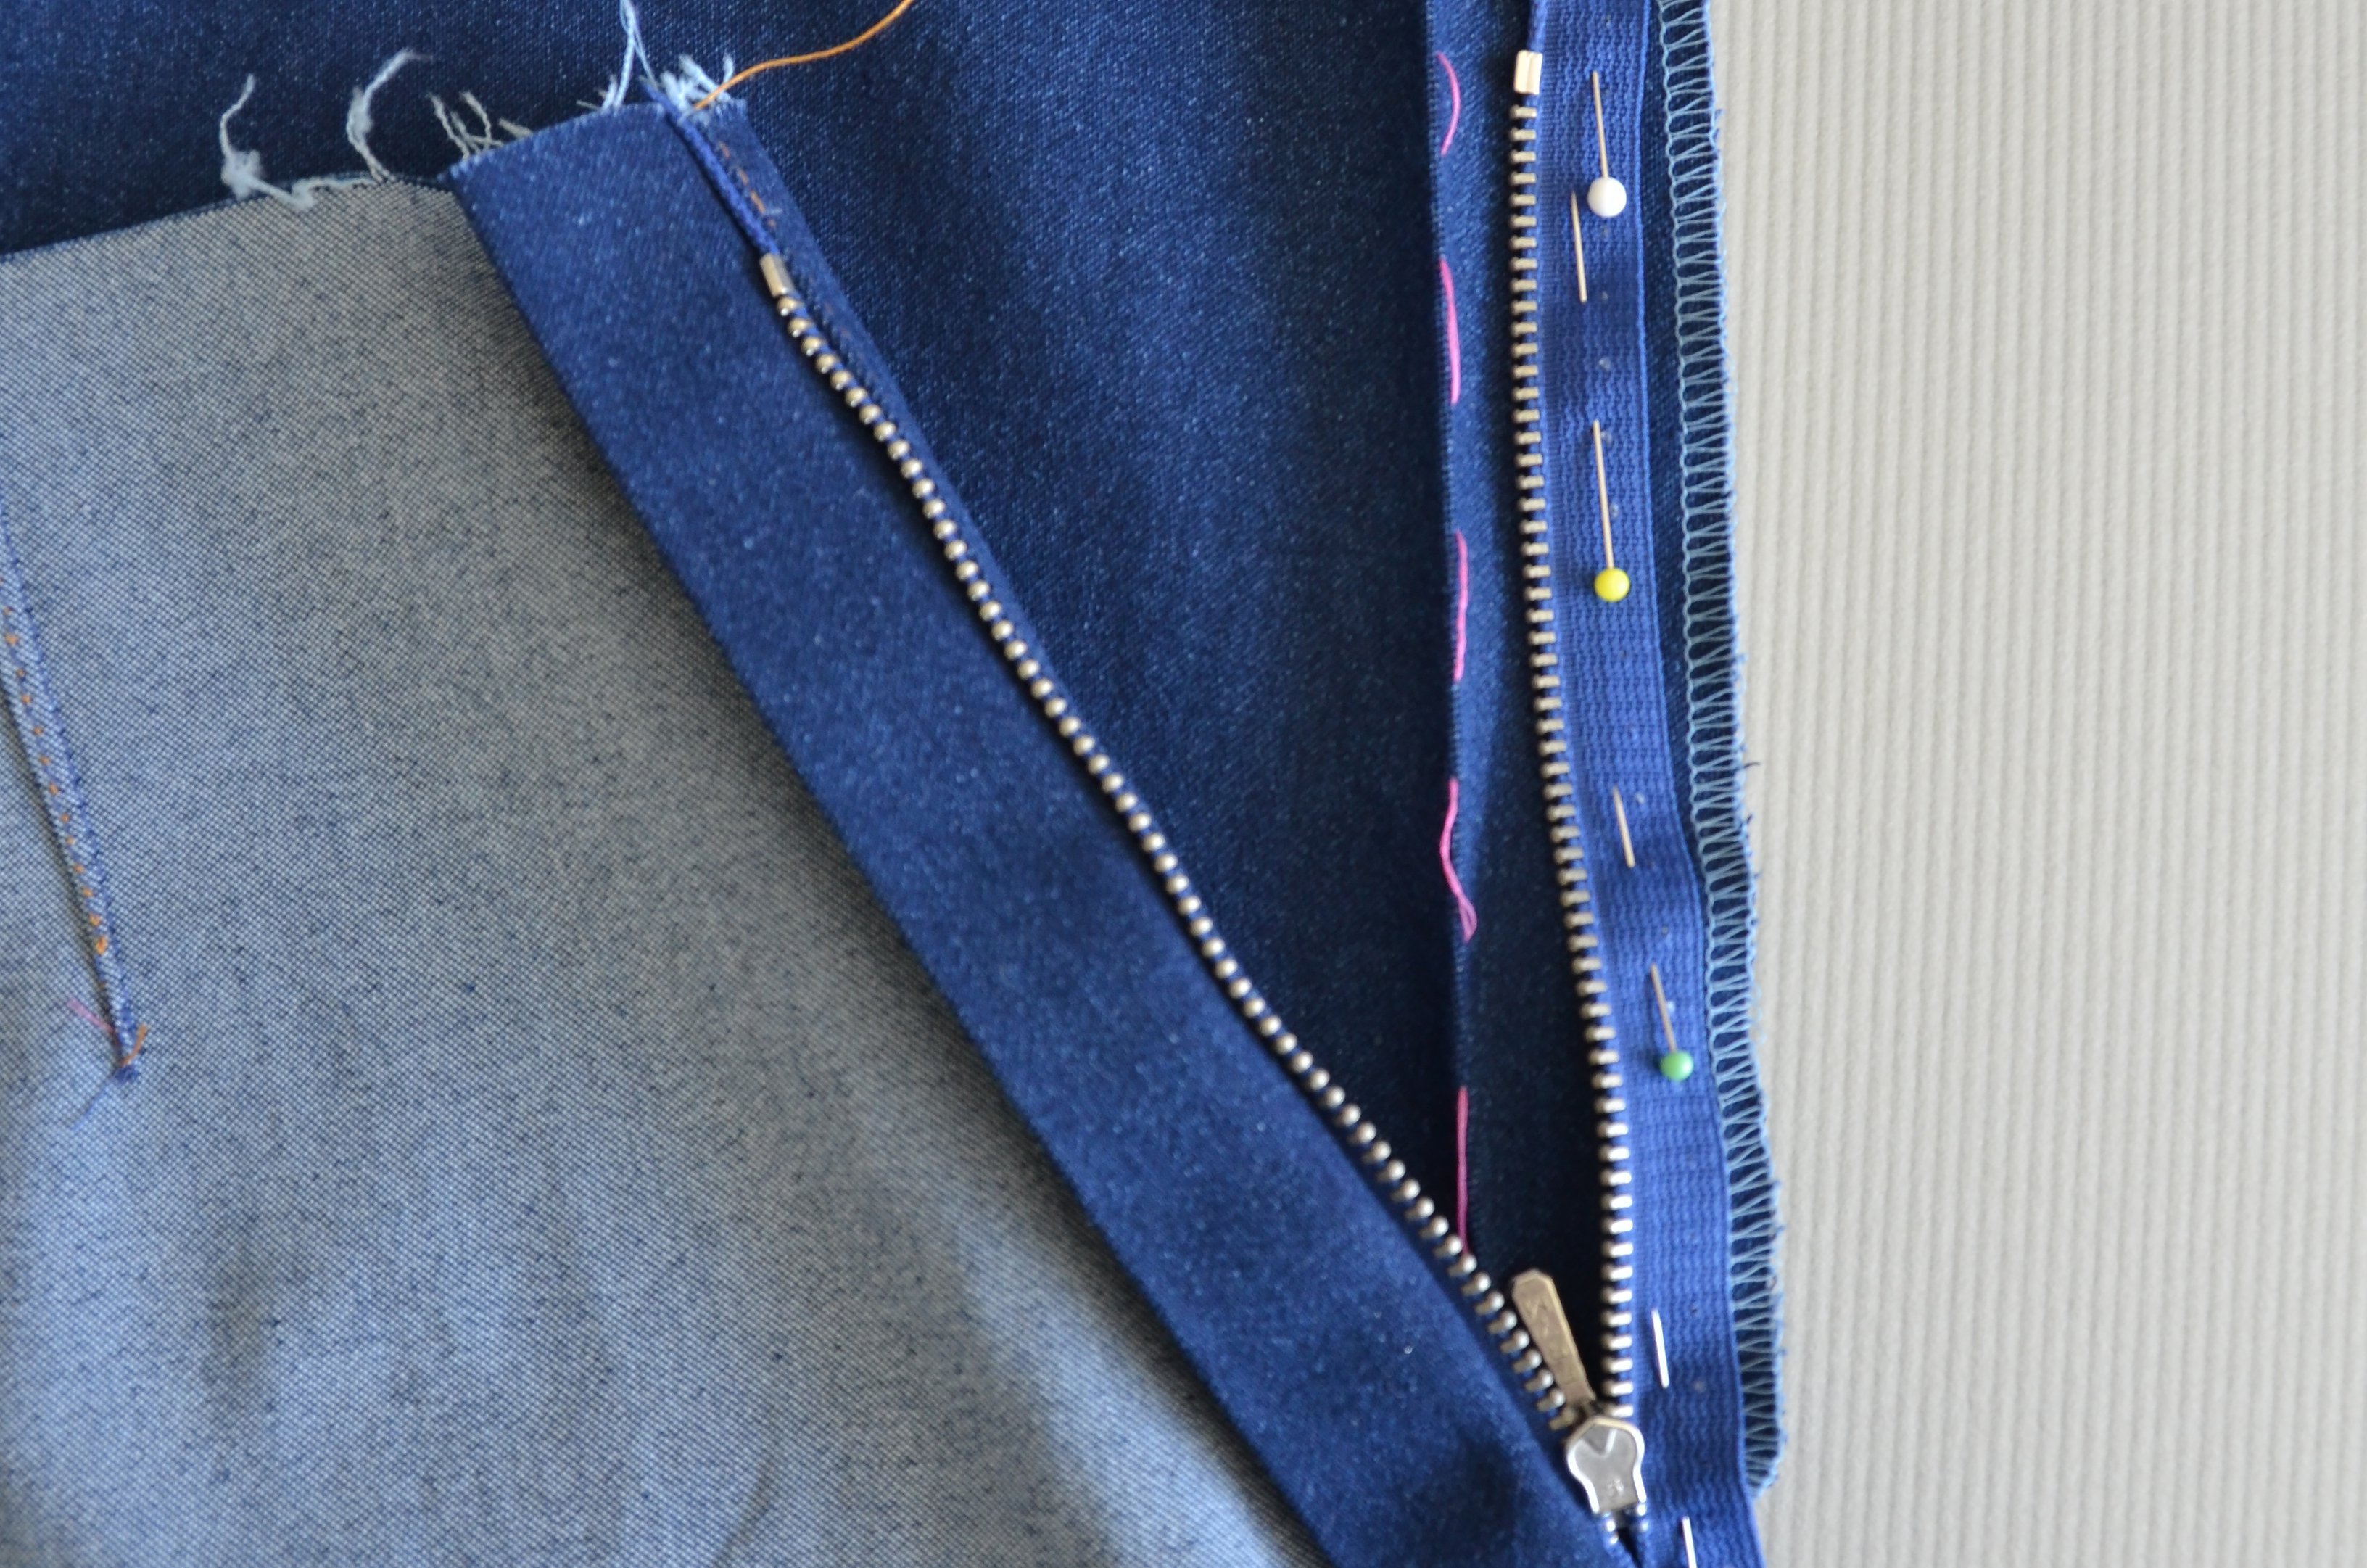
Topstitch the side seam below the zip fastener 2 mm deep (use the second marking).
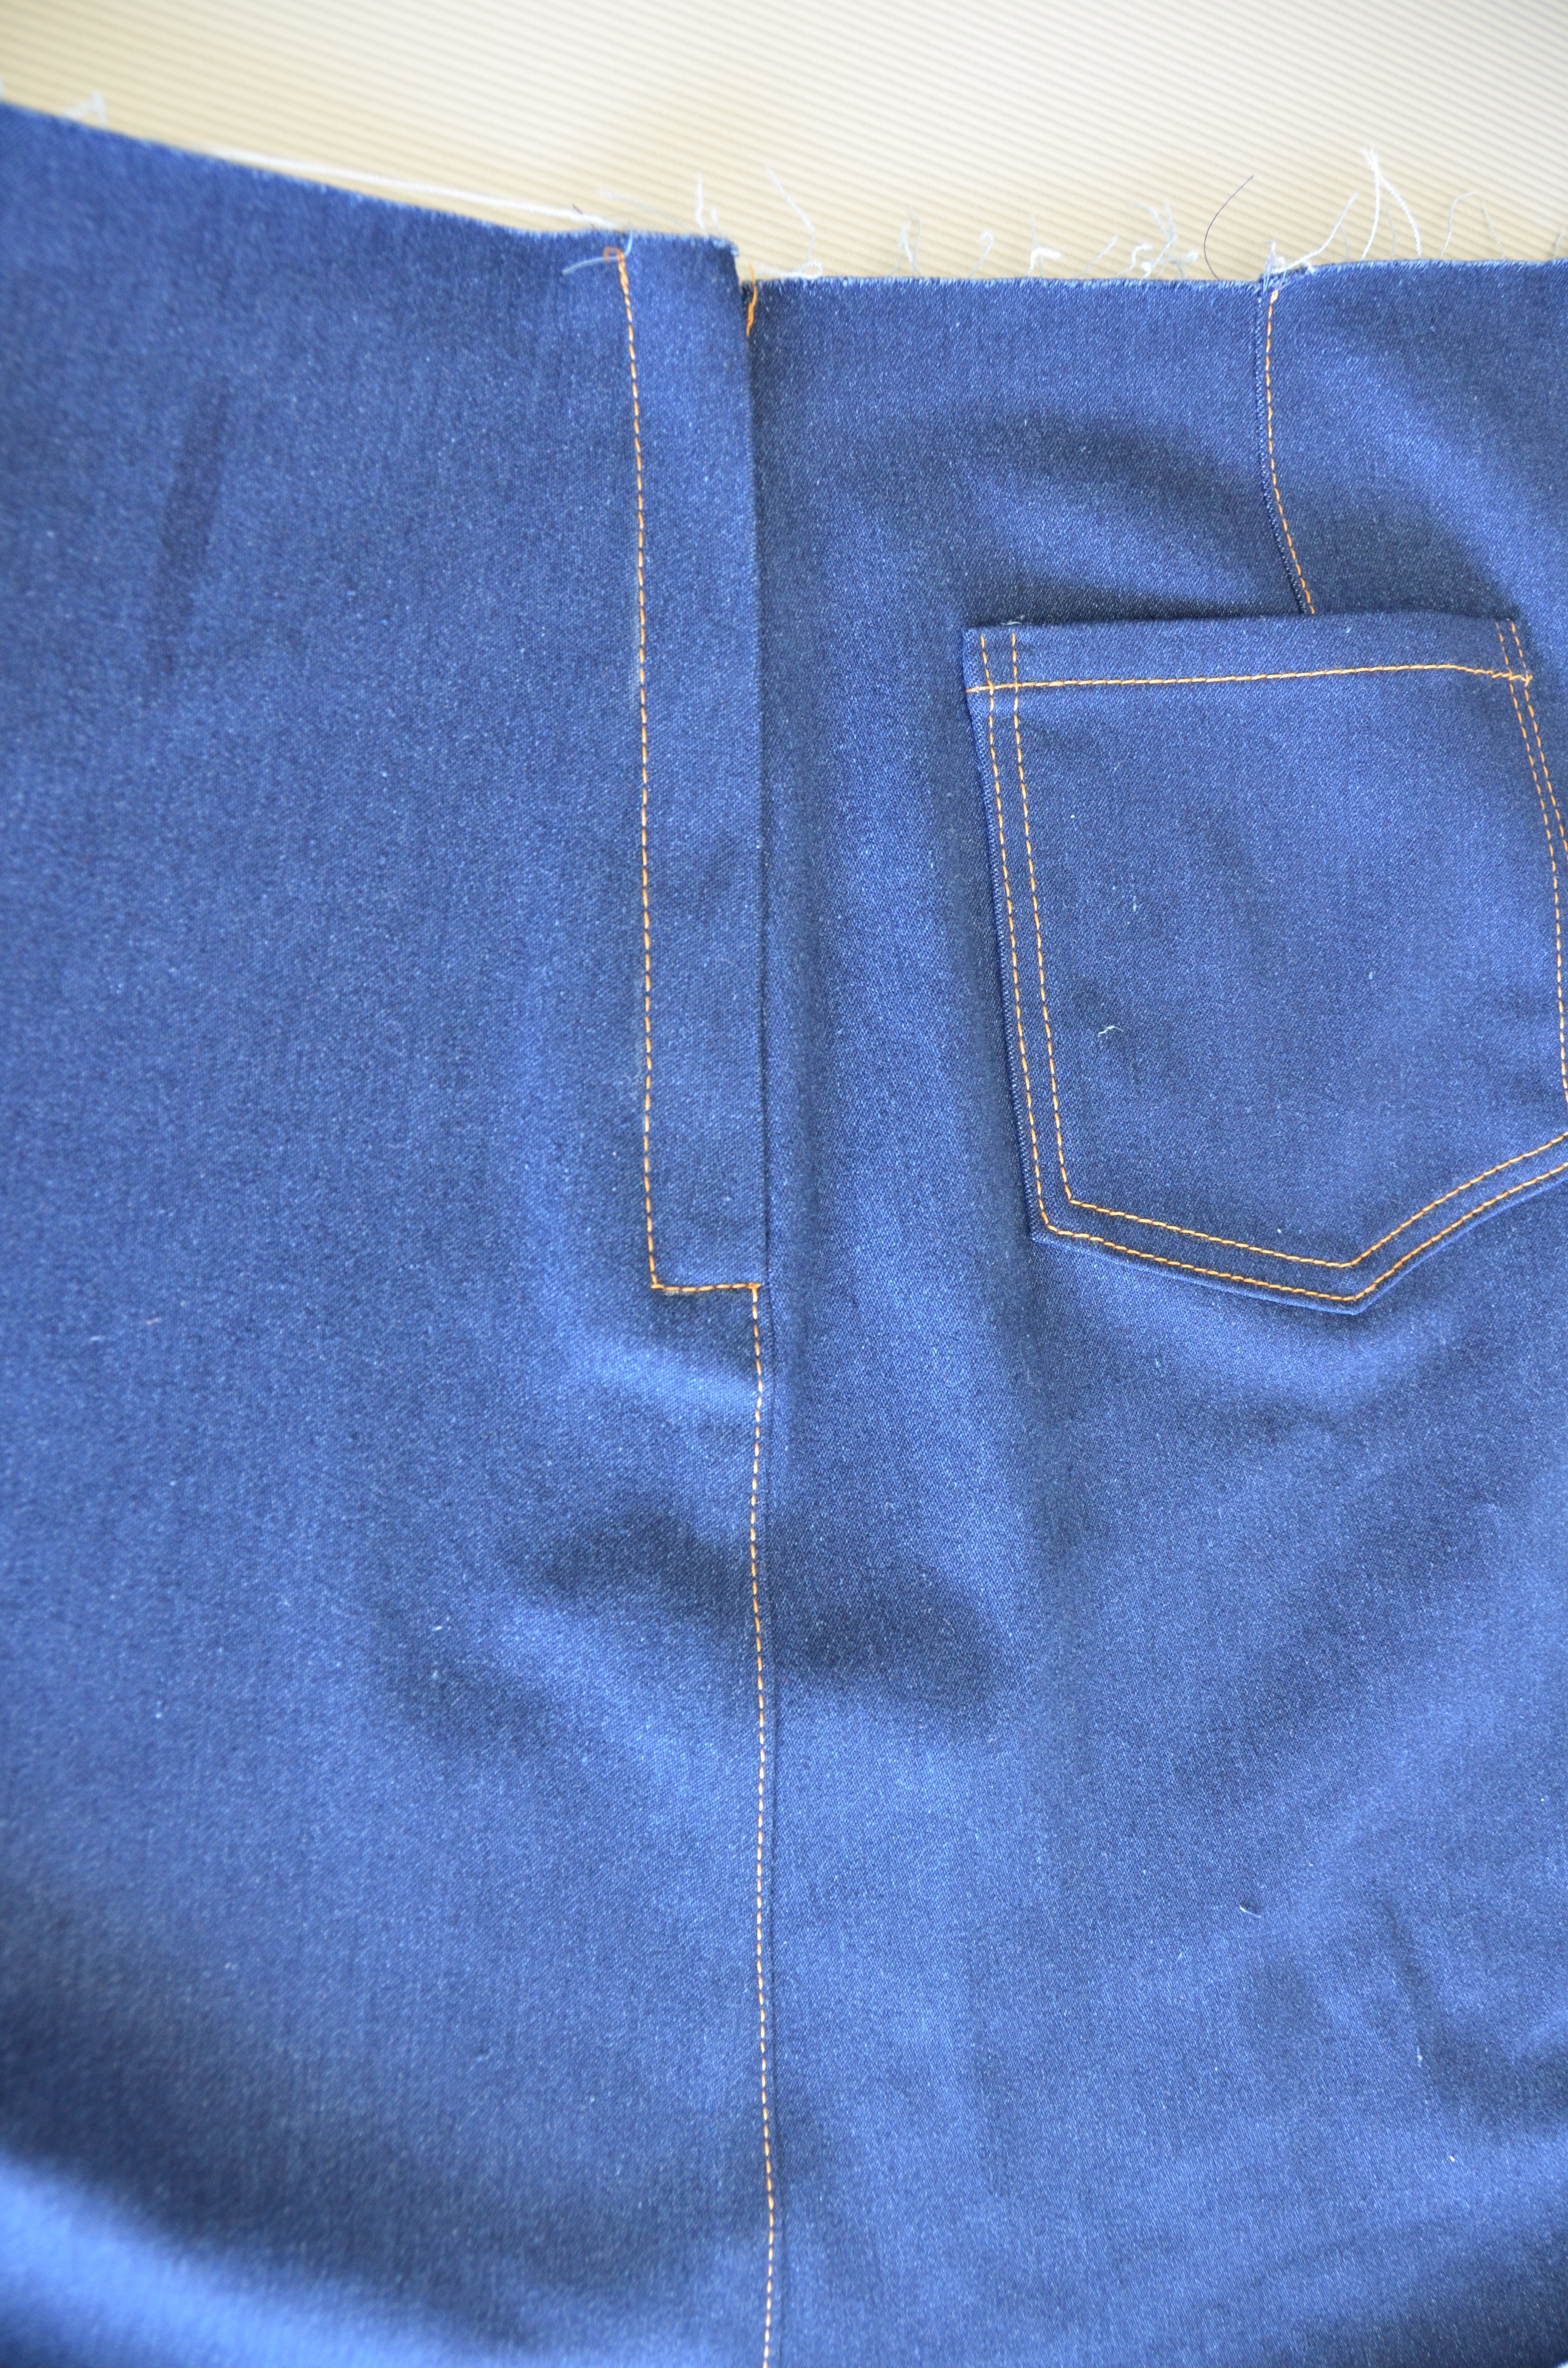
Right side seam: Close the right side seam to the skirt and overcast both seam allowances together. Also topstitch 2 mm deep.
Waistband sections: Lay one front and one back waistband section together and pin together at the right side seam. This helps to check which waistband section faces outwards. Take the waistband sections apart again and reinforce both sections with fleece interfacing. Then pin them together again and close both
waistband sections at the right side seam.
Pin the dungaree sections in accordance with the markings, right side to right side to the top edge of the waistband that is reinforced with fleece interfacing (with the cut edges lying on top of each other).
Pin the inner waistband section to the other side (with the right sides of the waistband lying on top of each other, and the dungarees in between).
Stitch the top edge of the waistband together, this also sews the dungaree sections in place. Pin the lower edge of the outer waistband section to the skirt, right side to right side, and sew together.
Iron 1 cm around the seam allowance of the free waistband edge on the inside and pin in place.
Do a narrow overstitch around the waistband (using the middle marking).
Stitch buttonhole / attach button: Put the button in the buttonhole foot and attach the foot. Stitch the buttonhole into the front of the waistband, beginning 1 cm from the edge.
Close the zip fastener and mark the position of the button on the back section of the waistband. Attach the jeans button.
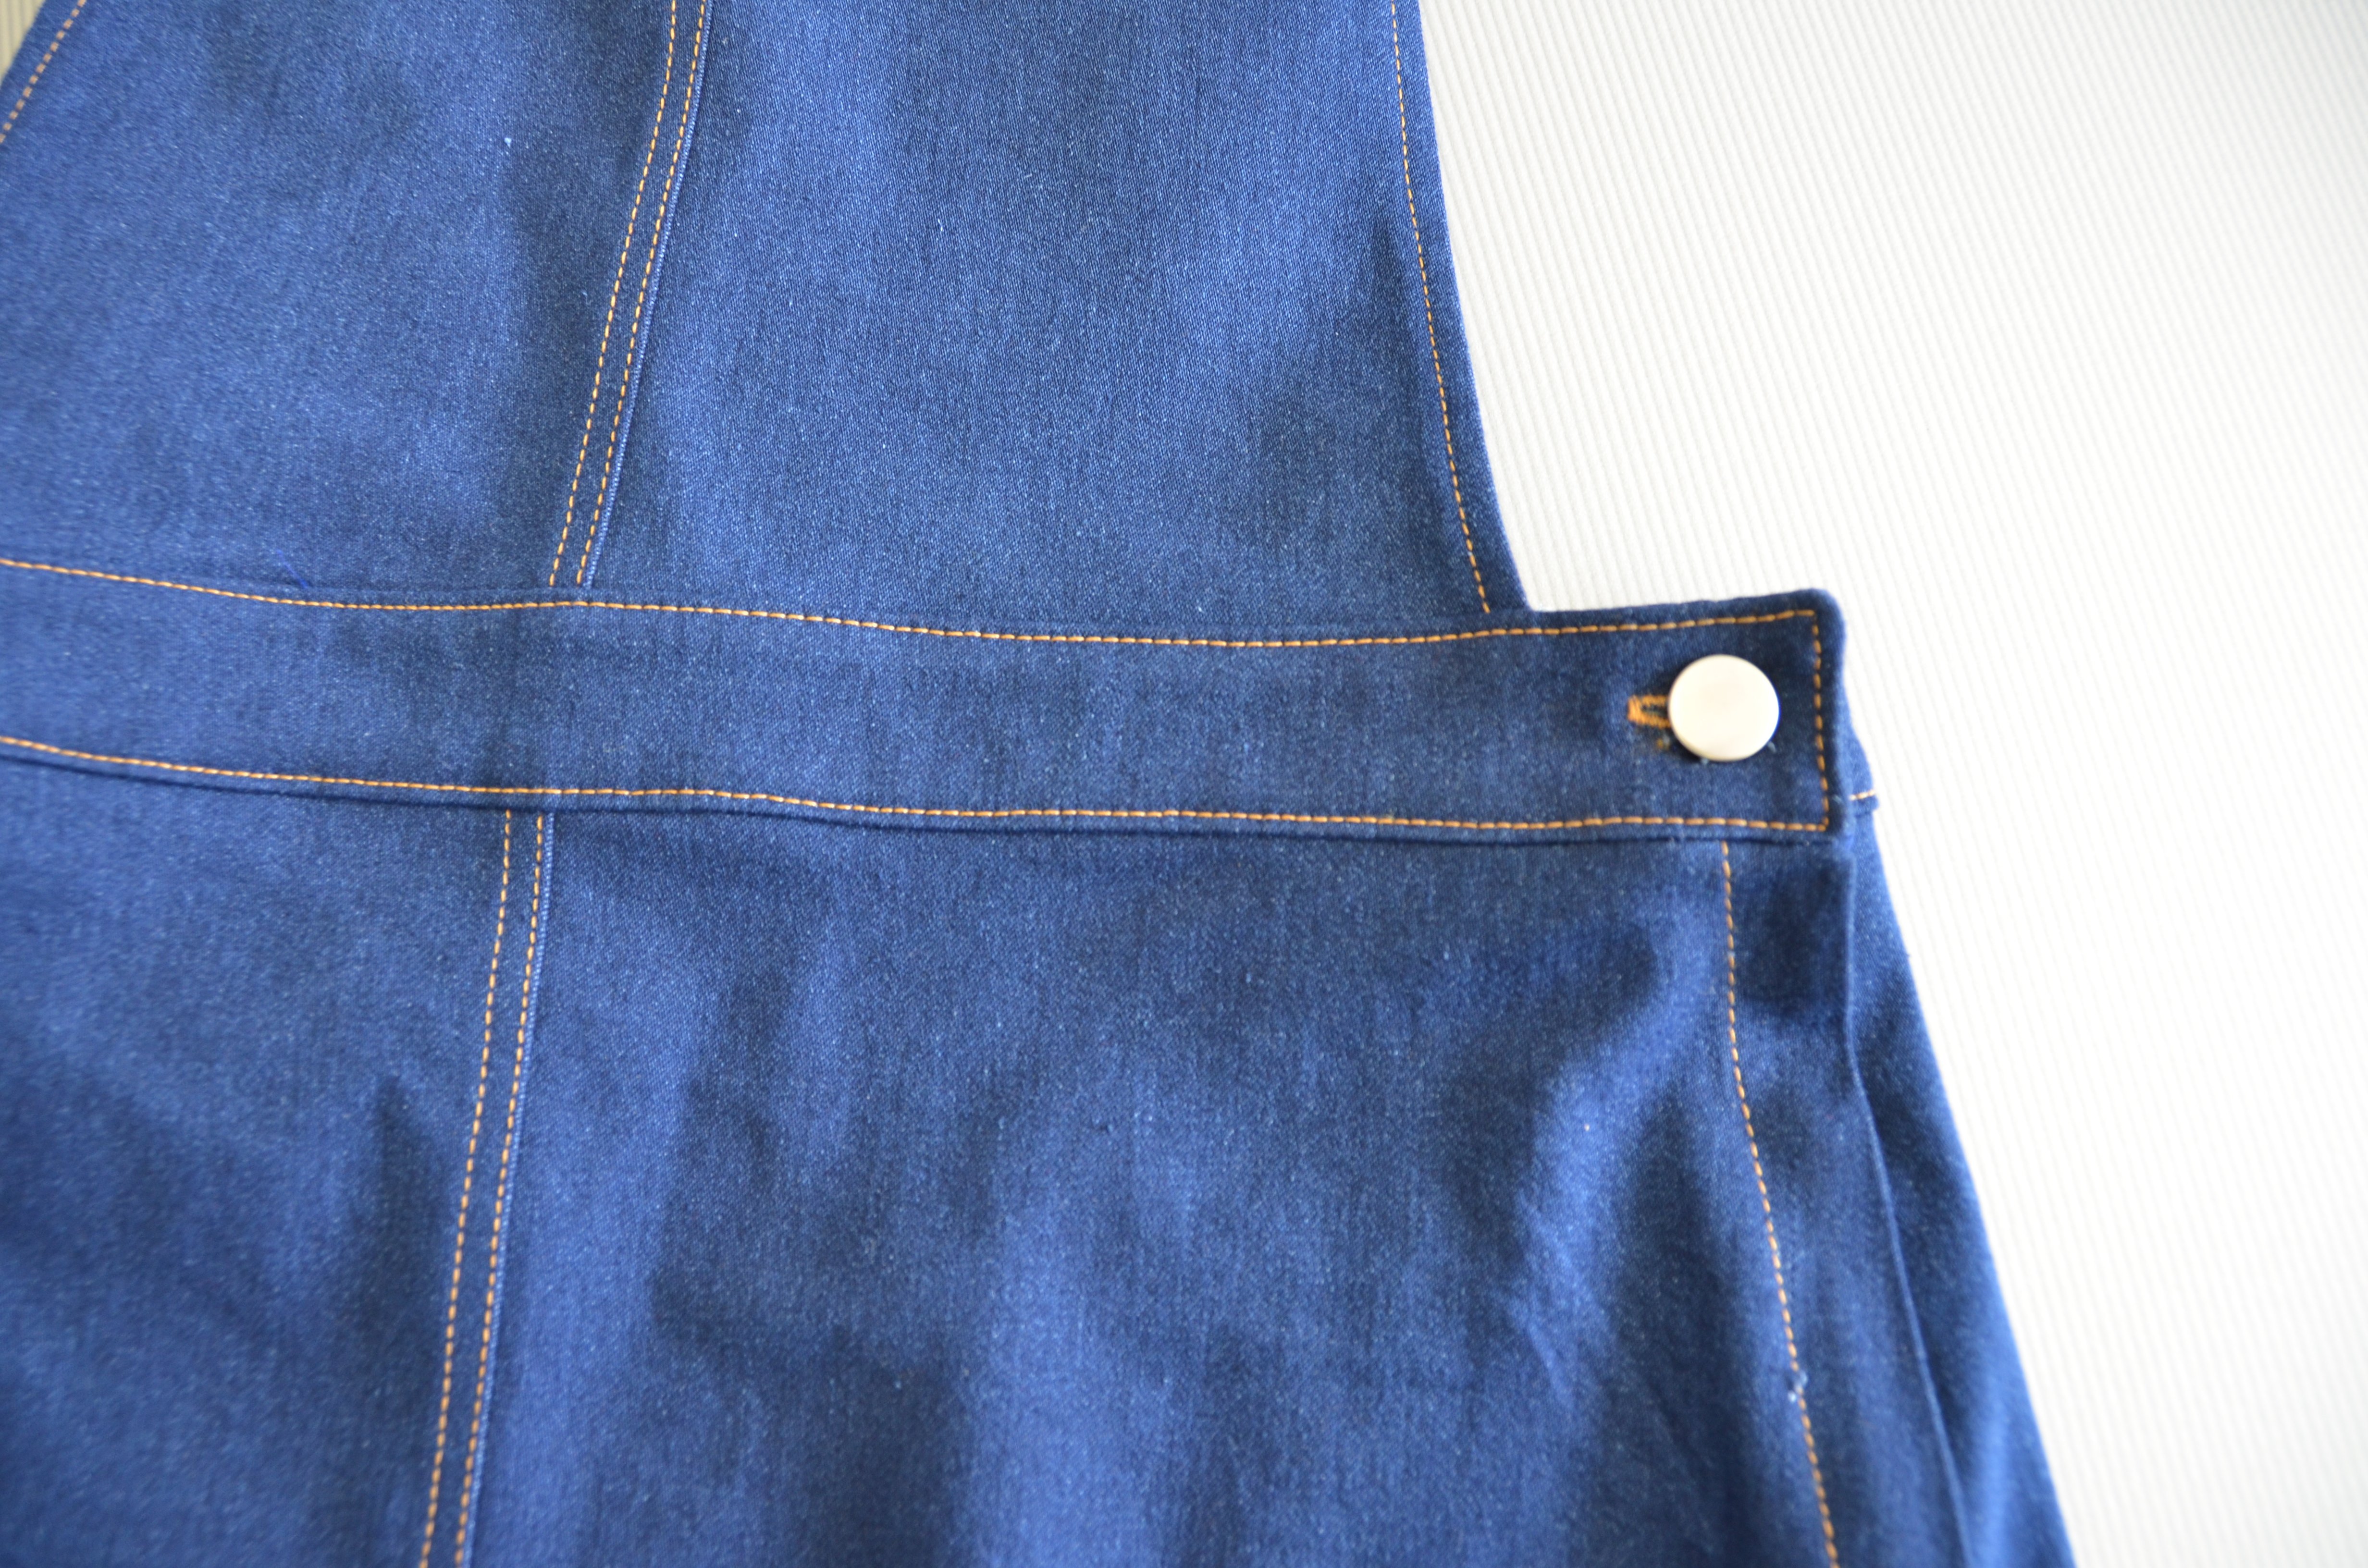
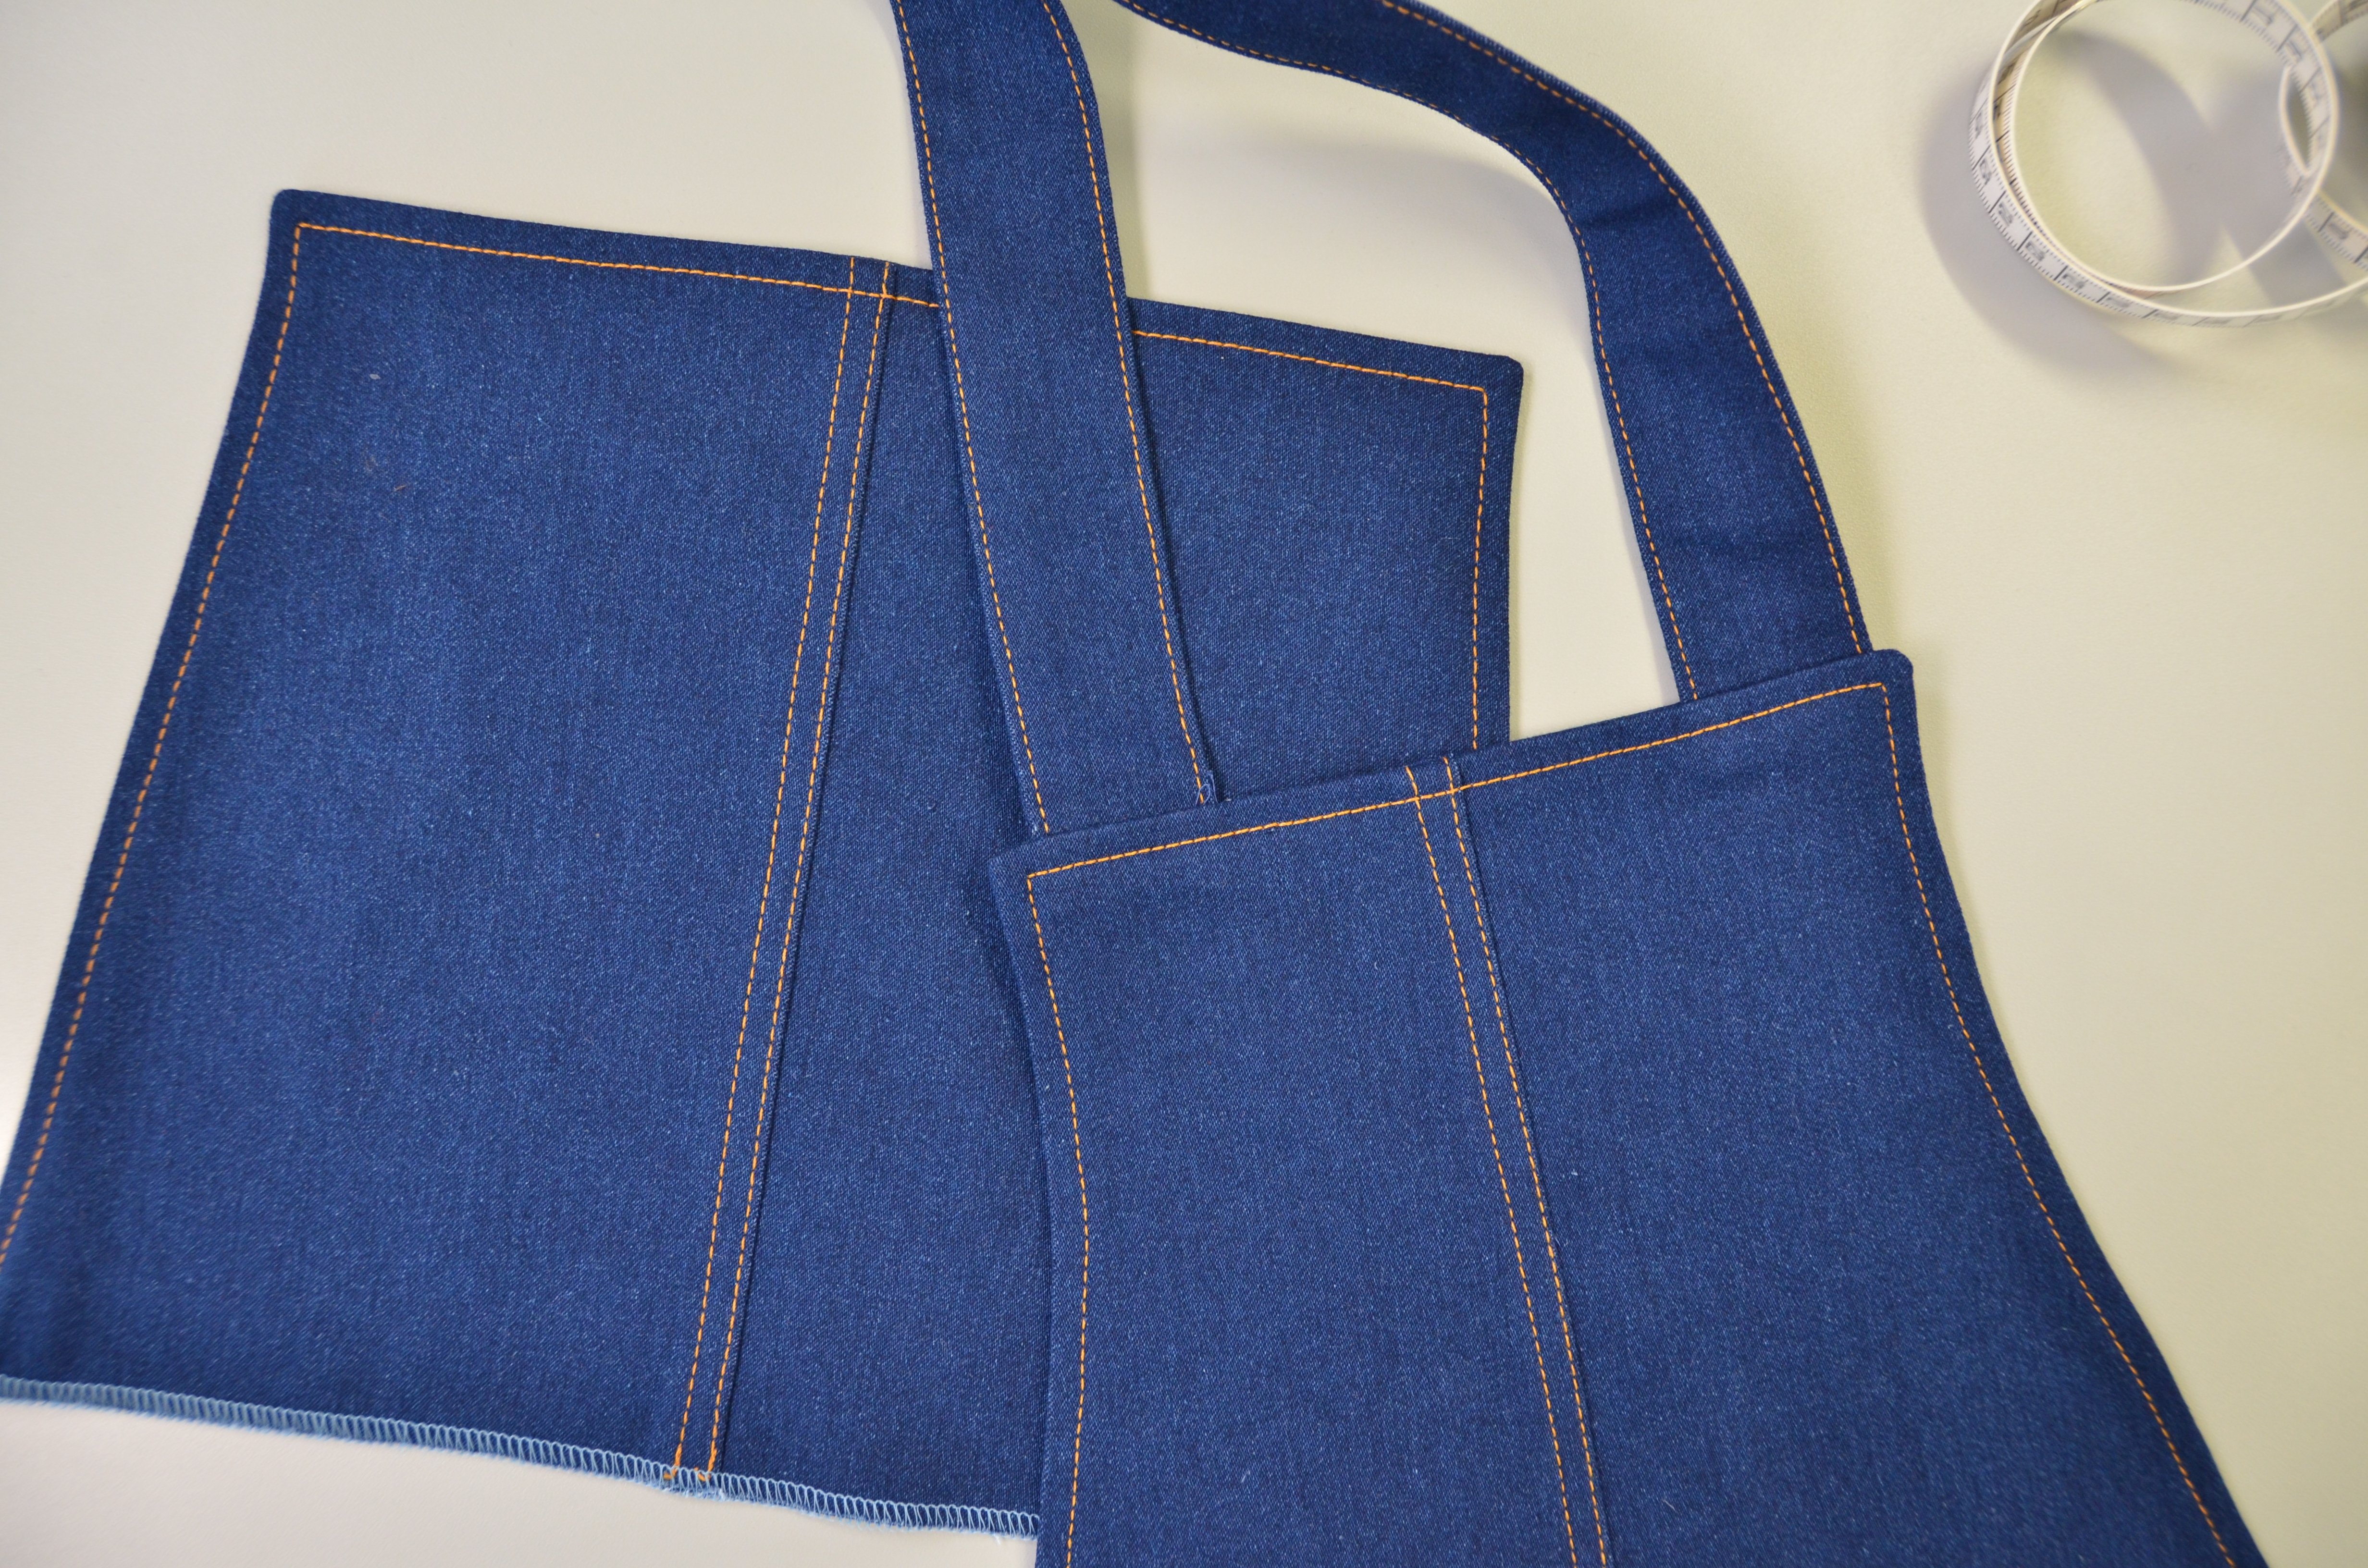
Finish the straps: Attach the other two jeans buttons to the front section of the dungarees, in accordance with the markings.

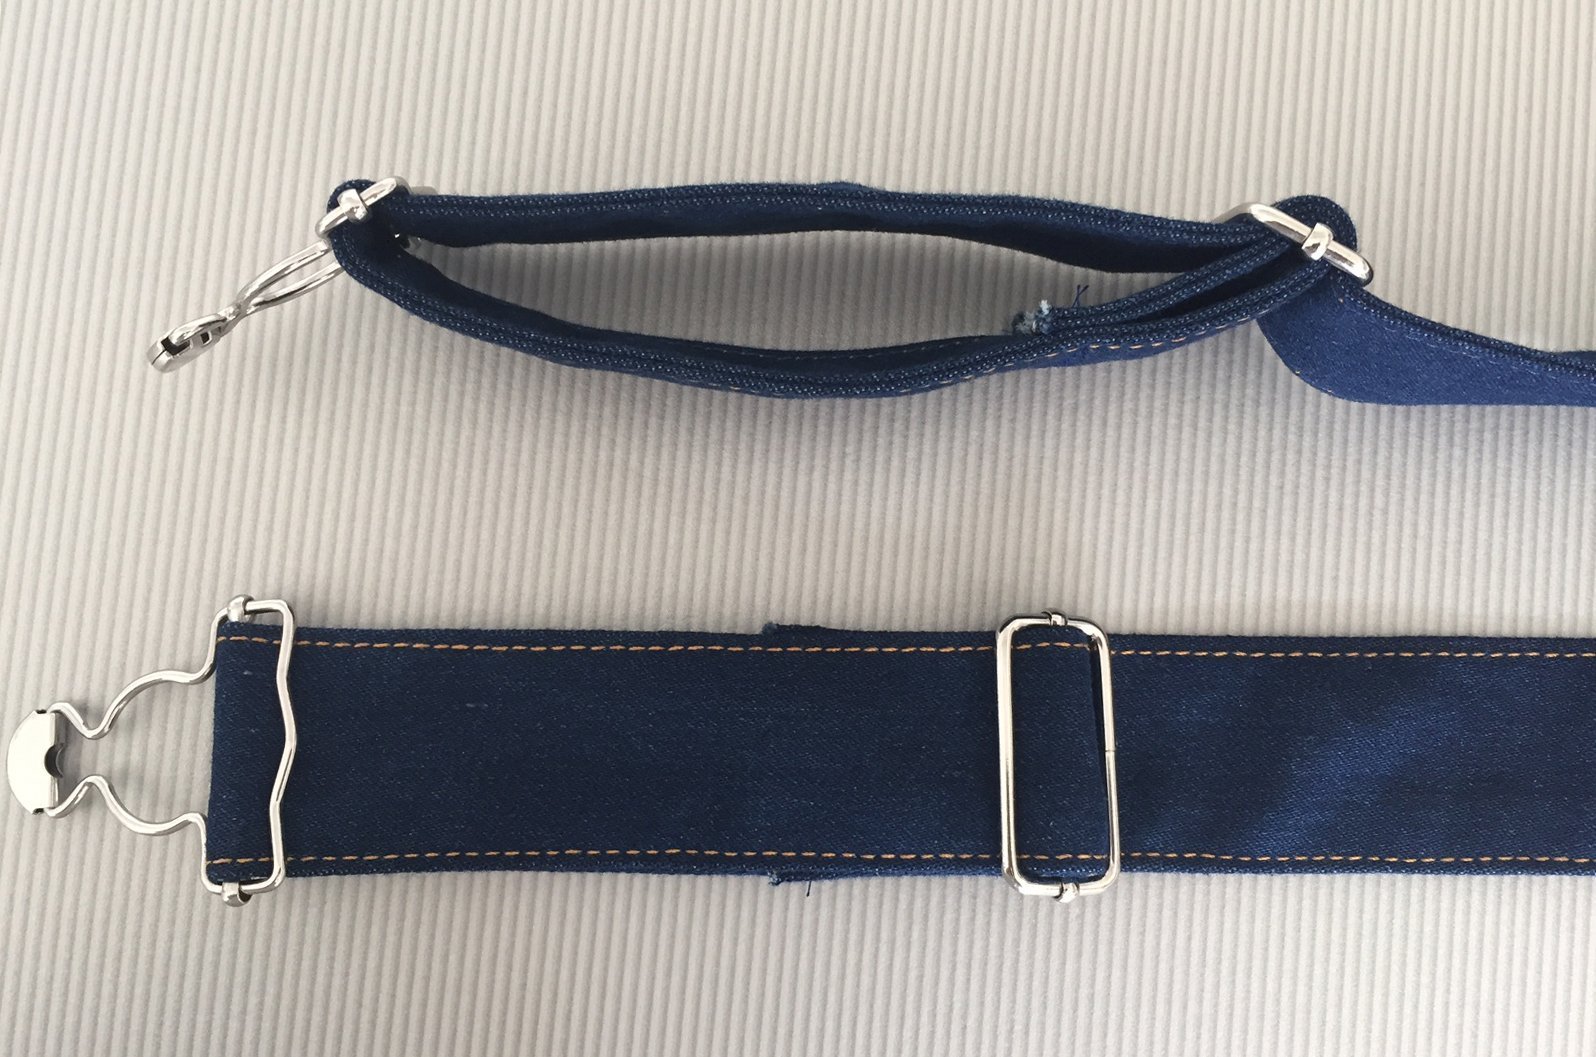
Thread a sliding bar adjuster onto each of the straps. Finally, thread the dungaree clasps onto the straps. Lead the ends of the straps through the sliding belt adjusters again, fold and stitch them to the strap.
Stitch the skirt: Stitch around a skirt seam of 1 cm twice and iron. Overstitch a seam with the extra strong sewing thread.
Done!
Have a look at our YouTube Tutorial:
Have a look at mybernette.com – on the website we provide you with great tutorials, cool information about bernette and of course our great sewing machines and overlocker!
Kind regards
Caro
Spoiler: Our third bernette sewing project will be published soon – here on the blog! Stay curious 🙂


This is a great pattern! Can wear it year round! I love it!
Love this but no pockets?!
Hello.This post was extremely interesting, particularly because I was looking for thoughts on this topic last Thursday.
Hi
Can the pattern for the denim dungaree.
Hi, can I help you? I didn`t understand your “question”?
Really awesome.. I liked the way you explained it.
Thats a pleasure! I am happy you like it!
I cant download the pattern anymore. Please help
You will find the pattern here: http://www.bernette.com/bluejeans
Enjoy sewing! 🙂
This looks fabulous! One question though….the sizes listed are they in US sizes?
Dear Rae, no these are EU sizes. You can check an compare your size with an internet chart…
Best regards
Caroline
Thanks a lot!!!!!!