 BERNINA Corporate Blog -
Sometimes a presser foot ‘calls’ to be used… I don’t know how that happends, and if you here those calls too…? In this case Free-motion Couching Foot #43 was calling me to make something fun. I have used this foot before, and will use it again, because of the special effects. I will work with the BERNINA 770QE!
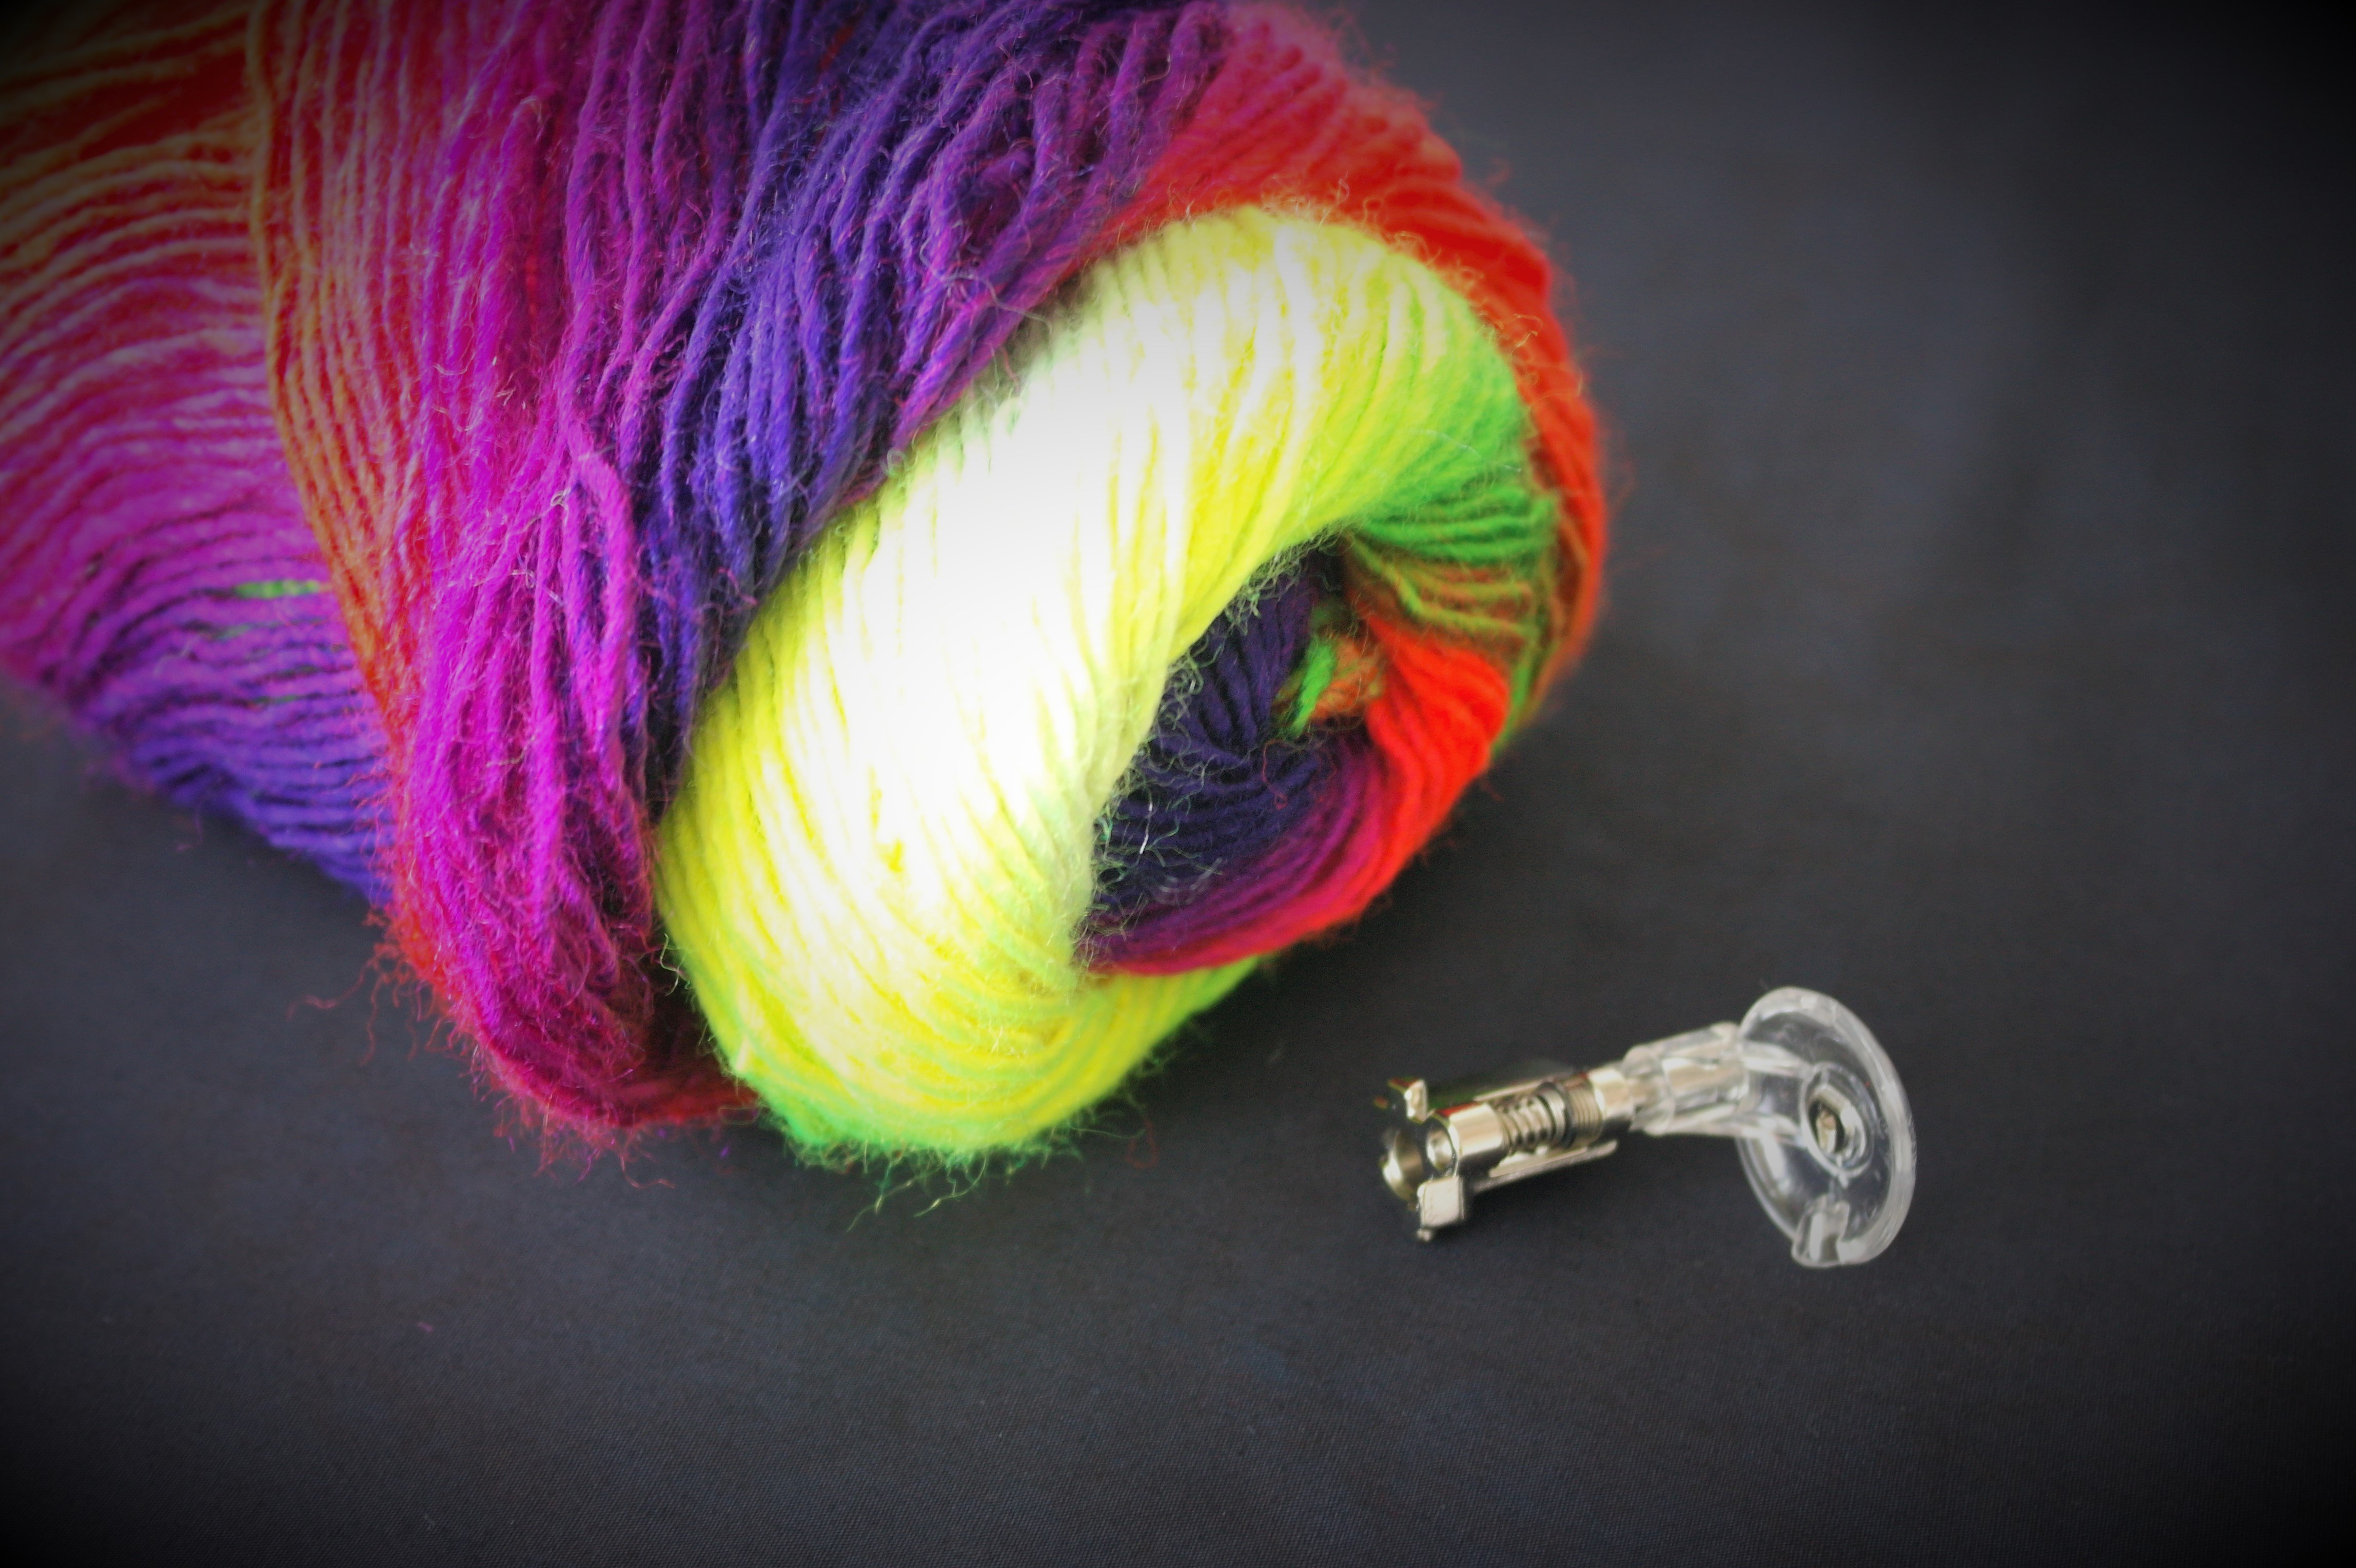
What you need is a variegated knitting yarn, full of colors. The thickness of the yarn should be for knitting needle size 9 – the yarn itself is a bit thicker than the 2mm you can use with the presser foot, but it fits in the hole of the foot, because the yarn is fluffy and not to stiff, like cord. If you work slow, the stitch in the middle will catch the yarn perfectly.
Planning with color change is essential for a special effect: be sure you’ll use yarn with a long color change – that means it will take a while before one color switches to another. For the project I have in mind, I will need long color changes, because I will make swirls and spirals, and that takes a lot of yarn.
My list of materials:
Knitting yarn, roving, suitable for knitting needle 9, with long color change
Free-motion Couching Foot #43
Black Batik, half a metre = 0.50×1.10m – 50 x 50 cm for the front, the rest for the back of the pillow case
Batting with a high loft, aprox. 55 x 55 cm
Backing for the sandwich – off white – aprox. 55 x 55 cm
Inner pillow 40x40cm
Black sewing thread
DecoBob/Wonderfil –color 112 – bobbin and top thread
Topstitch needle 80/12
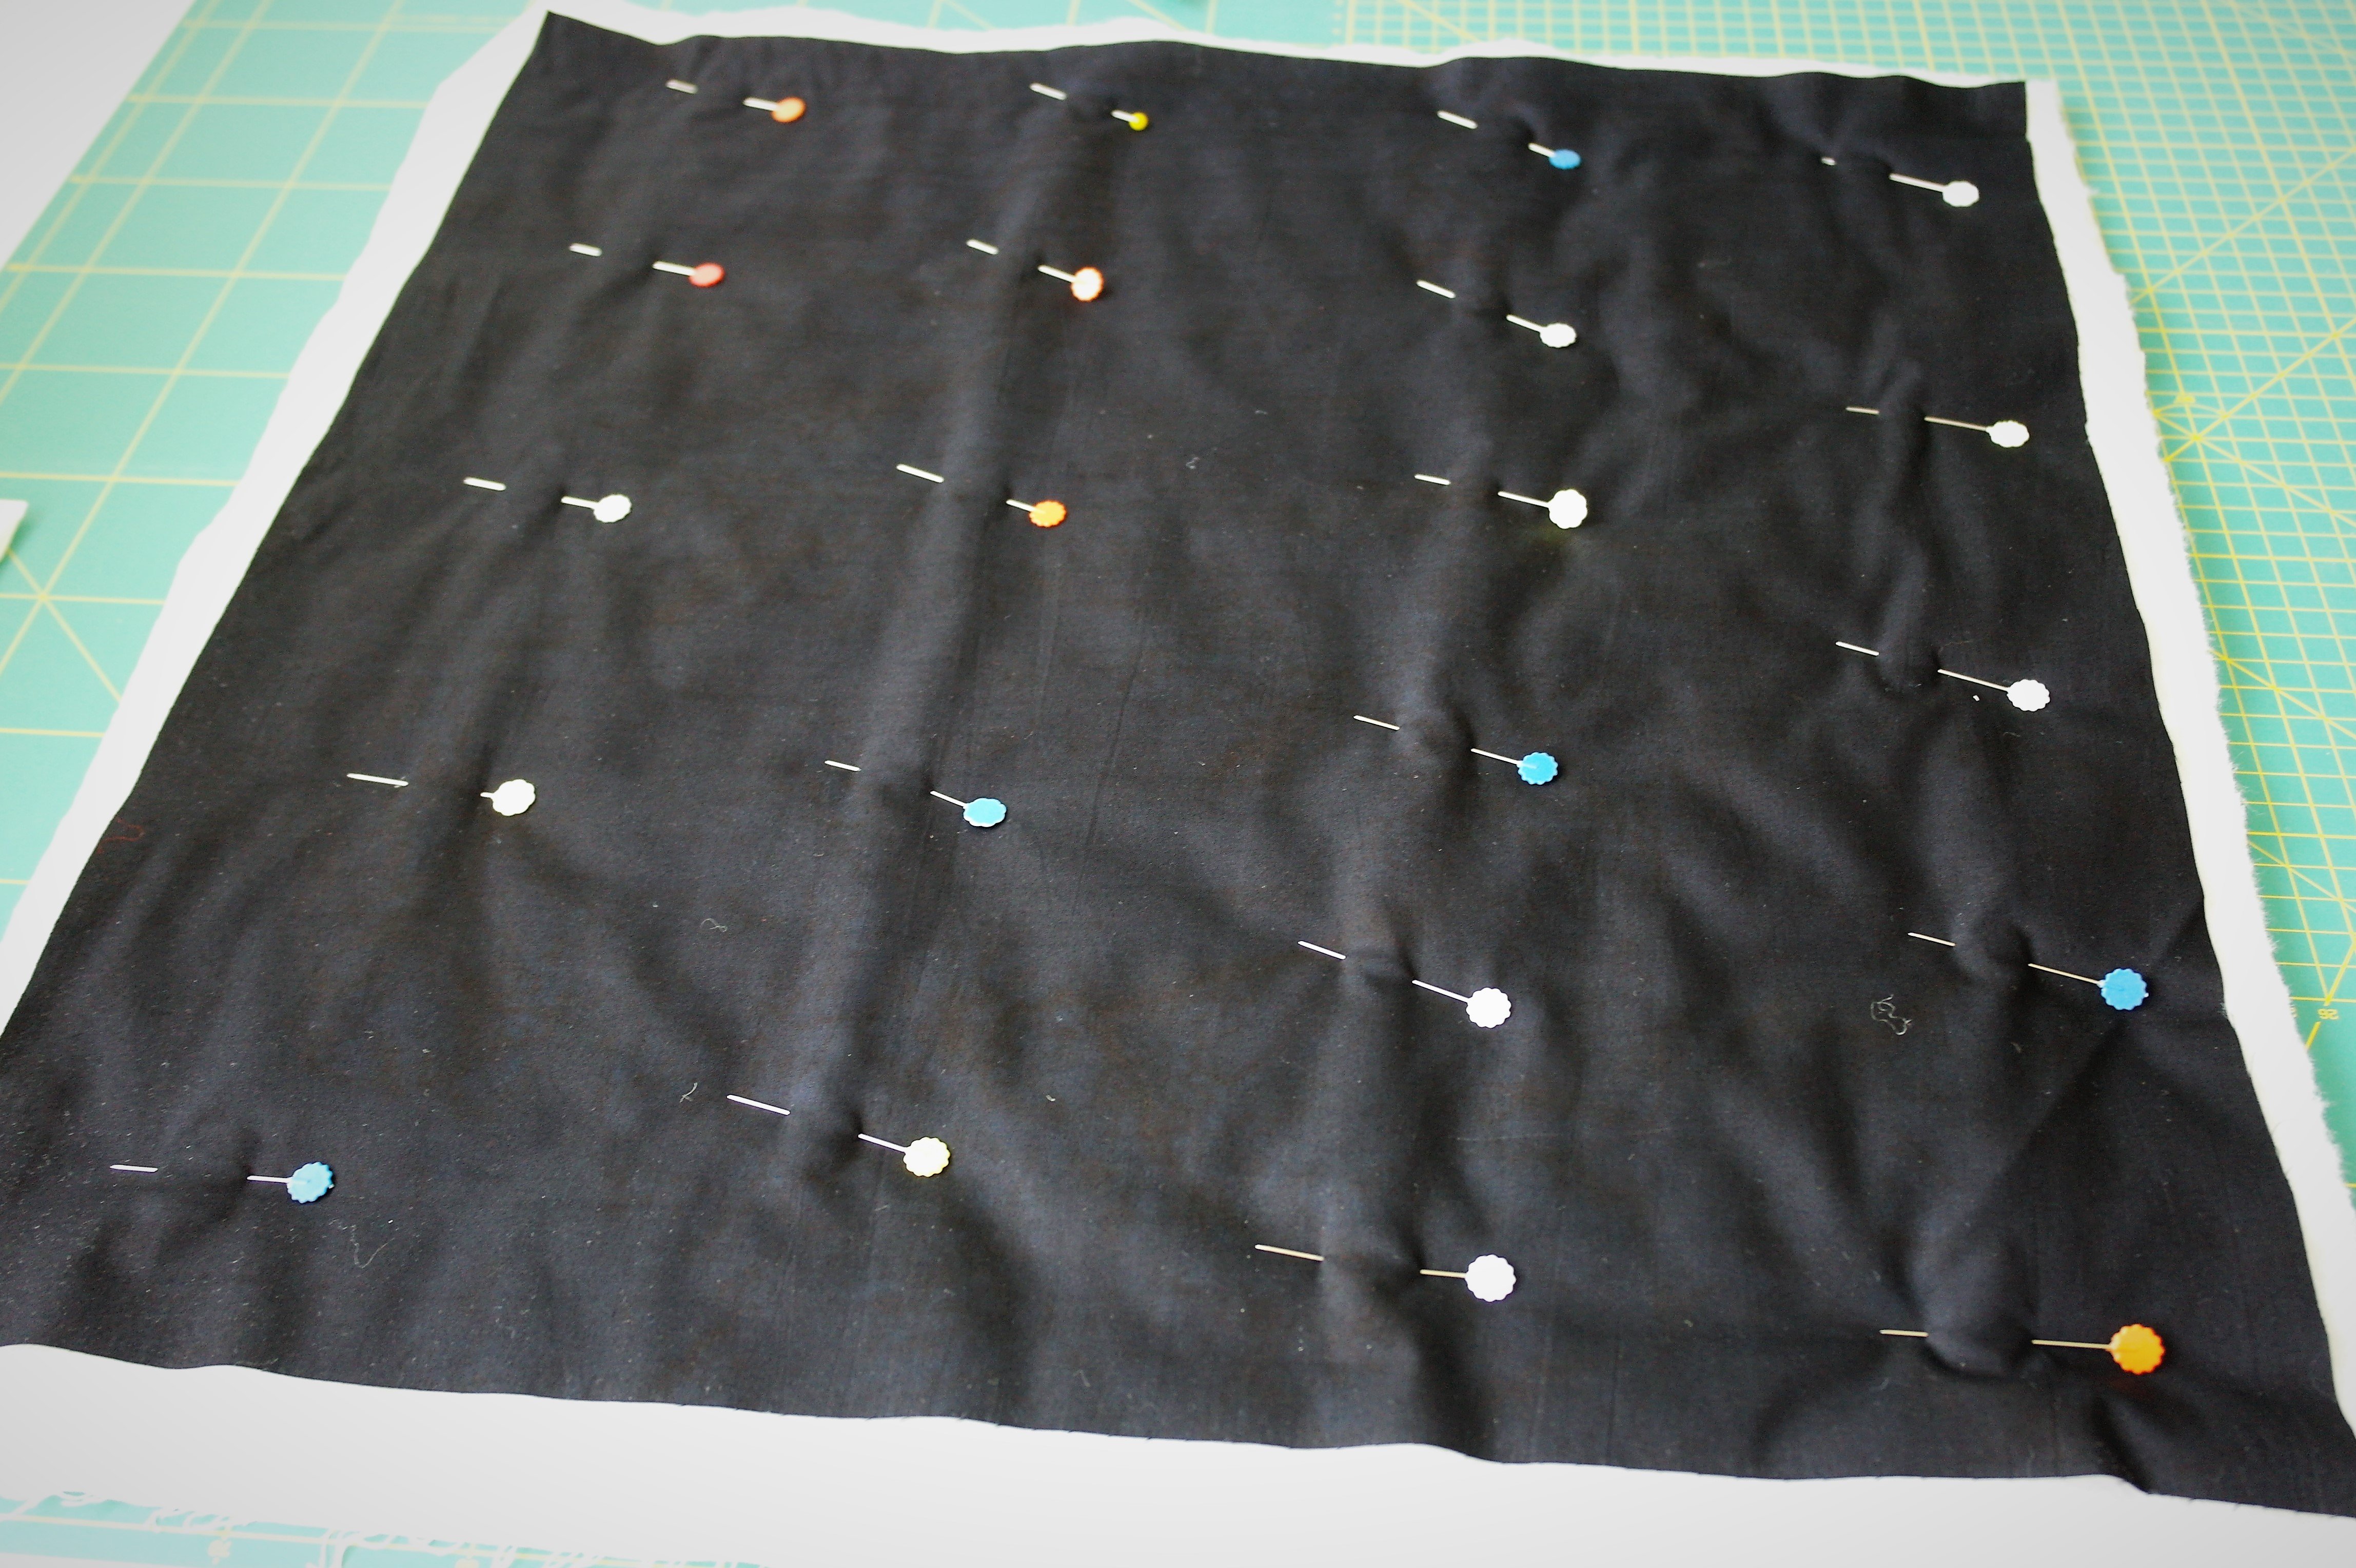
I’ve cut a piece of 50 x 50 cm from the black batik – this will be the front of the pillow case. Then I’ve made the sandwich: off white backing 55x55cm, batting 55x55cm and the black batik 50x50m centered on top. Pinned it with Flower Pins (long quilting pins with flat heads).
I have pre-selected the presser foot (allthough it doesn’t show on the display of my machine), lowered the feed dogs, used DecoBob color 112 for bobbin and top threads and yes, that color is almost white. I know that this will show up in my work, because the colors of my yarn are quite different, but I want the stitches to stand out, for an extra decoratieve effect. (If you don’t want that, choose matching top- and bobbin threads, but you will have to change those with every color change of the yarn). The topstitch needle 80/12 is on my machine and….
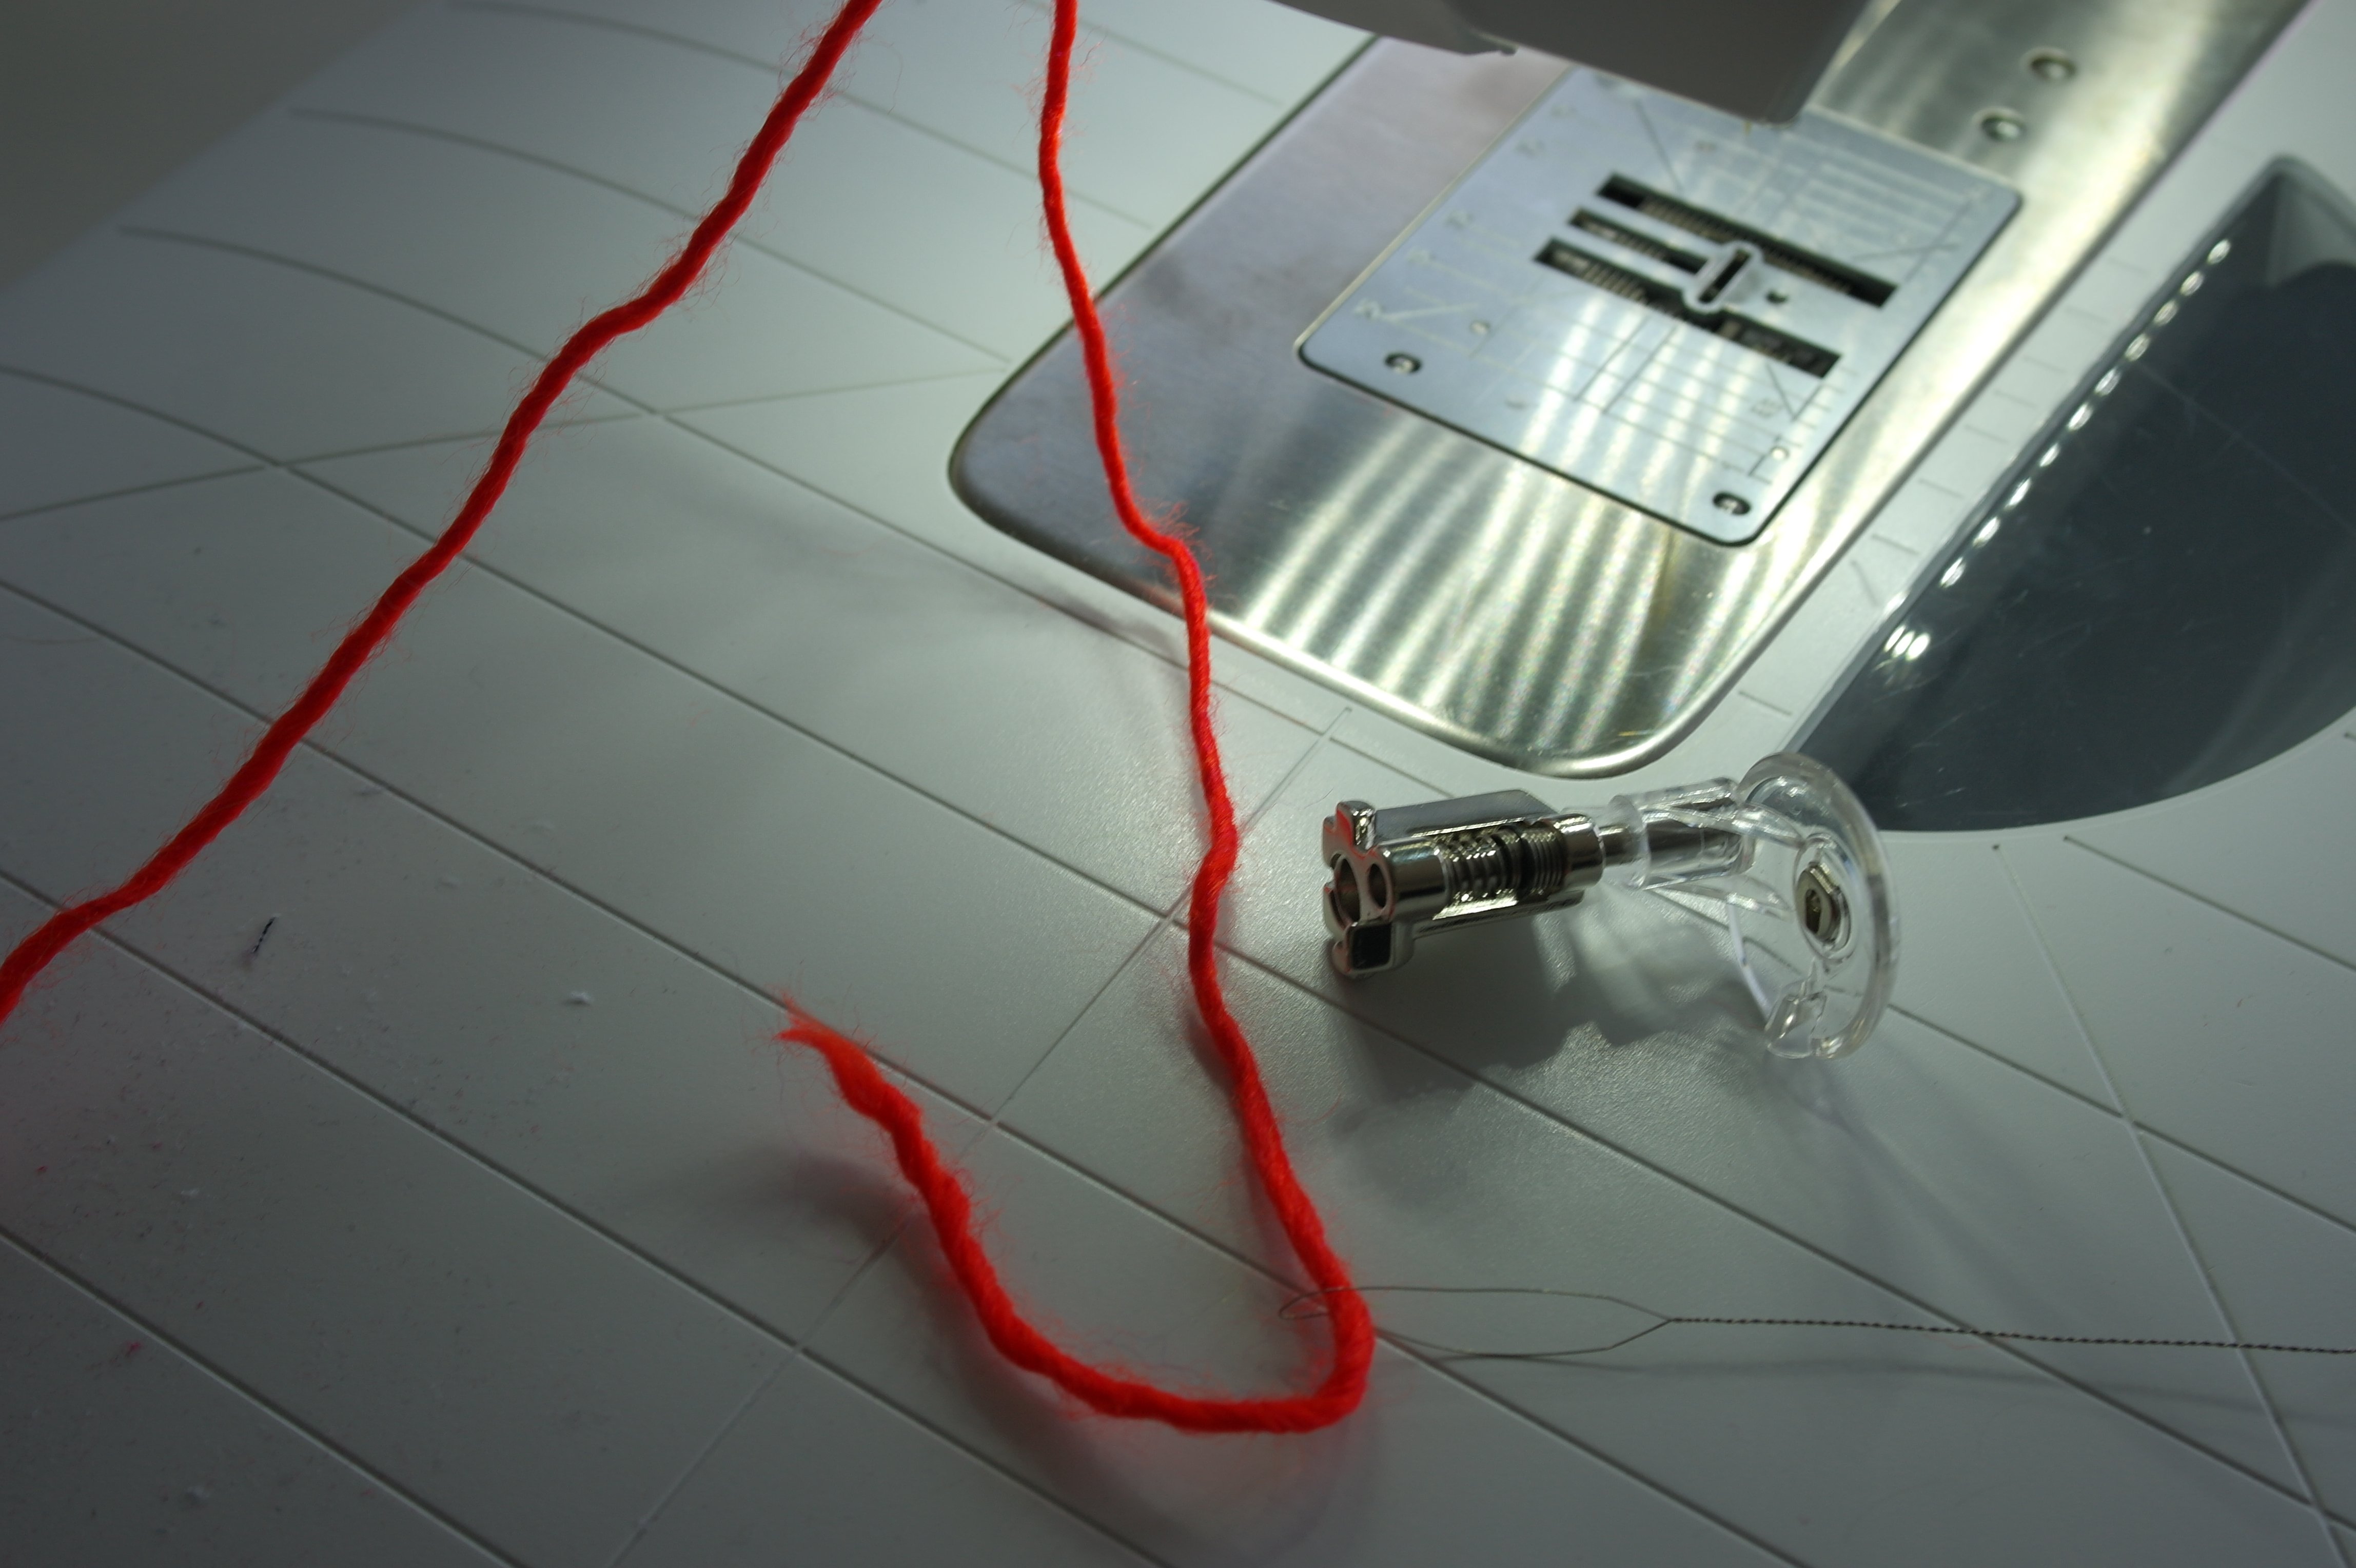
the practical cord guide of the free-motion couching foot #43 is attatched next to the thread cutter of my machine, and I have pulled the yarn through the loop (according to the user manual).
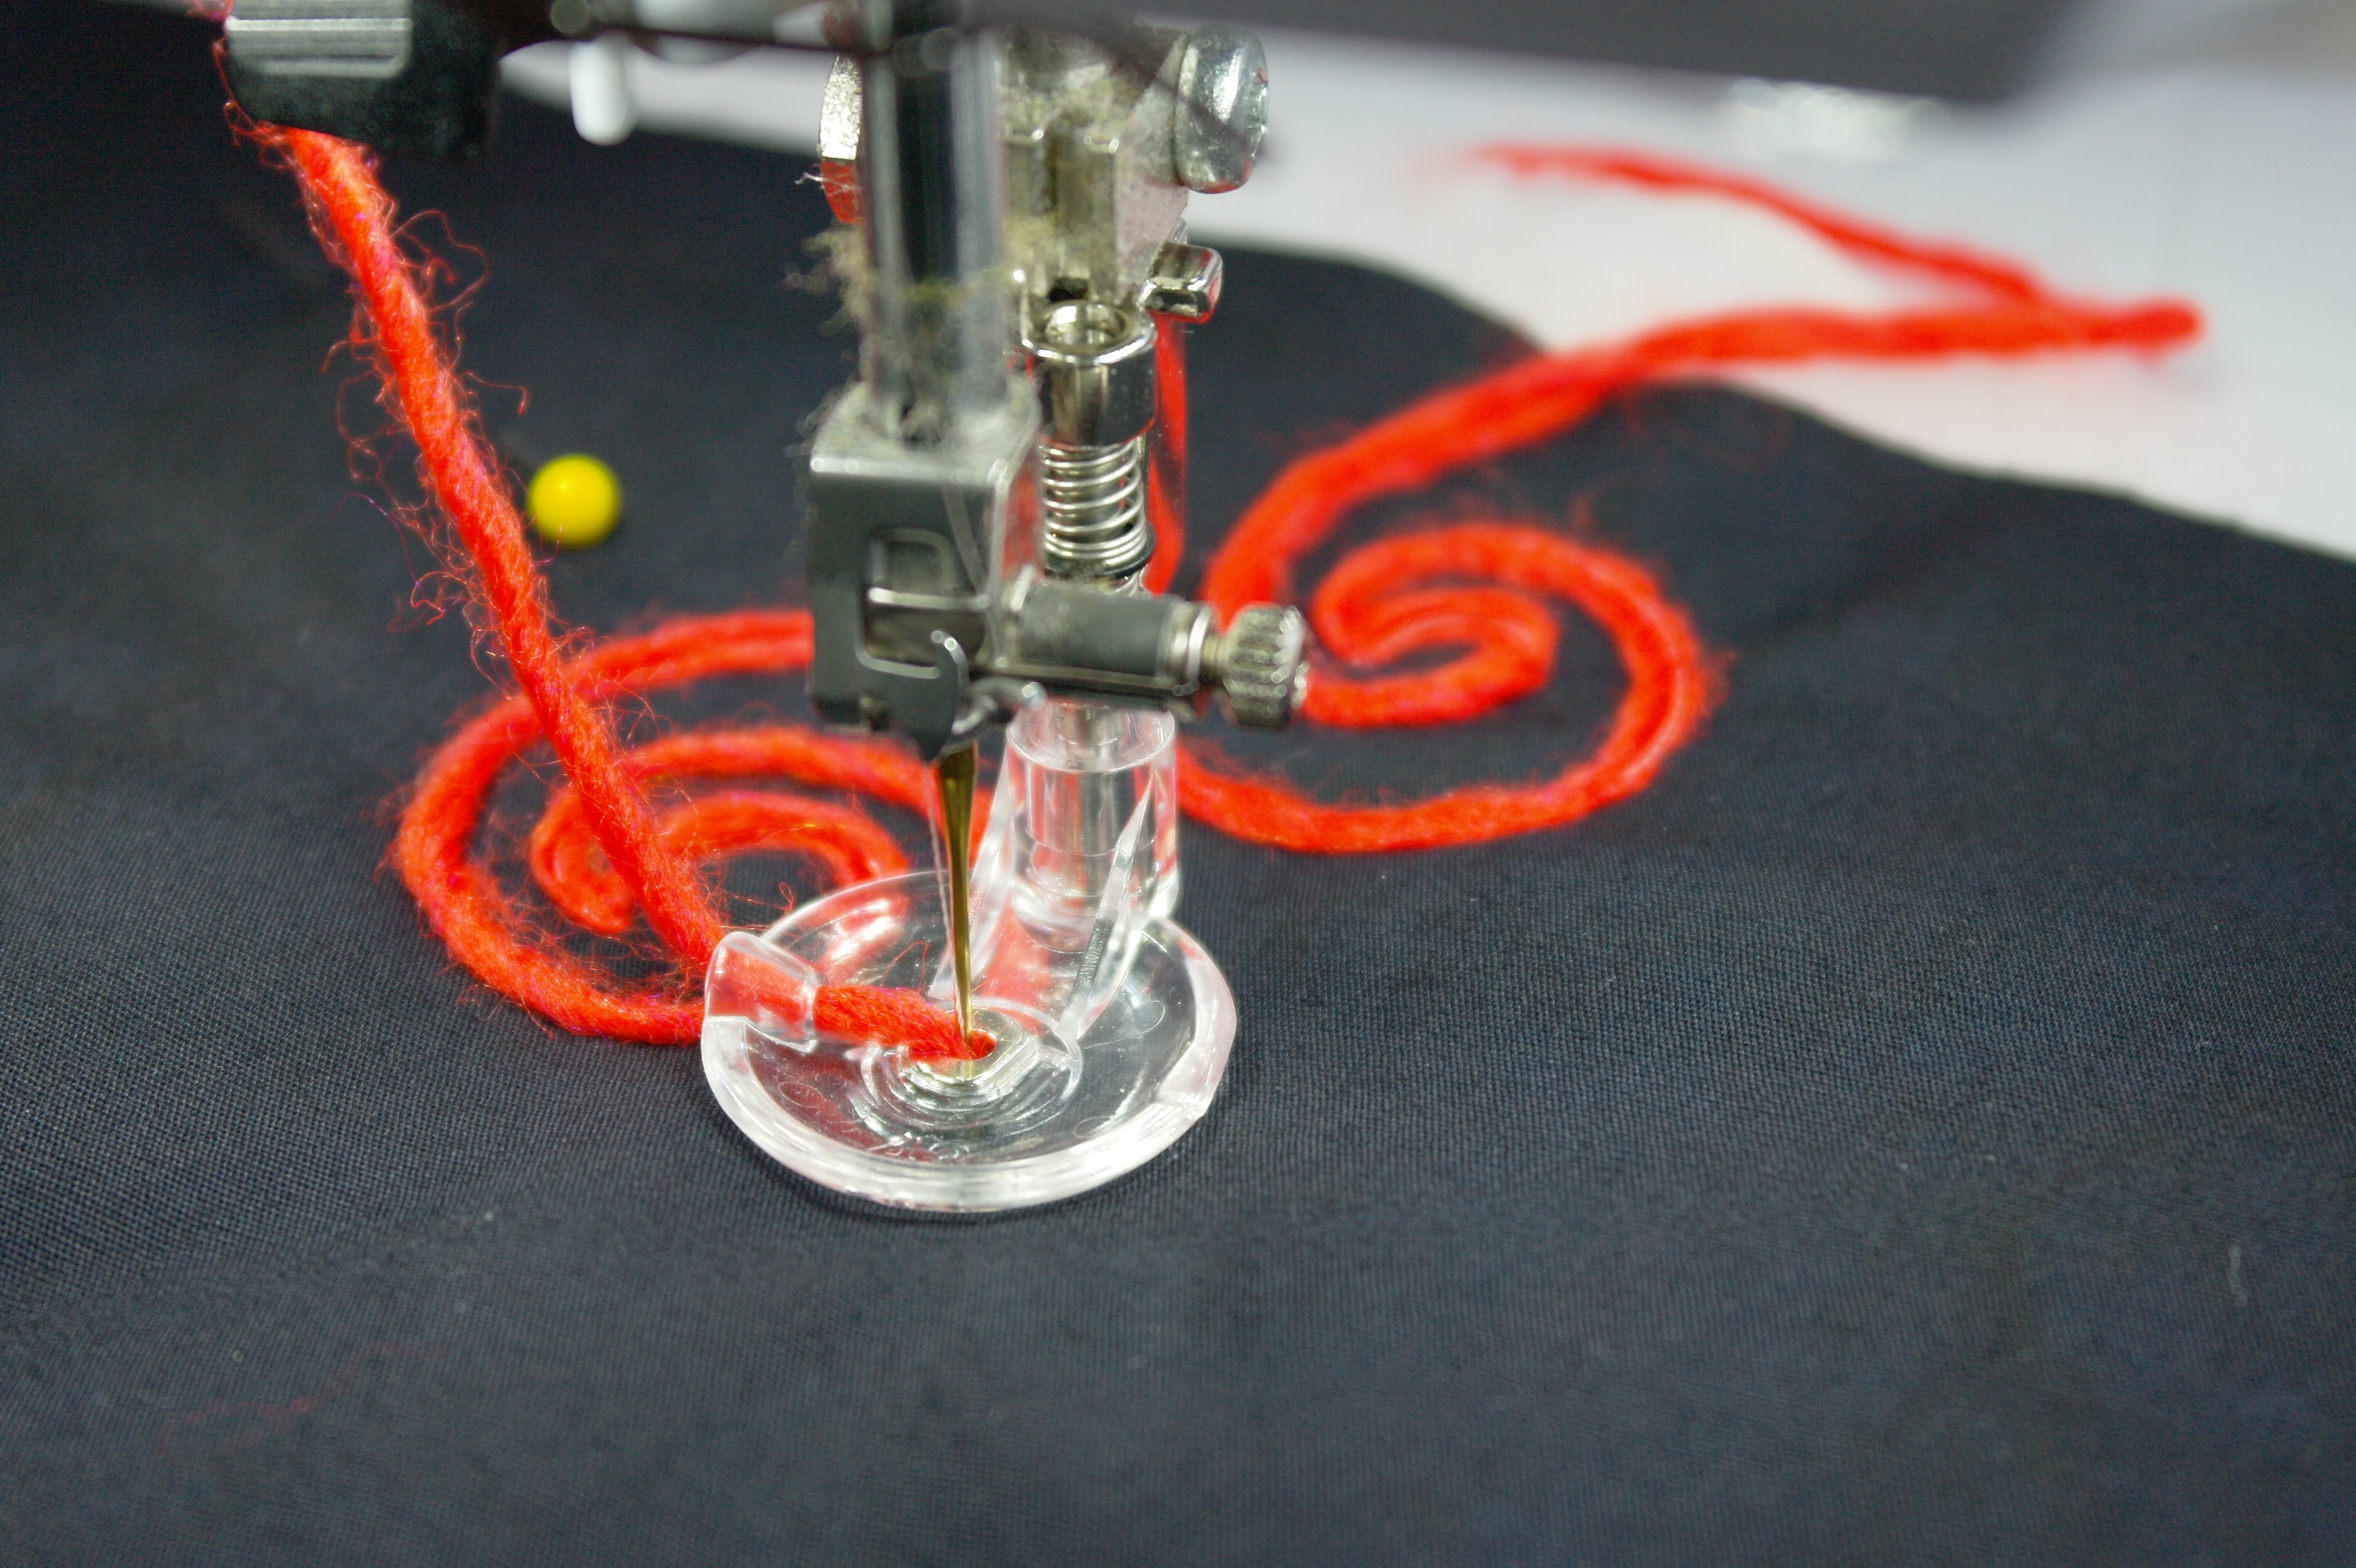
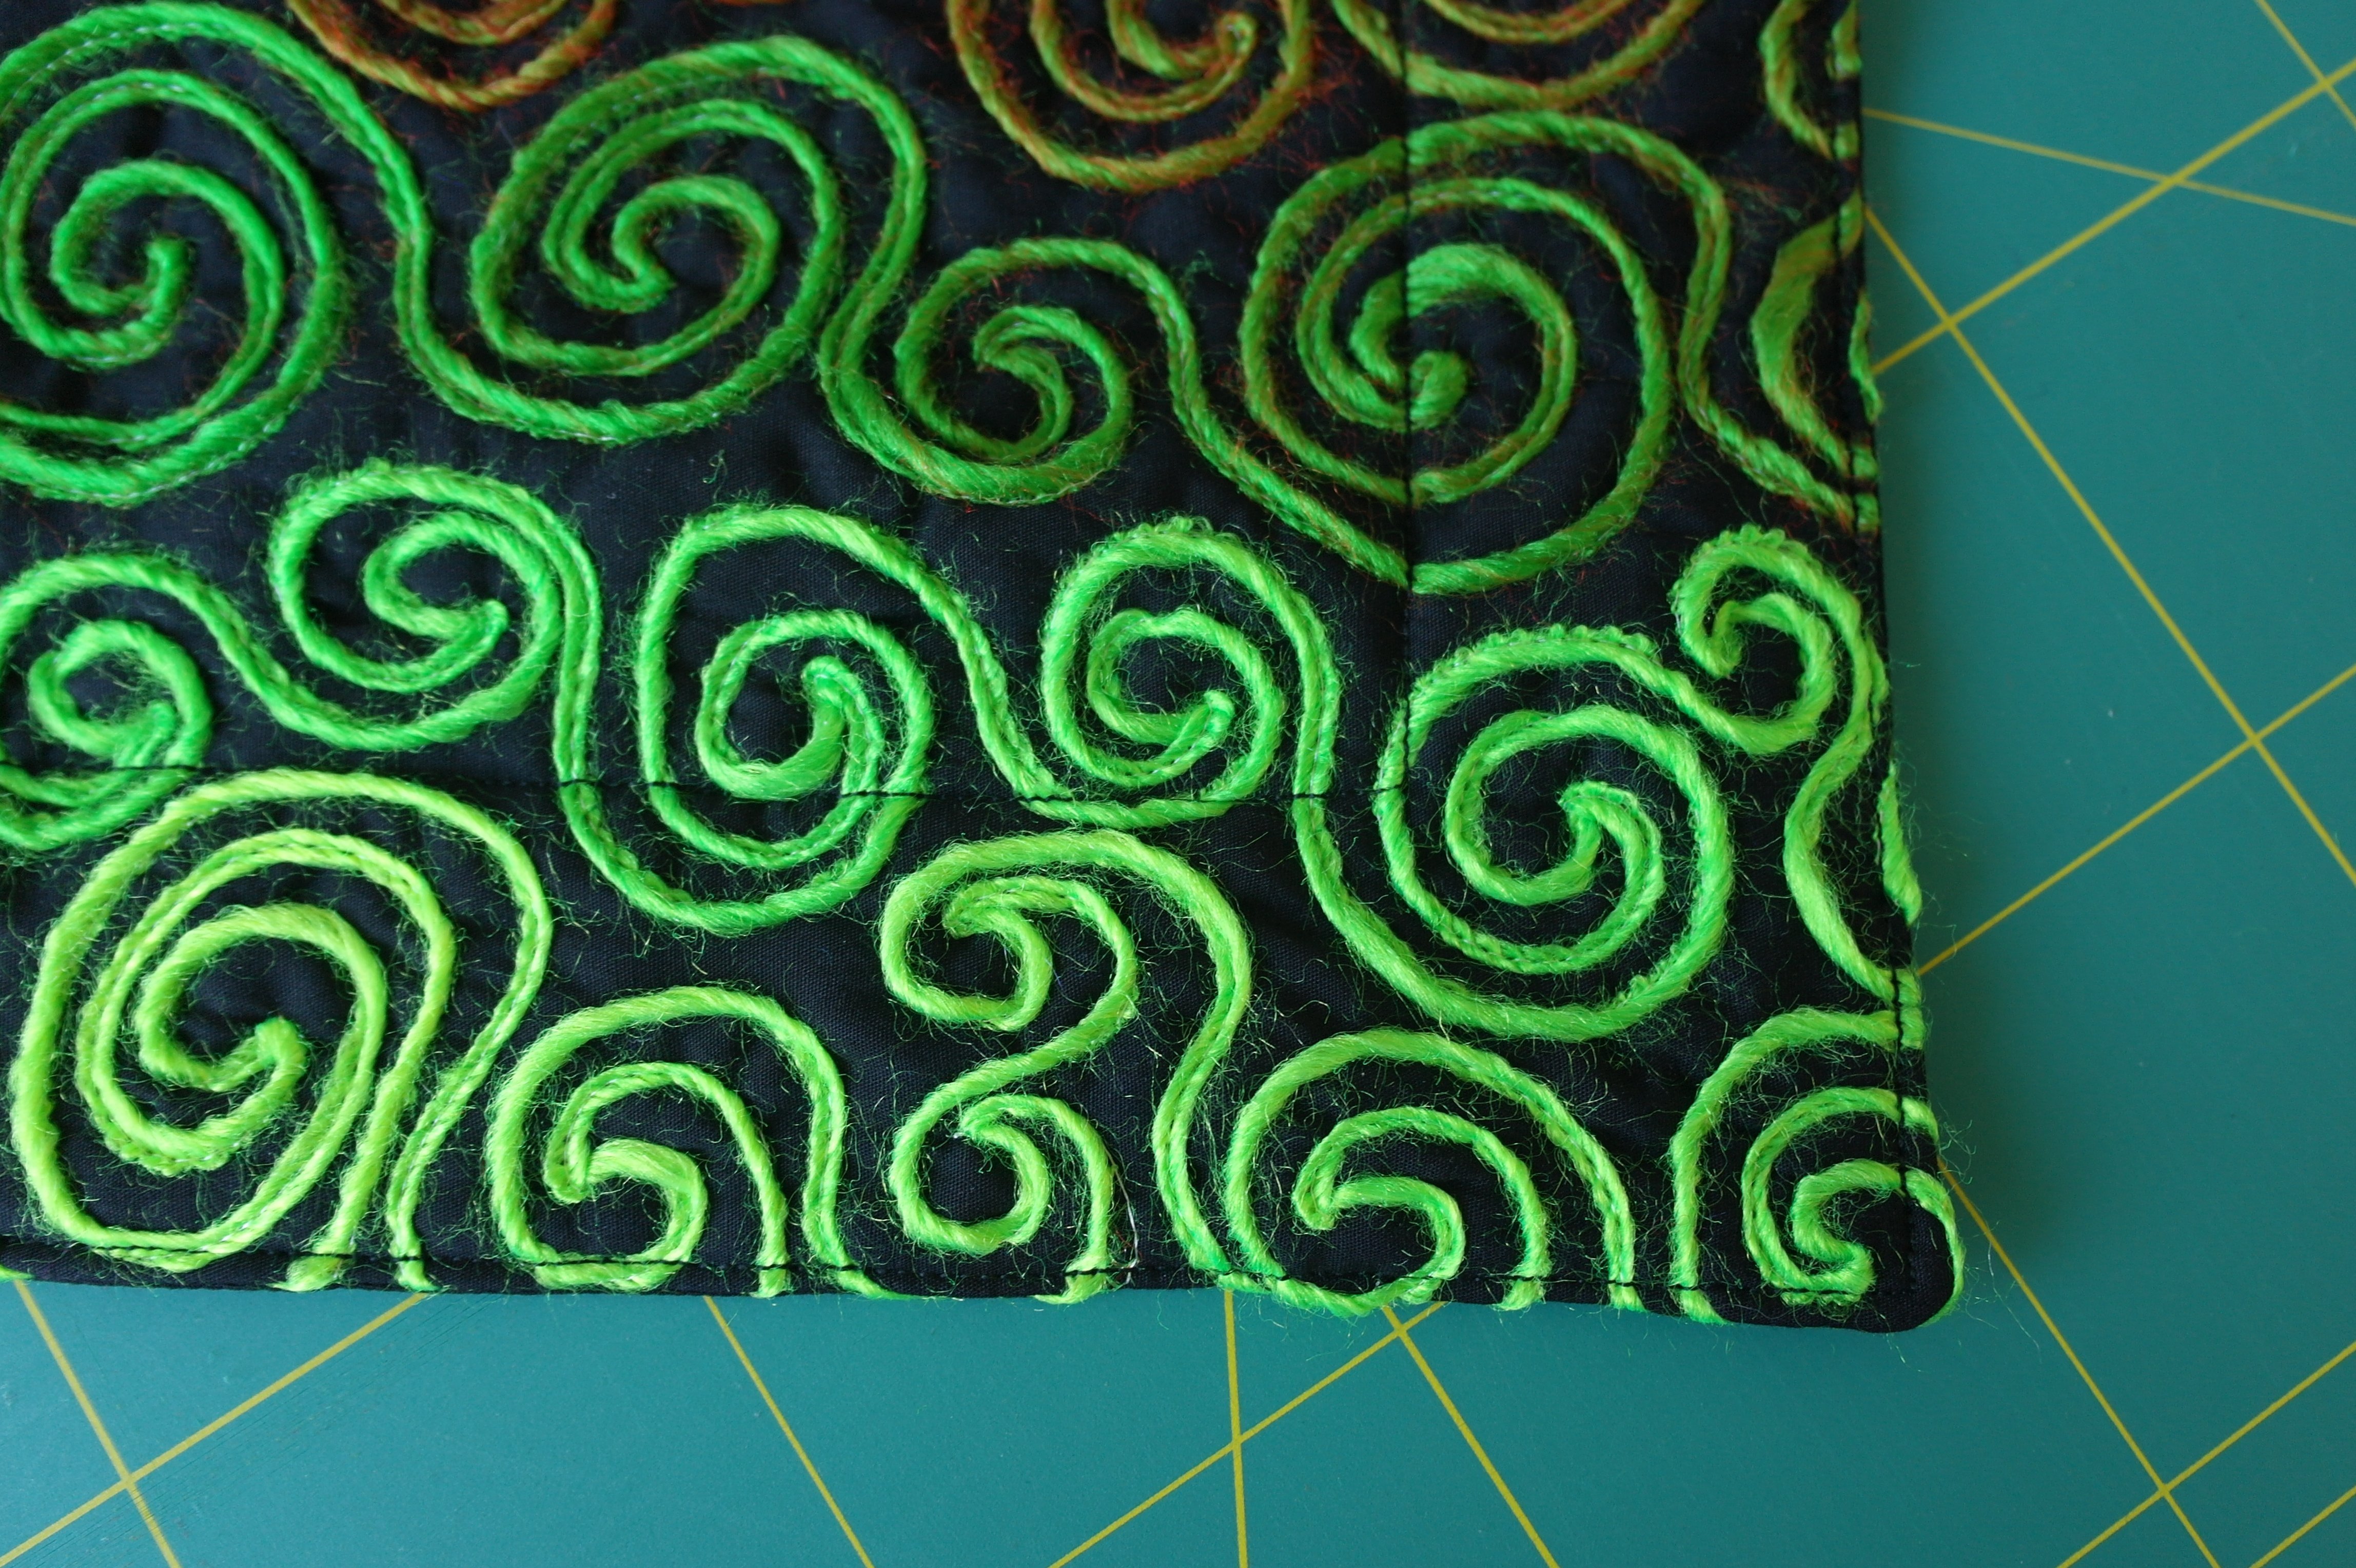
I will make swirls and spirals – first I’ve tried them on a sample of the same materials as the sandwich. I’ve discovered that I had to lower the top tension. I’ve also noticed that I had to work slow when rounding the corners, to catch all the yarn with the straight stitch in the middle. Sometimes – if you move to fast – the straight stitches will be placed next to the yarn instead of on top: lower your speed and it will be fine. And if for some reason the yarn isn’t cought after all, you can hand stitch this in place afterwards with a matching color and it won’t show.
The best thing to do is to pull large quantities of thread of the ball, to prevent it from curling and flattening. I made sure this did’nt happen when sewing – the yarn should lay flat/full and ‘open’ for the best result.
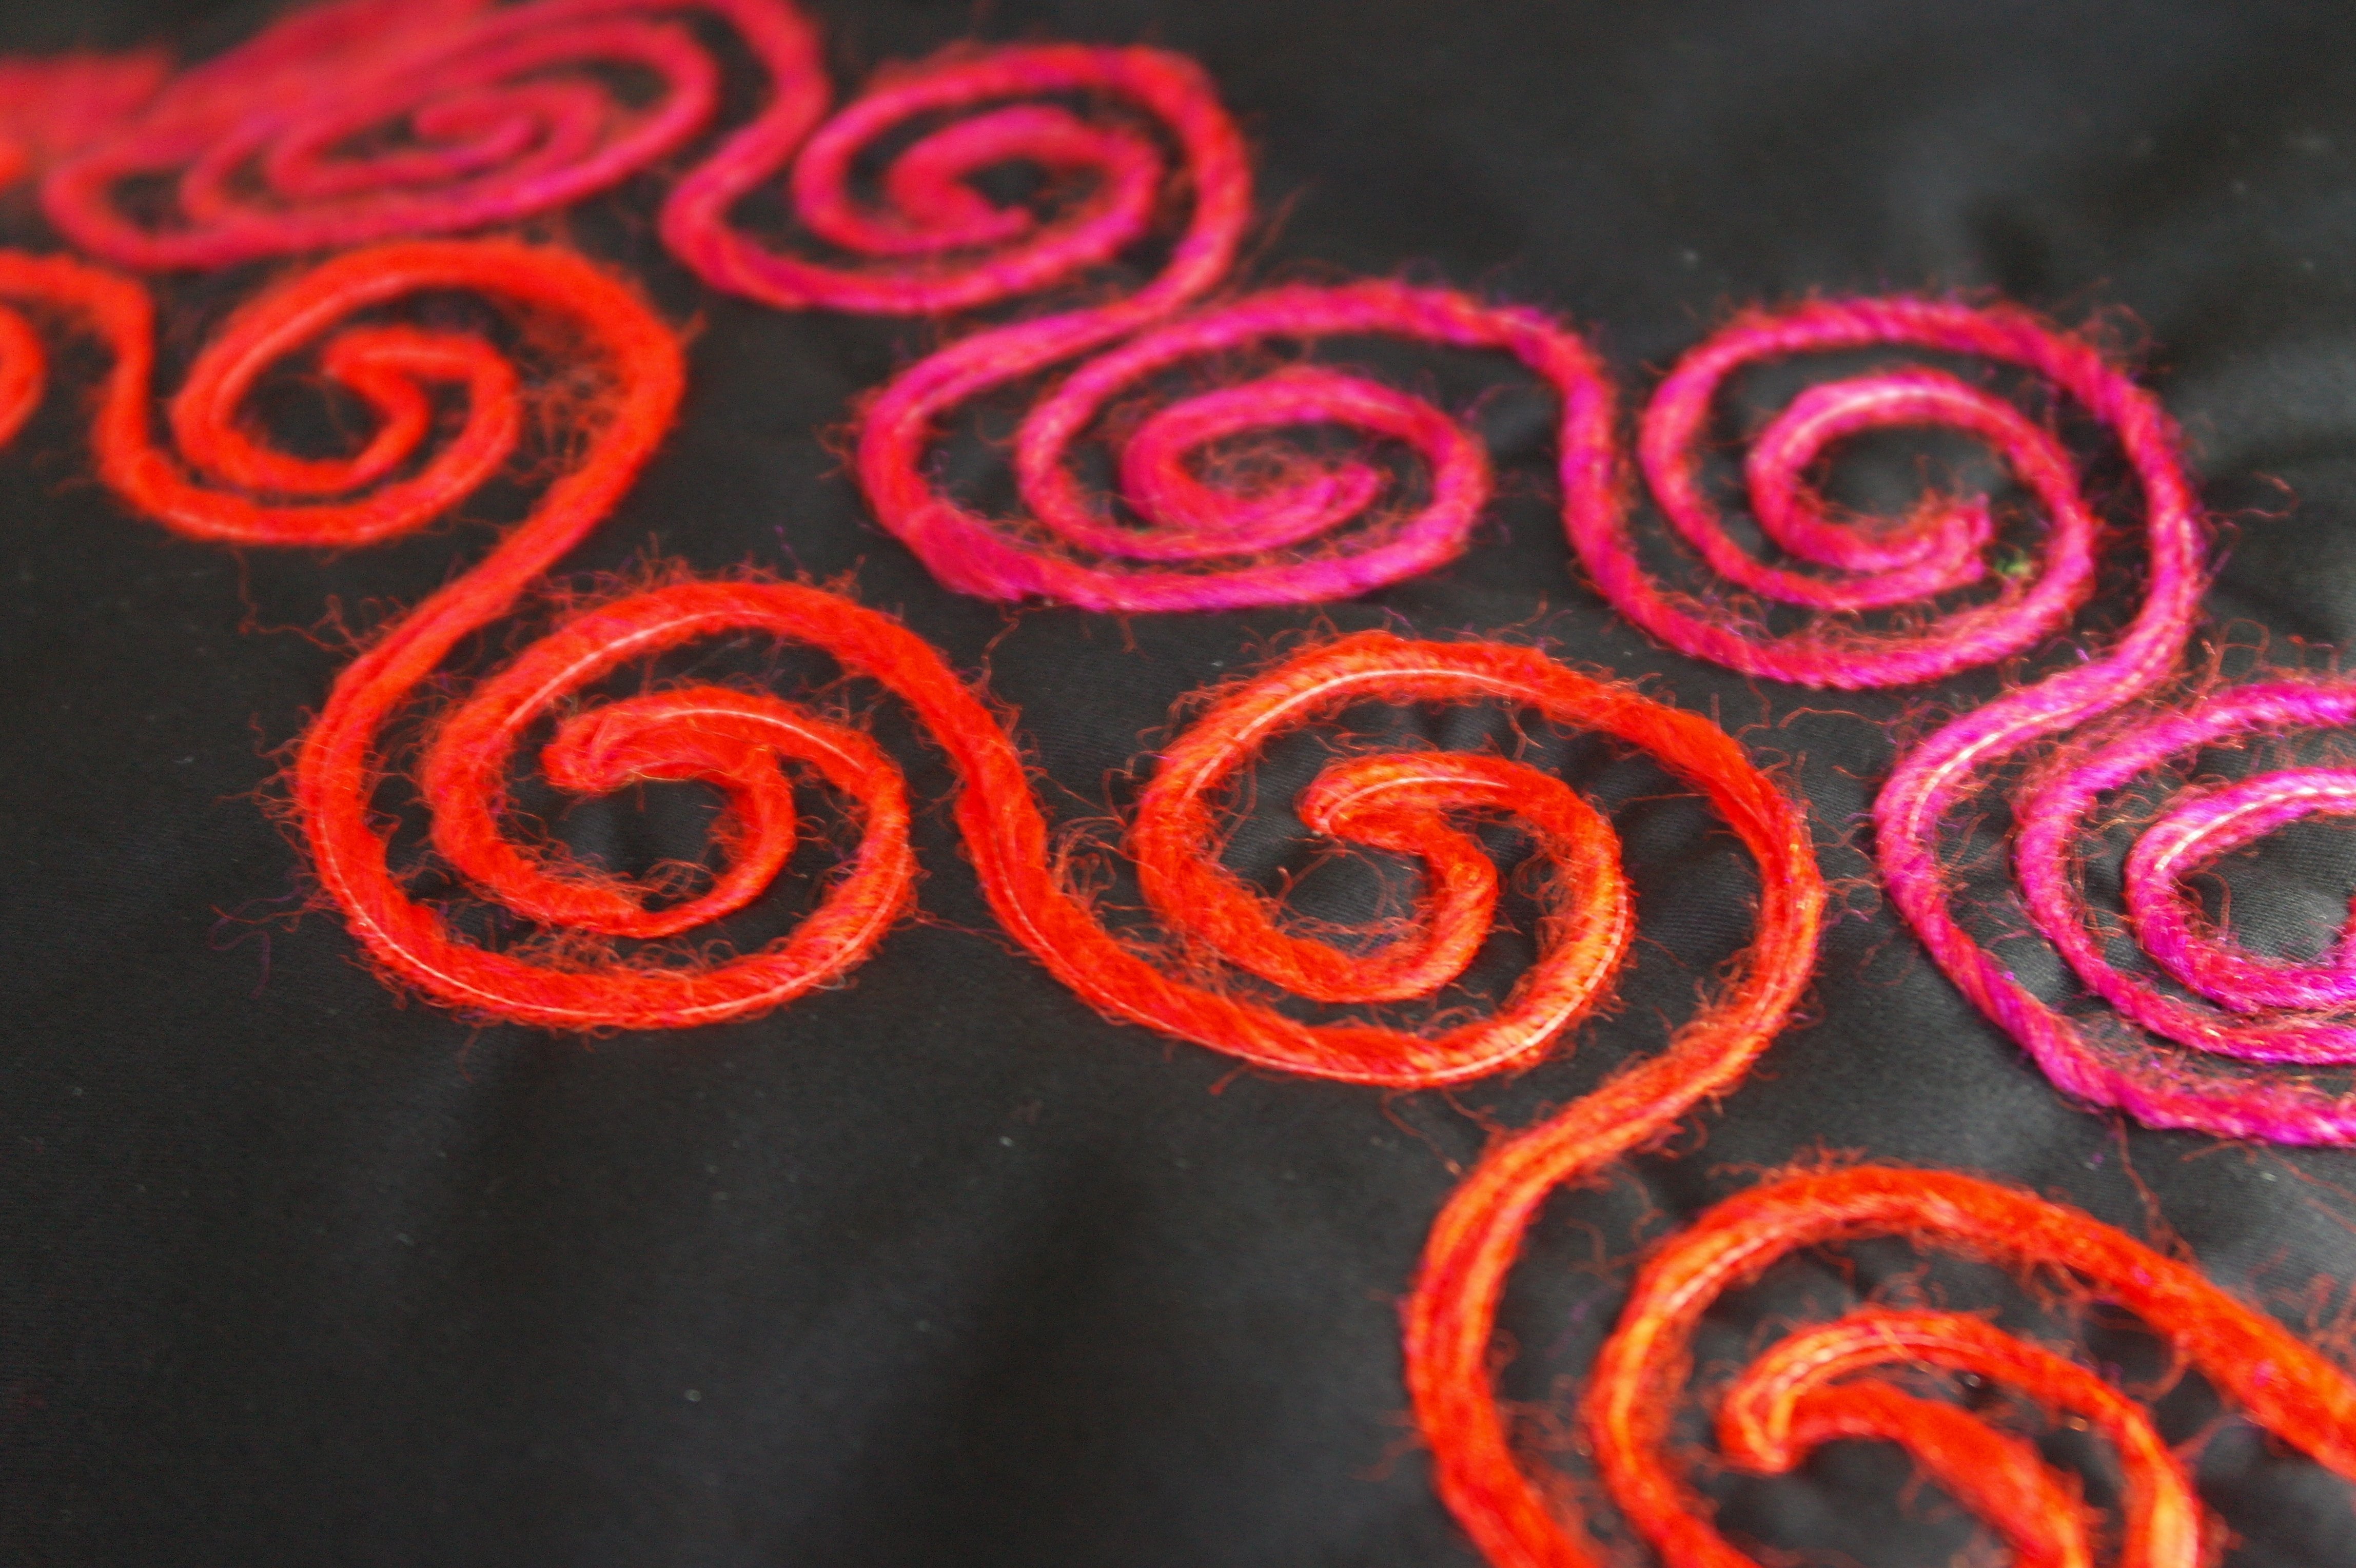
I began making swirls and spirals from the center of the sandwich, from top to bottom, not in a straight pattern, but a bit whimsy. When reaching the other side, I’ve turned and proceeded with the next row, working my way back to the side where I’ve started.

The colors changed from red to pink to purple. If you think that the color changing of the yarn takes too long, just cut the yarn after you’ve reached a side (that’s where you will start and finish every time) – and find a piece with the next color to proceed. But be sure there is a smooth transition of colors, as if you never cut the yarn.
Work from the middle to one side, than change direction and work from the middle to the opposite side. I’ve cut the yarn, found a piece with red, and worked to the other colors of the ball. I had to cut a large quantity of yarn to do so, but I it’s not wasted: I will use that for another project.
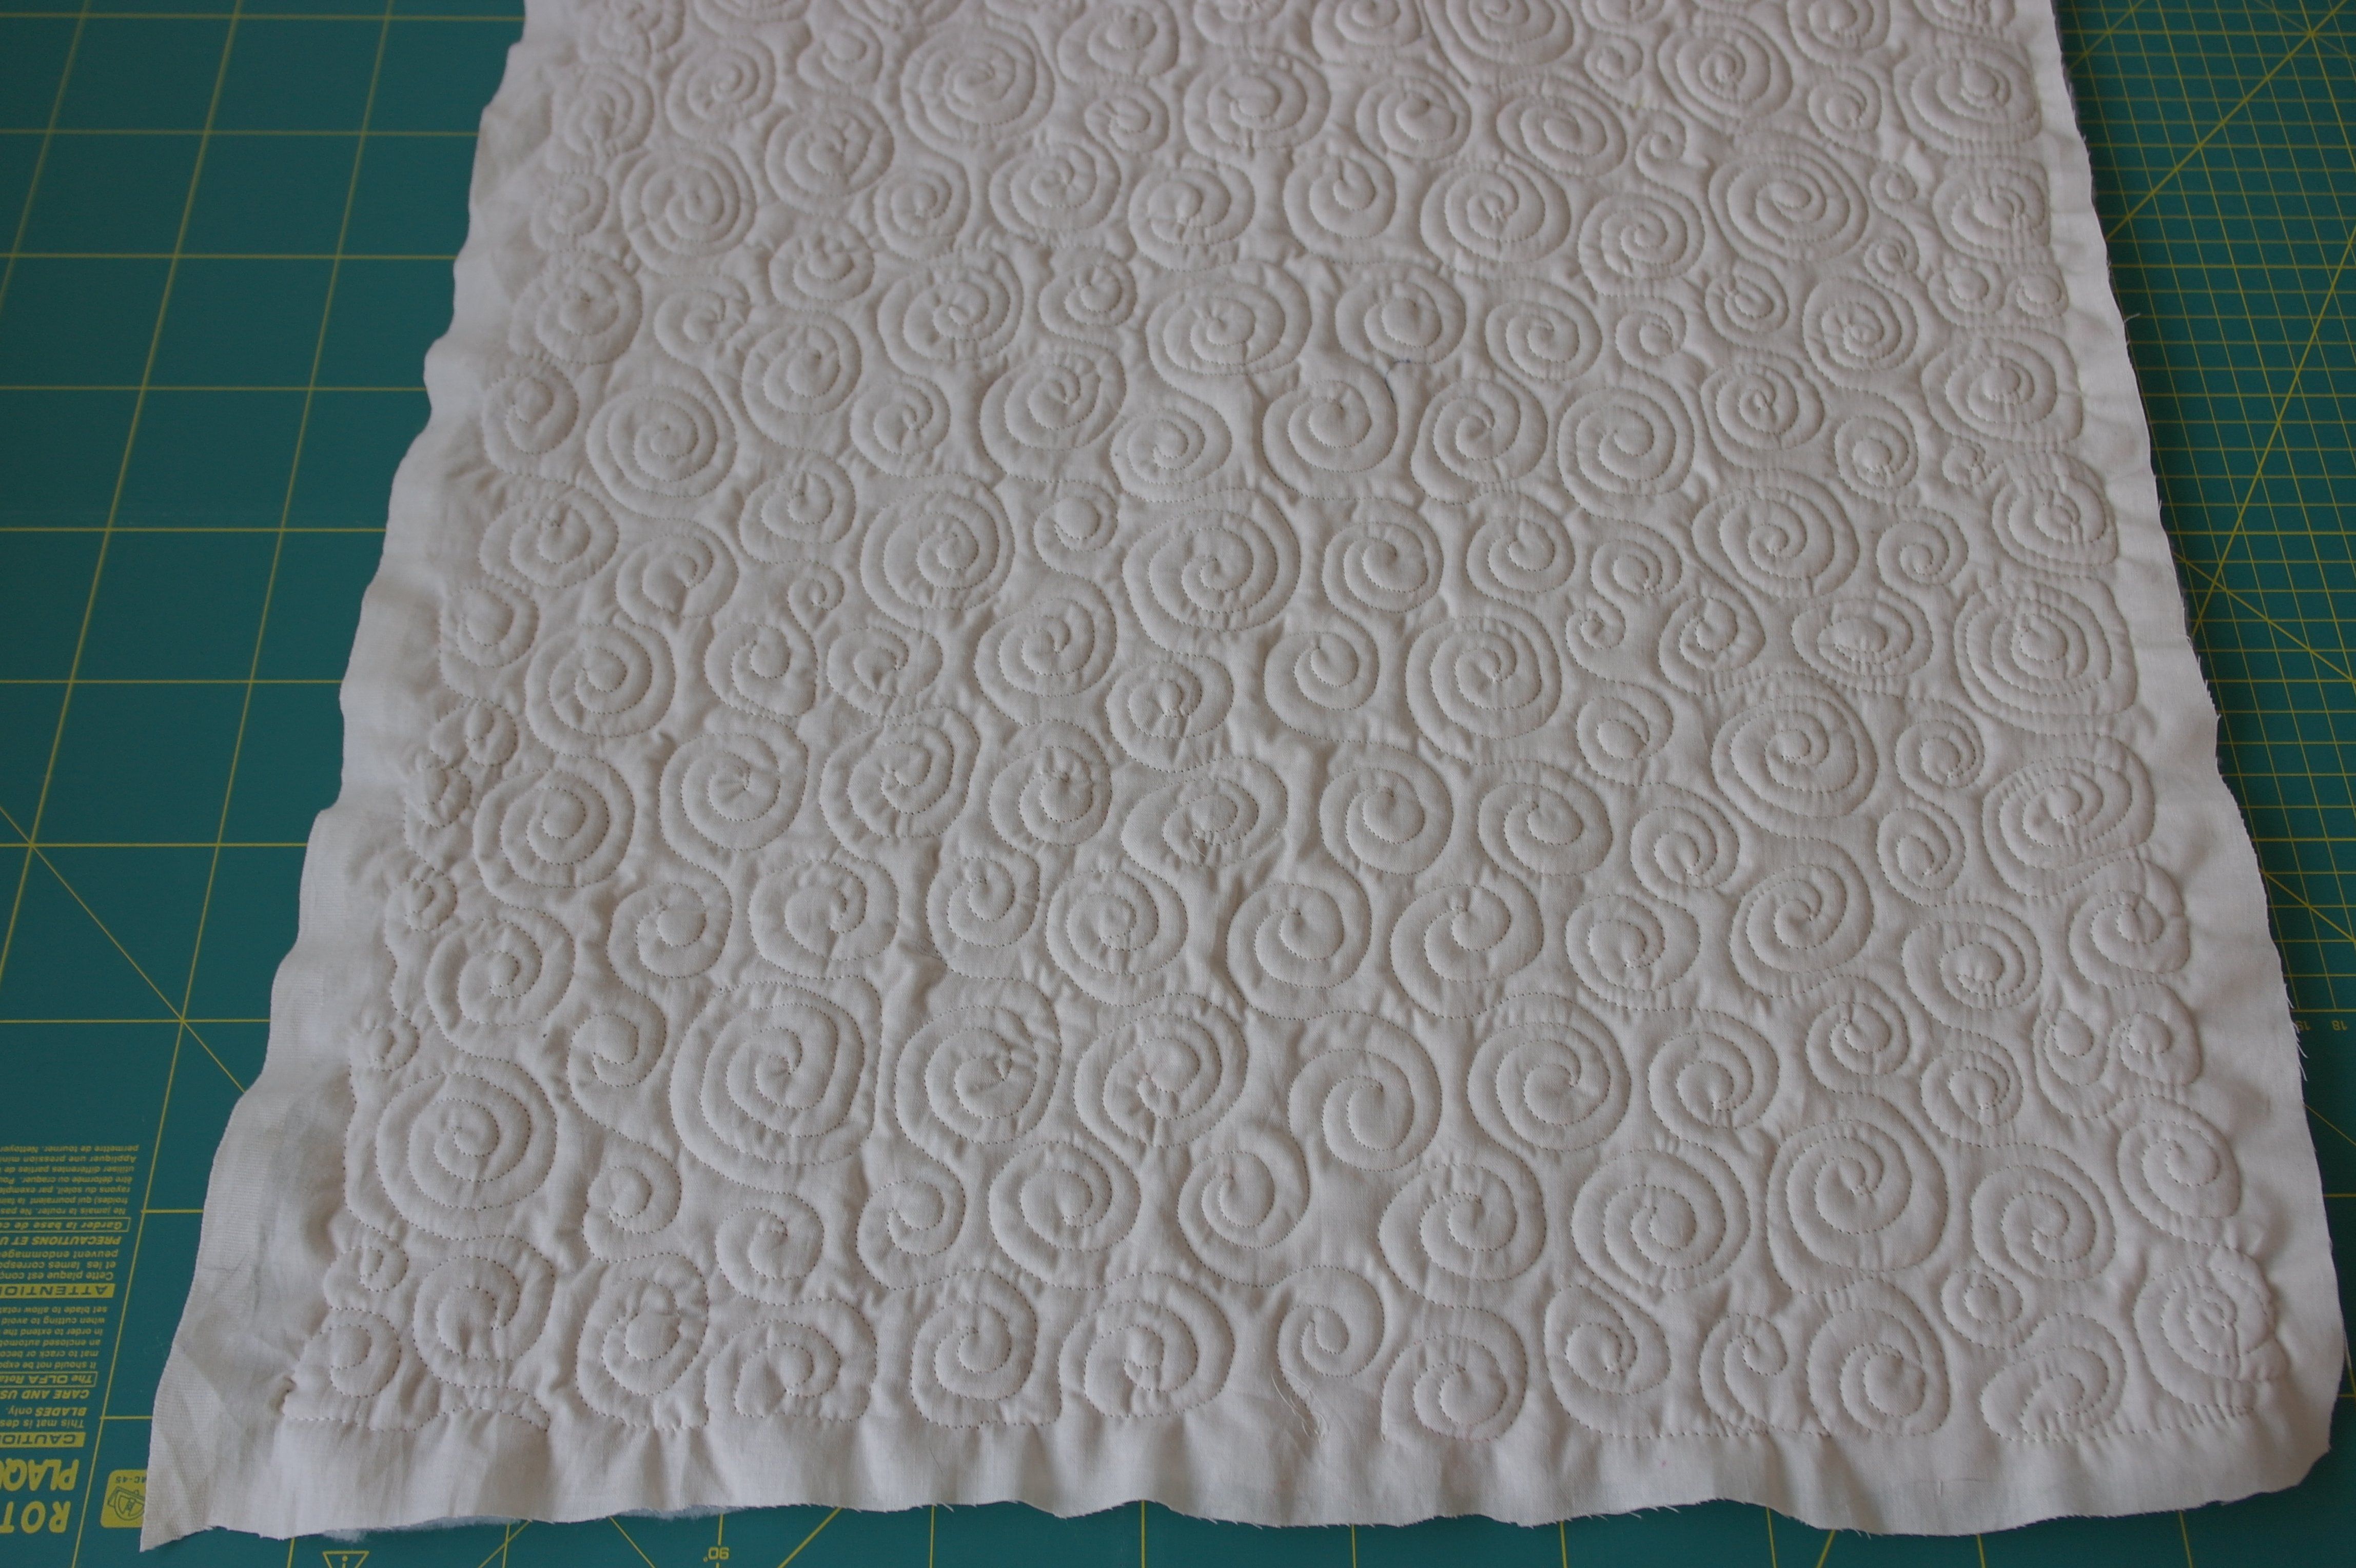
After quilting (because that is what I’ve done) the sandwich has shrunken significantly: making swirls or spirals does that. The top of the sandwich was 50x50cm before making the stitches, and afterwards 48x48cm – that is a shrinkage of 2cm! Quite a lot, and certainly something to consider if you need to work up to a certain measurement. The back of the sandwich looks nice too, doesn’t it?
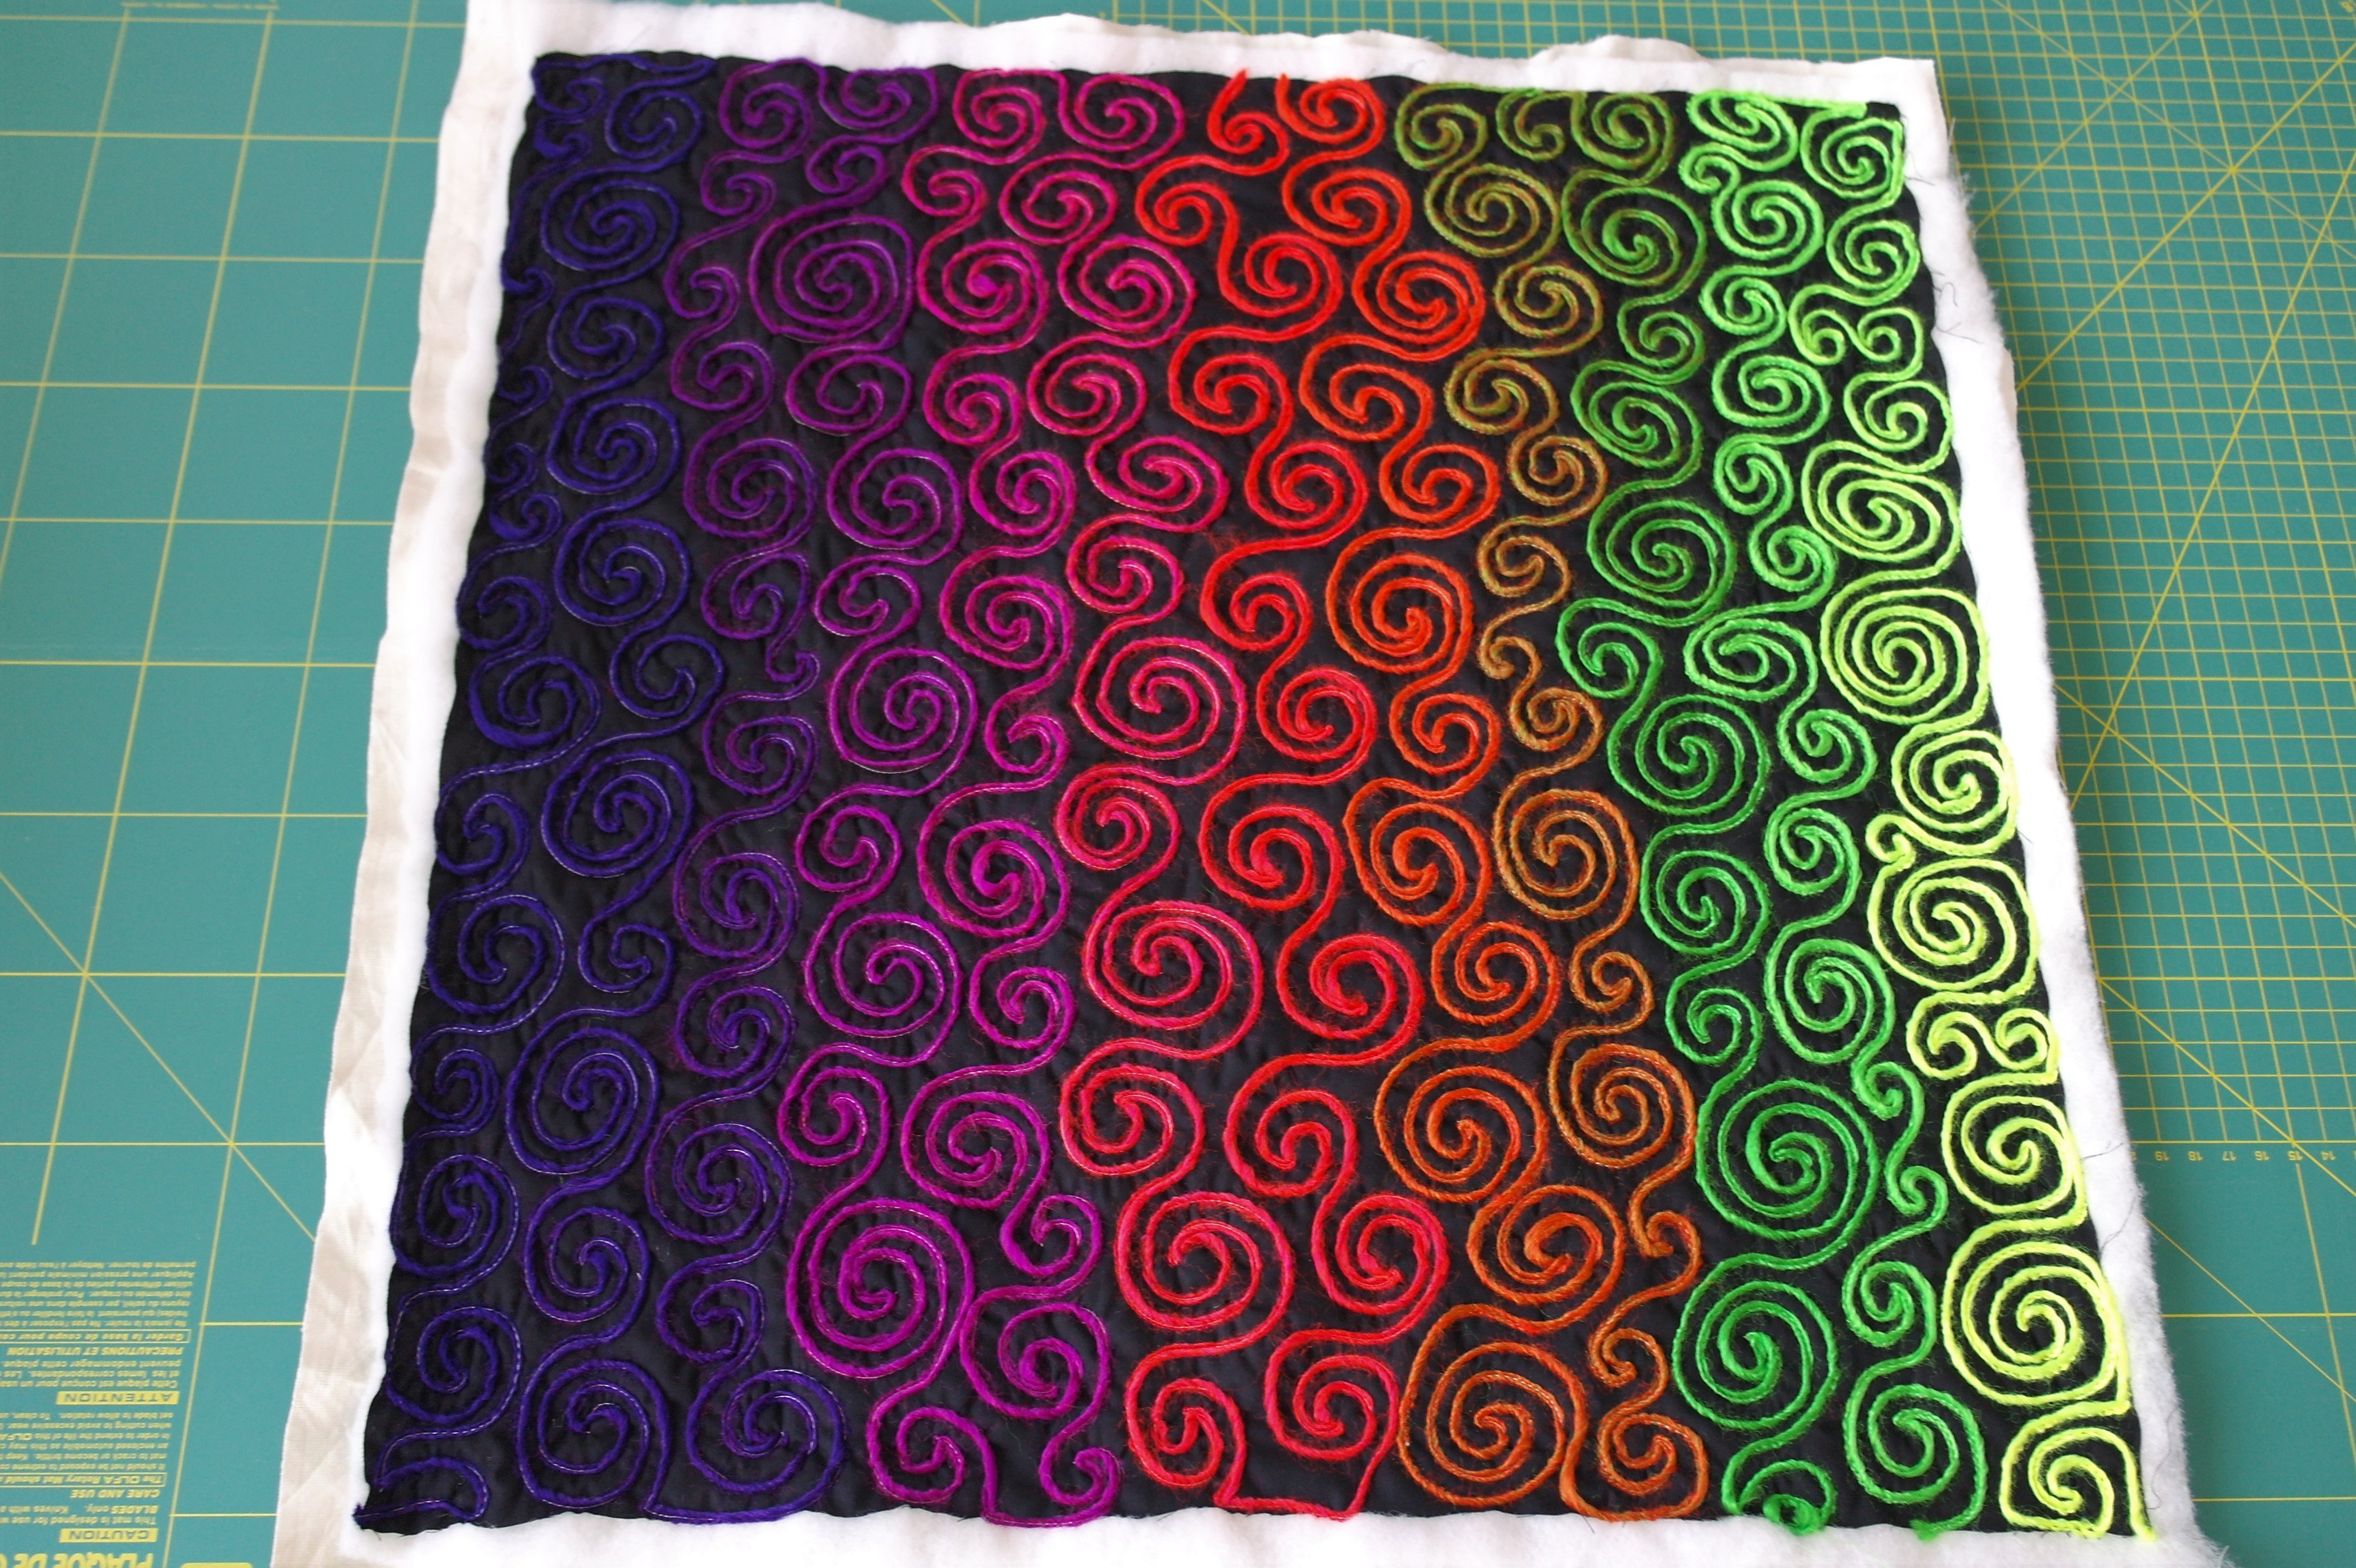
I’ve totally covered the front/black fabric with the yarn/spirals: isn’t it colorful? (the colors are brighter than they appear on the picture). The sandwich will be cut after I’ve made the back of the pillow case.
From this moment on I’ve worked with the Reverse pattern foot 1D because of the thickness of the material: then I can use the Dual Feed of the machine. The feed dogs have to be raised again.
I’ve ironed the remaining black batik, to remove the fabric fold. I’ve cut this large piece at a width of 48 cm, and left the length as it was. Folded the fabric length wise, double: cut on the fold to get two pieces of the same size. I’ve made a seam at both pieces, and placed them one over the other, untill the total of both pieces measured 48x48cm: this way an overlap is formed for the opening of the back of the pillow case. I’ve sewn them at both sides, at aprox. 1/8 inch from the side of the fabric, just to keep them together. After this I’ve placed this new piece of 48x48cm on top of the sandwich, right sides together, and AFTER that I’ve cut the sandwich to the same size of the back of the pillow case.
I’ve stitched those pieces together with a 1/4 inch seam allowance, cut the corners, turned it through the opening at the back, pushed all four corners of the pillow case out and stitched through all layers with black sewing thread.
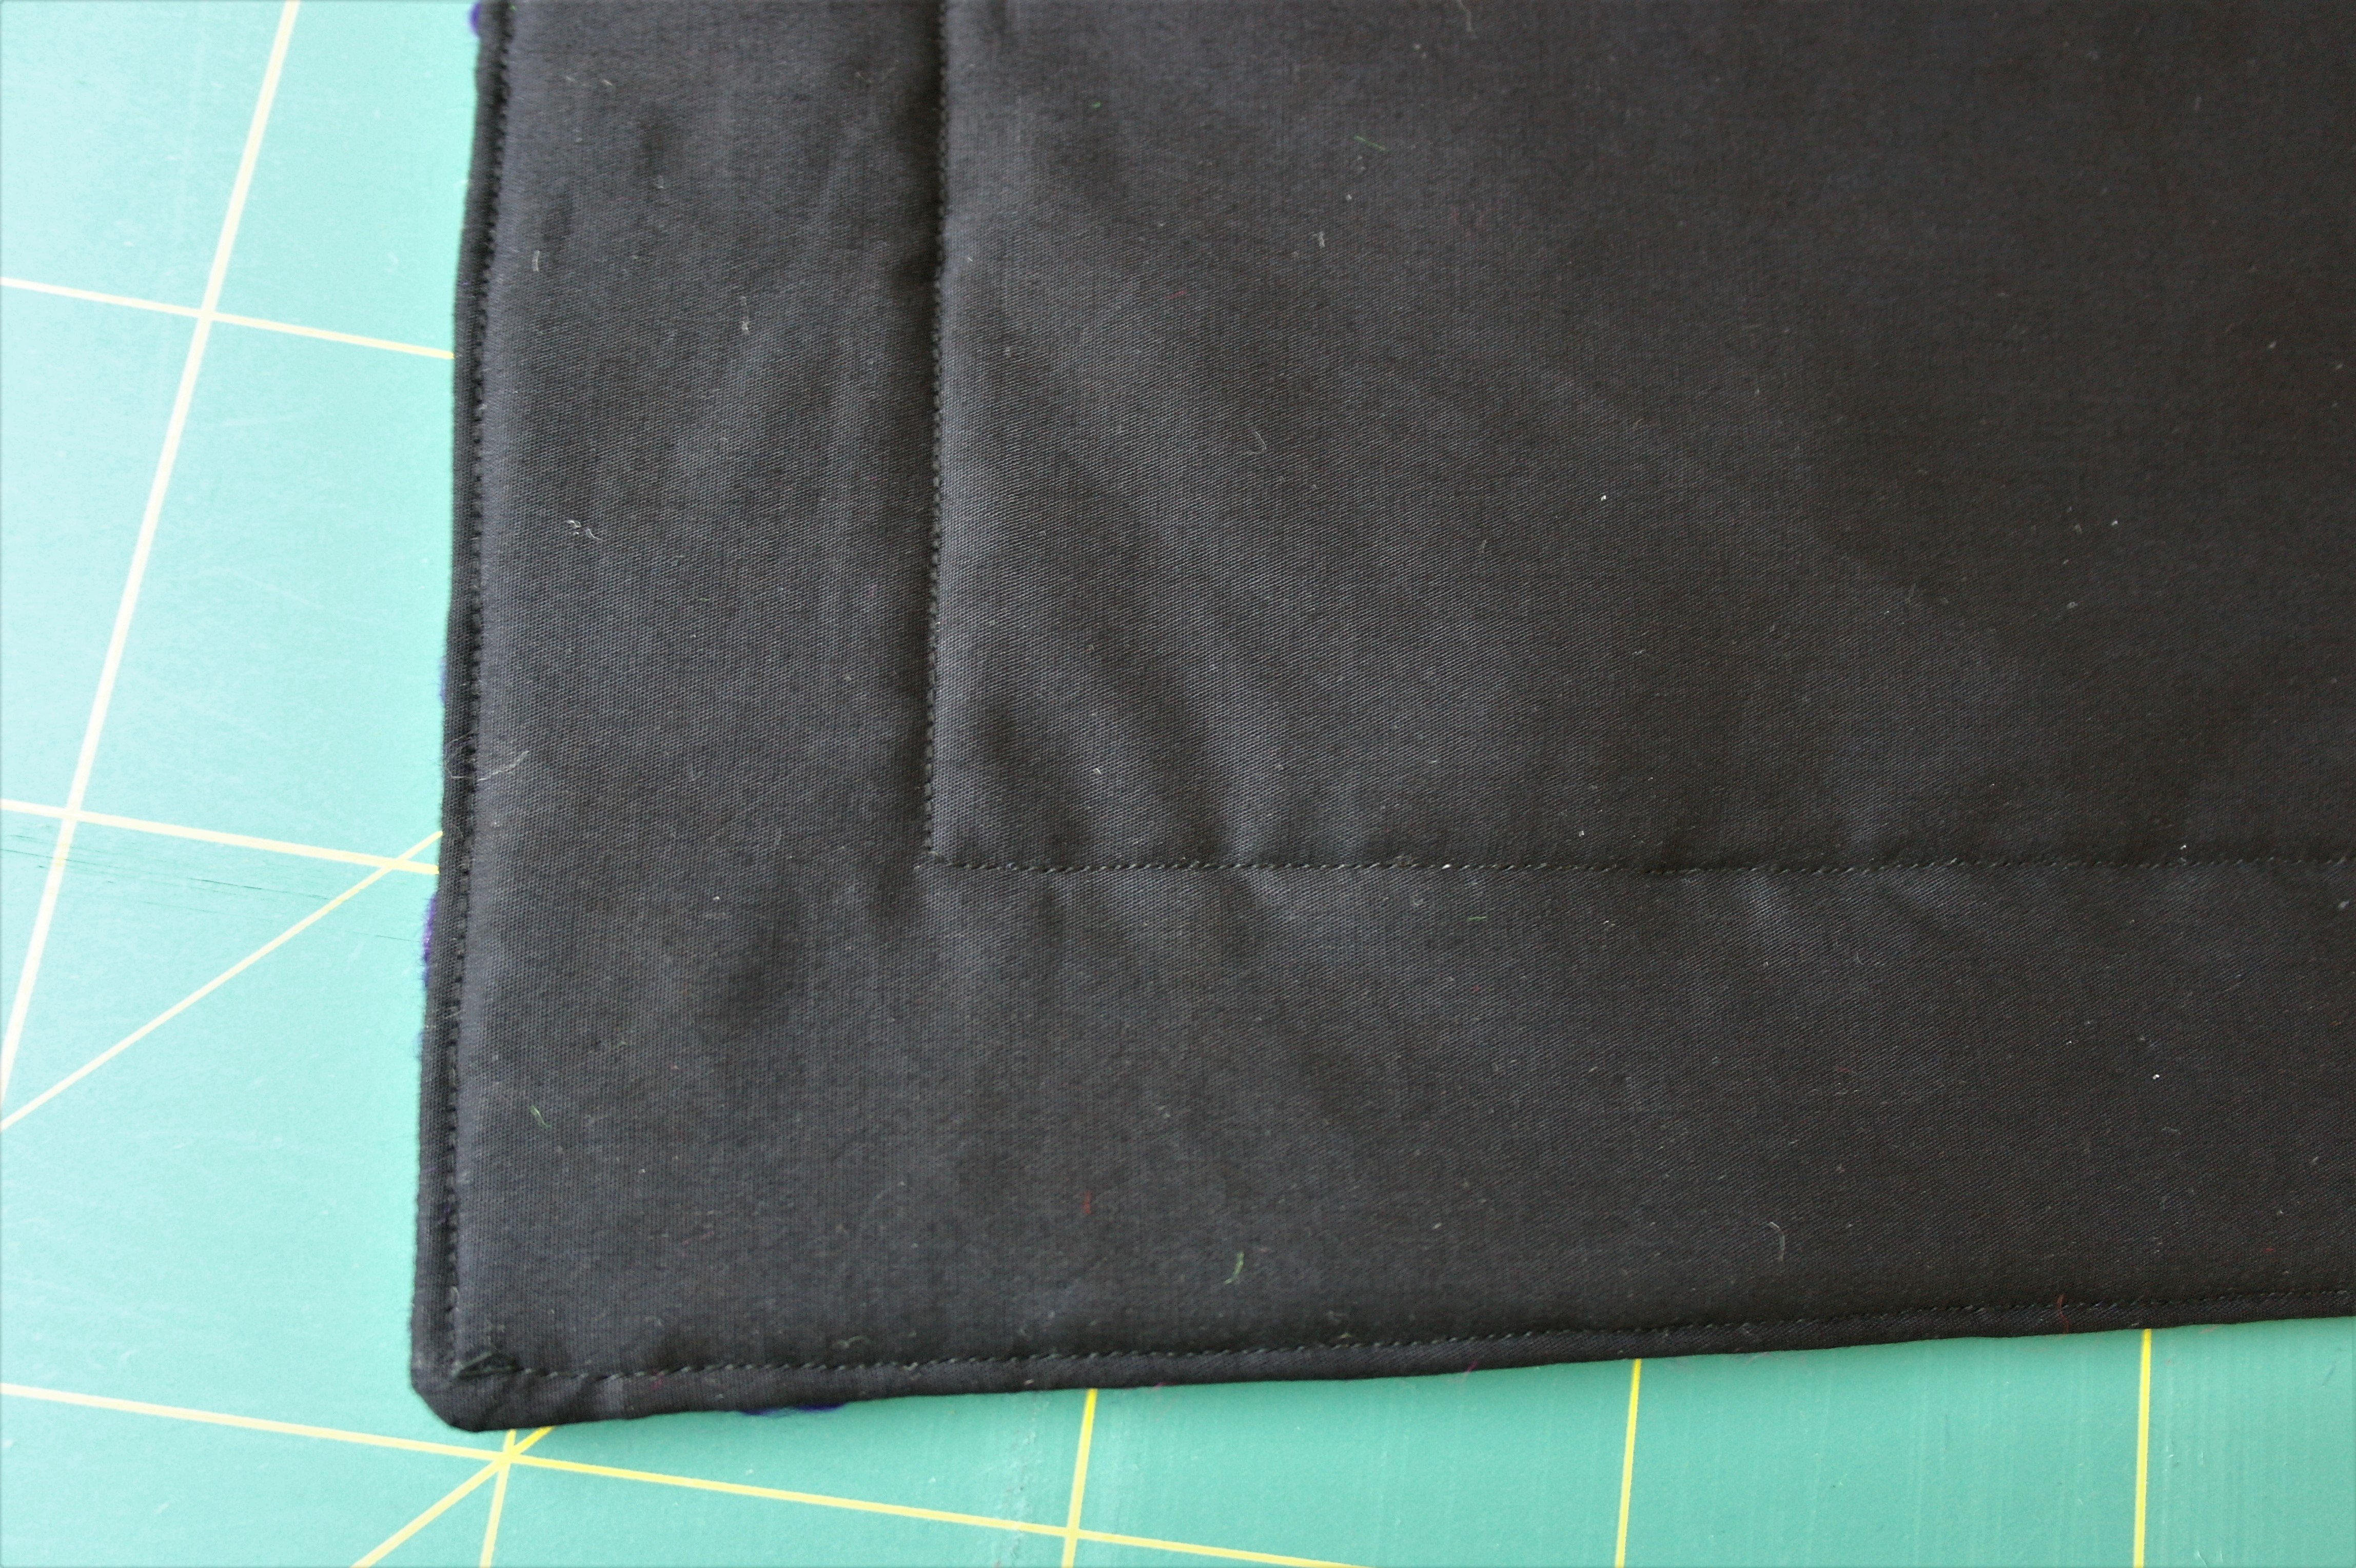
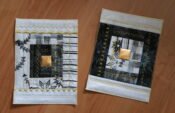
If you have calculated all measurements, you will understand that this pillow case is too large to put an inner pillow of 40x40cm in at this time. I’ve made the pillow case this big because I want a large border outside the pillow – so I’ve made another row of stitches, at 4 cm away from the sides through all layers, again with black sewing thread. You can see the result at the picture above.
And this is the front: because I’ve used a black sewing thread, and a black batik background, it almost doesn’t show. The opening at the back is now just large enough for the inner pillow.

And the pillow is ready: because of the 4 cm border, the pillow is larger and more stable to place on a couch or chair.
If you want to make such a pillow case, be creative and enjoy … I am going to the next project – see you next time!
Happy quilting,
Sylvia Kaptein
Sylvia’s Art Quilts Studio
www.sylviasartquilts.nl


0 Responses