 BERNINA Corporate Blog -
I am working a lot with the BERNINA Borduur Software DesignerPlus8. And of course do a lot of embroidy on my machine. This time I have used motifs degisned by Tula Pink – very small motifs, and one larger one, to use them for a pillow case with hexagons.
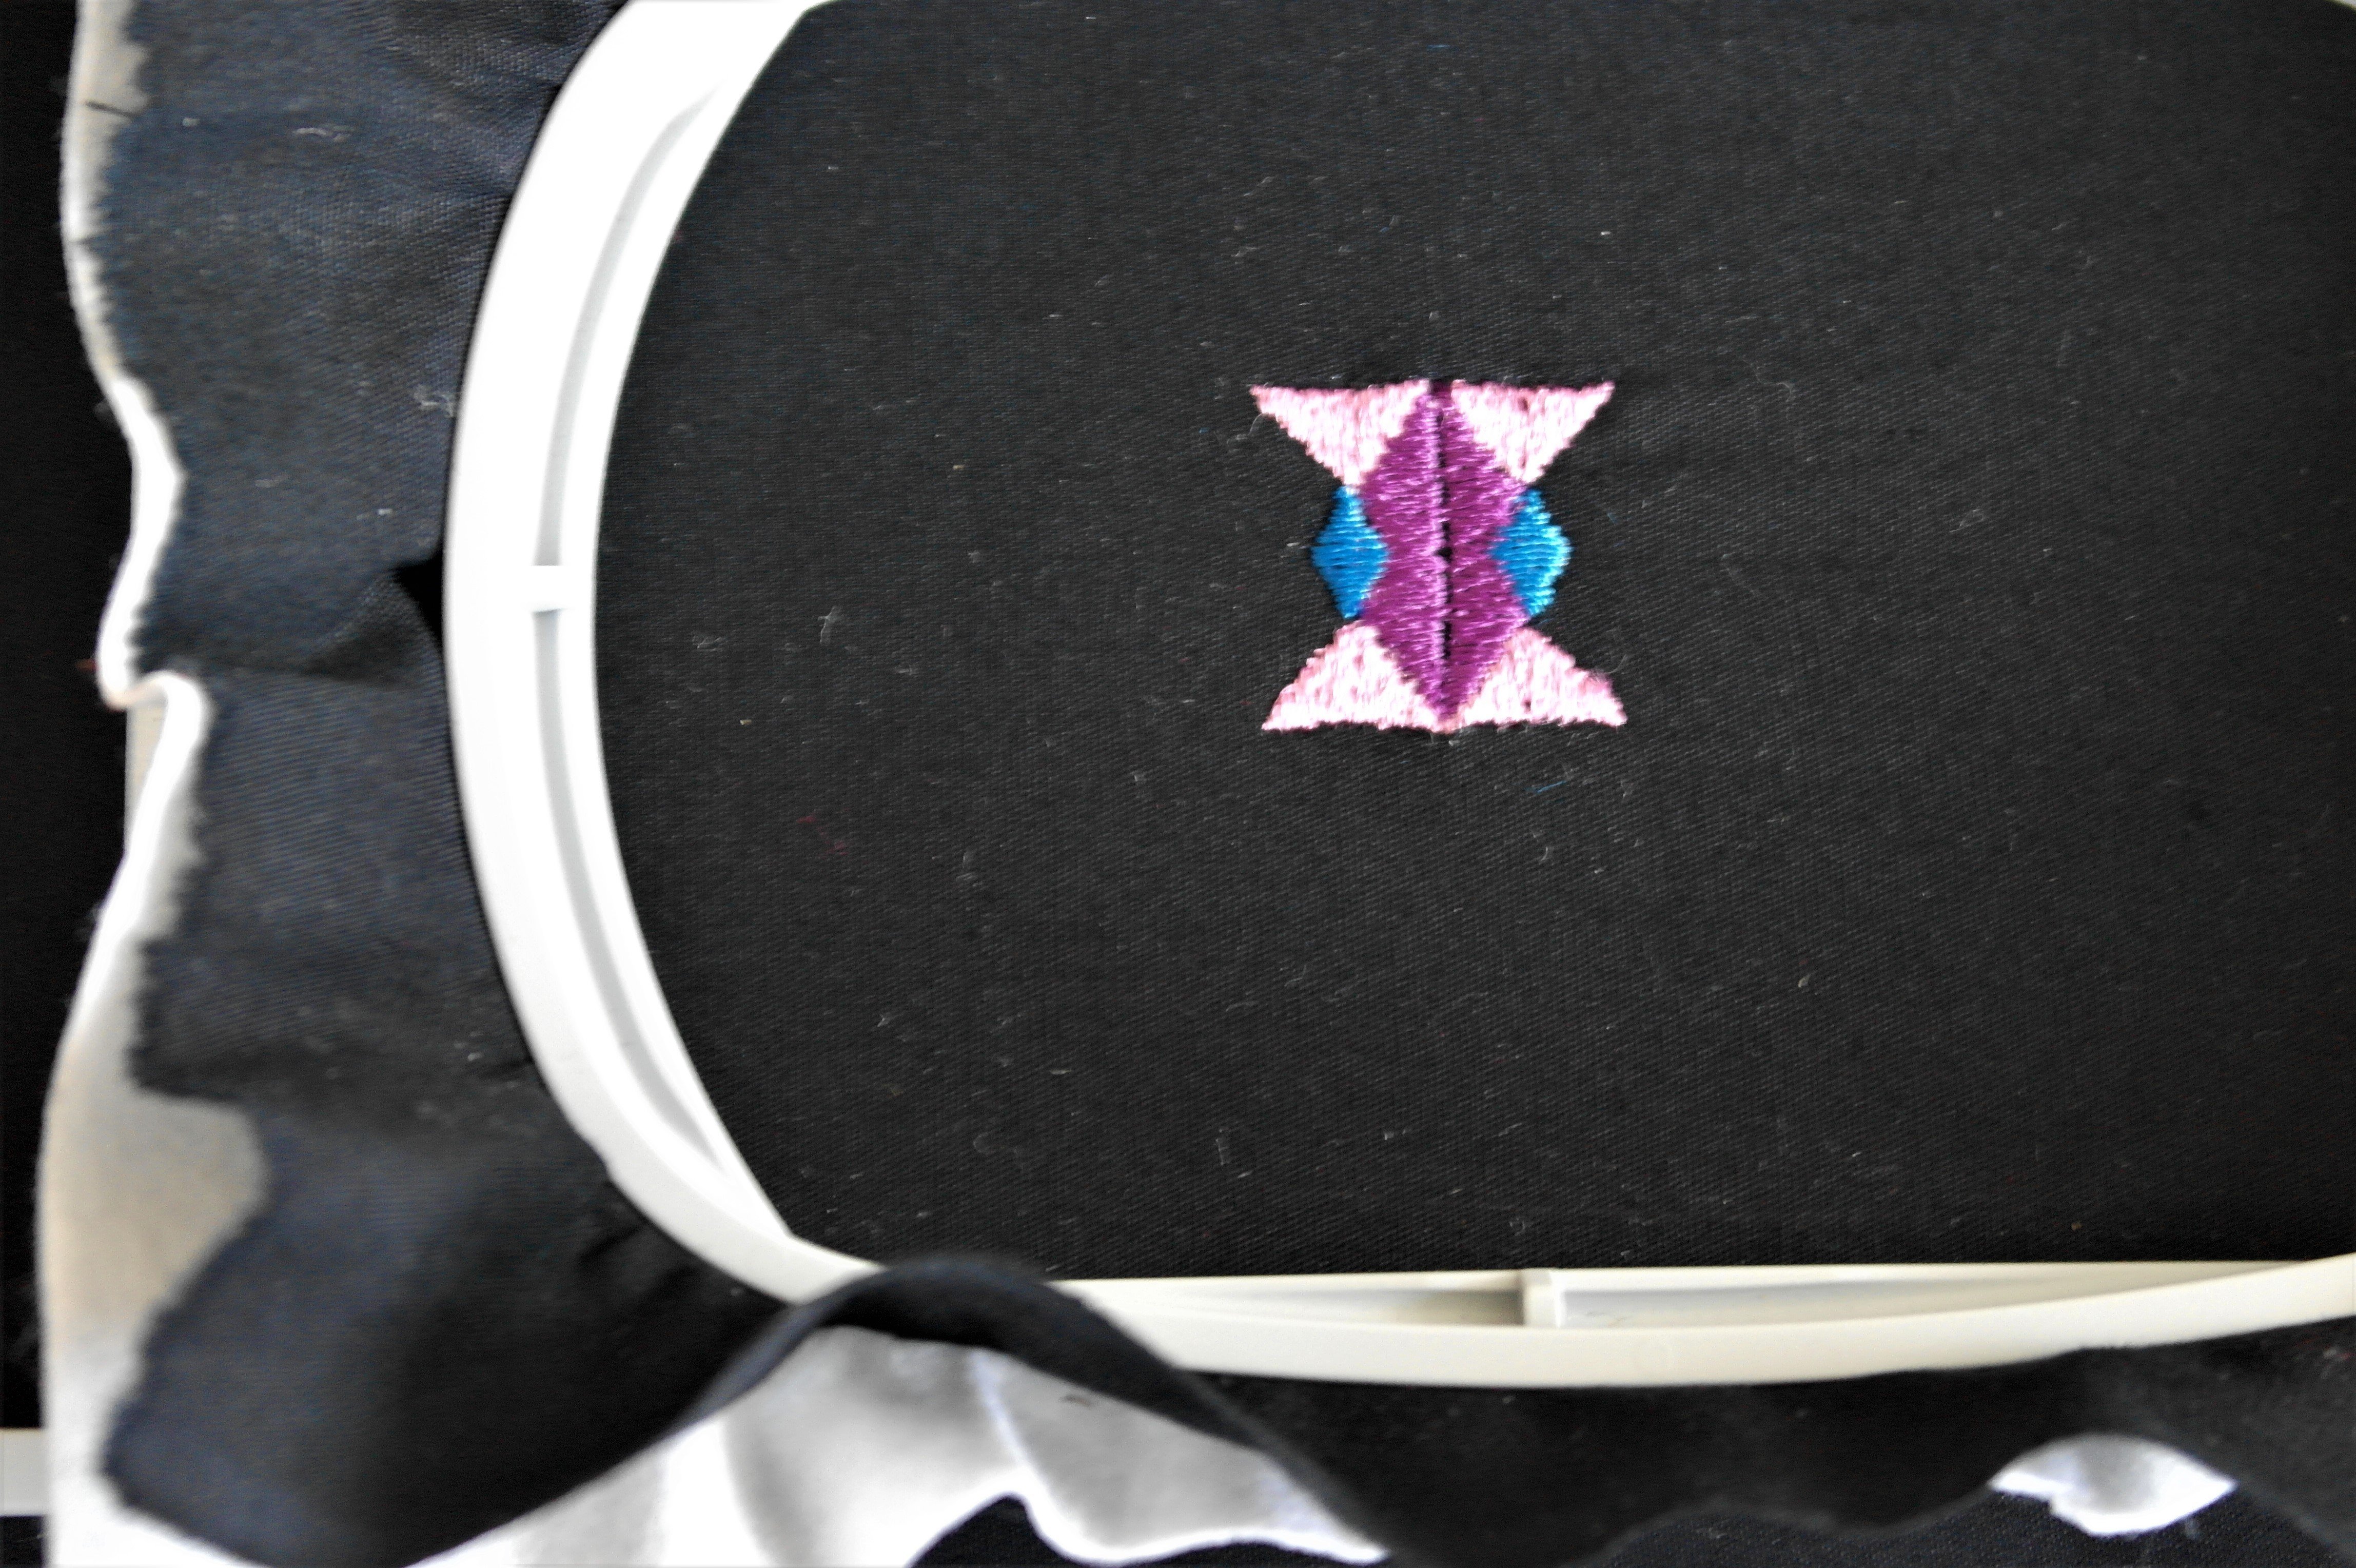
If you don’t own this Software V8, that’s ok. But if you do own an embroidery machine, or a sewing machine with embroidery module, you can make wonderful motifs, also from Tula Pink – you can find these at the Bernina Website, where you can purchase motifs and download them: make your own choise, or look for the ones I have used with this project/hexagons. You will need 12 small motifs, and 1 larger. The picture shows you that I have embroidered 1 small motif with the Small hoop, just to try it. I have done this at my BERNINA770QE. First I’ve tried the motif out with this small hoop, and after that I’ve used the Jumbo hoop to make 12 motifs at once: this saves time and energy.

I have also embroidered the snail: everything on black batik fabric. You can see the motif’s been made at the picture aboven.
After all the embroidery is done – 12 small motifs and one larger from Tula Pink – I’ve ironed all and put it aside. Time to make the hexagons. g
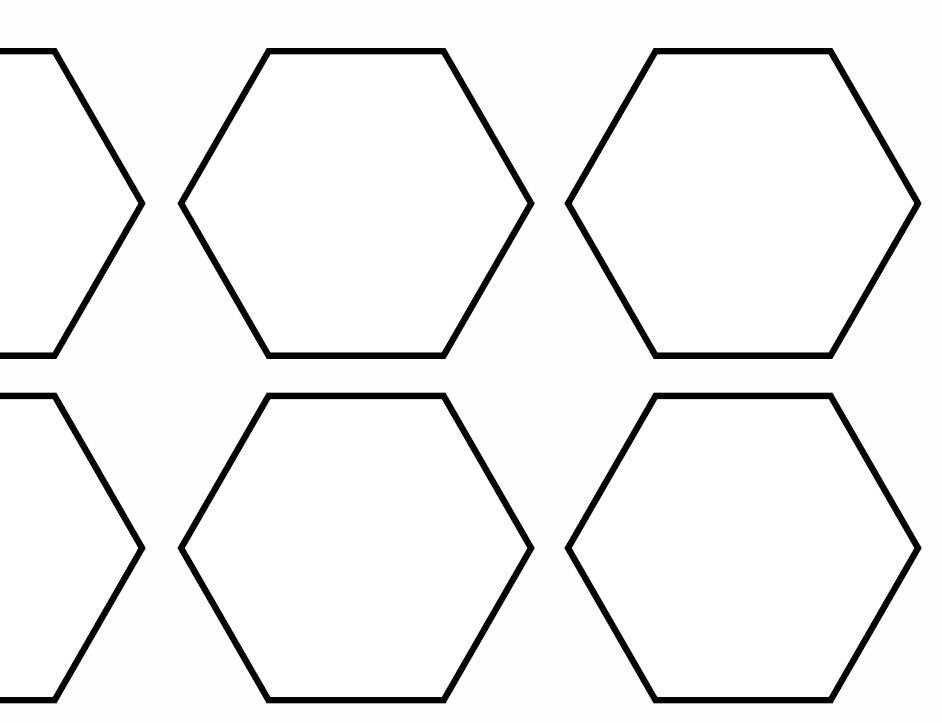
I will need hexagons, each of 2 inch: knowing the size of hexagons is by measuring one straight side: that should be 2 inch. I have printed some myself (there are many different .pdf’s available via the Internet, for free), but you can also use ready-made hexagons, which you can purchase in quilt shops.
I will cut fabrics for the hexagons from different fabrics too: I will use a bright fabric, black background and colorful dots for 12 hexagons, and also remnants from 6 batiks, which I will cut 1 of each color for the remaining hexagons.
Remember that – if you are cutting fabric for hexagons – you will need an extra 1 cm all around the paper template. I have made a new paper template which is the actual size of the hexagon and 1 cm on each side: I have used this to cut my fabric and thus be sure to have it large enough.
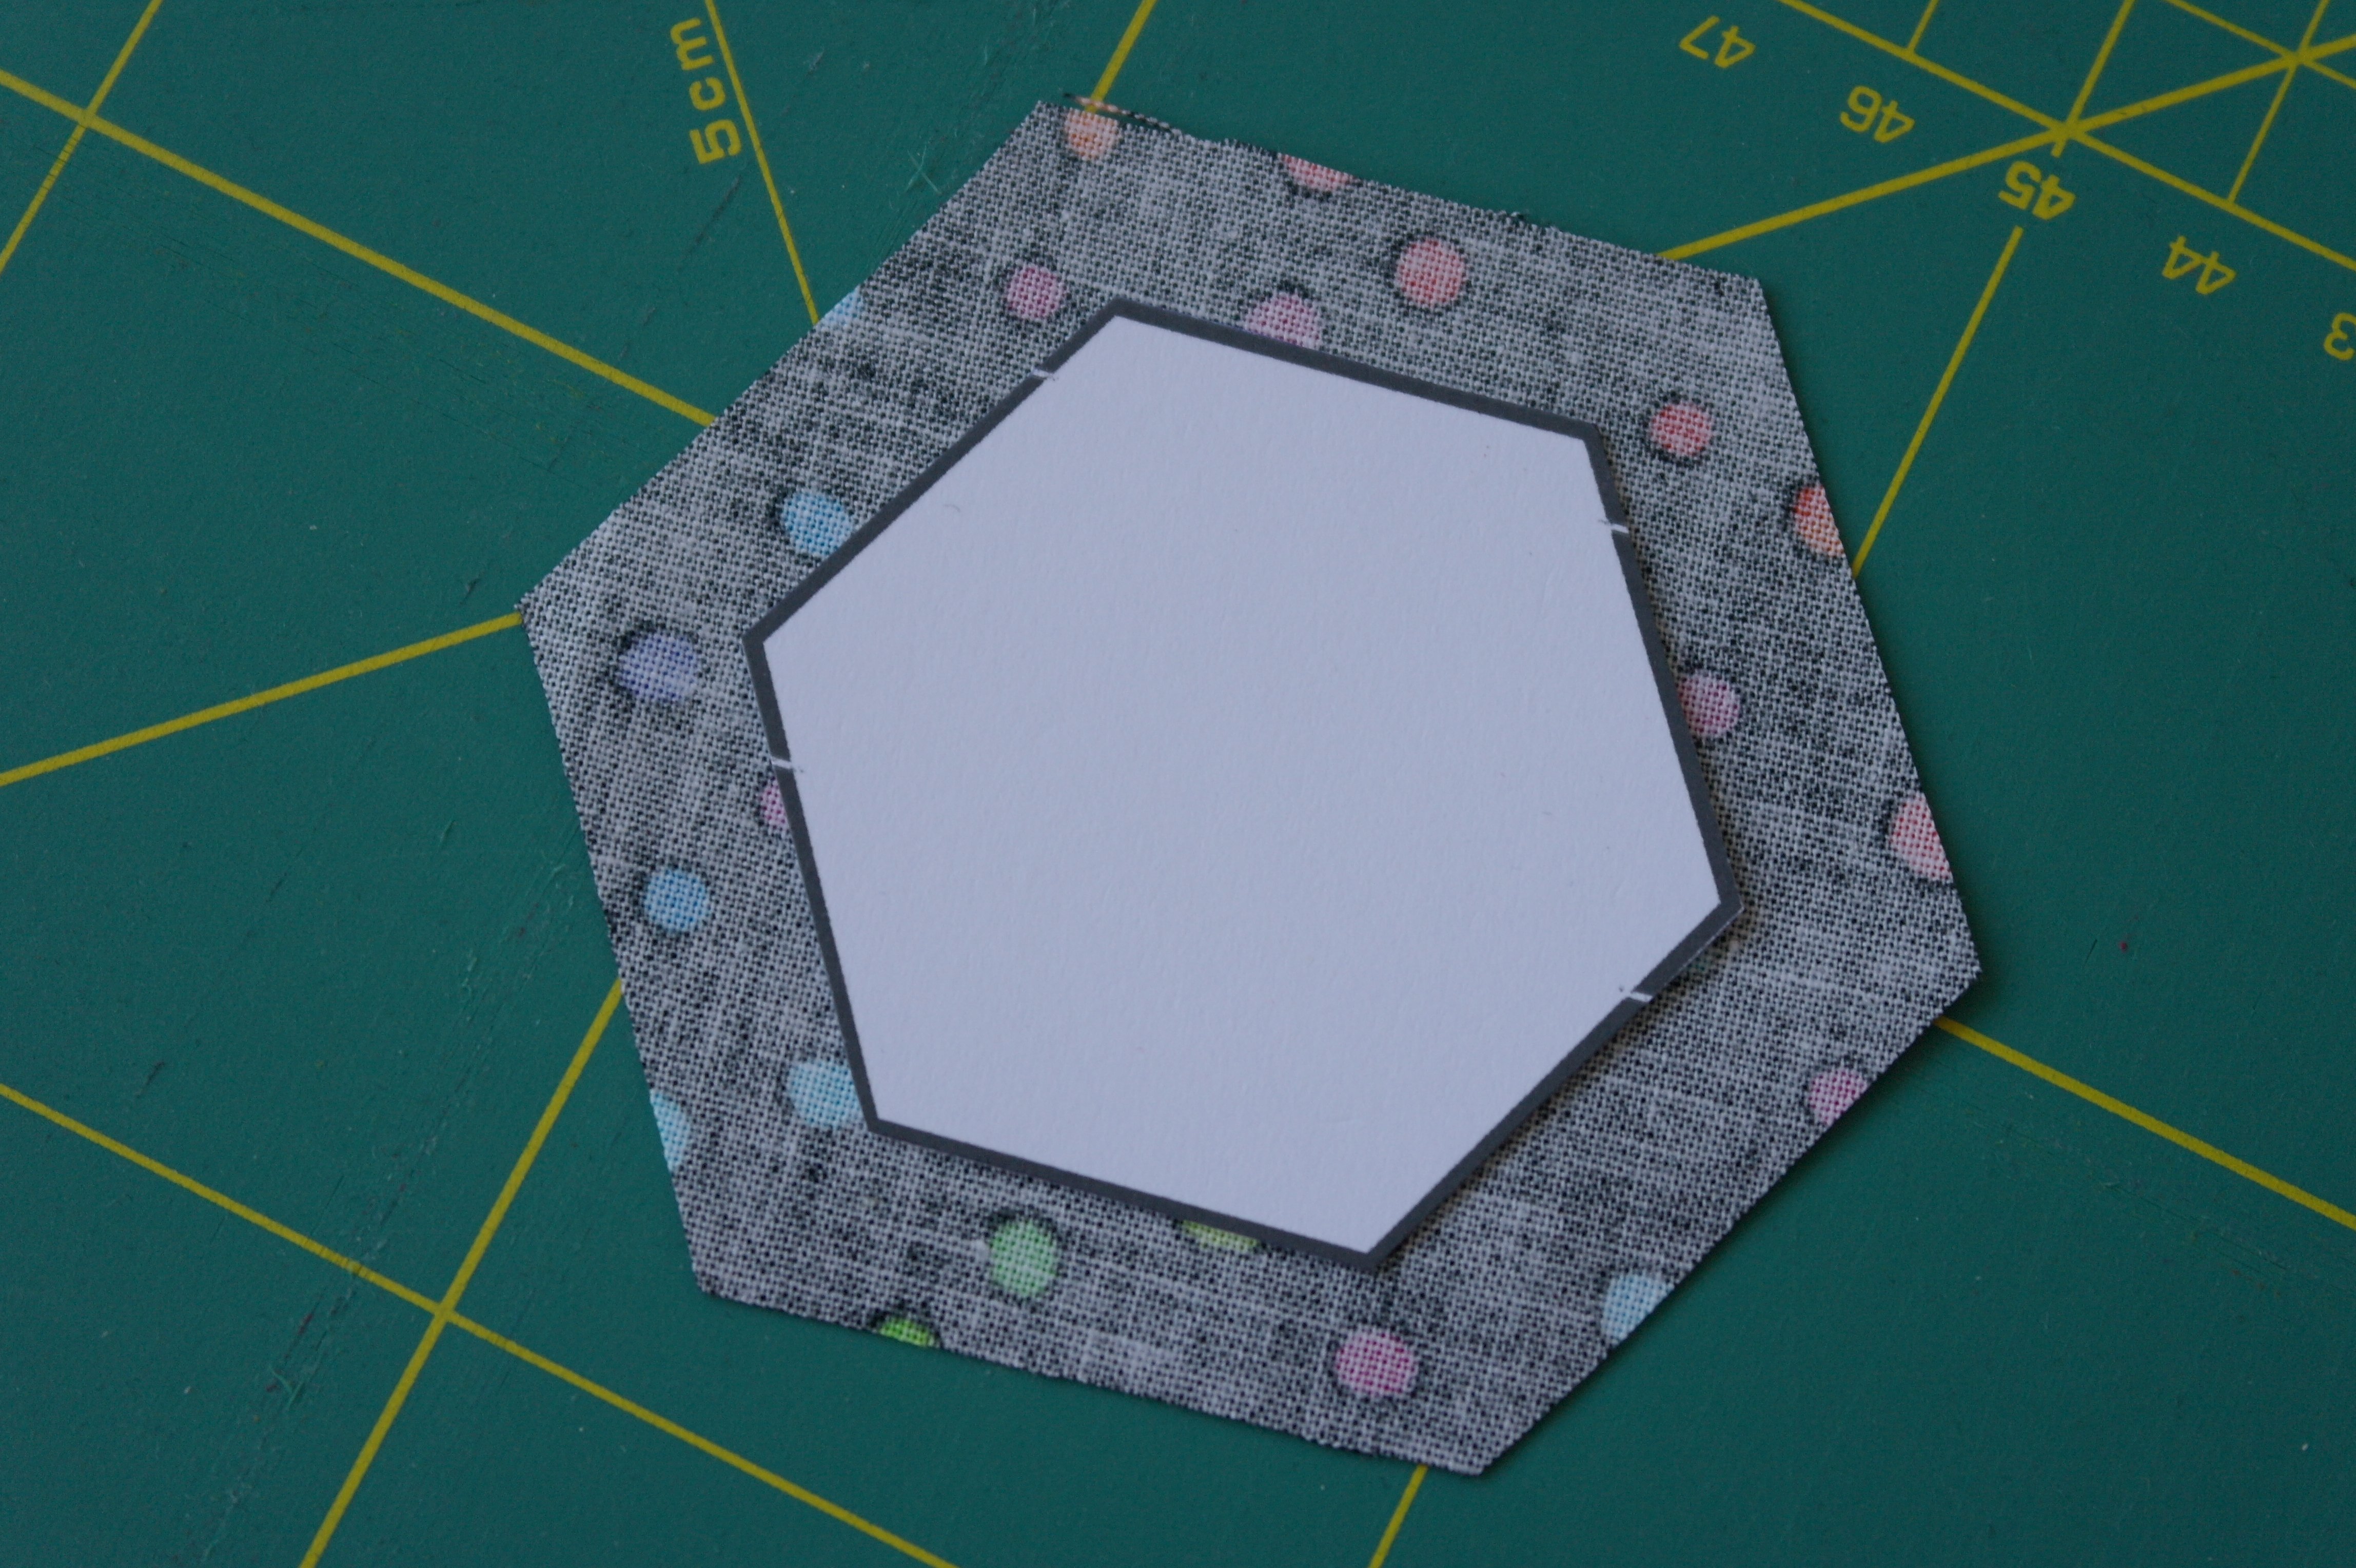
The hexagon template is placed in the centre of the fabric, on the wrong side. I have used Bohin Glue Pen to fold the seam allowance of 1 cm onto the paper, but you can also baste the fabric around the hexagon.
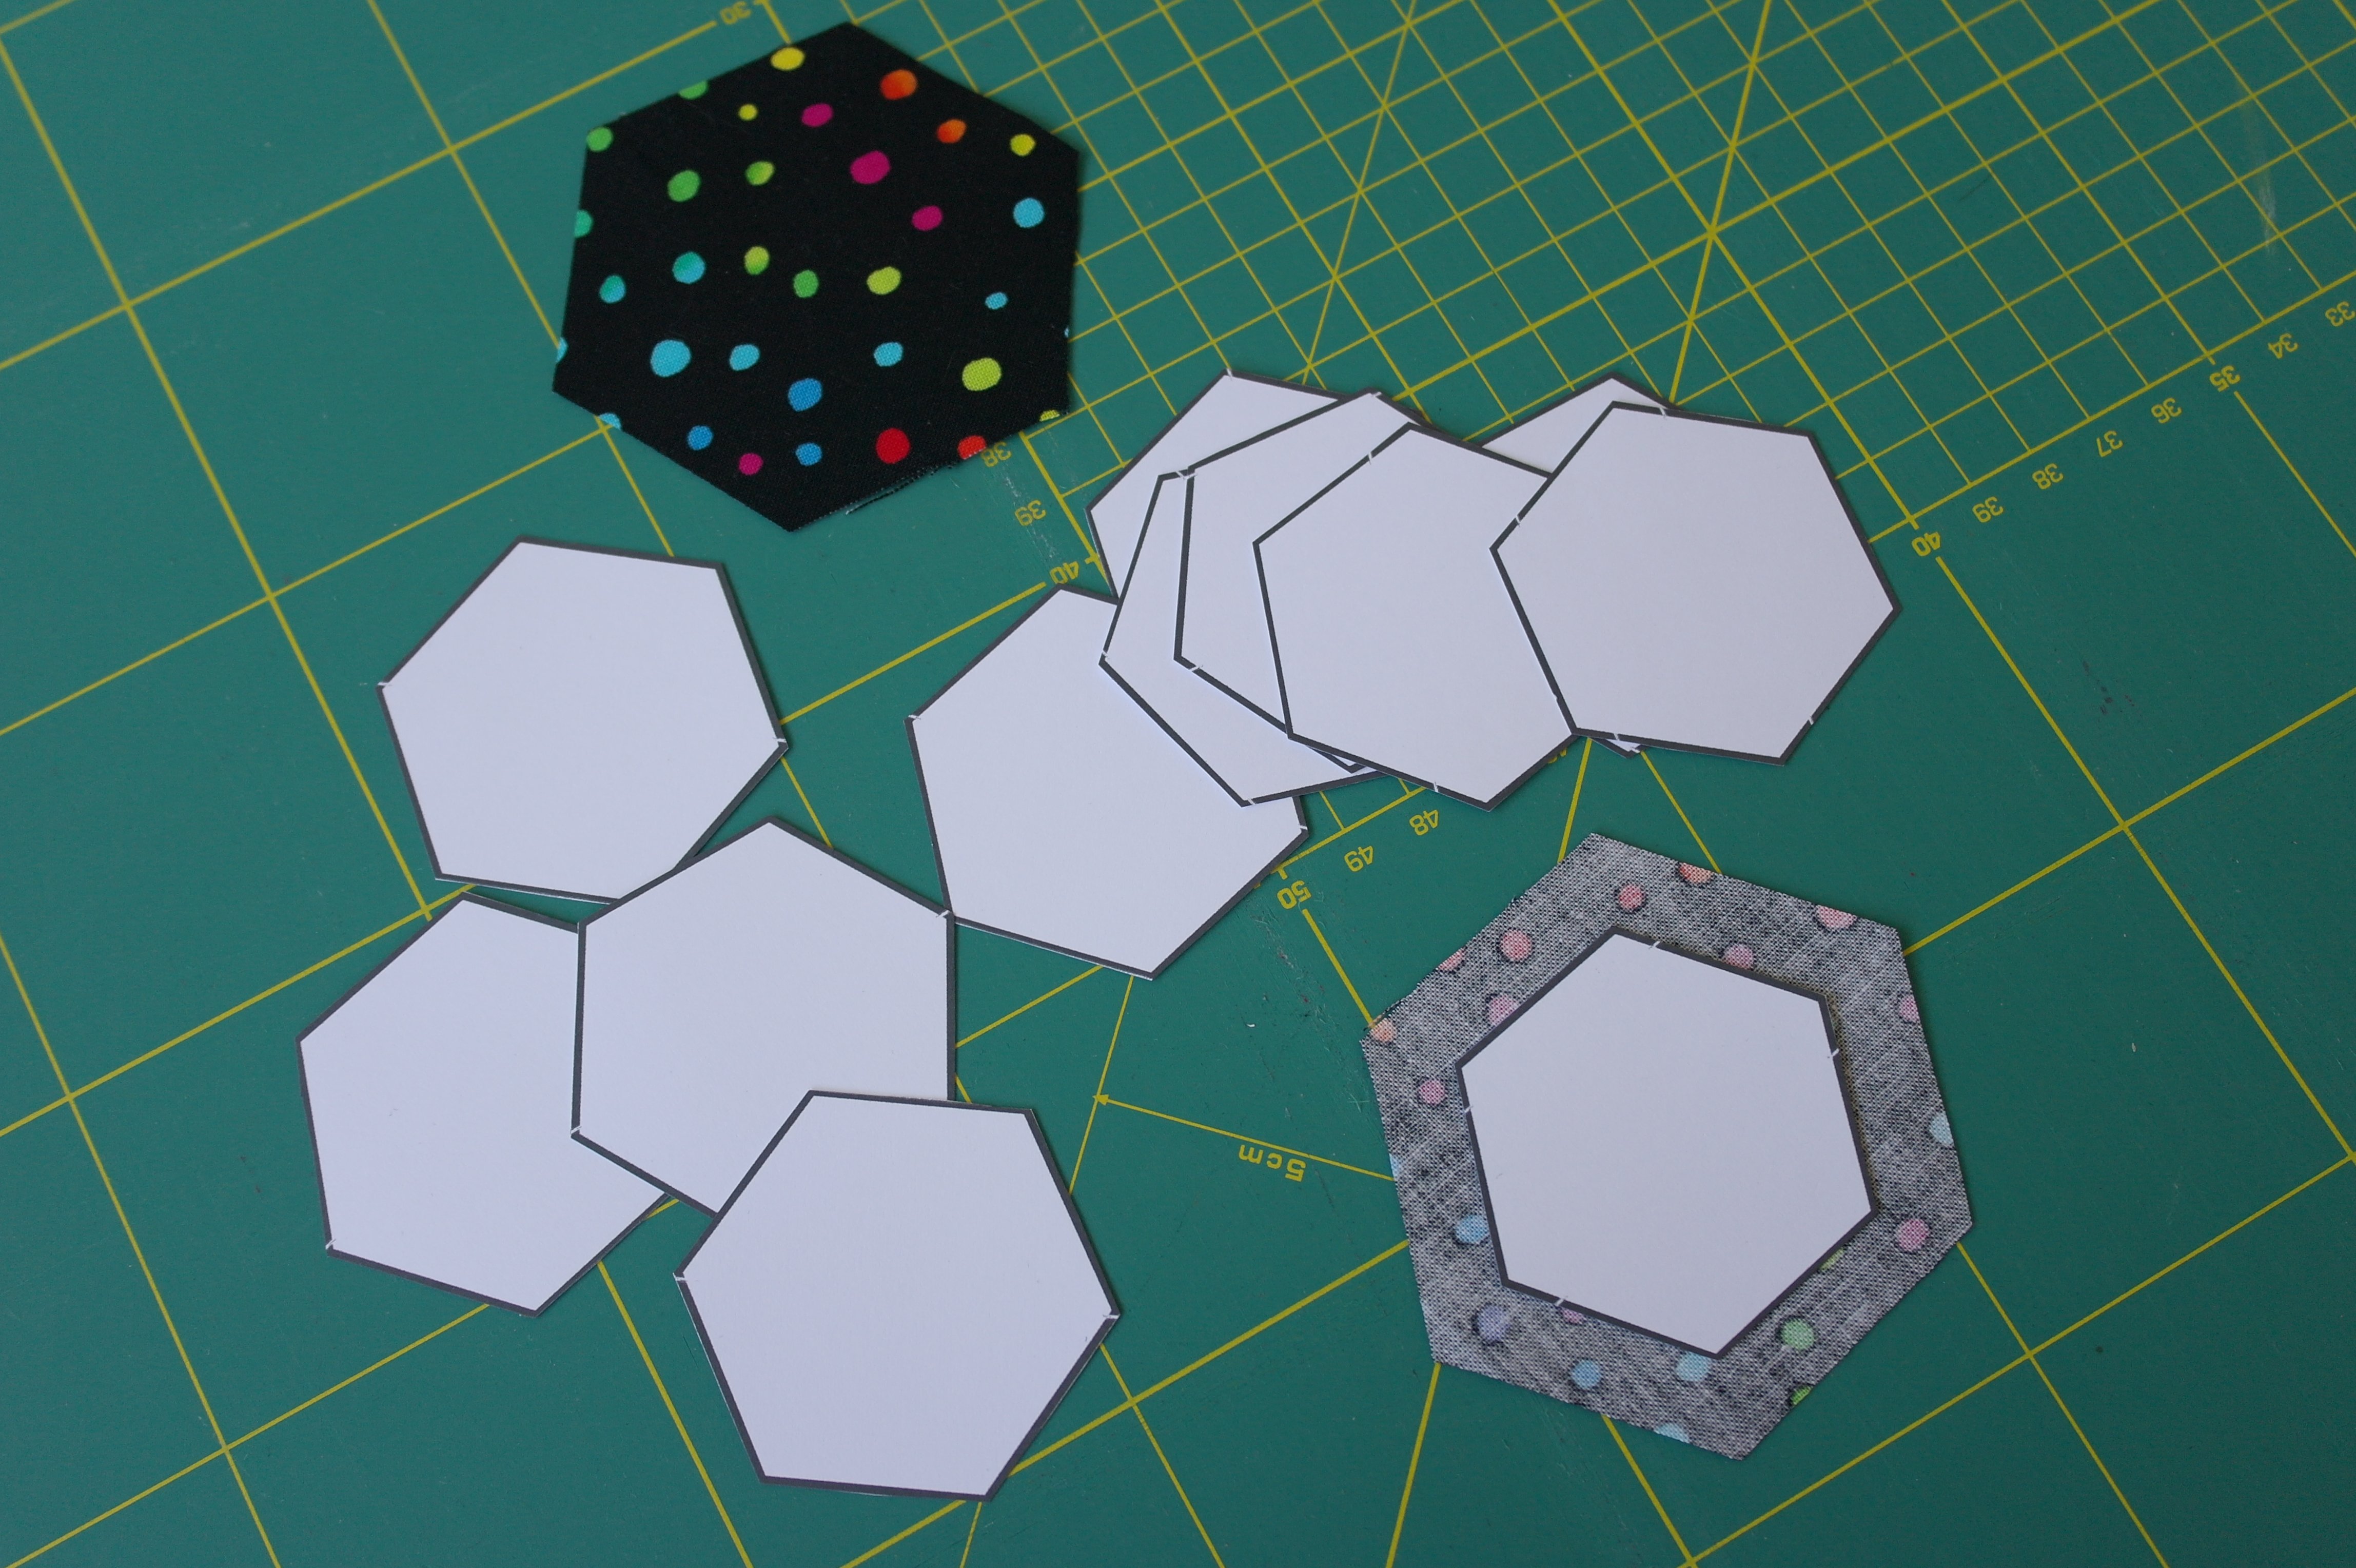
I have cut 12 hexagons with the colorful fabric.

After embroidery of the 12 small motifs of Tula Pink in the Jumbo hoop (I have calculated via the BERNINA Embroidery Software DesignerPlus8 how to place them with space between them), I have ironed the fabric with a cotton fabric on top, to protect the embroidery.
Then I have drawn lines with a white water soluble pen, using the extra large paper template with the extra seam allowance – I have tried two different ways of placement – 6 of them horizontal, and 6 on point. I didn’t cut the fabric out at this point: just wanted to see what the best way of placement was, and I have choosen to place all 12 on point. So I have removed the lines fo the six horizontal with a damp cloth, and drew ‘on point’ lines – then I have cut them all.
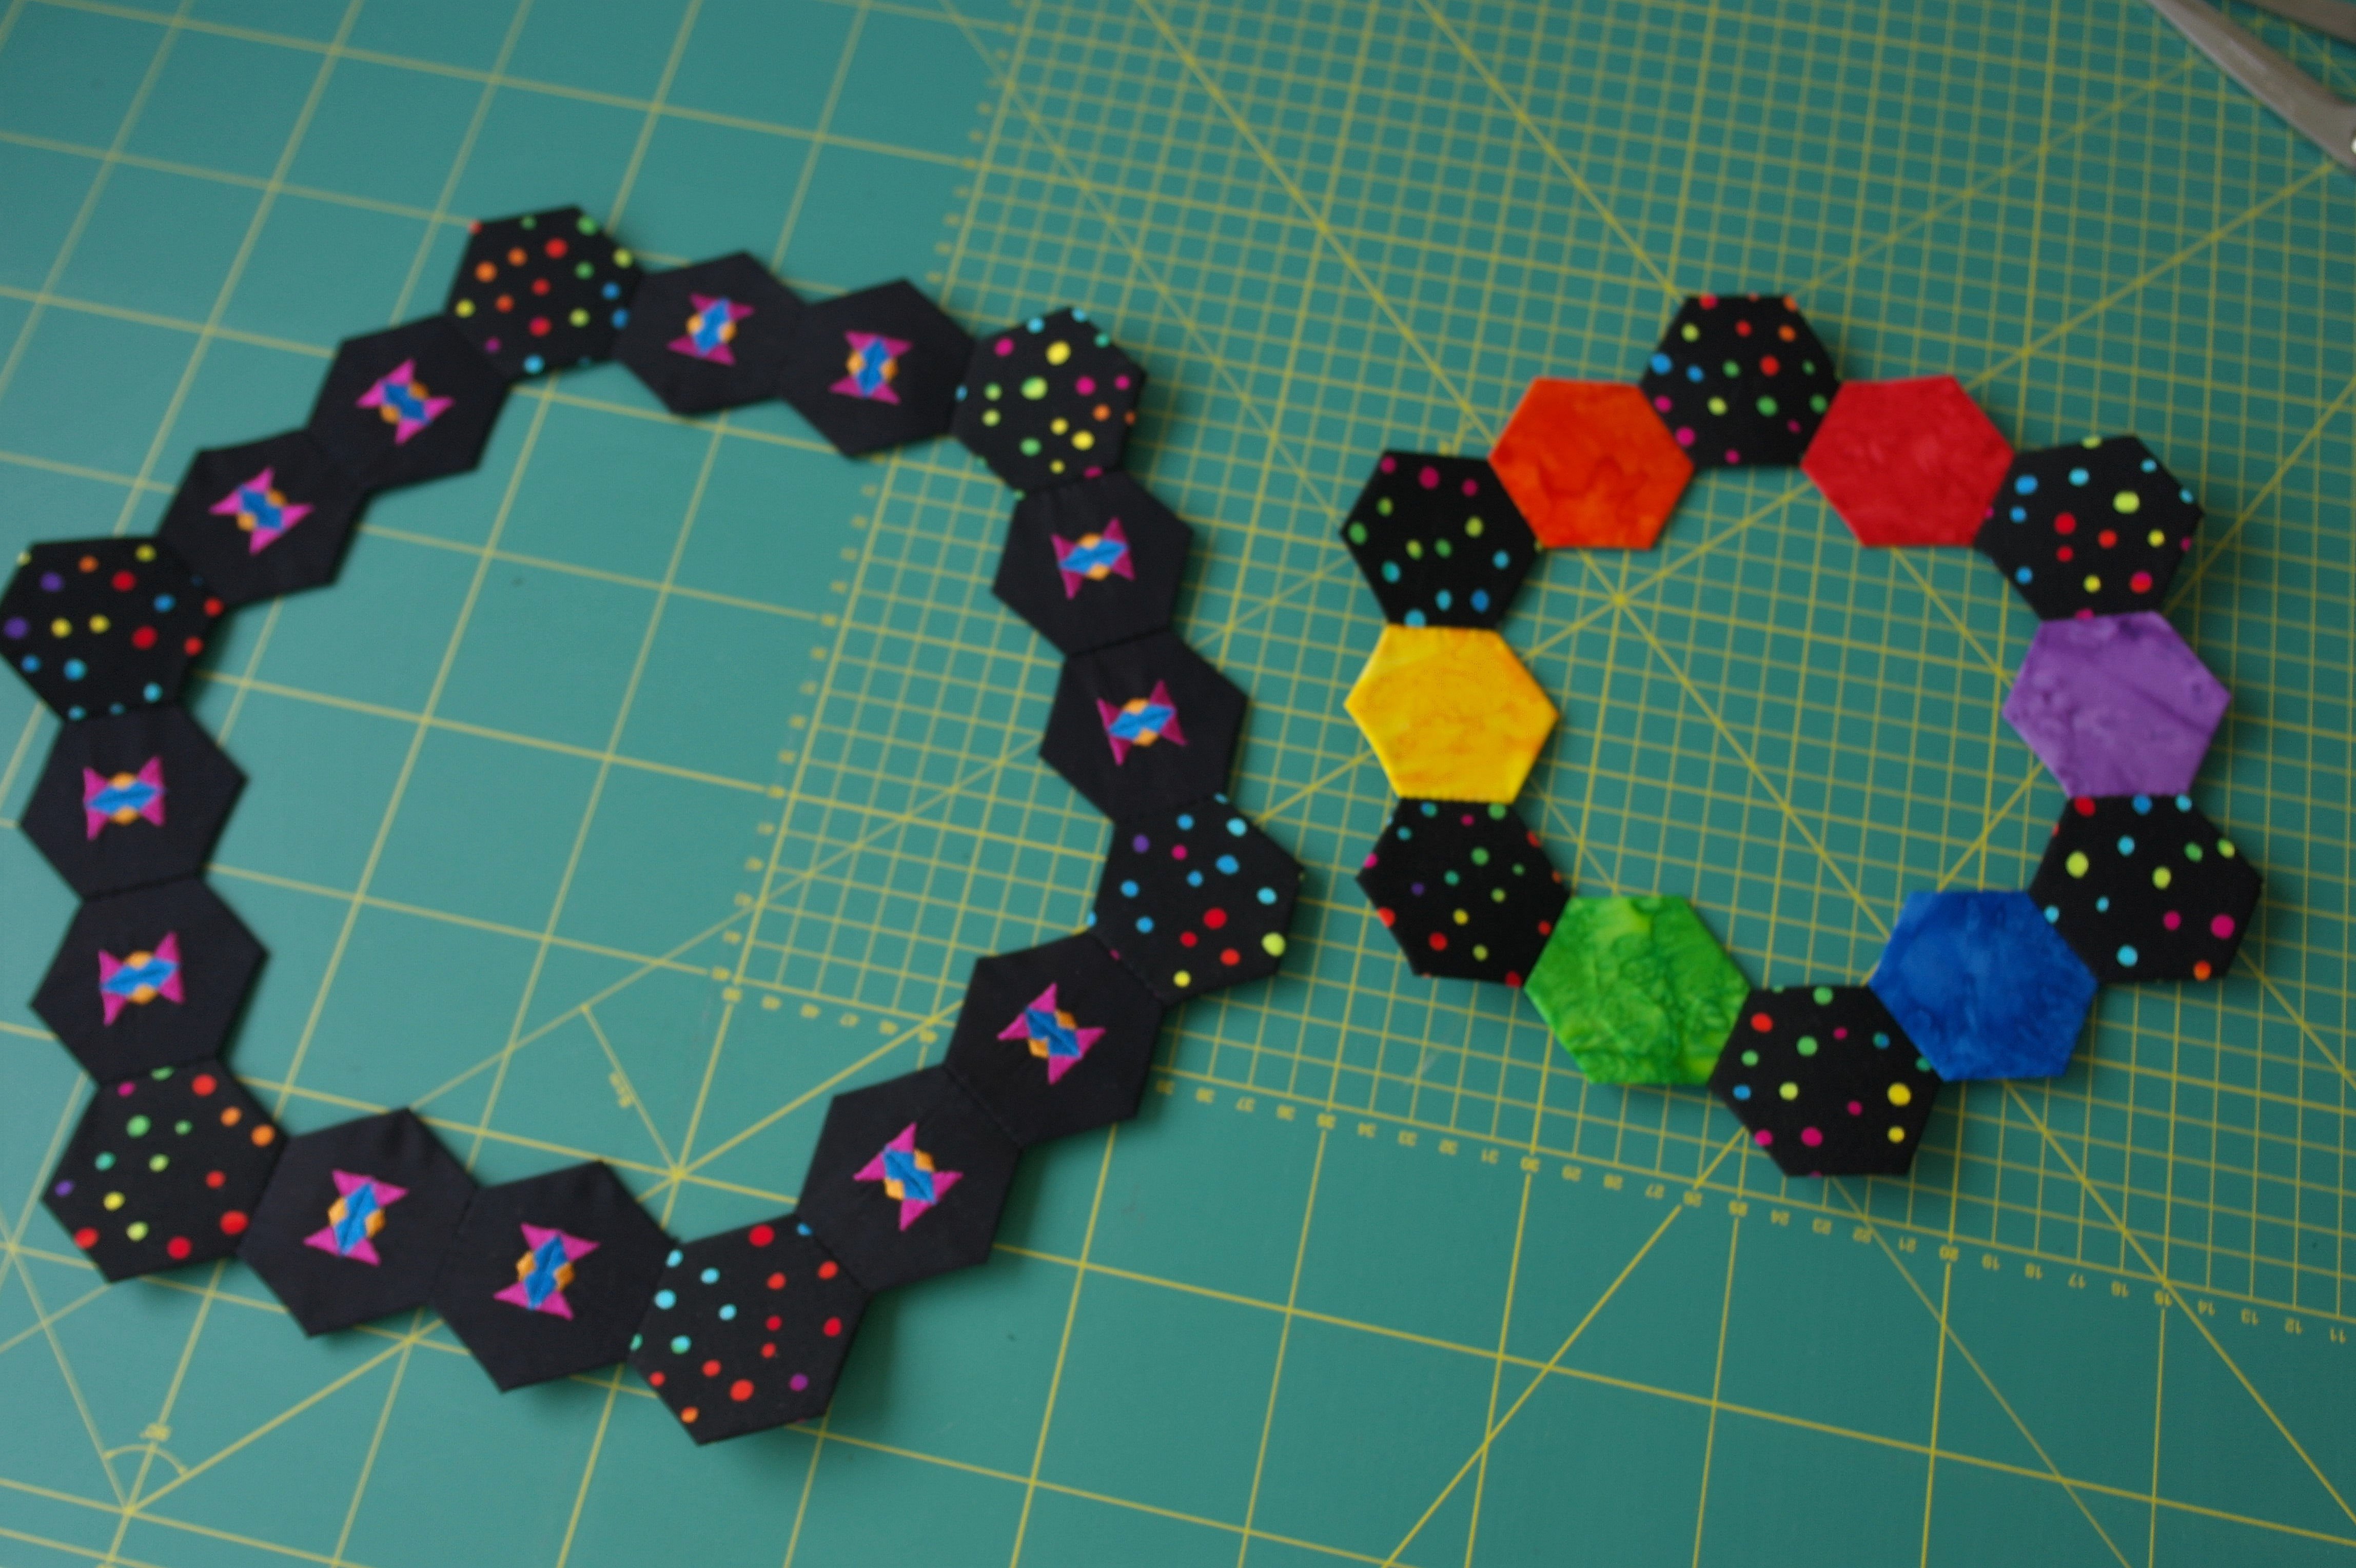
Arranged them and made two rings of hexagons: one with 12 hexagons (6 colored fabrics and 6 batiks, each one color). The other ring – larger one – is made out of 12 embroidered hexagons and 6 colored fabrics). Everything is sewn together by hand.
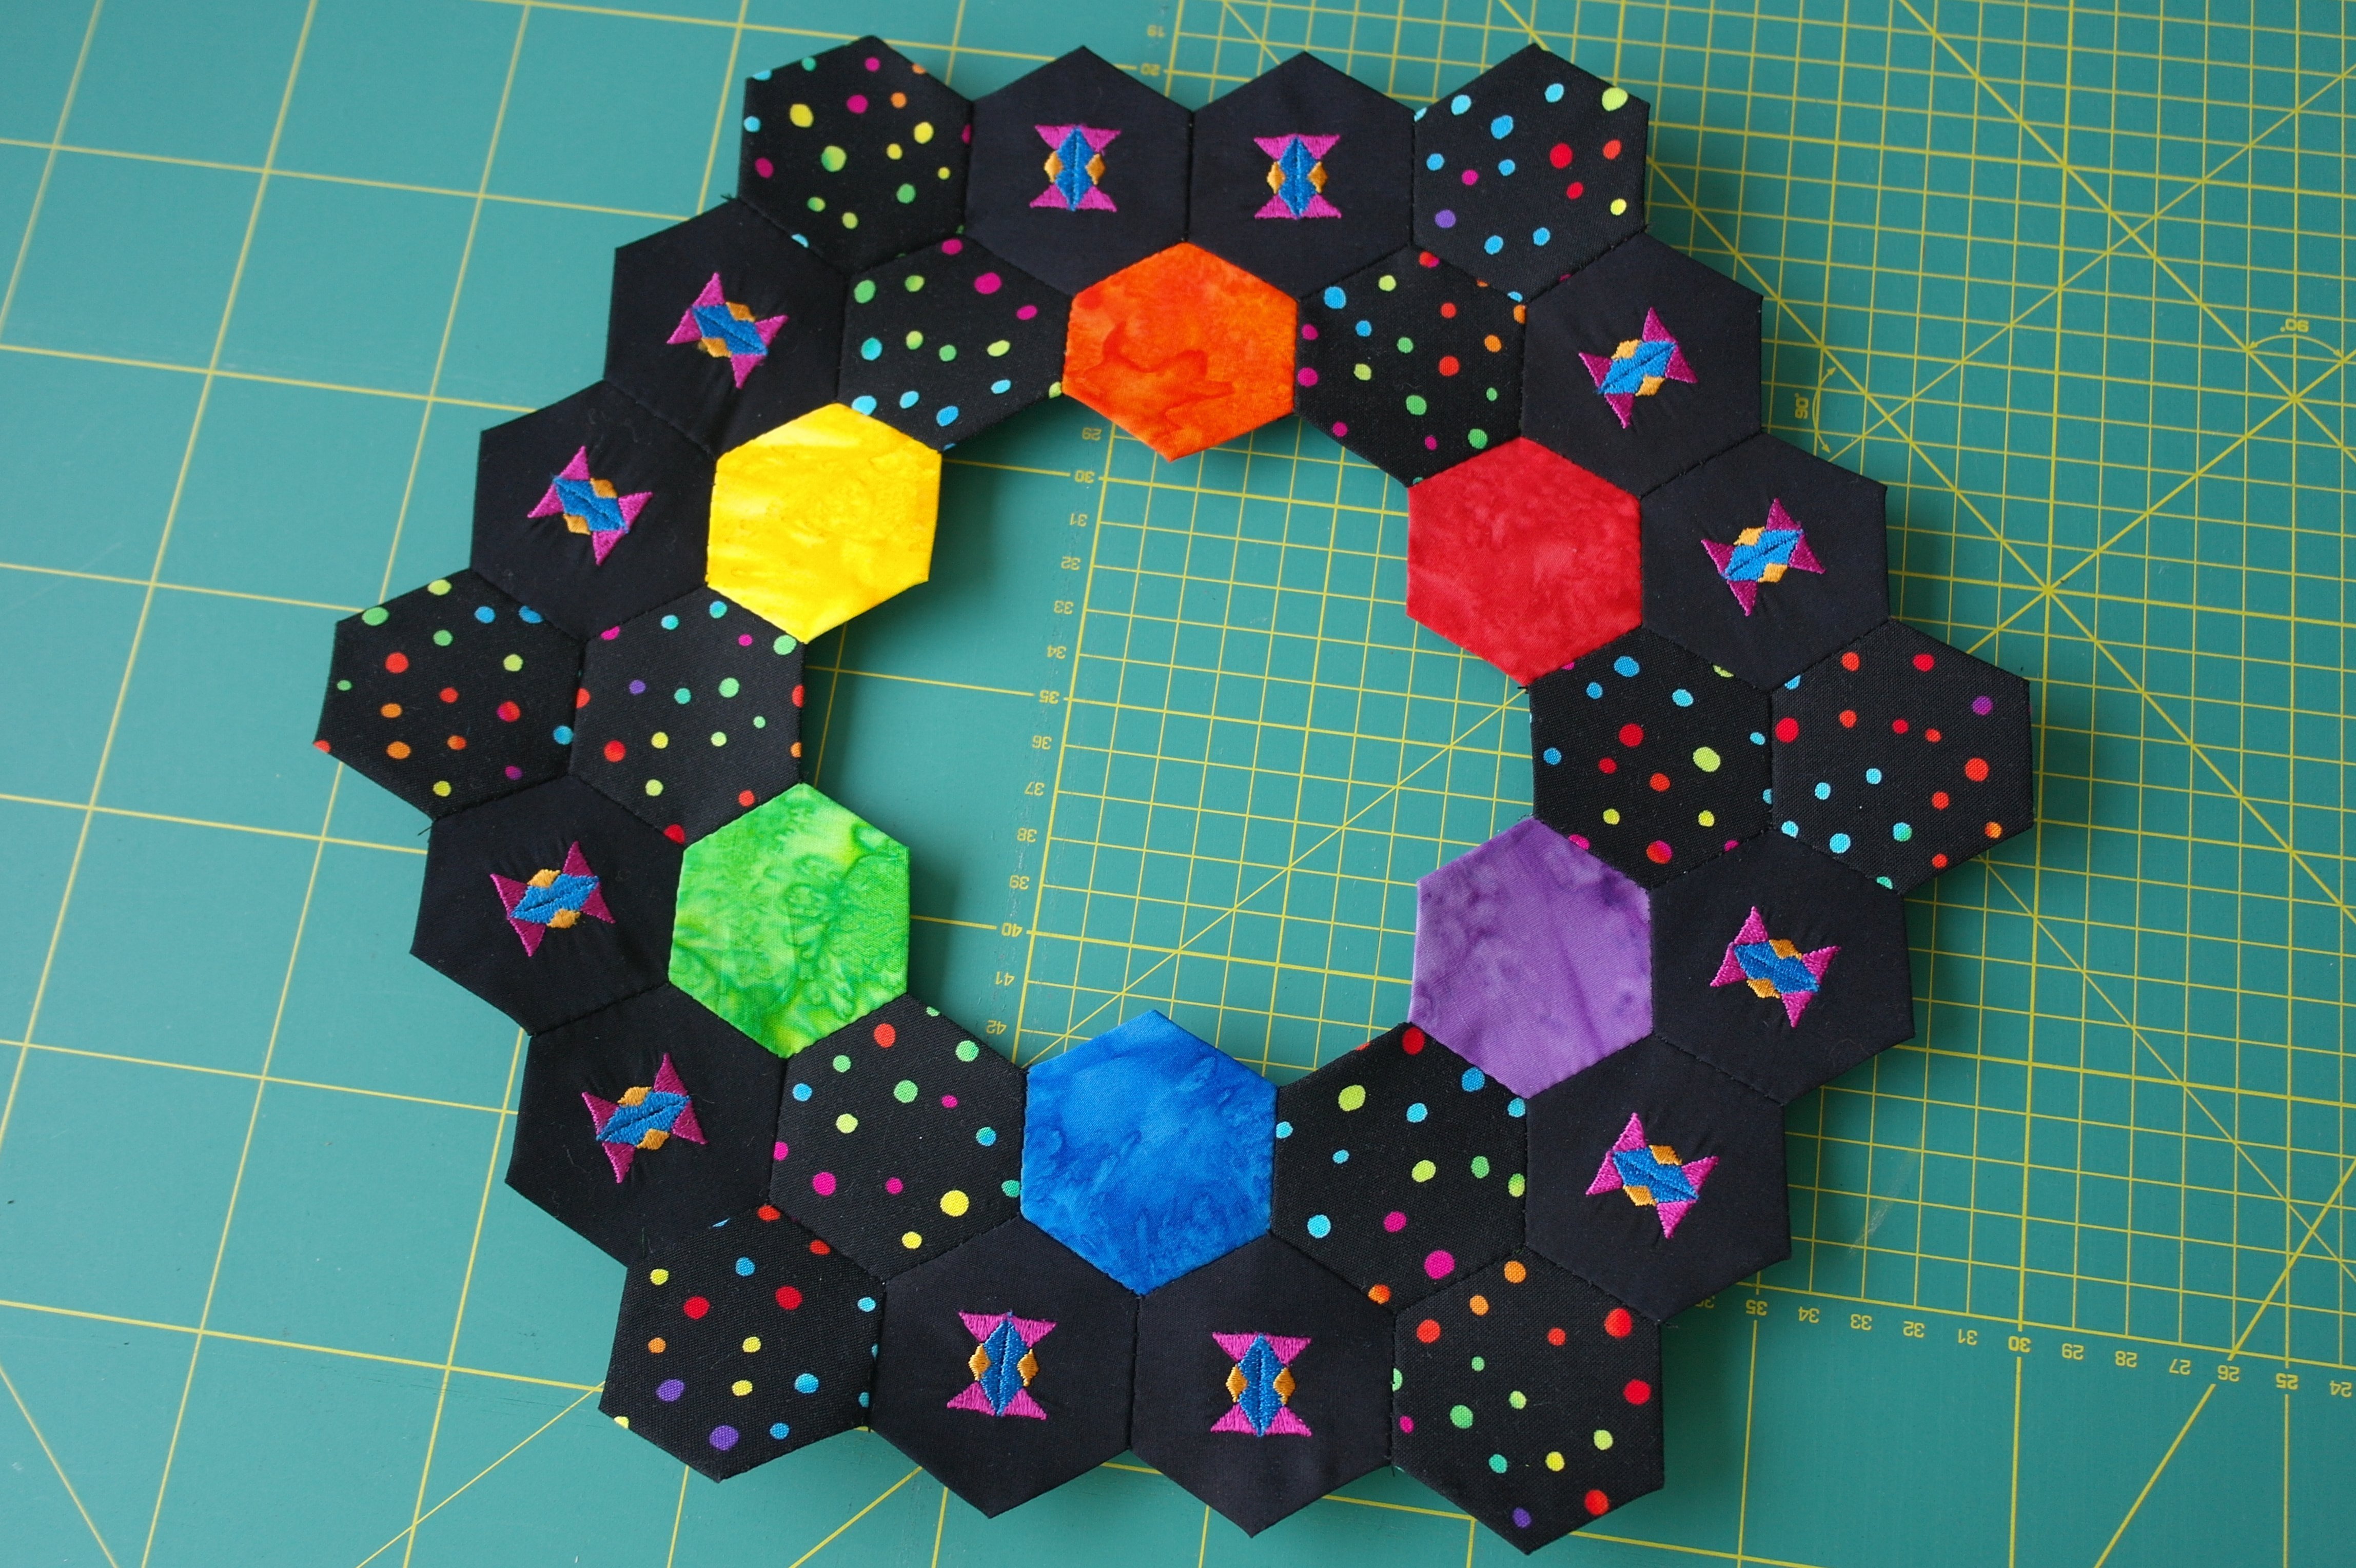
Now both rings are joined and I am content with the way this looks.

At this point, the paper hexagons (the templates) can be removed.
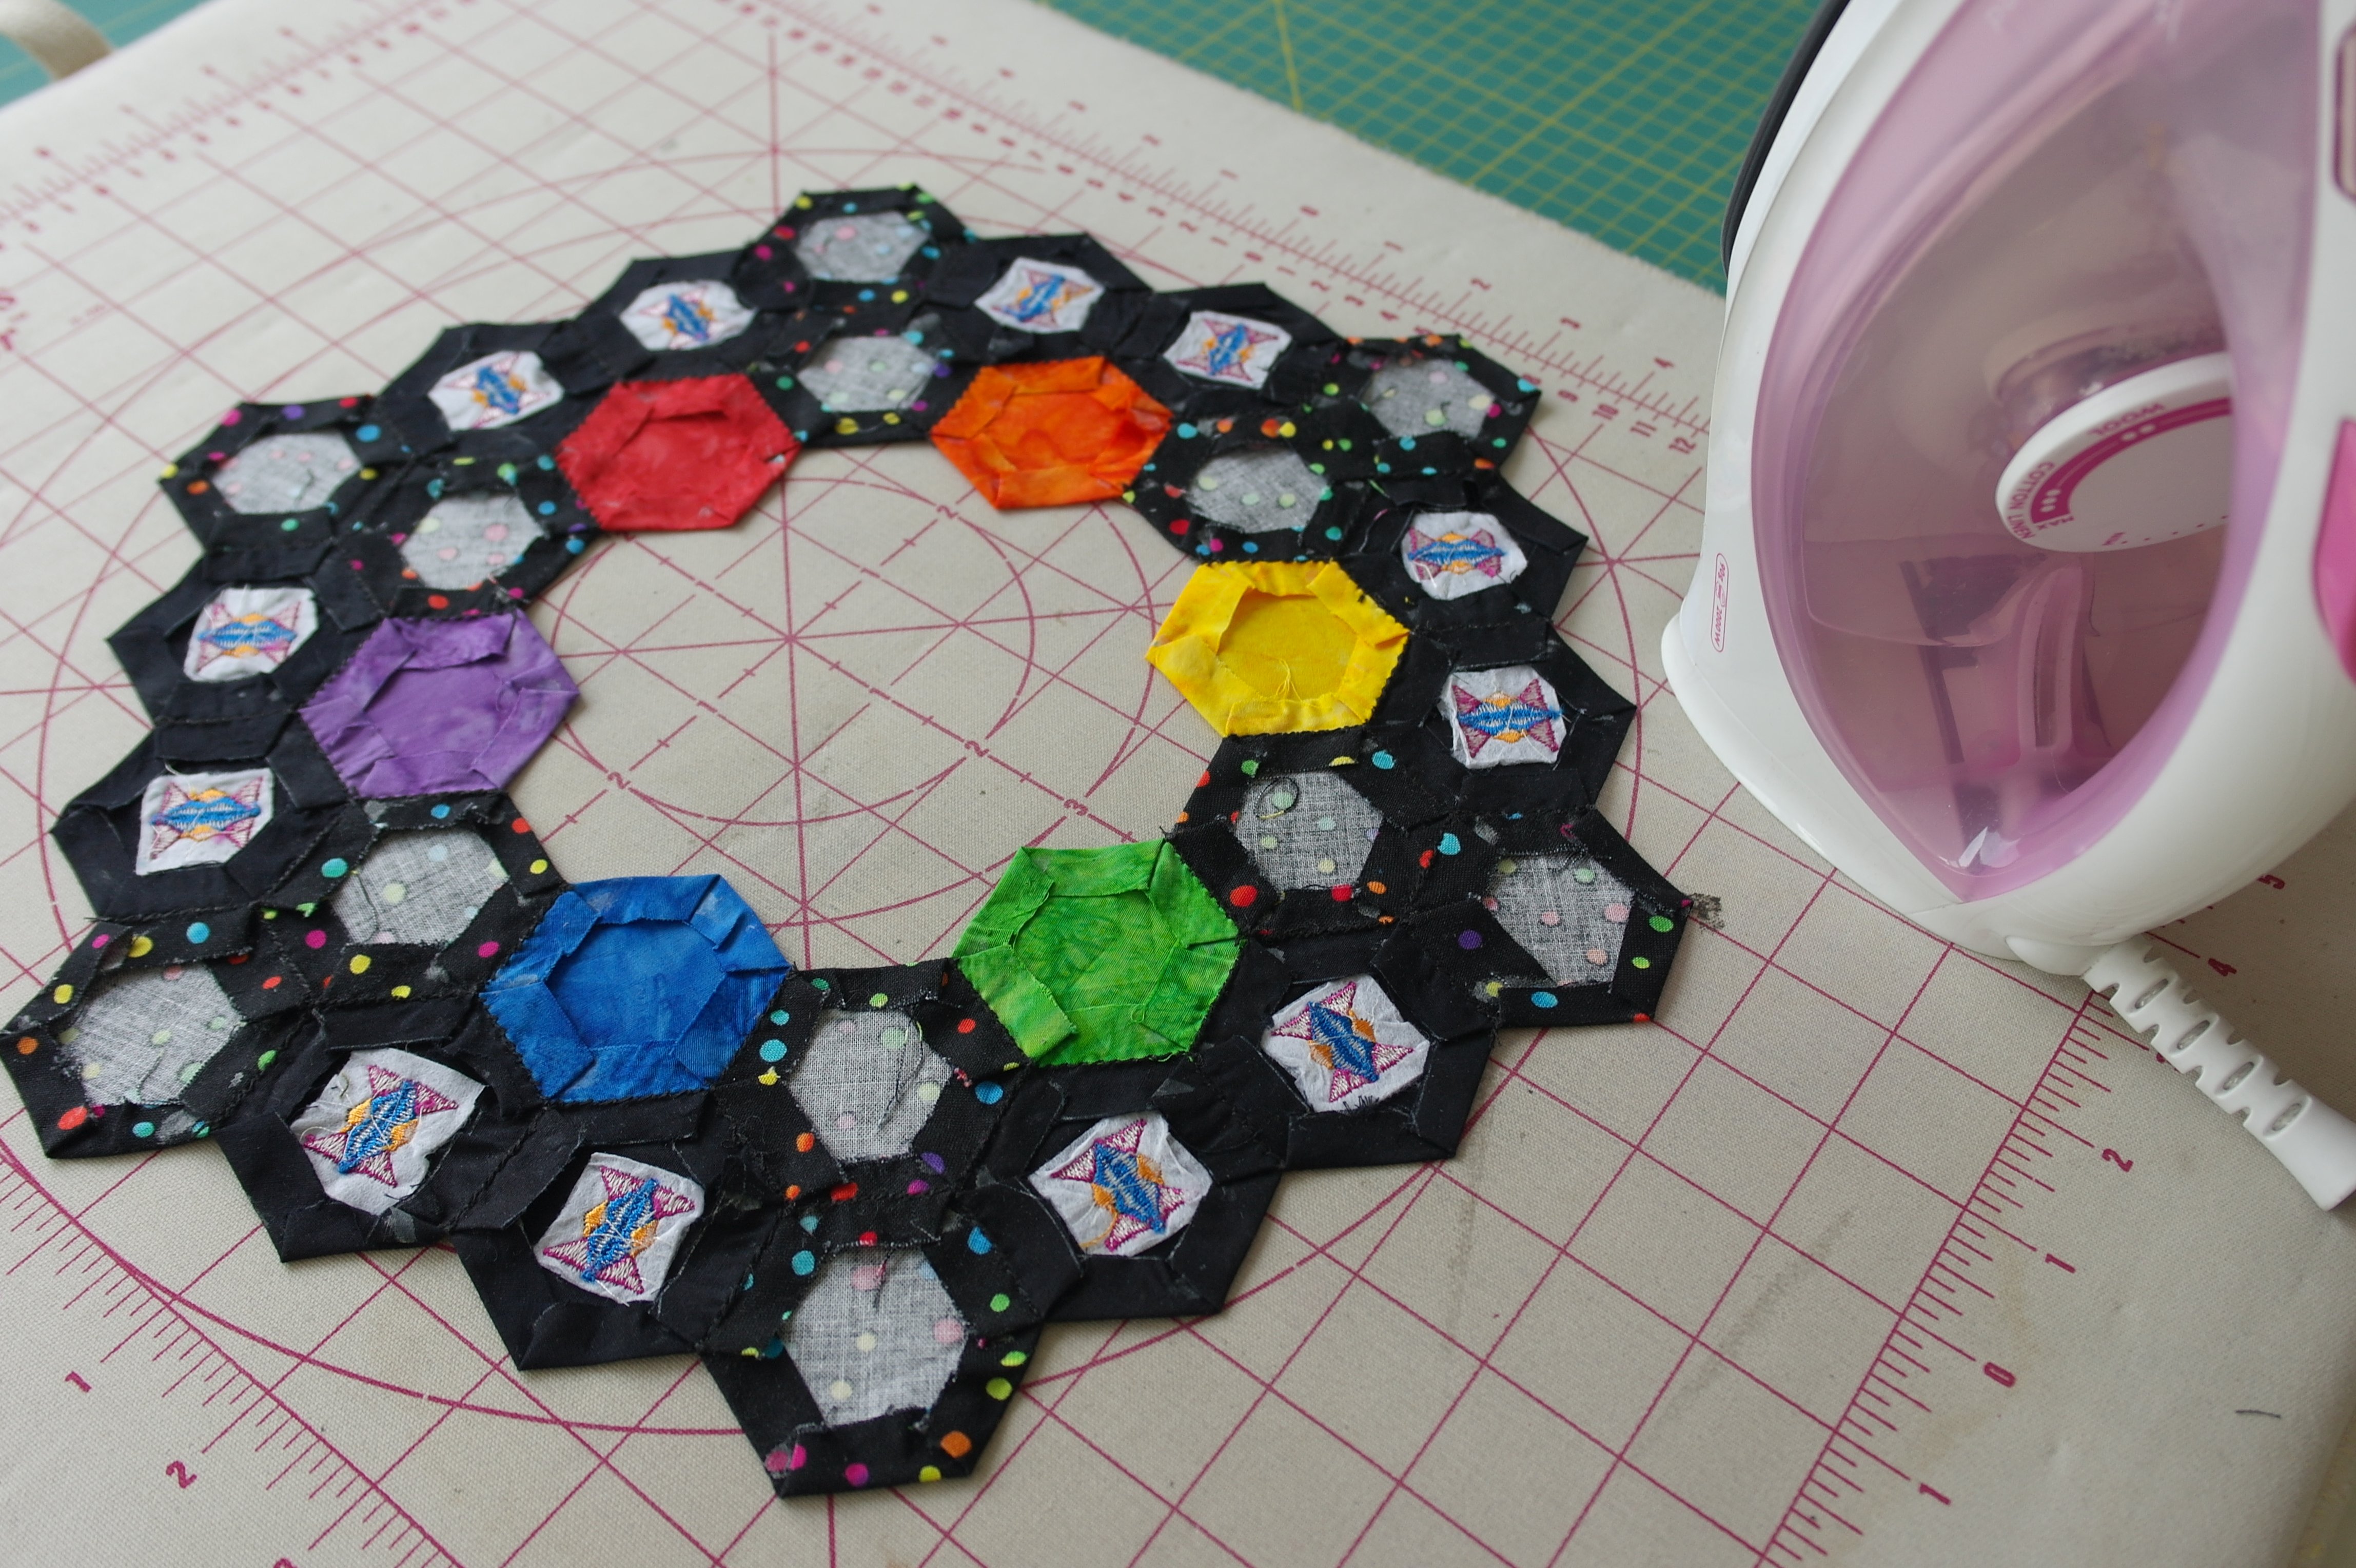
After removing the papers, I have ironed the heagon ring at the back, to flatten everything.
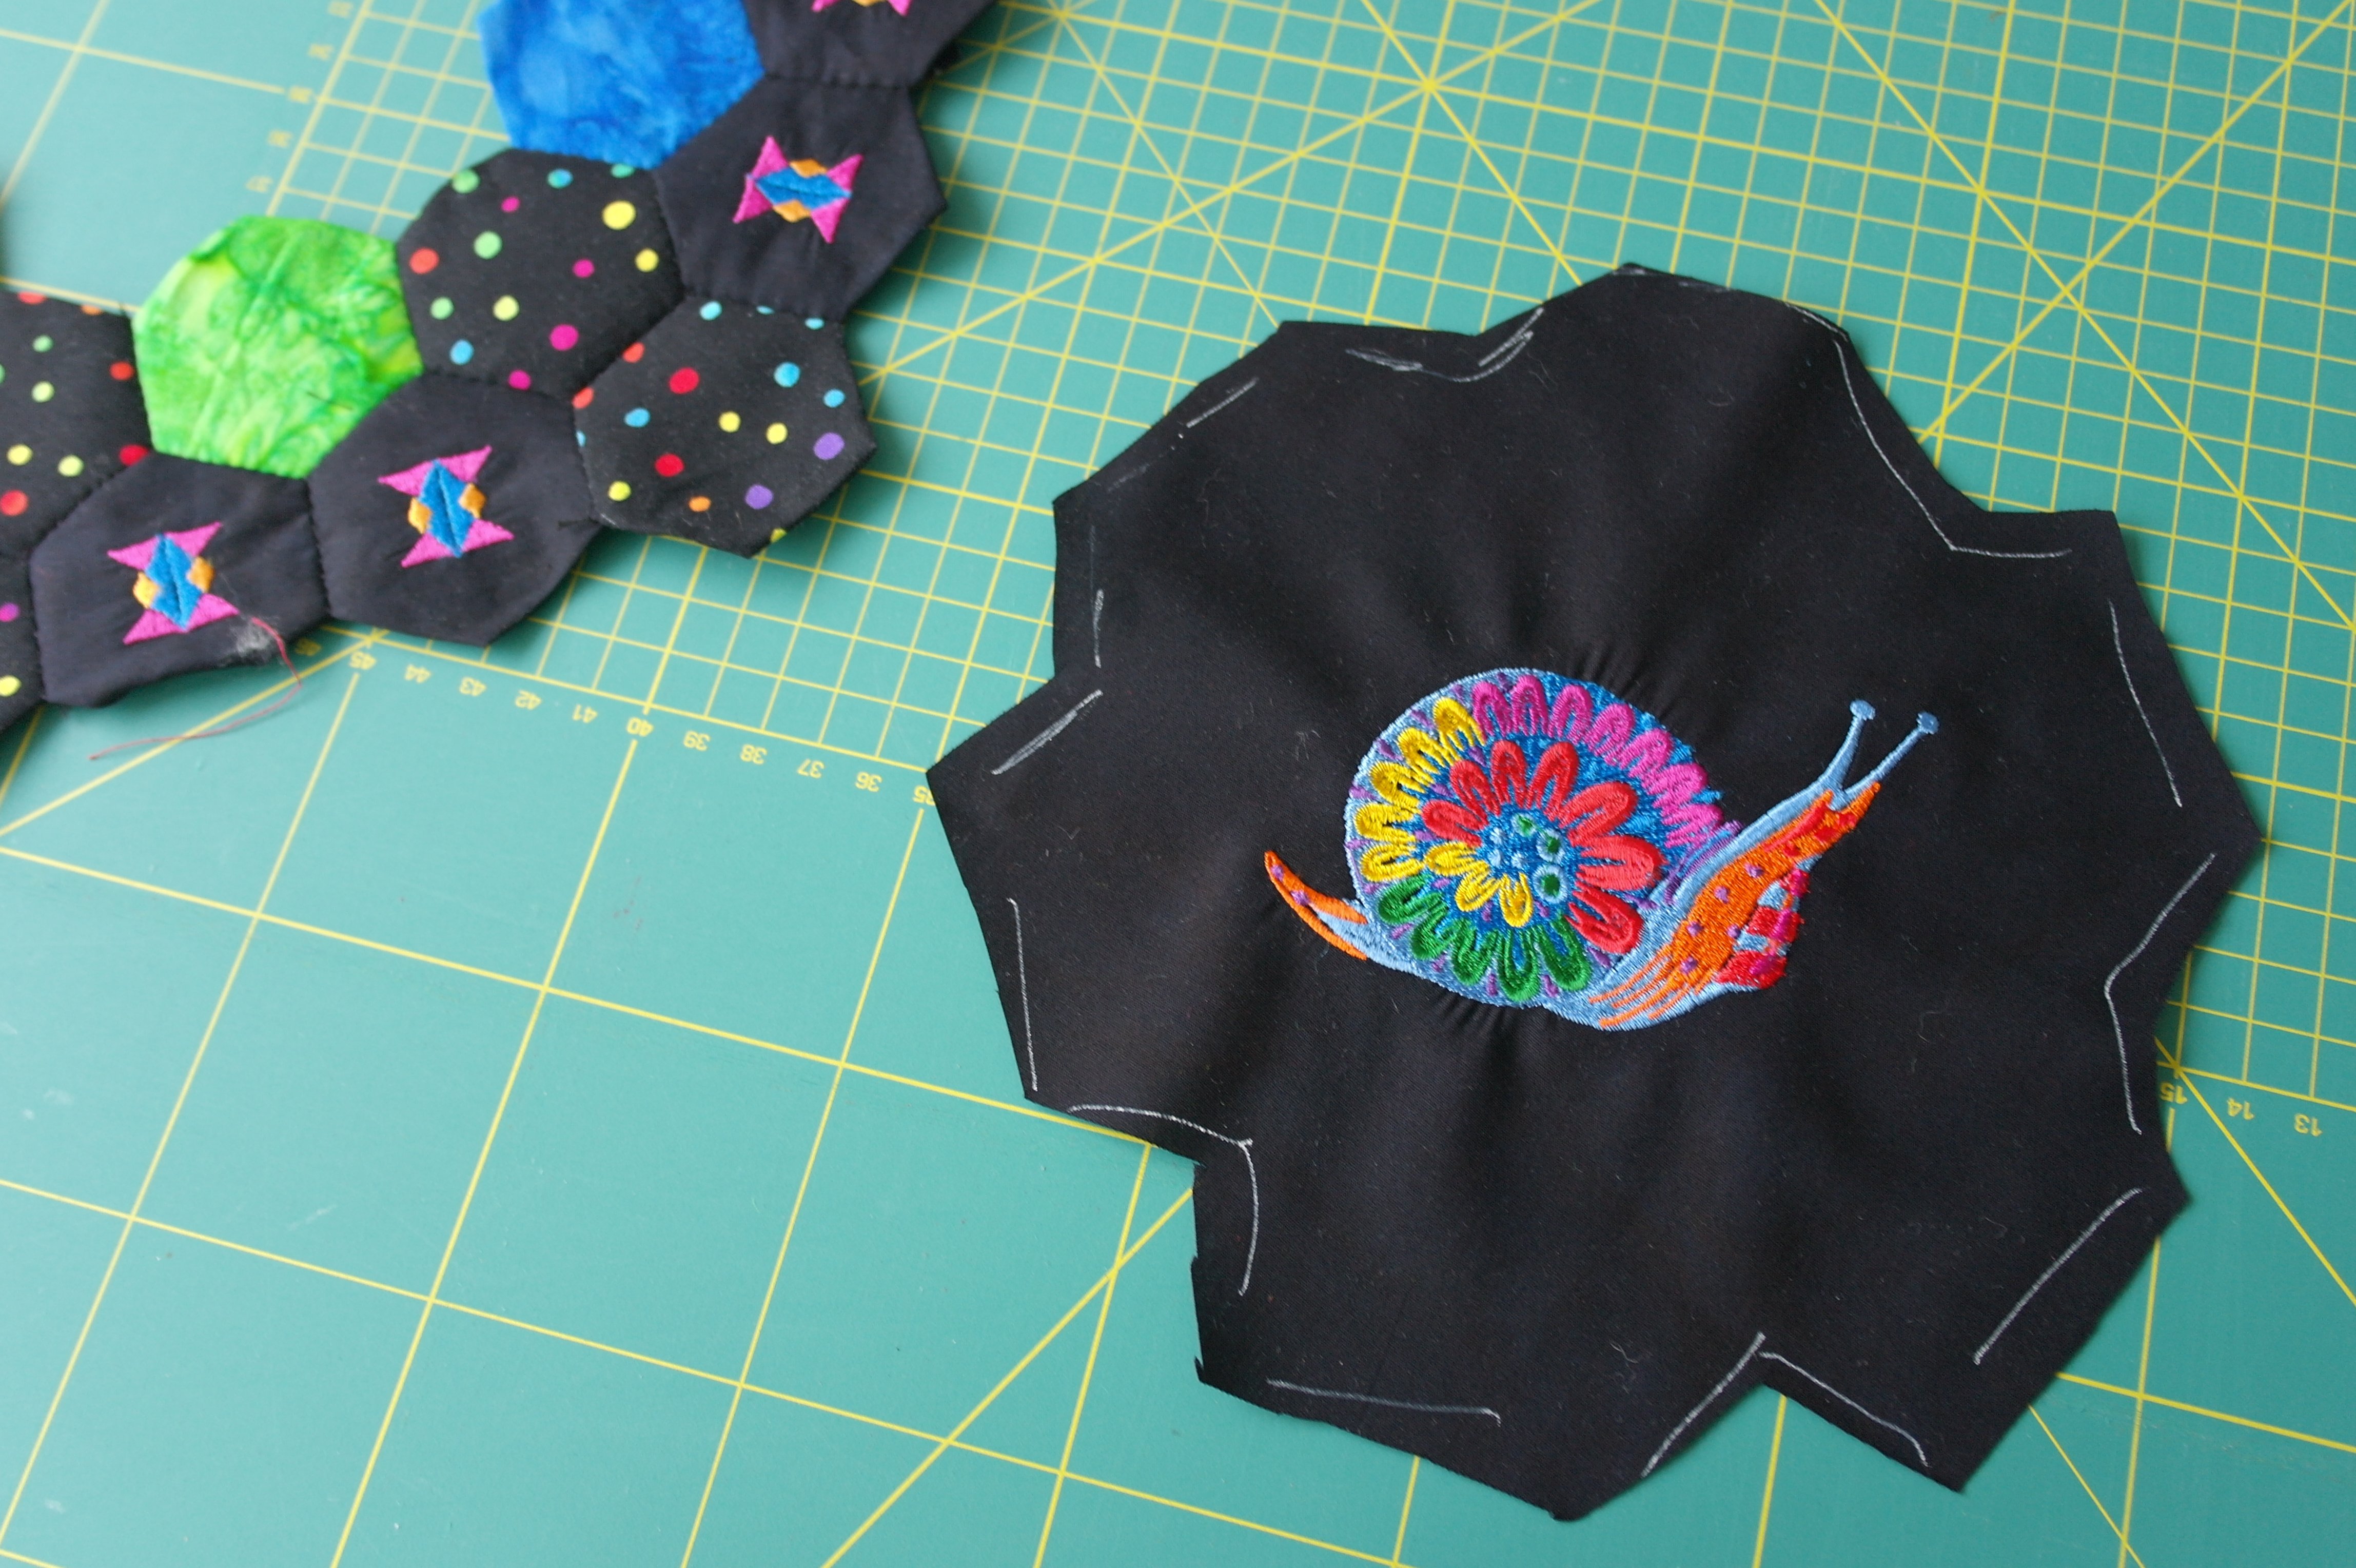
As I have mentioned before, I have also made a larger embroidery: a colorful Snail, also by Tula Pink. I have used black batik as a background again. This will be placed in the center of the pillow case. To calculate how large the fabric should be, I have placed it under the rings of hexagons, and drew lines with white water soluble pen, adding extra seam allowance, and cut it.

I did the same for the ‘background’ of the pillow case: made with the colorful fabric. I took a piece of 45 x 45 cm and placed the rings with hexagons in the center. Again drew lines with the white soluble pen, adding extra seam allowance, and cut it.
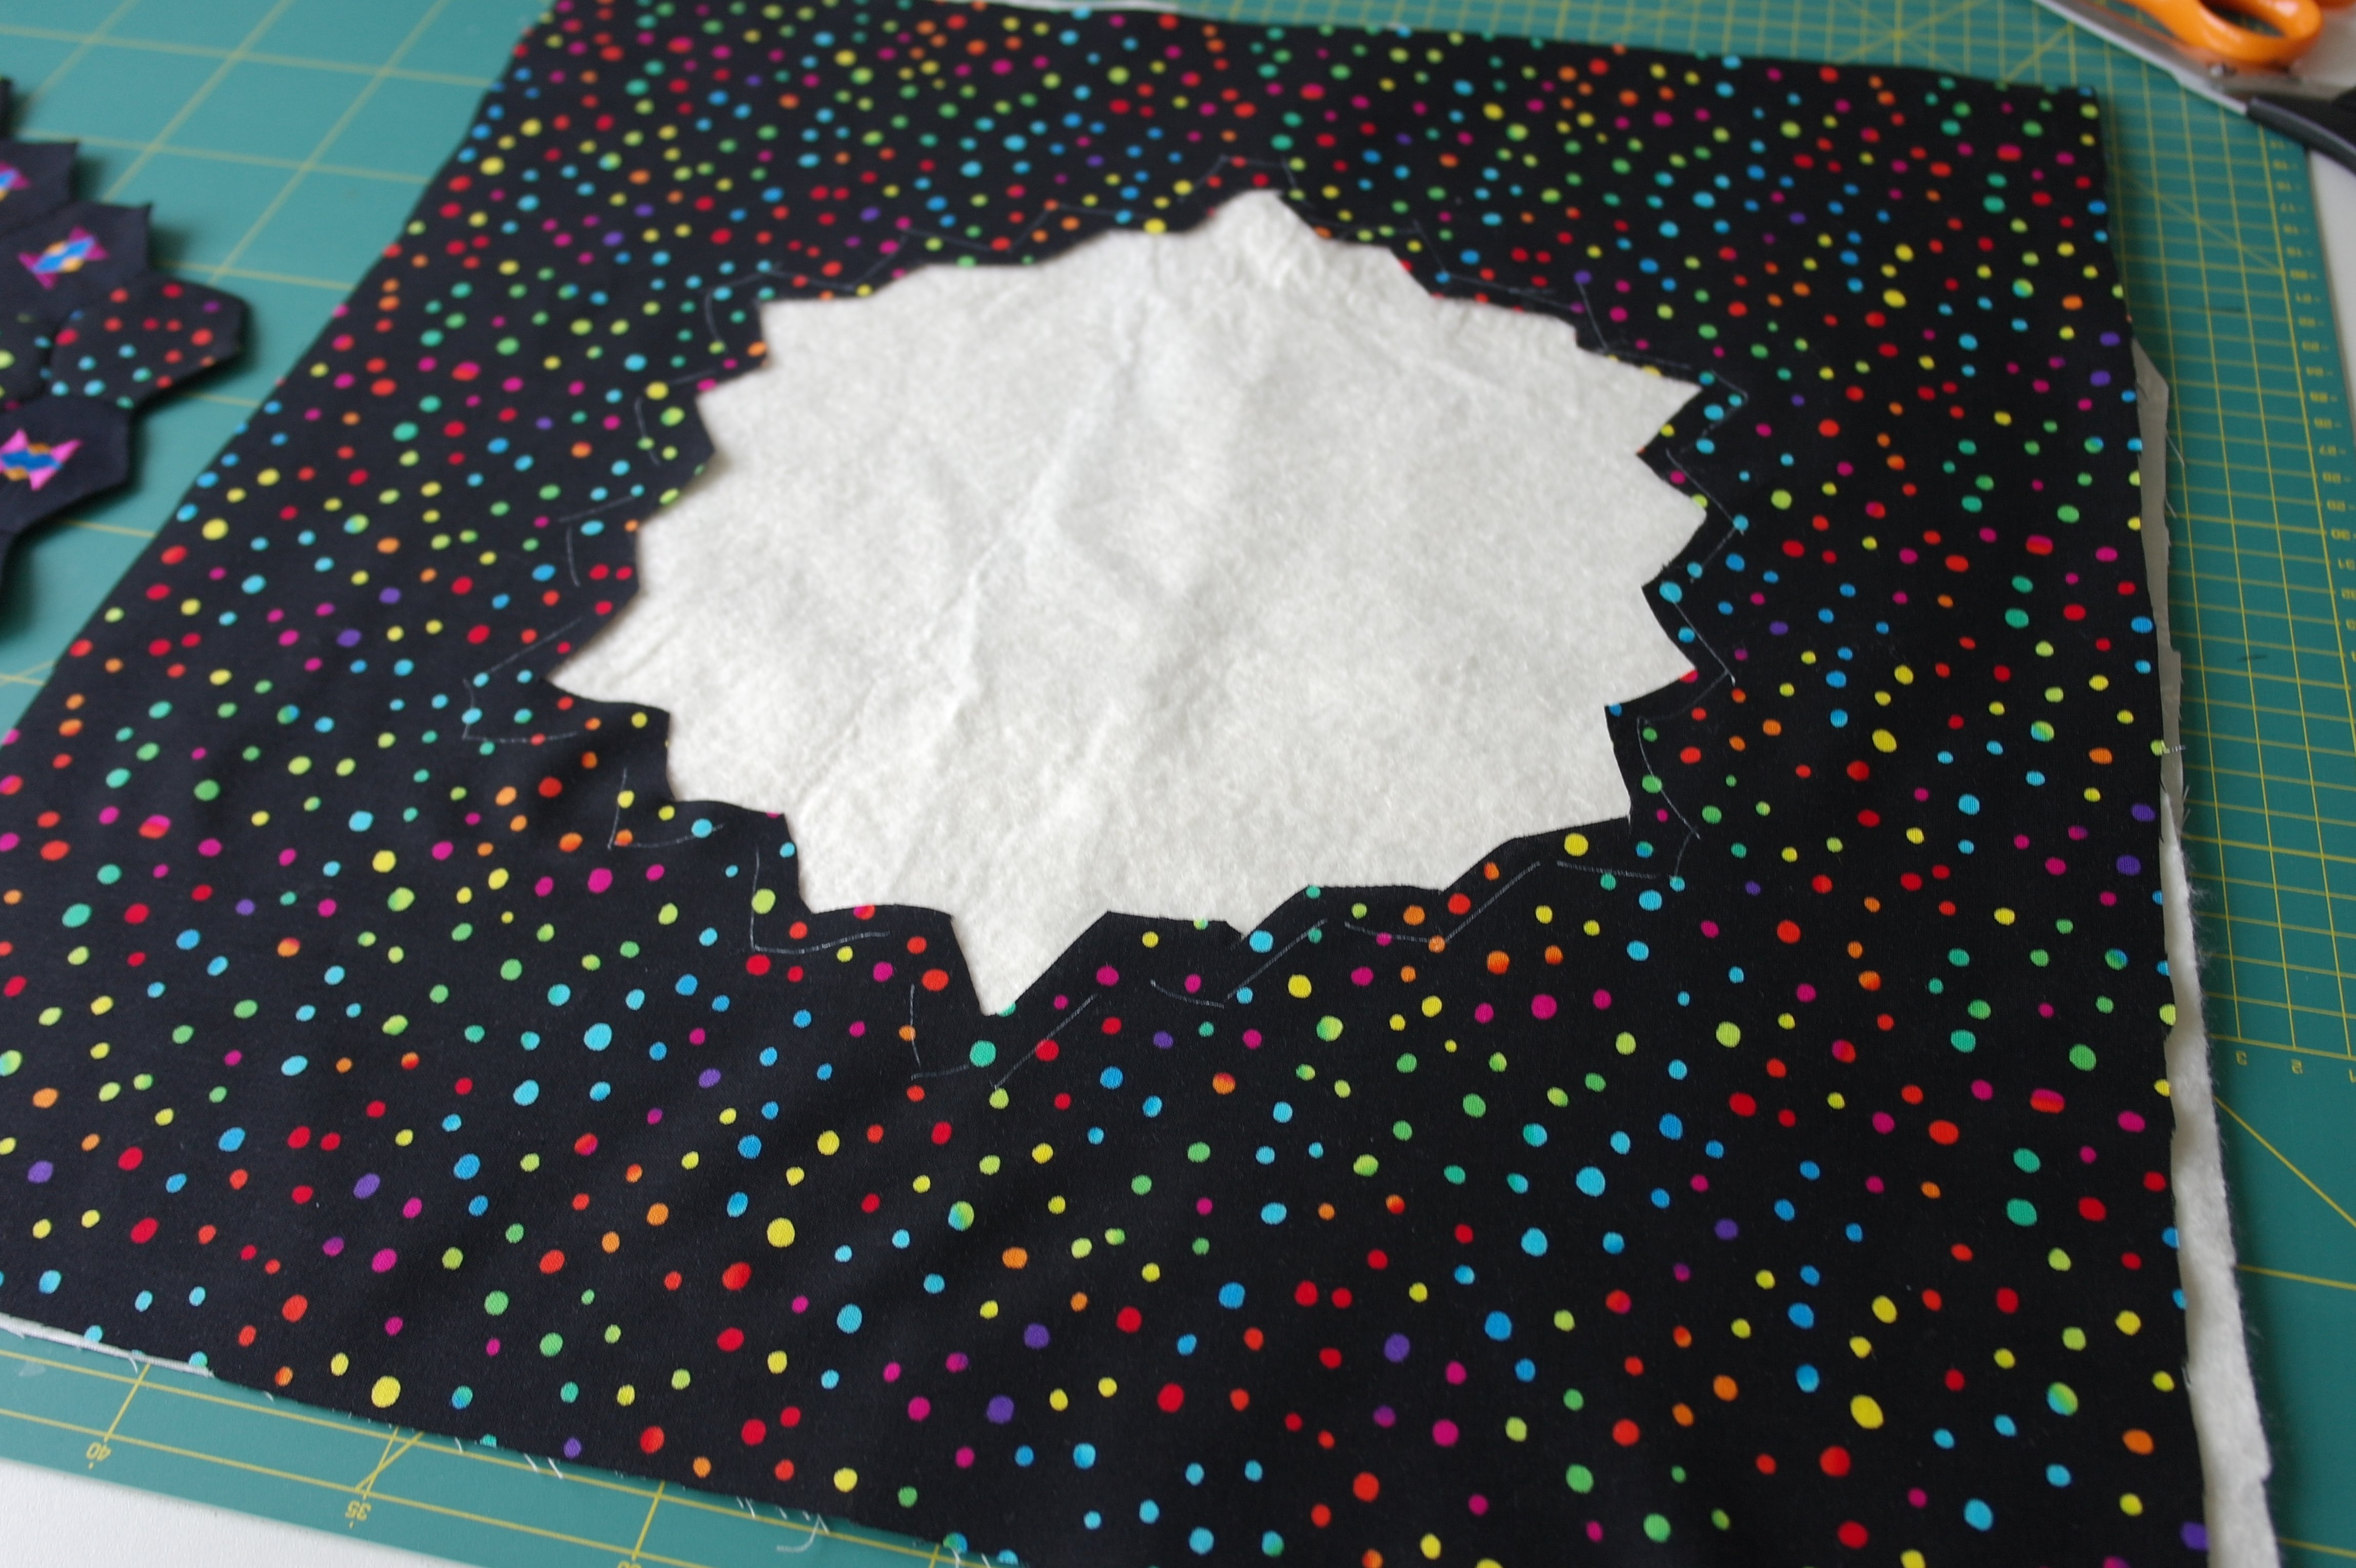
Now I will make the sandwich for quilting: off-white backing, batting (100% bamboo Matilda’s Own), and the fabrics and hexagon rings on top. First the 45x45cm piece …
 then the fabric with the embroidered snail….
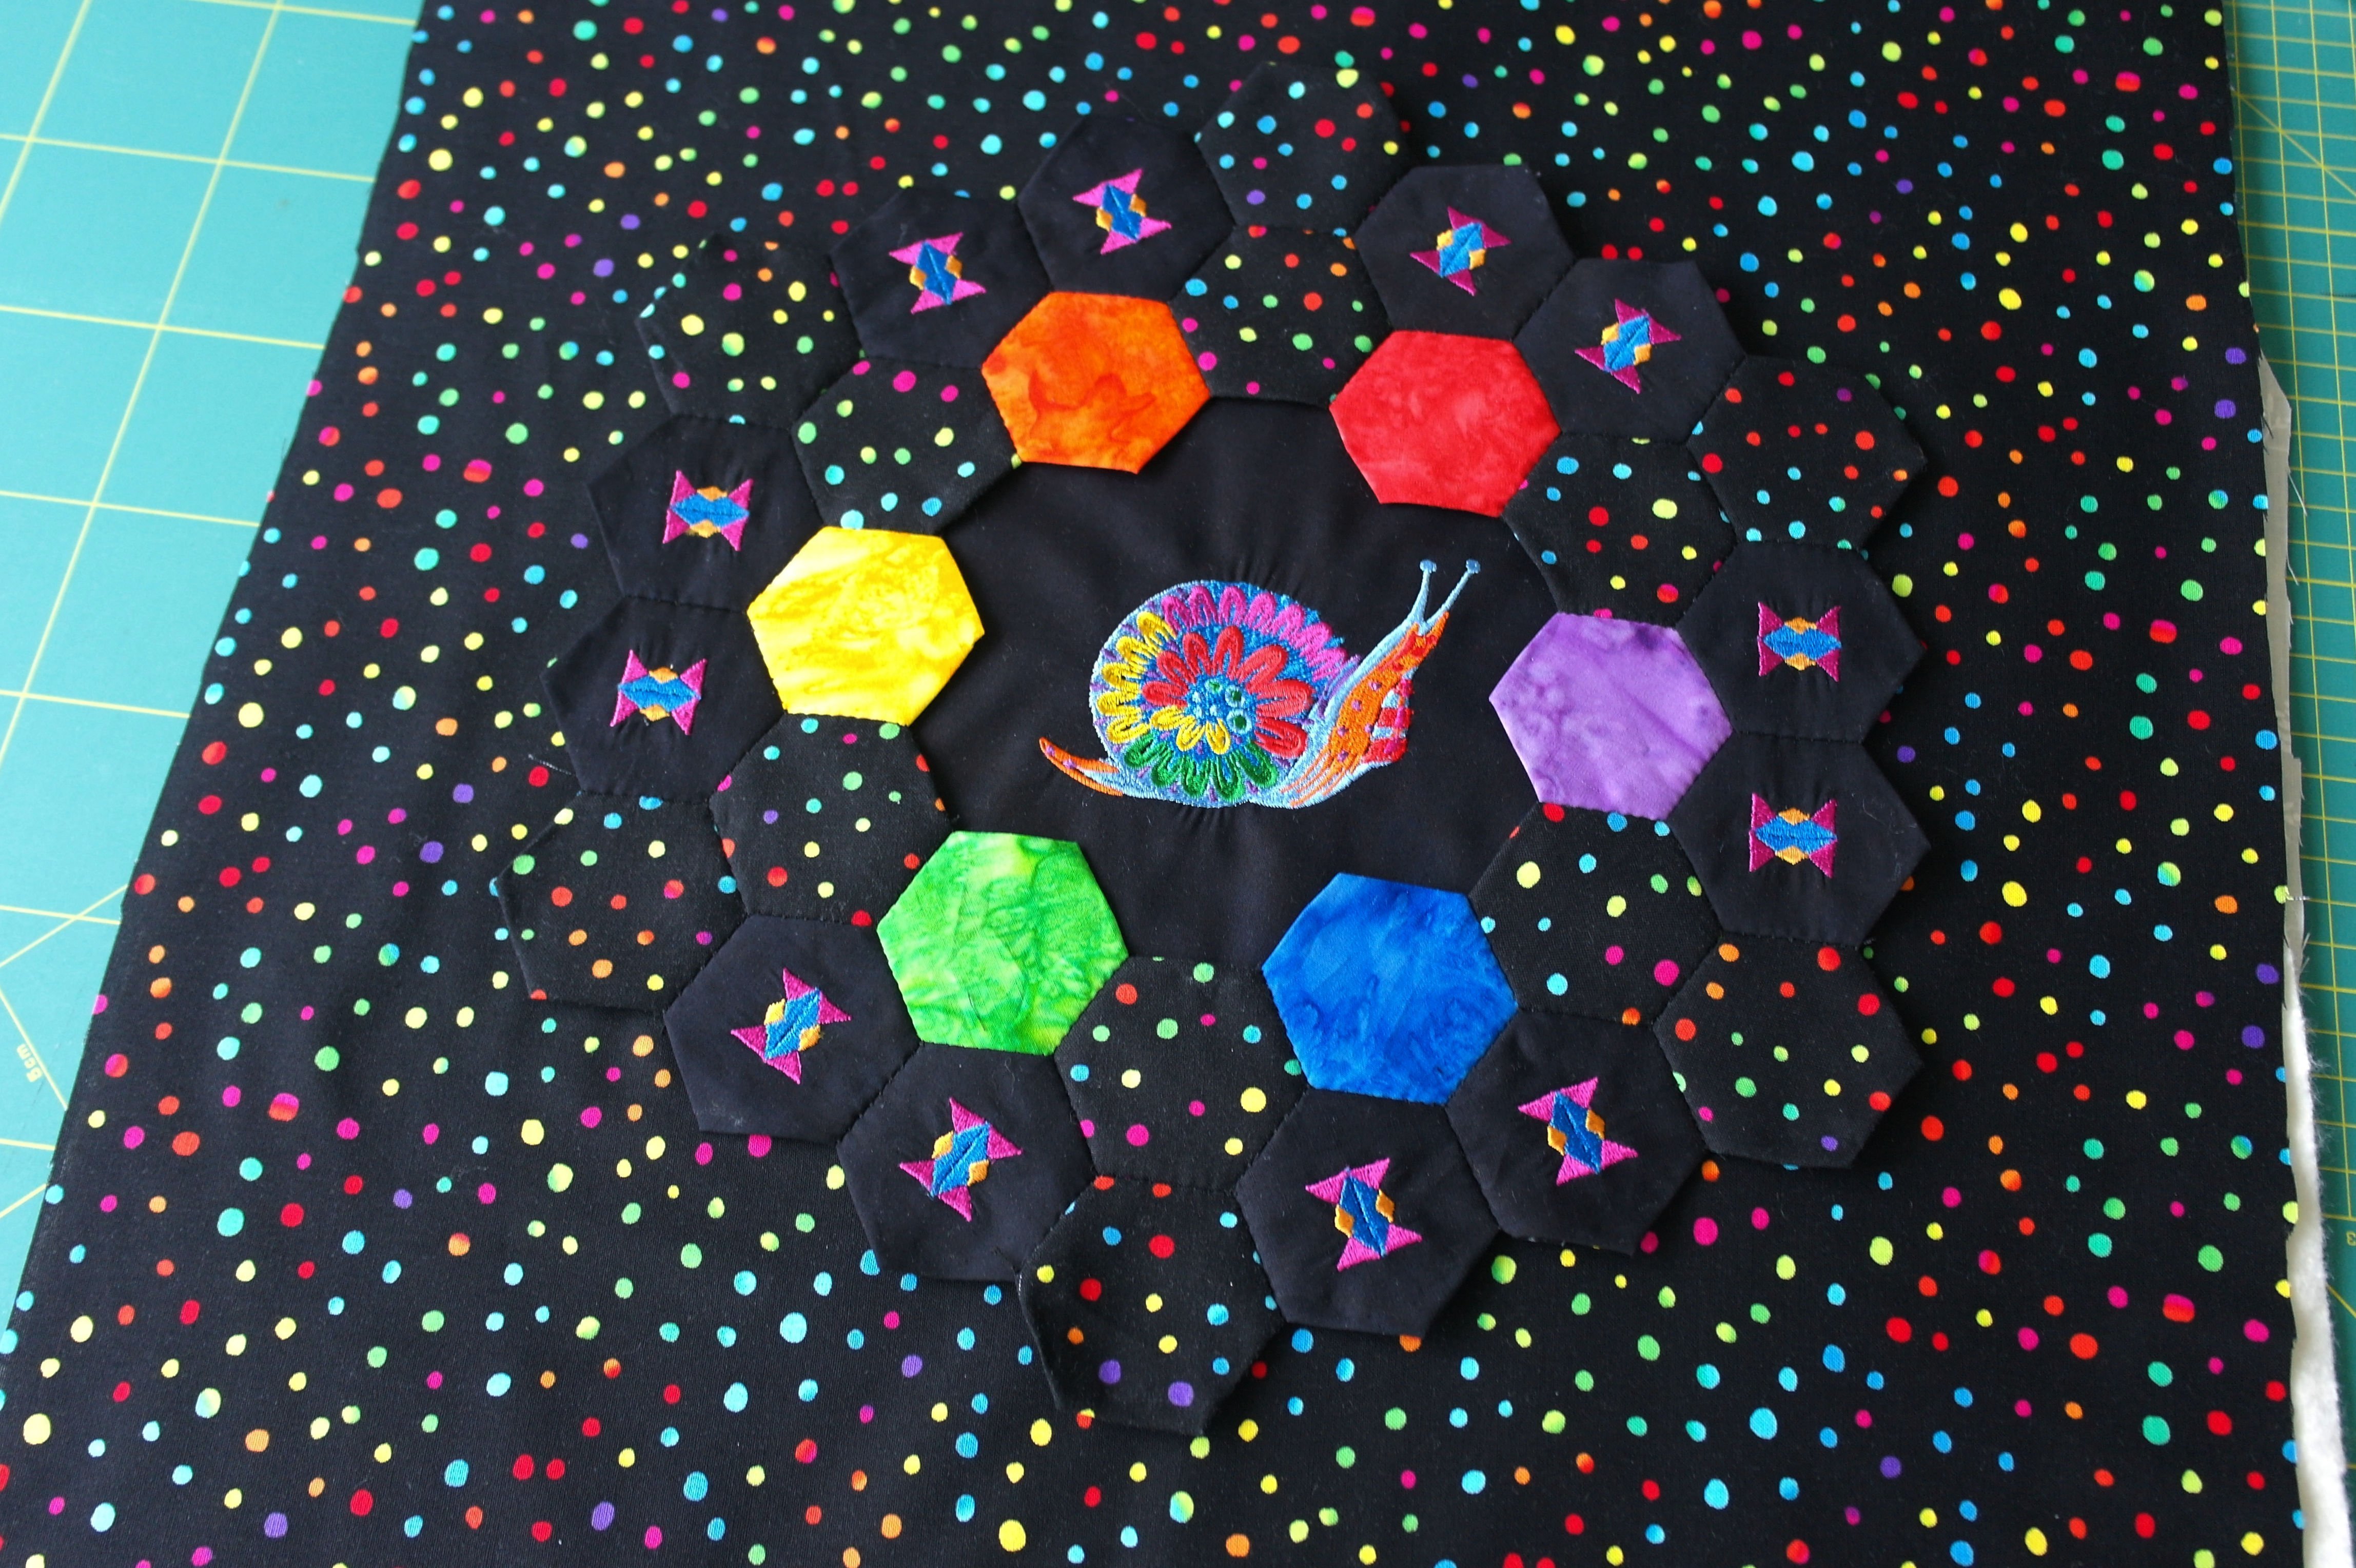
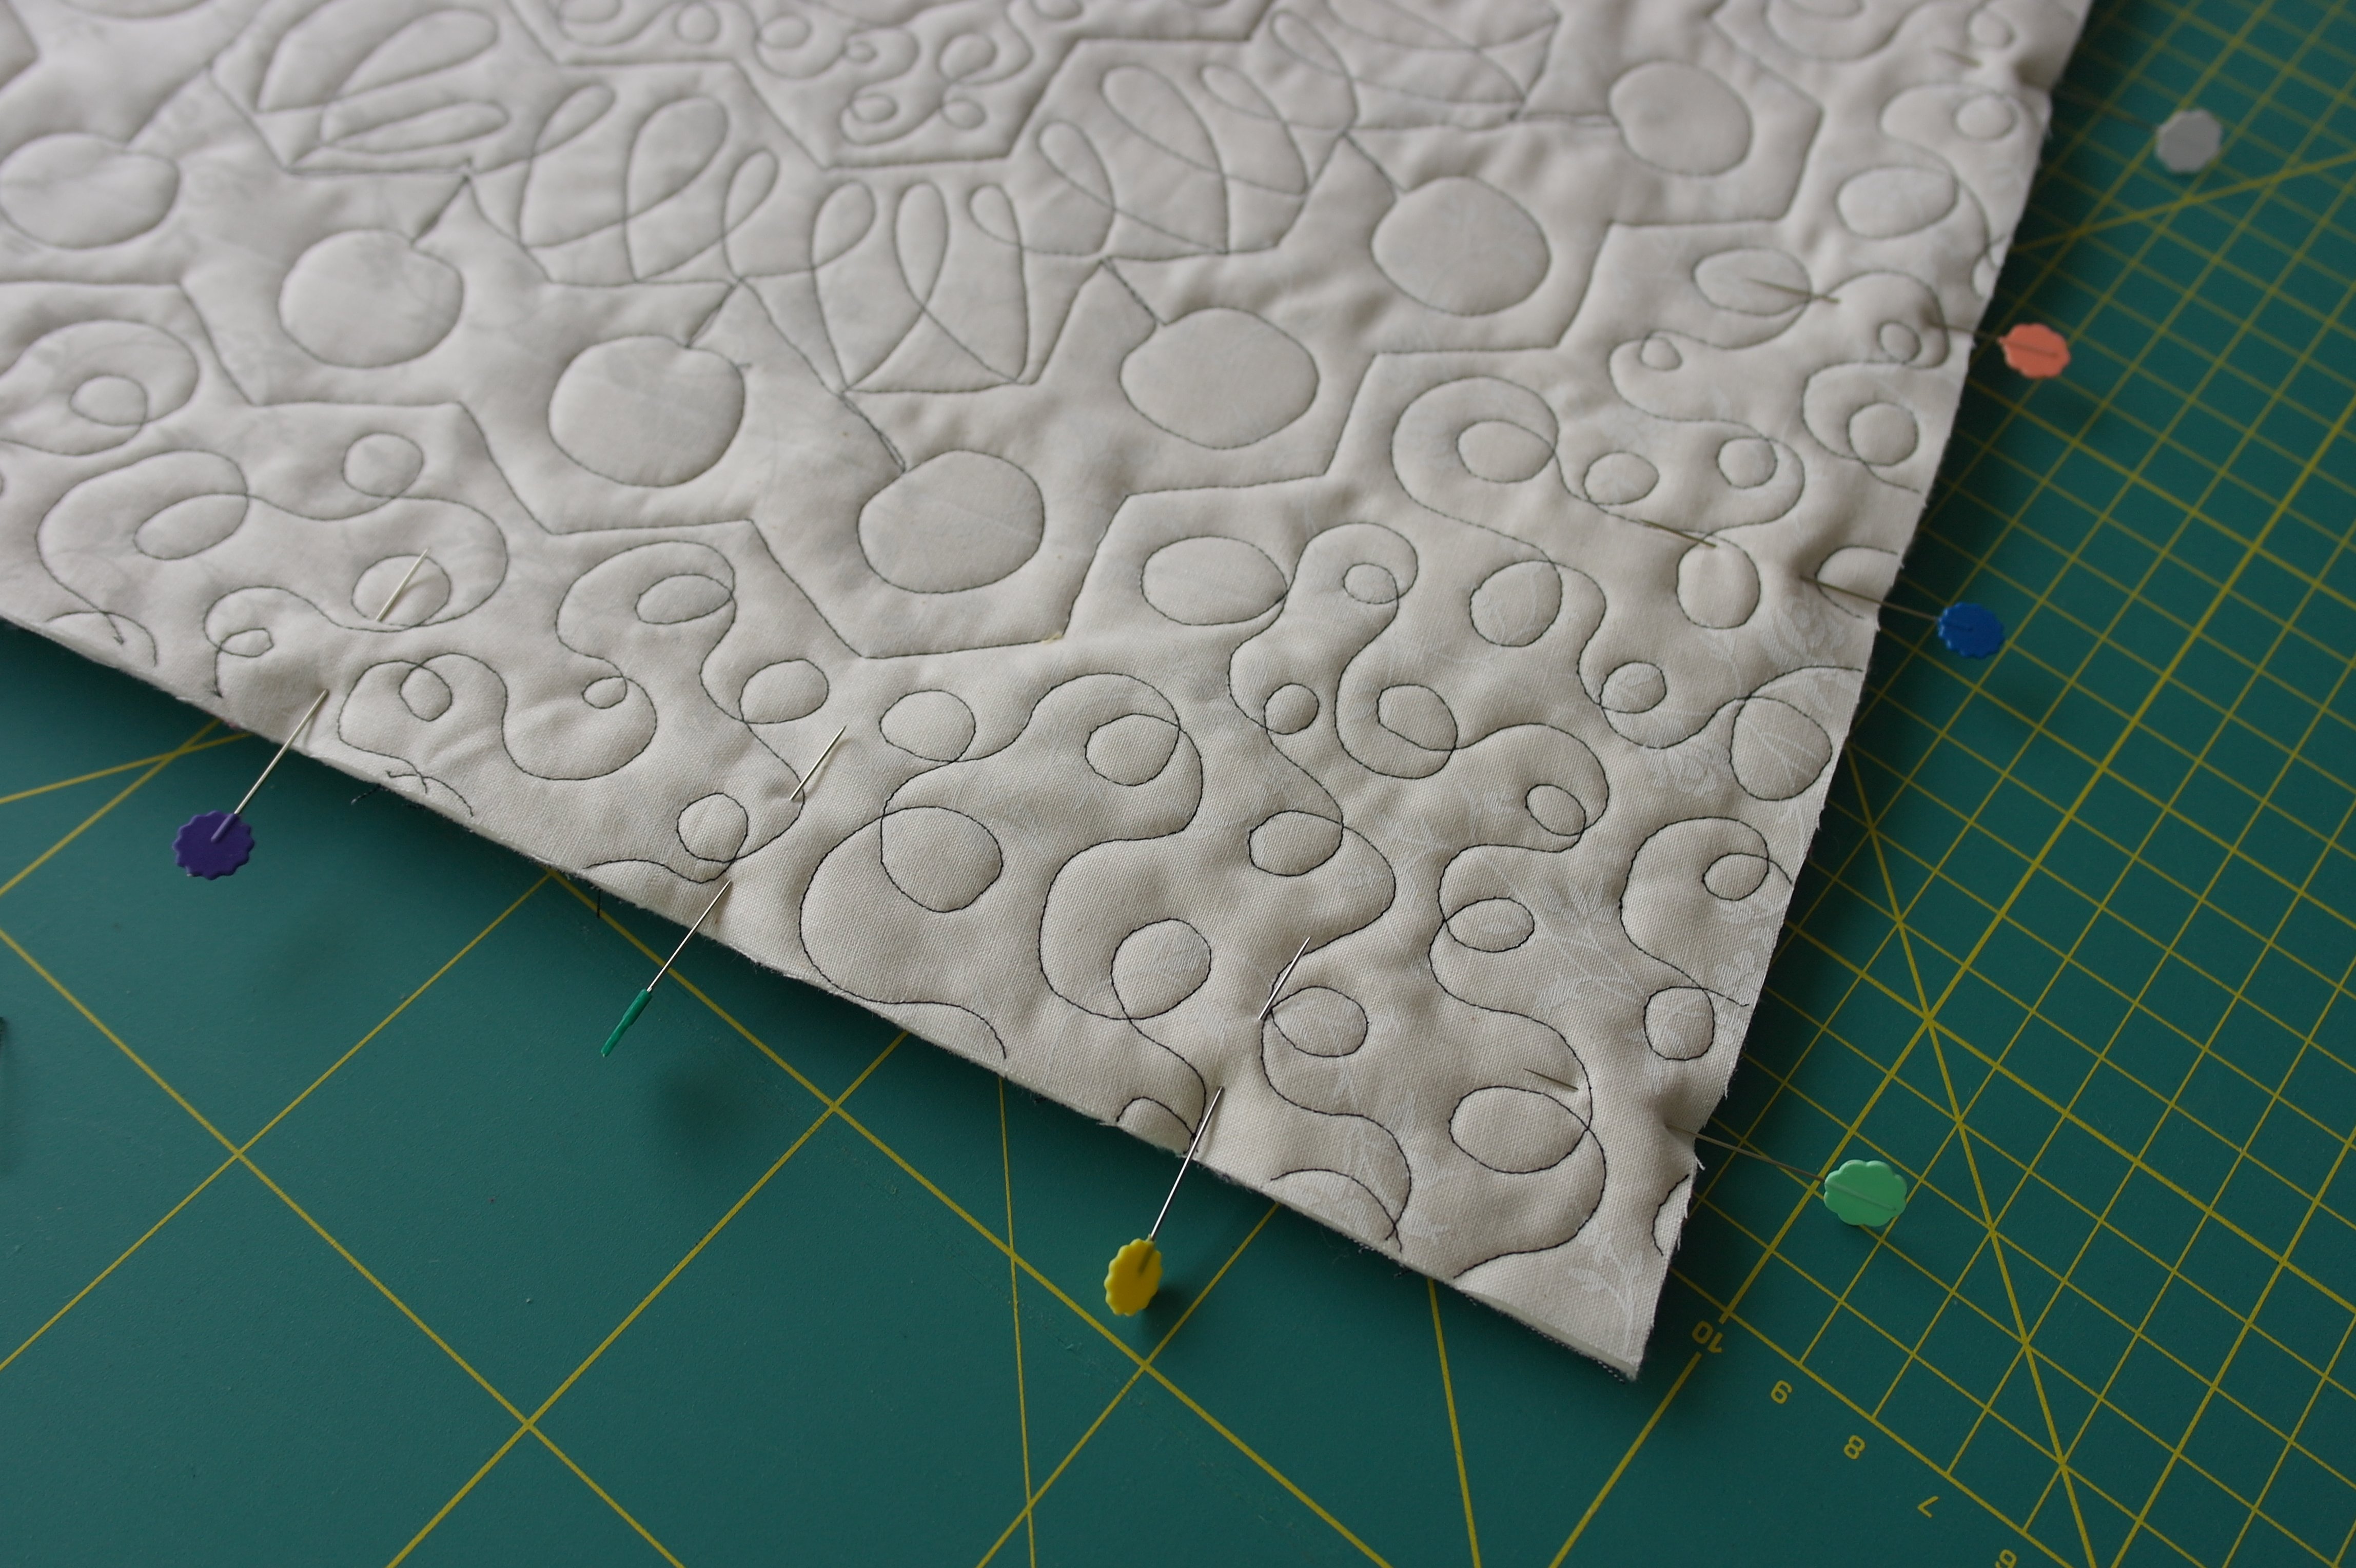
and then the hexagon rings. All is aligned well, and I have pinned it down with Flower Pins. Immediately you can see the fun effect I was trying to get: because the hexagons of the colored fabric blend in with the background, it looks like the embroidered small hexagons are floating…
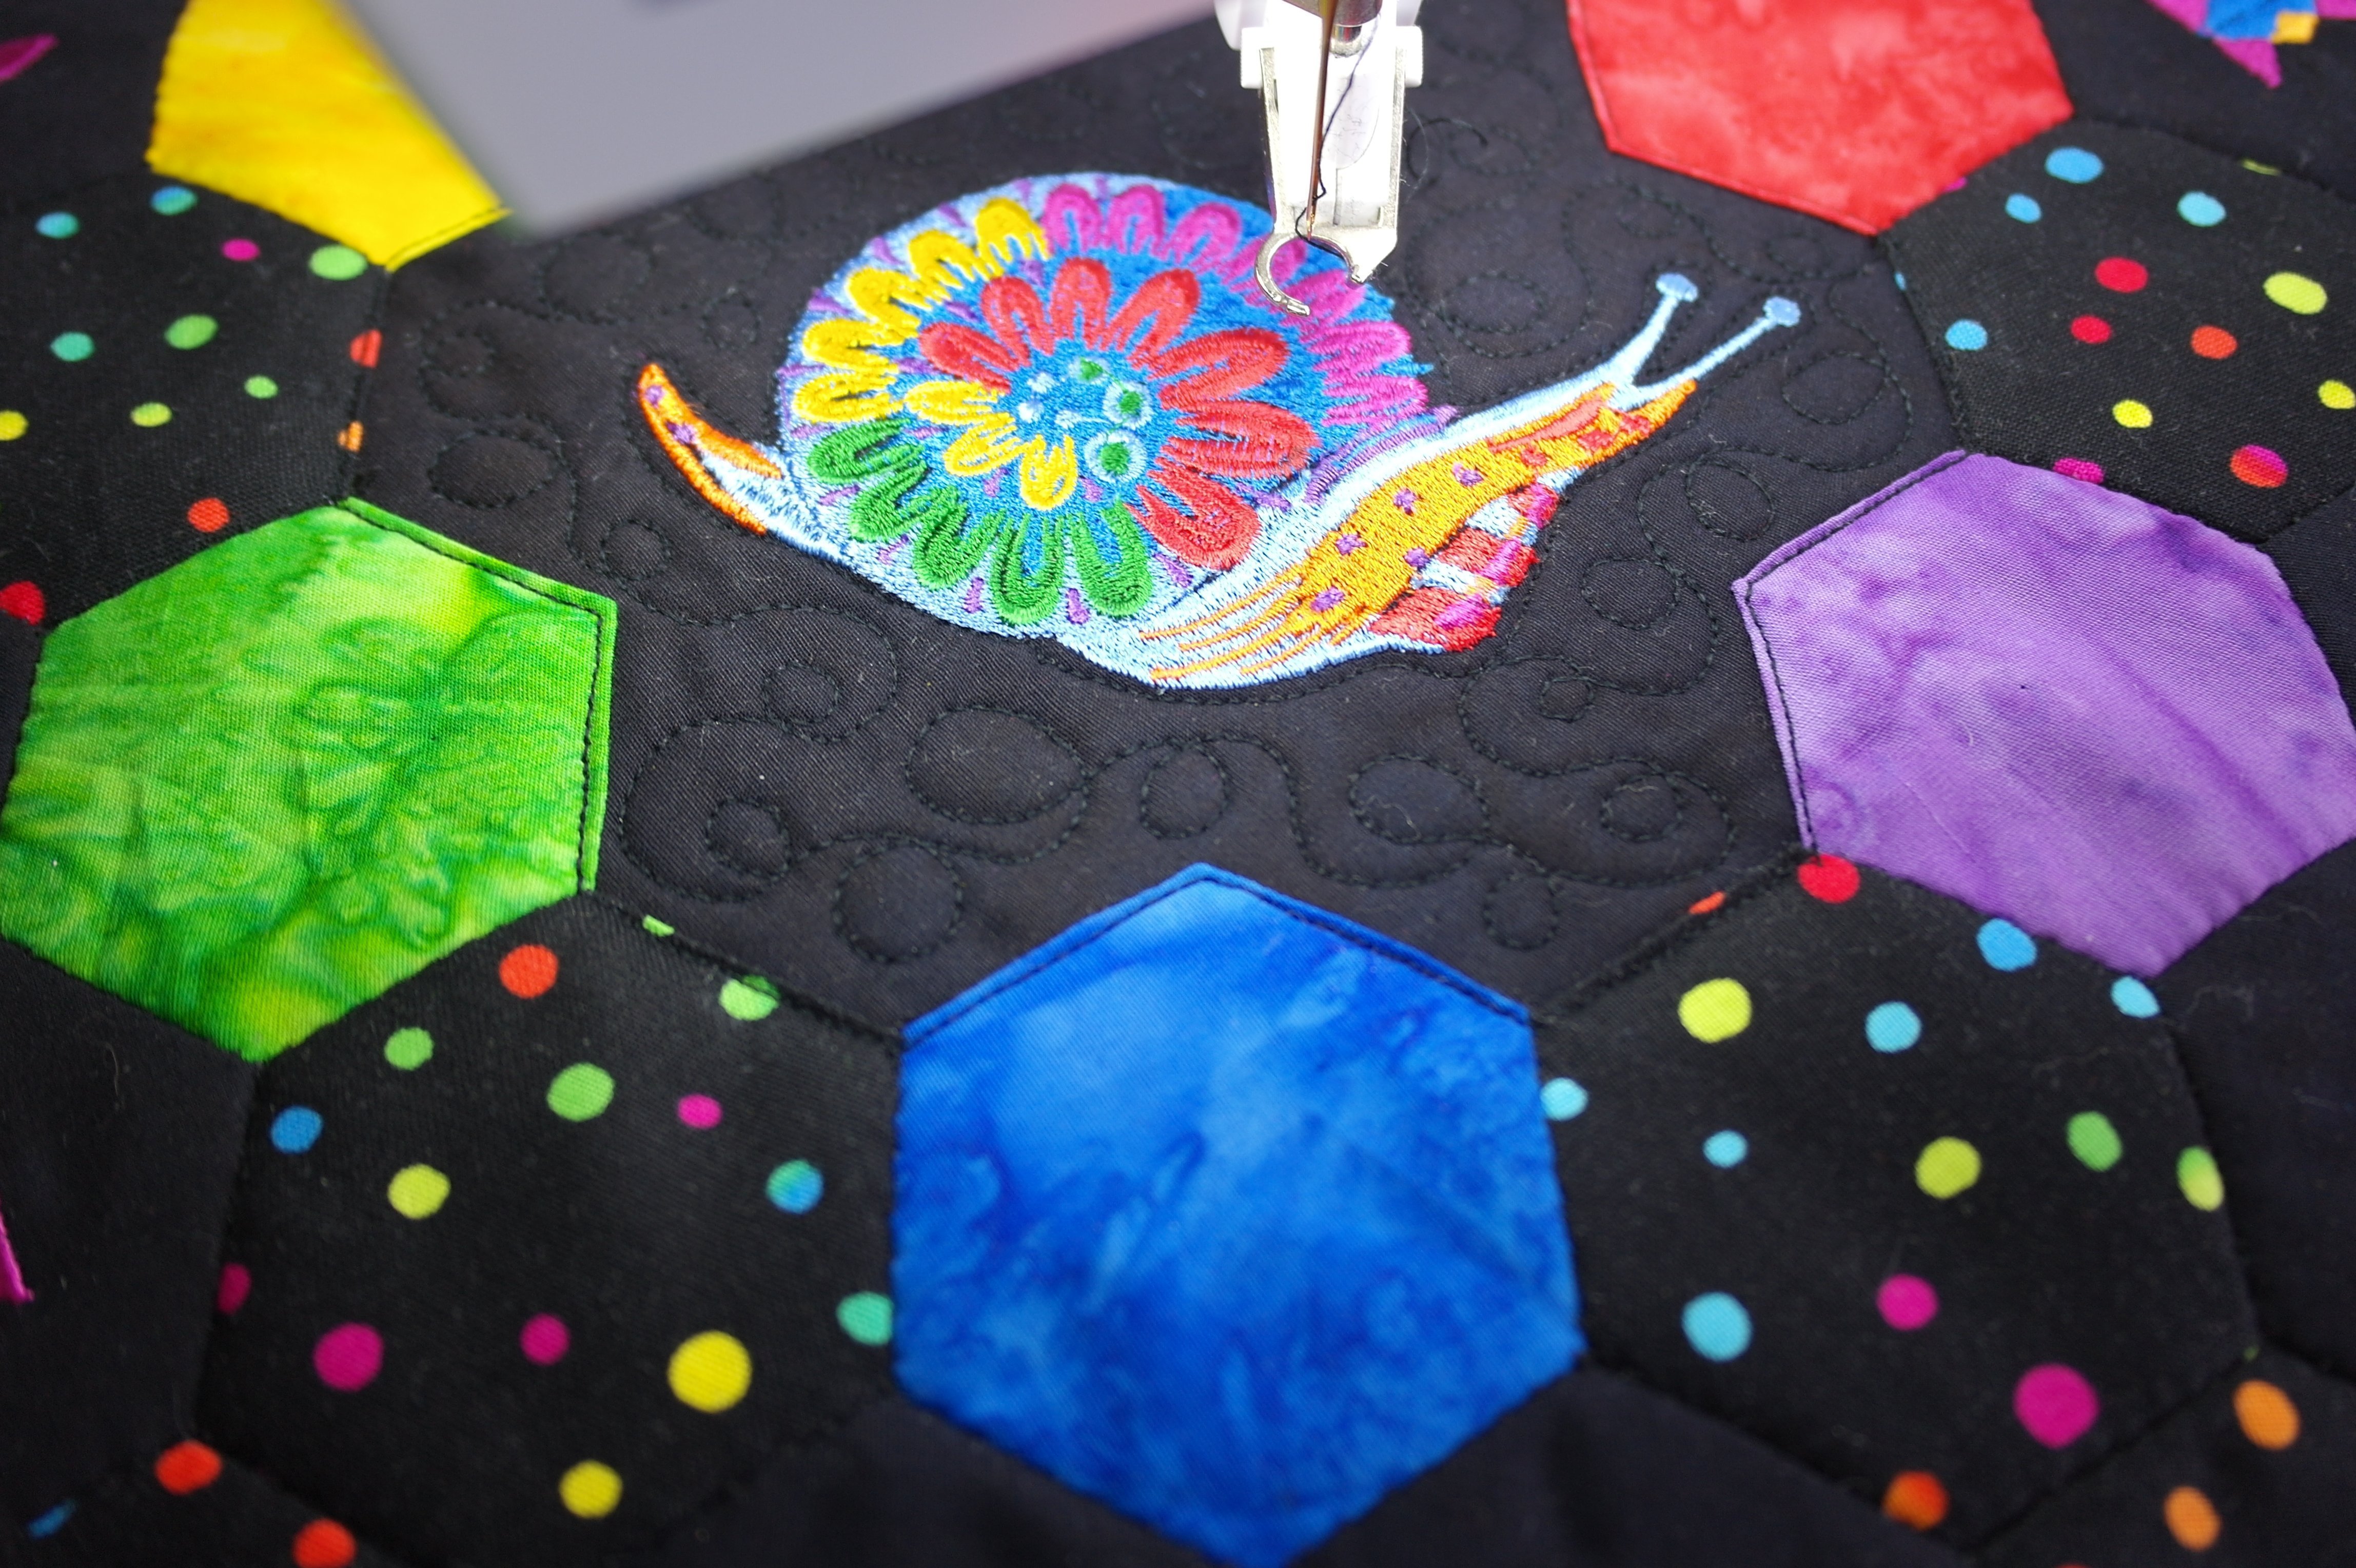
And now the quilting begins black machine quitling thread on top, and black DecoBob in the bobbin. I will quilt the hexagons down along the edges, and the rest – free-motion curls – with the BSR.
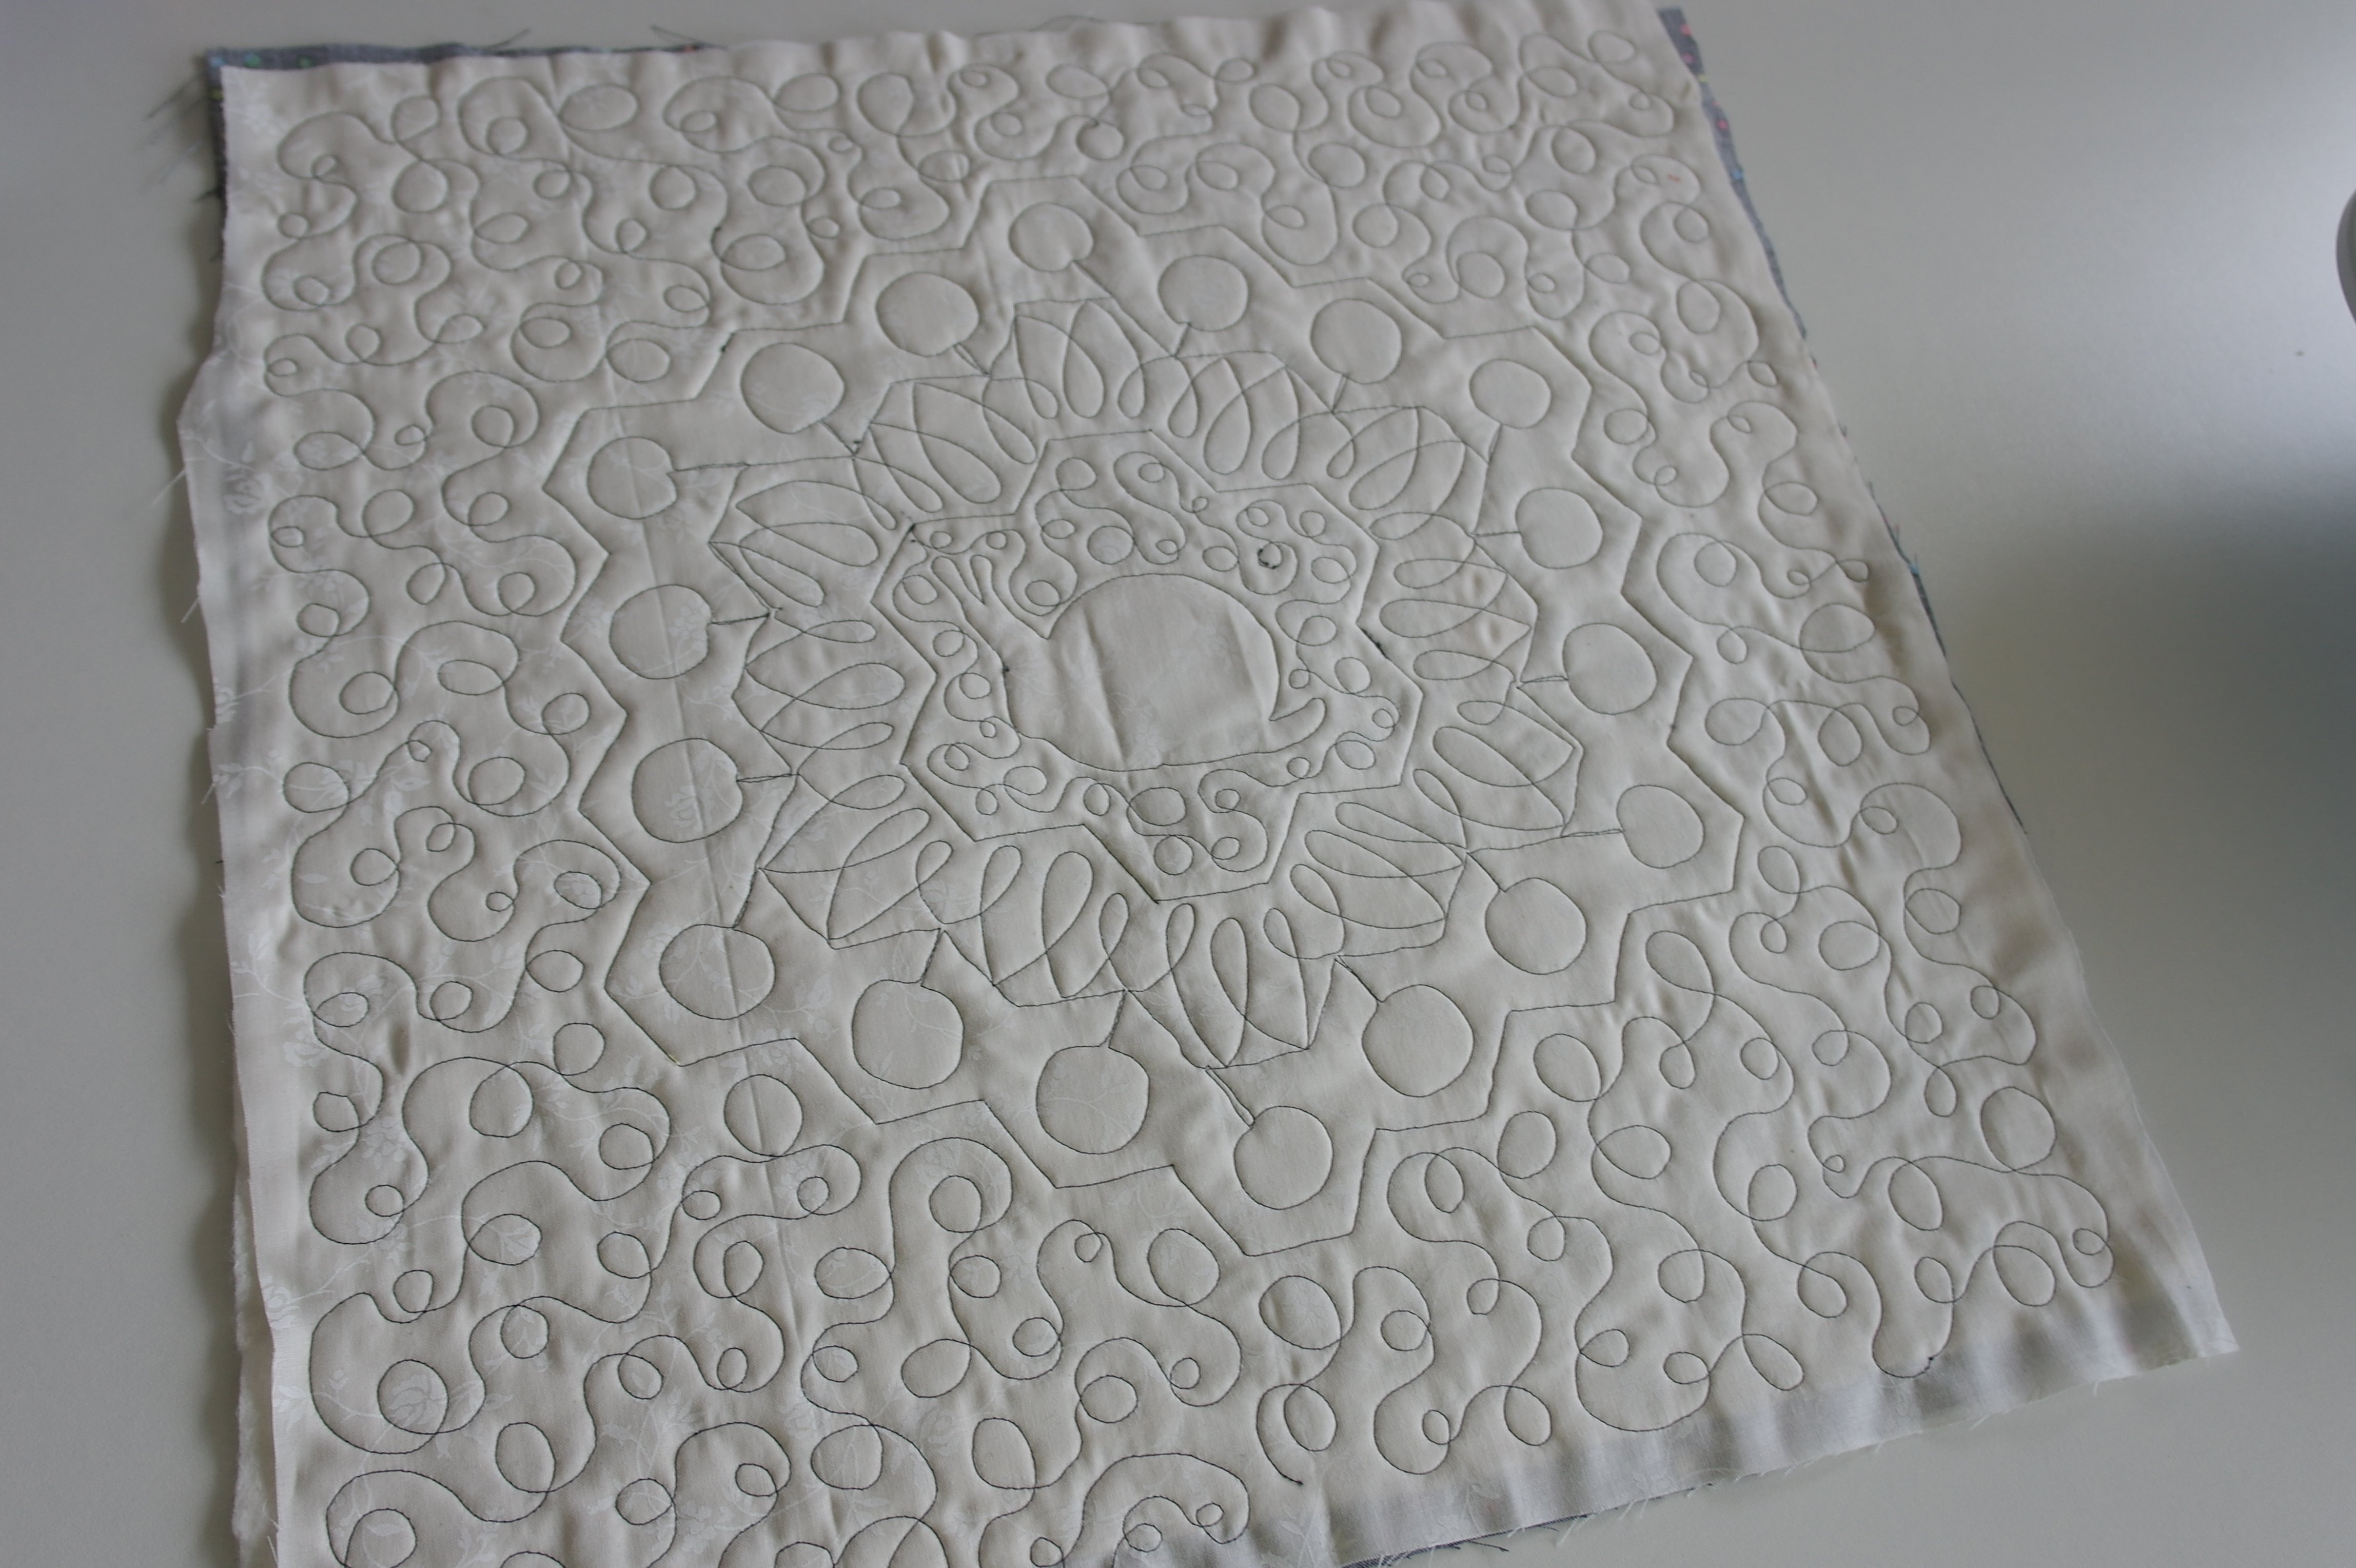
This is the back after quilting: curls and swirls.

After quilting – which will give a bit of shrinkage – I have cut the size back to 40x40cm: it was important to keep the hexagons centered, so I have measured a lot before cutting.
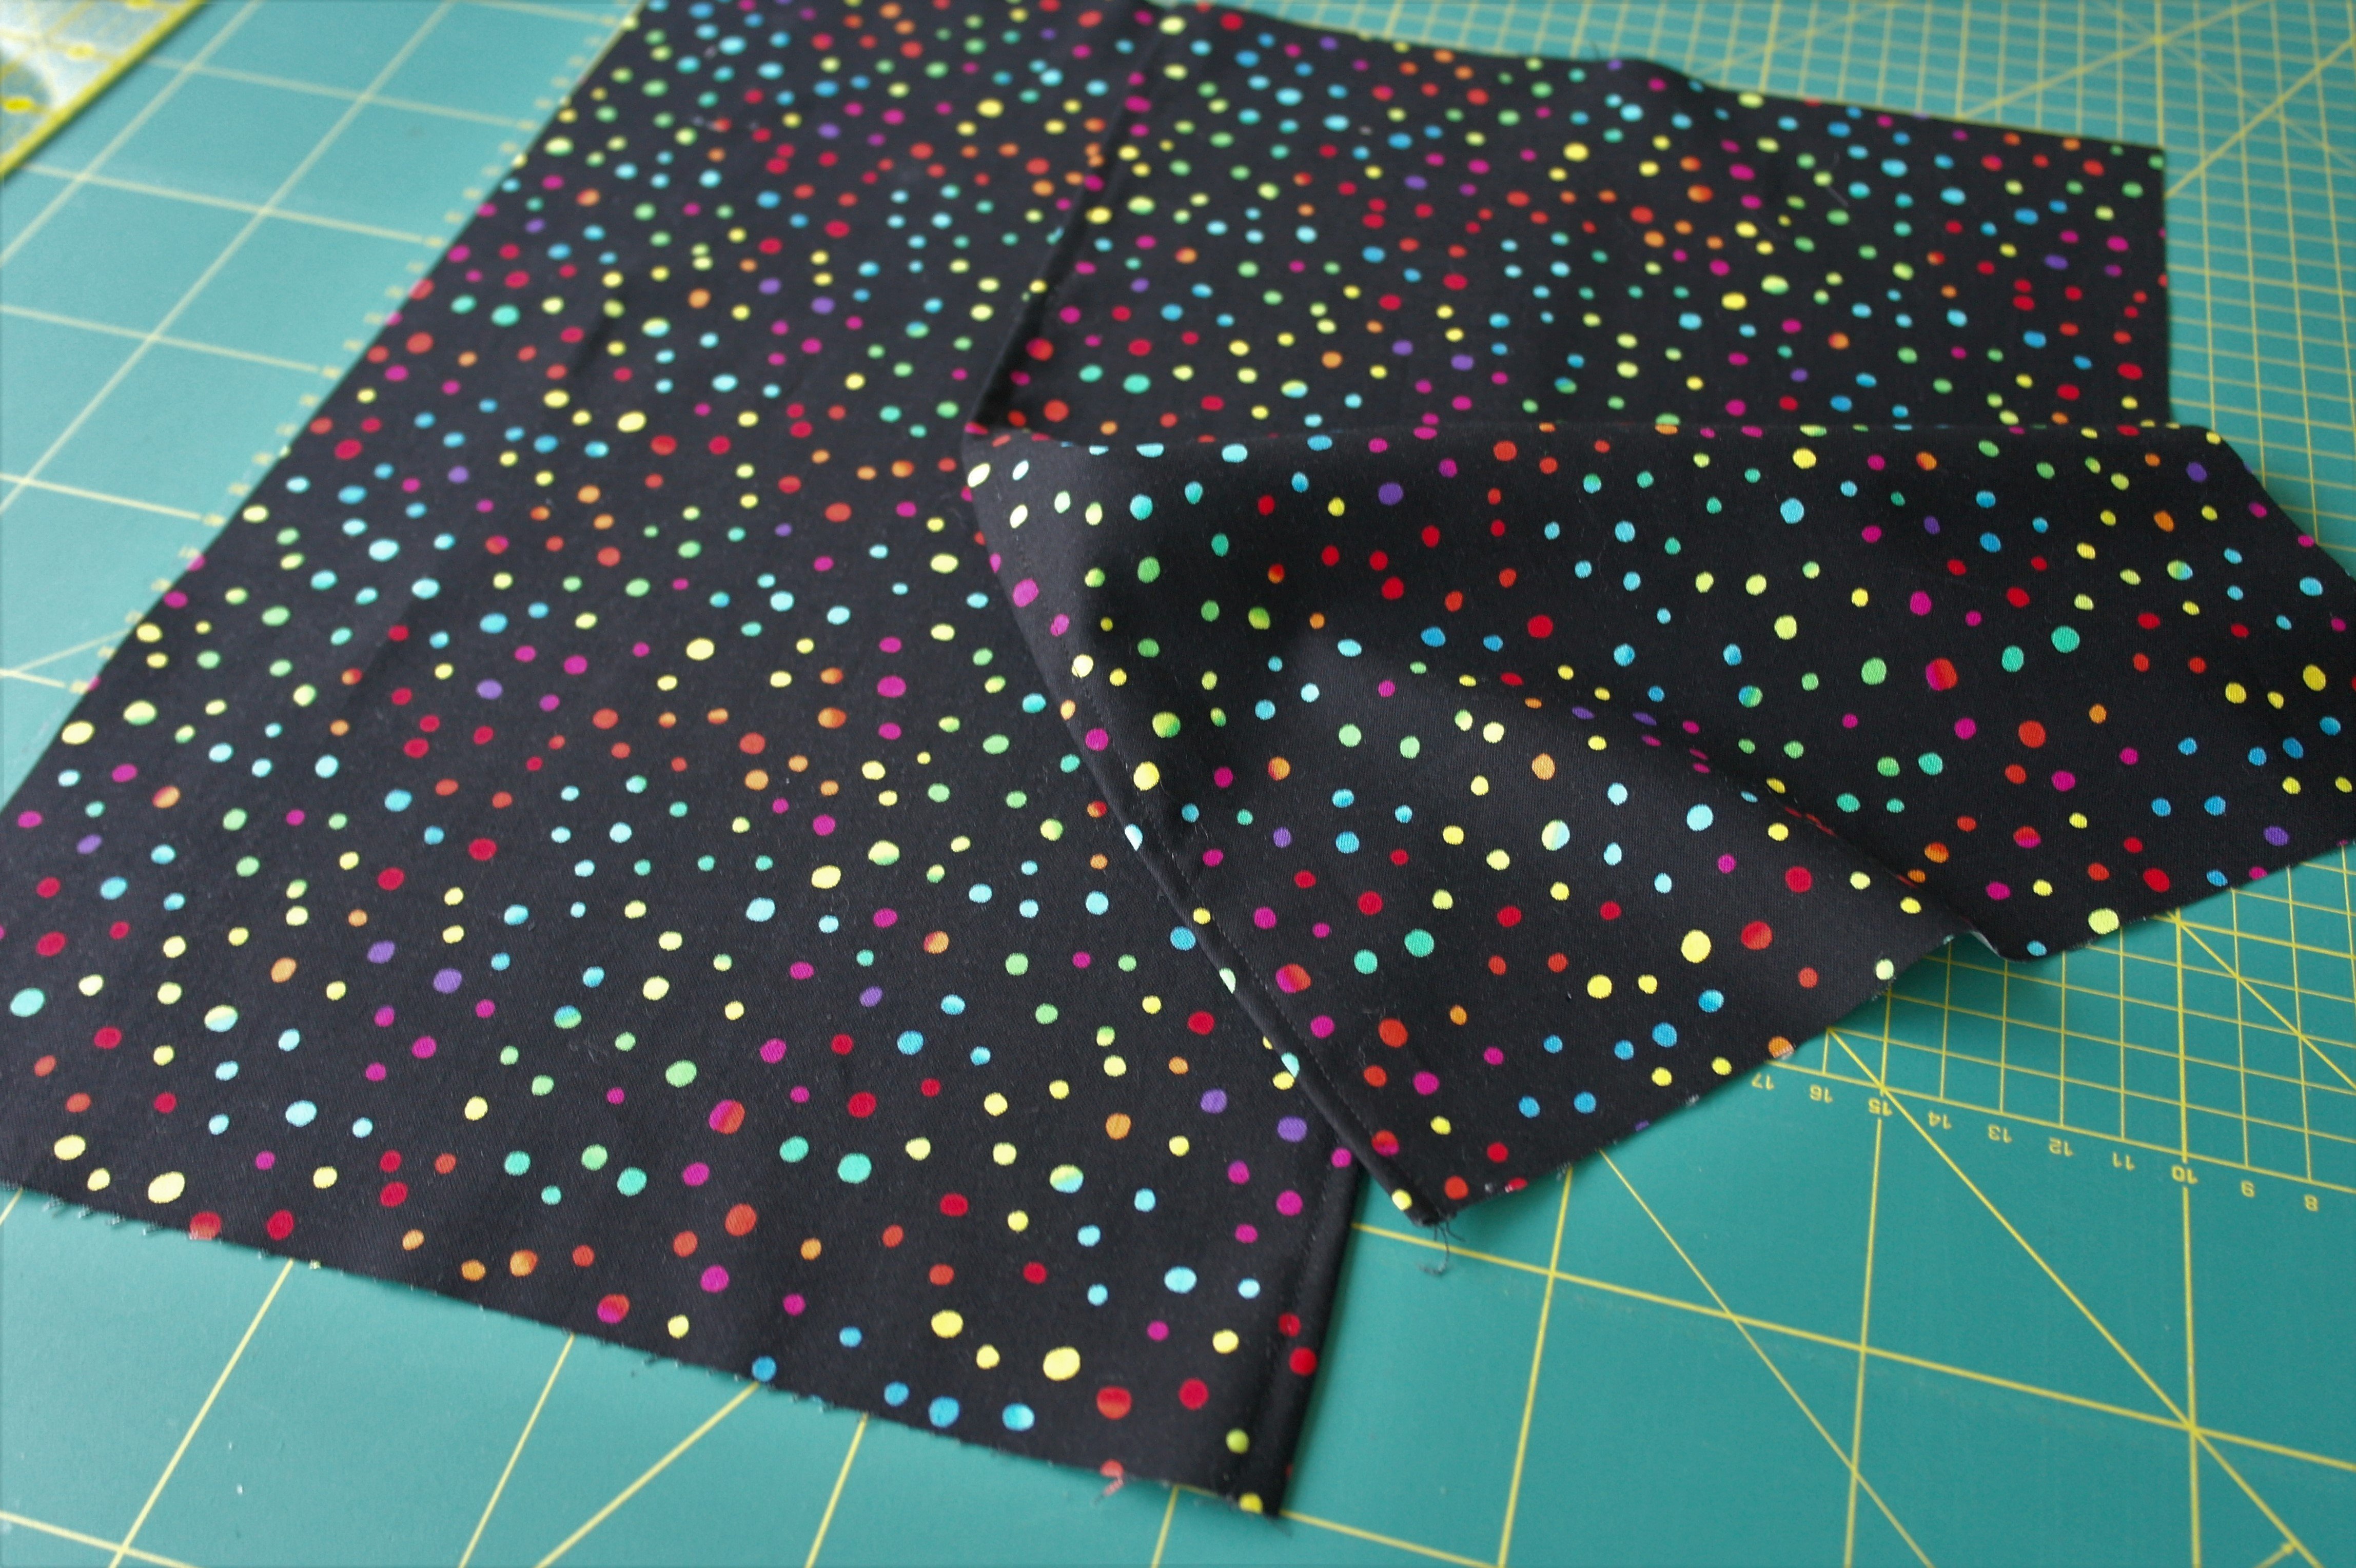
I have made the back of the pillow case from the remaining colorful fabric: folded it double, cut the fold, seamed the edges and placed them over each other to make a square of 40x40cm with an opening. This is the easiest way to make a back of a pillowcase, without having to make buttonholes or adding zippers.
I have placed the quilted front and the back right sides together. All four sides can be sewn, because of the opening on the back – no difficult way to leave a small section of a side open for turning and adding the inner pillow, and closing the opening by hand afterwards. Much easier…
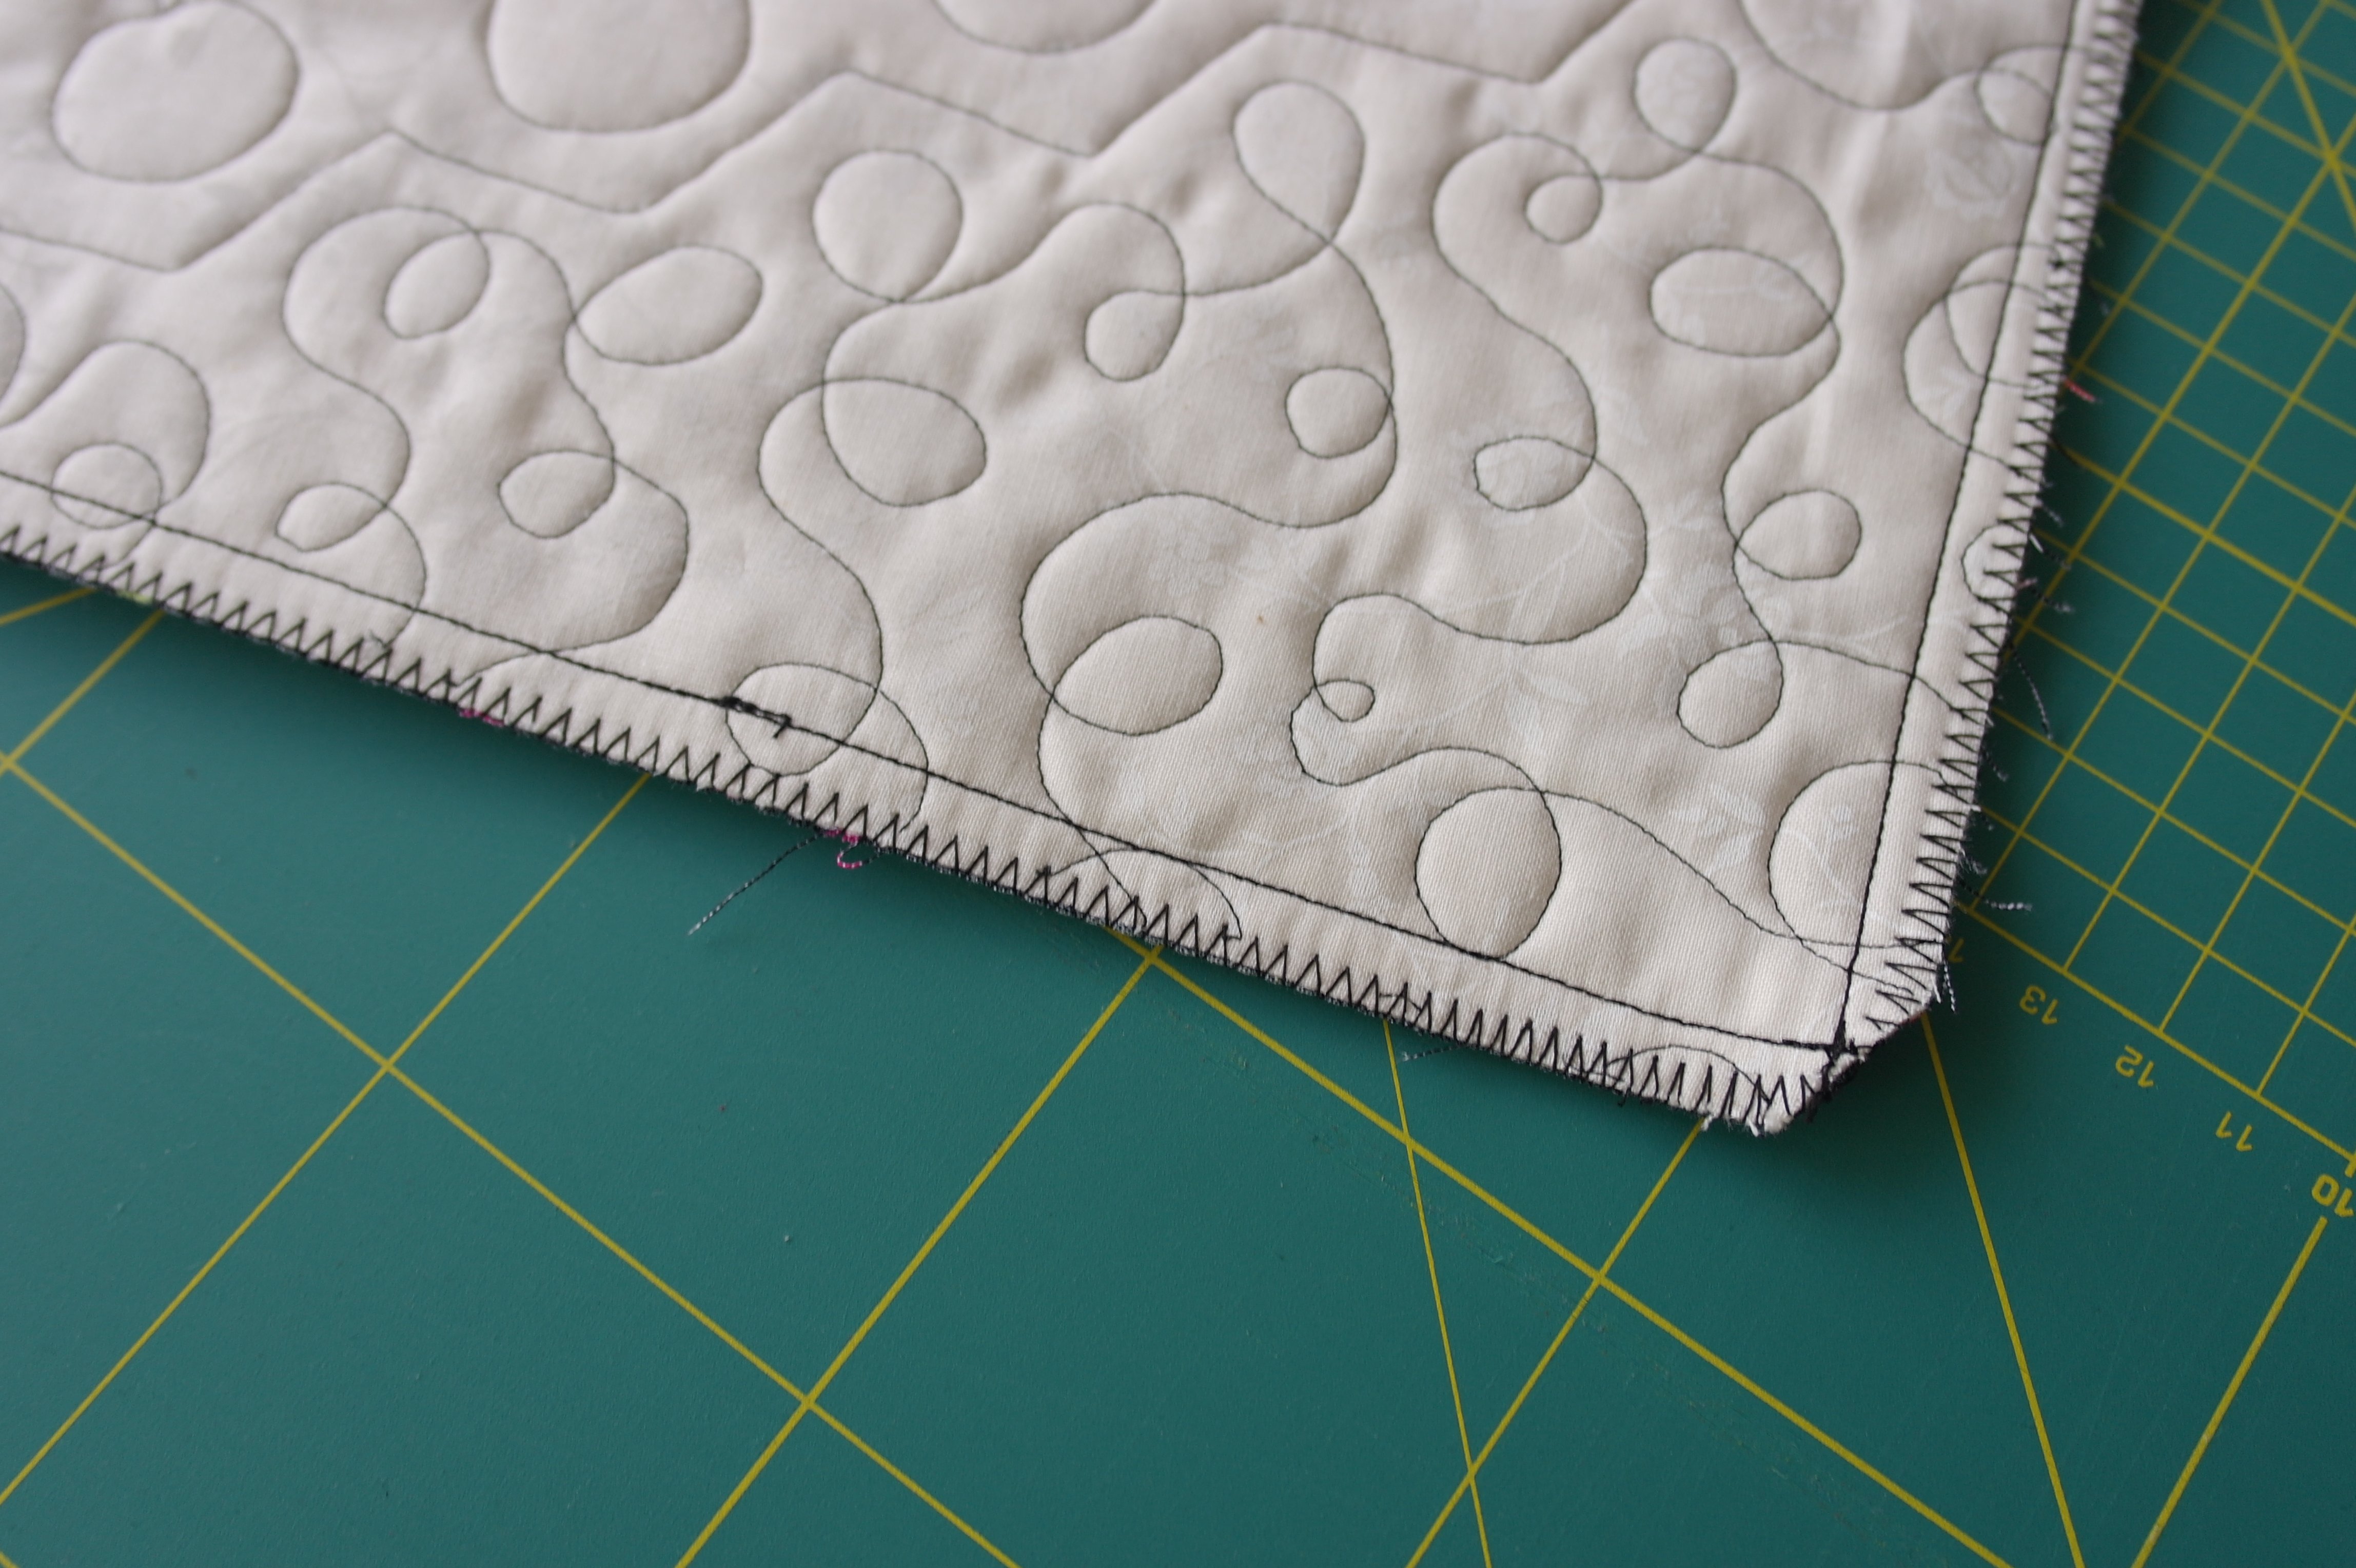
Clipping corners and zigzagging the edges. Turning the pillow case, pushing the corners outward and placing the inner pillow (aprox. 40x40c) inside…
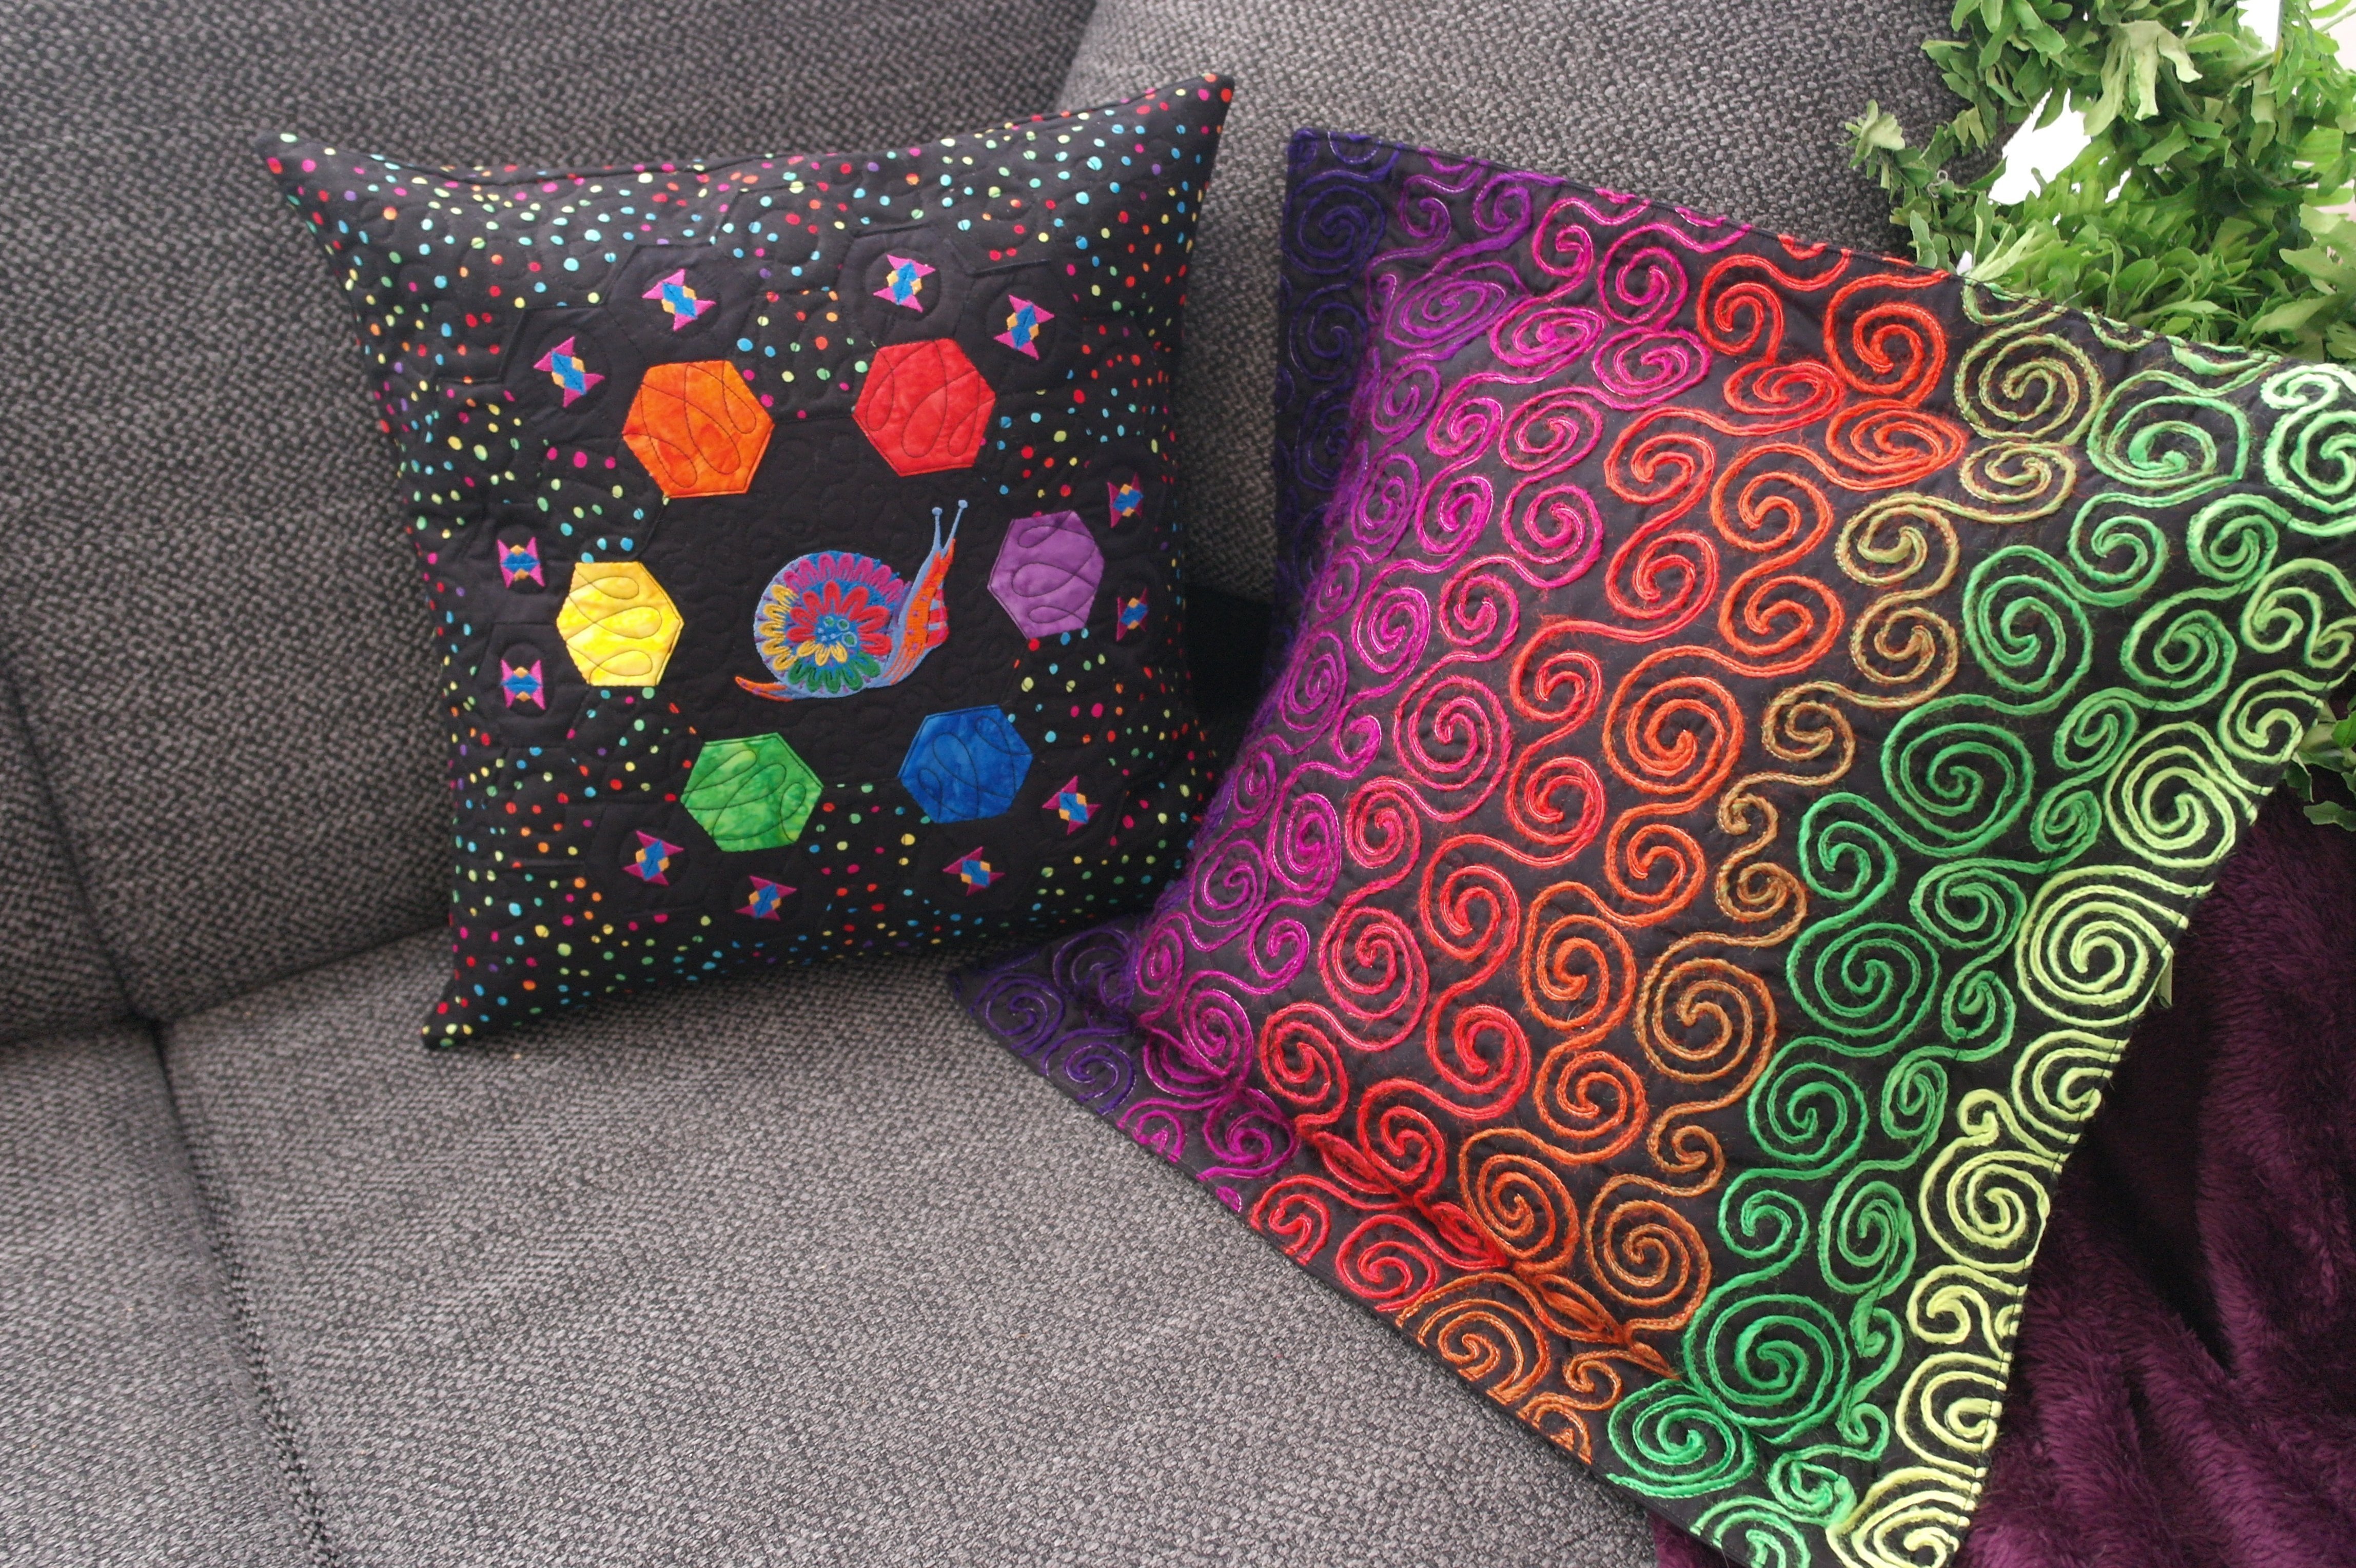
and now I have a fun pillow, placing it next to the one I have made a while back with the free-motion couching foot #43 . Doesn’t this looks great? i had a lot of work with editing the small and large embroidery motifs in the Bernina Embroidery Software, doing the actual embroidery and making the hexagons, quilting etc…. but the result is ok! I love doing so much variated things…
So what’s next?! You can find out in a new blog…
Happy quilting!
Sylvia Kaptein
Sylvia’s Art Quilts Studio
www.sylviasartquilts.nl
0 Responses