 BERNINA Corporate Blog -
Piping is a great detail for adding some contrast or pop of colour. You can buy ready-made piping, but the quality of the fabrics used is often wanting.
Maybe you have, like me, looked unsuccessfully for piping in that special colour that matches your project perfectly, or wanted to make piping from a certain fabric? Then this easy tutorial is for you!
Today I’ll show you how to make custom piping – no special feet needed, just with the standard equipment of my bernette 38 (and many other BERNINA machines).
How to make piping with a zipper foot
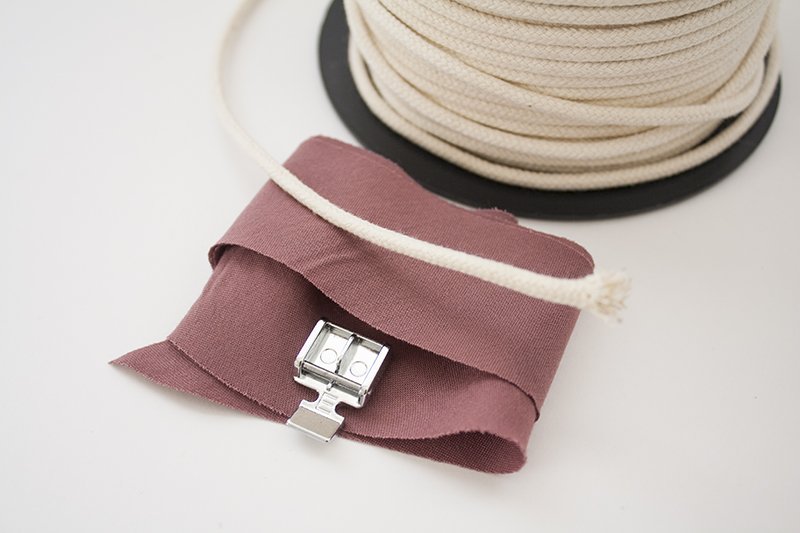
Here’s what you’ll need for making piping:
- bias tape – I cut mine from my fabric, but the store-bought one works, too. If you choose a wider one you’re on the safe side. Keep in mind that after encasing the cord with the bias tape, you still need some “seam allowance”. I cut my bias tape 4 cm / 1.57″ wide to get a seam allowance of 1.5 cm / 0.6″.
- cord – mine was 3 mm / 0,12″. If you are using cotton cord, you might want to pre-wash it, because cotton can shrink in the washing machine. You don’t want the piping to shrink on your finished garment.
- zipper foot – standard equipment that comes with my bernette 38
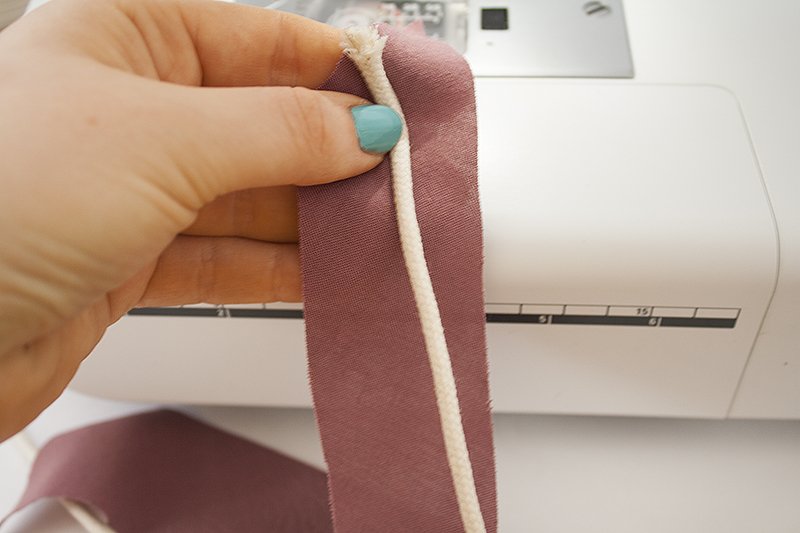
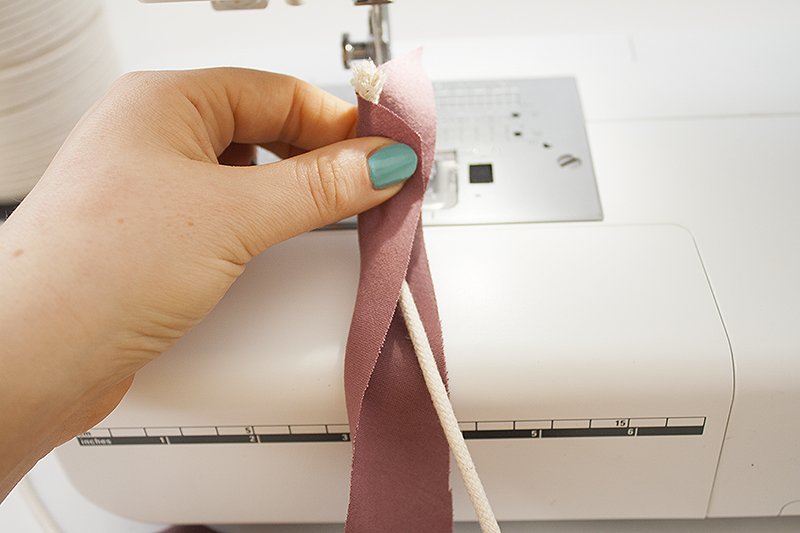
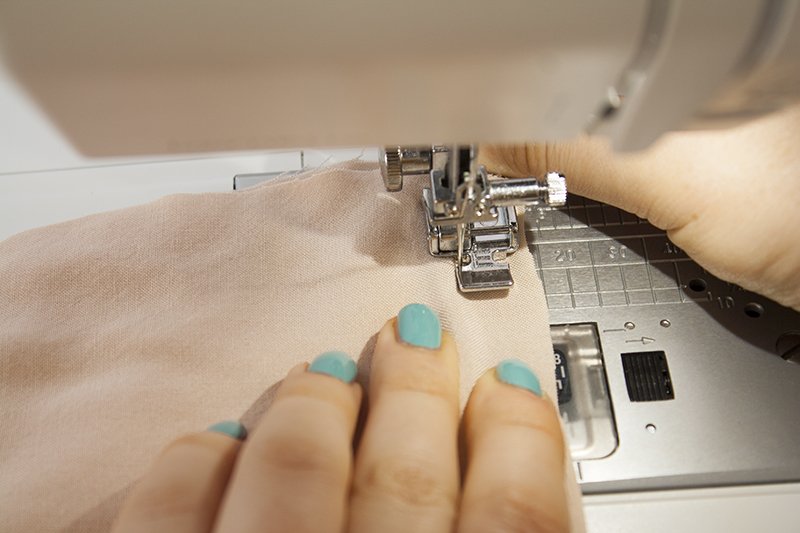
Place the cord in the middle of the bias tape. Fold it in half, so that the raw edges align and the cord sits in the middle/the fold, being encased by the bias tape.
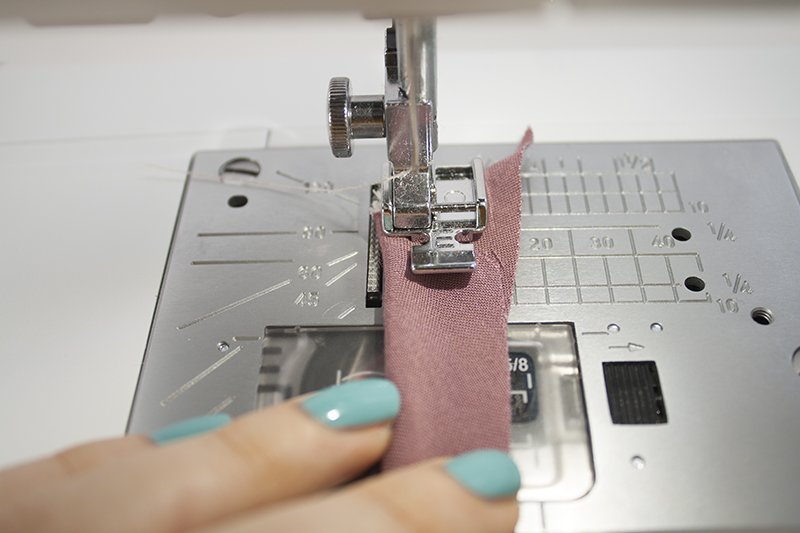
Attach the zipper foot and place the bias tape-and-cord-sandwich under the foot. The thick side with the encased cord is, as you can see, on the left, placed directly under the notch in the zipper foot that is perfect for compensating height differences like in this case.
While sewing, guide the encased cord under this notch, making sure the seam gets placed right next to the cord.
Sew using a straight stitch, a longer stitch length of 4.5-5 is fine. This is a makeshift seam to make sure everything stays in place; we’ll secure everything when we use the piping between a seam.
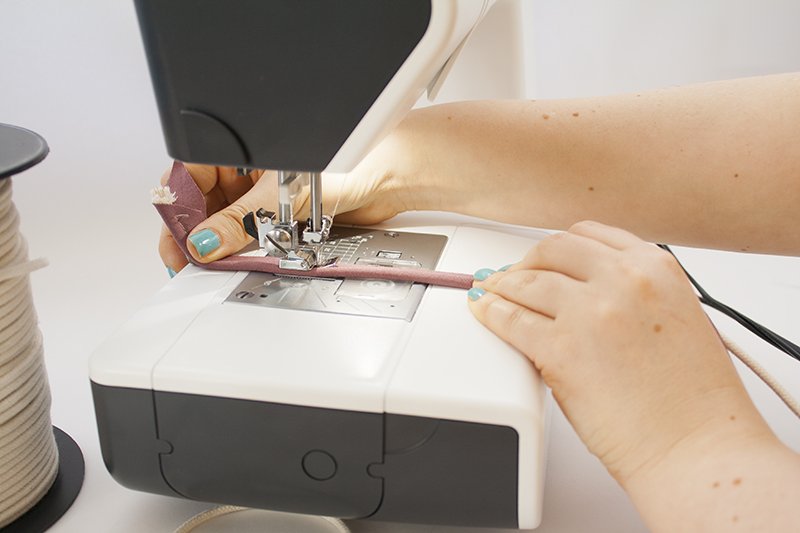
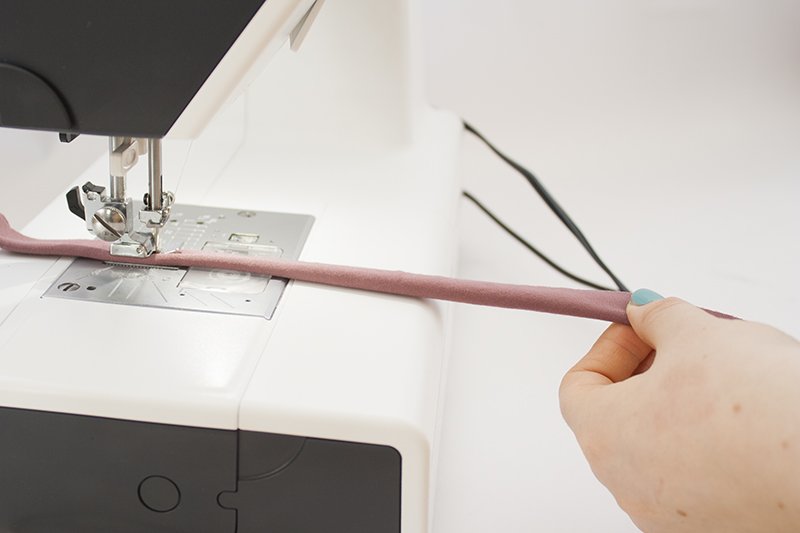
Depending on your cord, you might want to gently pull the piping to help the feeding dogs.
It’ll become clear fast whether or not your machine needs a little help so that the piping is sewn smoothly.

While working on the piping, sew only a few inches at a time, and prepare the next few inches of the piping by placing the cord in the middle of the bias tape and folding it over. Hold with one hand, secure the layers with the seam, prepare the next few inches, and so on.
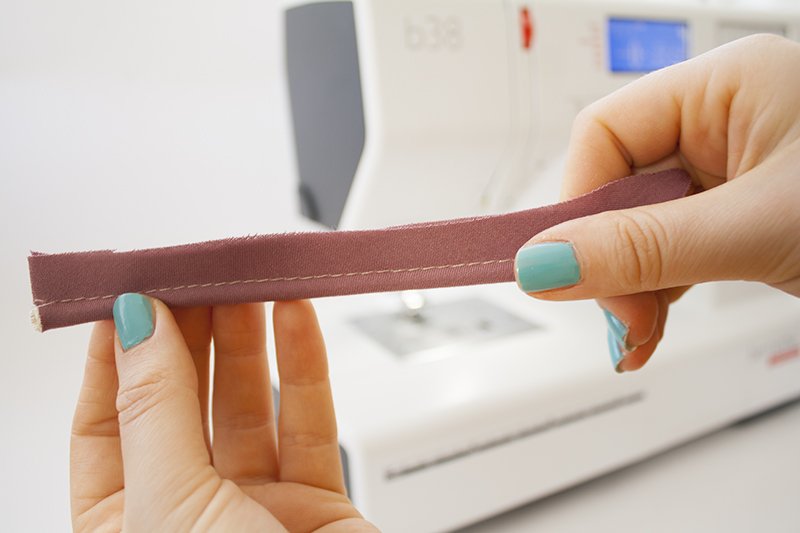
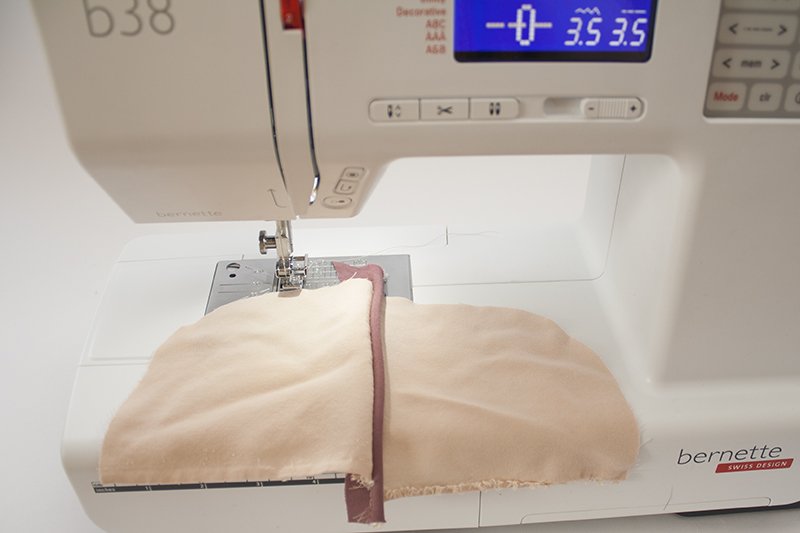
Above, you can see a finished piece of piping. The seam should run directly next to the cord so it is encased snugly.
Next to the encased cord, I have enough seam allowance left. It exactly matches the seam allowance of the seam I want to place the piping on. If the piping seam allowance is too wide, you can just trim it a little and then sew all the layers with the edges aligning.
Now, let’s get to sewing the piping to our fabric.
Place the piping onto one of the pieces where you’ll want it to sit, the part with the cord facing towards the middle.
Ideally, your seam allowances are identical, and you can just align the raw edges.
If the seam allowance of your piping is smaller, you’ll need to measure the difference and pin it in place accordingly.
Like when making the piping, use the zipper foot to baste the piping in place with a long stitch length.
Now place the second piece on top of your first piece. Align the edges and pin in place if desired.
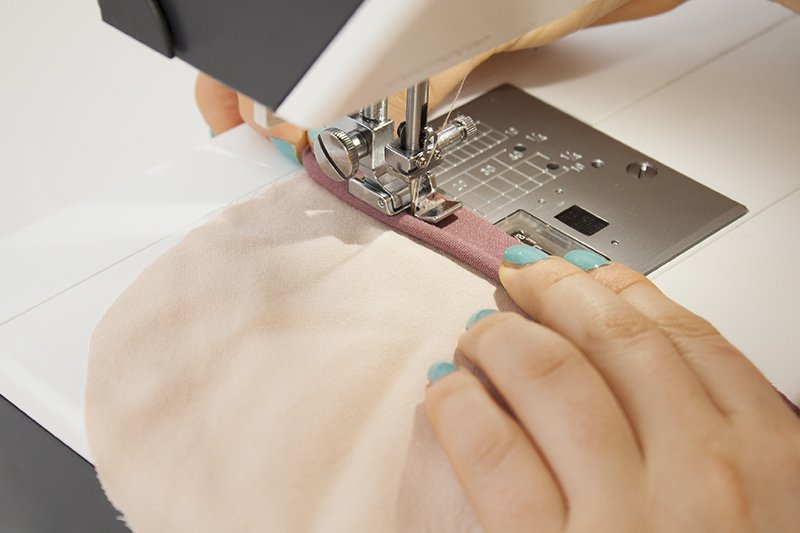
You’ll want the seam to sit right next to the thick part of the piping, so that just this part is visible and everything else is concealed between the layers.
Use the notch in the sewing foot and the cord as a guide. Place the fabric so that the needle will dip into the fabric right next to the cord.
You might want to get the feel for it first, so practice on a scrap if desired.
If you don’t place the ridge of the piping directly under the notch and next to the guide of the sewing foot, the cord won’t be enclosed between the layers snugly, and parts of the bias tape seam allowance will be visible. Like in the picture above, you’ll only want the thick part of the piping to be visible.
If the bias tape is still visible, just sew the part of the seam again, trying to get the seam closer to the cord.
This method works great for cords that aren’t super thick – if you want to make really big piping like you can find on upholstery, you might need to switch to a piping foot.


The zipper foot is a special foot. You need to adjust the title to be less misleading.
Dear Anon,
The zipper foot is an included standard accessory for the b 38, so you do not need to buy and special presser foot for this technique, such as the piping foot. I believe this is why she chose the title like this.
Thank you for putting together this helpful blog post! The way you explained it made it easy for me to understand and I’m glad I didn’t have to go out and buy a piping-specific foot!