 BERNINA Corporate Blog -
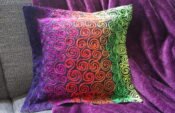
Wow, we’re about half way with this proejct! Time flies… working on block 7 is next, and – this must be familiar to you – making a sandwich of 32 x 32 cm. You can download the two parts of the pattern: HERE fot the left part and HERE for the right part.
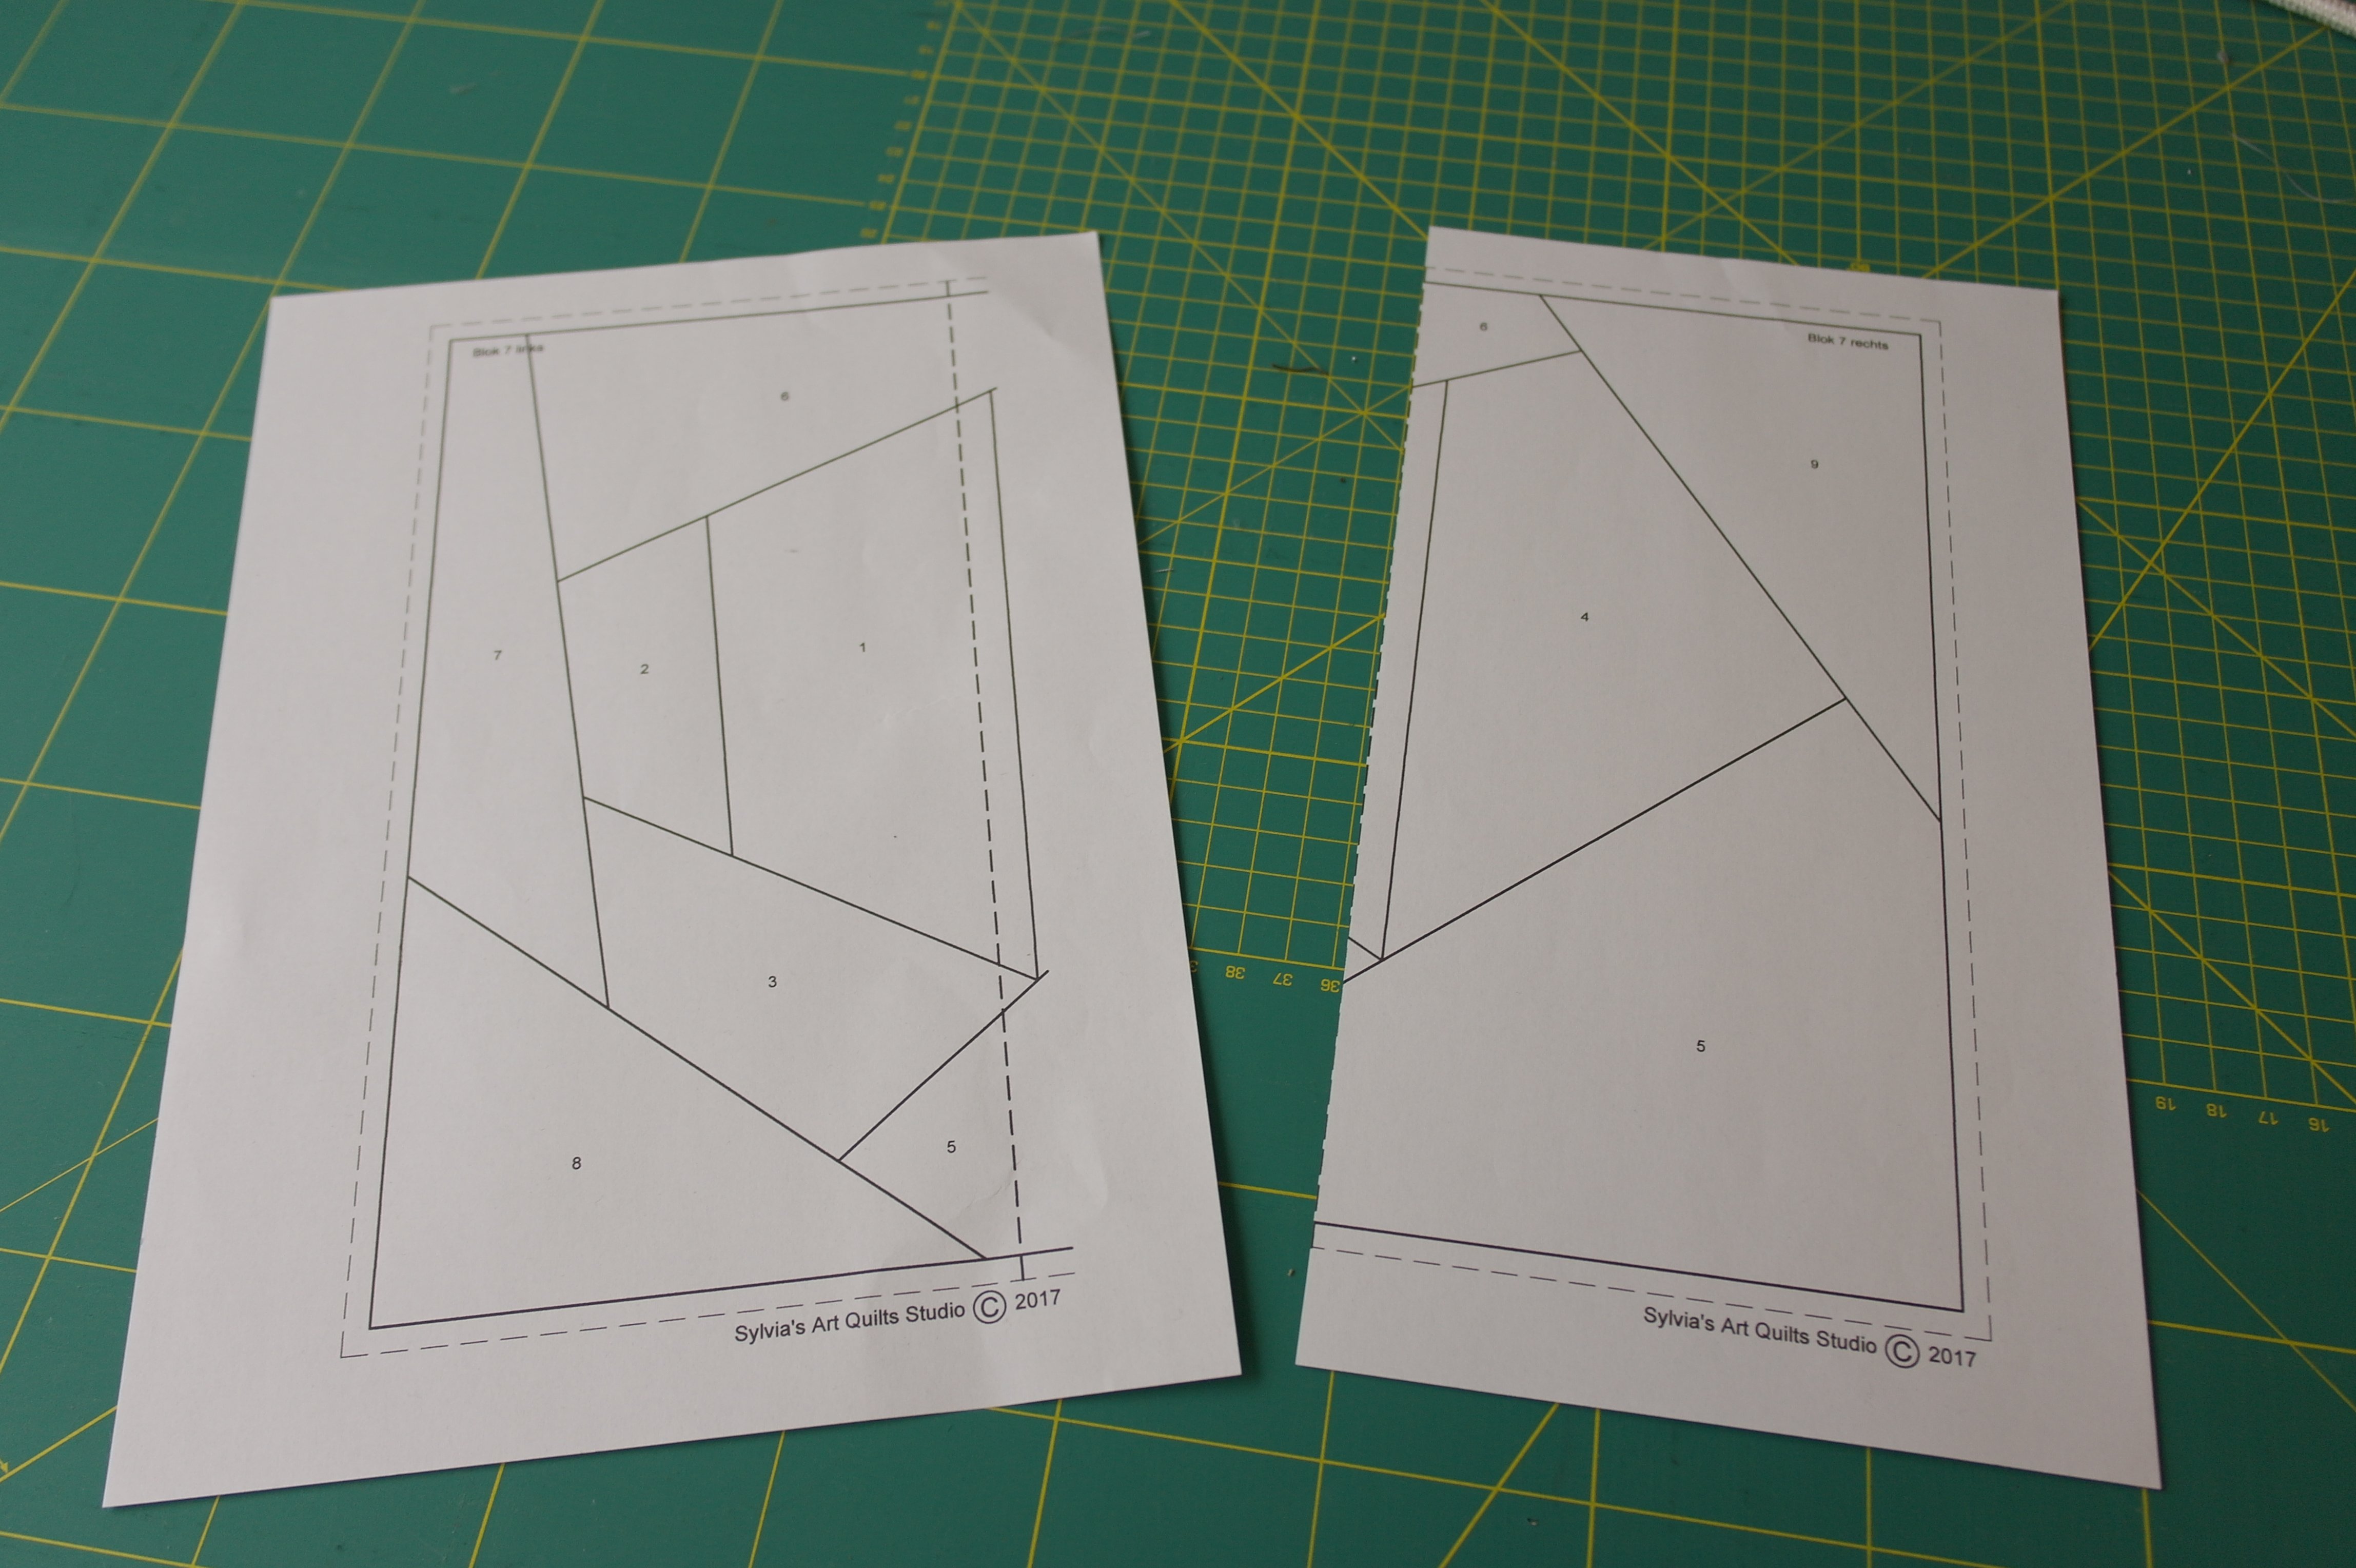
And this too is familiar: taping both pattern parts together,
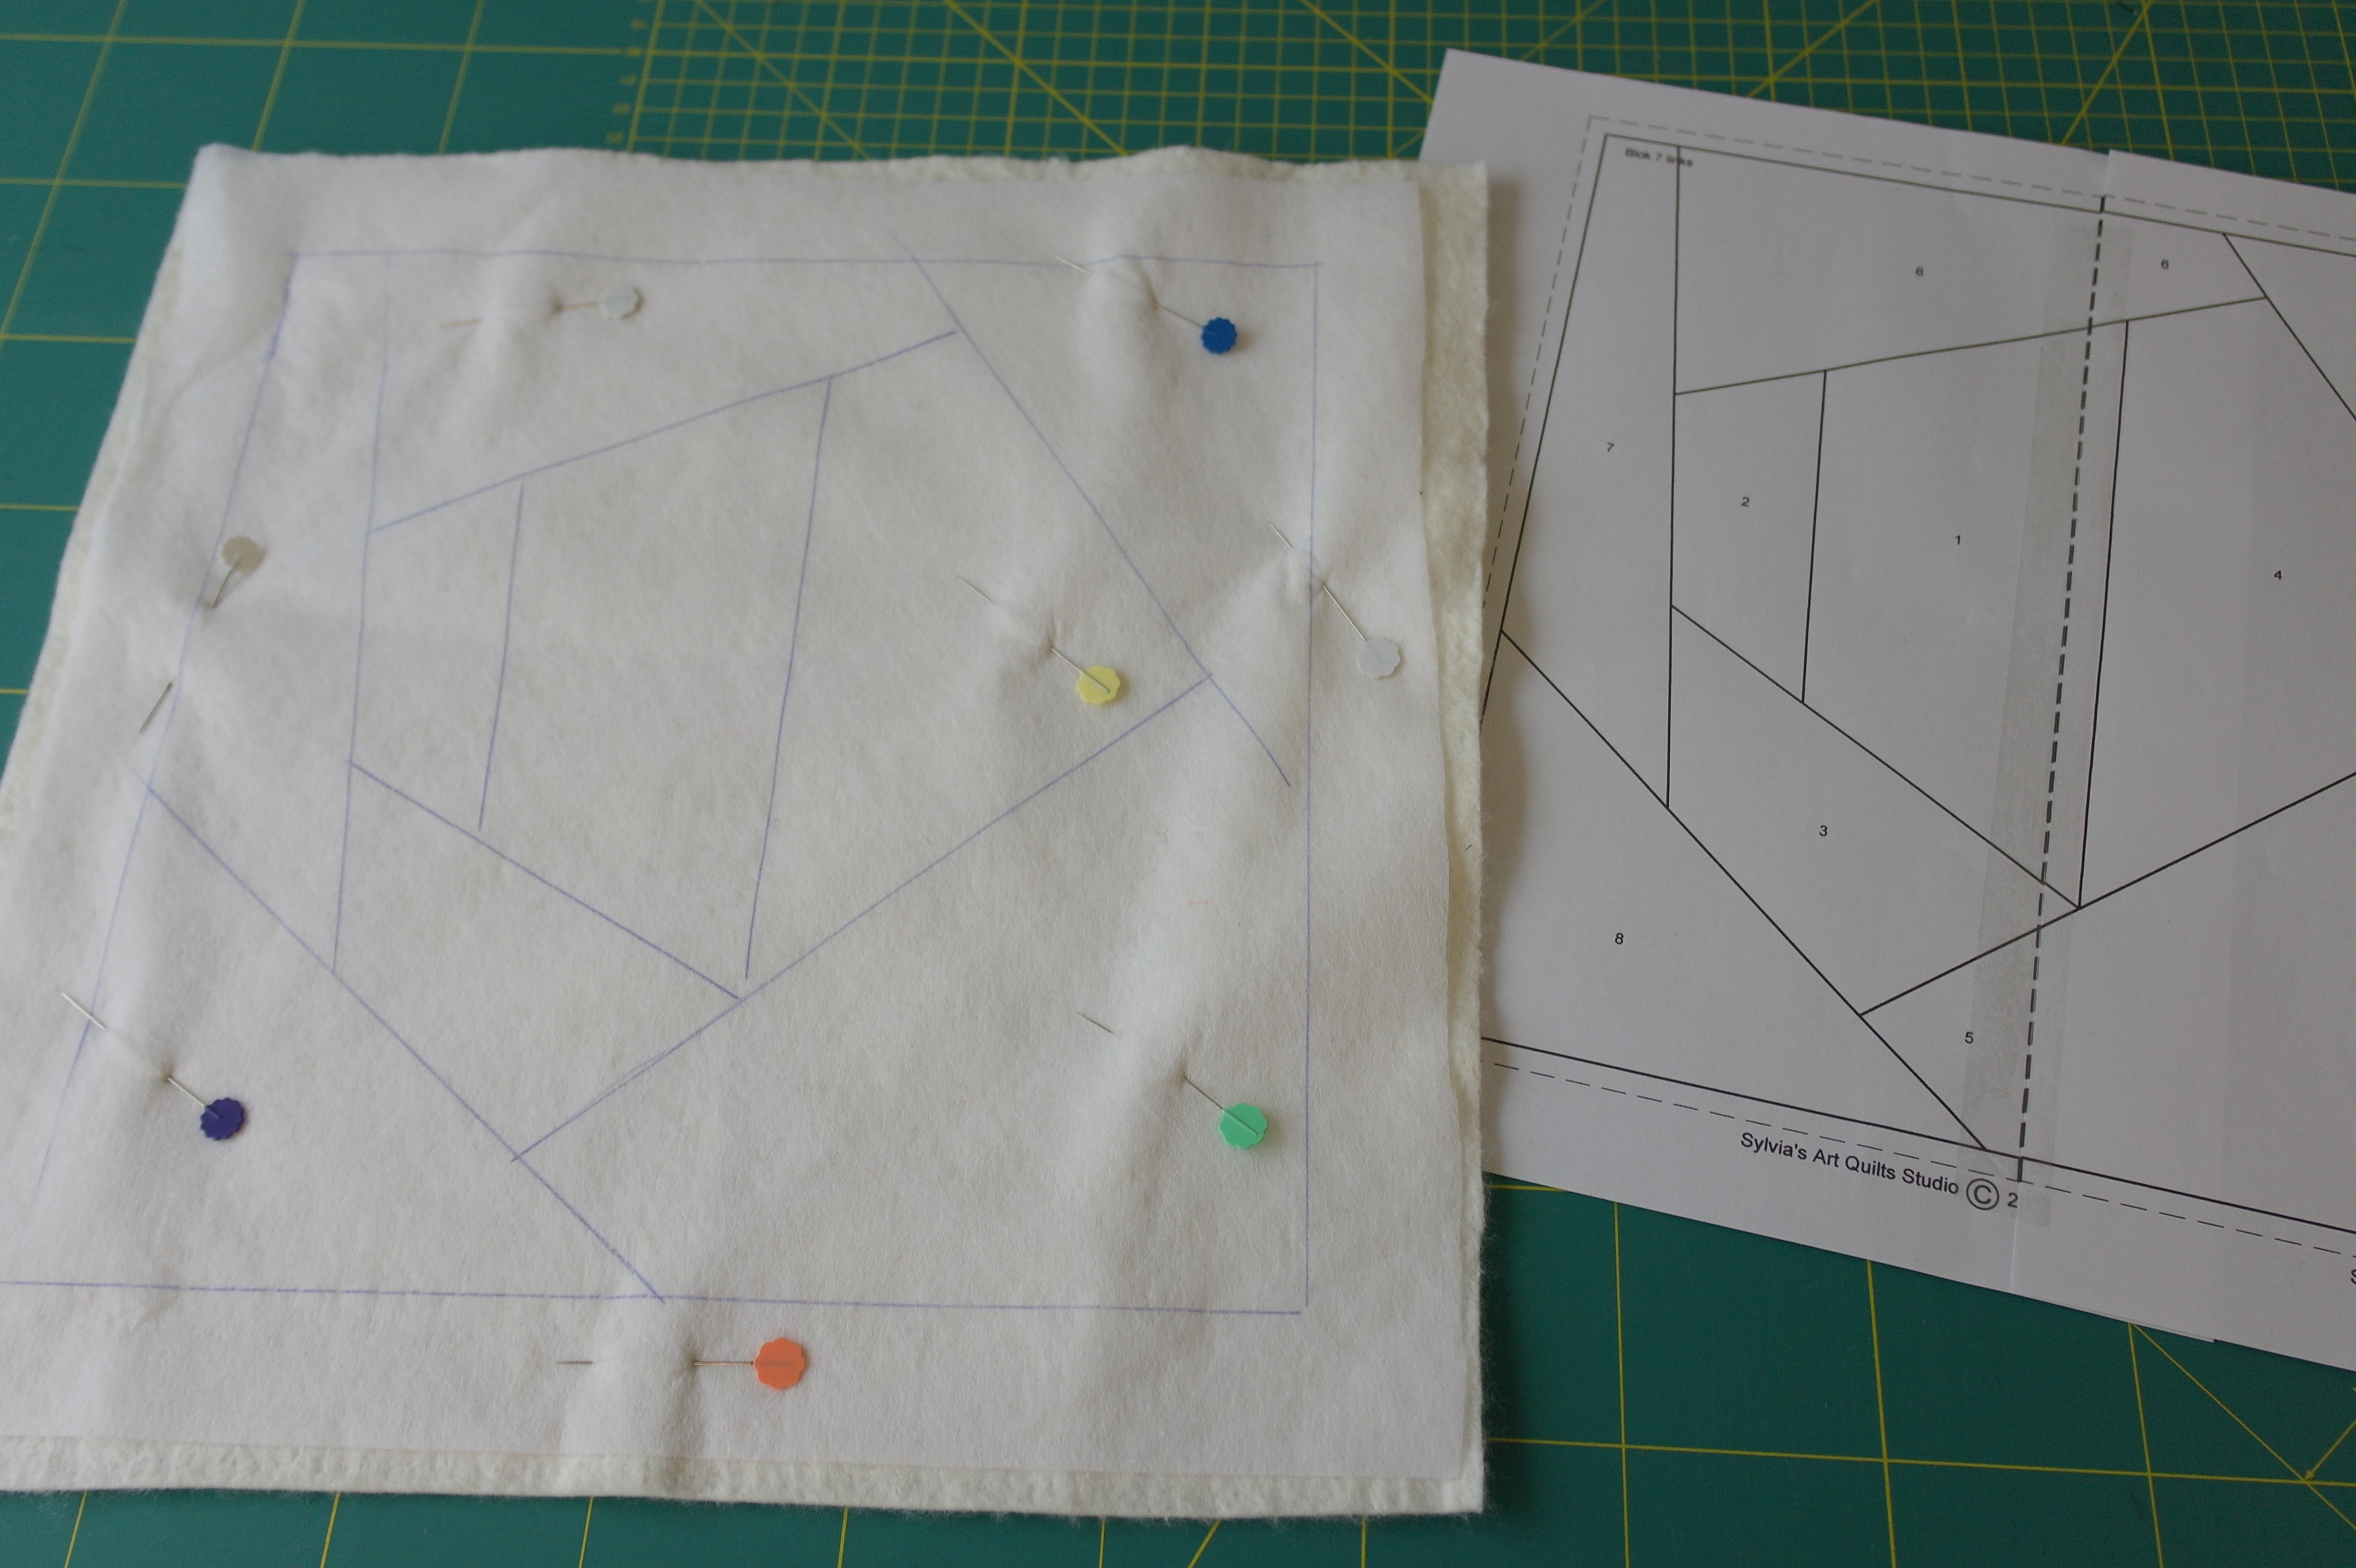
using Vlieseline L11 – 32 x 32cm – to draw the lines of the pattern, making the sandwich from off-white backing, batting and the Vlieseline L11 on top – all at 32 x 32 cm.
Place the first fabric with seam allowance on section 1 of the sandwich (with this block you will need 9 fabrics: repeat one, like I did, or use a 9th color). And the the fun part: working with LIZZY* and the Free-motion couching foot #43. Use polyester top- and bobbin thread: they are stronger and you will need this. Work slowly: be sure the top thread/stitches will penetrate the middle of the metallic yarn – practice first on a sampler before working on block 7.
Because this is kind of ‘Freemotion Quilting’, only with thicker yarn, you will find out that the figures you are making will not be consistent – this is not a problem. It gives extra charm to your block. If you don’t want that, you can draw lines and figures with water soluble pen and work on those lines. I have done everything freehand to get a hand-made look.

Working freehand, means lowering the feed dogs. Make stitches on the short side of the fabric, the width. This places the stiches in the oposite direction of fabric 2 and 3.
Now is the time to pull LIZZY through the opening in de center of the foot if you want the yarn to be facting you (if you are working this way, be sure to hold the LIZZY in the stitch-direction, otherwise the straight stitched won’t catch the yarn)… 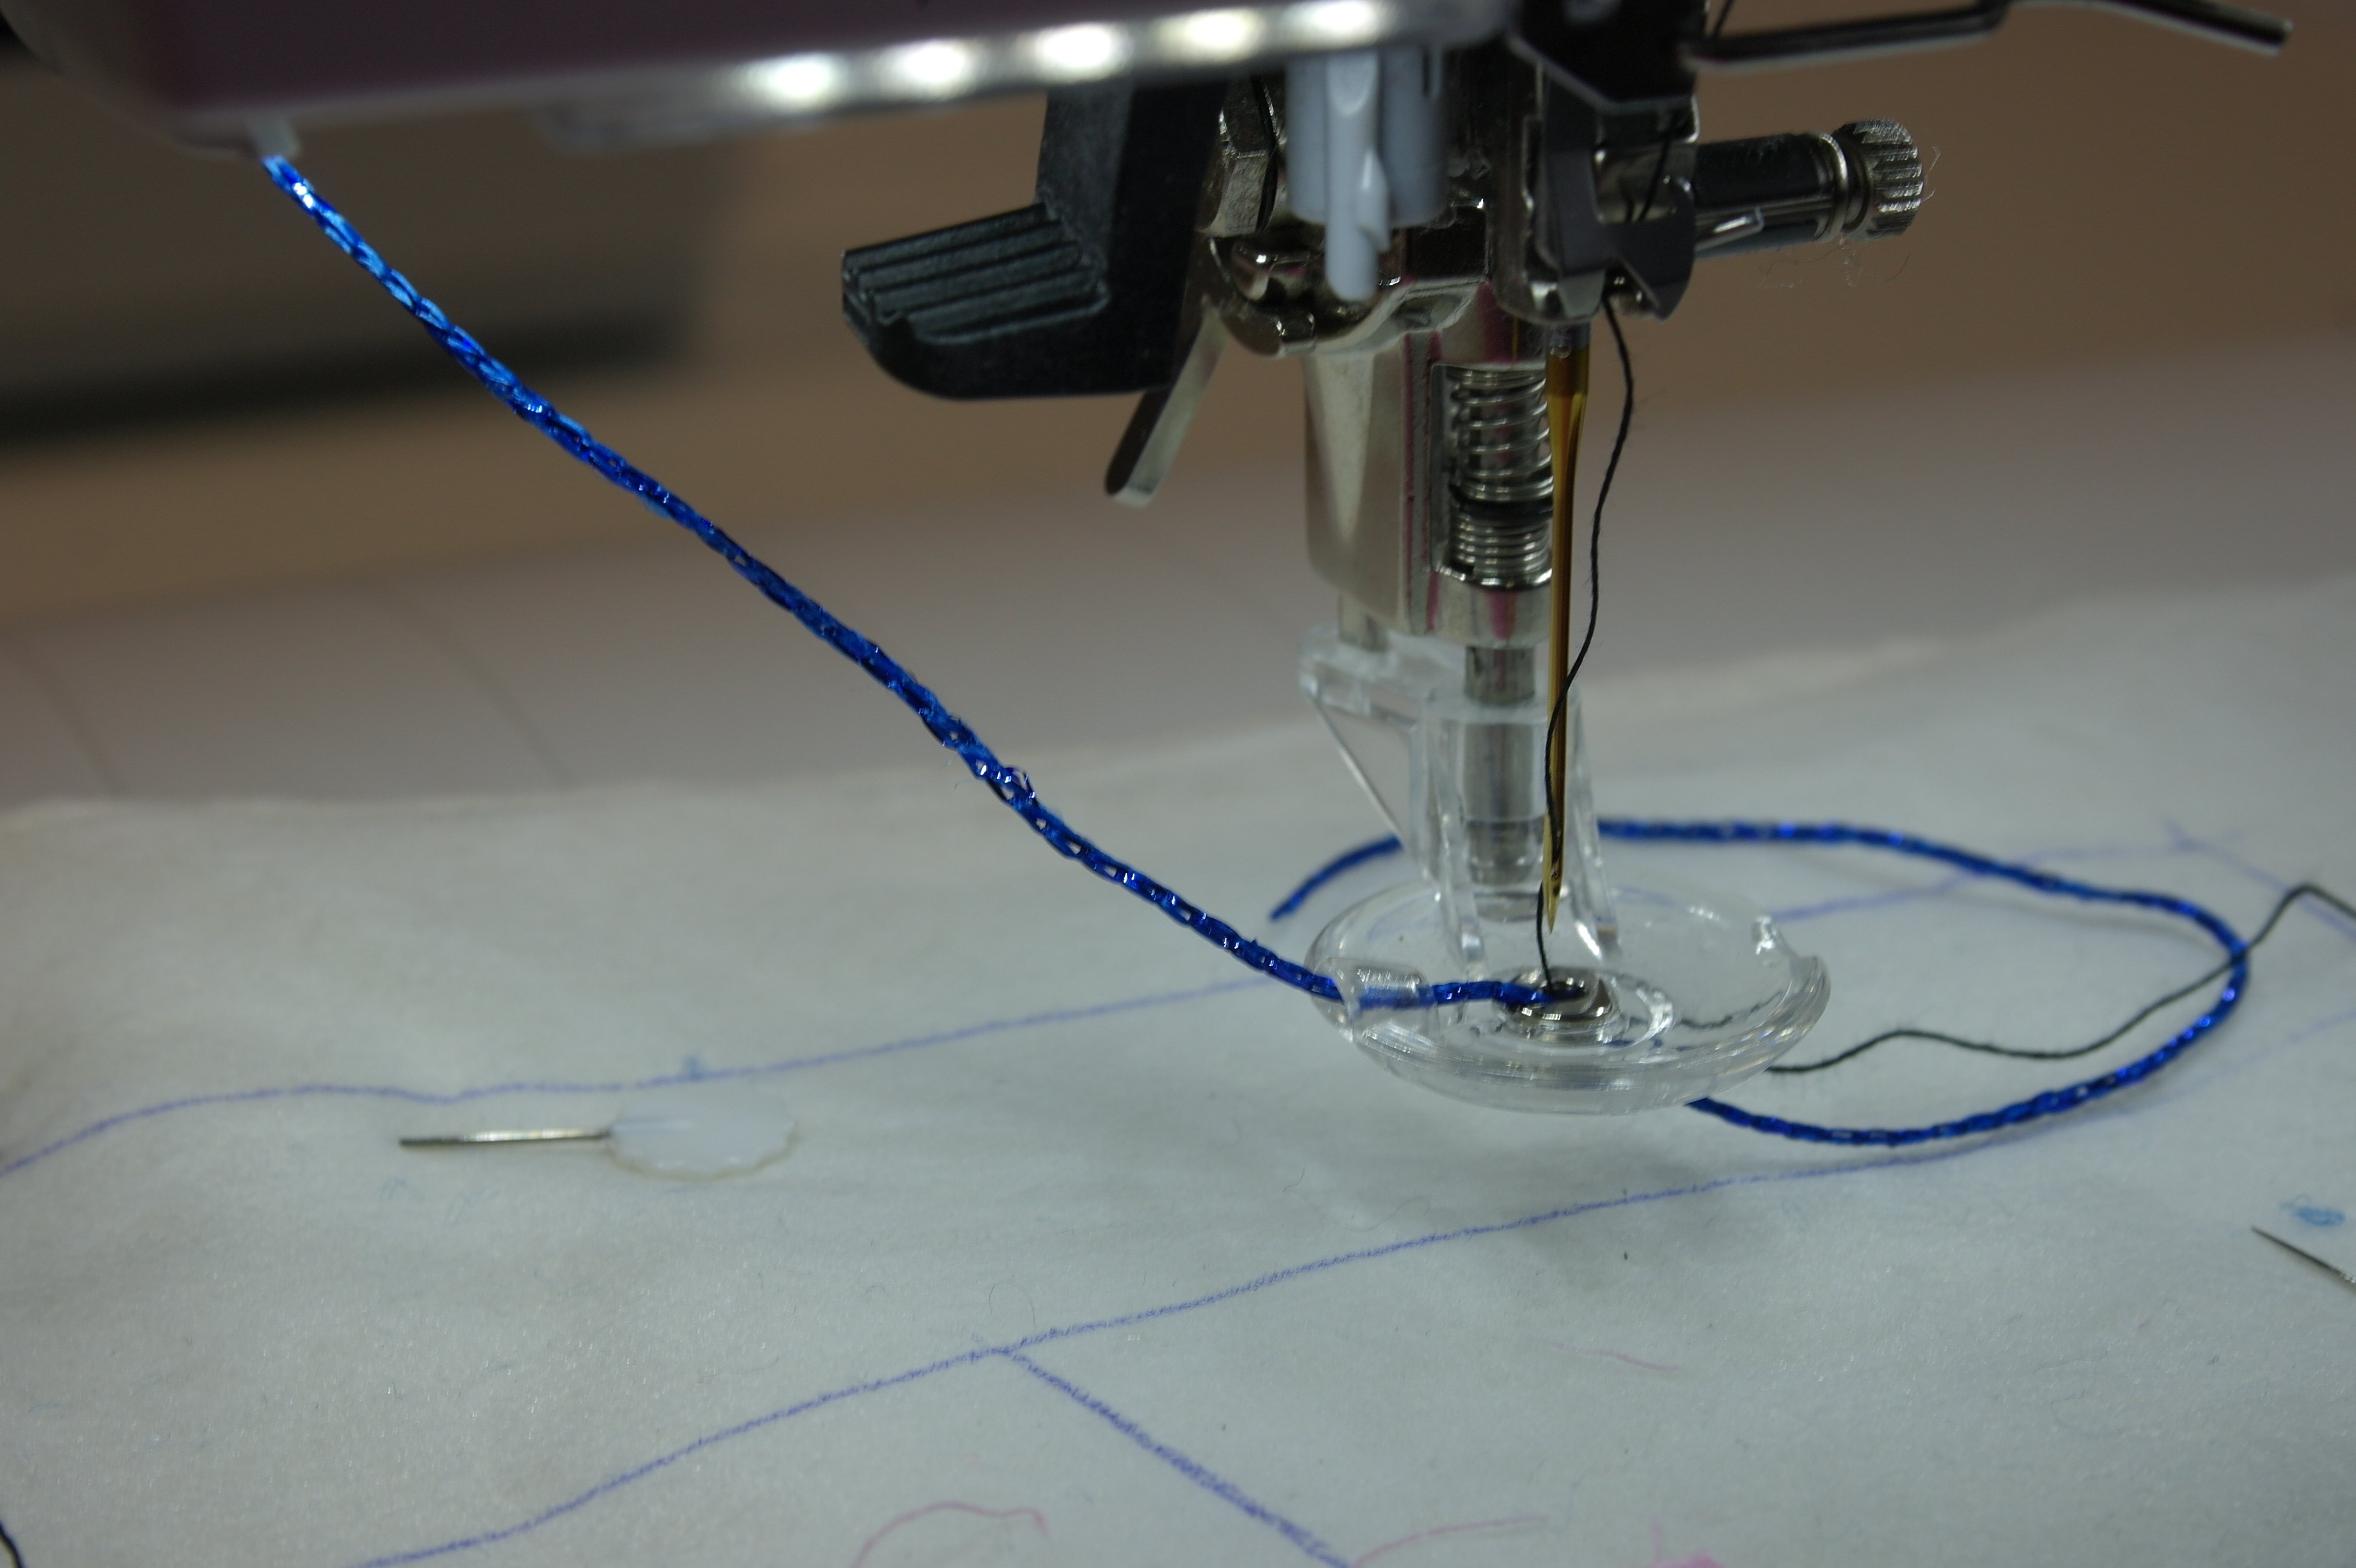
…or – and that’s actually how it is described in the manual – through the guide at the side of your machine (you must place it there), through the side opening of the foot and then into the hole in the middle of the foot.
In both cases: work slowly. You will find out that the straight stitches that are supposed to go into the middle of the yarn, sometimes are not catching the yarn. In those cases, secure them afterwards with threads by hand.
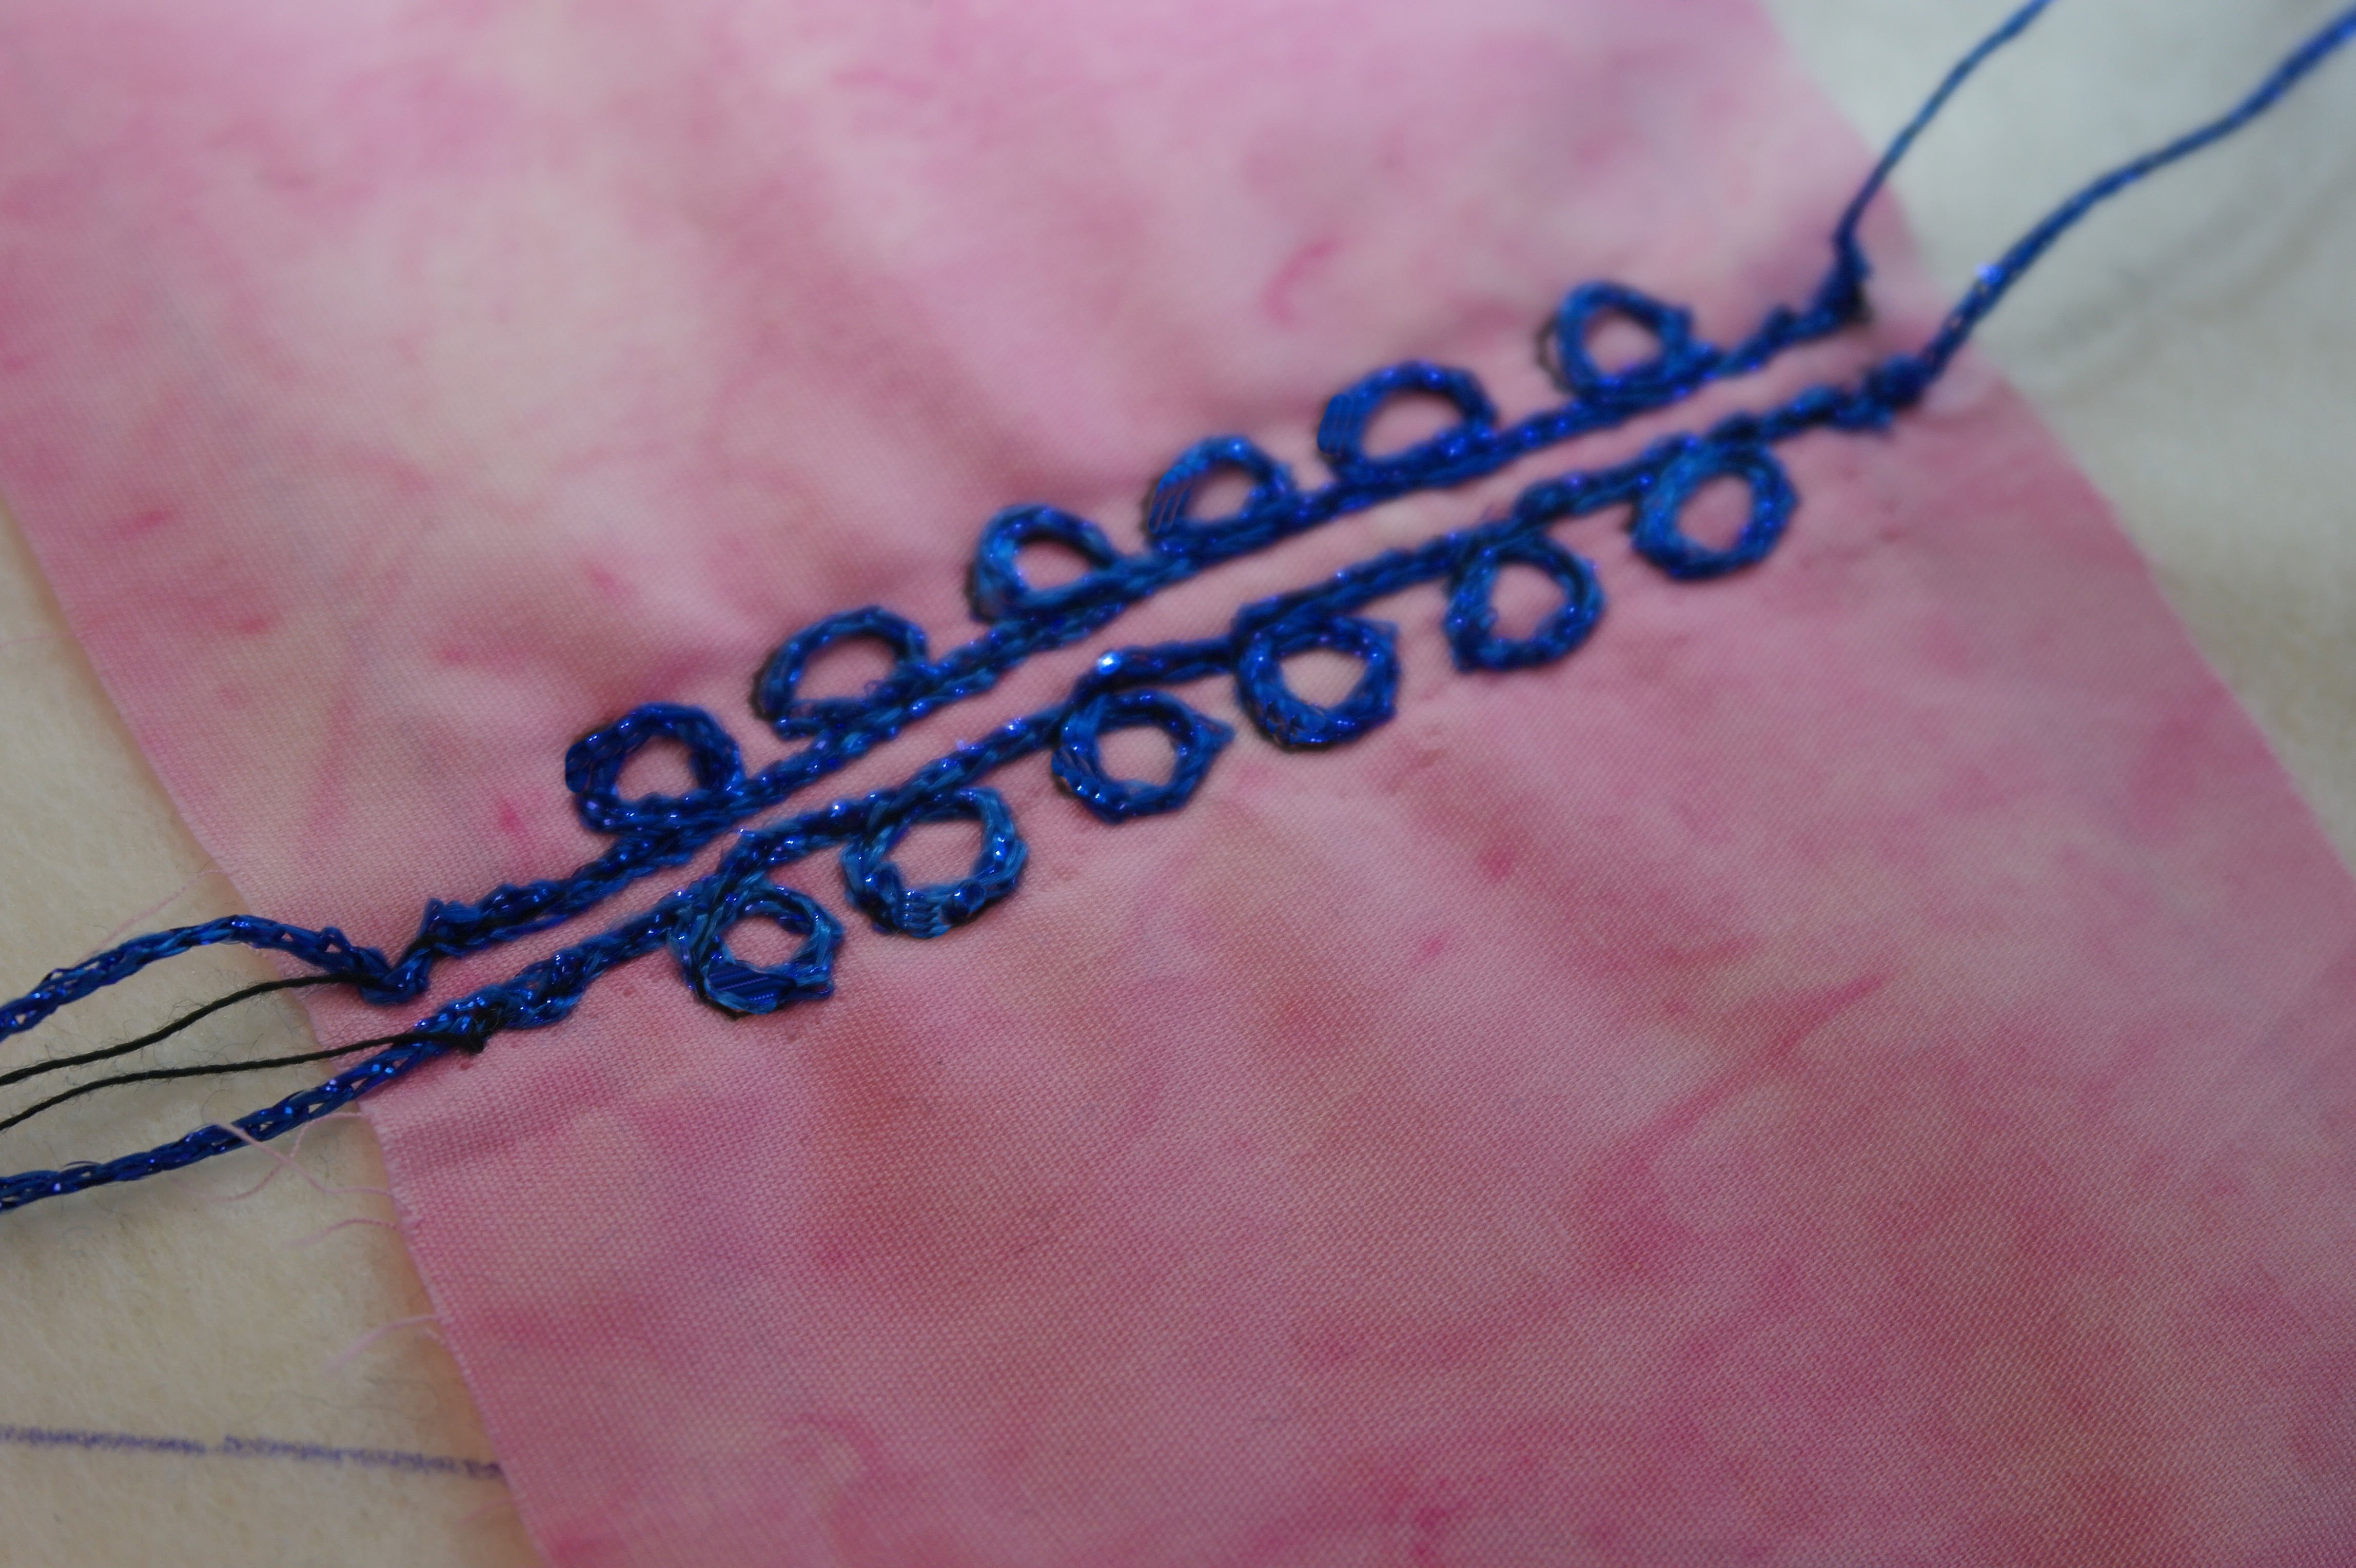
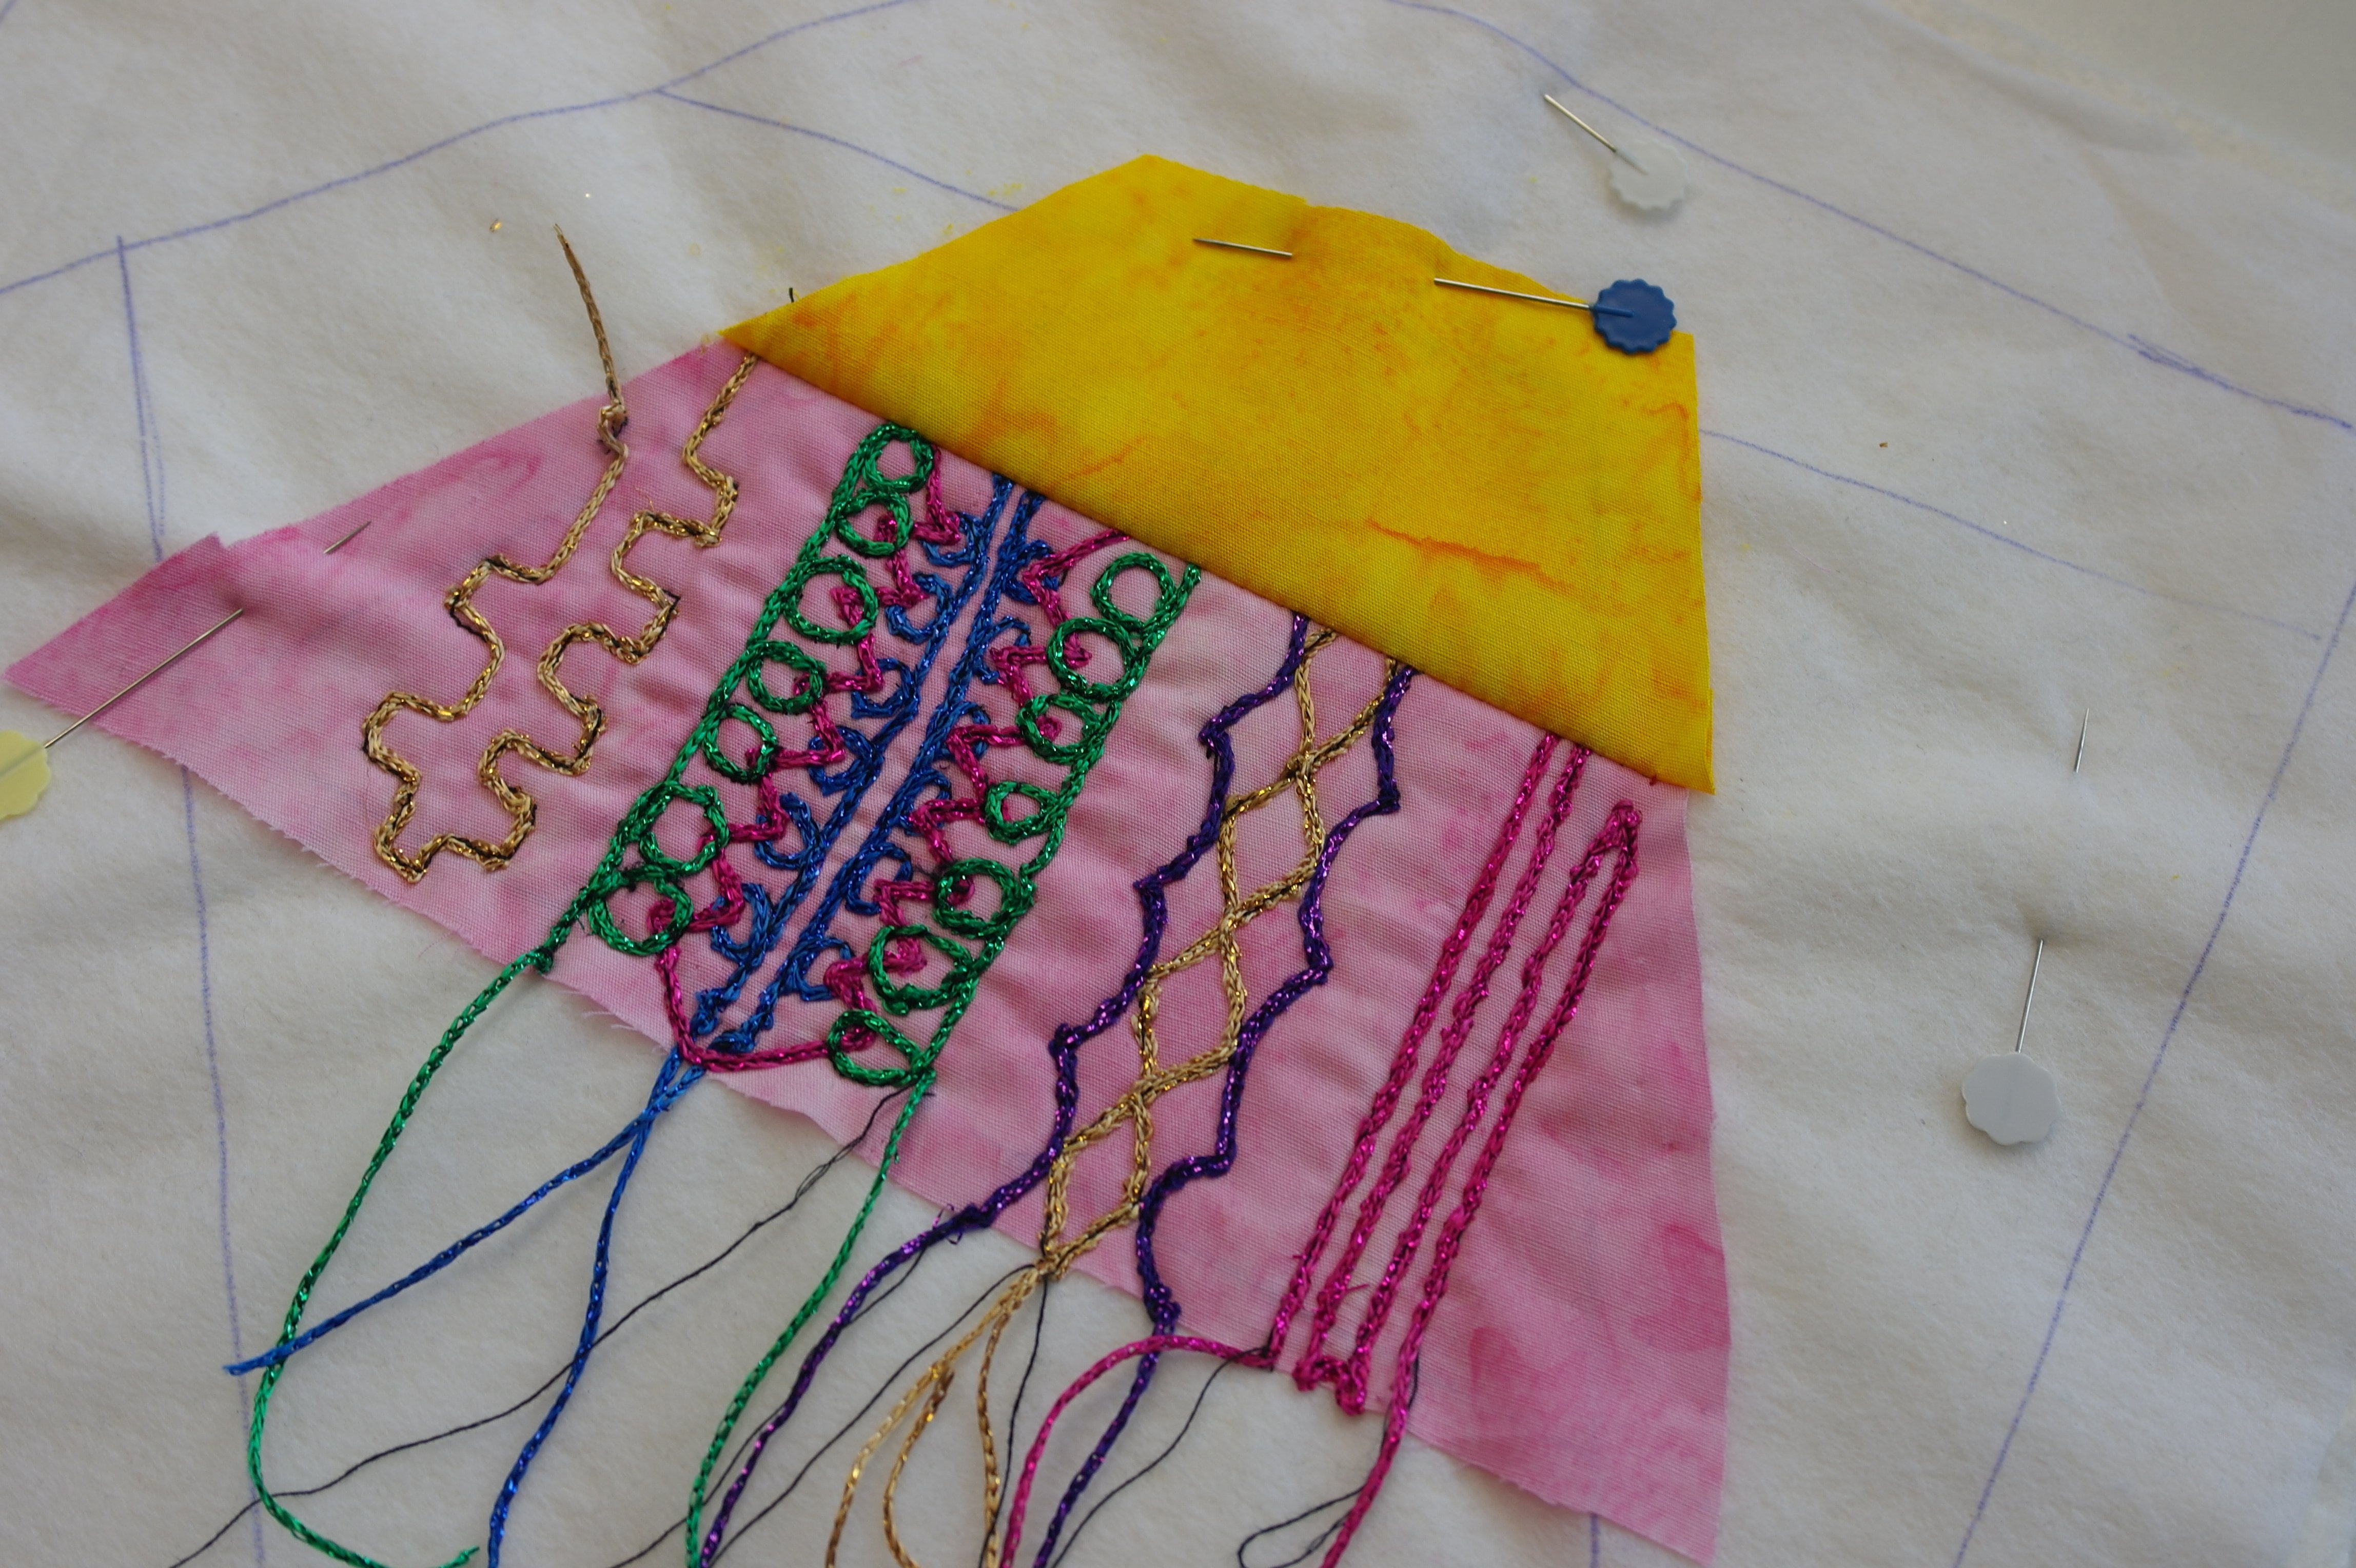
Make small curls in two rows, blue LIZZY with my projects, mirror them. First one row, then the other – try to mirror the placement of the loops. Leave the tails of both top thread and LIZZY, do not clip them at this point.
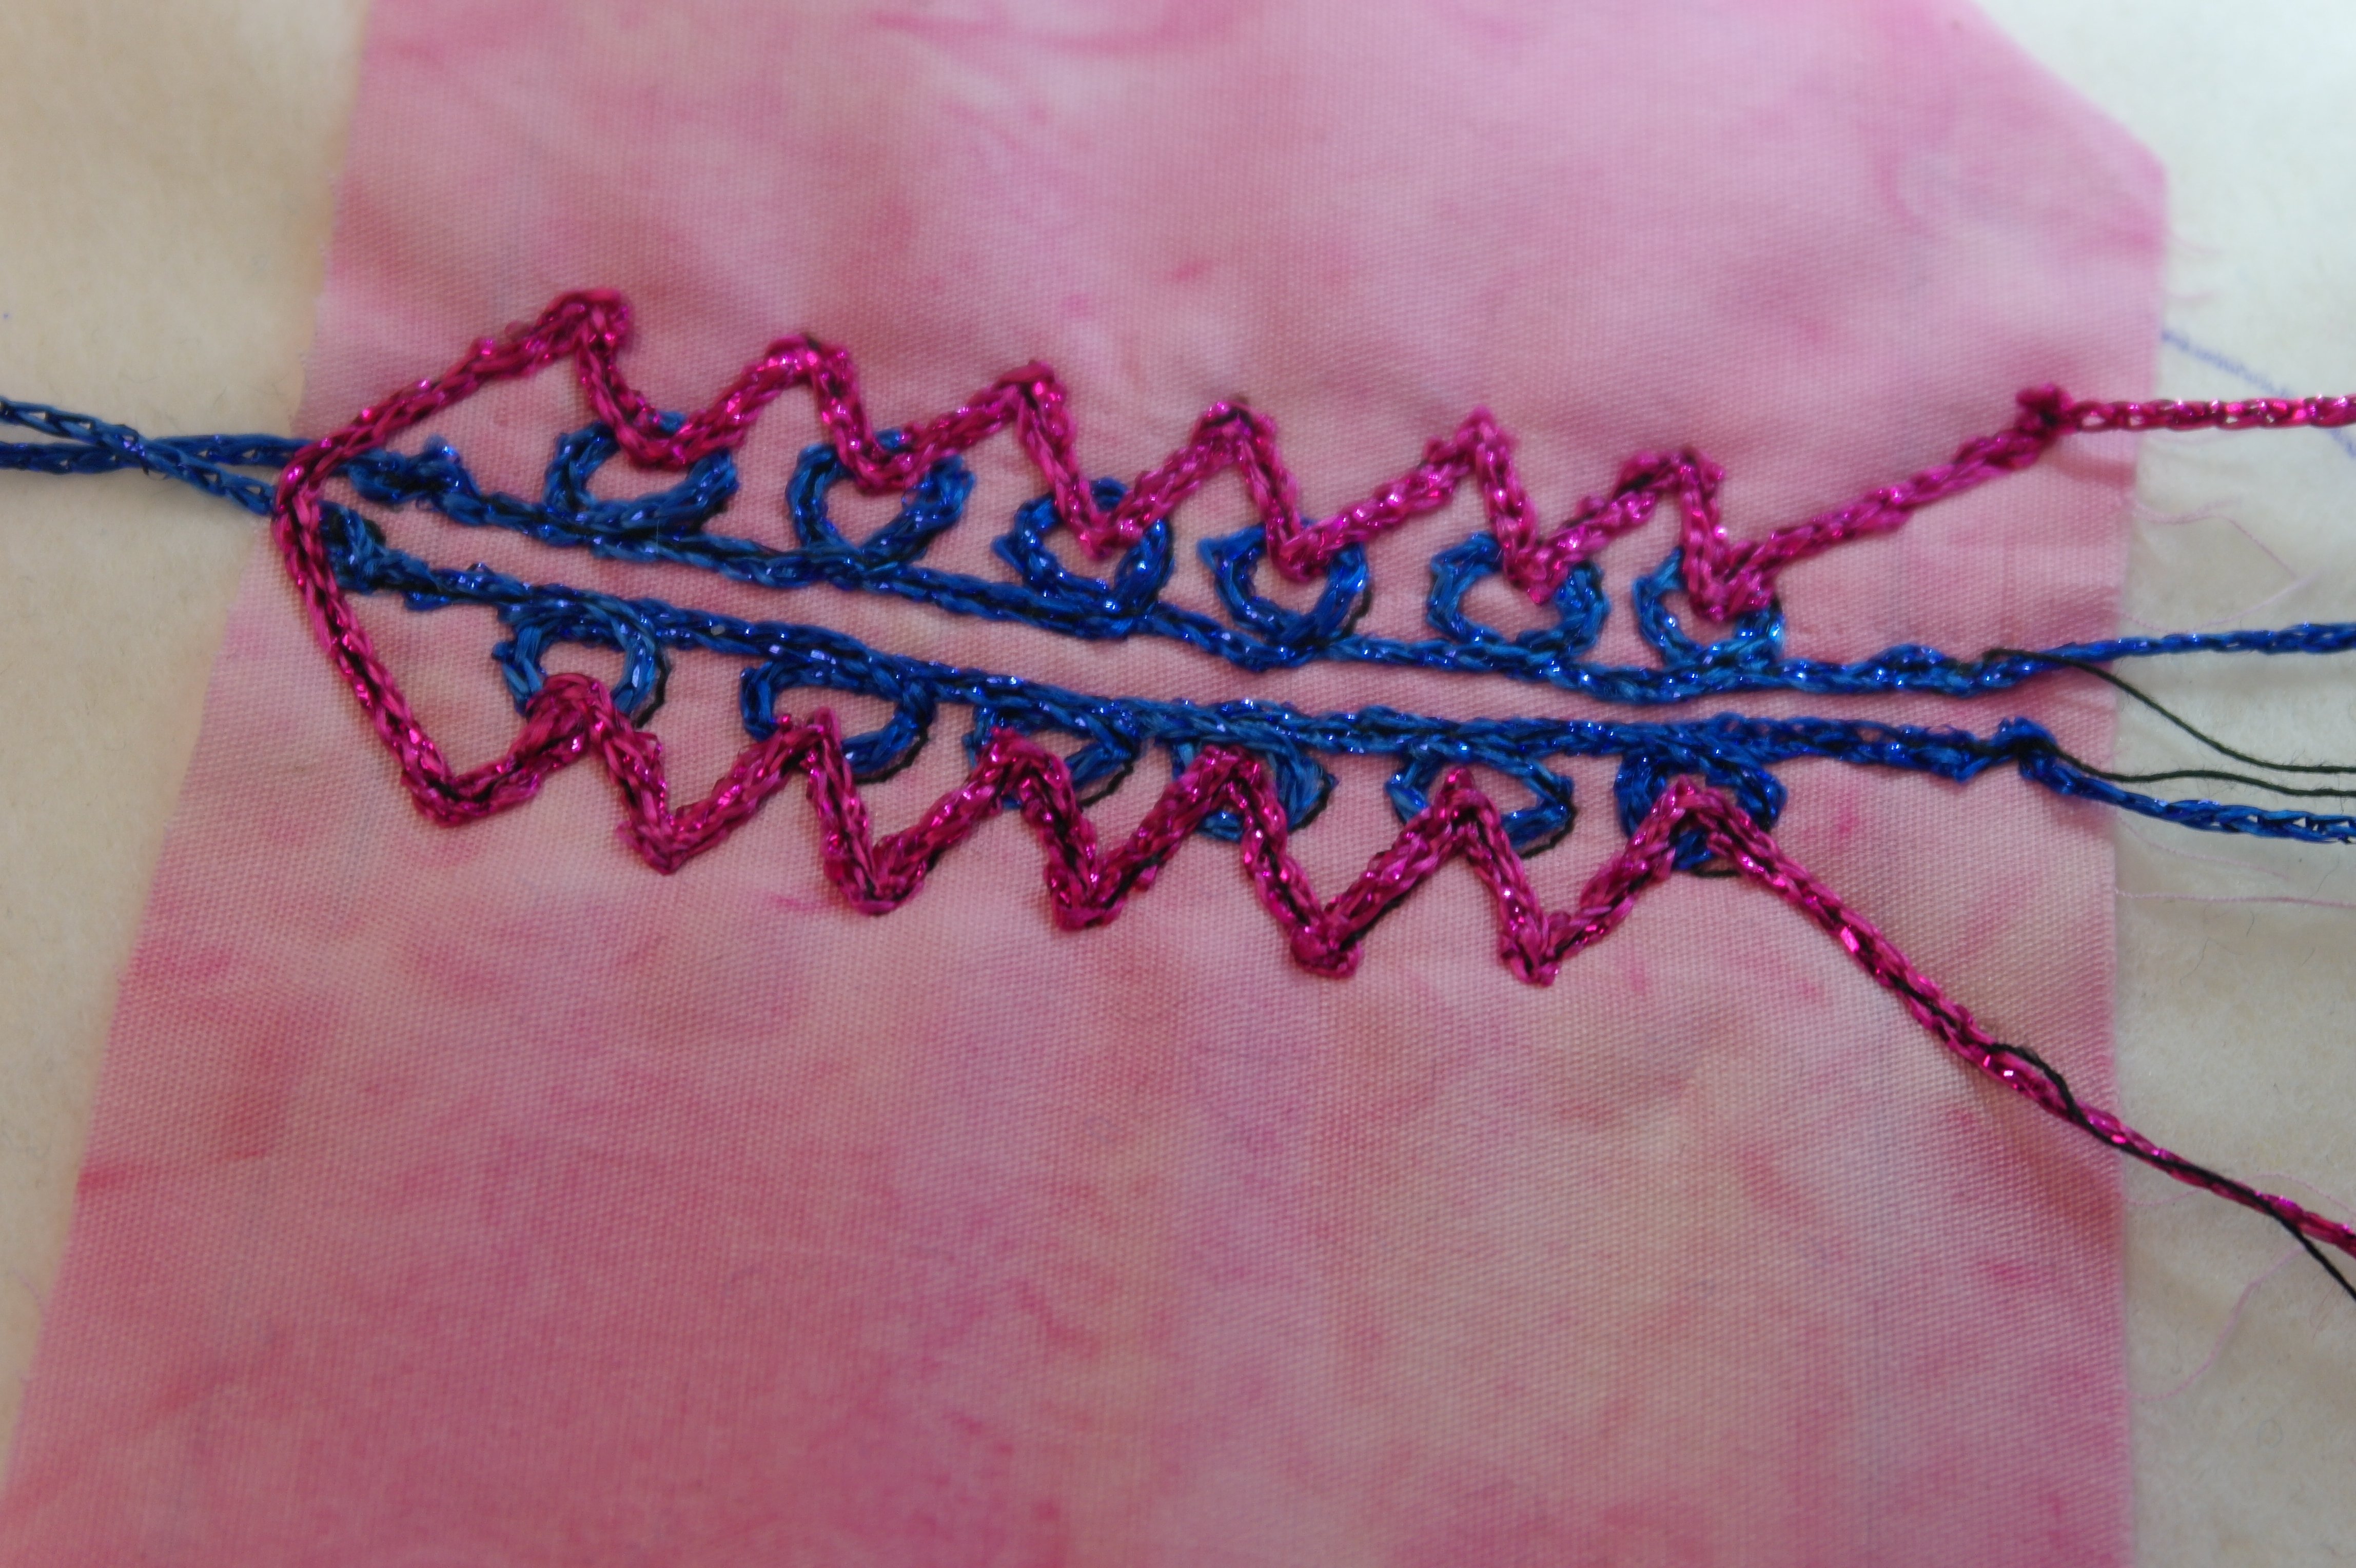
Then make a zig zag pattern for the next color, mine is pink. Place it partly over the first rows to secure them. It looks like they belong together, if you sew them this way.
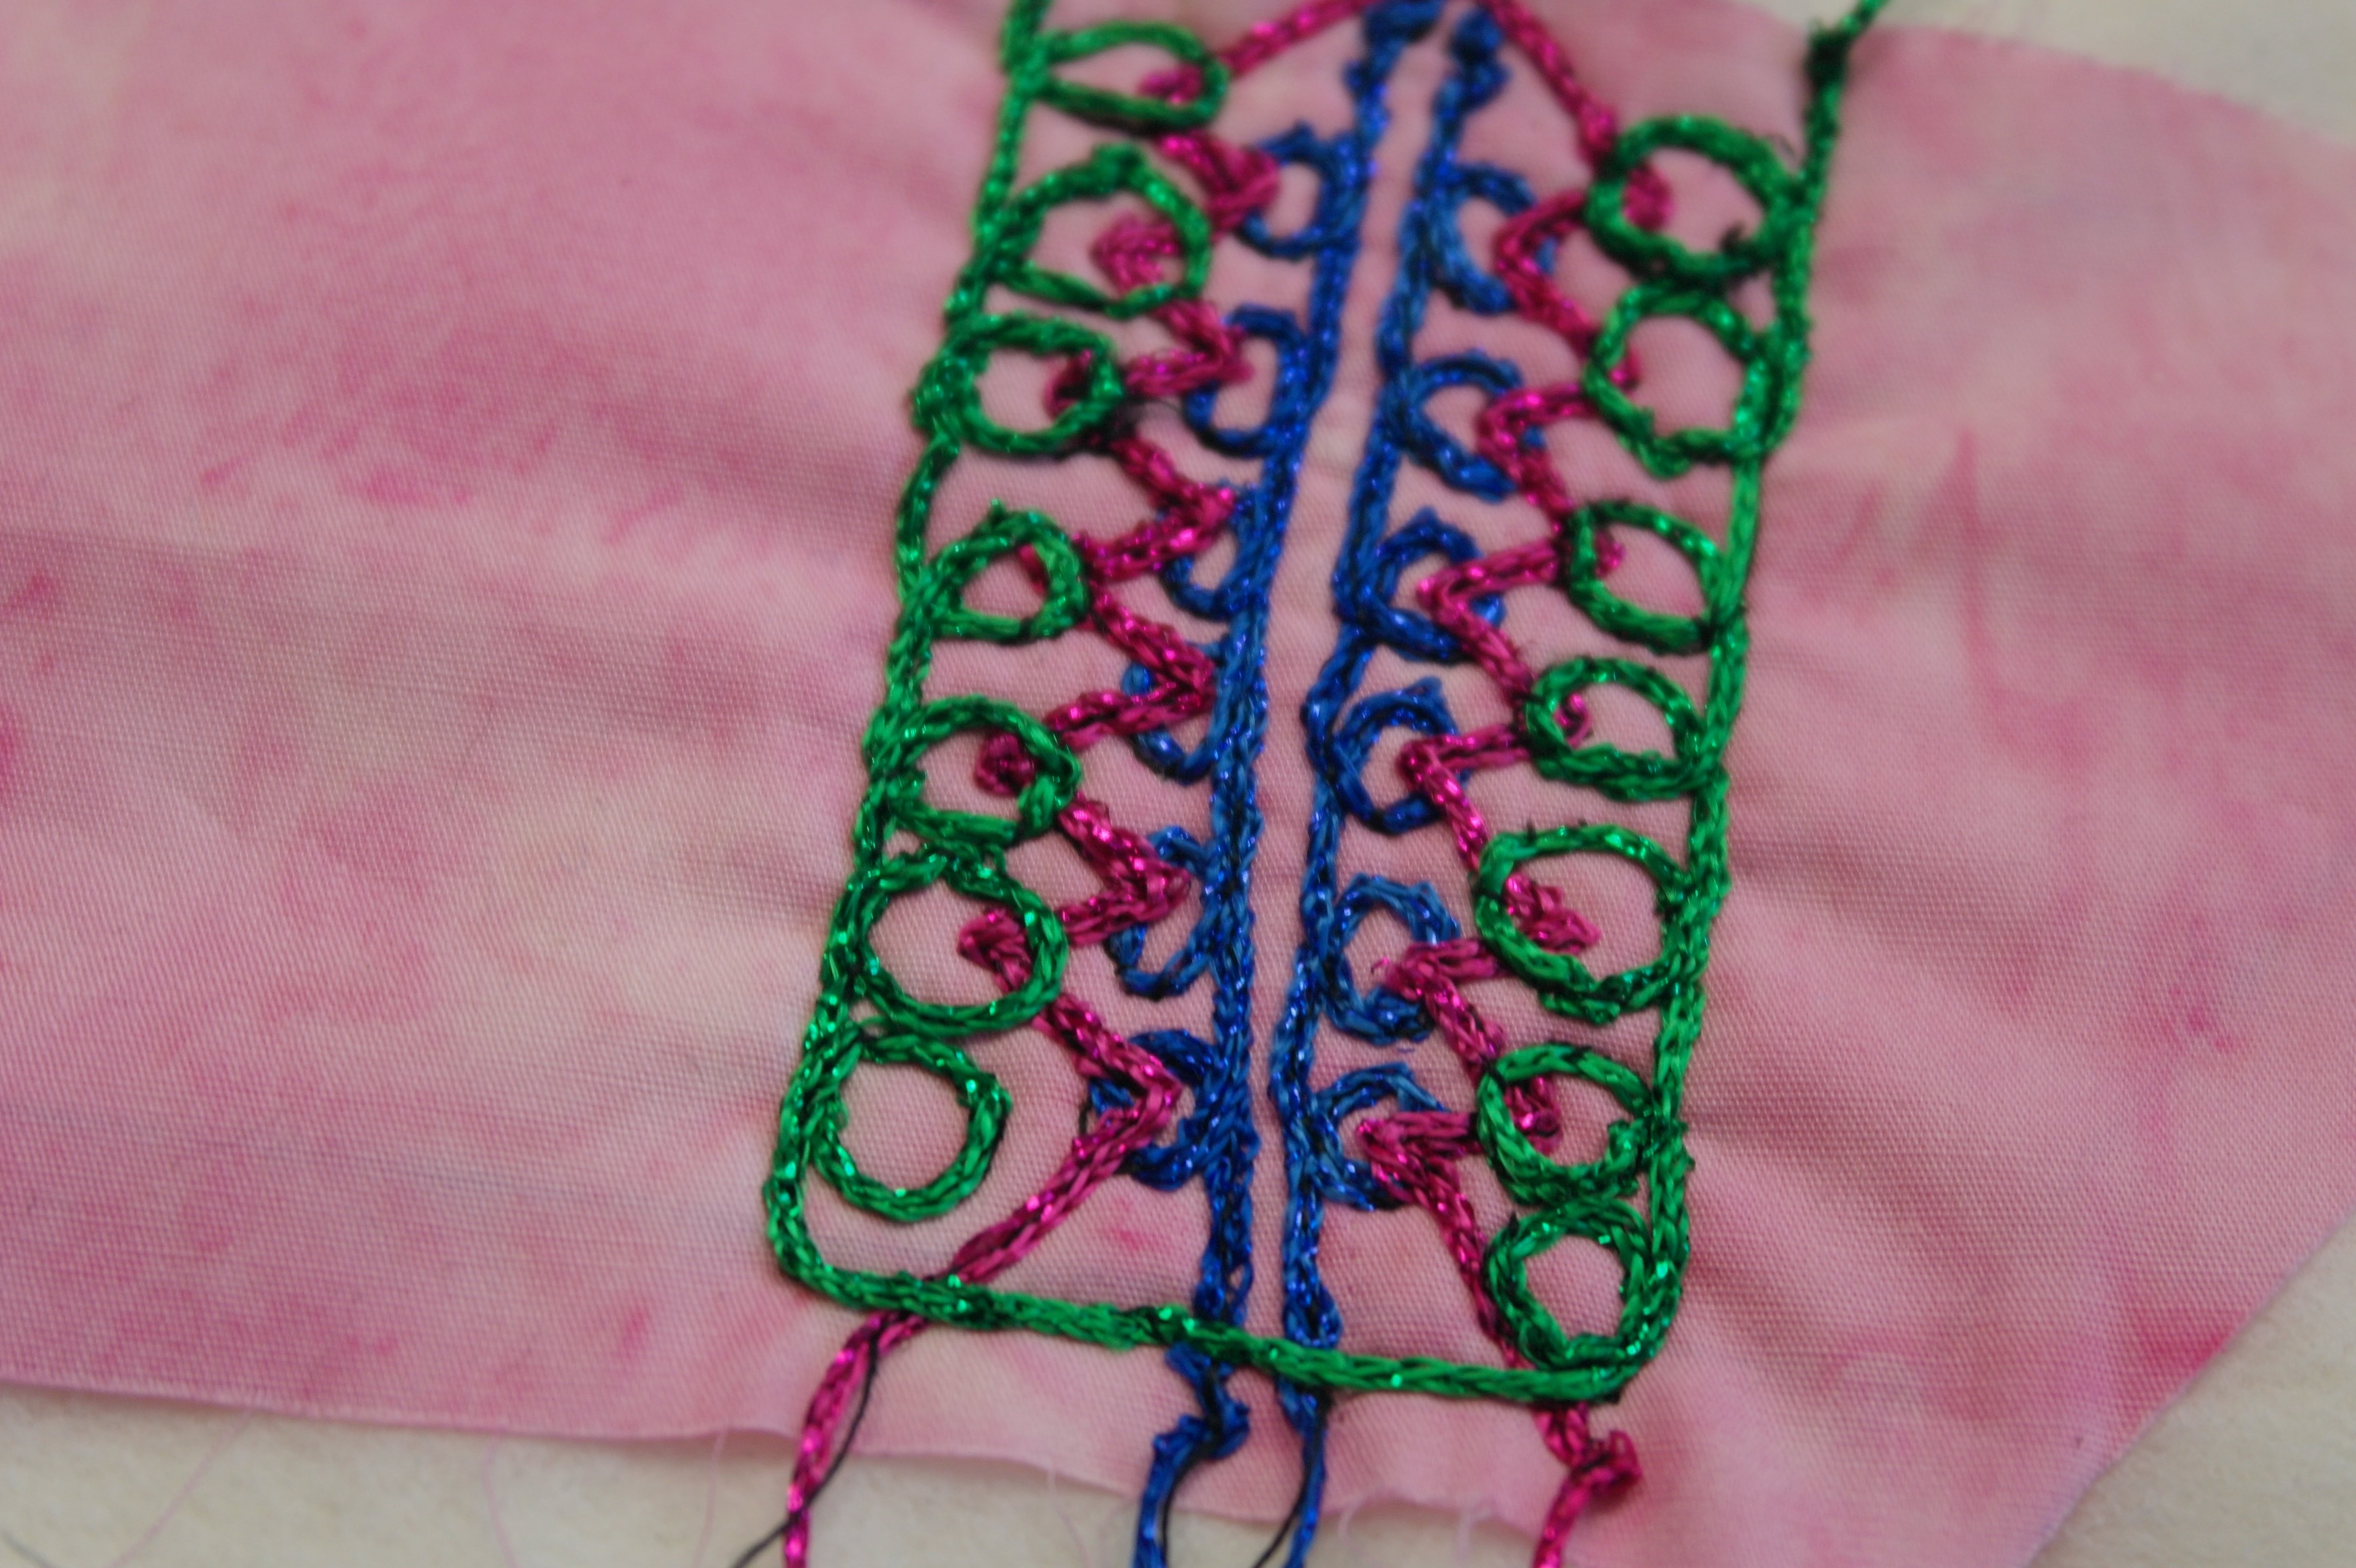
After that add more rows, with green. Make curls again, in a different direction. Works great, doesn’t it? Have you noticed that I didn’t stop at the end of a row to cut threads/yarn, but rounded a corner, worked my way up to the next point where I would start another row, sewing in the seam allowance? That is one way to ‘cross over’ to a new section of sewing, without having to clip threads. You won’t notice this afterwards, because with sewing the next fabric, it will be covered.
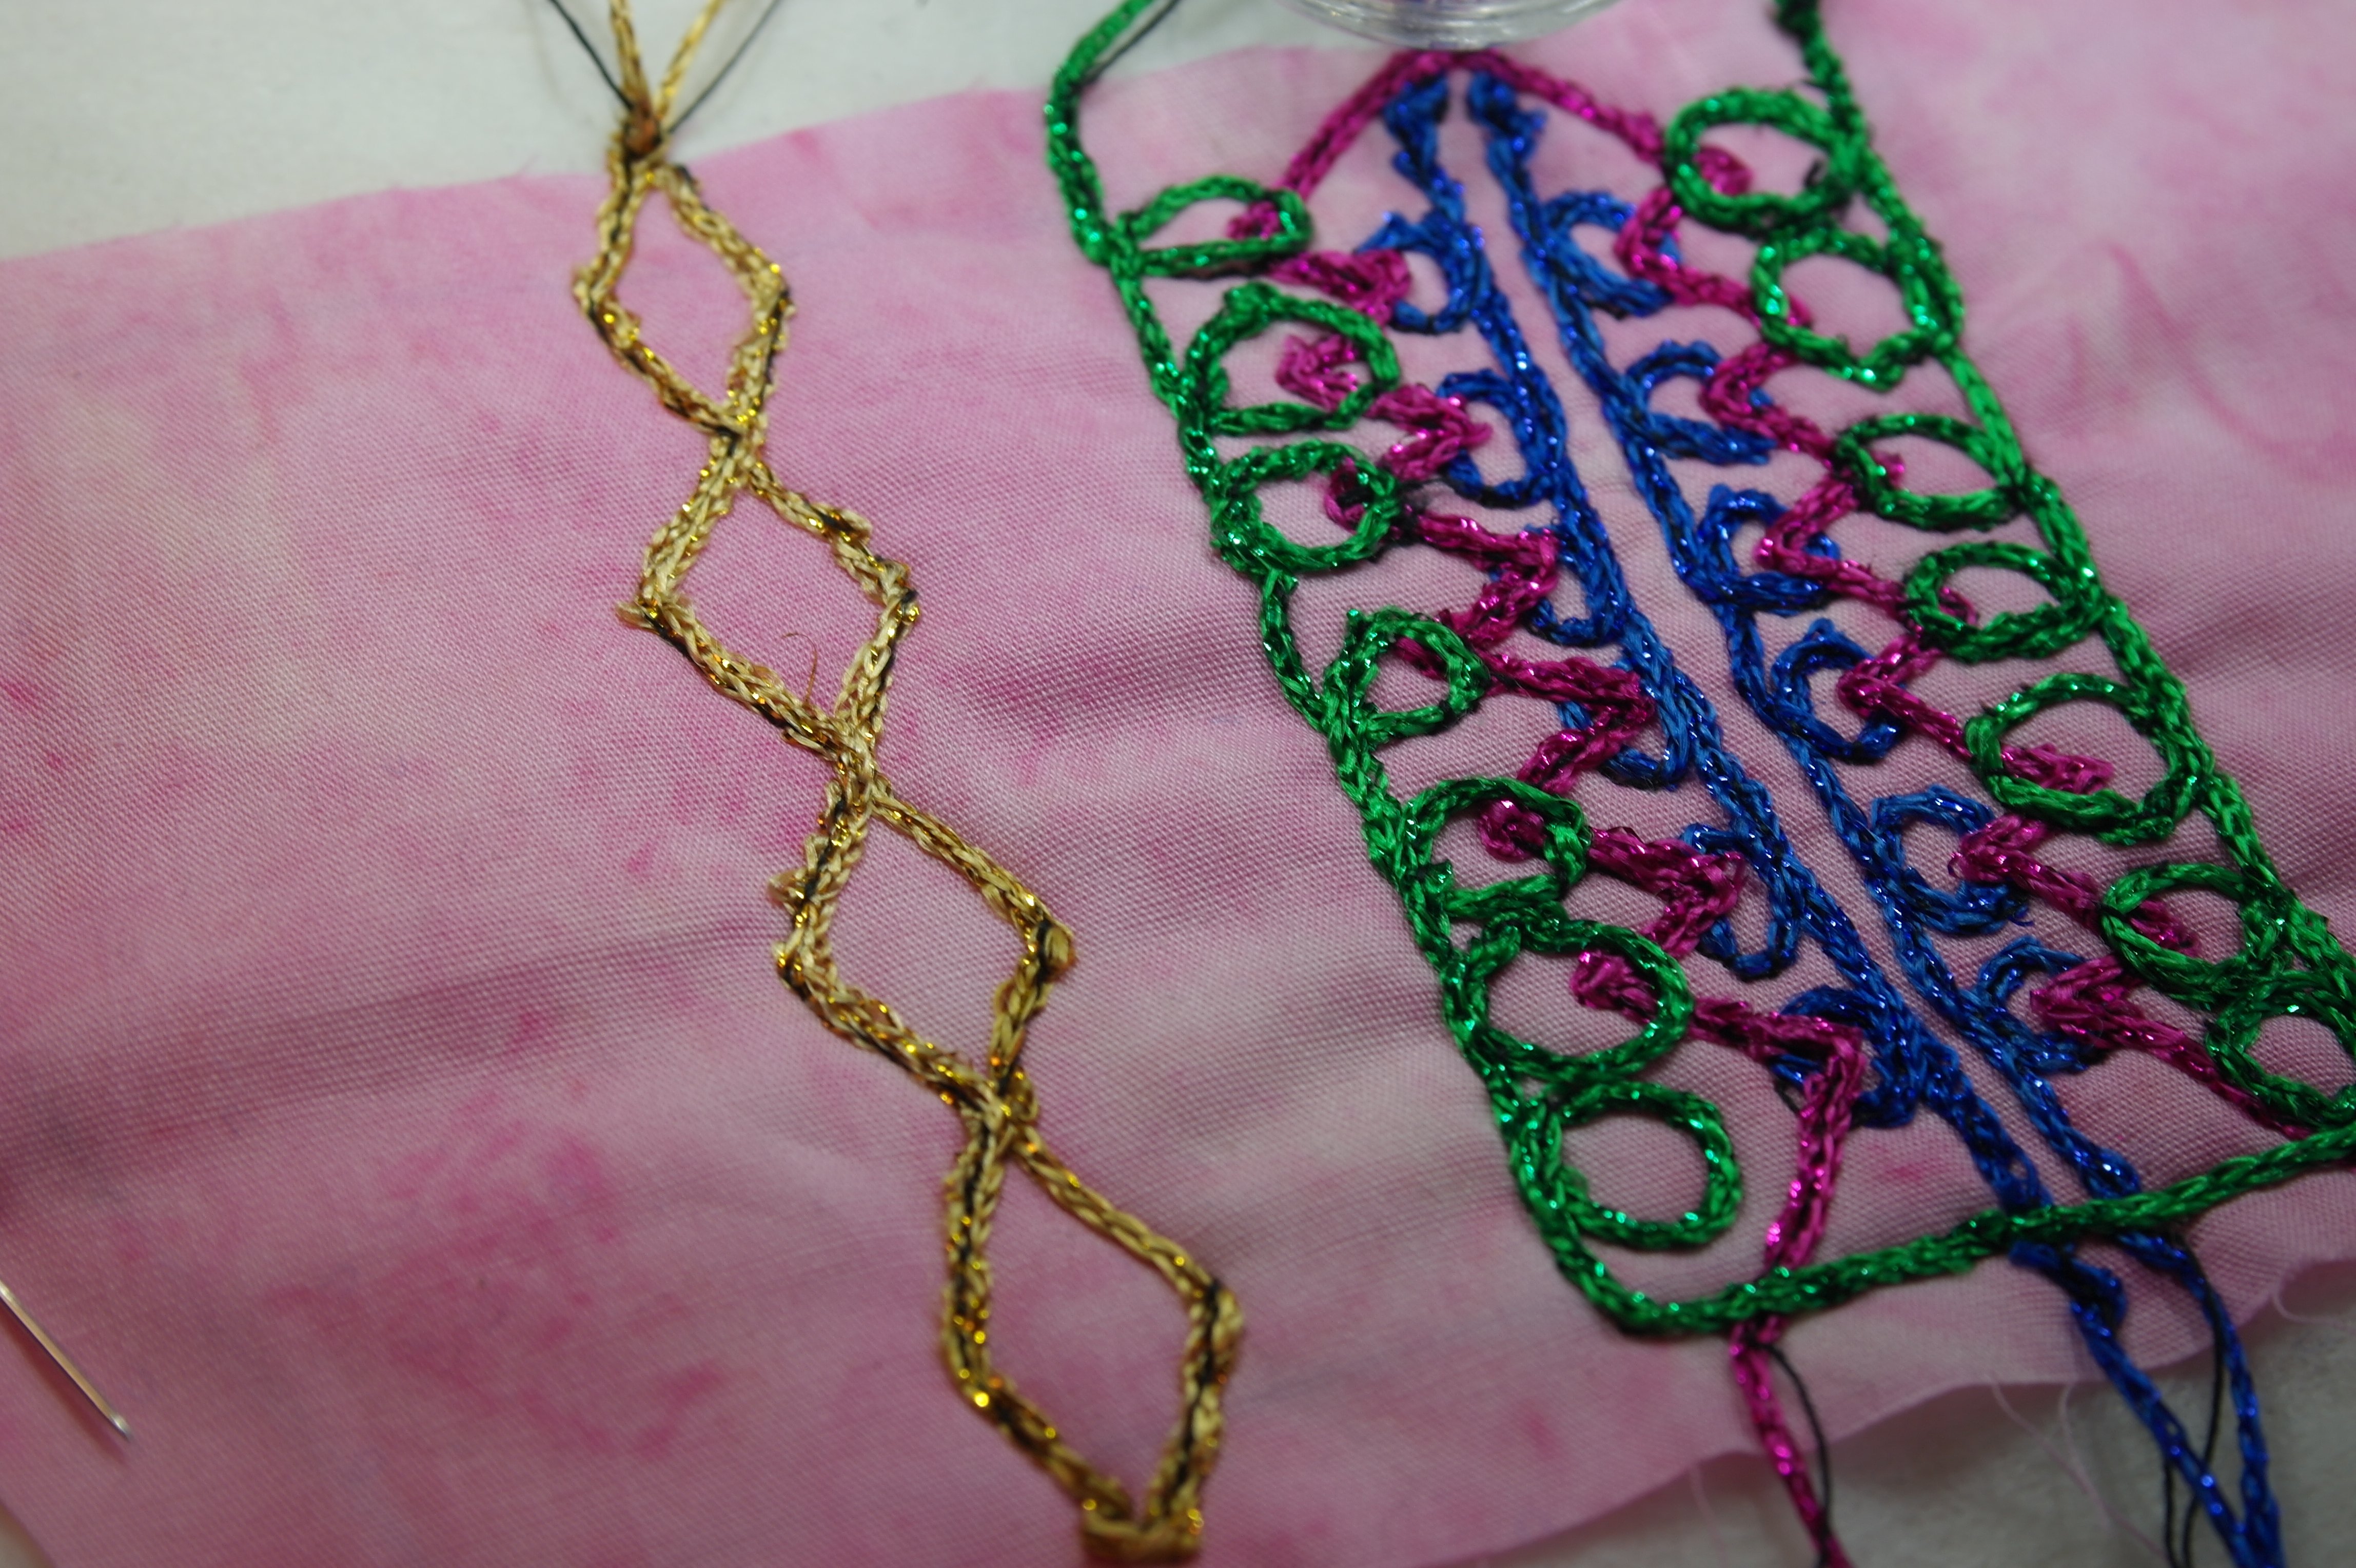
Make diamonds, in gold, by zig zagging the first row, and also the next, touching the first row and thus closing the diamonds…

Make scallops, straight or waving lines – you can place them close together or leave gaps between them. Straight lines are the simplest, because the top thread stitches will always catch the yarn: it is with changing directions where you have to be careful. Don’t you just love the sparkling effect of the LIZZY?
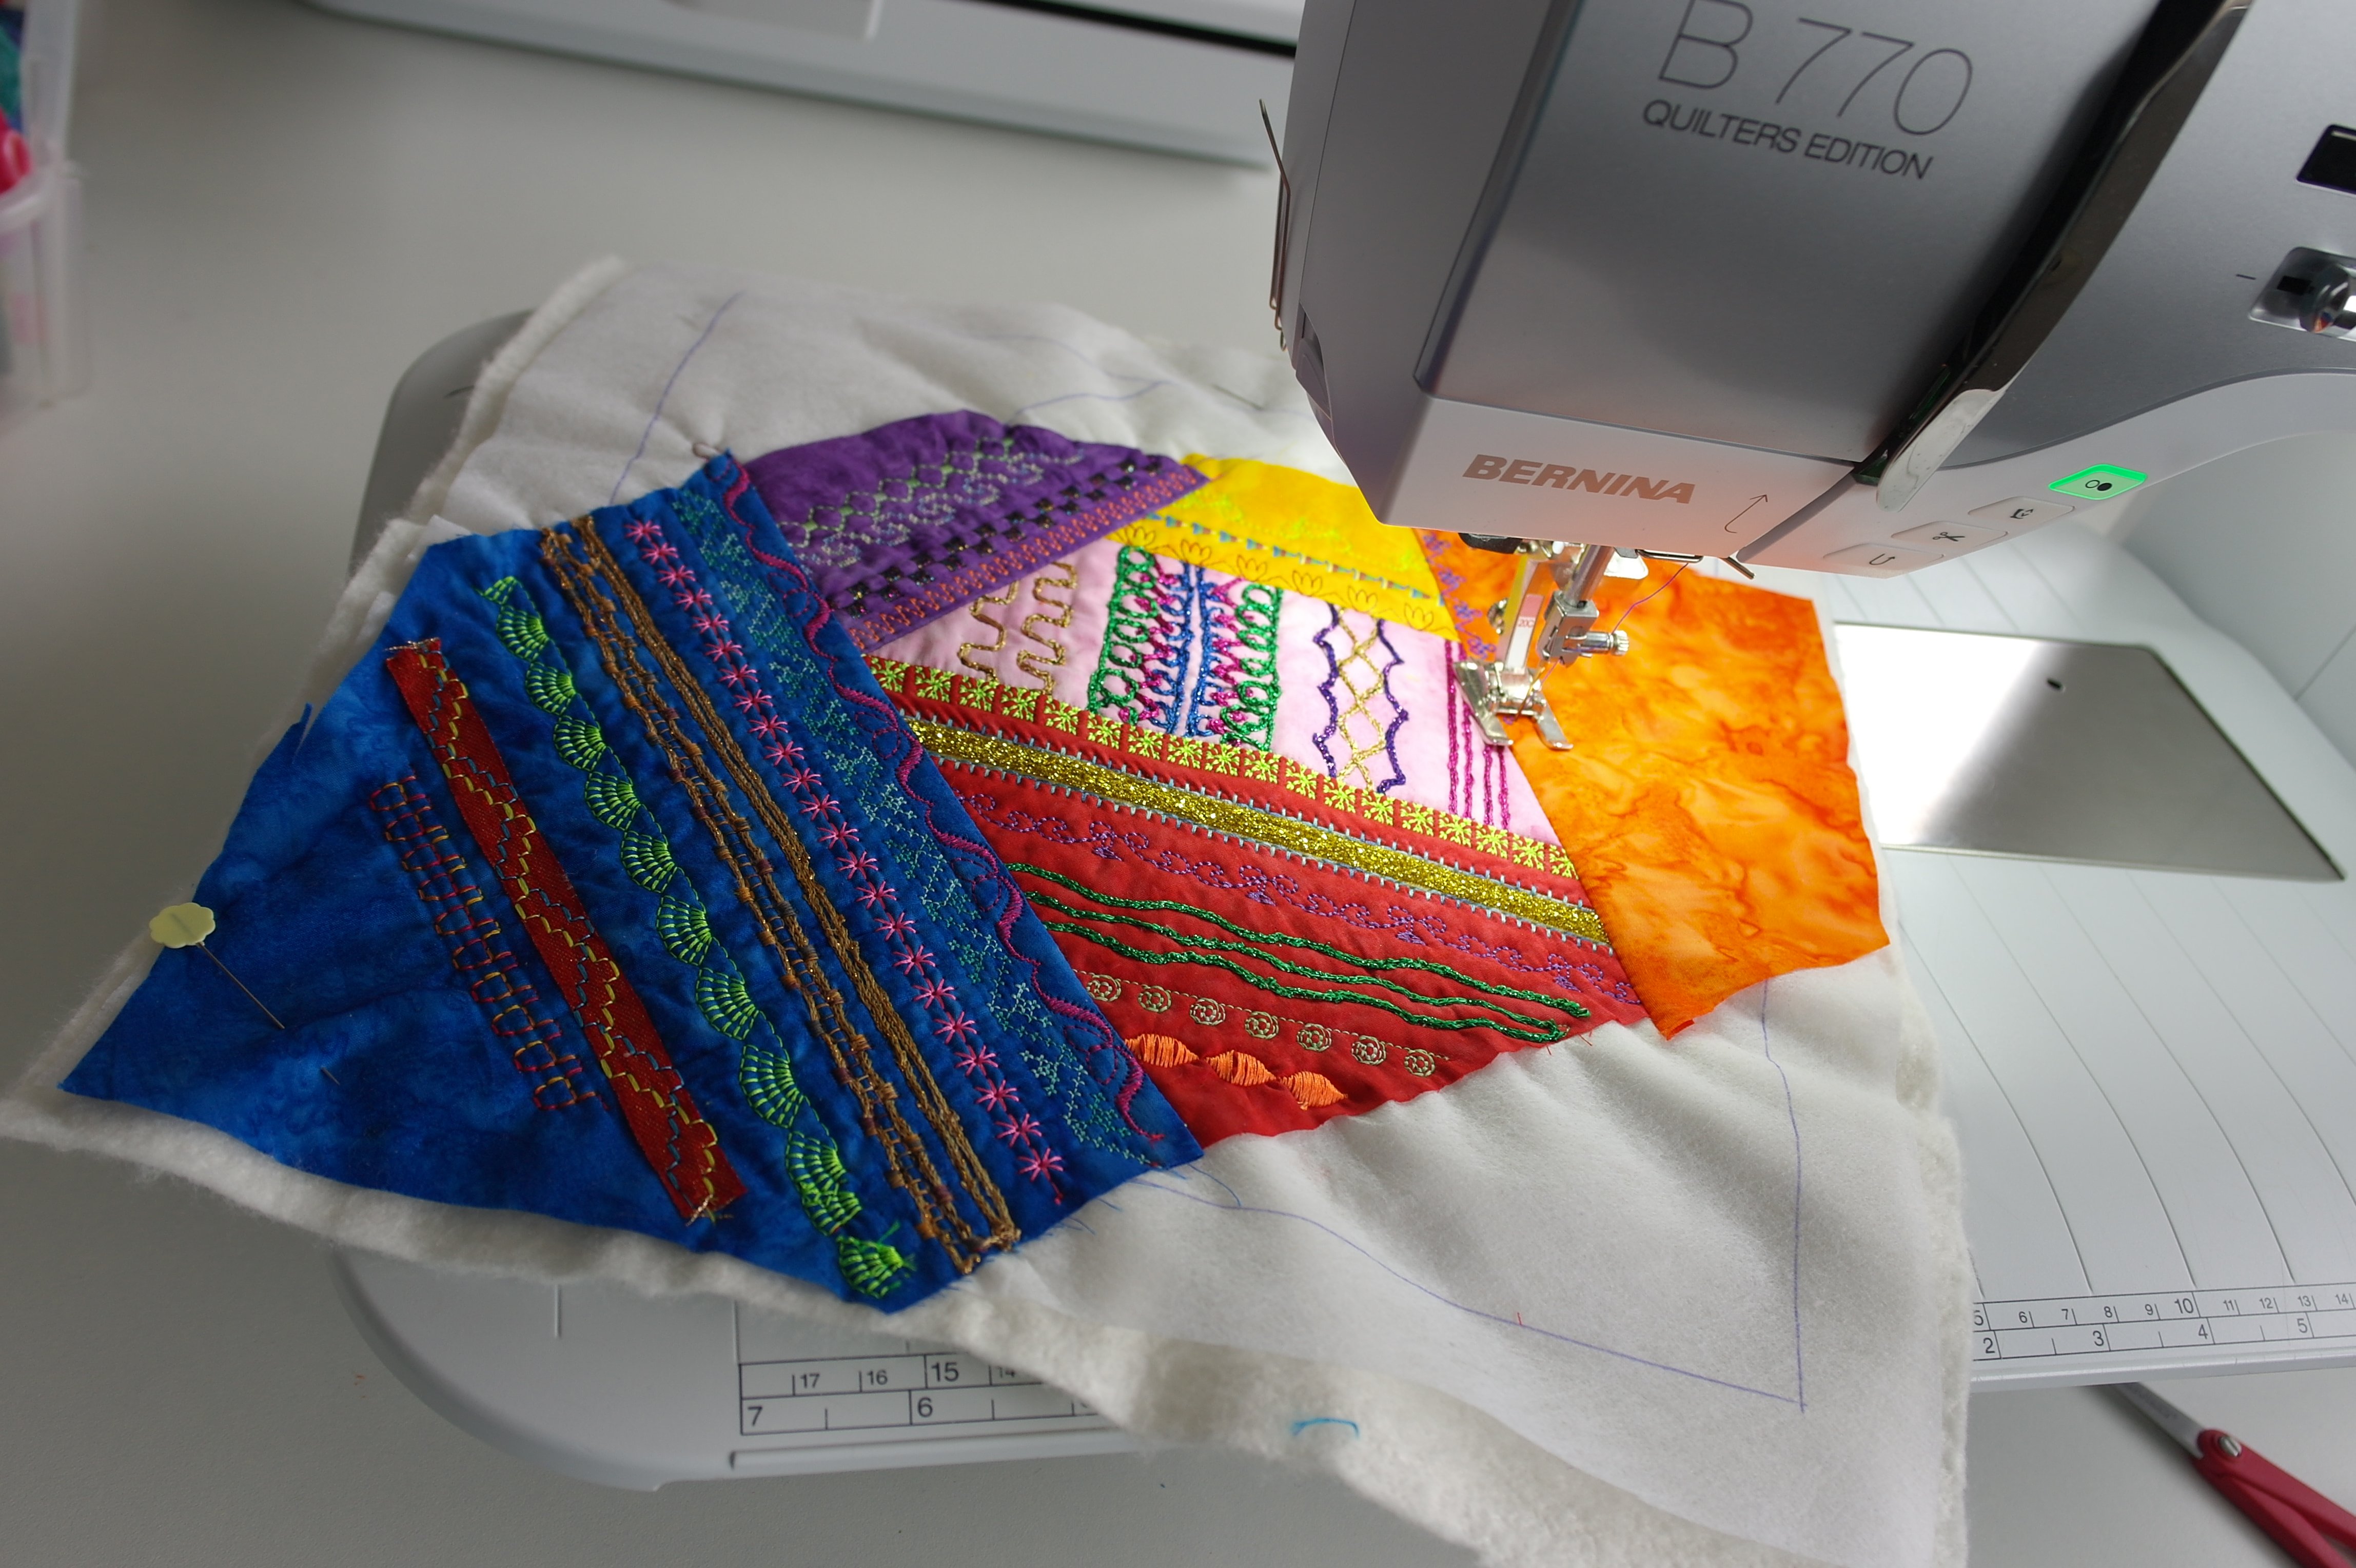
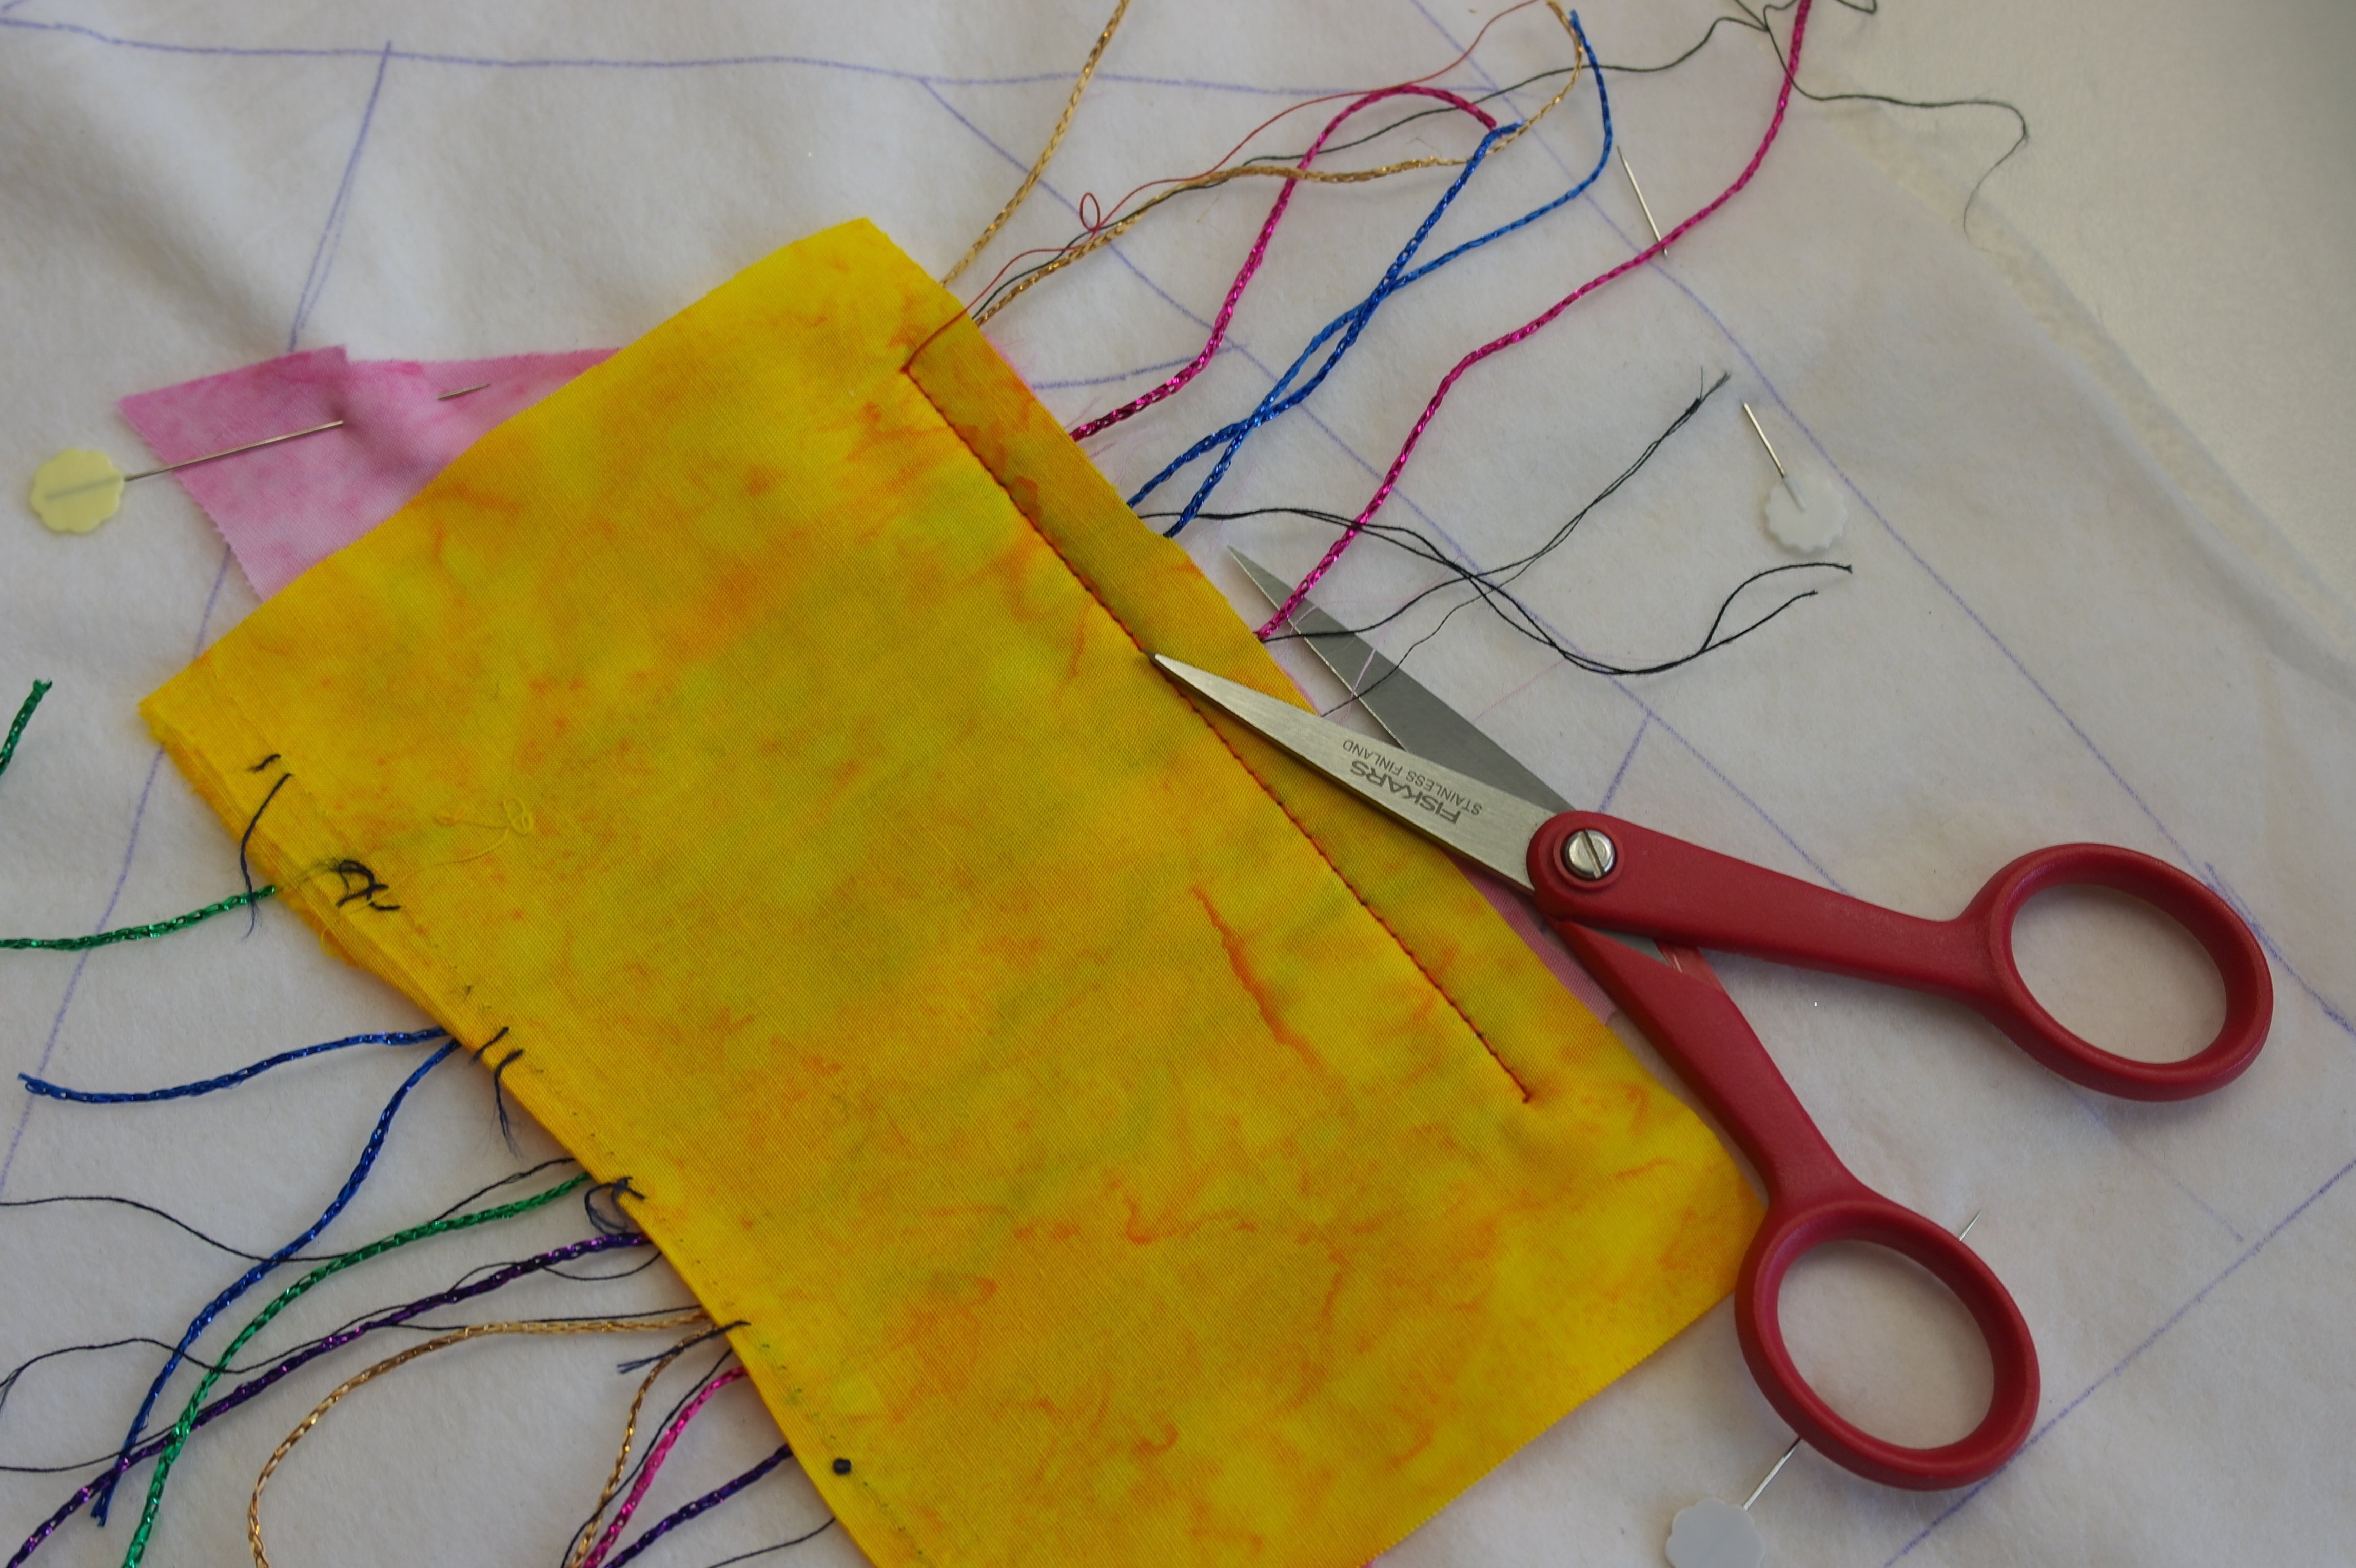 With sewing fabric 2 you have to change feet – use the open embroidery foot #20C , raise the feet dogs again, and sew the fabric onto fabric 1. After this you can clip the tails of the top thead and yarn that protrude. LIZZY frays easily, so clipping it at this time, and not before, is the best option: with sewing fabric 2 the stitches will secure the tails.
Fold fabric 2 to the right side and make lots of decorative stitches. See how all the ends of the LIZZY are gone? Everything looks neat.
Use your Free-motion Couching Foot #43 more often on this block, with LIZZY for sparkling effects. Just make straight lines or curved lines. Remember to lover the feed dogs for this foot, and raise them again when using the Open Embroidery Foot #20C.

Can you see what the wonderful effect with the decorative cross stitches, using Tutti/Wonderfil variegated thread on top? Even with these very fine stitches, the mixed colores are looking lovely.
An overview after adding fabric no. 6…
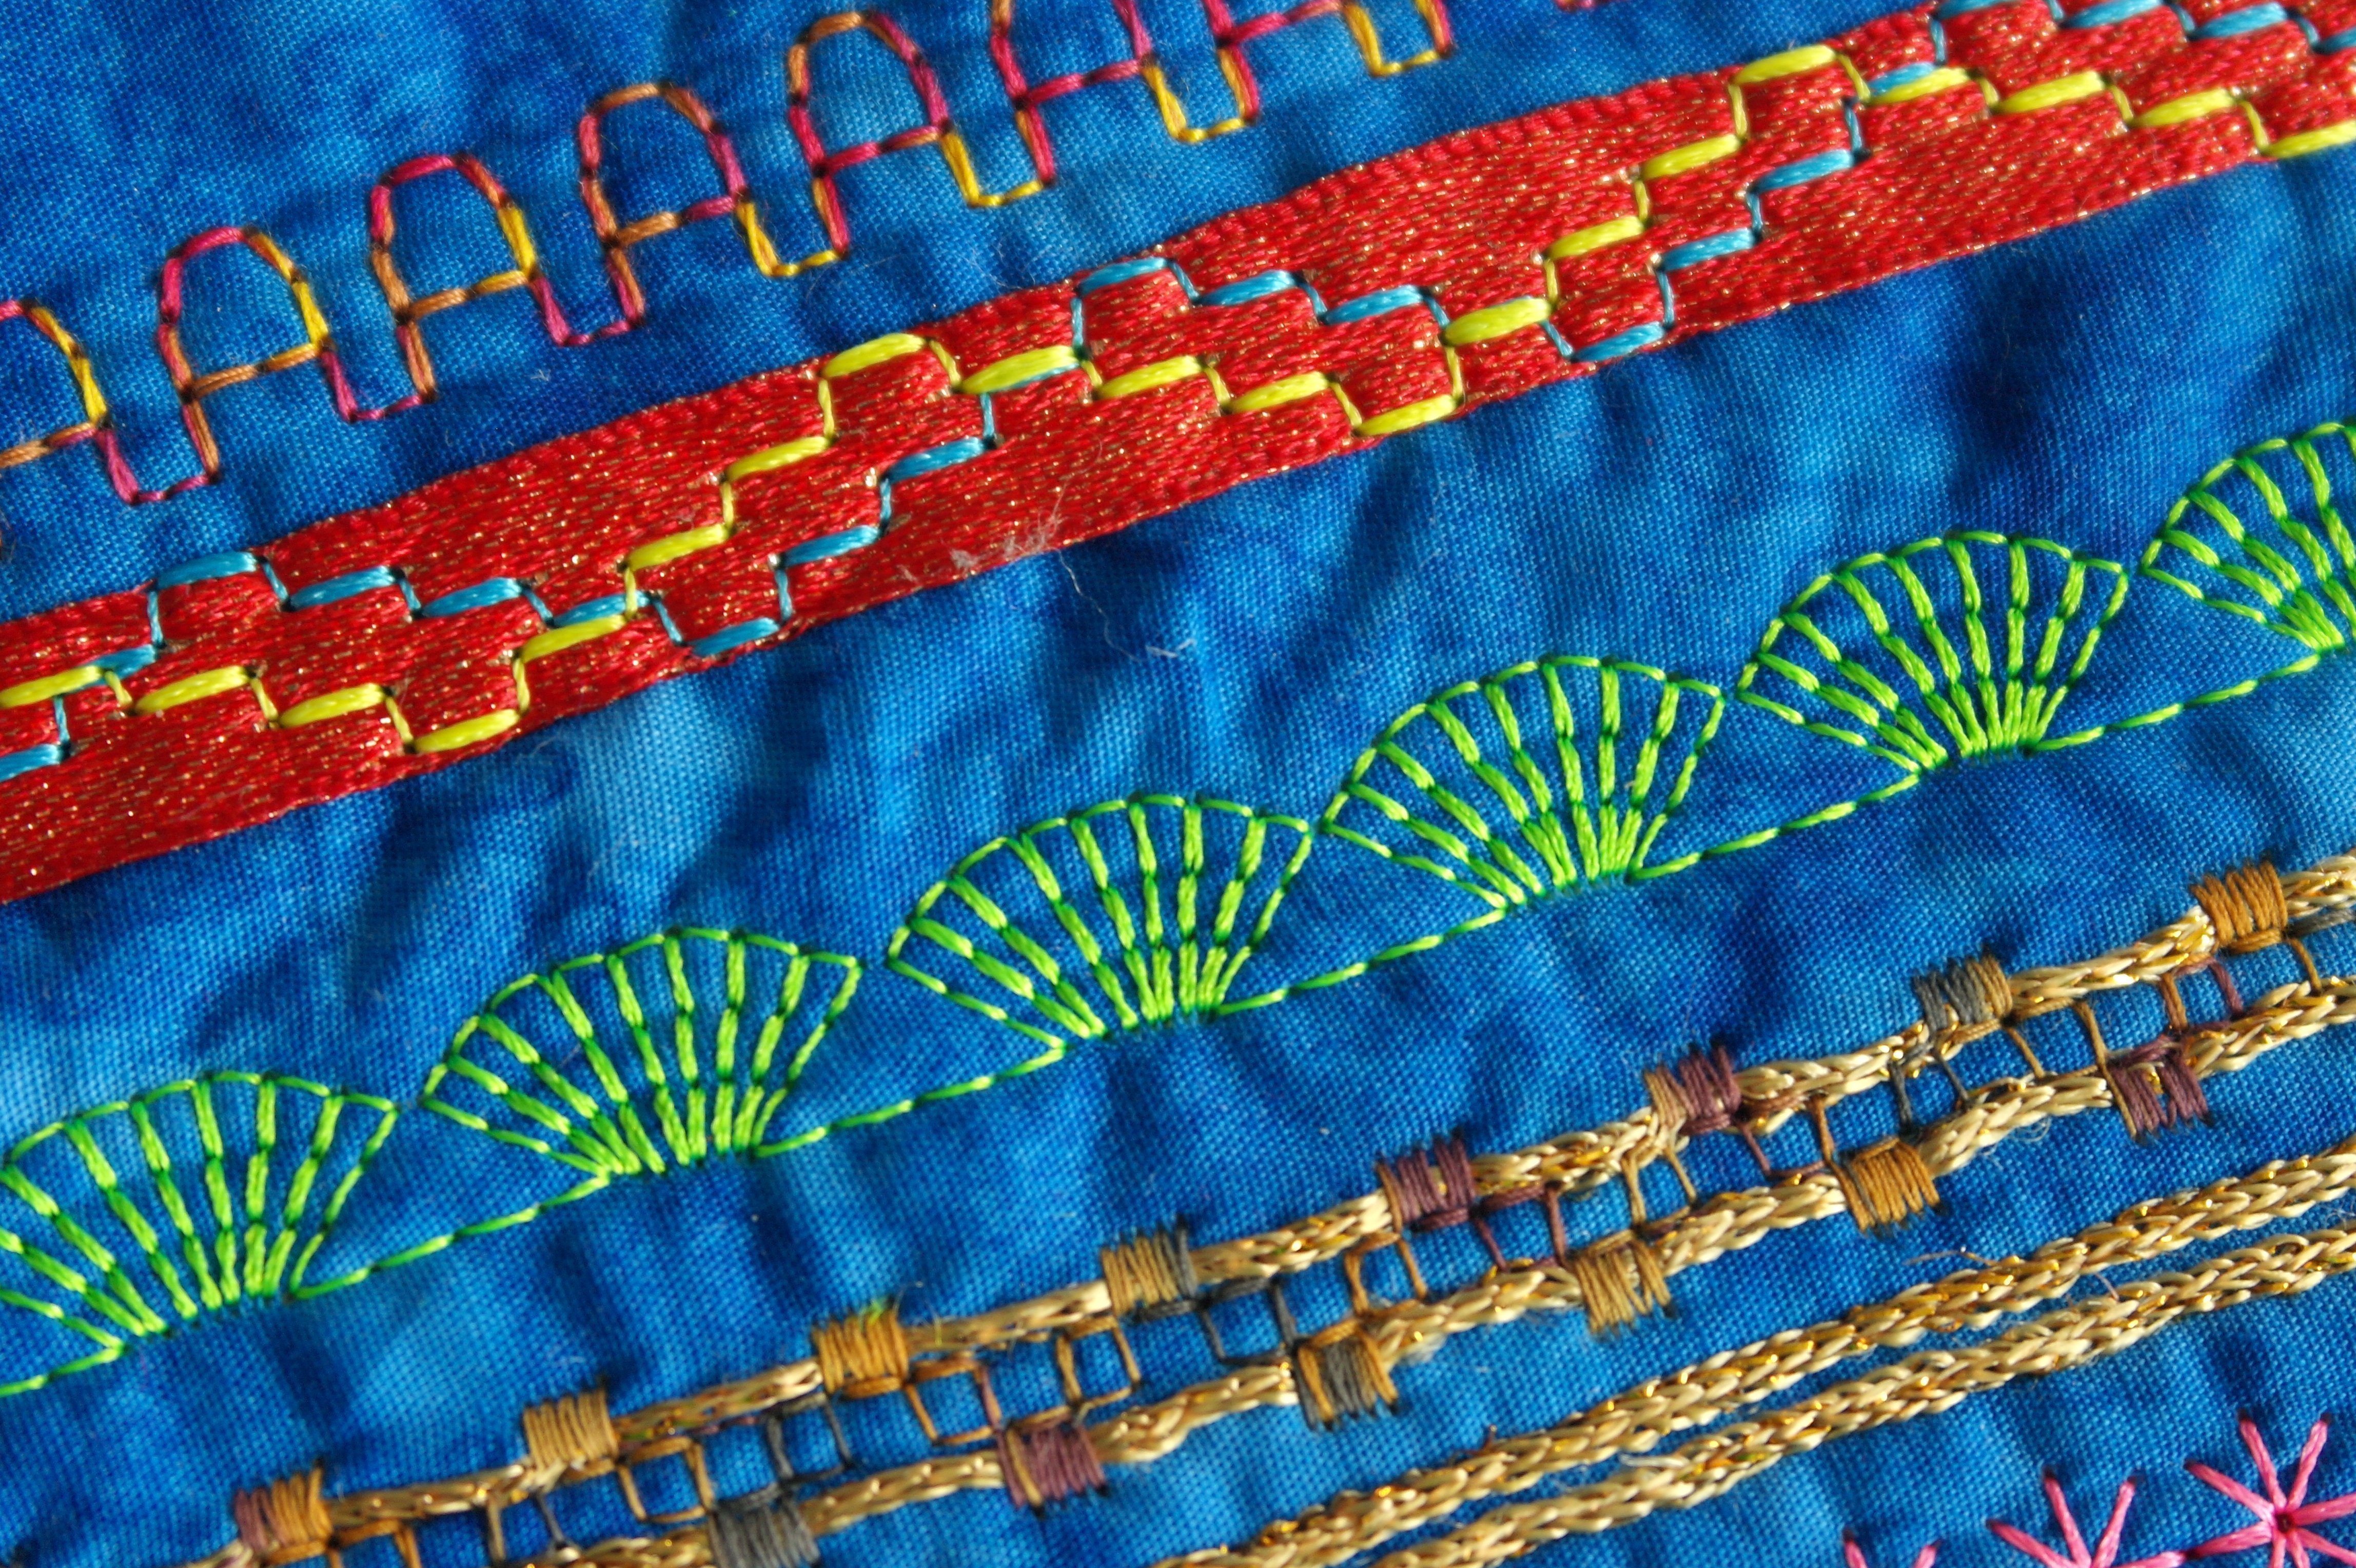
I have used a sparkling ribbon, sewing it down with decorative stitches. I have used the same decorative stitches twice, once with blue thread on top, the second time with yellow thread, starting a bit further from the first row, so the stitches just slightly overlap each other. Also a fun effect.
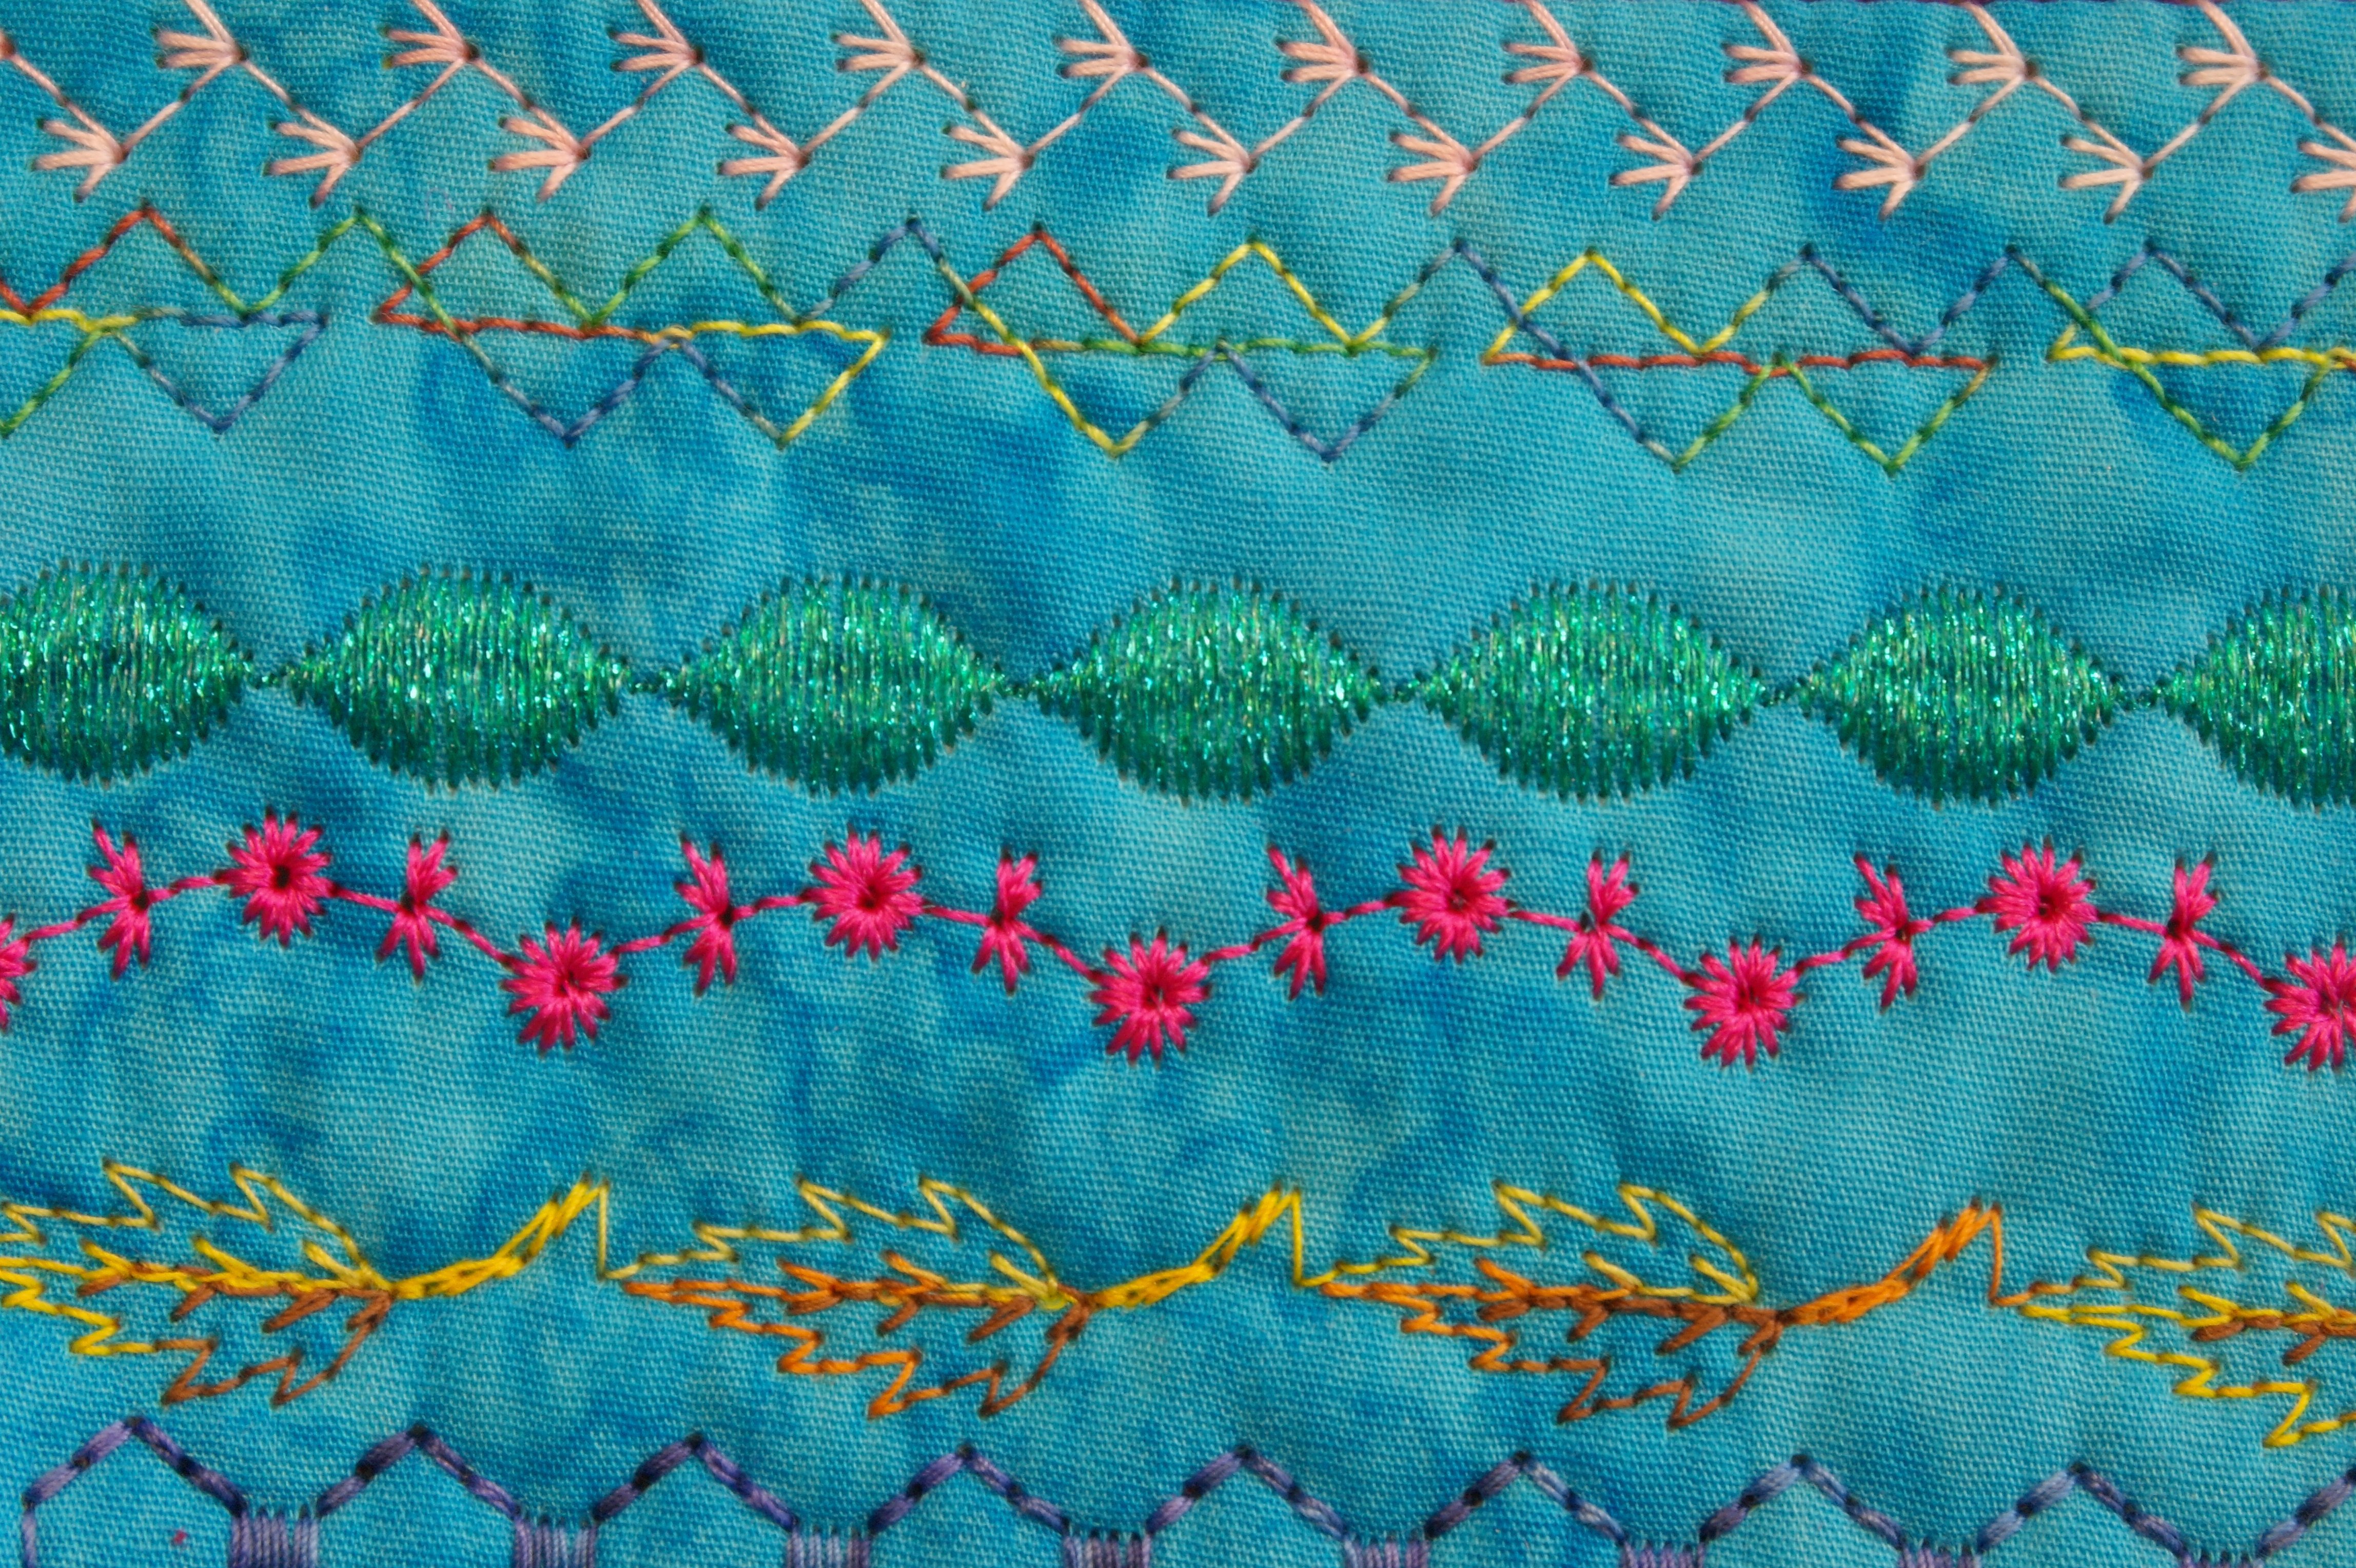
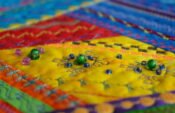
And this block seems to fill itself with georgeous threads and stitches. No matter how often you are using decorative stitches, it still is a surprise how they work out; using variegated threads, metallic threads, even this NEON polyester threads…
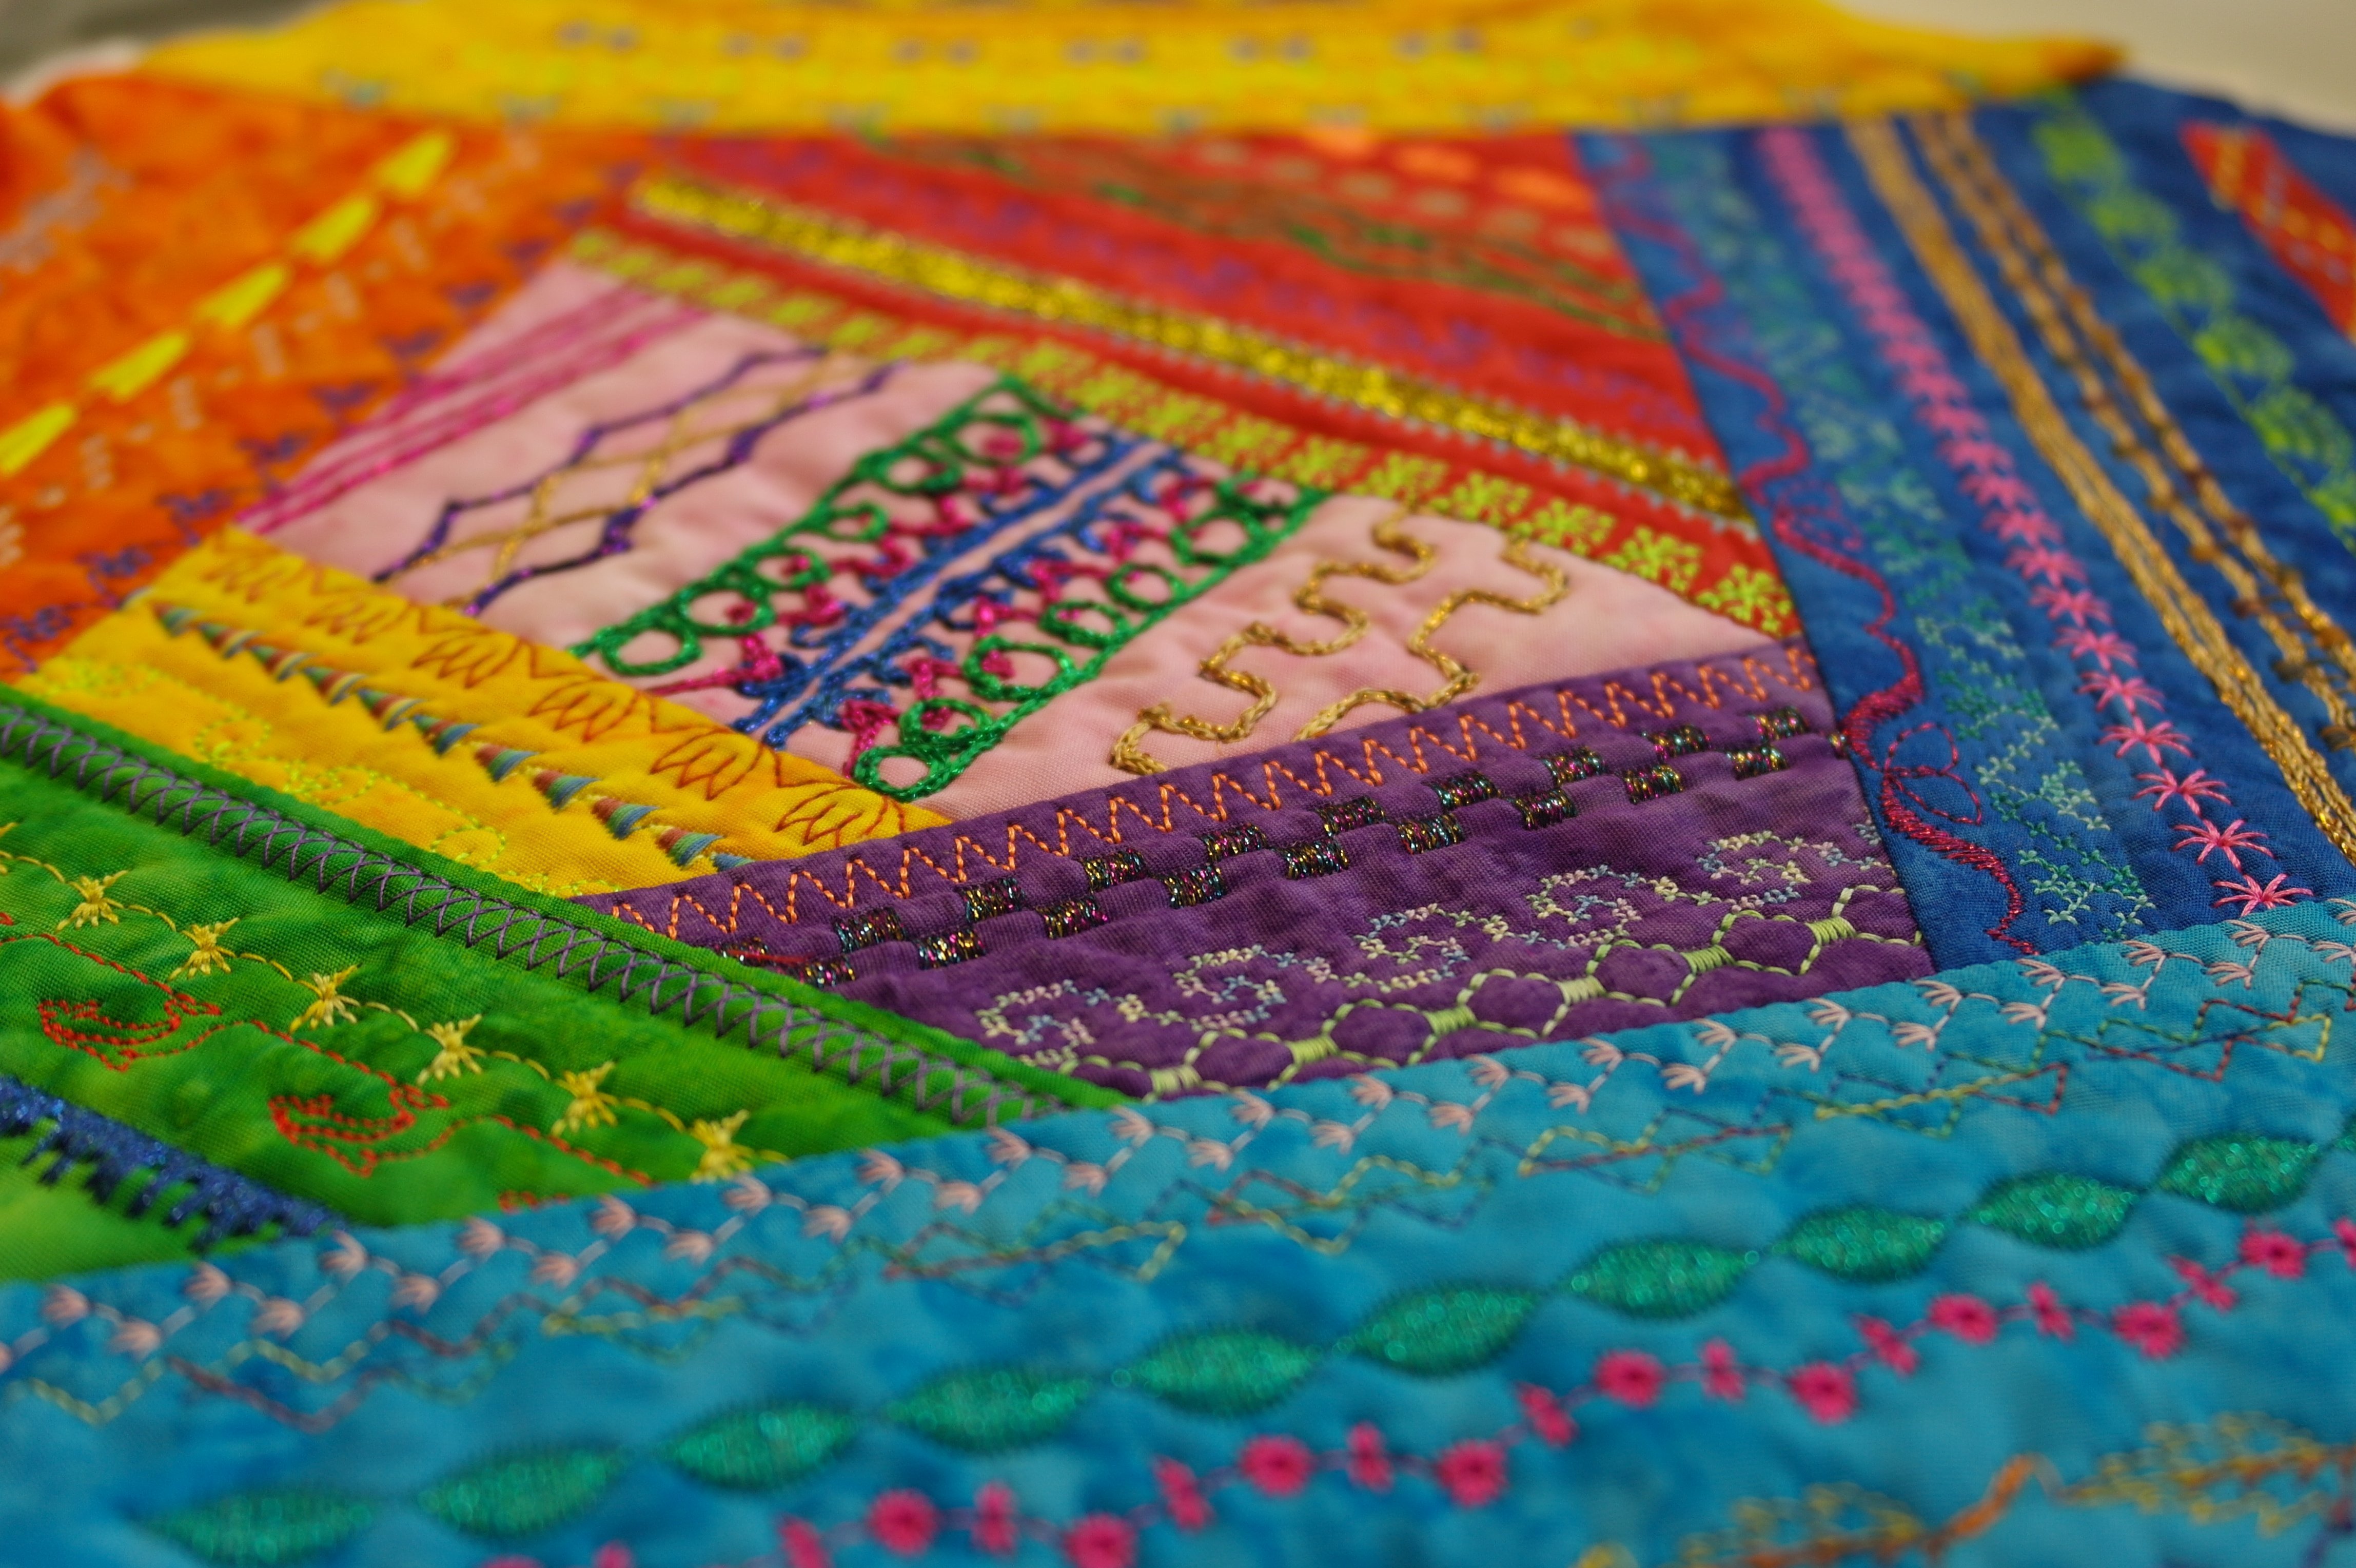
Doesn’t this looks great? No matter what you do, it is always ‘right’…
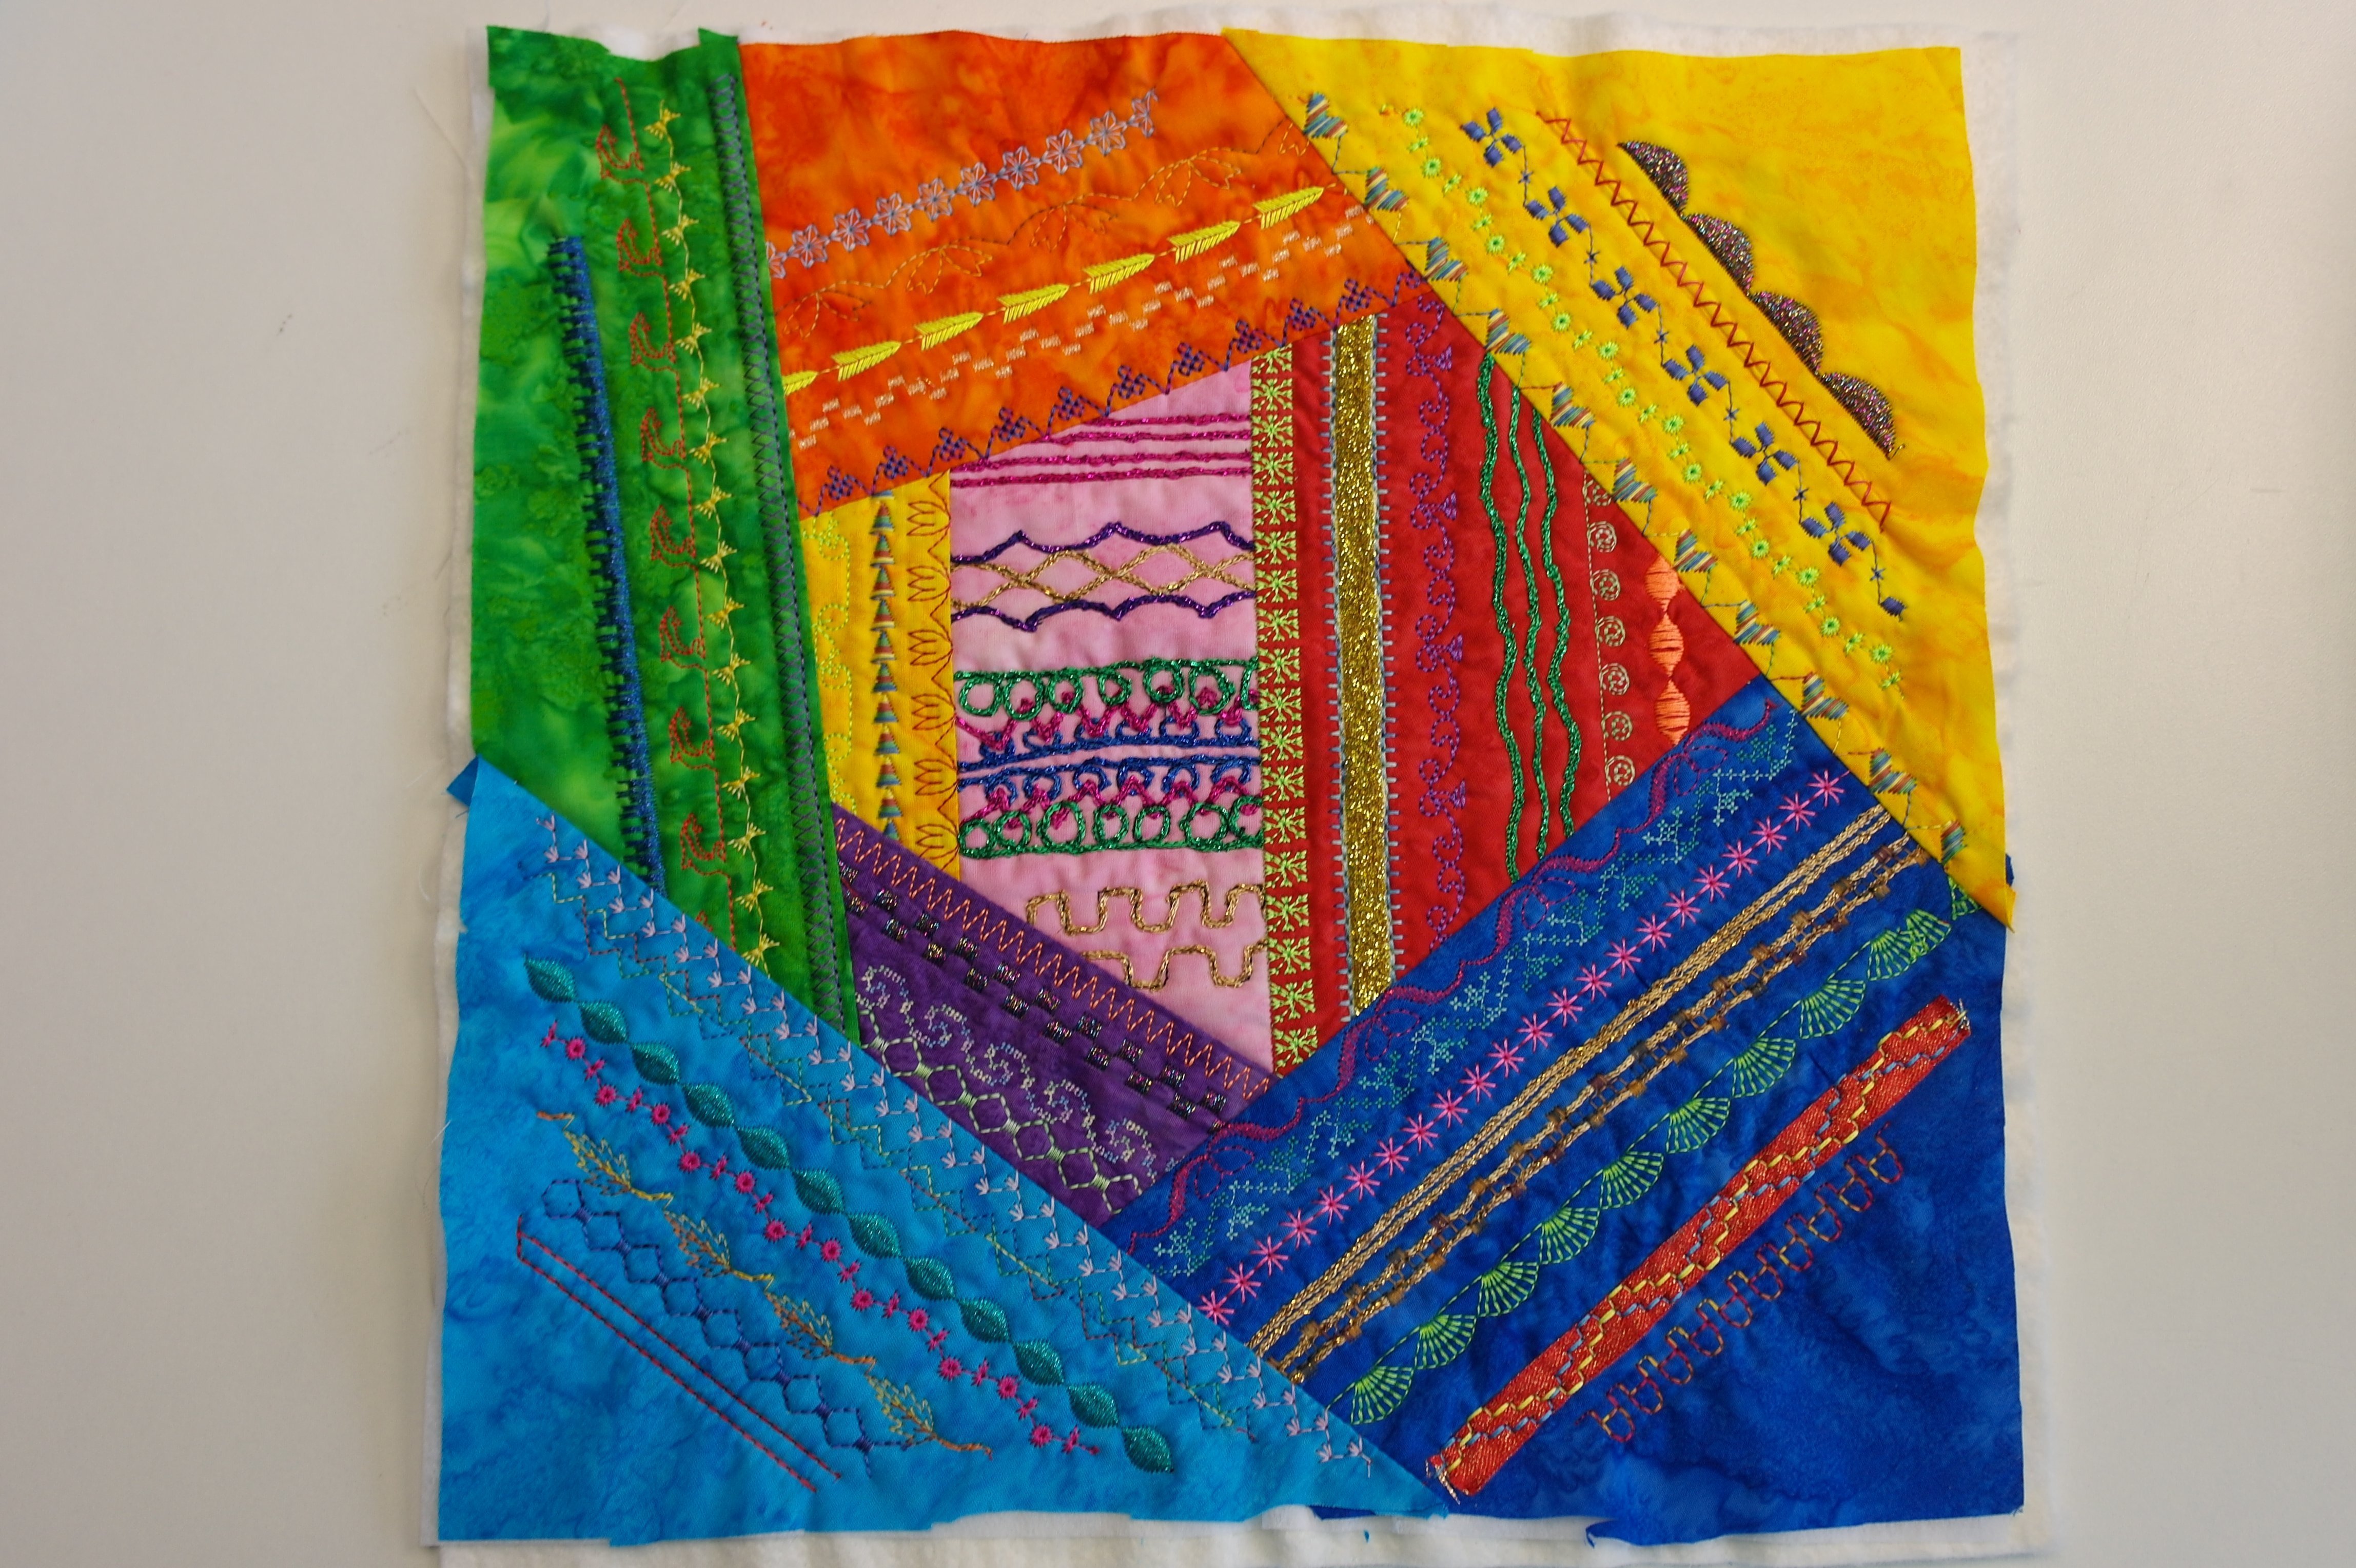
And so block 7 is finished. Different from the other blocks, also by using special free-motion foot and LIZZY…
So now it is your turn again: have fun making this block, and see you next month!
Happy quilting!
Sylvia Kaptein
Sylvia’s Art Quilts Studio
*If you don’t want to work with LIZZY , use another small cord or yarn. The special sparkling effect of LIZZY is wonderful, but using multicolor yarn, or working over a cord with metallic thread can give you a special effect too.
IMPORTANT: when your sandwich/block is finished, check if the size is aprox. 32 x 32 cm. It can be shrunken a bit because of the stitches you have made, and the freehand quilting. BUT DO NUT CUT THE SANDWICH, not even to make it tidy!!! Leave it like it is, and put it aside until month 12.
0 Responses