 BERNINA Corporate Blog -
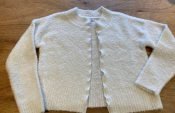
A few weeks ago, I shared this creation of mine on my personal blog. It’s the Odette pattern by magazine La Maison Victor, a loose casual shirt with small batwing sleeves.
I added a button placket in the back and created a cut out using a vintage doily to make the top a bit more special.
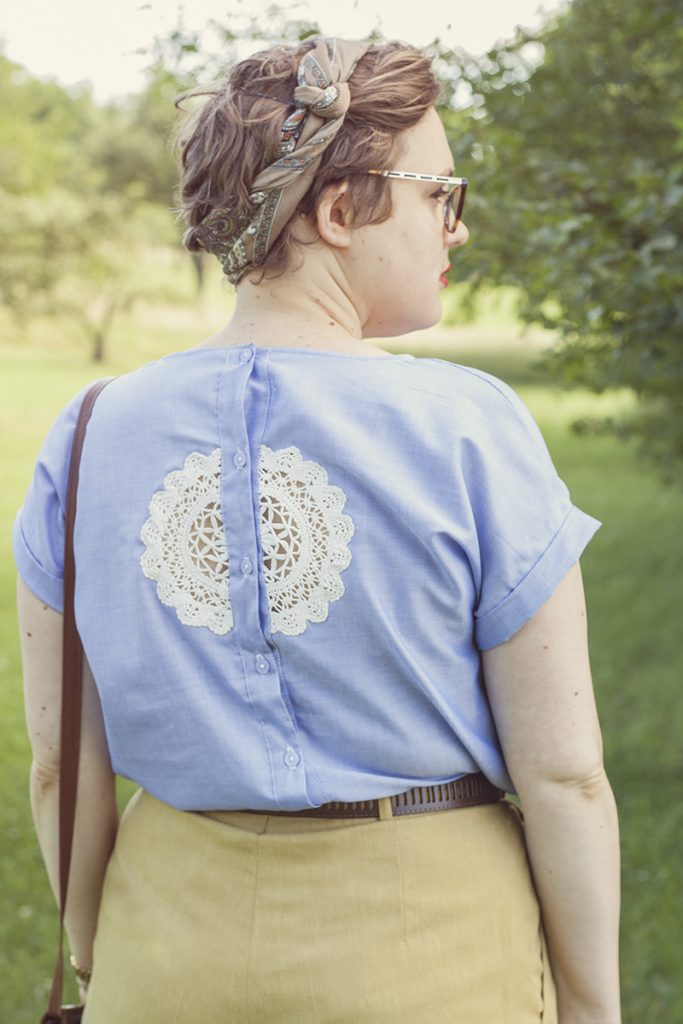
Many people commented on the entry that they loved the lace detail I added in the back. It’s special and not a detail you see very often.
It’s actually super easy to make, so today I’m sharing the tutorial for these lace cutouts with you.
Lace Cutouts: Here’s what you’ll need
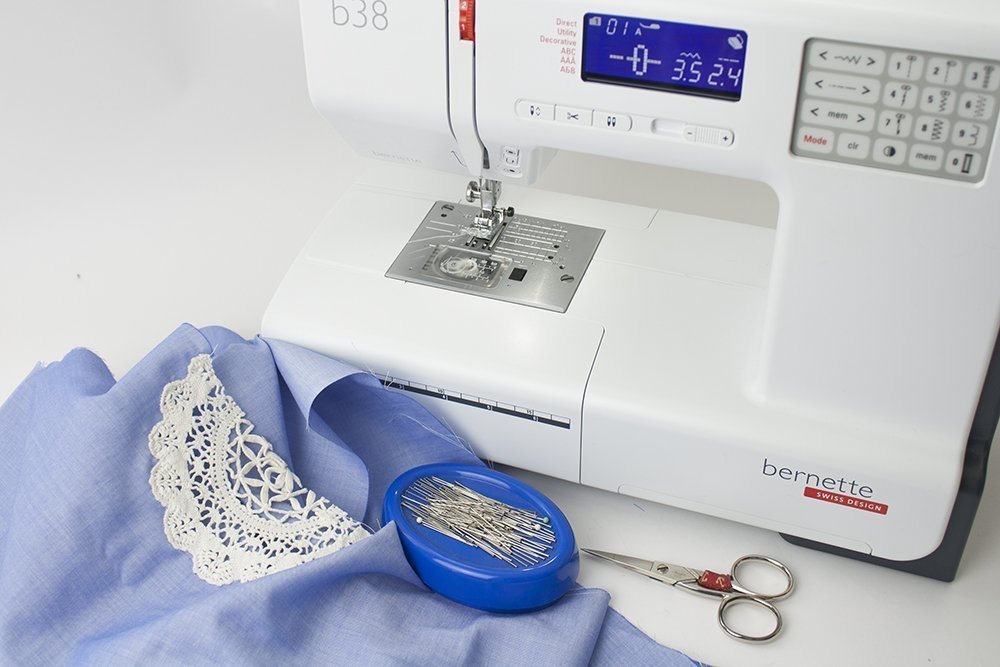
The first thing you need is a piece of lace that will be sewn onto the fabric.
I used a vintage doily from the flea market. I achieved the same look with a vintage lace table runner I sewed onto the back of a dress.
You can also use a lace fabric and cut out your desired motif. You don’t need a seam allowance for this.
I had some slight problems because my doily was a bit uneven – because it was handmade, there were some thicker places. The more even the lace is, the better.
What’s most important: Don’t choose a stretchy fabric for the lace and the base fabric you’ll be sewing it onto. This would make sewing much more difficult and would probably result in lot of shifting and warping.
Choose a woven fabric as the base; jersey and other knits won’t work.
Choose thread in the colour of your lace.
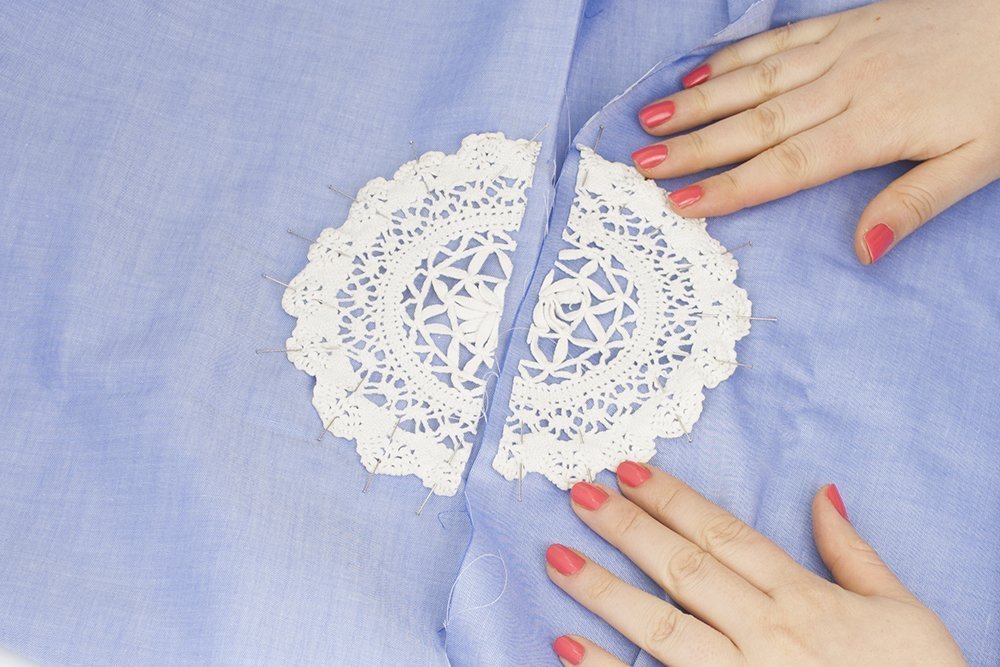
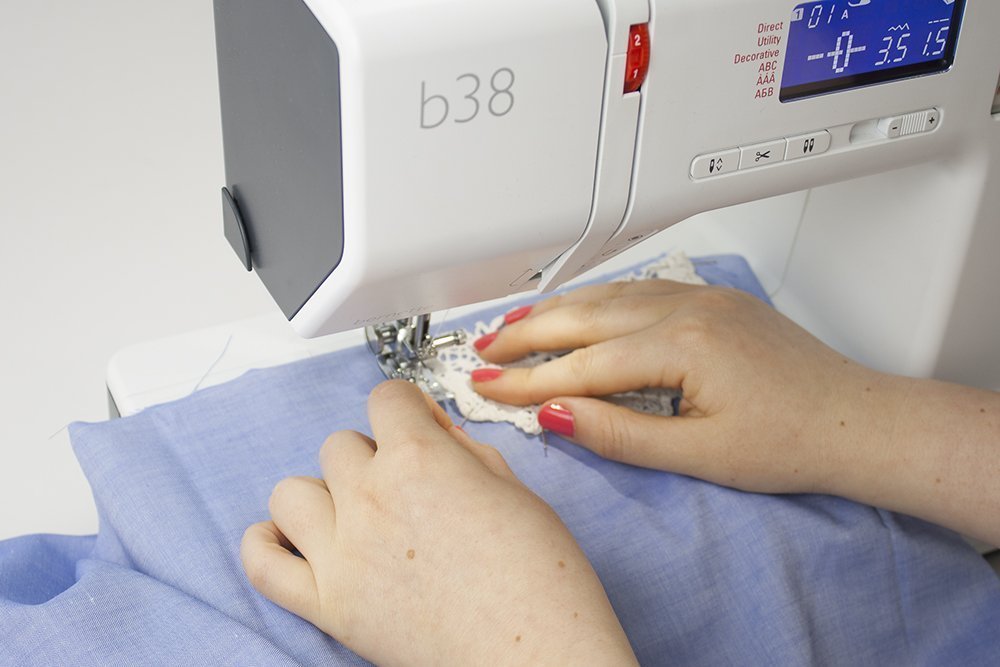
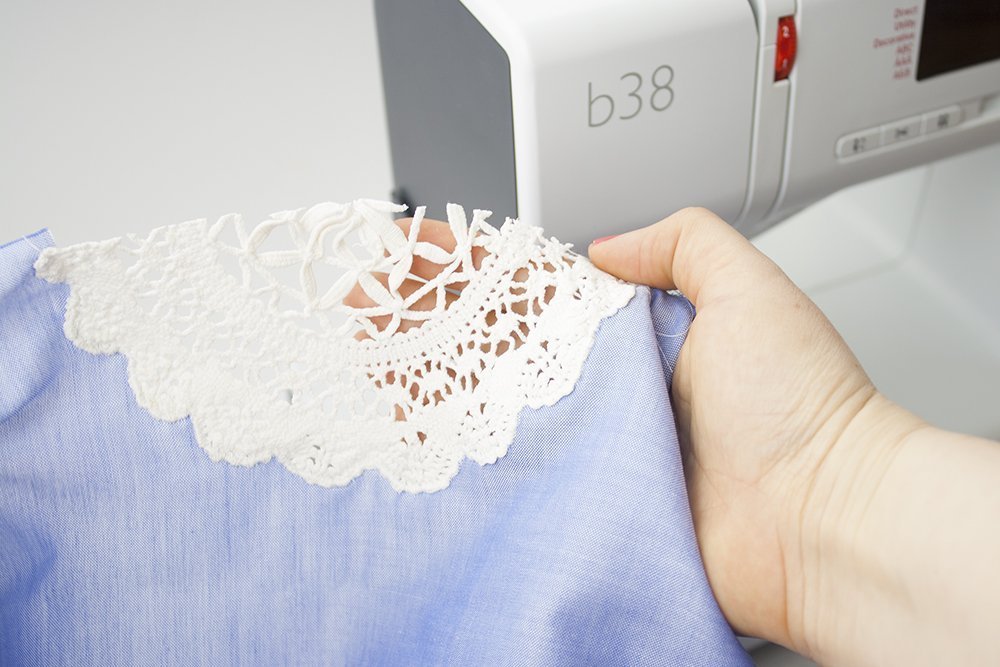
Step 1: Pinning
Pin the lace in your desired place. Make sure that it lies flat against the fabric.
I placed the doily in the center back of the top. I cut it in two because it’s divided by the button placket.


Step 2: Machine Basting (optional)
I machine basted the doily onto my base fabric next. I used a straight stitch with a small stitch length (1.5) to sew all around the edge of the lace.
This step is optional. I still like to sew the lace onto the base fabric first, because this seam can be an additional protection against fraying.
Also, I don’t need the pins in the next step, because the lace is already secured in place. I won’t have to be careful not to sew over a pin.
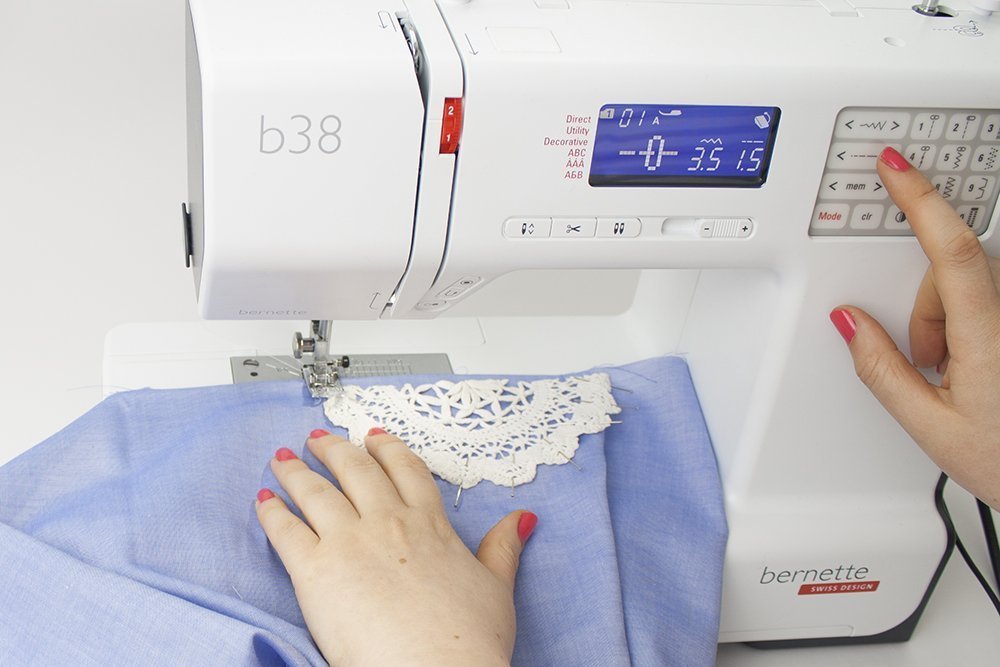
Step 3: Securing with zigzag stitch
I’d recommend using a scrap piece of fabric for finding the ideal settings. You’ll need a tight zigzag stitch for this step, but the stitches shouldn’t be so tight that you’re perforating the fabric. This would increase the danger of fraying and tearing of the base fabric.
The width of your stitch should be small. You’ll be sewing right on the edge of the lace and the seam shouldn’t be prominent.
For me, the settings of 2.0 (width) and 0.4 (length) were ideal (see display in the picture below).
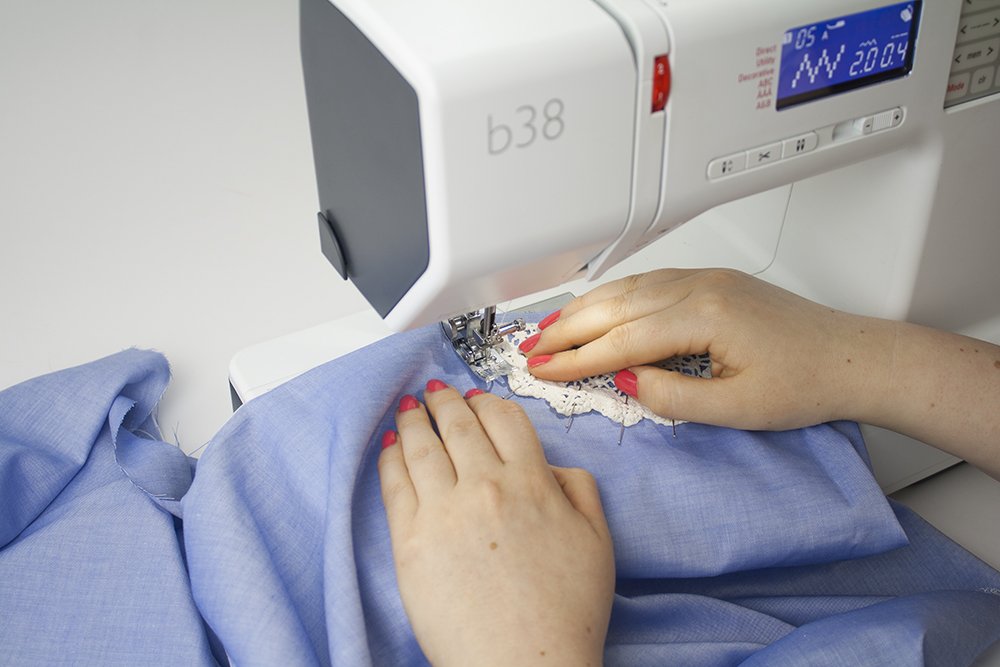
Sew all around the lace, directly on the edge.
Because my doily was, as I already mentioned, a bit chunky in some places, I had to help the feeding dogs by gently pushing and pulling.
If you have the feeling that you’re sewing in the same place and the fabric doesn’t move, use the hand wheel and push the fabric by hand until you passed the chunky bit.
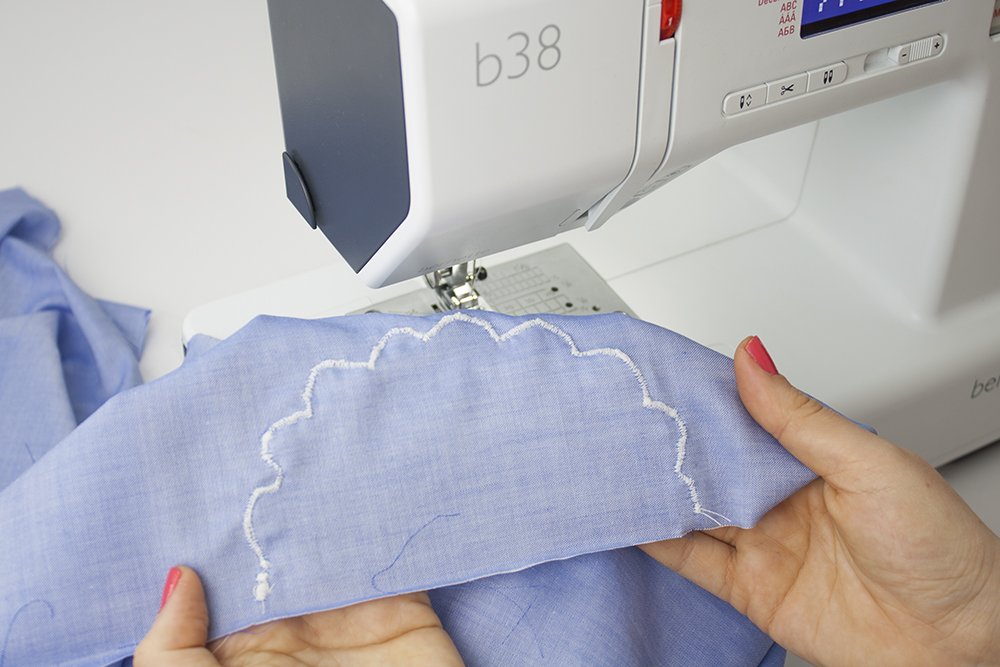
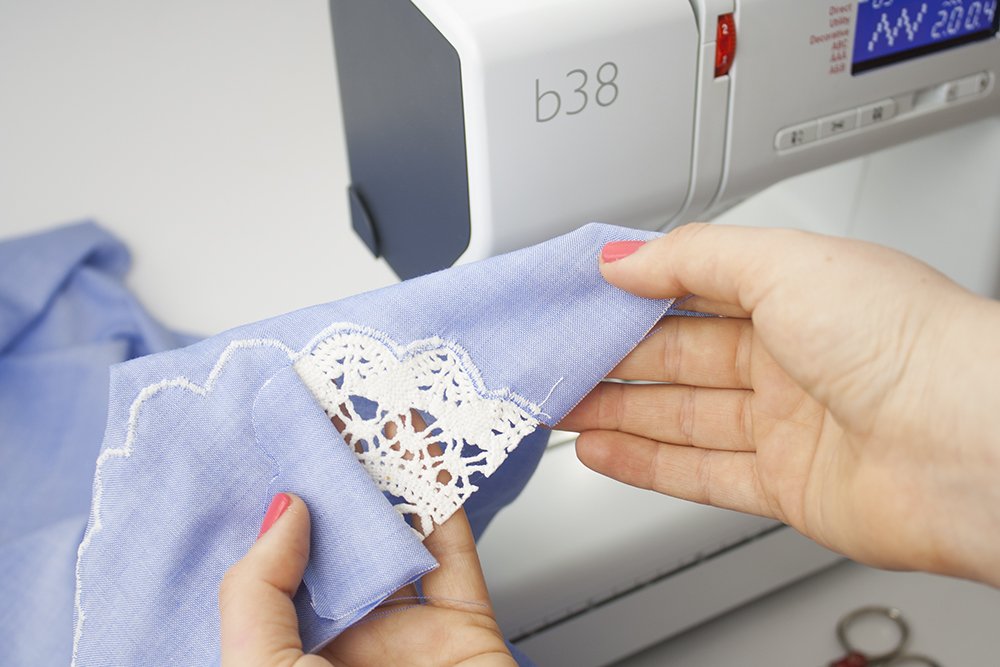
On the wrong side of the fabric, you’ll see the shape of the lace after finishing your seam.
I tried to capture the zigzag seam on the right side. As you can see below, it isn’t really visible because it just inserts itself into the lace.
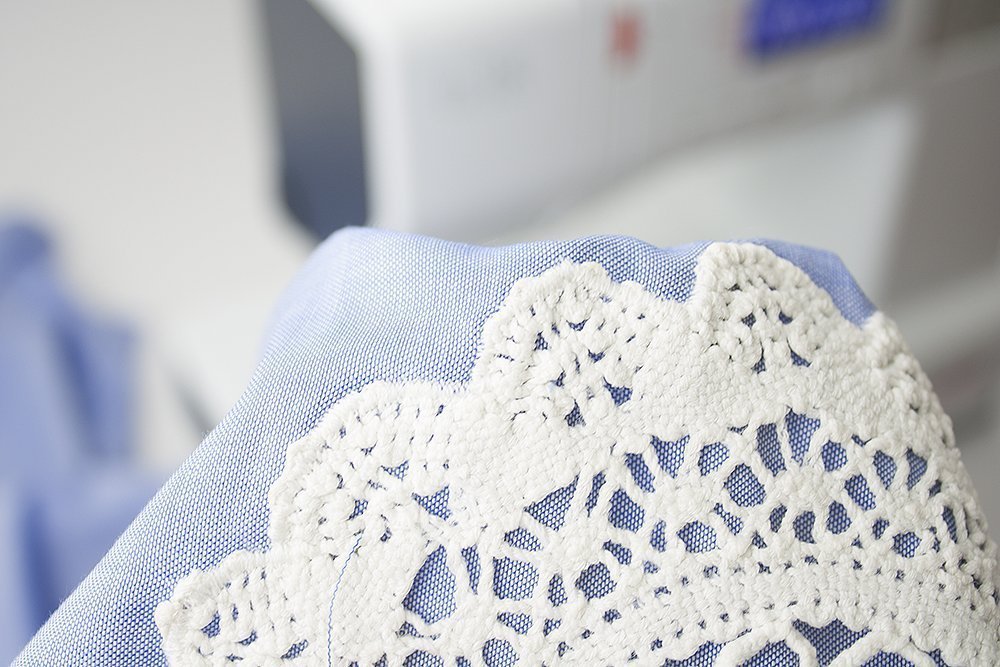
Step 4: Cutting Out the Lace
The last step is really simple: cut out the base fabric behind the lace, using sharp and pointed scissors so that you can reach all corners.
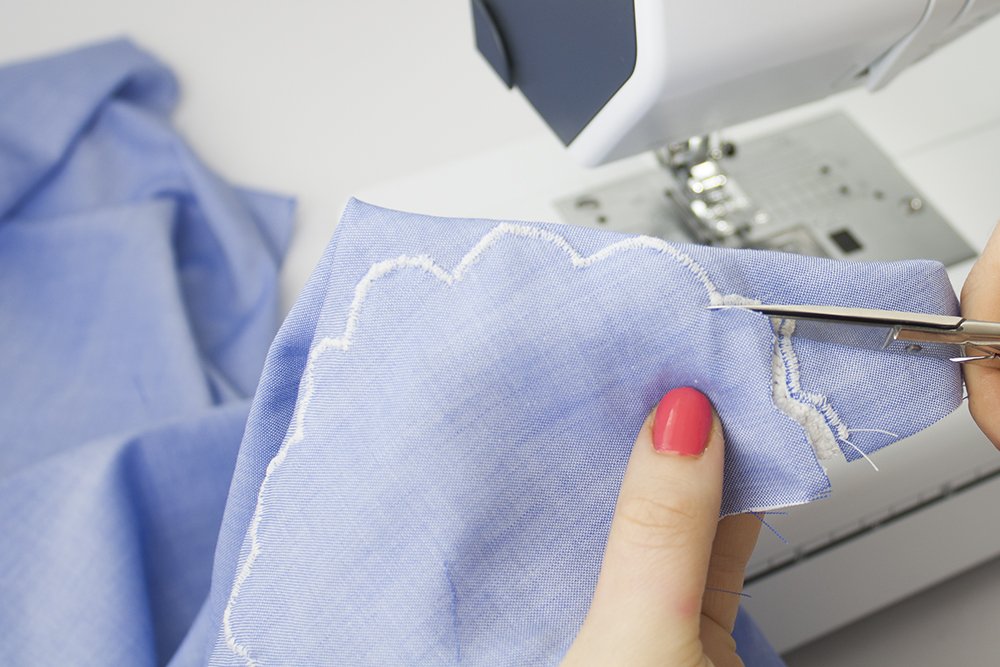
Cut right along the zigzag seam, as close as possible. A you can see above, I didn’t leave any allowance.
And you’re done!
Tips and variations
The bigger your lace motif or doily, the bigger your cutout will be if you remove all the fabric behind it.
You can also sew along certain motifs within the lace instead of sewing along the edges. I could have, for example, only cut out the inner circle of the doily. In this case, I’d have had to make a second seam where I wanted the edge of the cutout to be.
I can also see a contrasting fabric behind the lace cutout as a nice effect.
I would carefully cut away the base fabric after Step 2. During step 3, I’d use the zigzag seam to sew on the contrast fabric behind the lace. When finished, I’d cut away the excess contrast fabric on the wrong side.
If you lace is very delicate, you can use spray starch to stabilize it for sewing.
I hope you liked this tutorial!


Helpfull information share you. Beautiful blog written you.