 BERNINA Corporate Blog -
I have always been in love with androgynous fashion styles. That includes a classic, menswear inspired shirt collar.
They also look great on a feminine shirt dress or as a contrast on casual clothes, like my oversize dress “Carrie” (link to my personal sewing blog).
I already used the dress to show you how to sew yokes with a clean finish. I also took photos of my collar sewing process. I learned the techniques during my bespoke tailor apprenticeship and used them many times since then, always getting a great result.
Sewing a shirt collar isn’t difficult, but it takes a little bit of patience, time and sewing experience. If you follow my lead, I’m sure your collar will look sharp, crisp and nice!
Sewing a shirt collar I: sewing the collar
You’ll need your collar pieces x2 and the collar stand pieces x2. I use iron-on interfacing on one piece of each. This gives the collar a nice crispness and some stand, but it shouldn’t make the fabric too stiff – the collar won’t lay smoothly when it is.
For this pattern, the collar pieces are the same. I was supposed to cut two identical ones. Some patterns come with different pieces for the upper and under collar, which means less work for you, because the top collar actually needs to be just a tiny bit bigger than the under collar. Imagine a finished collar: the top collar needs to roll over the under collar. This means it needs to be a little bit longer than the under collar so the latter doesn’t peek out.
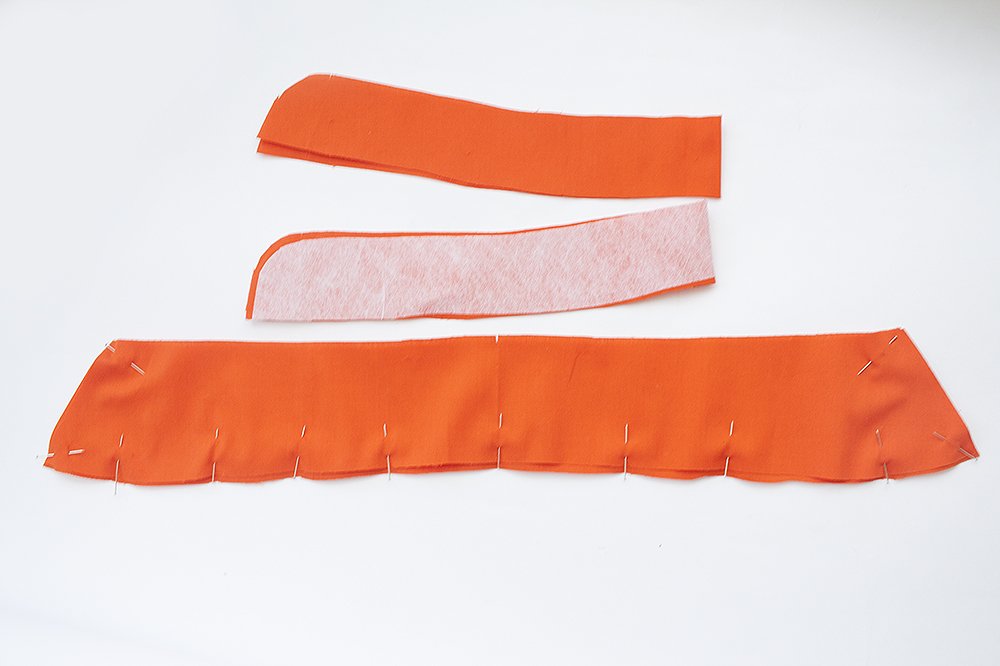
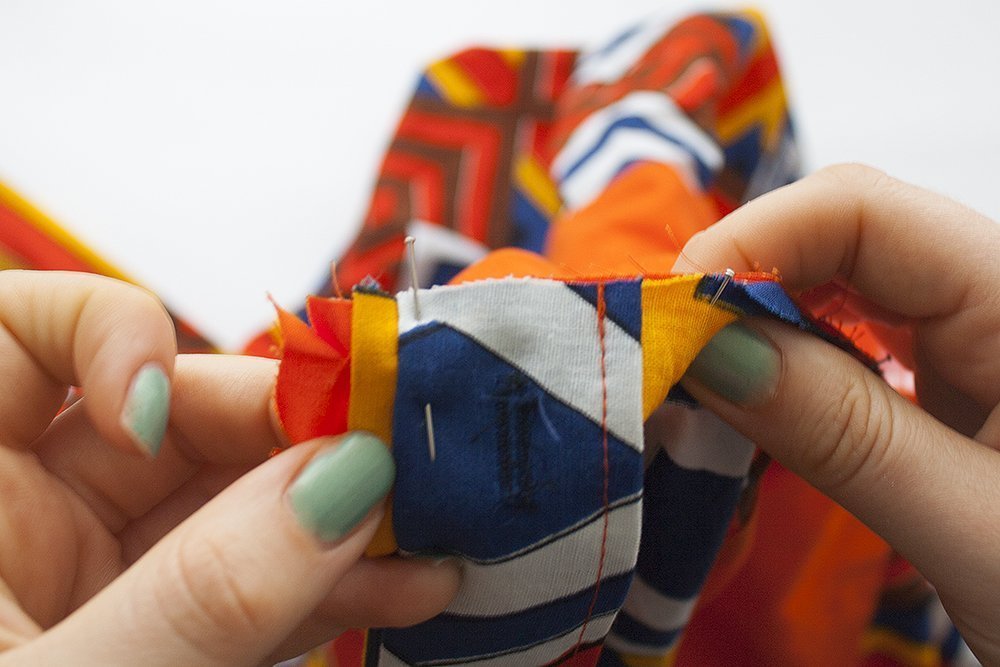
Most sewing patterns have only one piece for the collar itself. You can either trace the pattern piece and trim it a little to make an under collar pattern piece, or do like I do and pin the identical pieces in an offset way.
I pin the upper collar about 2 mm away from the edge of the under collar, even at the collar points. This means you have to spread the excess amount of fabric of the upper collar evenly. It’s not much and shouldn’t be a problem. Make sure the center back notches match up.
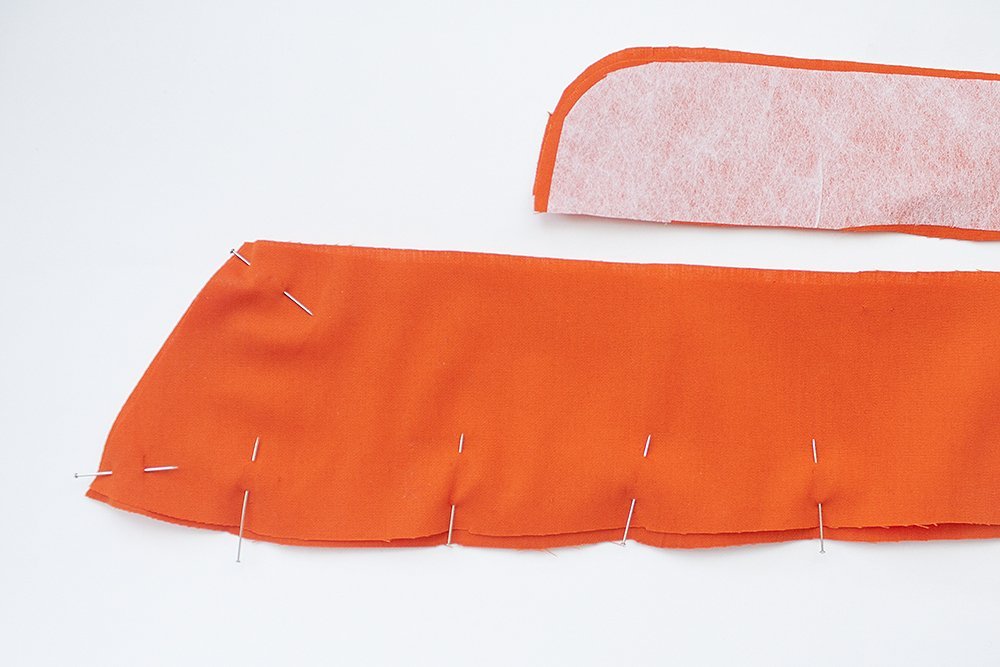
Sew the collar pieces together, using a straight stitch and the seam allowance according to the pattern piece. Use the edge of the under collar as the guide.
Because the seam allowances need to be trimmed, I like to sew this seam twice to secure the fabric from fraying.

When you are finished with sewing, trim the seam allowance at the collar points diagonally in a shallow angle, as close to the seam at the point as possible.
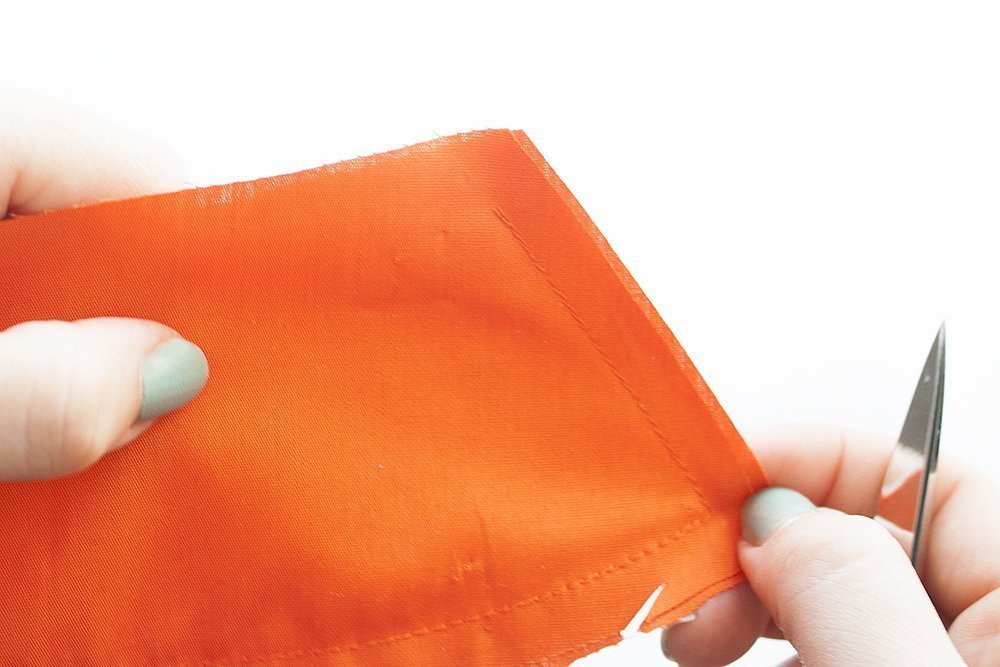
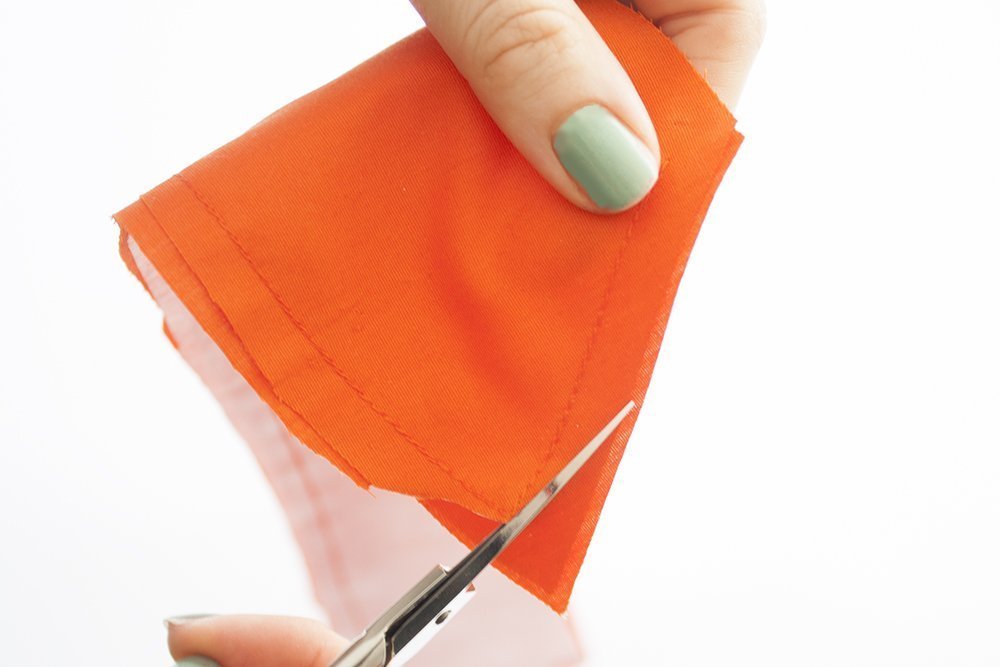
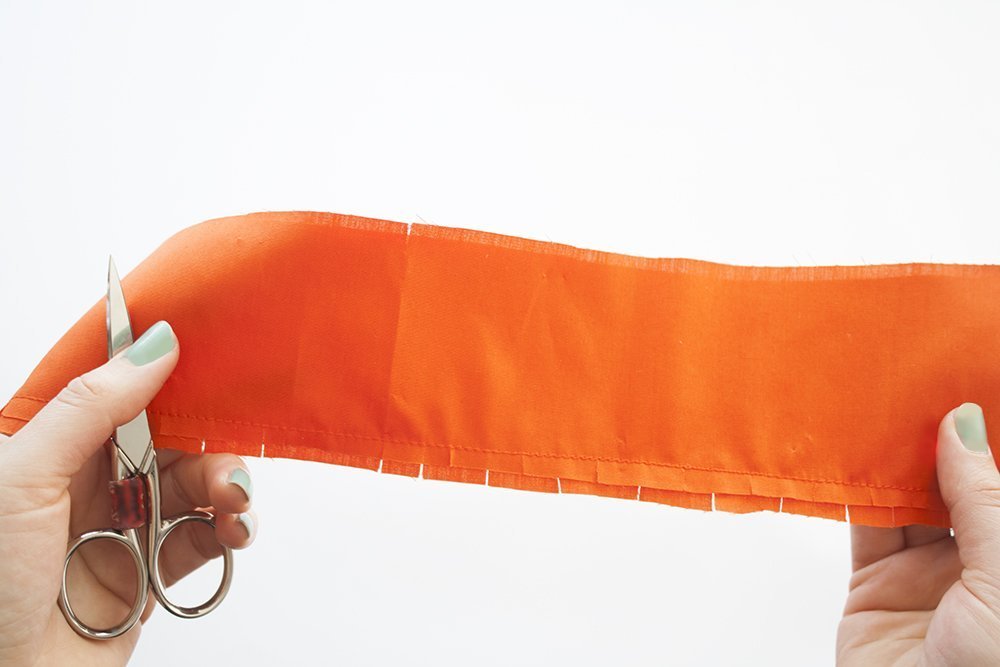
The other seam allowances shouldn’t be longer than 1 cm. Trim, if necessary. Next, clip the seam allowances as close to the seam as possible.
During my apprenticeship, I learned that alternating between layers while clipping instead of clipping both at the same point prevents curves from getting little jags. As you can see in the picture below, the clippings in the one layer are offset from the other layer.
I also like to trim the seam allowance at the “bottom” of the collar where it will be attached to the stand to prevent bulk.
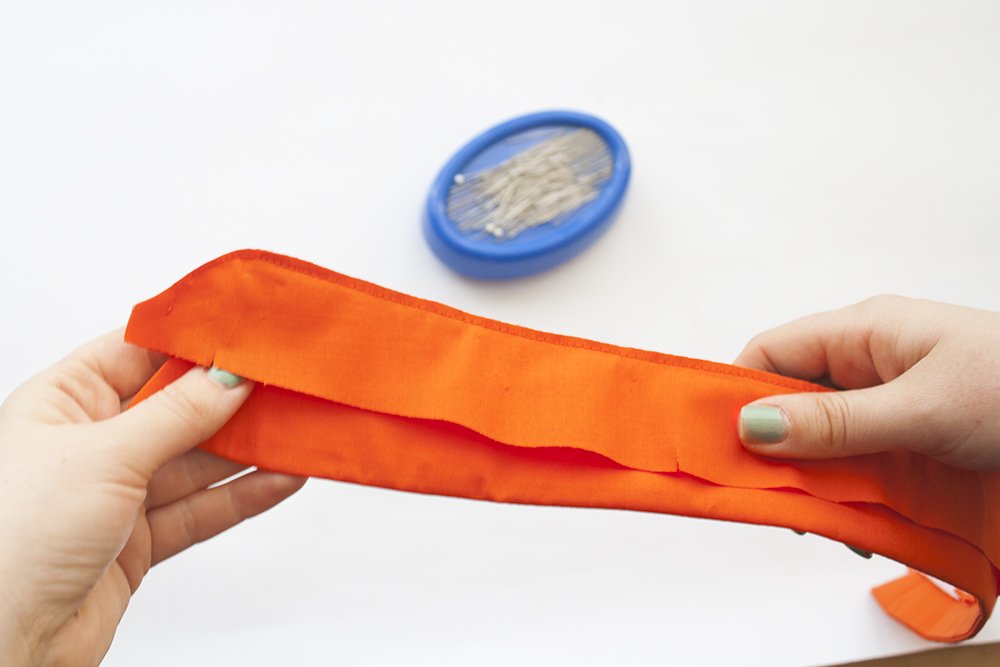
Now it’s time to turn the collar. Use a thin but blunt object to turn the collar points, like a bone folder or big knitting needle.
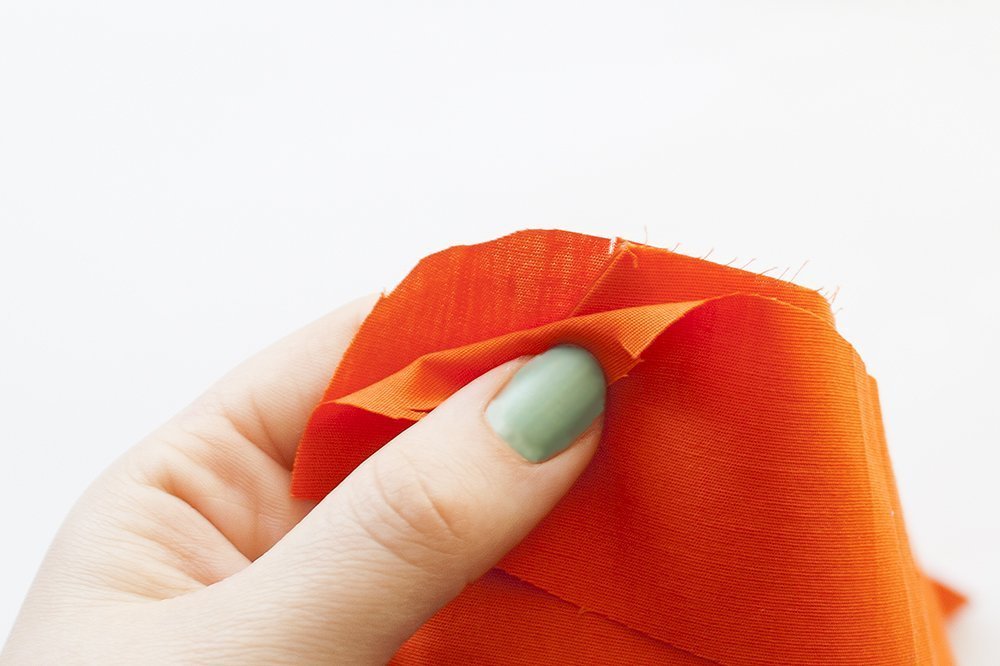
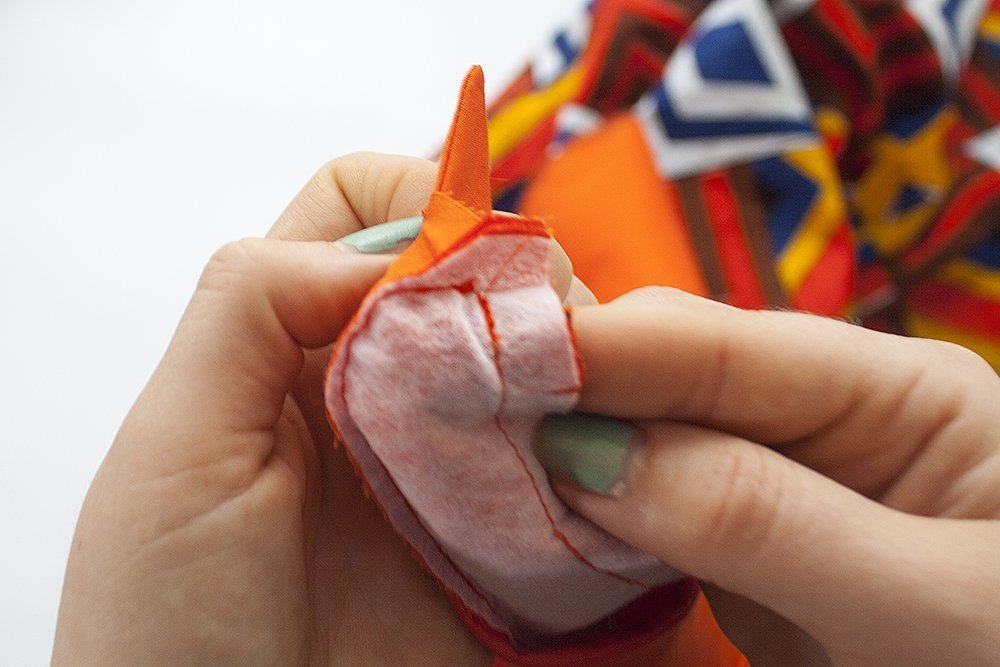
I like to press the collar so that the upper collar juts out a smidge, about 1 mm. This way, the under collar isn’t visible at all and even the seam disappears.
The picture below shows the under collar with the upper collar peaking out just a bit.

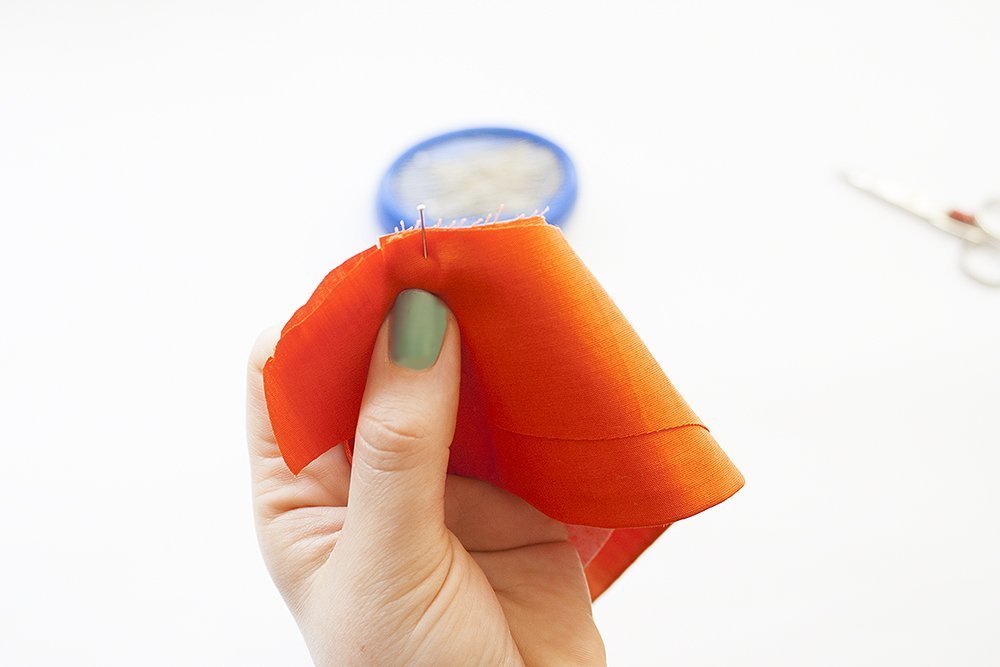
Before going on, you can baste the layers together; make sure the edges align this time and secure with stitch length of 4-5. Ideally, the upper collar should have a little access fabric, creating a little “bubble” between the under collar.
Sewing a shirt collar II: the collar stand
In the second segment of this collar tutorial, we’ll apply the collar stand.
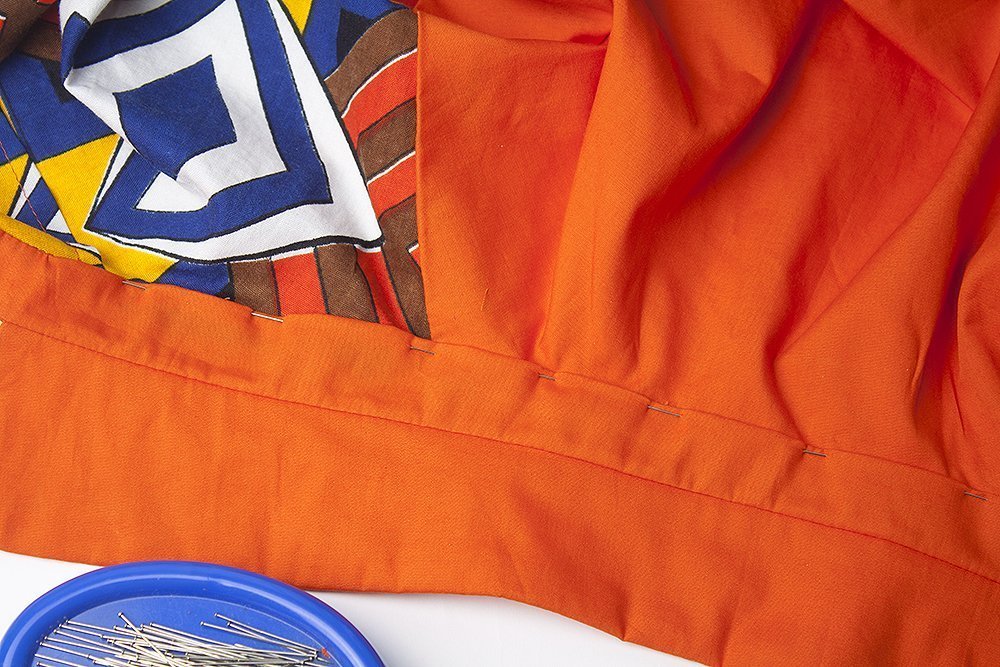
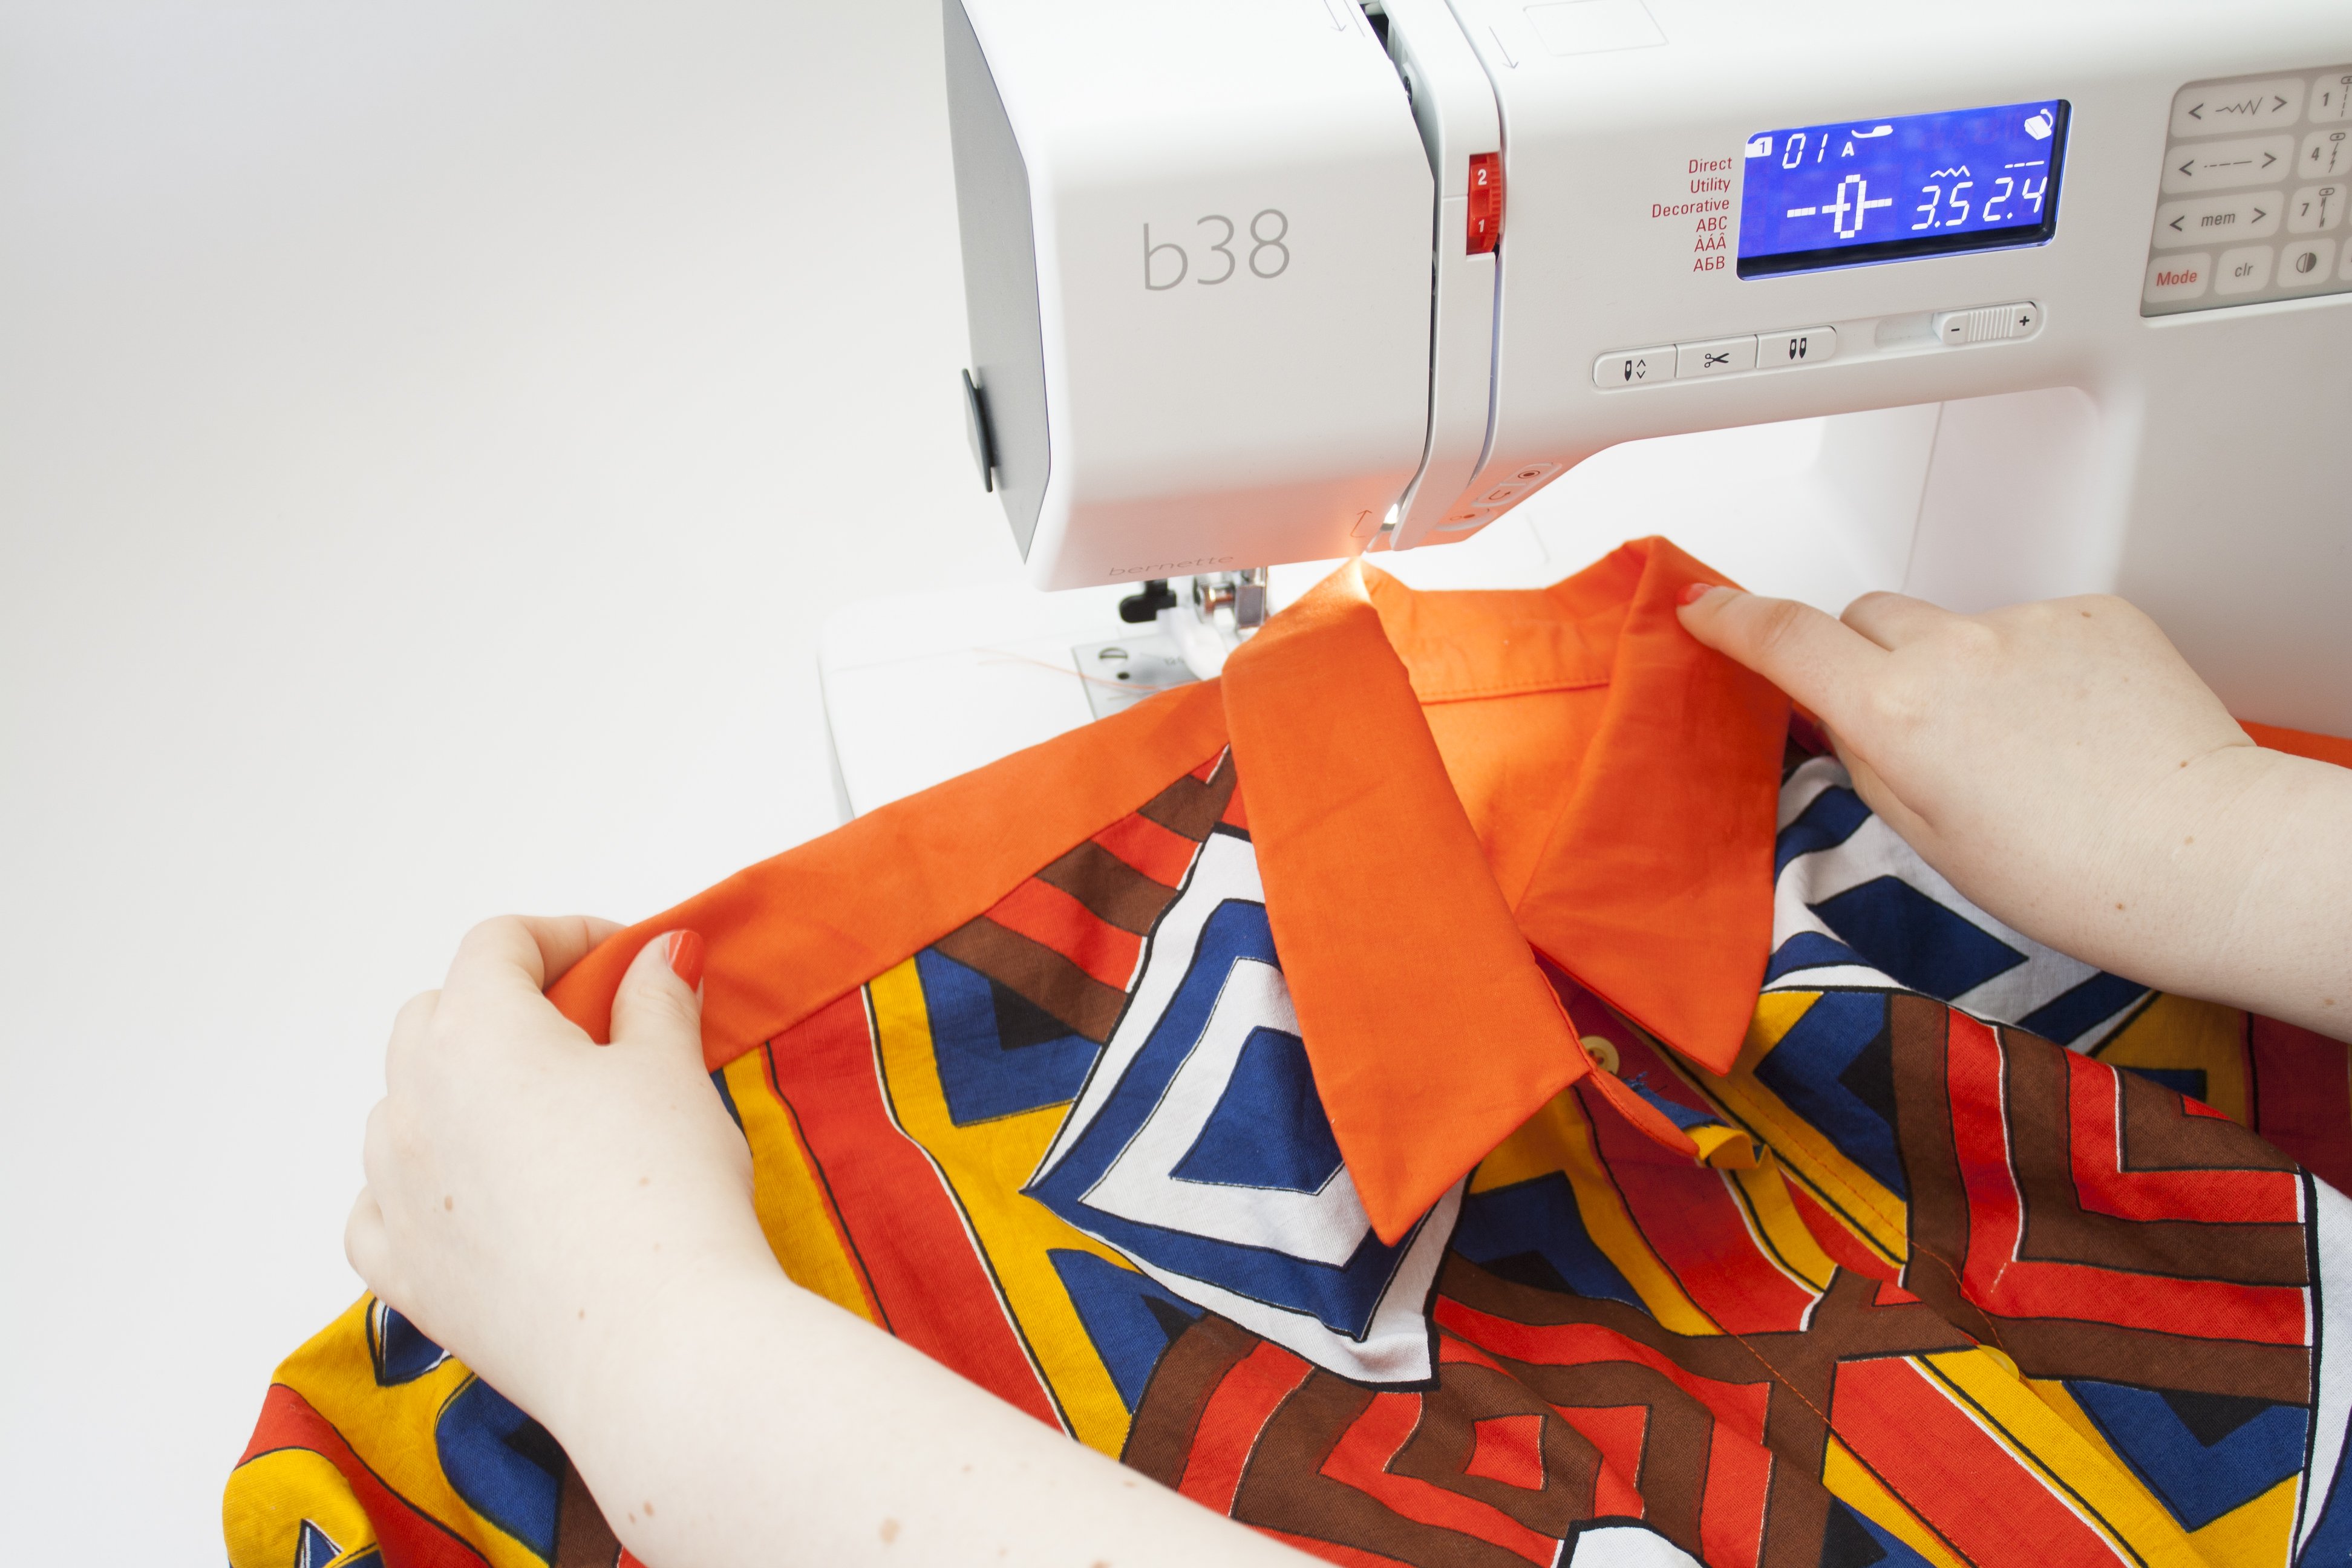
Pin the collar between the two collar pieces. I always start at the center back, making sure all three layers (collar stand – finished collar – collar stand) align.
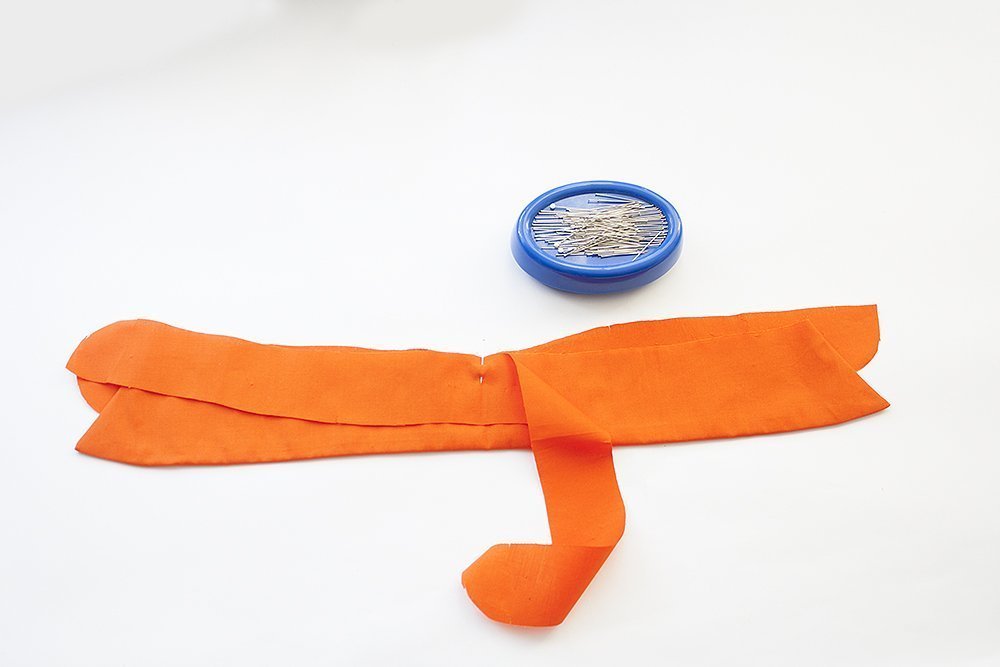
Next, I pin the front. The collar stand pattern pieces have a little mark at the center front. That’s the exact middle of the garment where the button placket and by extension the collar stand will overlap. At this point, the collar will begin.
Because the front seam of the collar is at an angle, you shouldn’t pin the collar like in the picture, beginning of collar to the mark of the center front. Rather, set it a little bit towards the back. If you mark the seam allowance on the collar, you’ll want the center front to meet the very beginning of this seam line.
Now I have the middle and the beginning of the seam. Time to pin the rest of the seam inbetween my “guide pins”.
When finished with pinning, sew the seam with your seam allowance. Again, I like to trim the seam allowances here, so I sew this seam twice to prevent fraying, reduce bulk and help the pieces to lay smoother.
Another great tip I learned is not to start the the lower edge of the collar stand, but to start where the seam allowance ends. For me, the seam where I’ll attach the stand to the neck is 1 cm, so I start sewing 1 cm away from the edge, as you can see below. This helps attaching the stand with a clean look without bulk.
You can of course mark the seam line if you want more guidance.
I trim the seam allowances to about 3 mm and a little more at the rounded front seams of the collar stand.
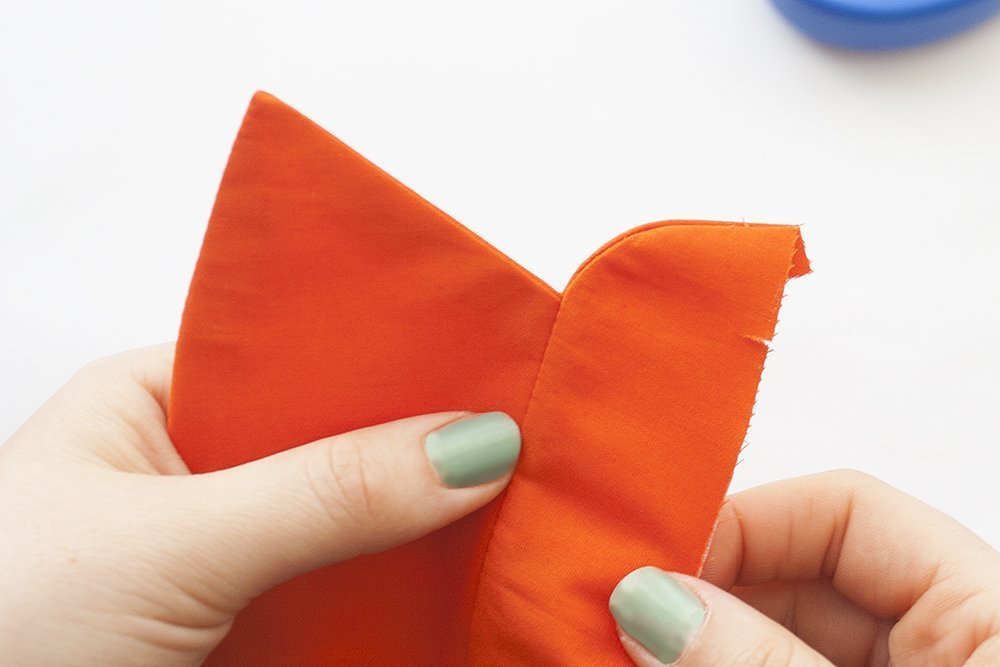
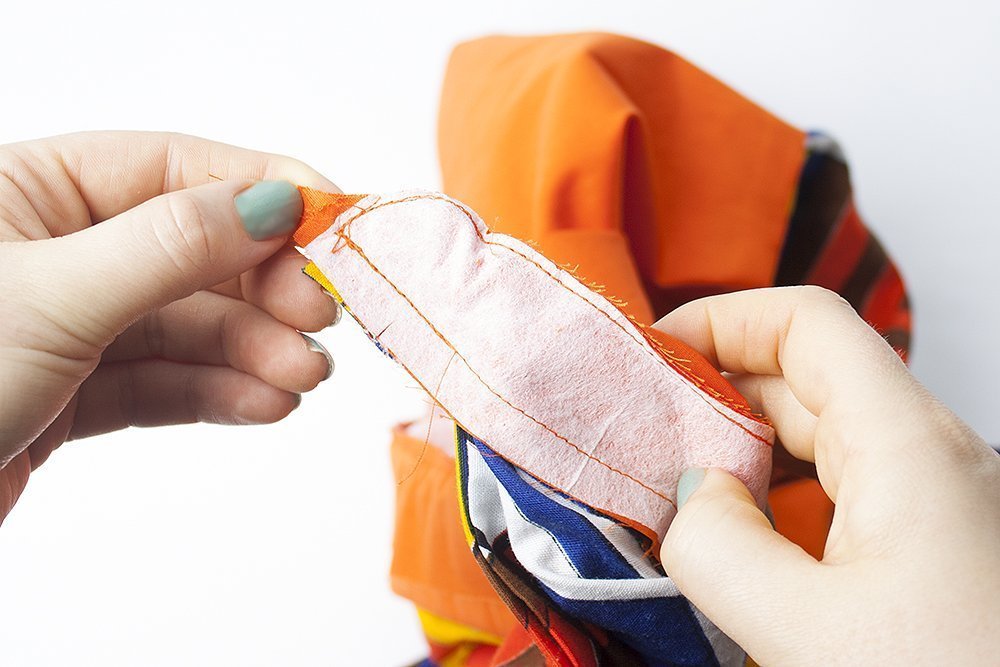
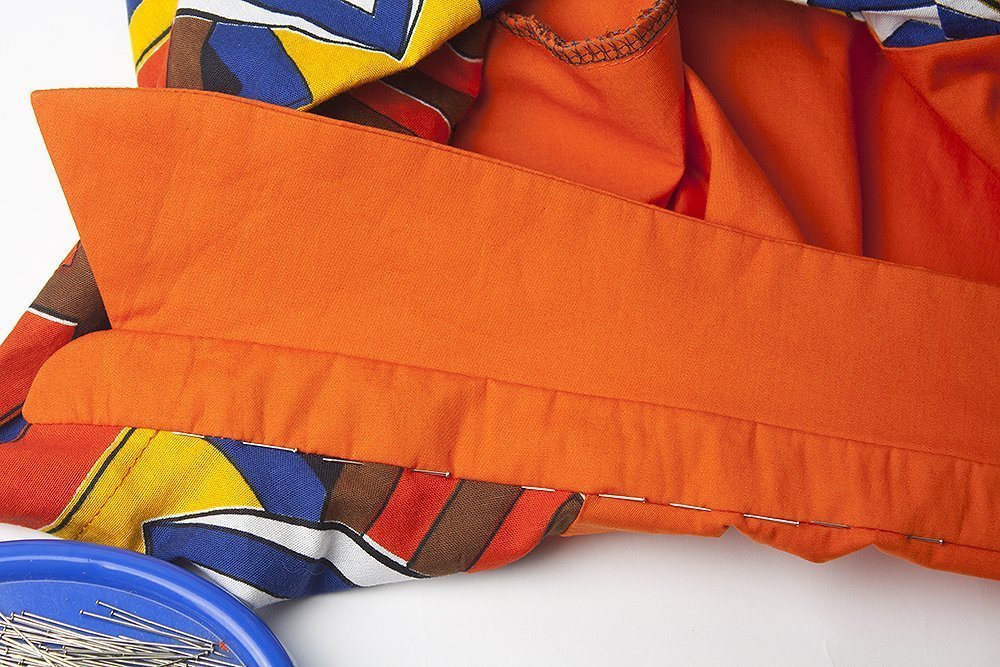
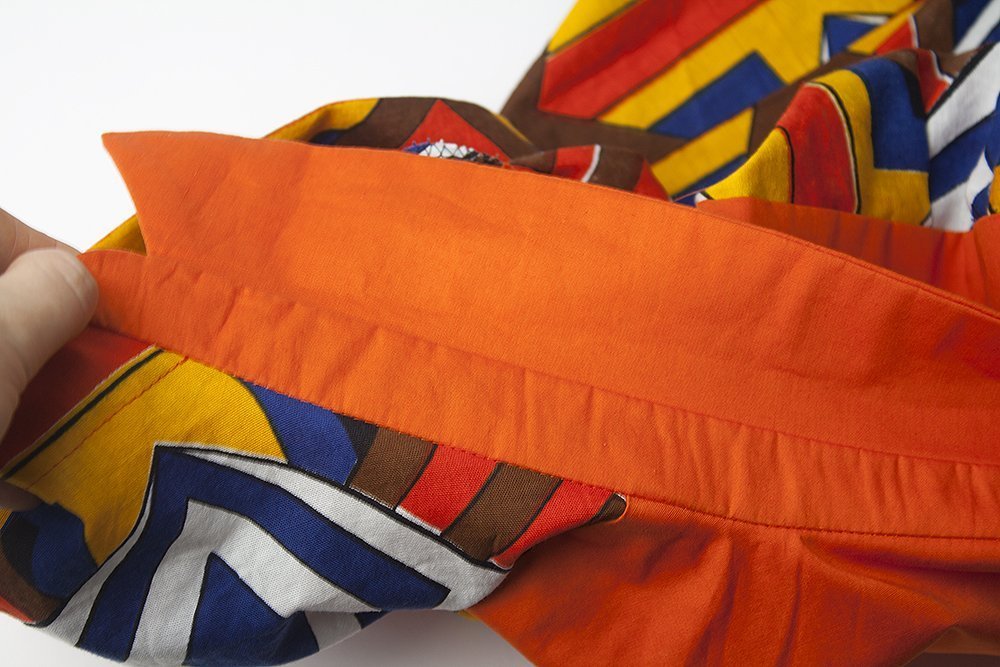
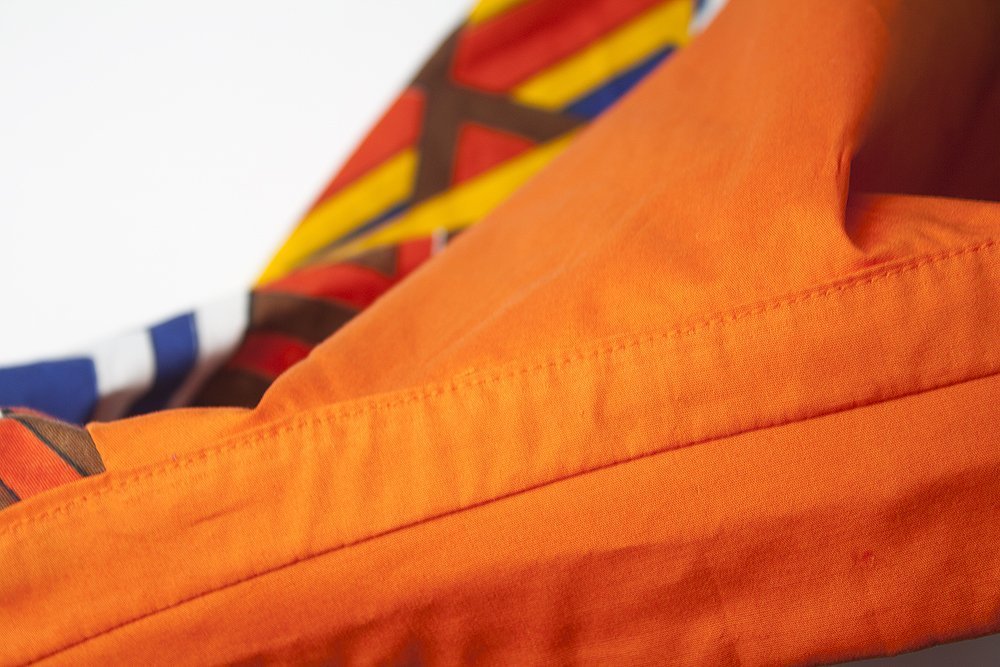
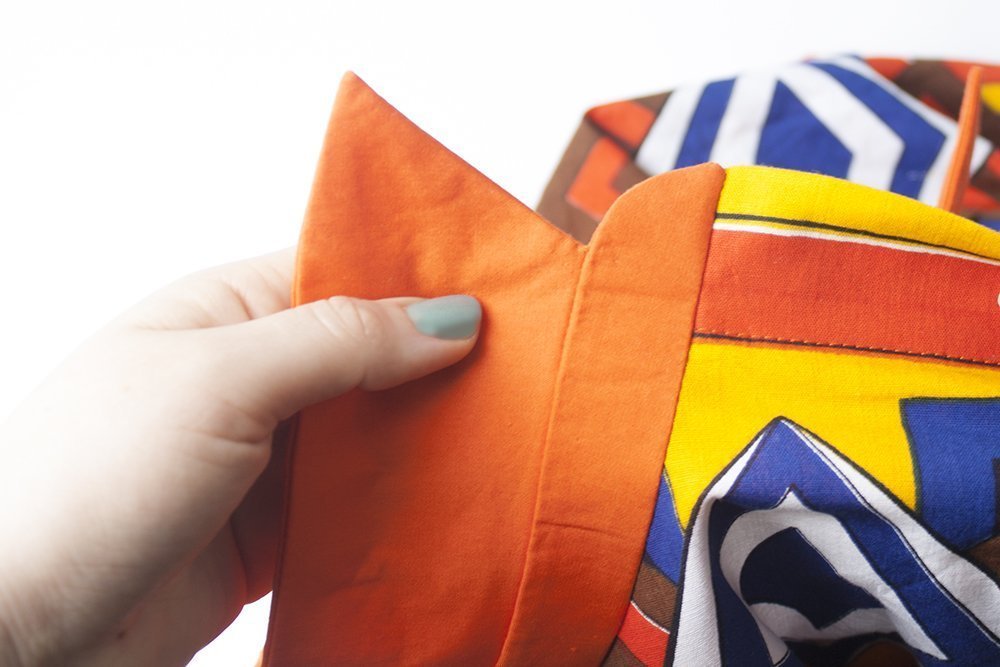
Turn the stand inside out and press the seams. I like to pull the inner collar stand a little inwards while pressing, so it won’t be visible from the outside.
Below is a look at the inner stand with the outer stand peaking out – almost the same trick I apply at the collar.
The collar itself is finished now. I’ll show you how to apply it to the neck in the next segment.
Sewing a shirt collar III: applying the finished collar to the neck
We’re on the home stretch now! The last steps take a little patience and preparation, but you’ll be finished soon.
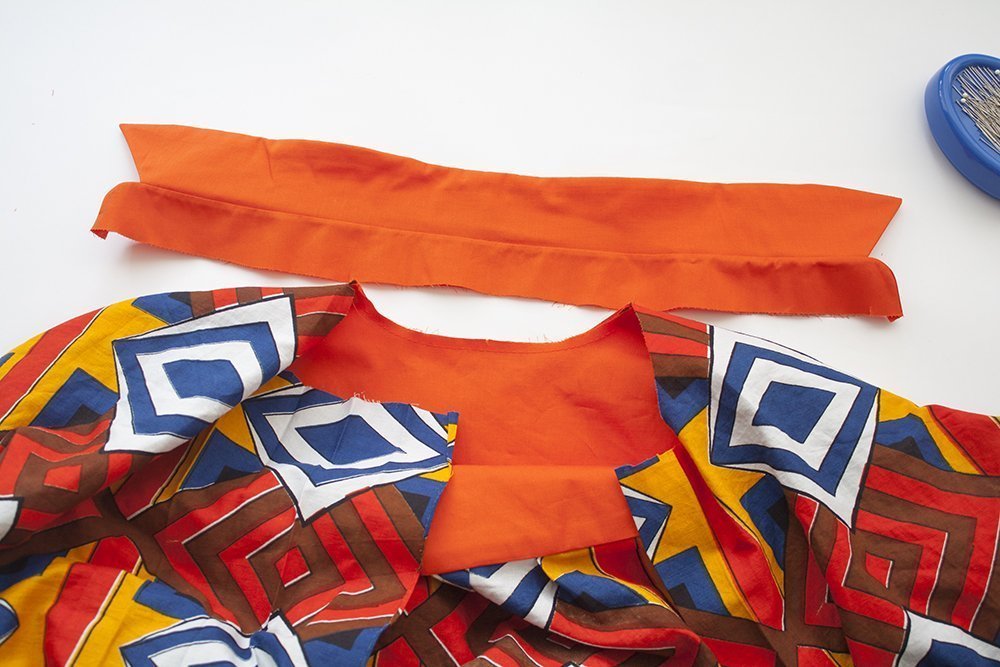
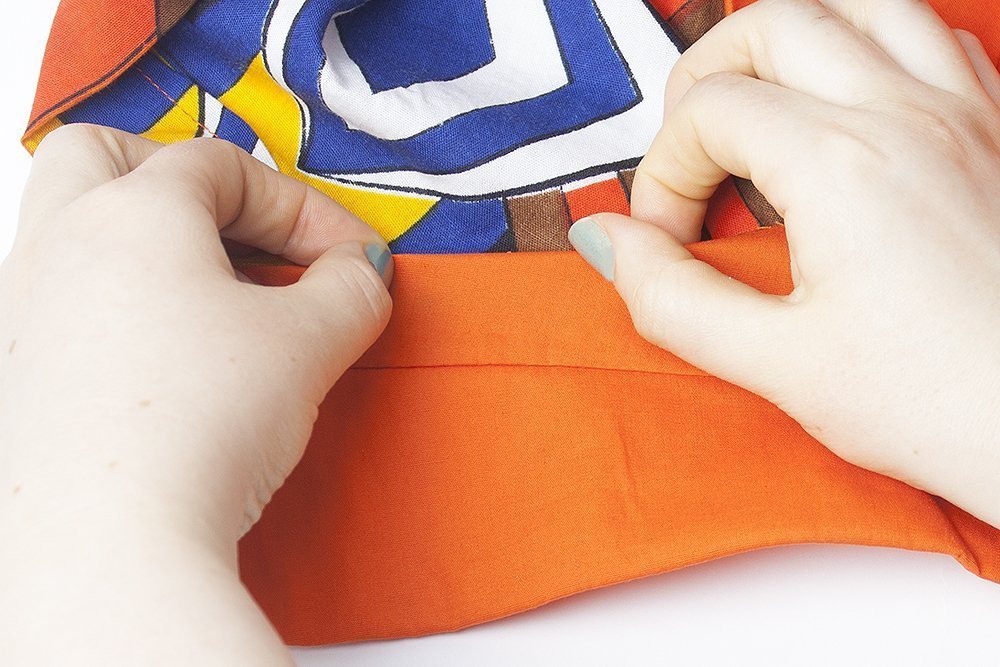
Pin the outer stand – the one that will face away from your neck – to the neck. Again, I like to start with the center back.
The edge of the button placket needs to be aligned with the edge of the collar stand when we’re finished.
I pin the front of my collar stand so that my very very first stitch of that seam lays directly next to the edge of my finished button placket (the yellow edge).
Next, I pin the rest of the seam.
When sewing, I start/end at the point where the collar stand seam starts and don’t sew directly to the edge of the stand. This makes it easier to trim the allowances later. Make sure to secure your seam!
The first layer of the collar stand is now secure, let’s go on with the counterpart that still needs our attention.
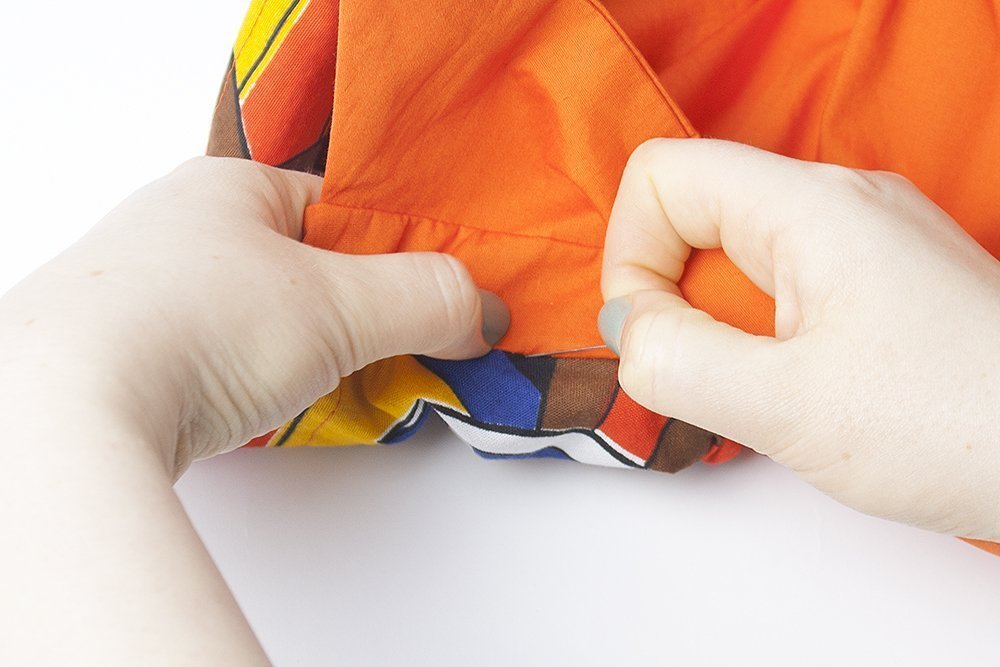
To have a seam that’s beautiful on the inside too (in case you want to wear the collar open some time), I close the first few centimeters of the inner collar stand seam from the inside.
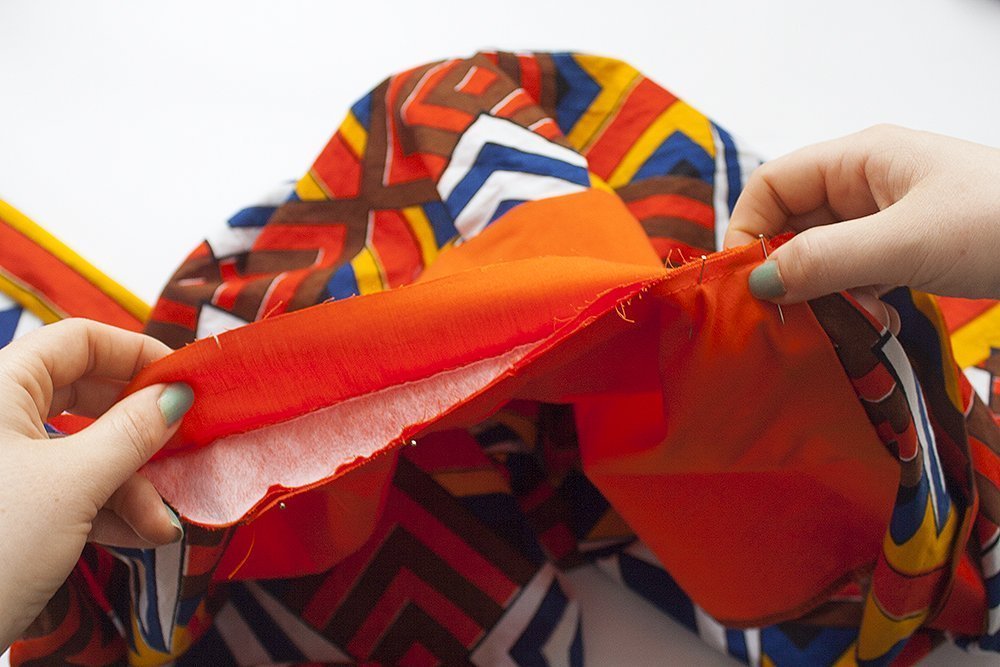
Fold the inner collar stand over, so both stand pieces are facing right sides with the front piece between them. Make sure you are folding the inner collar right along the edge of the button placket.
Sew a few centimeters, joining the layers. I’d advise you to sew with the outer stand facing upwards and using the seam that you already sewed as a guide – you can sew just right over this existing seam. Make sure to secure the seam.
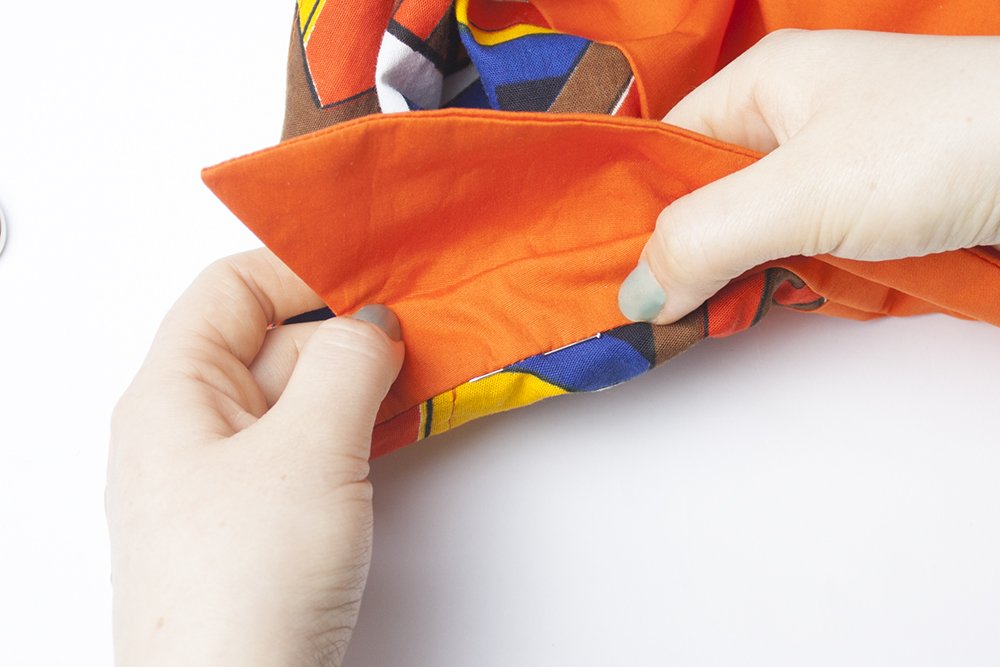
You won’t be able to sew very far, but that’s okay, we just want to create a really neat look for the first few centimeters of the stand. Turn inside out and make sure everything looks good and you didn’t catch fabric you weren’t supposed to.

If everything looks good so far, you can trim away the seam allowance in this area, again using a shallow angle. You can trim the rest of the front seam allowance of the collar stand now, too.
The rest of the inner collar stand has to be sewn from the outside. There are a couple of methods to do this. I always stitch in the ditch because I like the clean look of it.
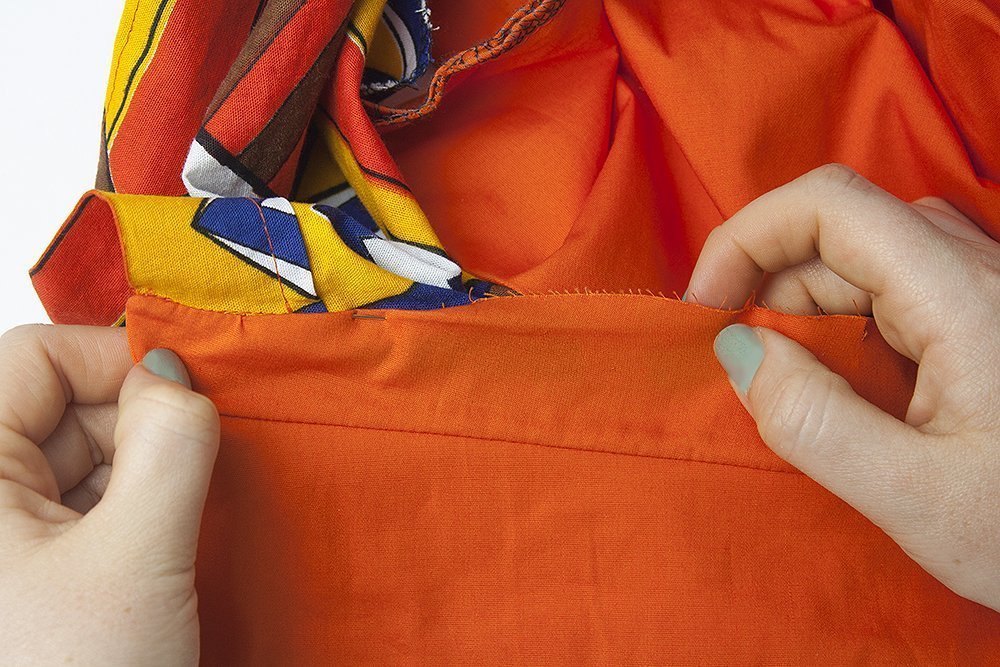
The seam allowance will be folded in, pinned in placed, and stitched from the outside. Lay your work down in front of you.
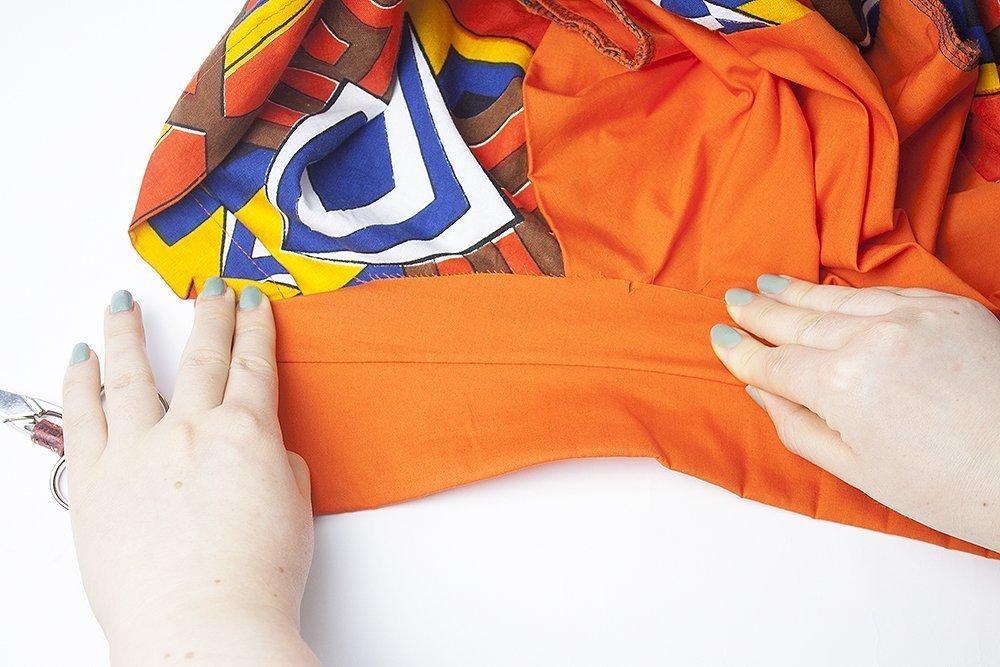
Now, I fold the edge of the stand over so the raw edge points into the stand. Make sure to fold it in enough so that the folded seam allowance will be caught by the seam, but the folded edge needs to lie over the seam that attaches the outer stand to the neck. This seam isn’t visible anymore, and the folded edge needs to overlap it enough so I can catch the fabric with my seam.
Hold the folded edge in place and pin from the right side. I stick the pins right through the seam of stand and neck.
On the wrong side of the garment, the pin should stick the fabric in place like so:
Continue, folding the edge over…
…and pin in place from the right side.
If you are finished with pinning, it’s time to sew everything in place.
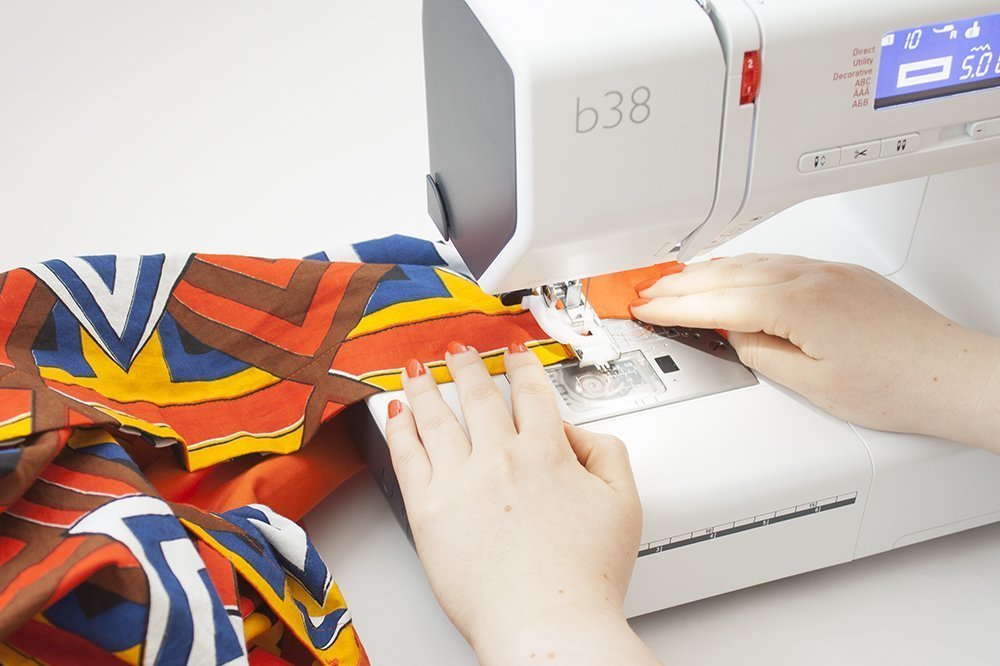
Remember that the first few centimeters of the stand are already secured. You can start where the seam we did on the inside ends. Lie your work down, right side up, and start to stitch directly in the seam that attaches stand and neck. This is called “stitching in the ditch”, because you try to place your seam in the ditch between the two layers, where there is already a seam that connects those two layers.
You can pull the layers apart a little bit to see the “ditch” clearer. Pull the pins out just when you are almost about to hit them with the needle; if you pull them out too soon, the fabric could shift and your folded edge could become undone.
On the wrong side, the seam sits near the edge where we folded our fabric, but still catching it and securing everything.
Now the collar is finished! Doesn’t it look nice?
All that’s missing now is the buttonhole in the collar stand. Mark according to your pattern and sew with the buttonhole program of your sewing machine.
And that’s it! All done!
I admit, a collar is a little bit of work, especially if you’re sewing one for the first time. My tips and techniques are for a clean, professional finish. So if it’s your first collar, you can practice by leaving away some of the refinements first. 🙂


Hi there. This is my first time, attempting to attach a collar to my blouse. This is a great tutorial, i will have to read it step by step. I have a Bernina sewing machine, the small one called Nina, which is now 30 years old. I am determined to make a success of it, using your great tutorials.
Hello there thanks for yr great tutorial! Does it matter if the collar interfacing is facing outwards or inwards (towards the neck)?
Hy Julia, yes it does make a difference, however its not bad if its the other way around.
The facing should be on the outside, so the neck area from the front will look nice and crisp. Since your neck covers the inside, it doesnt matter if the fabric isnt stiff, but a bit wrinkly.
For some fabrics I even add facing to both pieces – Depending on the stiffness I want 🙂
Hope this helps!
Best regards, Ramona from BERNINA International
Thank you so very much for the time and effort you put into this excellent tutorial.
Thank you so much Benina. You made sewing shirt collar look so easy. God bless you.