 BERNINA Corporate Blog -
Autumn is coming! August was only halfway, when I could enjoy crispy mornings, mist, spiders and yellow colored leaves of the Wisteria, and the berries of the Firethorn turned orange already. Even saw some geese flying in V’s… I love Autumn, with all its wonderful colors, and I cannot wait to see all the beautiful yellow, orange, red and brown leaves.
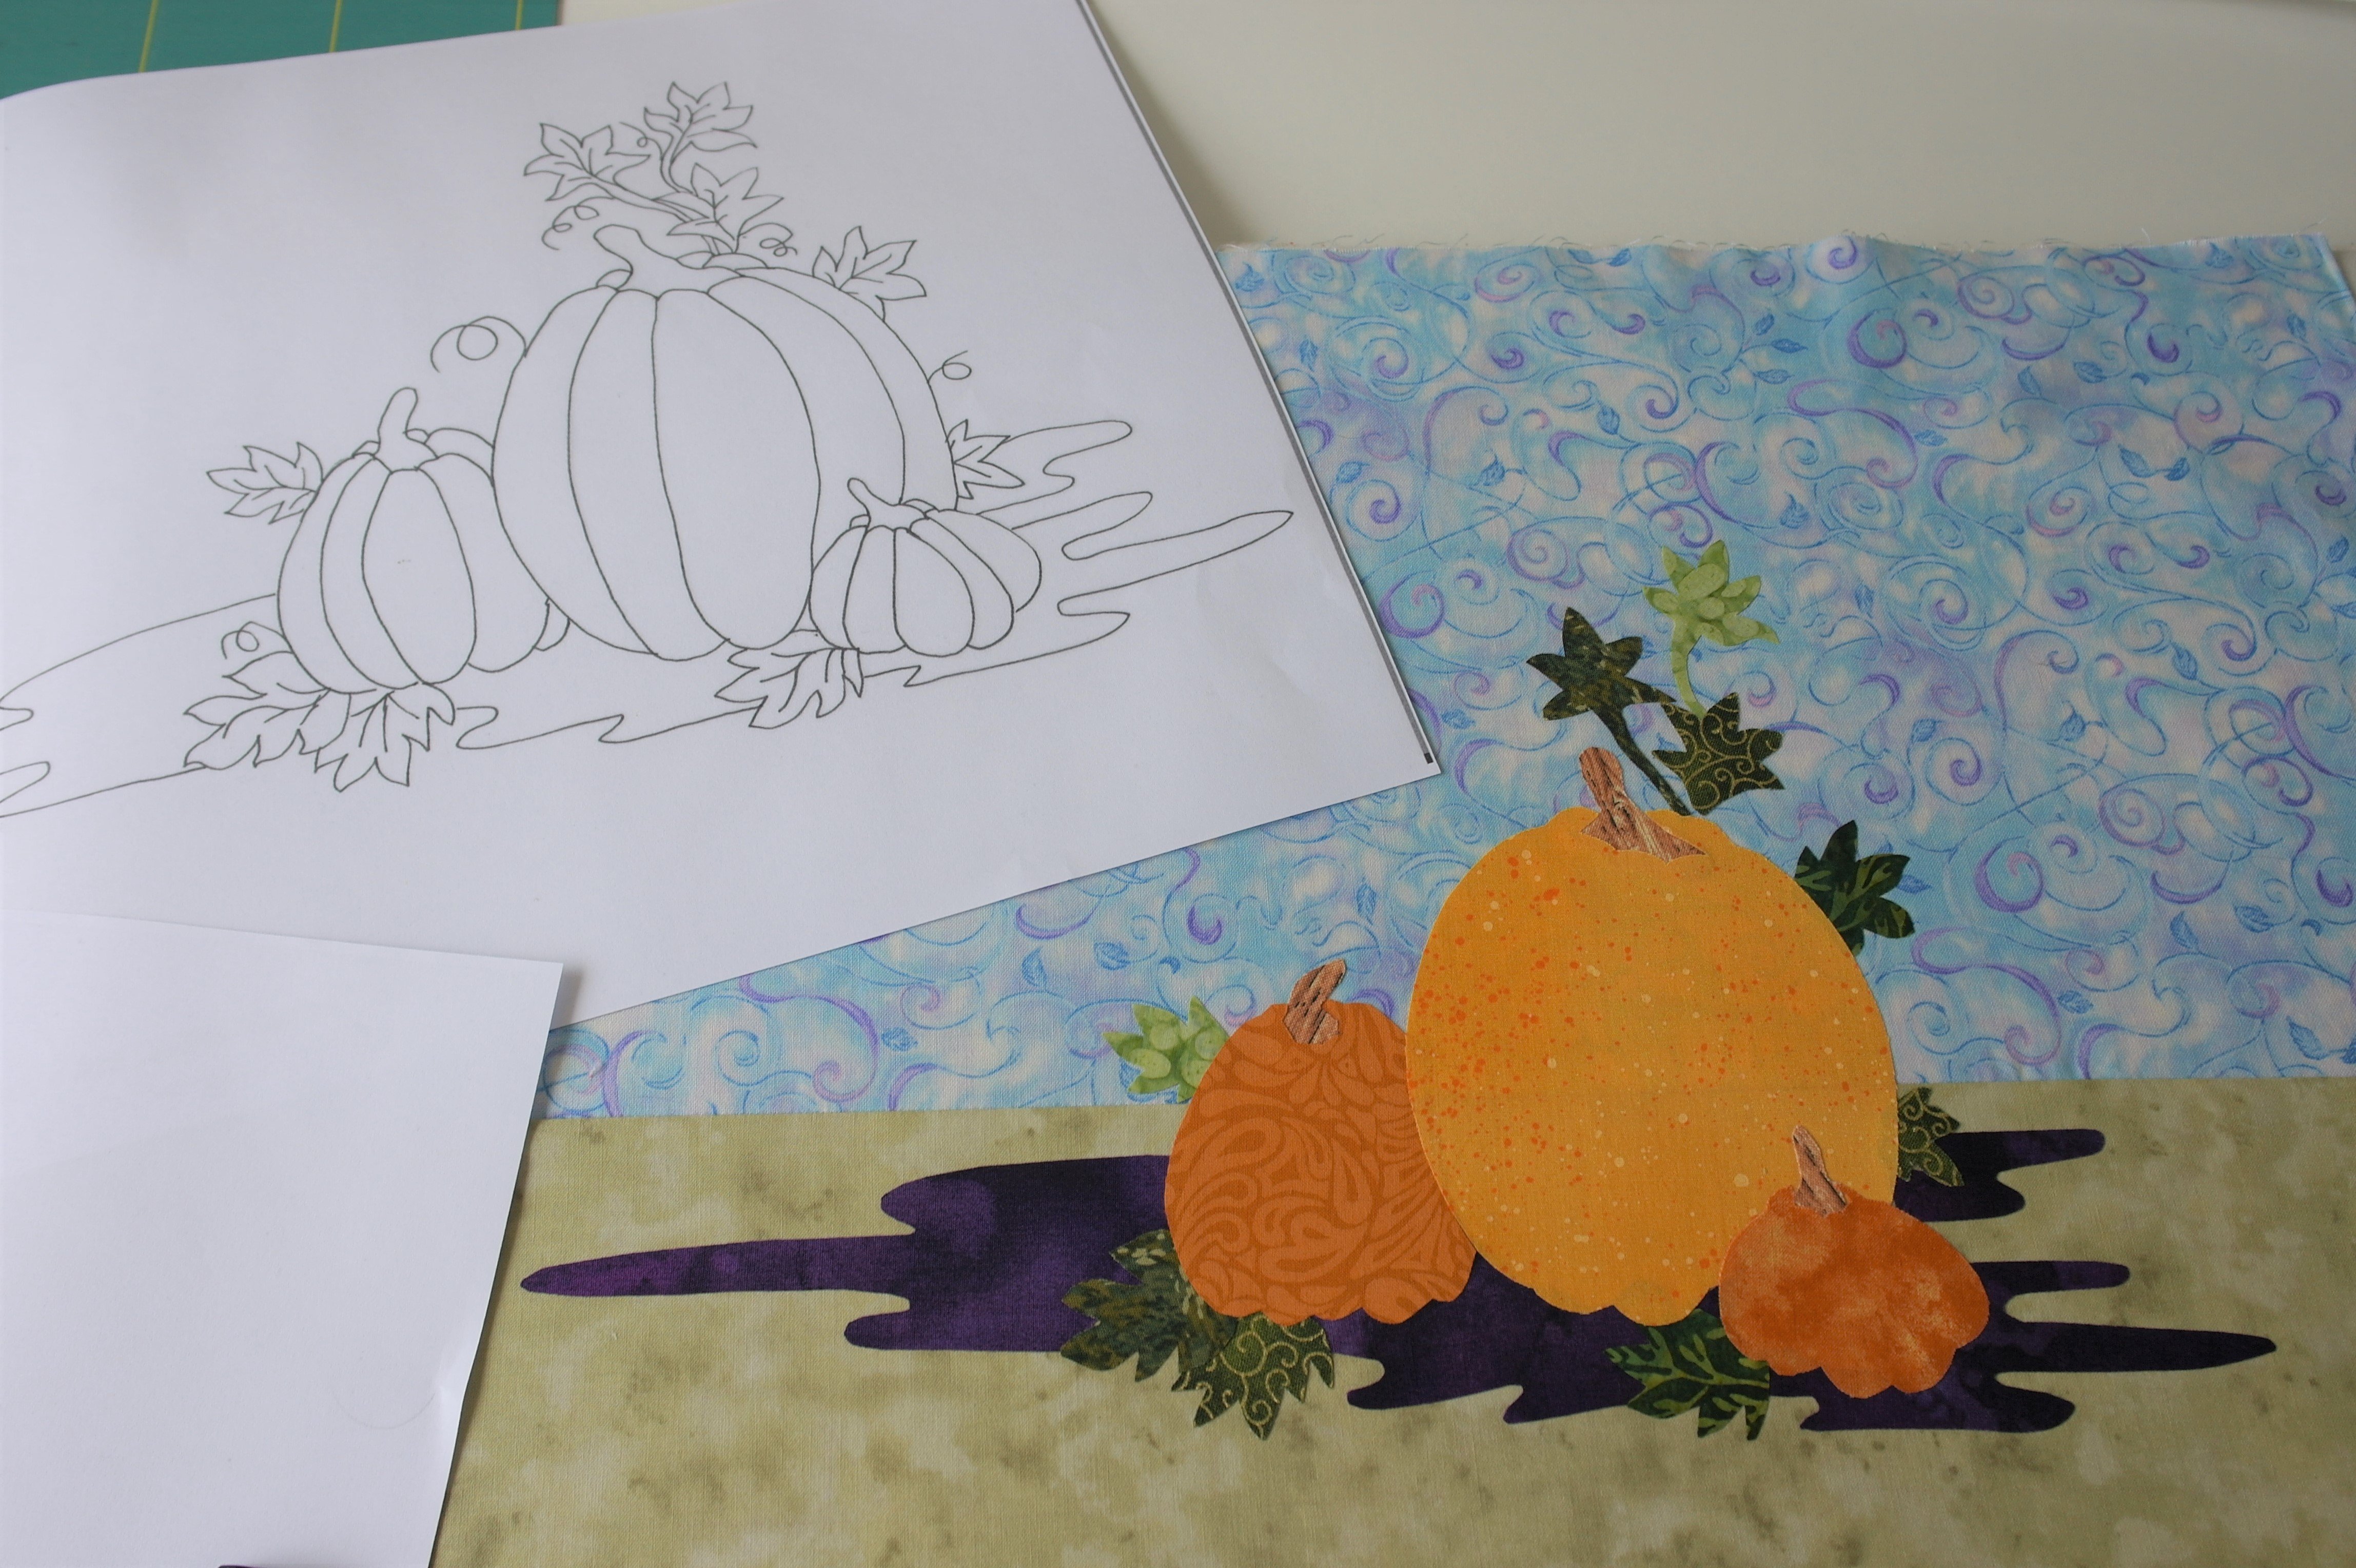
So I’ve started with a new project: Pumpkin Appliqué, which I’ve designed for easy appliqué. You can use it for a pillow (A4) or for a larger project (A3), which I will make.
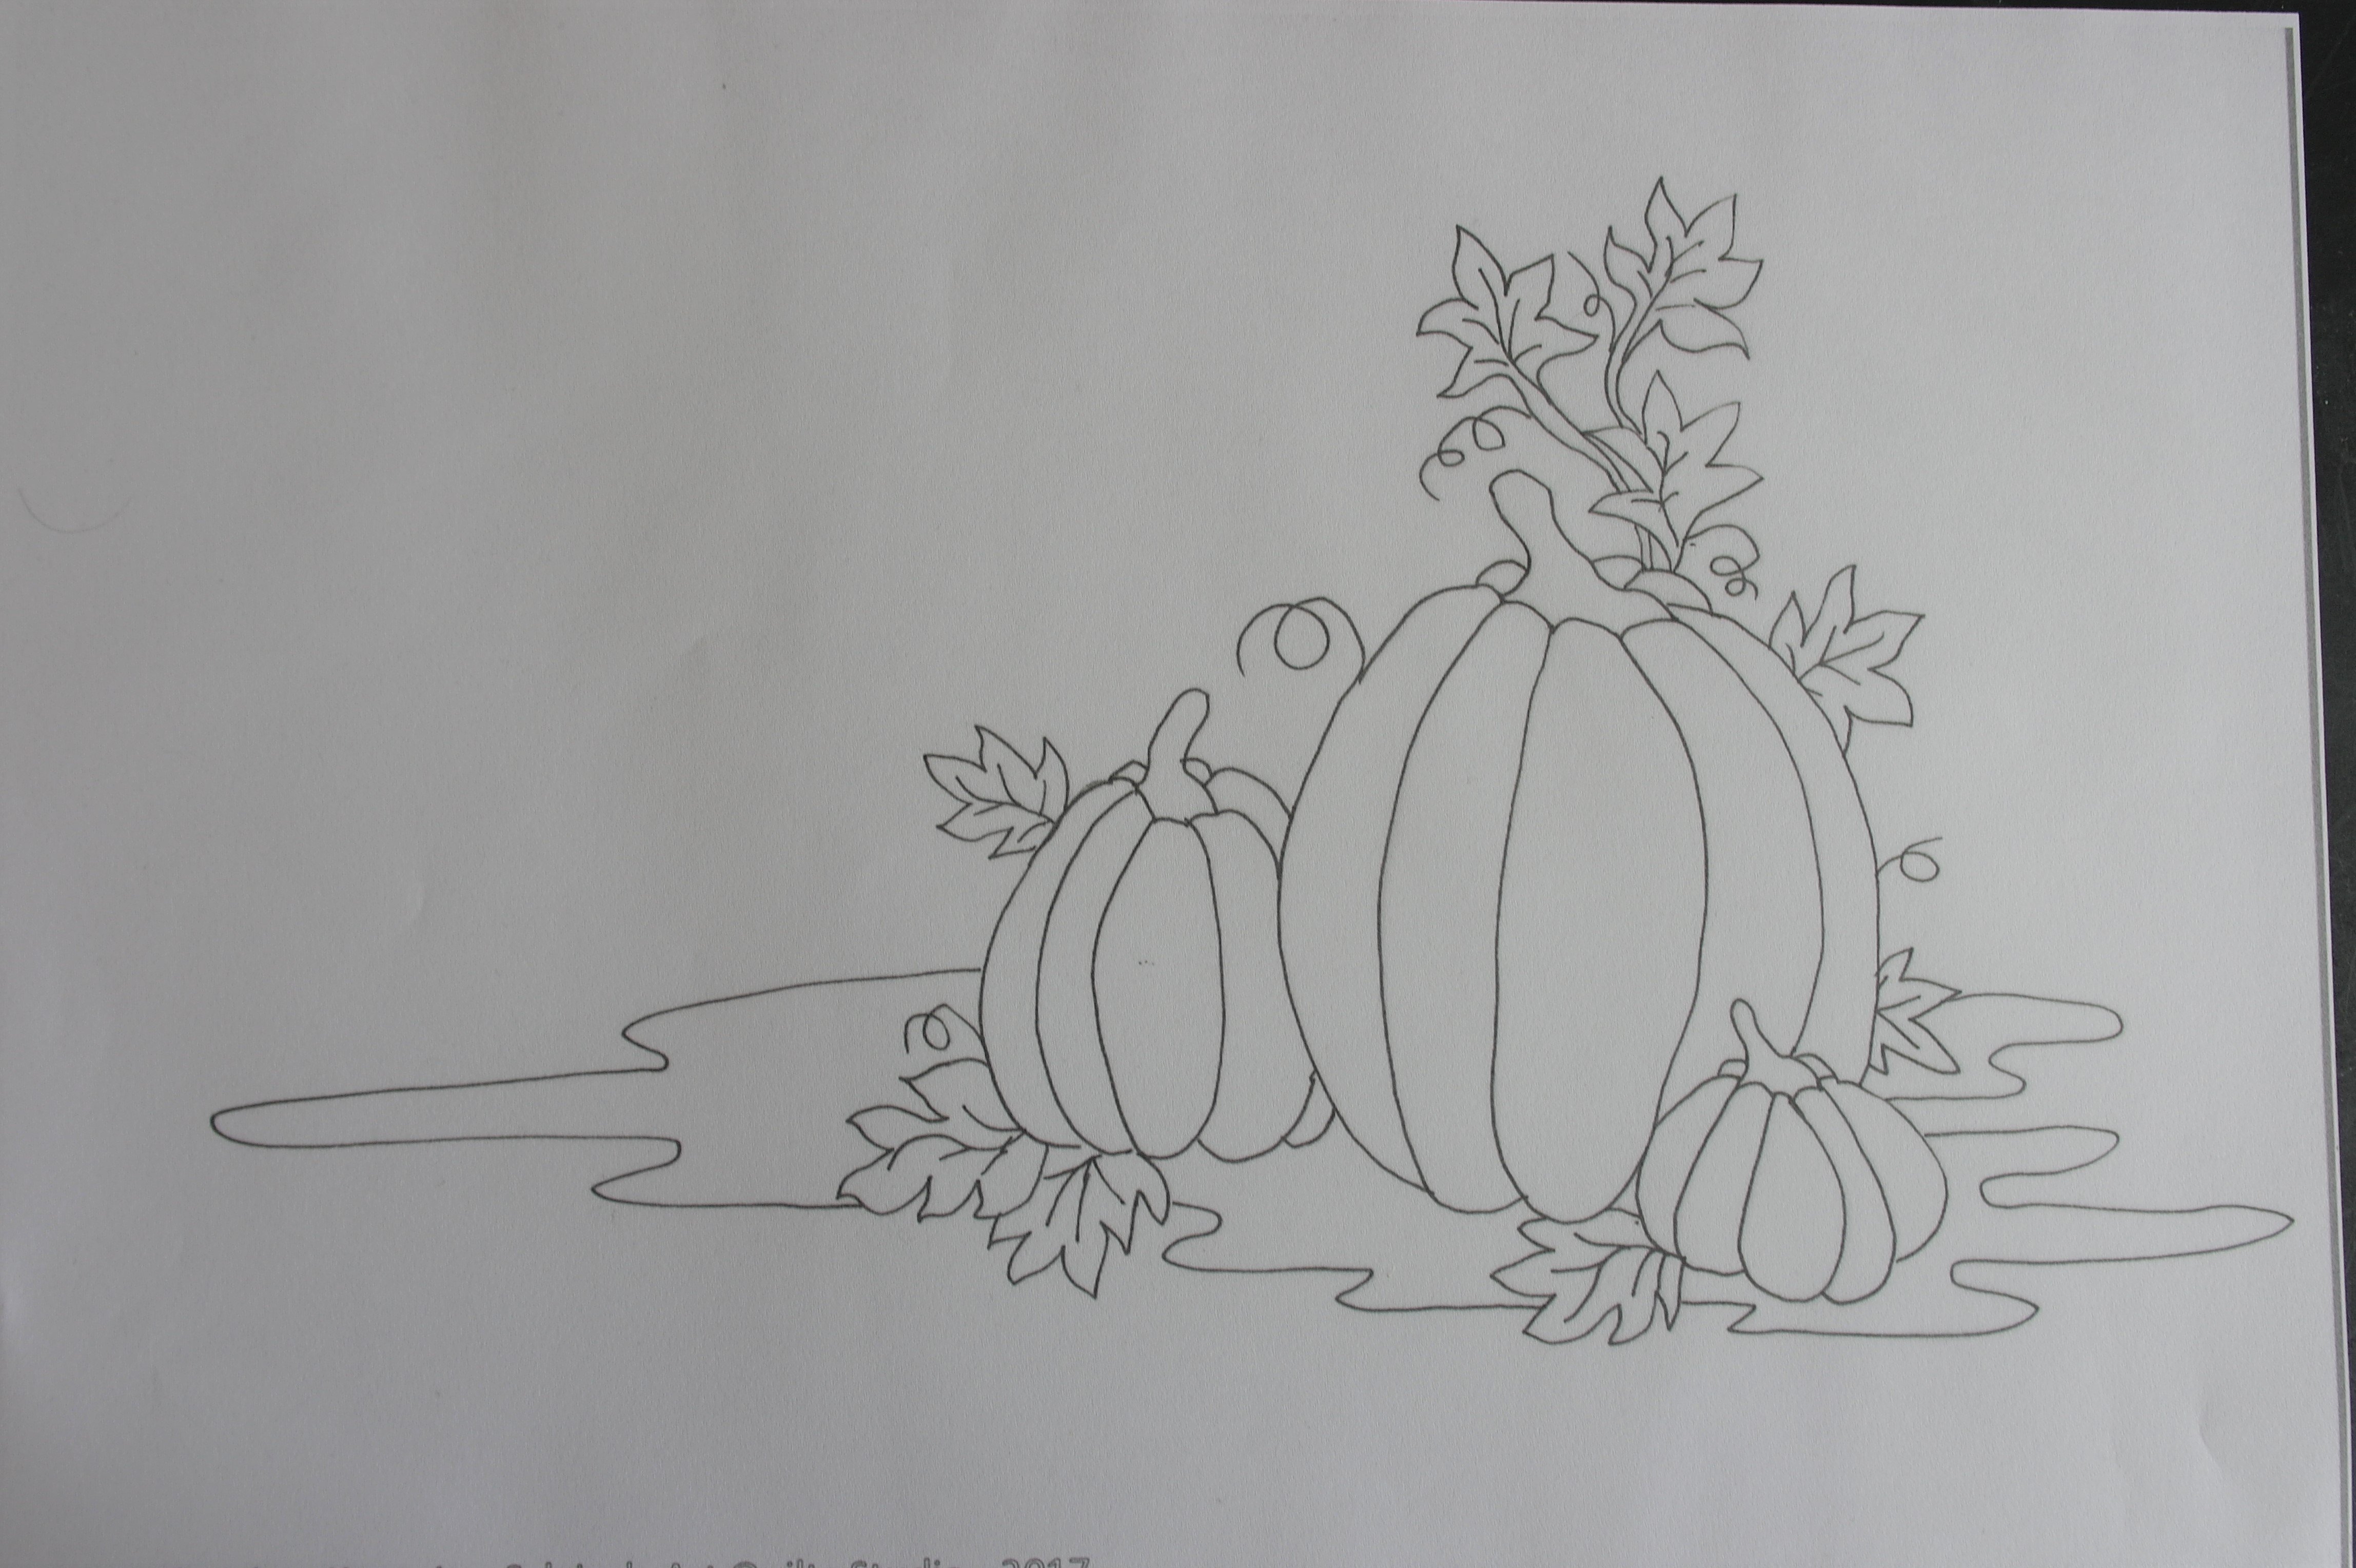
I’ve made two patterns: ‘Pumpkin appliqué’* which you can see with the picture above, and ‘Pumpkin appliqué mirror’*. The first pattern is for placement/the actual appliqué, the pattern’Pumpkin appliqué mirror’ is a mirror image, which you will need for iron-on with Heat’n Bond Lite at the back of fabric pieces.
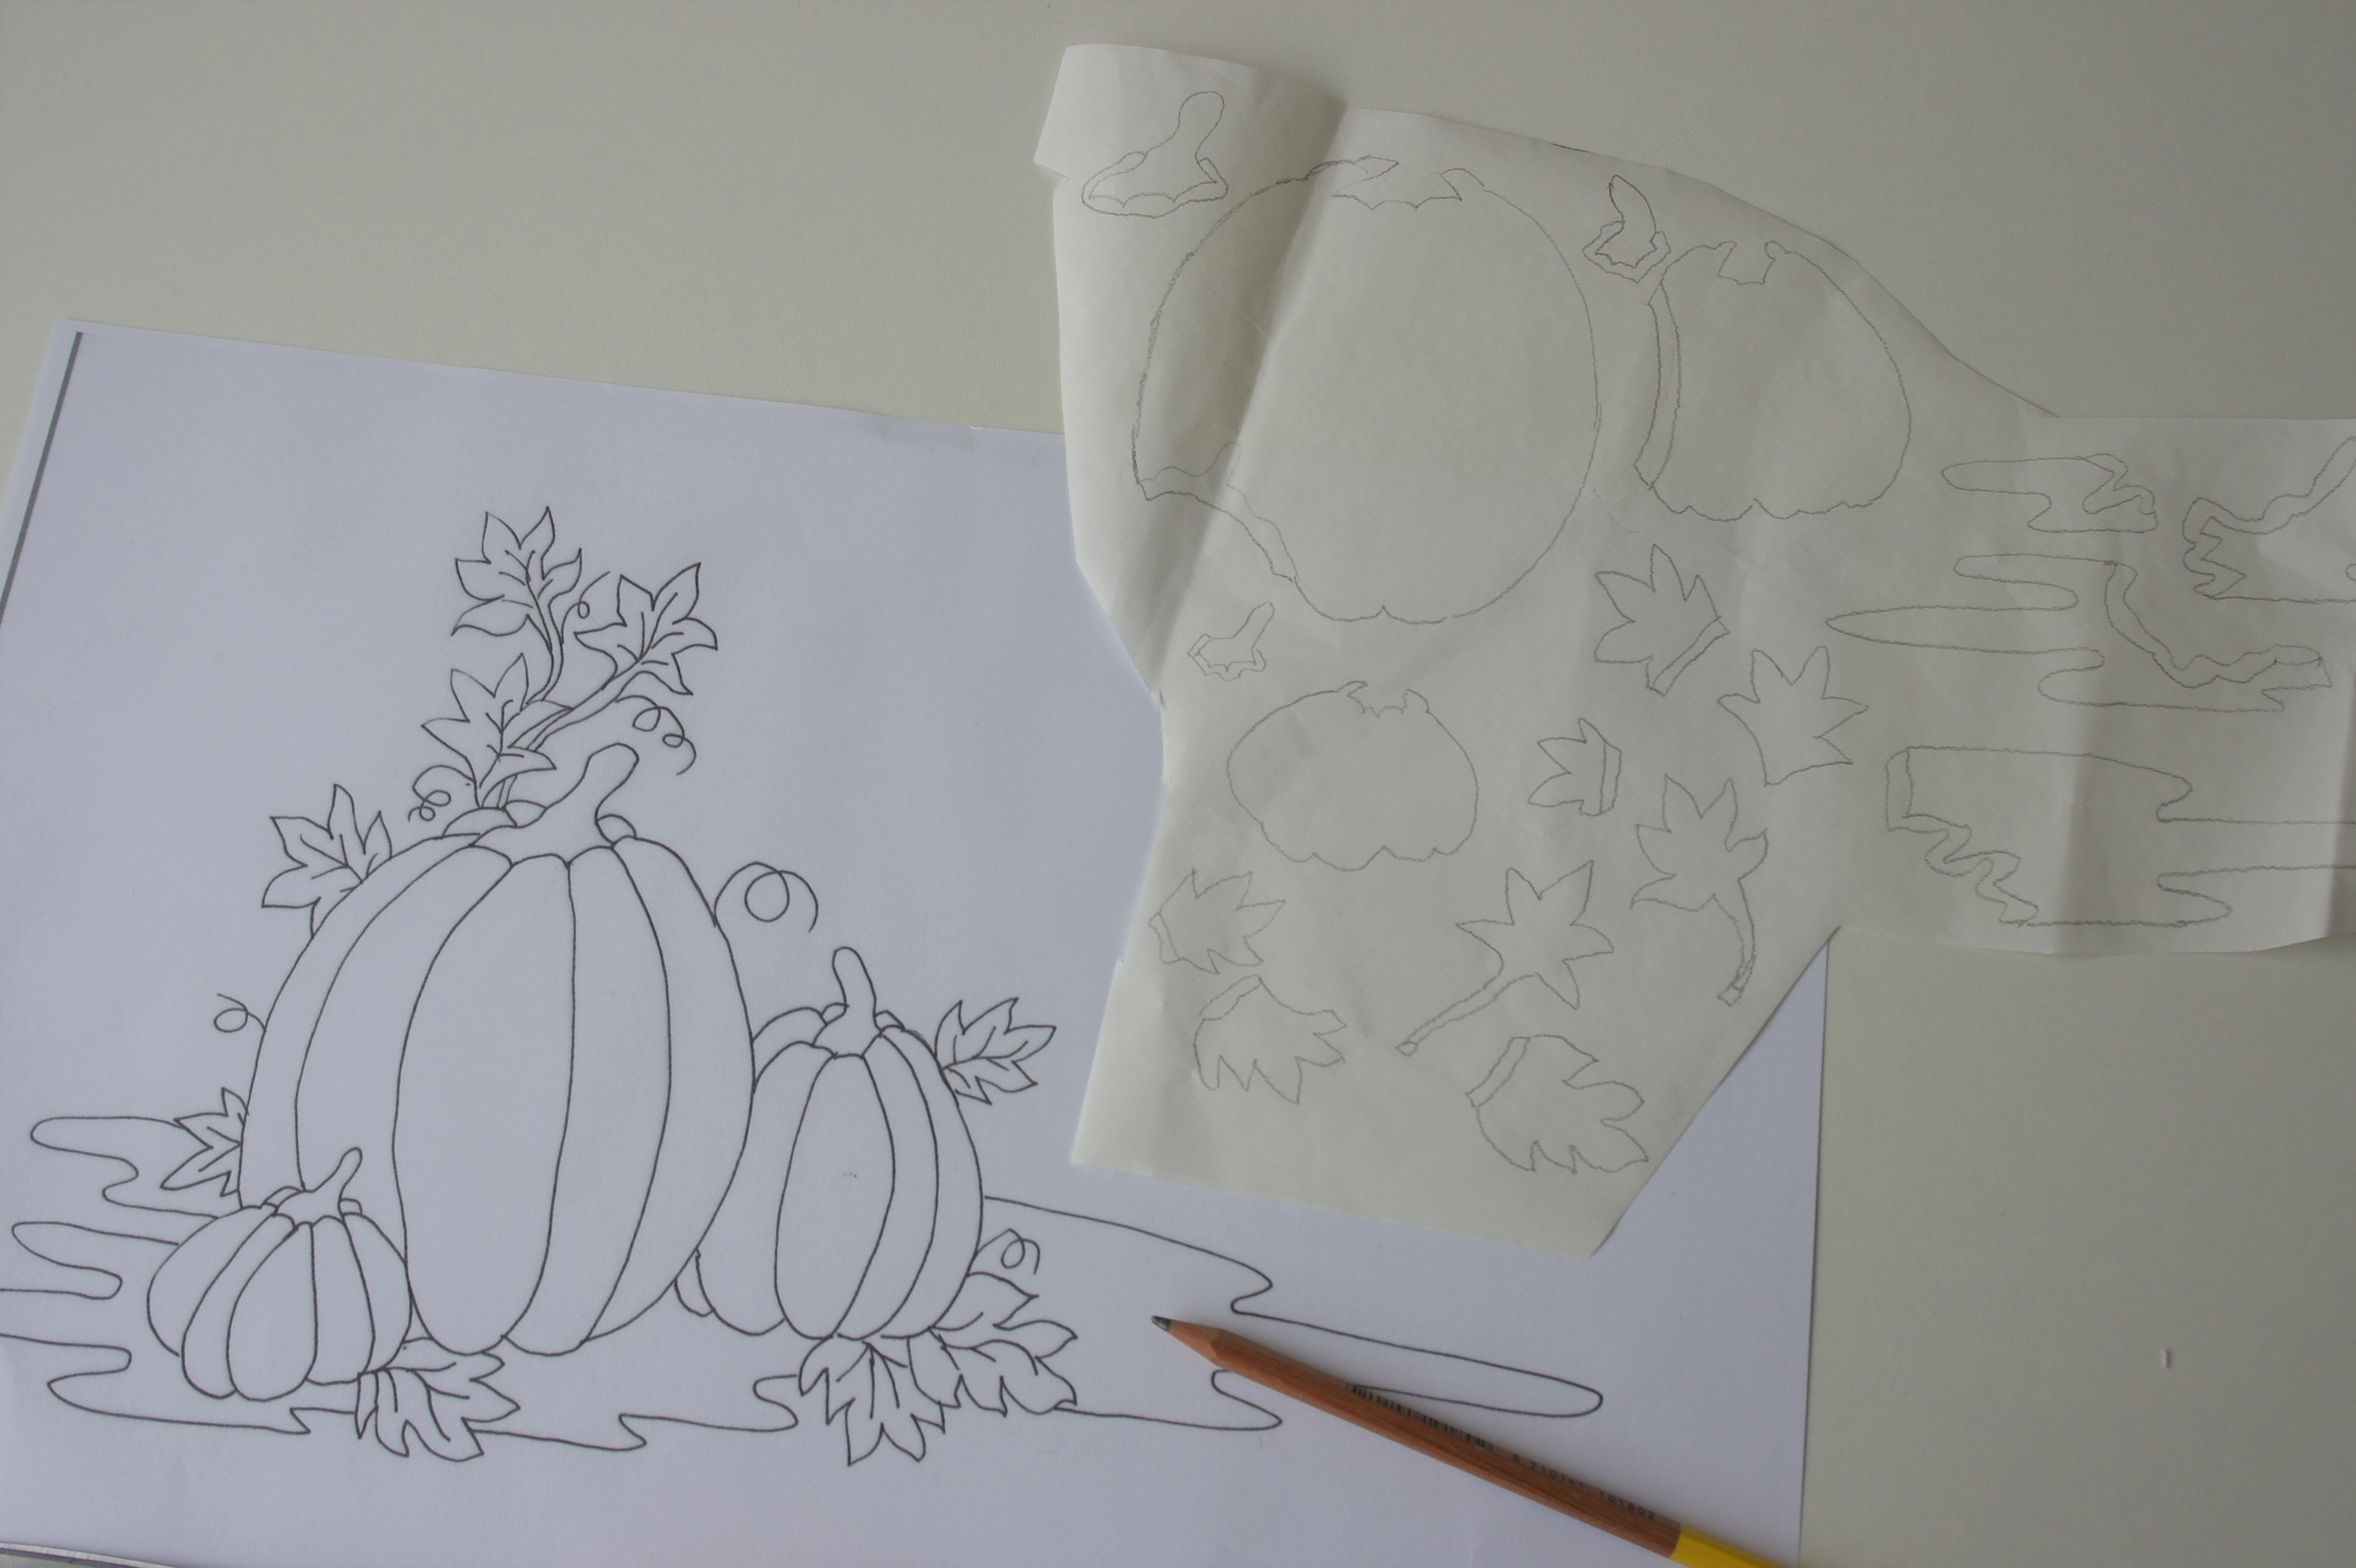
How does this work? Look carefully at the pieces with the ‘mirror’ version: all pieces should be drawn onto Heat’n Bond Lite seperately. You can choose to draw each section of the punpkins seperately, for using multiple fabrics, but I have drawn the outside lines of each punpkin, because I will make them in one piece, and quilt the details for the sections afterwards.
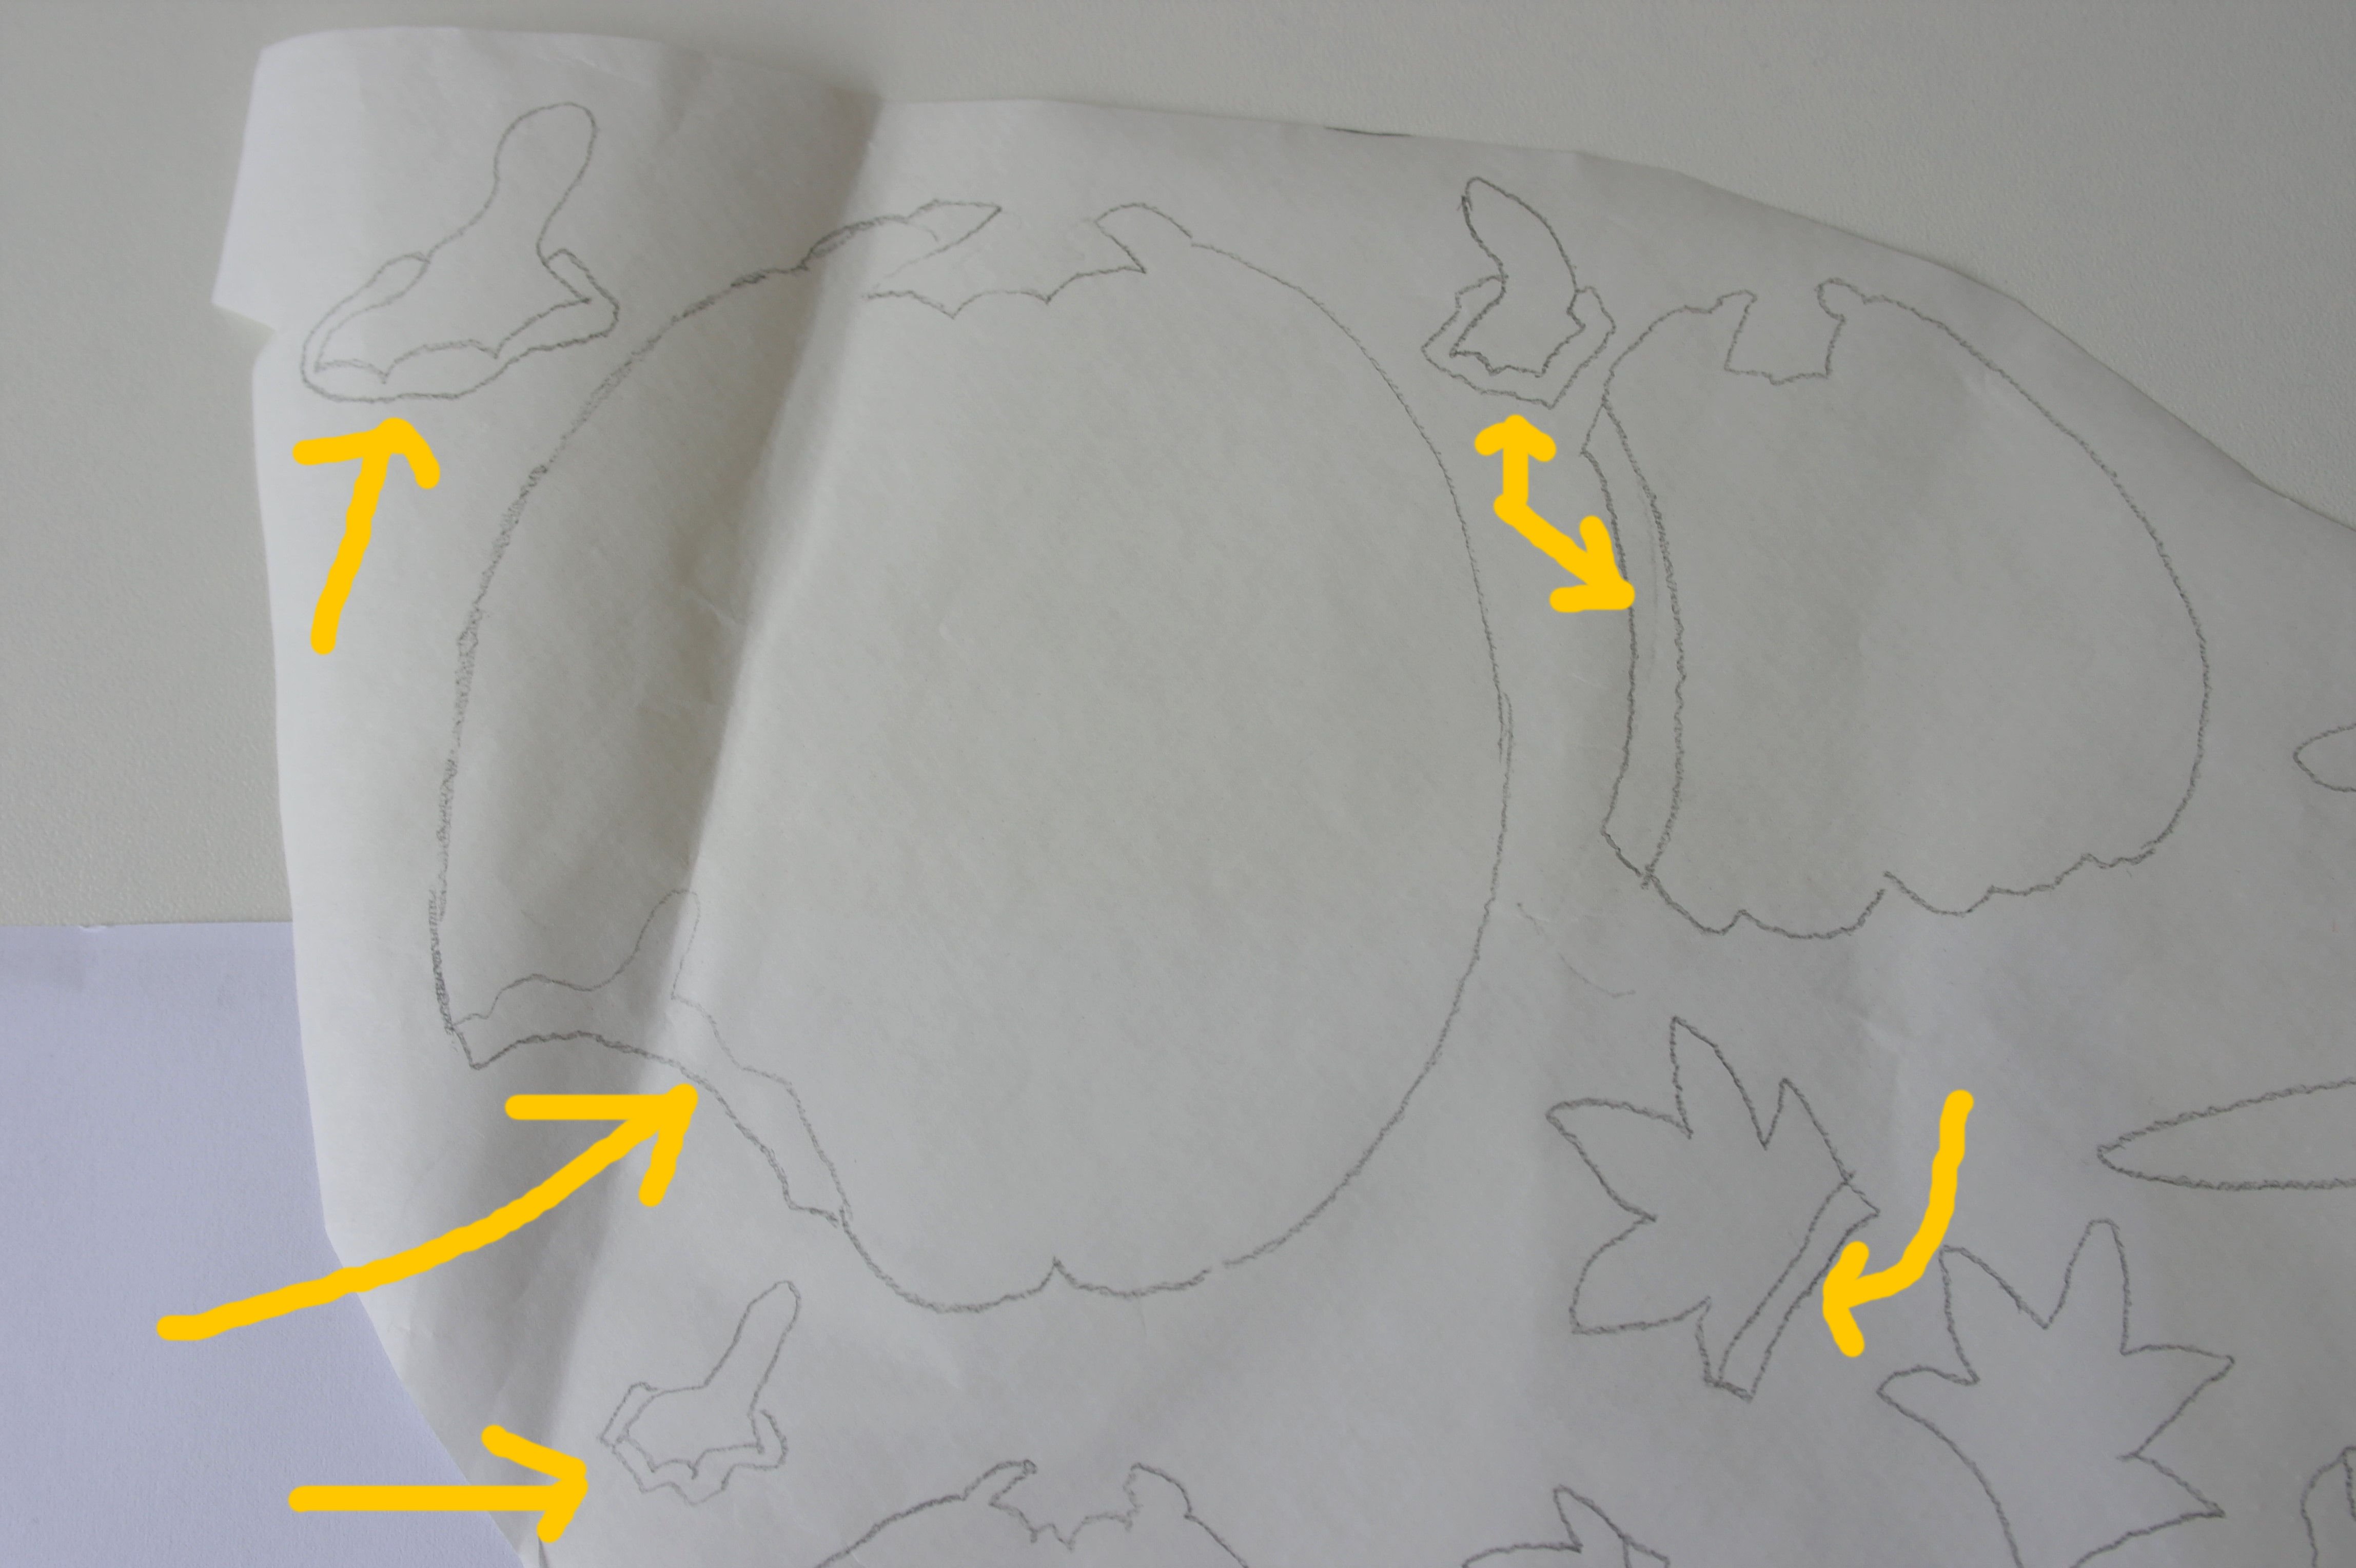
With appliqué via Heat’n Bond Lite you will need a small extra/seam allowance with a section, if it lwill be ‘behind’ another section. Just add lines protruding the outside lines for the secion, about 3 mm extra. The sections which will be on top can be drawin as they are, only the sections that will have to be ironed on first/behind another, will need such an extra seam allowance.
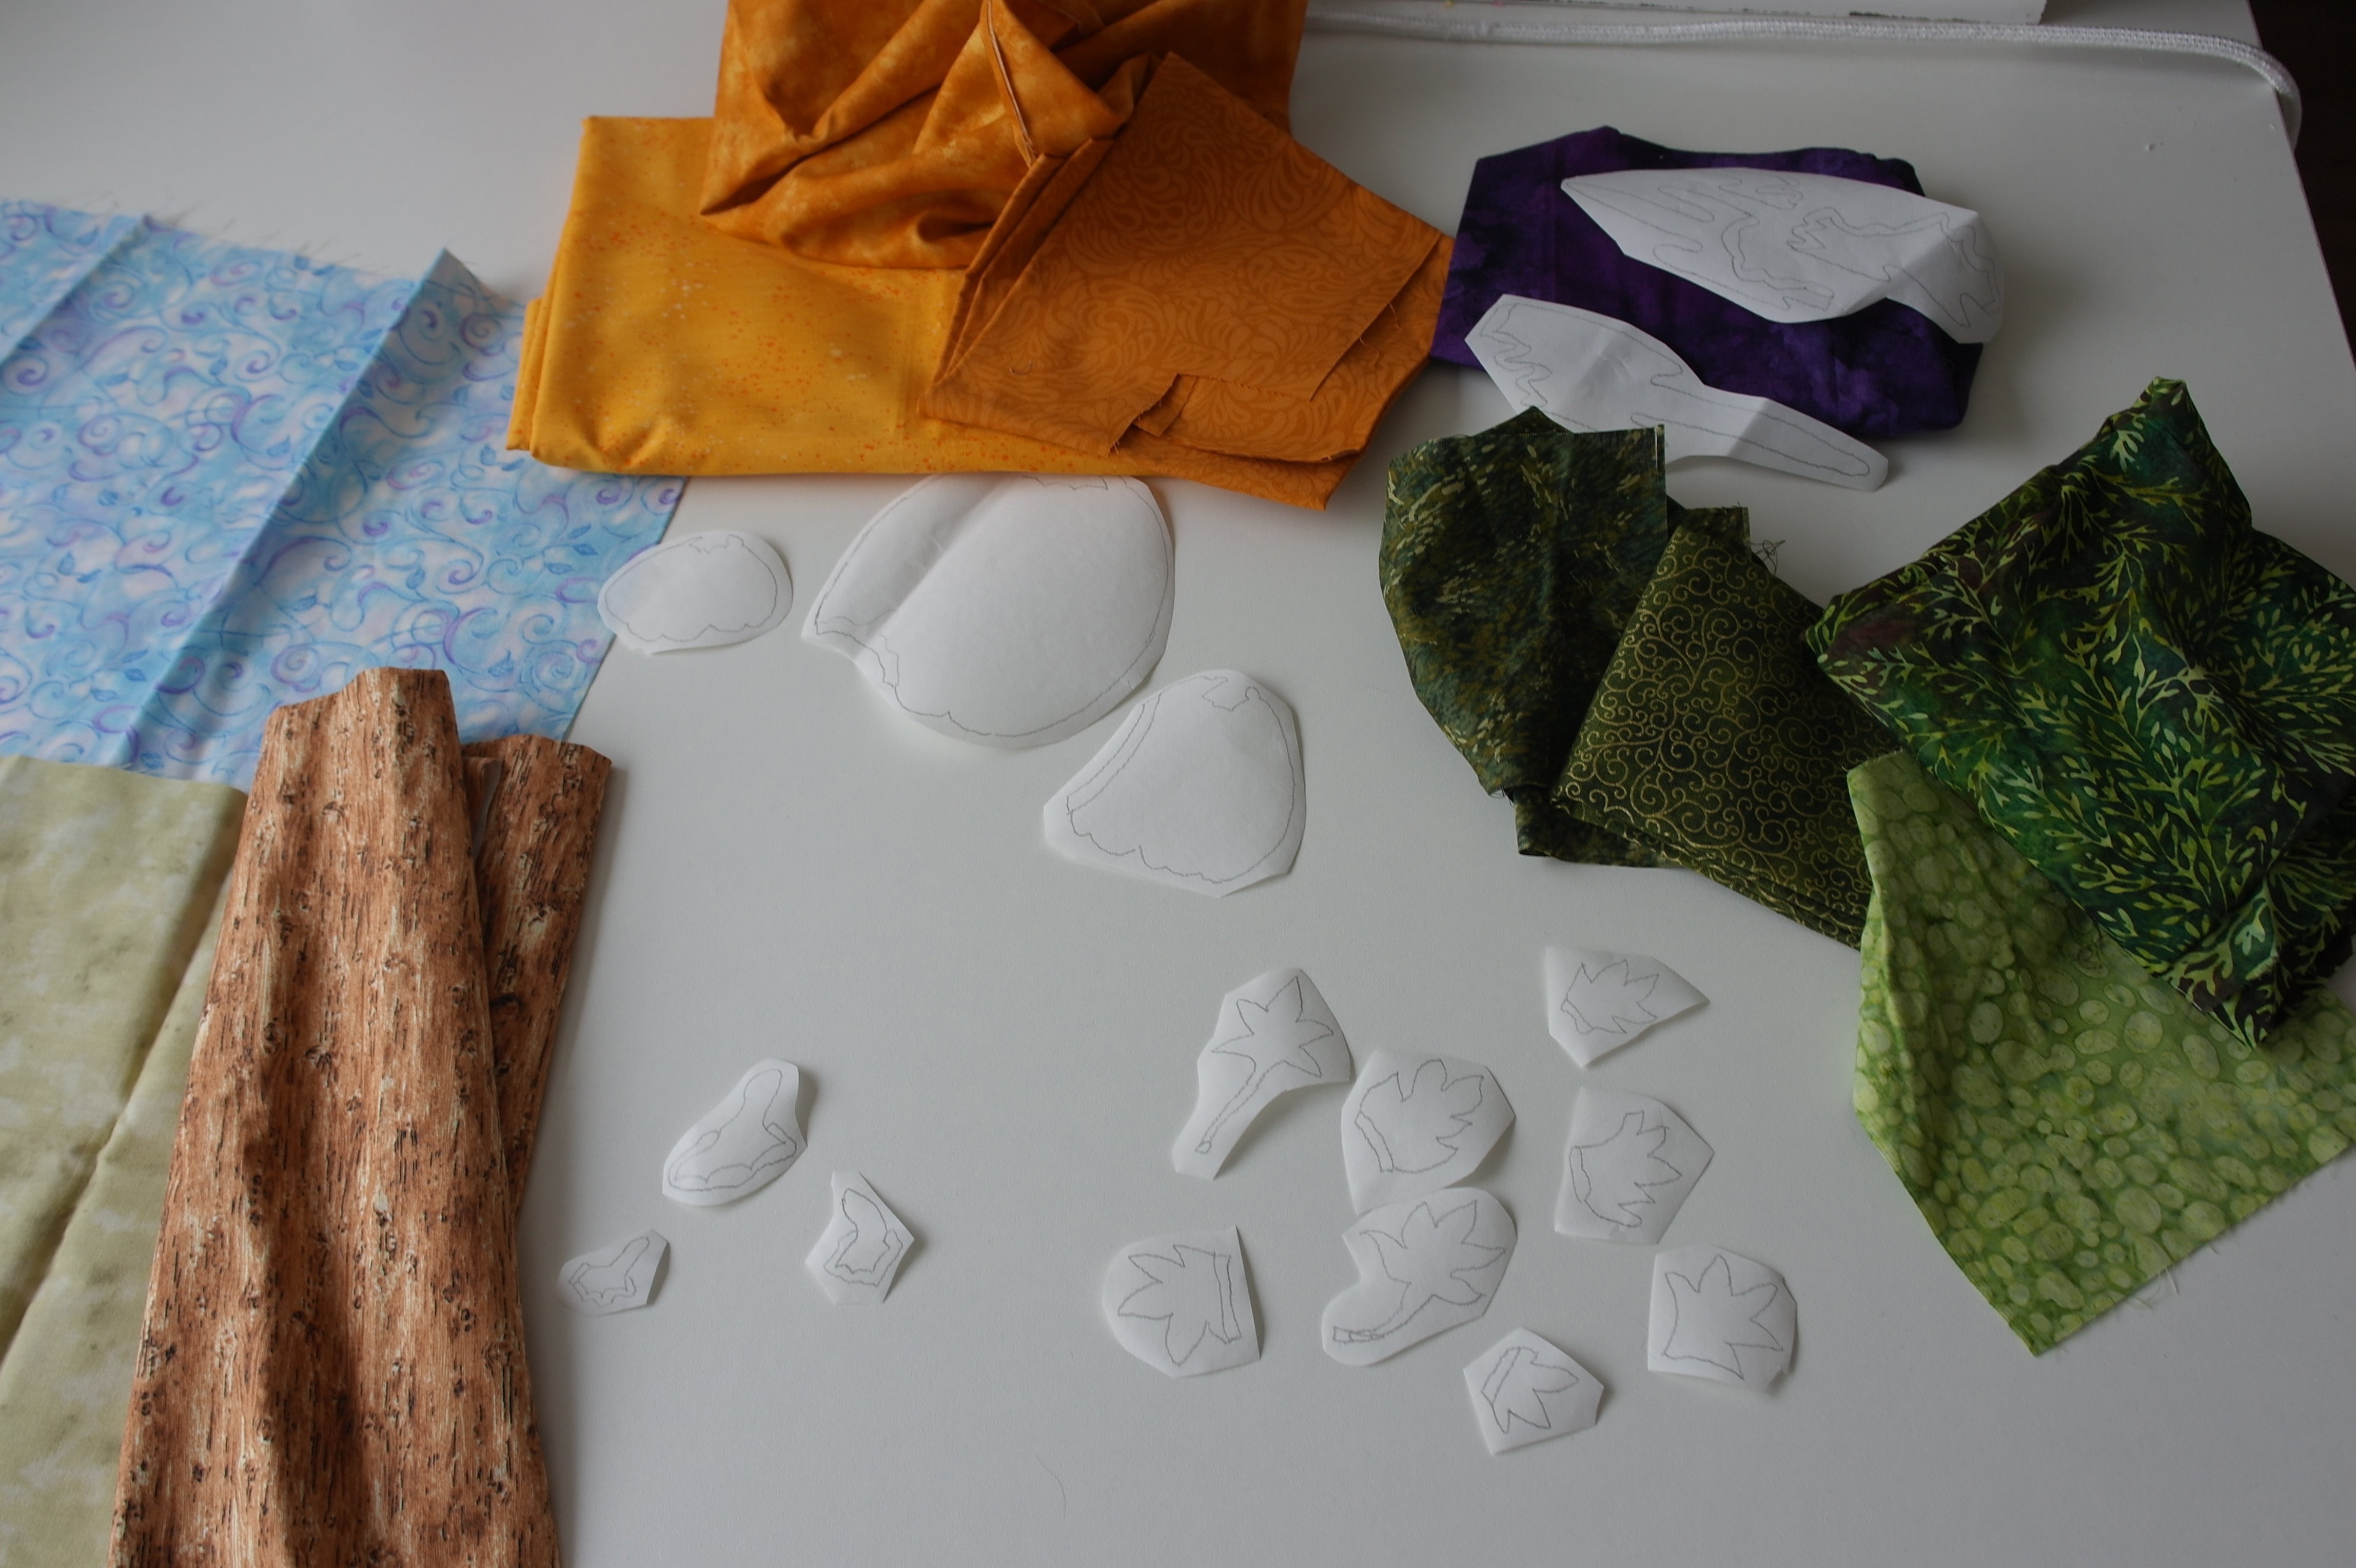
Draw all sections seperately onto Heat’n Bond Lite. Check if you have drawn them all: don’t forget a piece. Make sure there is enough space between the different objects when drawing them: this is for easy cutting. Cut them with paper scissors at aprox. 3 mm away from the drawn outlines. Place all sections in groups,those you want to cut from the same fabric/color.
What fabrics do you need? Small remnants, just big enough for the sections you’ve cut.
– Pumkins yellow/orange – minimum of 3 diffferent hues
– Stems light brown- one fabric
– Green Leaves – multiple hues and prints
– Purple shadow underneath the pumpkins – color of your own choice.
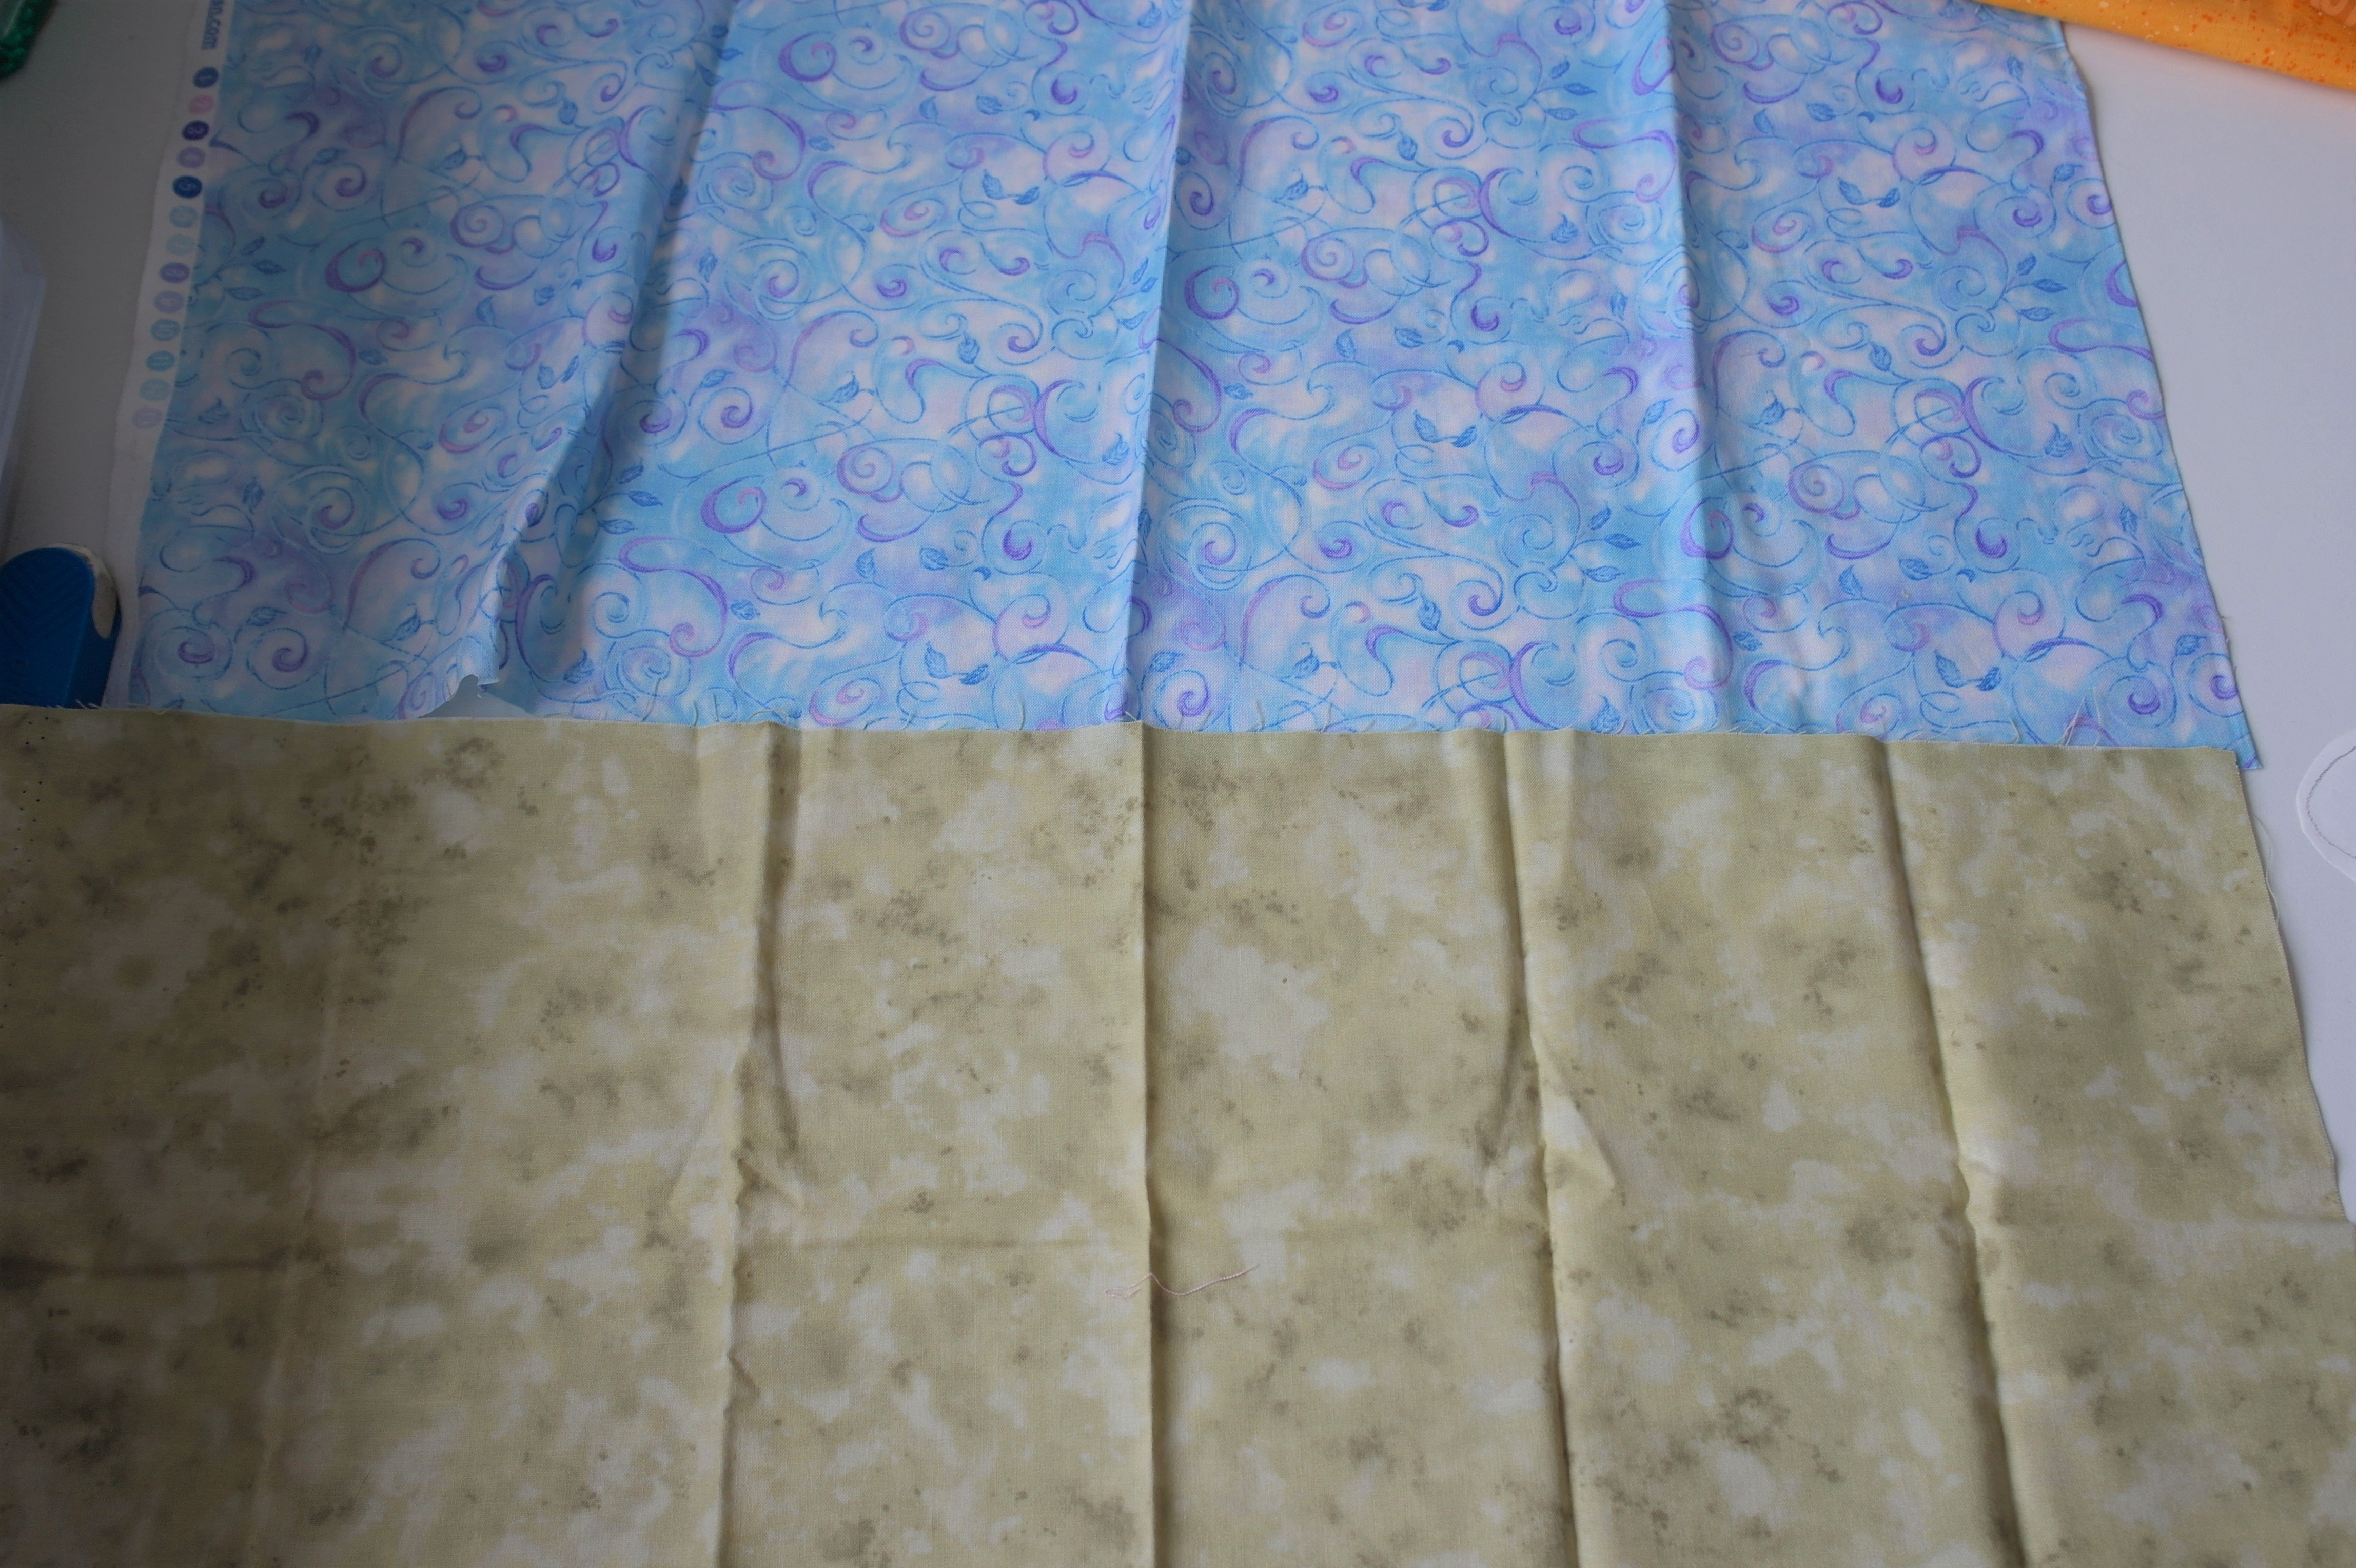
I need two fabrics for backgrounds: sky and grass, each half of a fat quarter. I have choosen a lightblue/purple fabric for the sky, and a green for the grass. I have sewn them together, making a horizon. (Yes, I have ironed them first!)
The fabrics for the sections are choosen, and placed together – this way I can check if they are ok, and add an/or remove fabrics if I want to.

I have placed the cut outs from Heat’n Bond Lite onto the back of the fabric pieces.
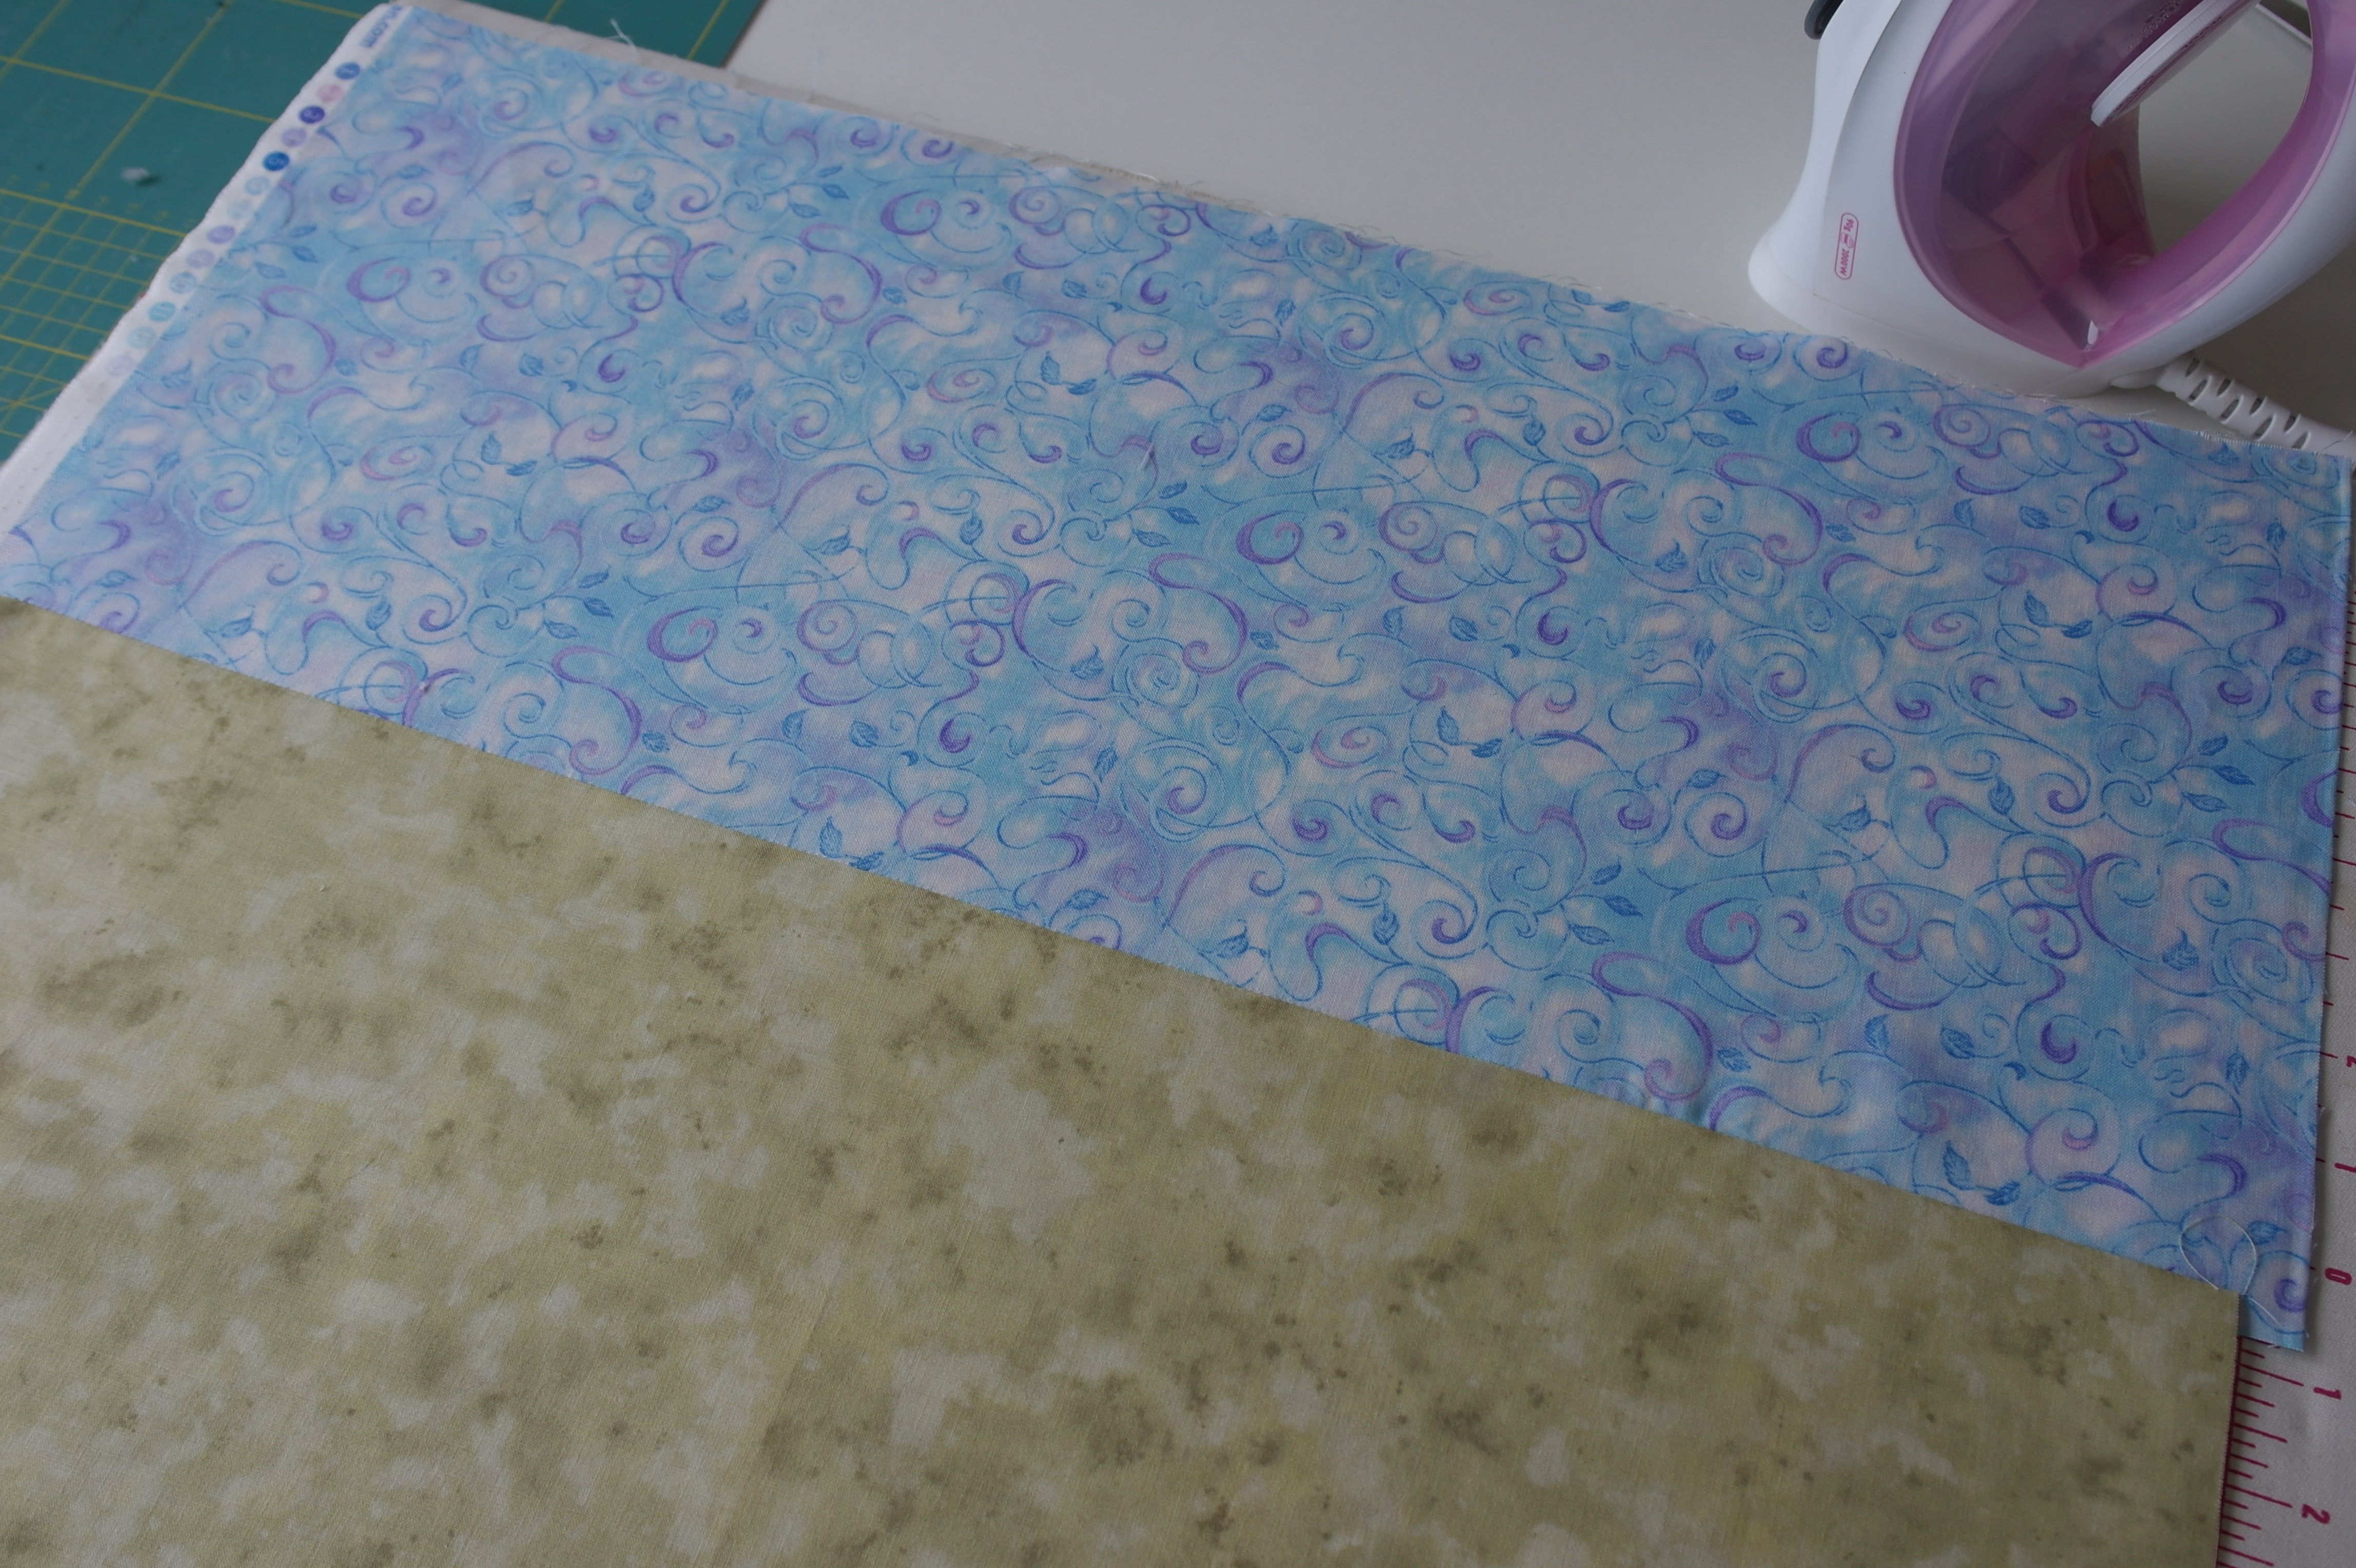
The background fabrics have been ironed flat, and sewn together. I don’t have an exact measurement for the project yet, I will make my decision about that while working, so I have just placed them on my ironing mat.

Pieces are ironed on and – after letting them cool down – cut on the outer lines.
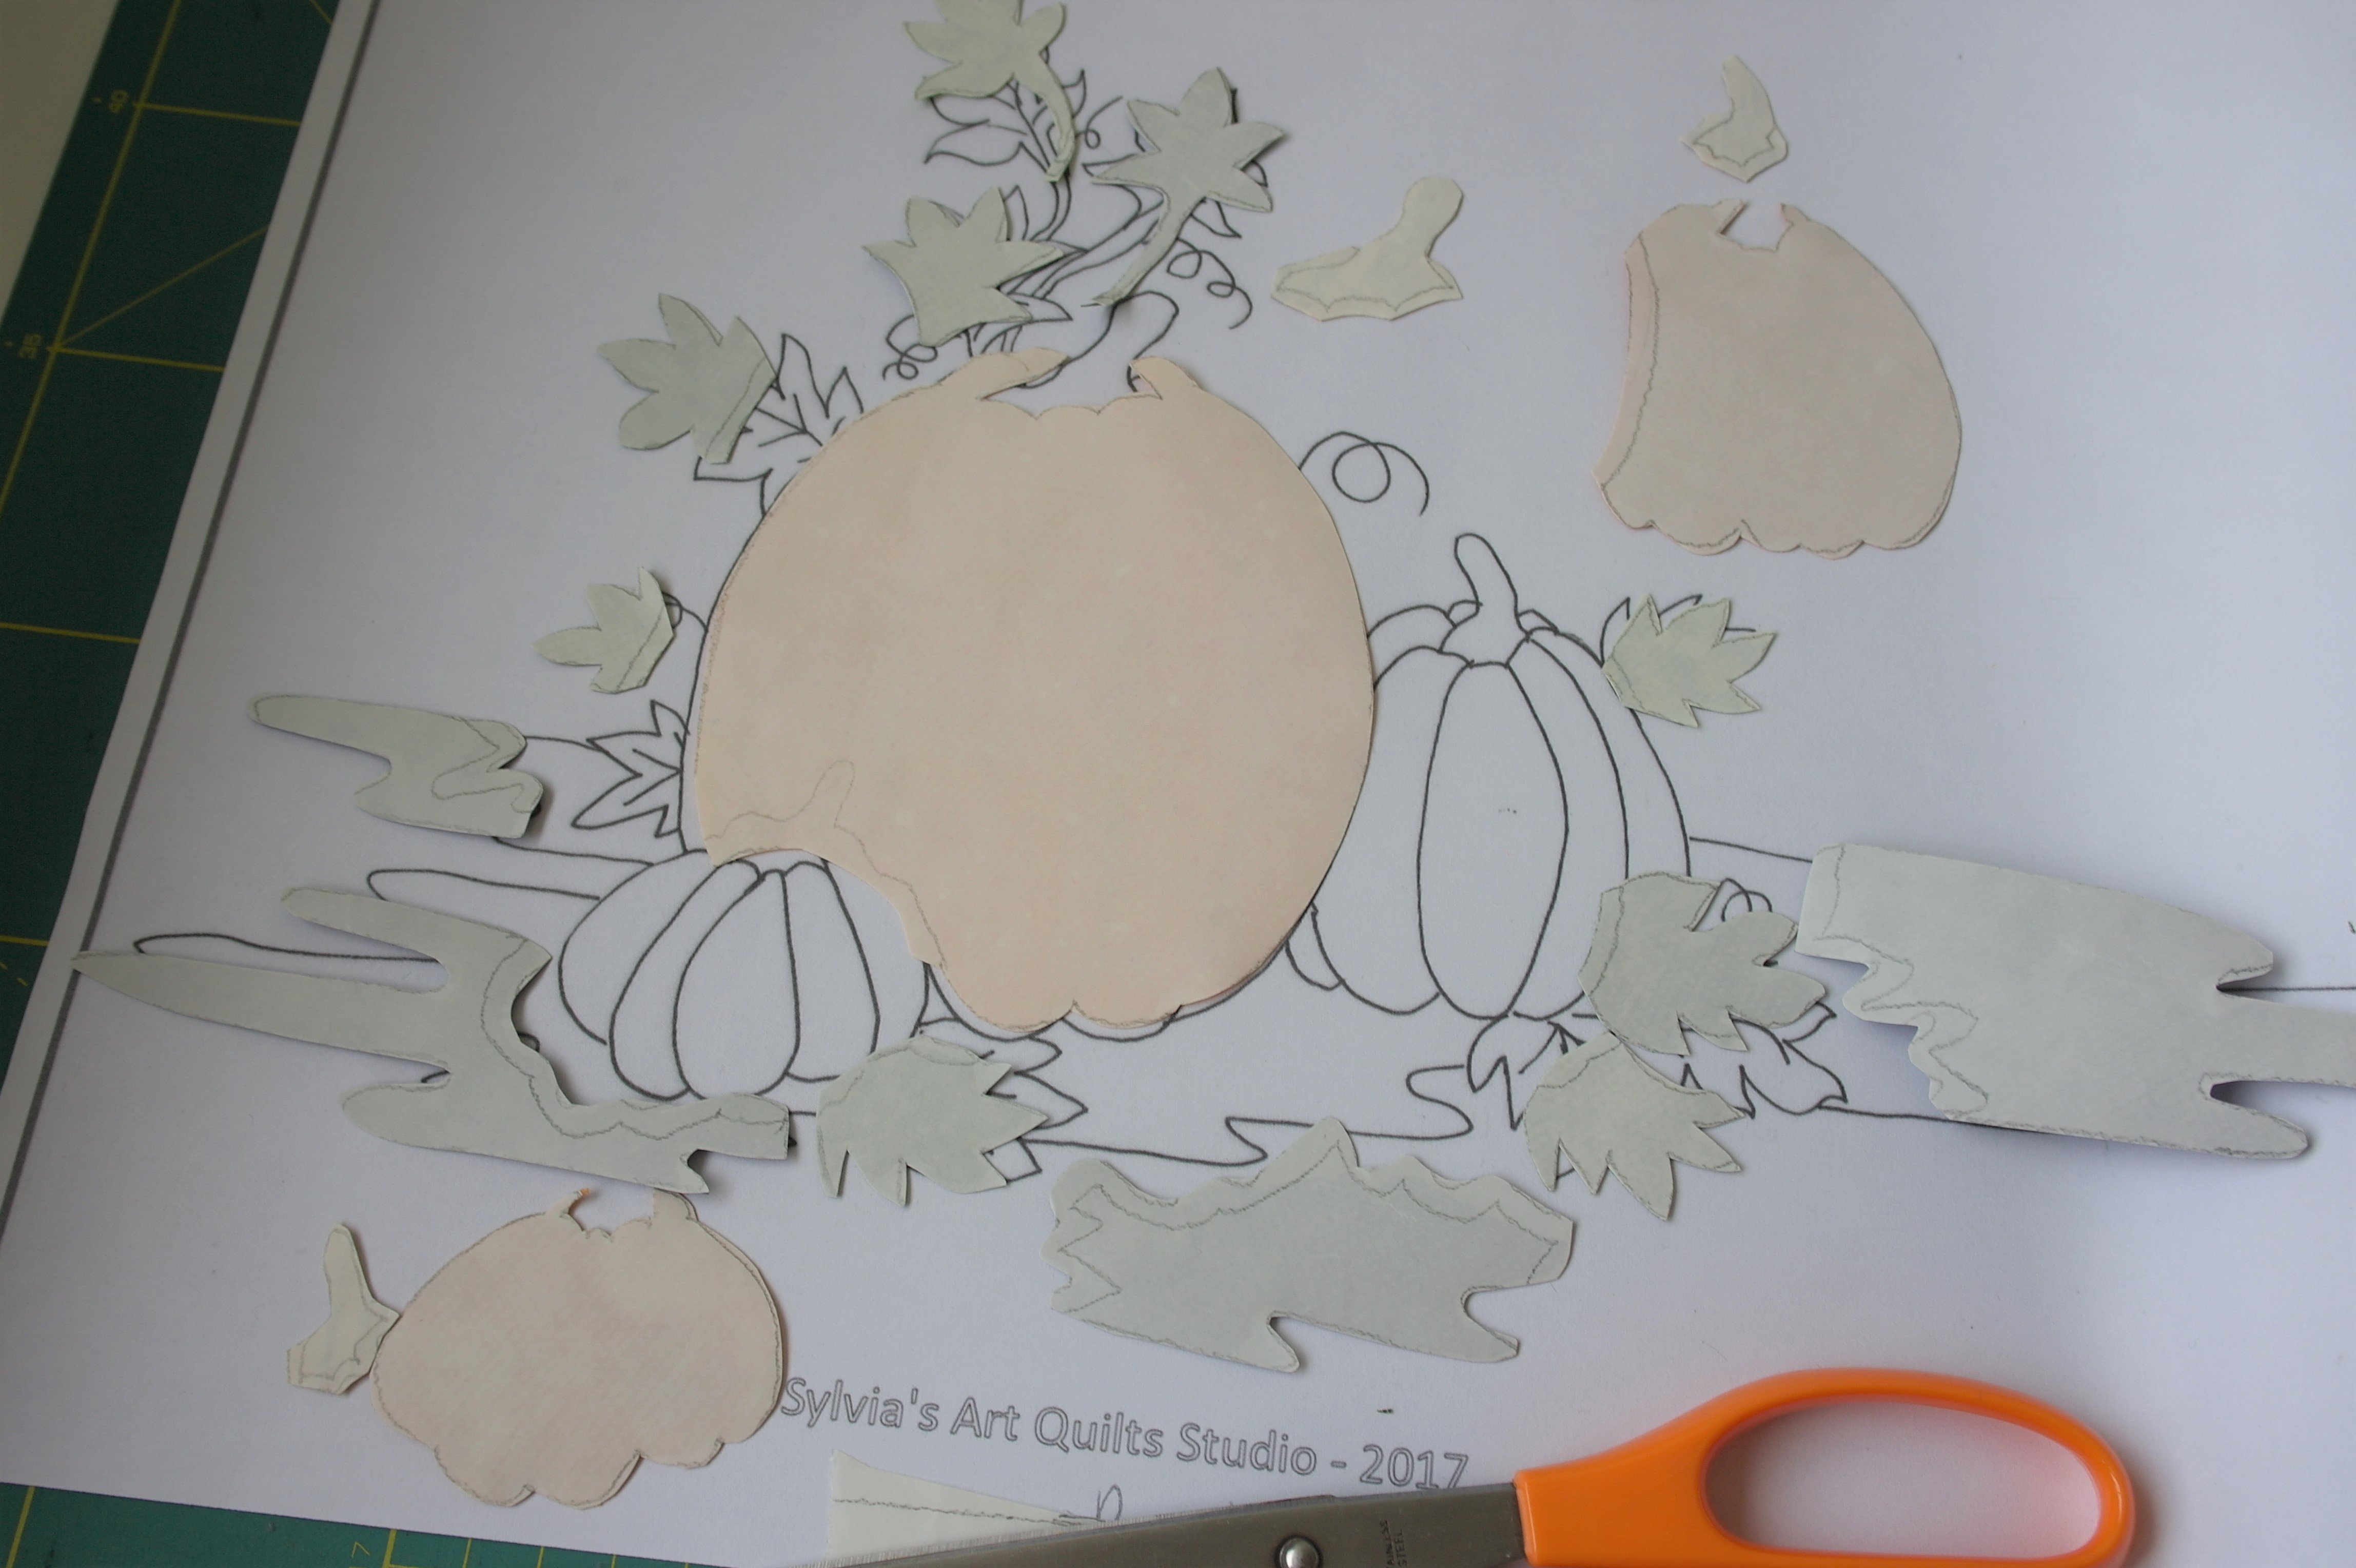
I have placed the appliqué pieces on the Mirror pattern, so I can find them again before appiqueing. This is a good way to check if you’ve got all the pieces.
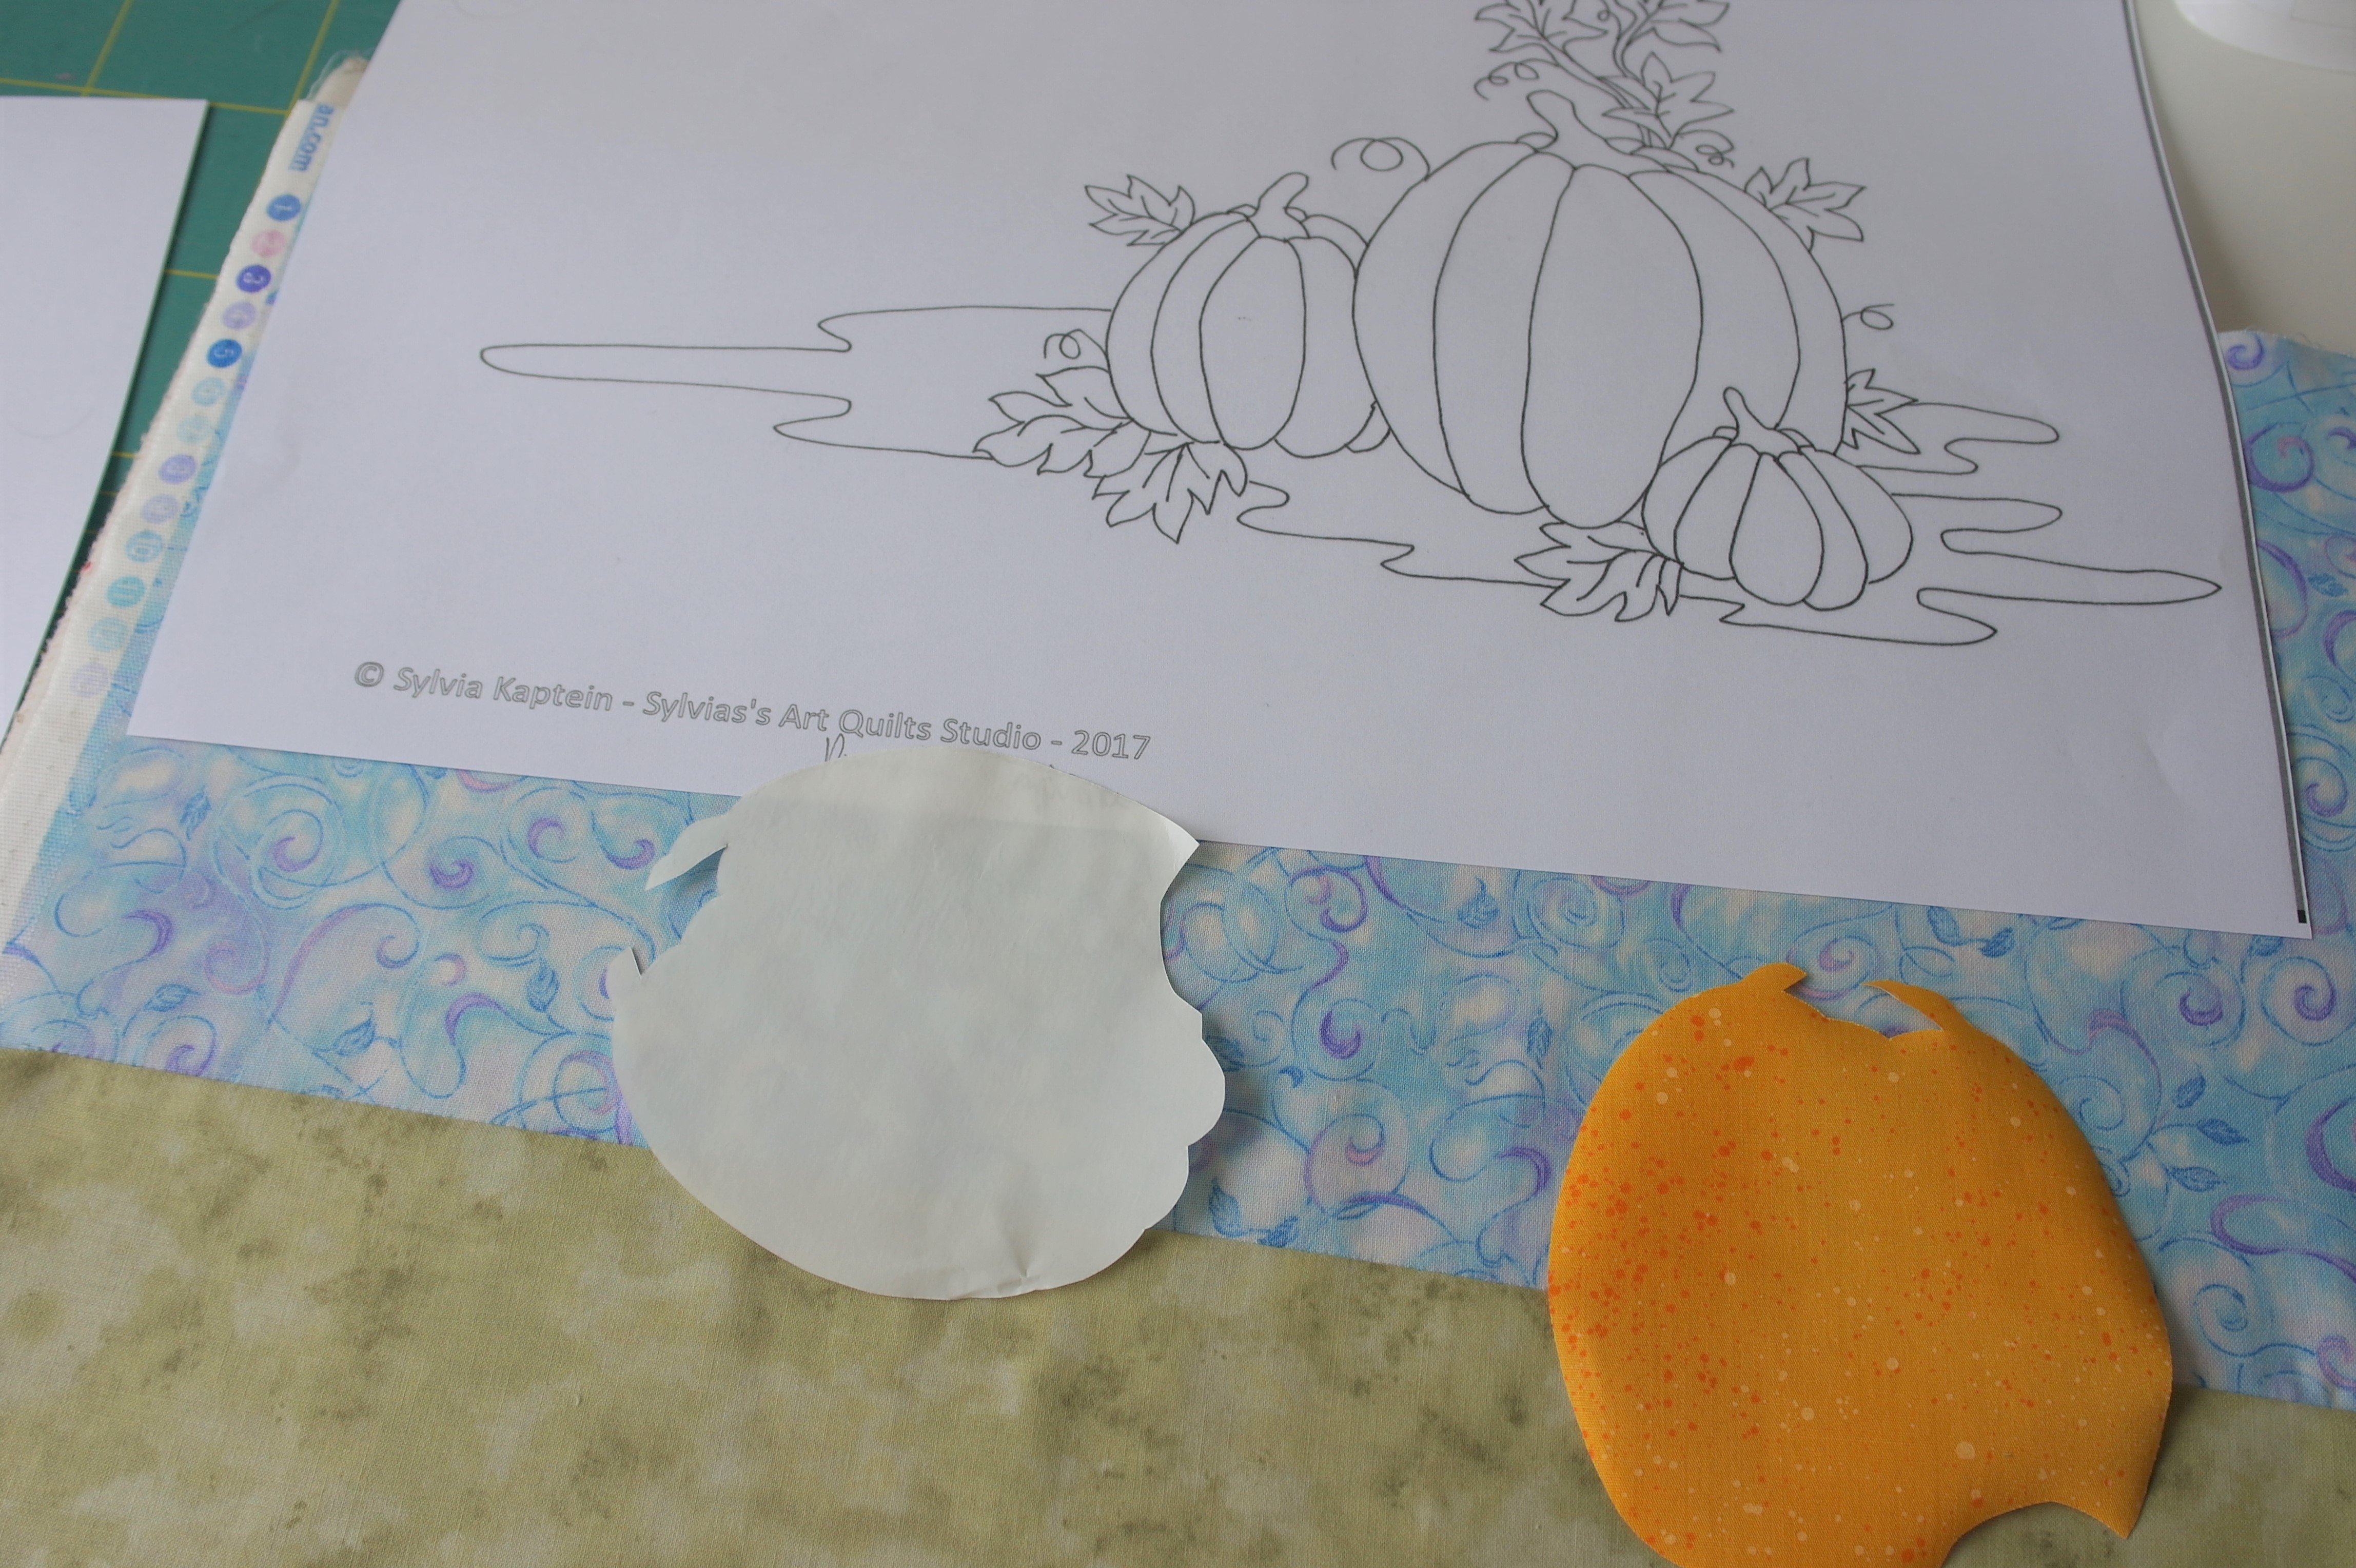
The regular pattern ‘Pumpkin appliqué’ is for placement – I have removed the paper at the back of the large pumkin, and will place this onto the background fabrics, right side up. I will not iron yet…
When I have placed each and every appliqué section on the background, I will use my iron. Beware of the ‘moving-iron-syndrom’: just place your iron on top of the appliqué pieces, lift it and place it onto the next pieces – don’t move your iron back and forth on your appliqué pieces: they will shift if you do. The reason that you will iron only after every piece is in its place, is because if you iron with every single piece, the first ones will be ironed every time, which will make the glue dissapear.
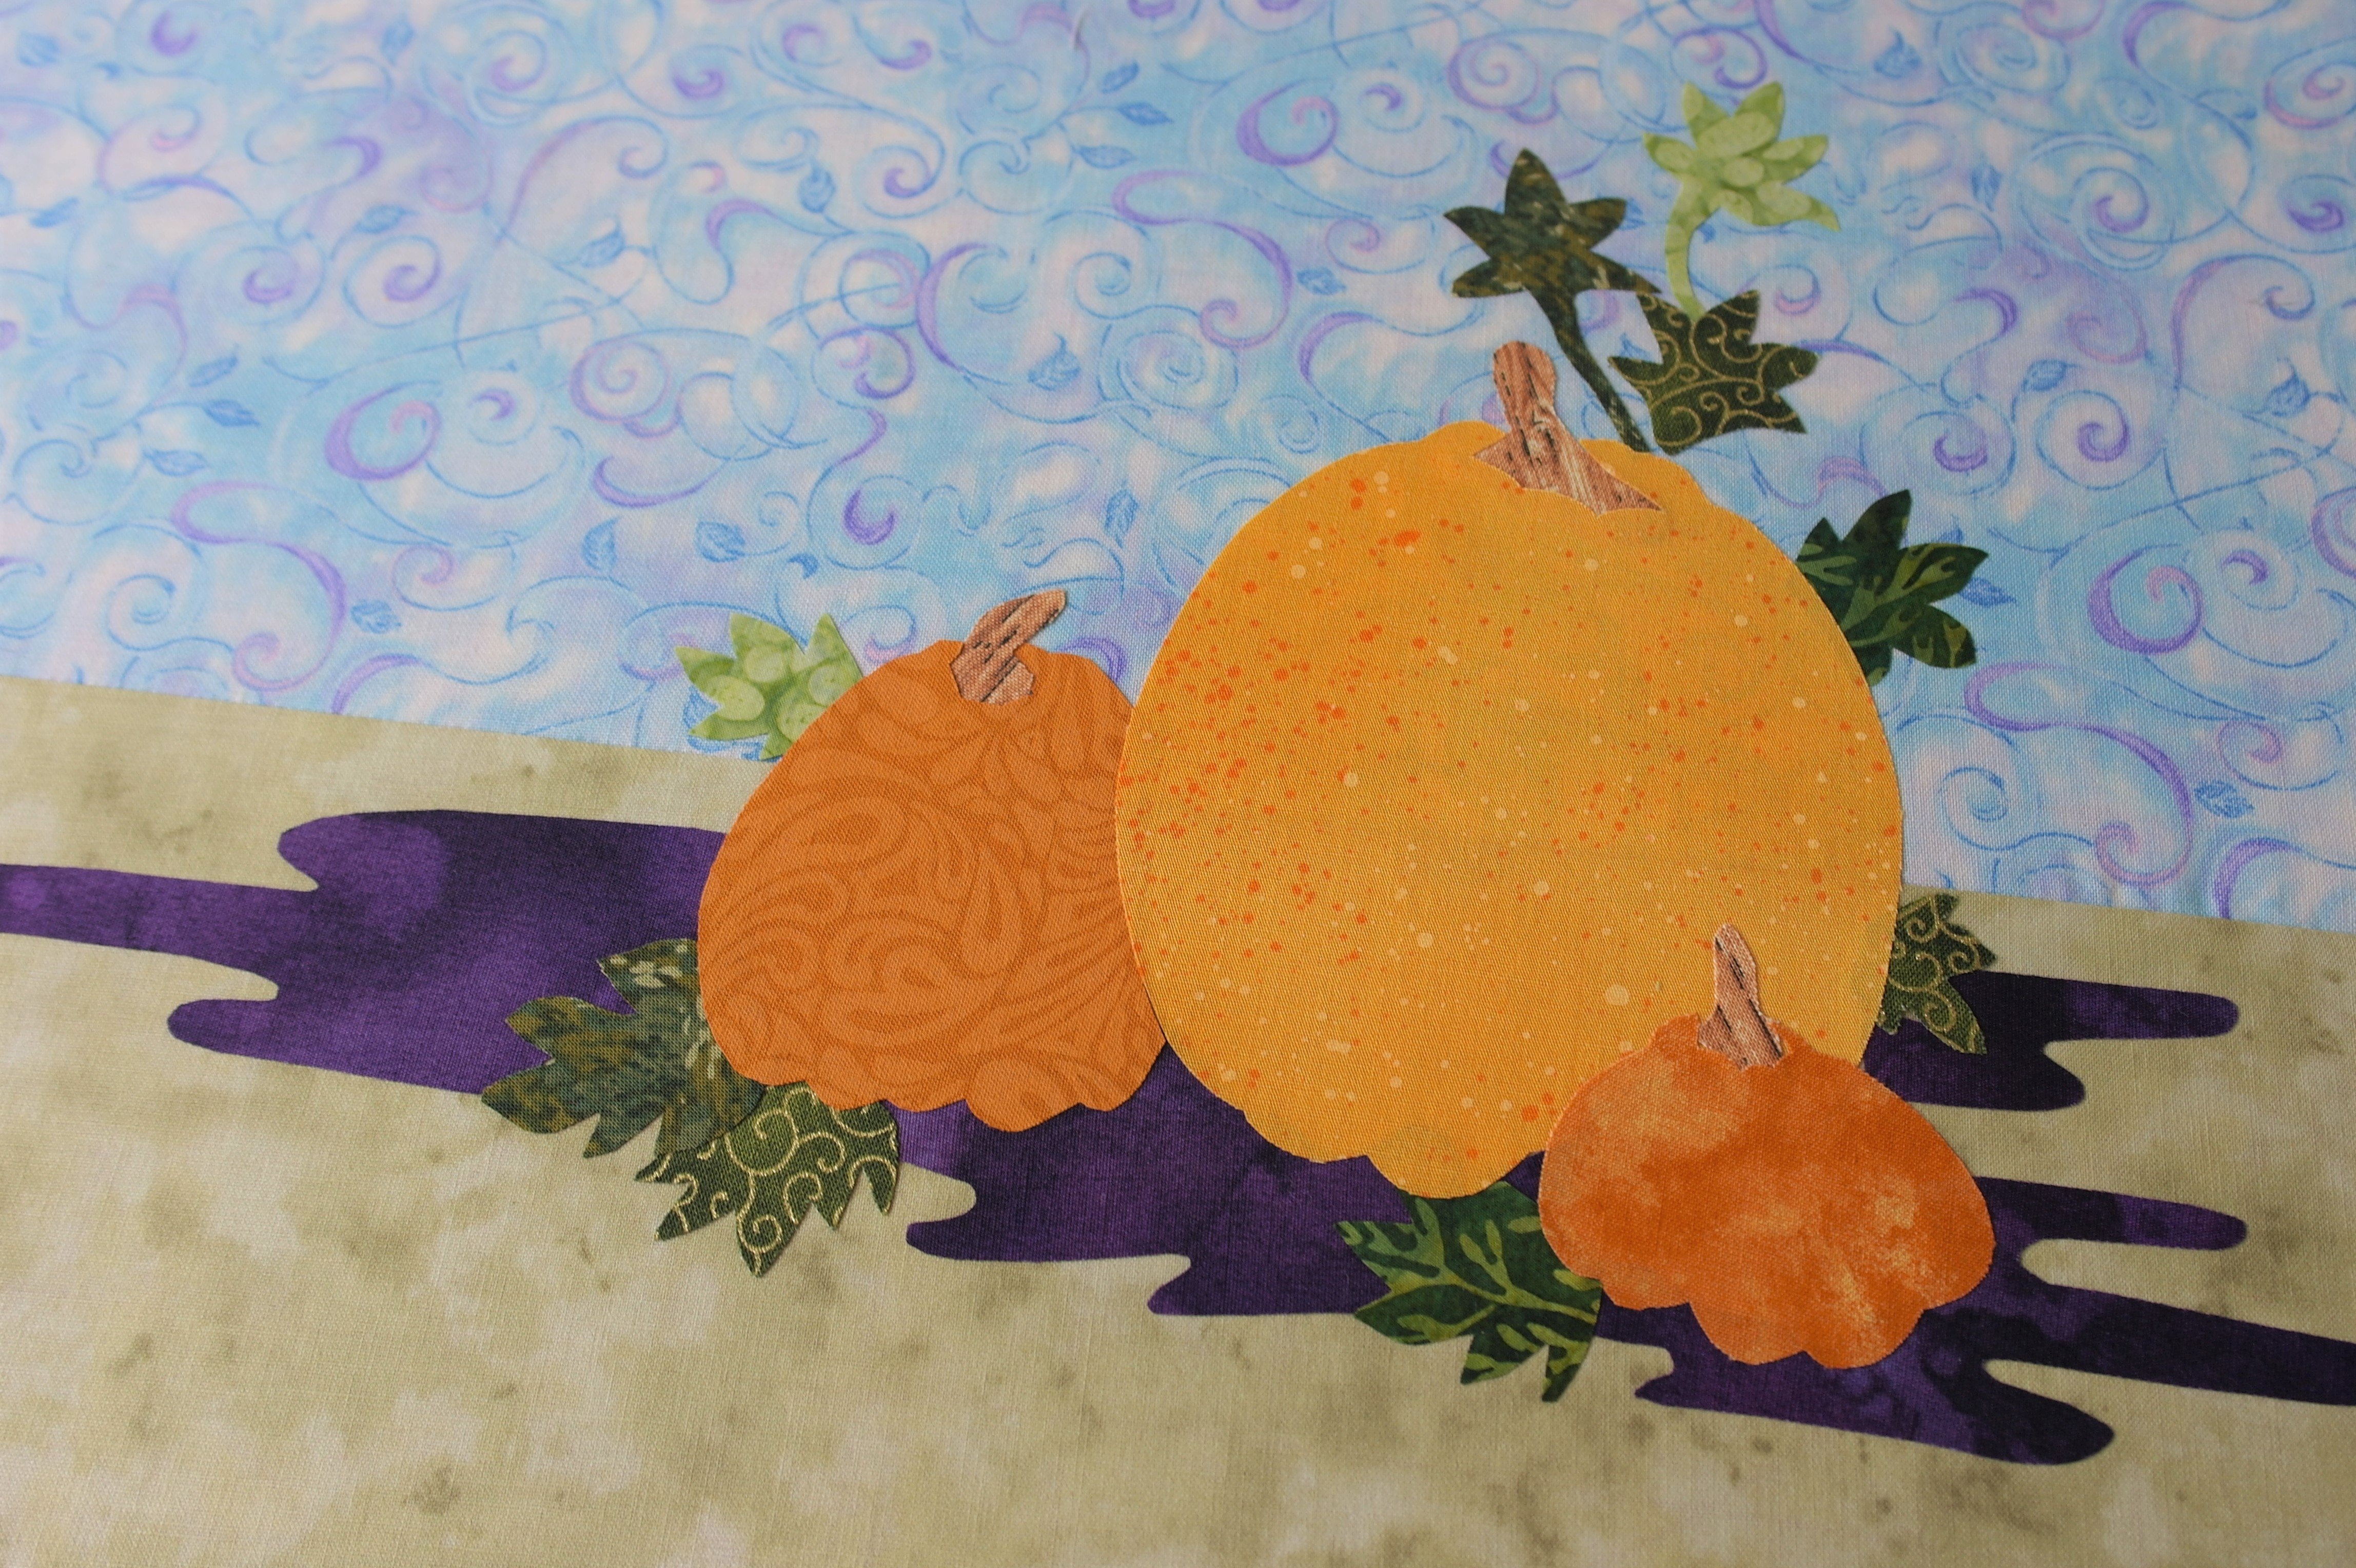
This is the full appliqué up close, without any detail yet.
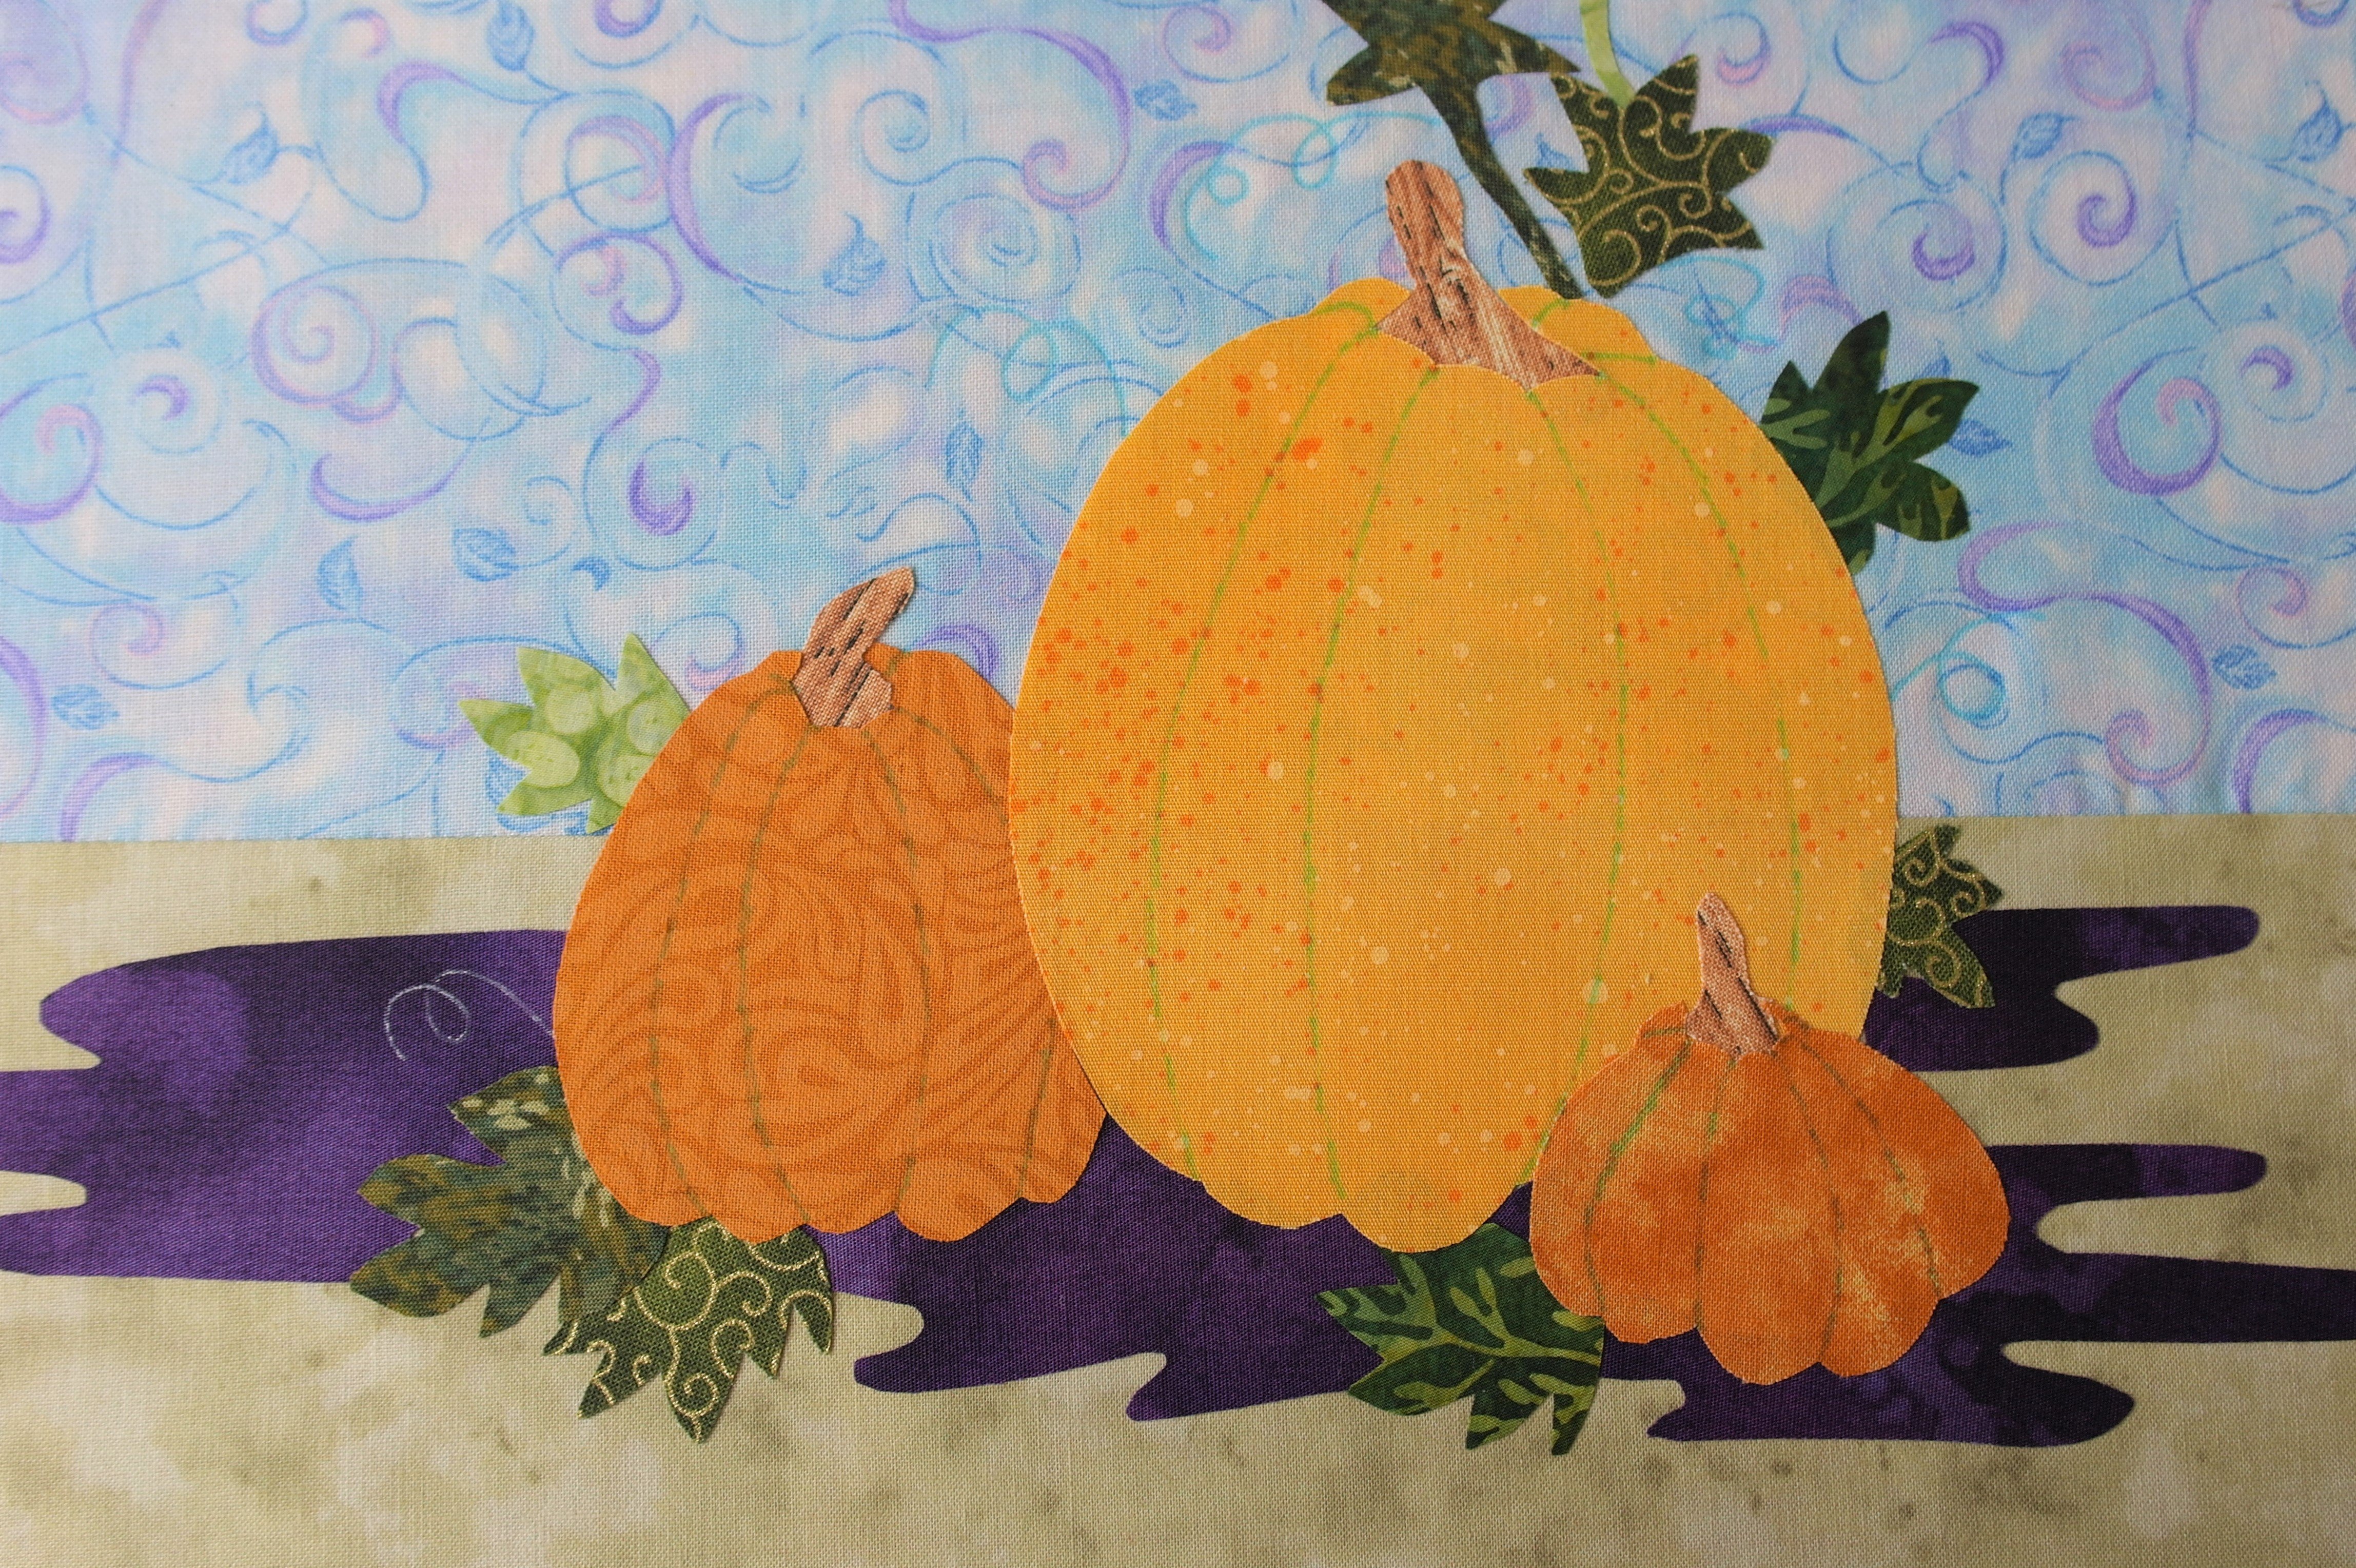
Those details can be drawn with a blue and/or white watersoluble pen, and quilted afterwards, so these lines will be covered in the end. By drawing these detail lines, you will have an indication for quilting.
Next time I will quilt everything and frame this project: I’ve got a beautiful wooden frame for this quilt. Will you join me again?
Happy Quilting
Sylvia Kaptein
Sylvia’s Art Quilts Studio
www.sylviasartquilts.nl
*If you would like to make these pumpkins too, just email me via [email protected] and ask for the pattern for FREE. Be sure to ask for the regular and mirror pattern for the Pumpkin Appliqué. I will email you 2 files, both with a .pdf, which you can print at A4 for a small version, or print on A3 for the larger version (the one I’ve used). Be sure to set your printer on ‘Actual Size’ to fill out the pattern onto the paper.
You are allowed to use the pattern(s) for your personal project, but not to copy, or use for third parties/classes!
0 Responses