 BERNINA Corporate Blog -
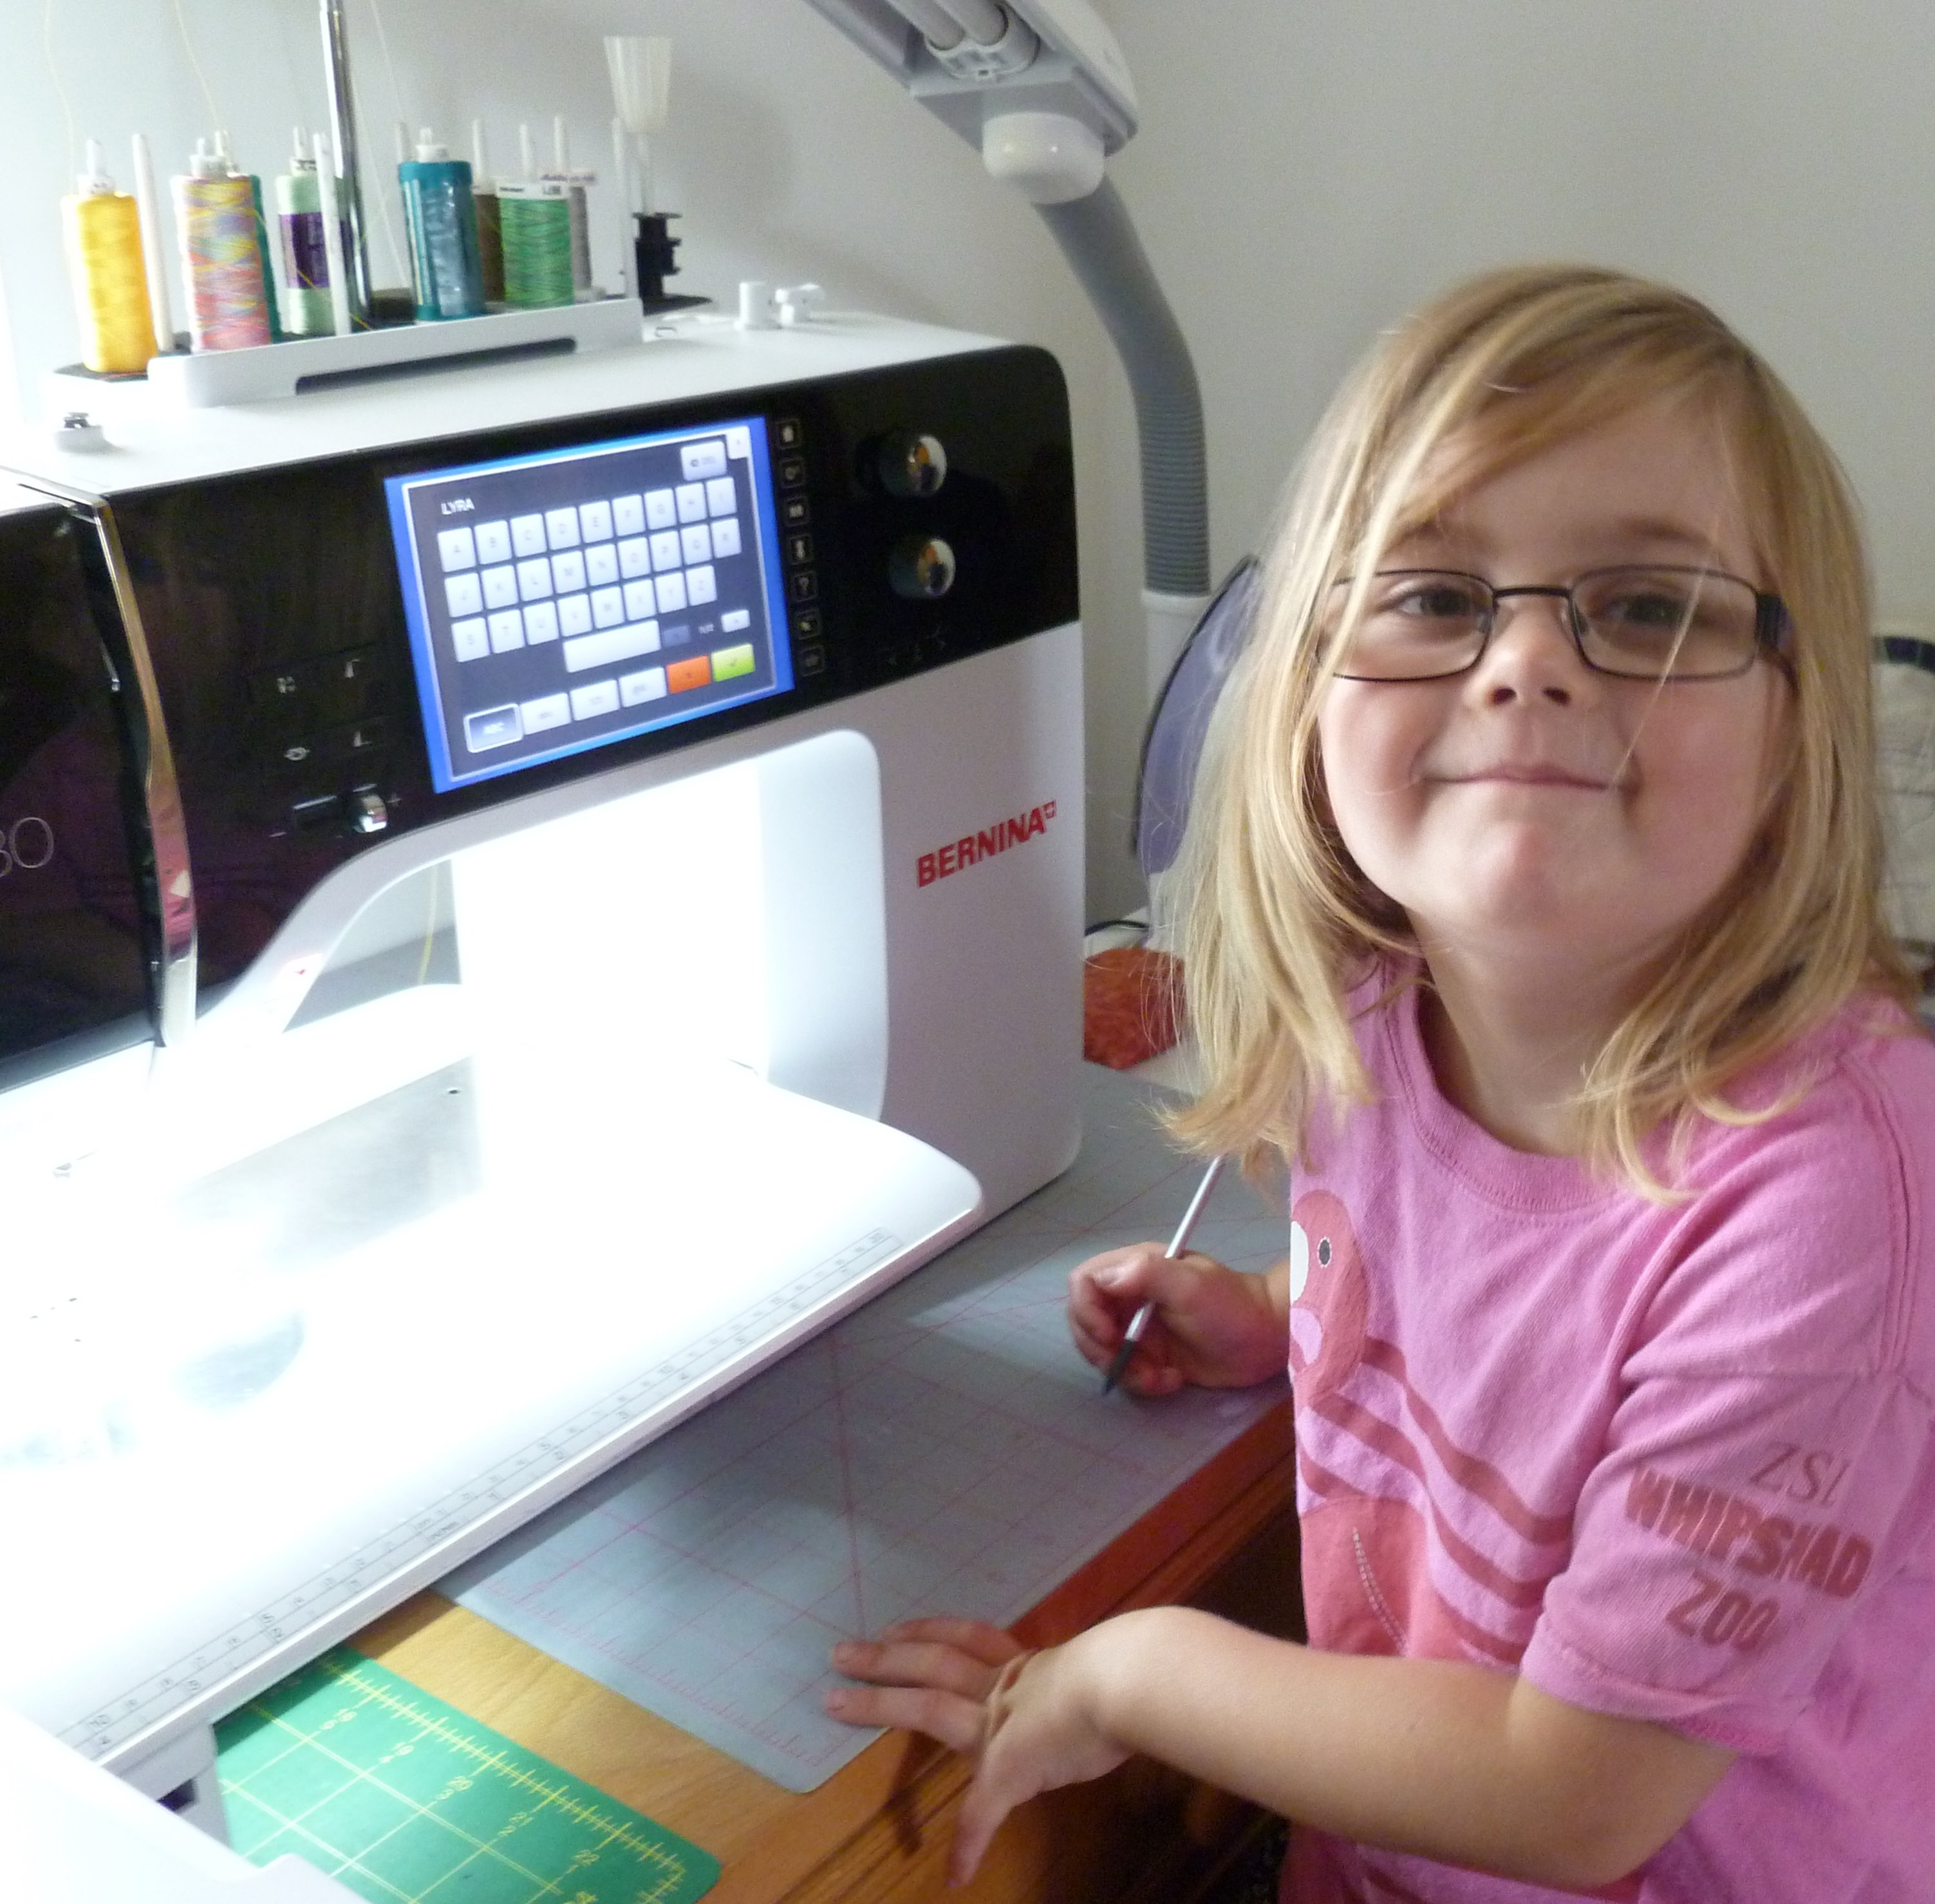
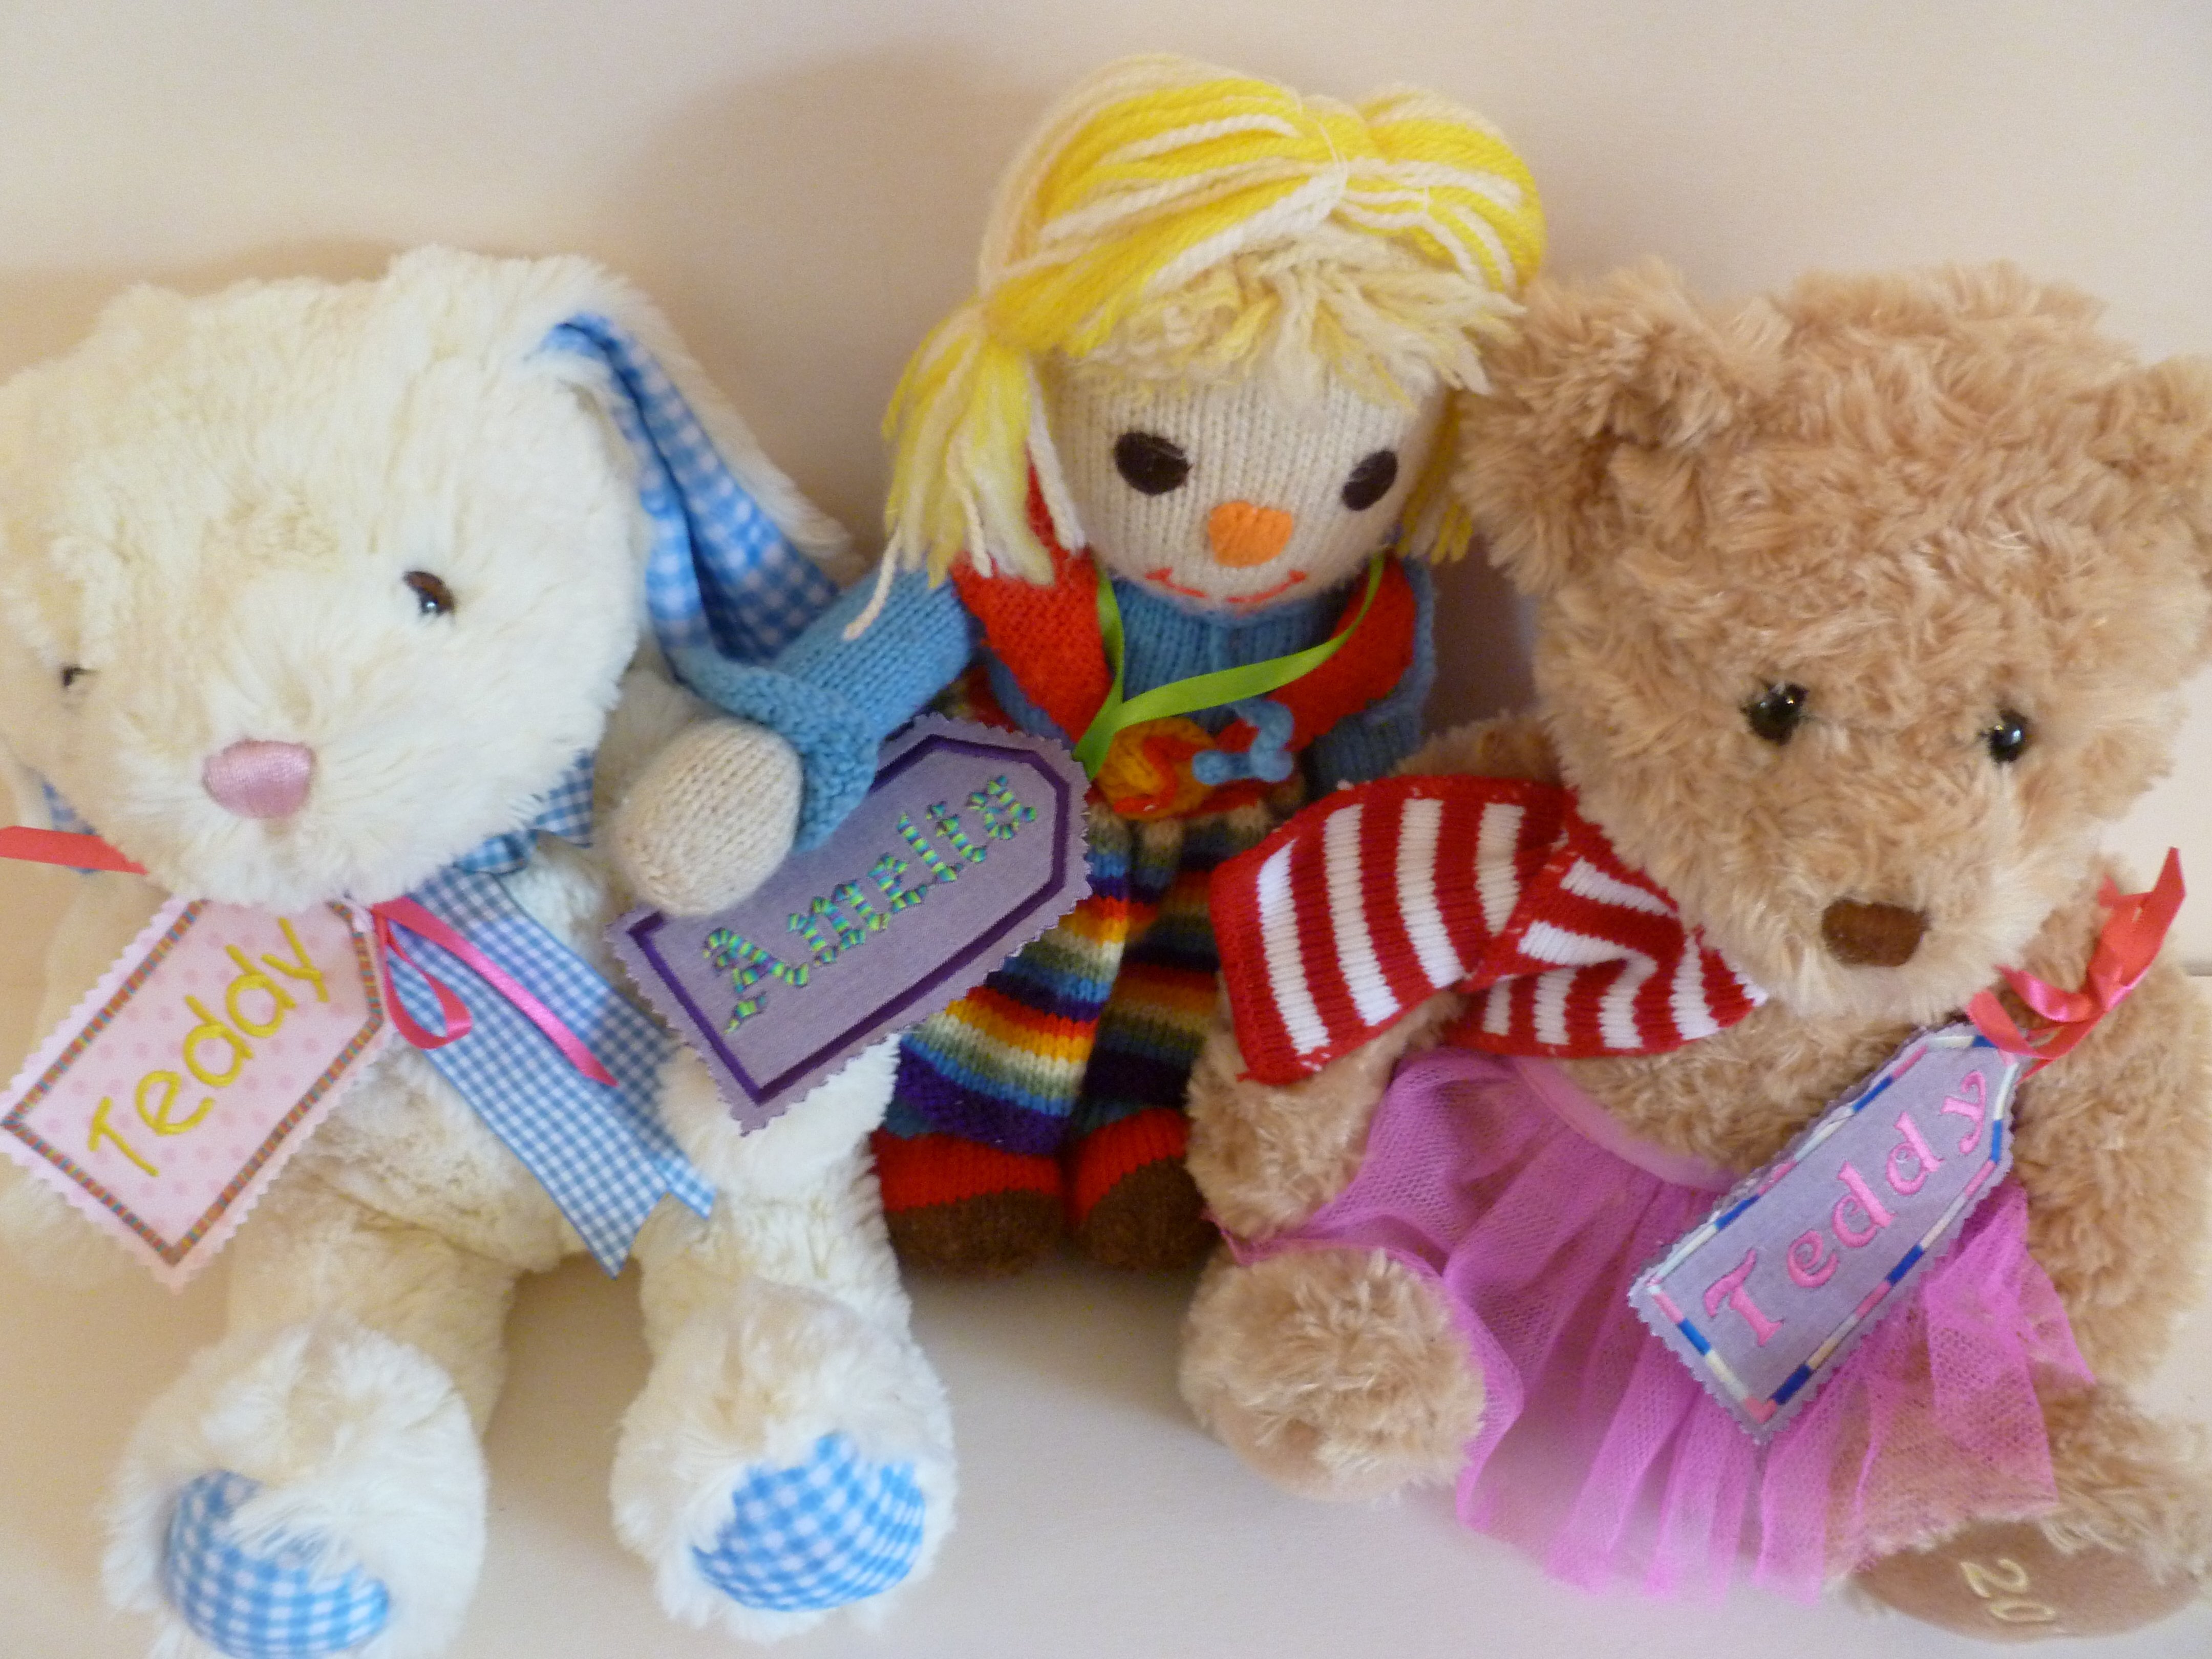
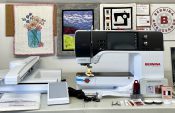
During the summer when the grandchildren visited they wanted to make something on the sewing machine. My 780, out of its cover on the desktop, was set up for embroidery so attracted their attention. I hadn’t planned sewing for the children but wanted to encourage any interest. What to make? They had already stitched covers for teddies. This needed to be something quick before their enthusiasm waned.
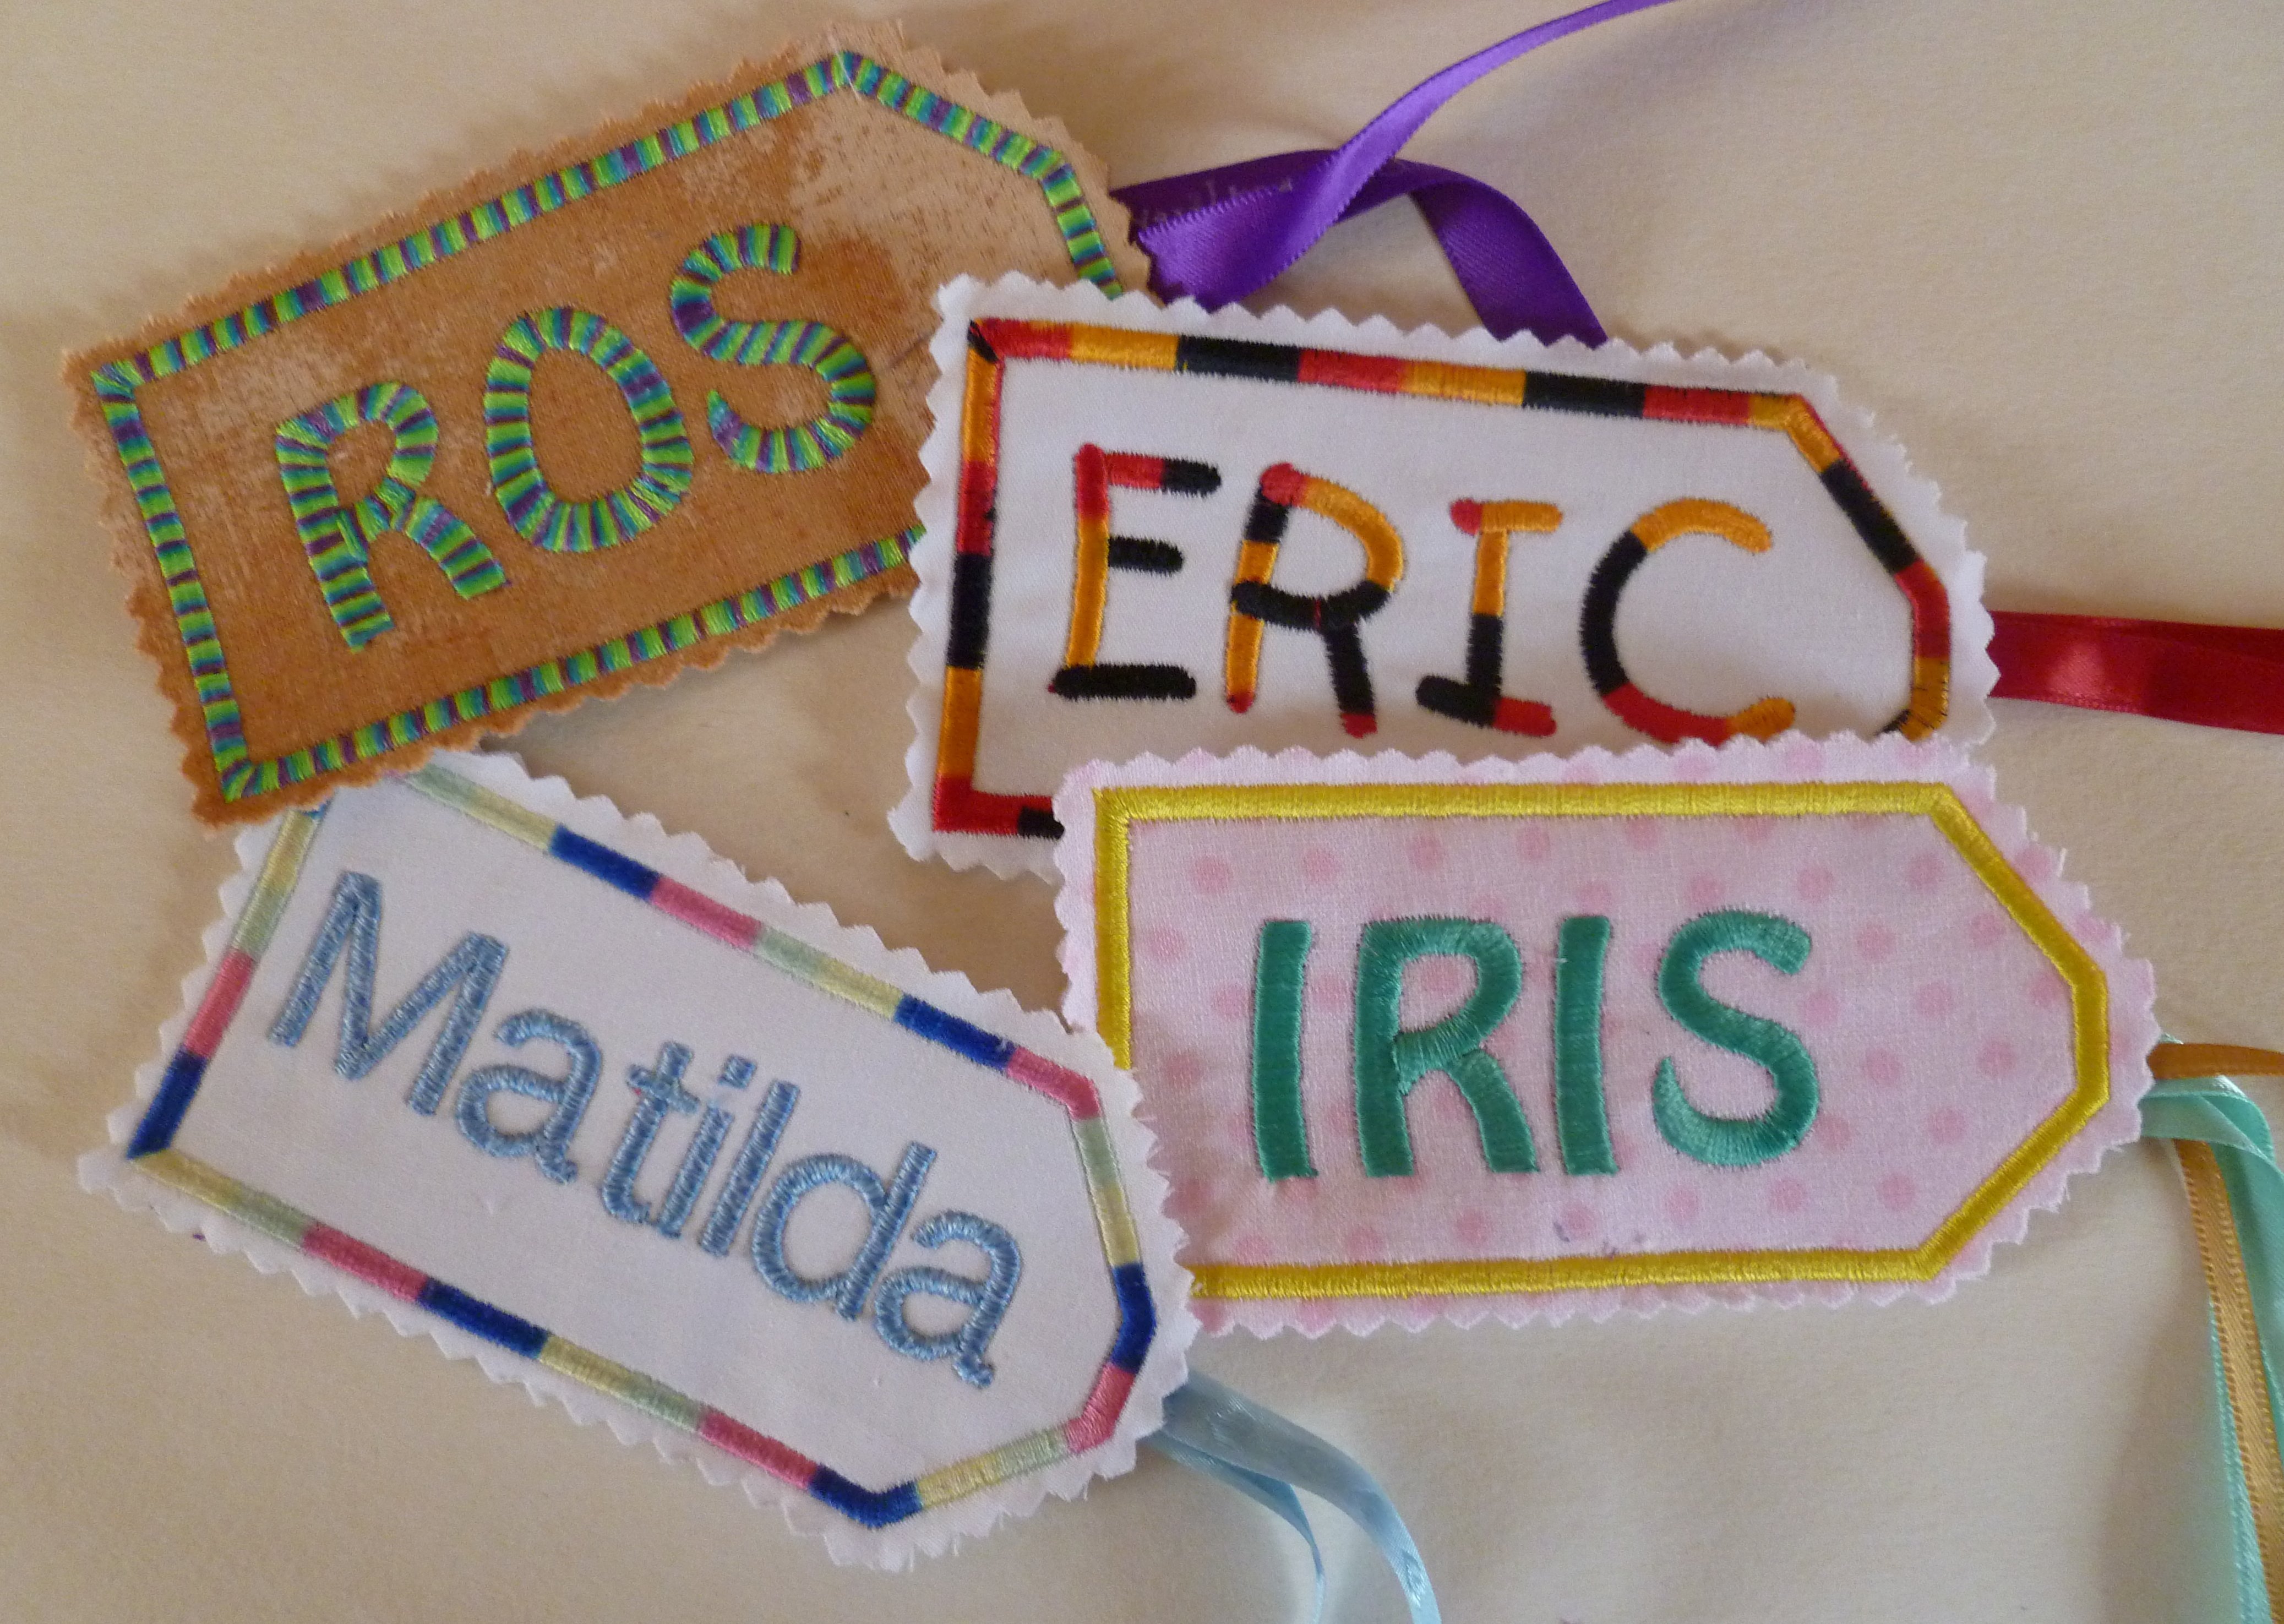
The 4 year old is currently interested in alphabet letters and delights in spotting them on road signs, eye test charts and mail envelopes. She agreed it would be a good idea to stitch out her name.
While she and her sister were choosing fabric, thread and ribbons I quickly digitised a label outline in the Bernina software and put it on a memory stick for the machine.
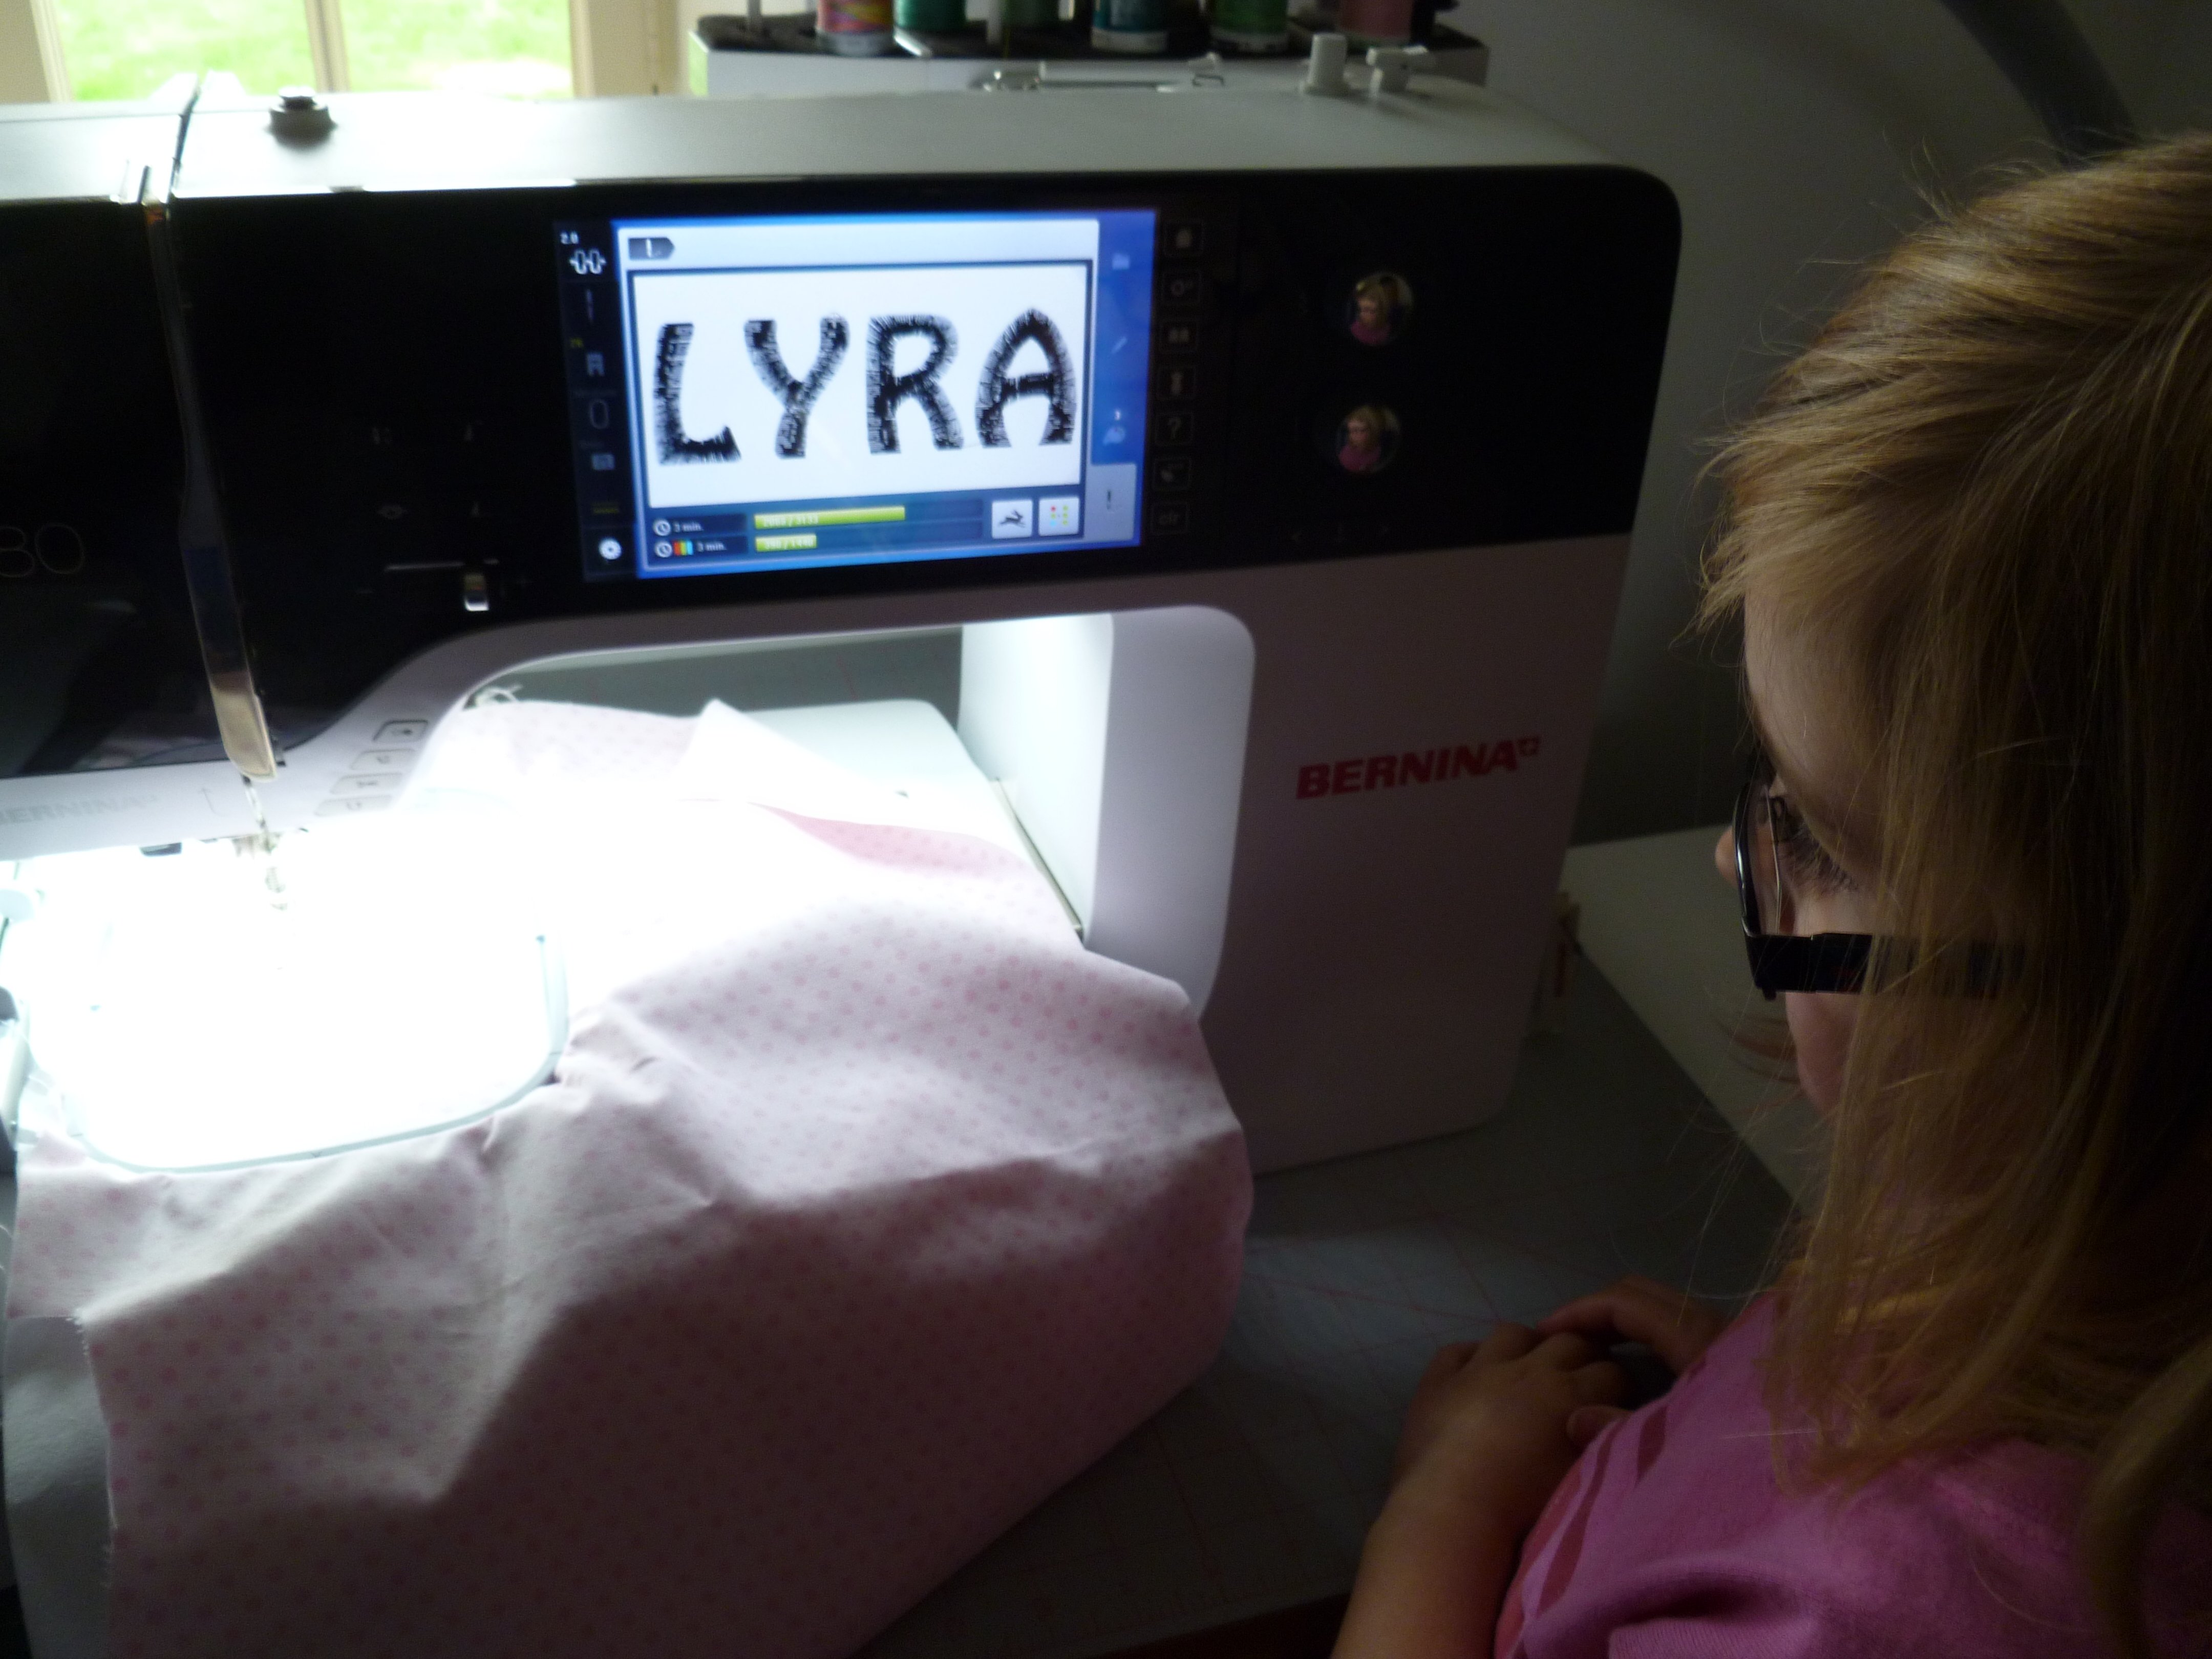
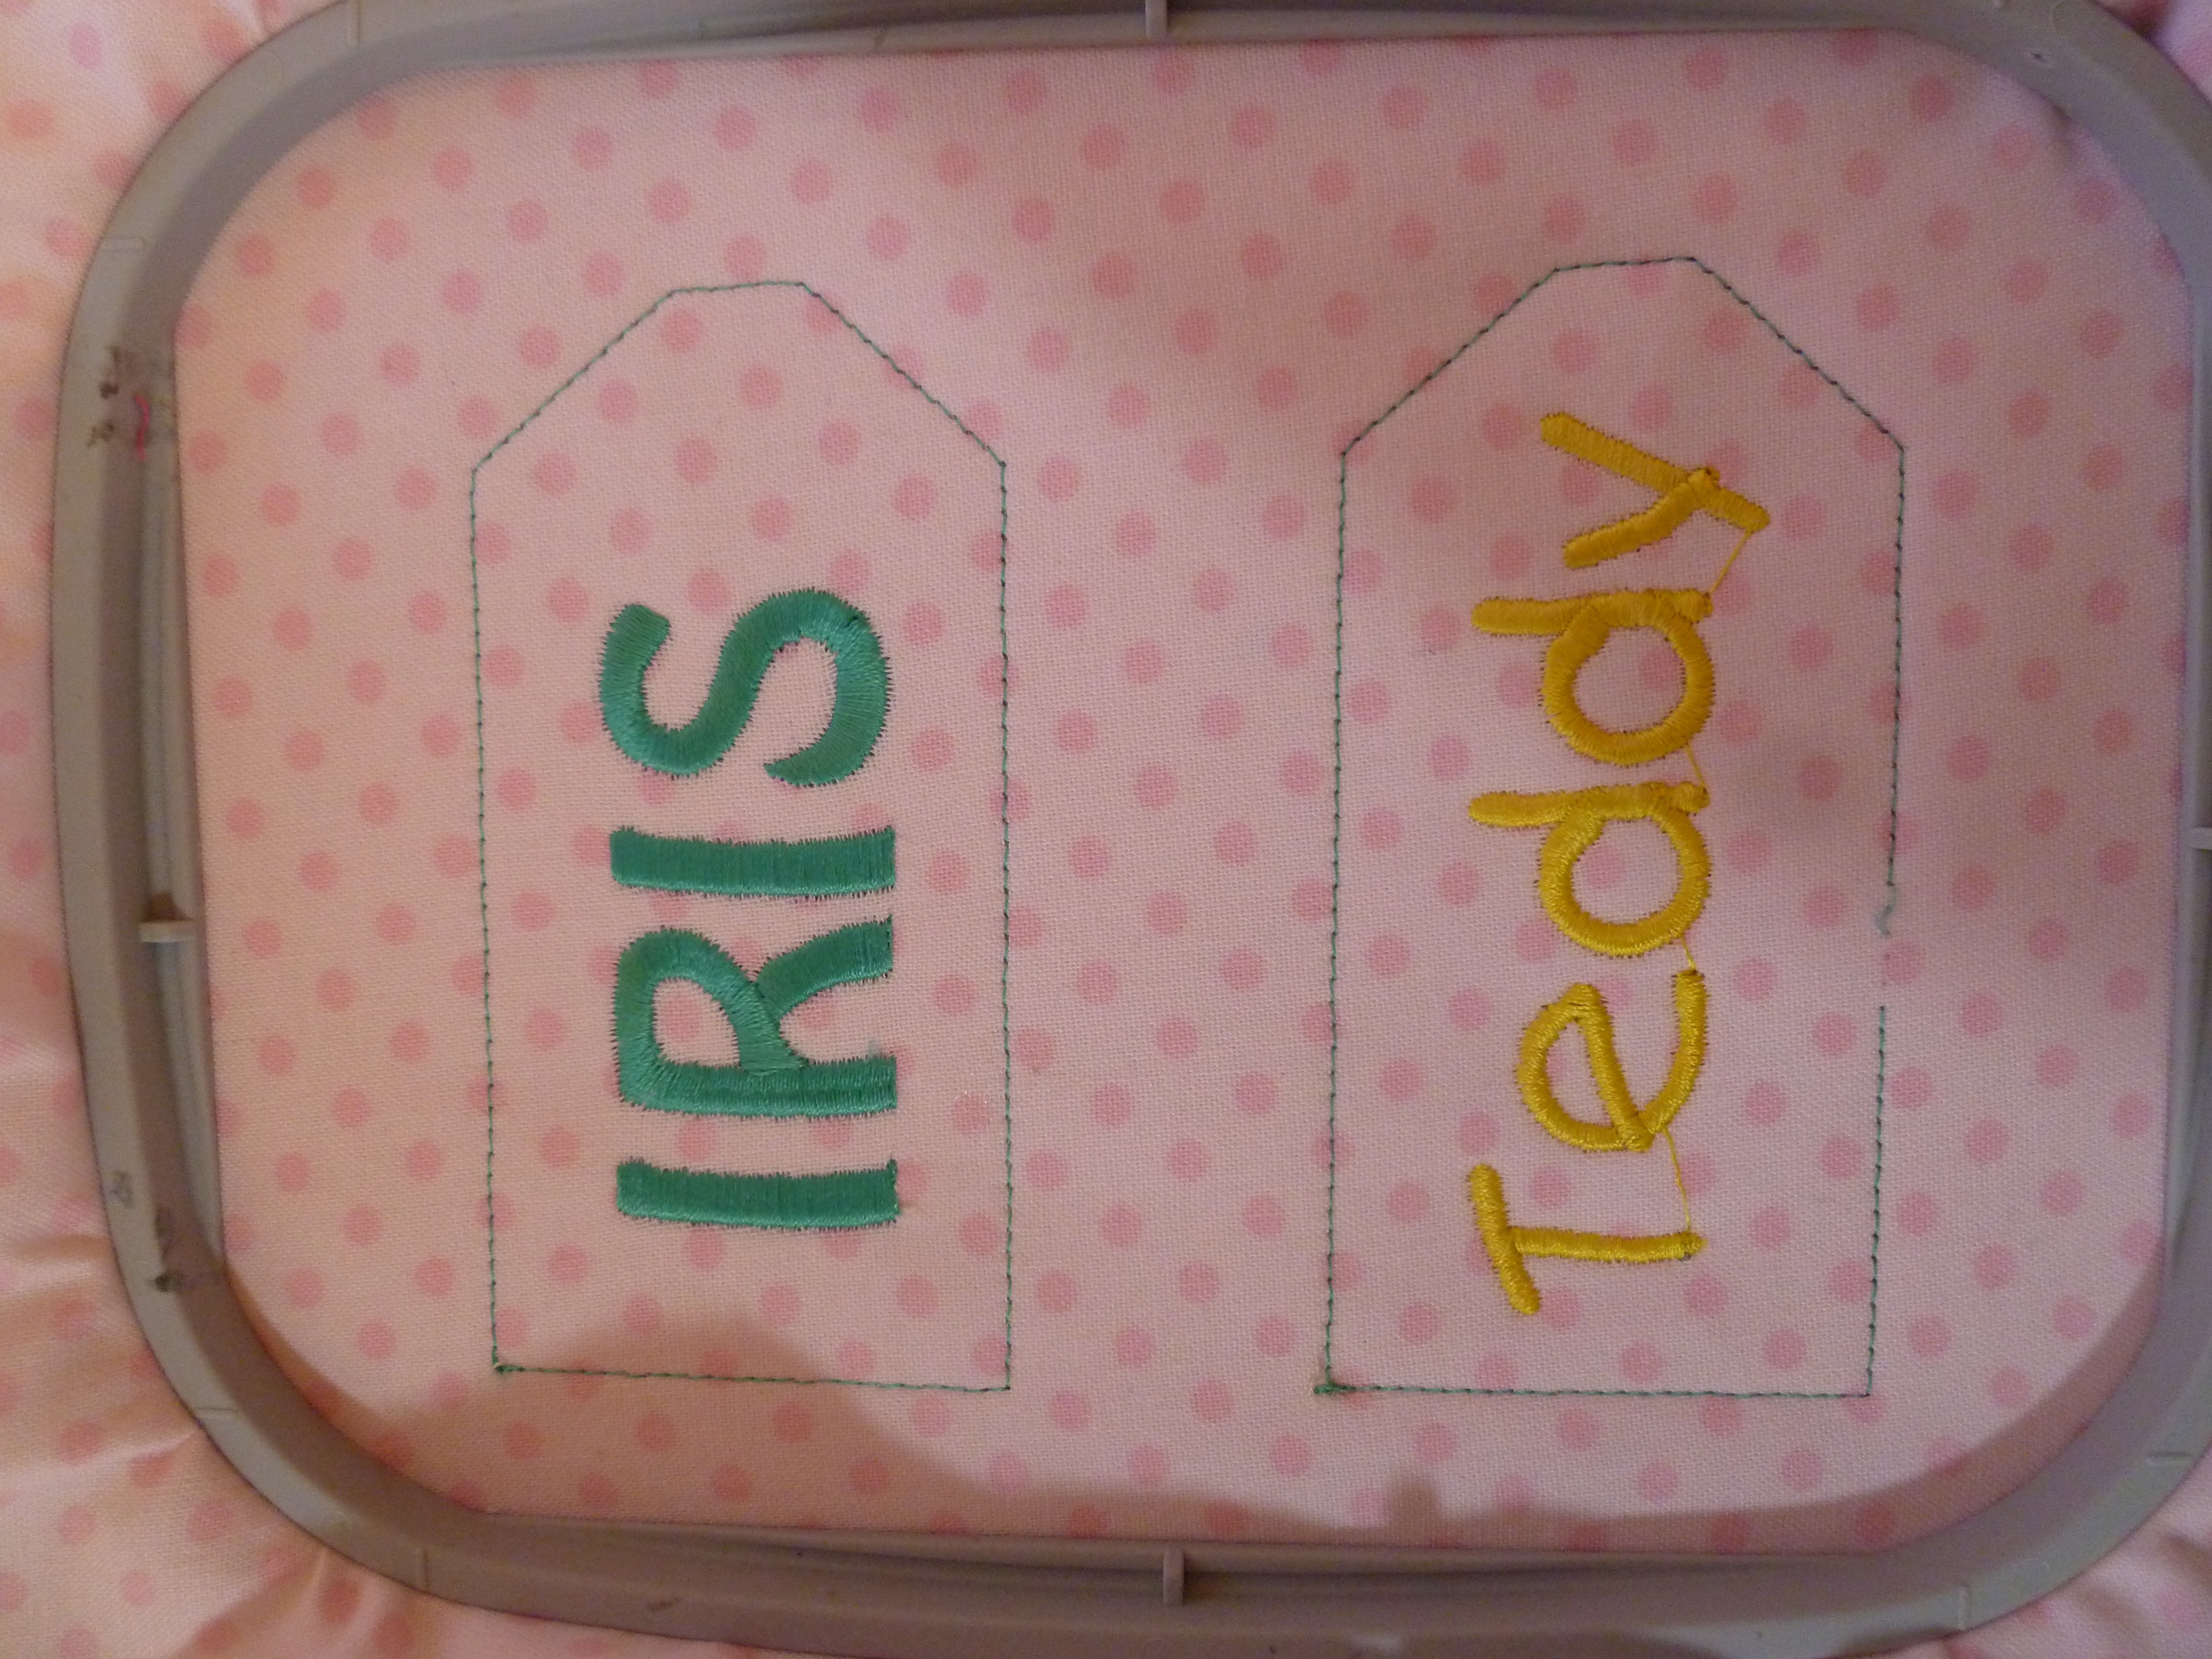
They each added their own names choosing letters from the inbuilt alphabets in the machine.
 The 4 year old was so pleased with herself to select the correct letters for her name and delighted to see it appearing as it stitched out. The 6 year old enjoyed choosing the right folders and was interested in the steps needed for hooping up and setting up the machine, asking why it needed bobbin thread!
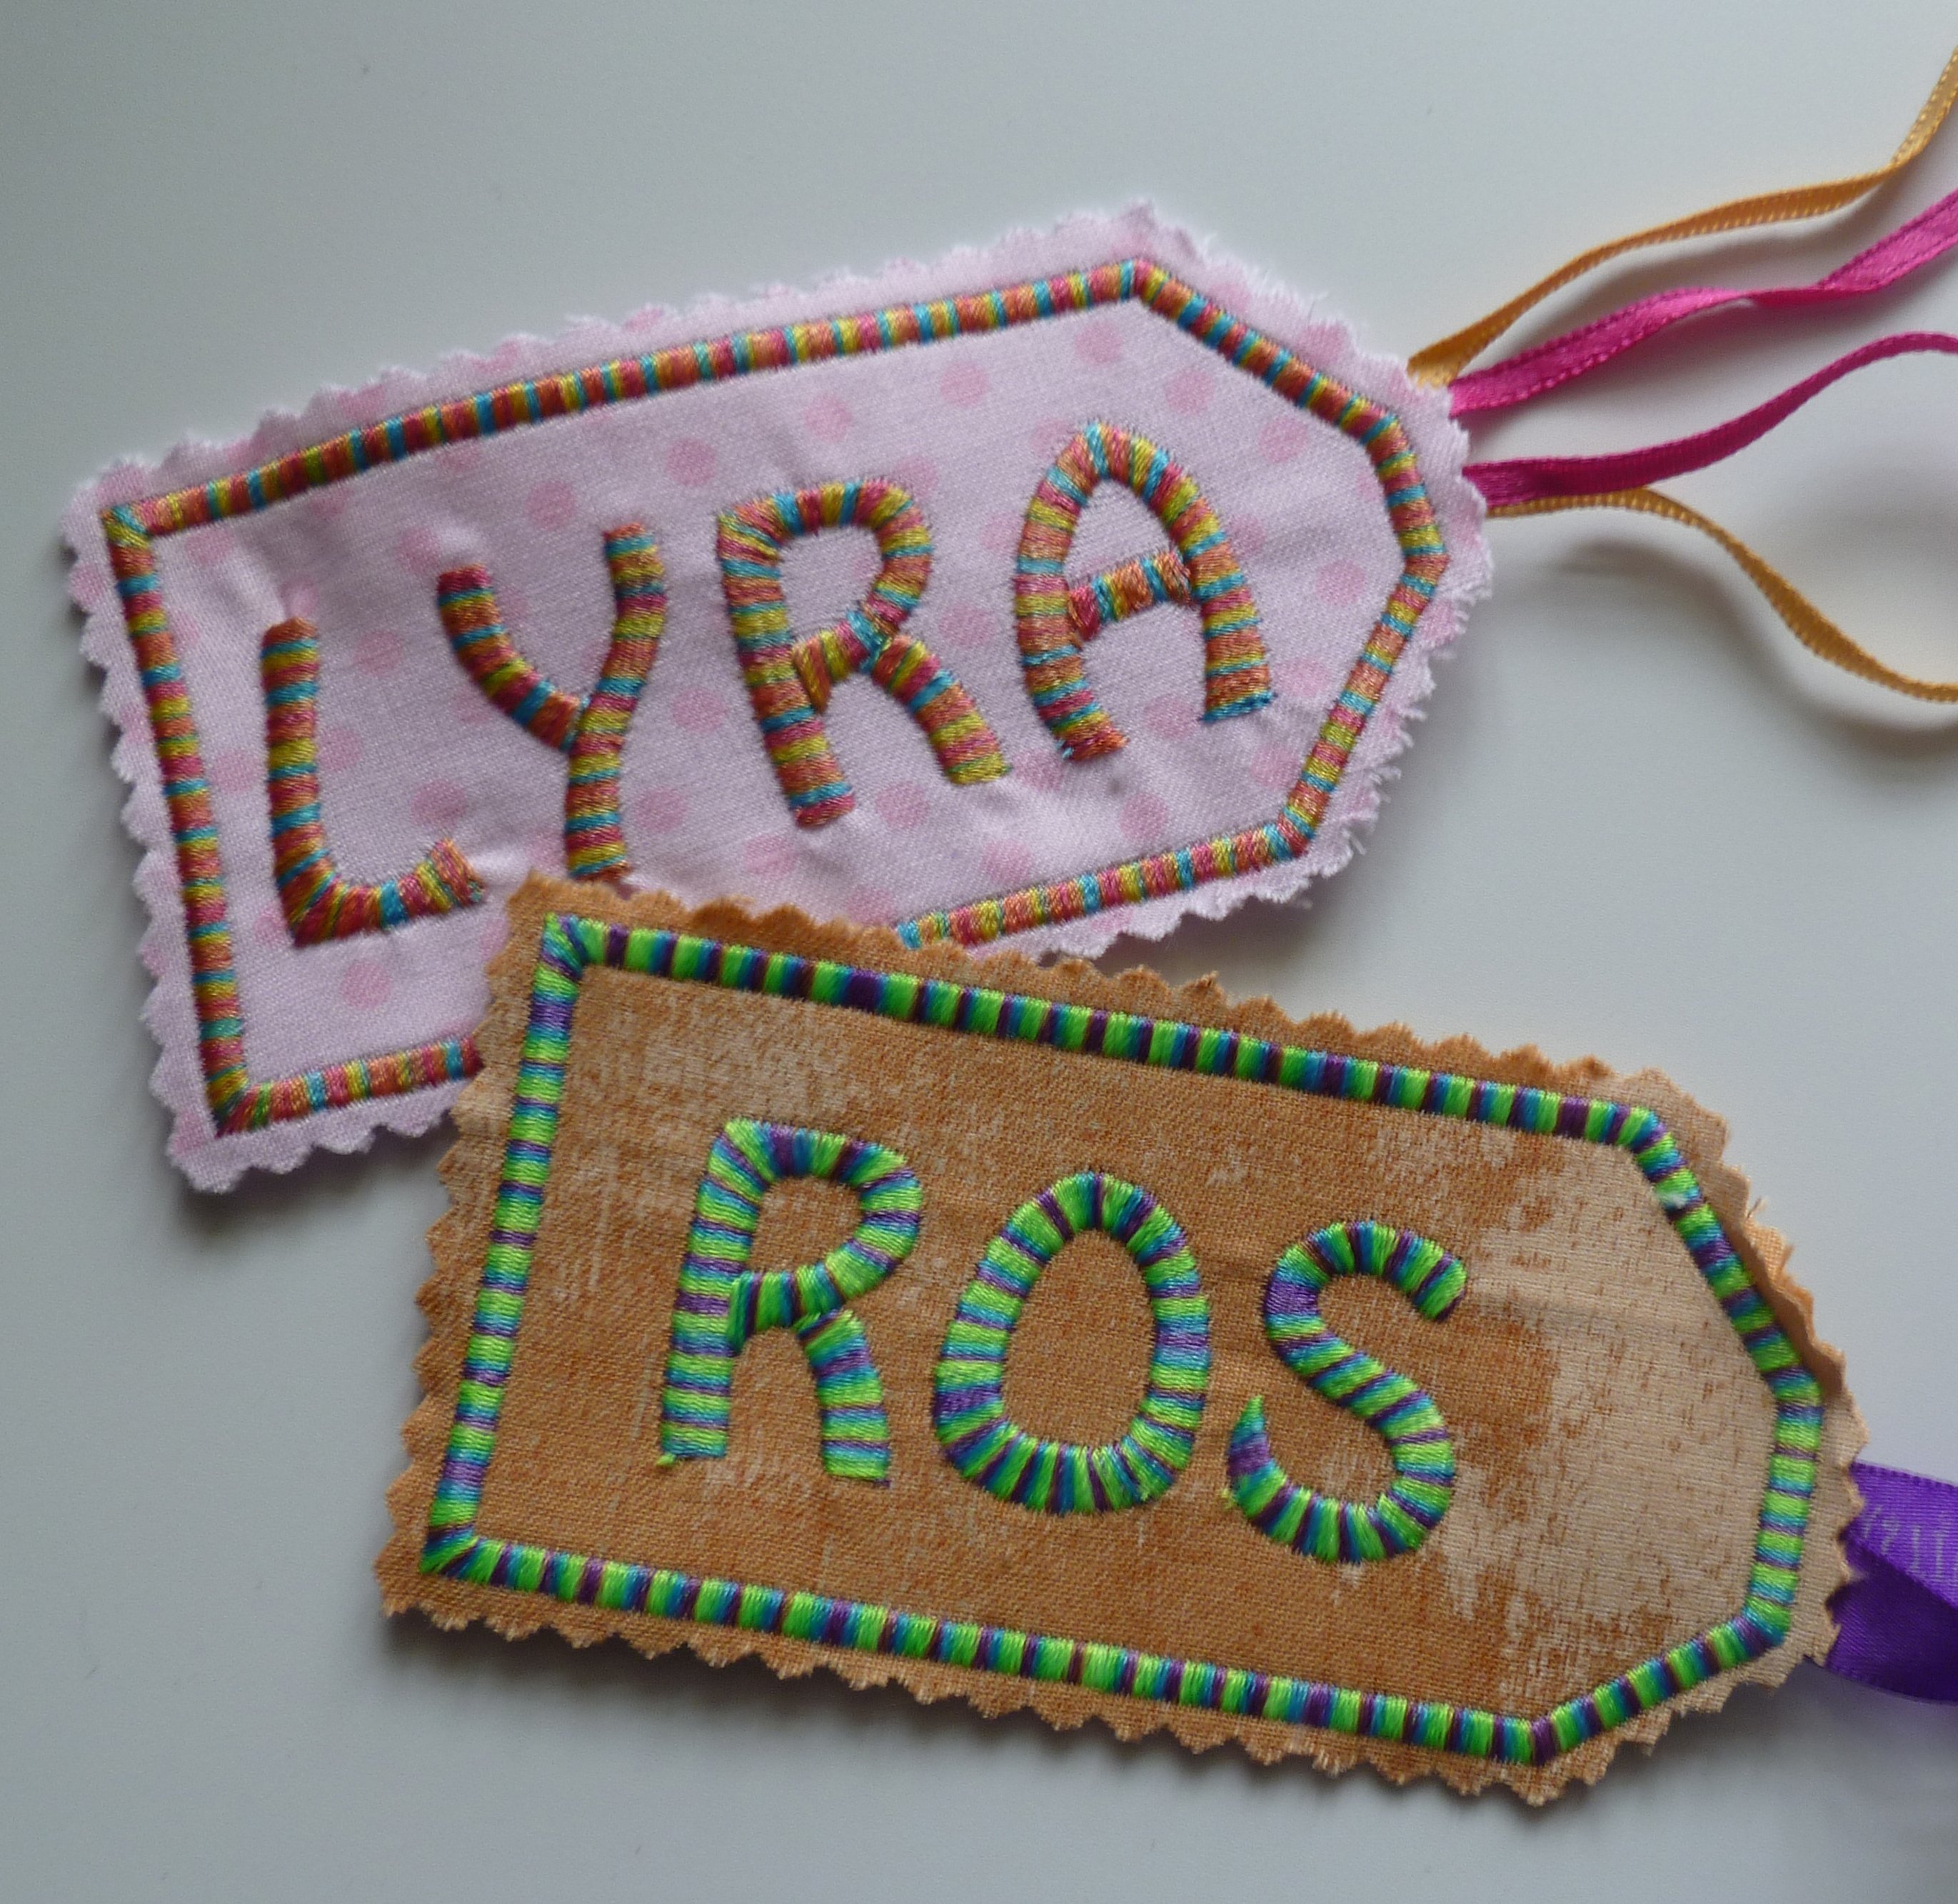
I forgot to add extra stabiliser on Lyra’s label
but a 4 year old is not fussy about a few puckers!
Pressing should help.

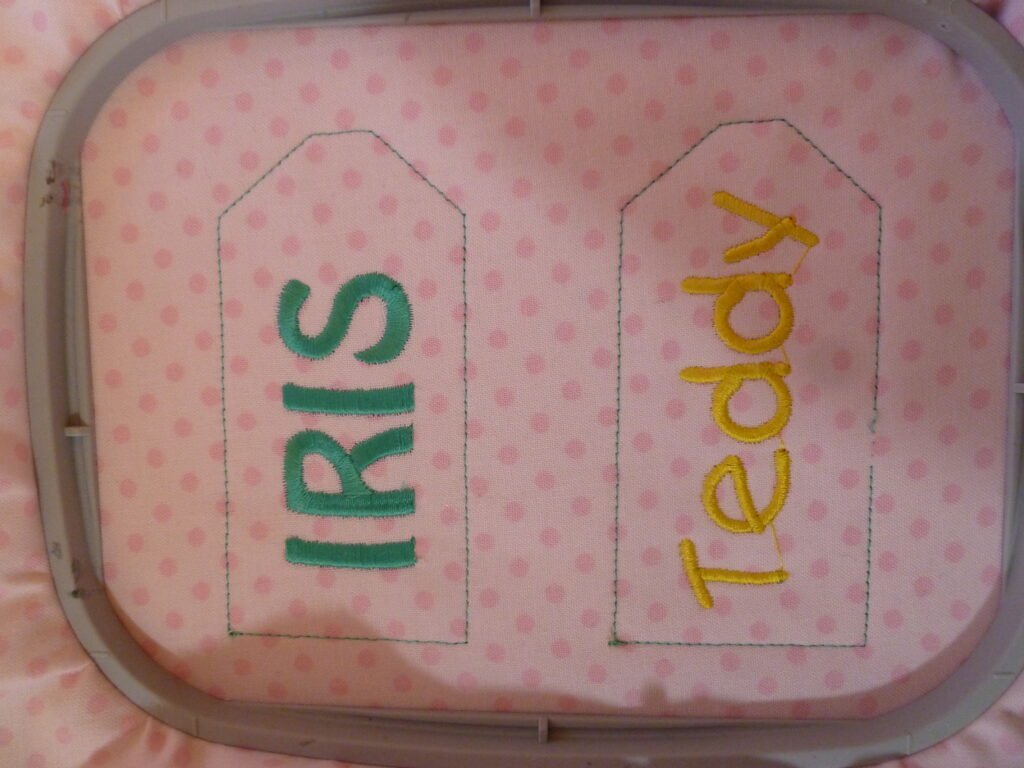
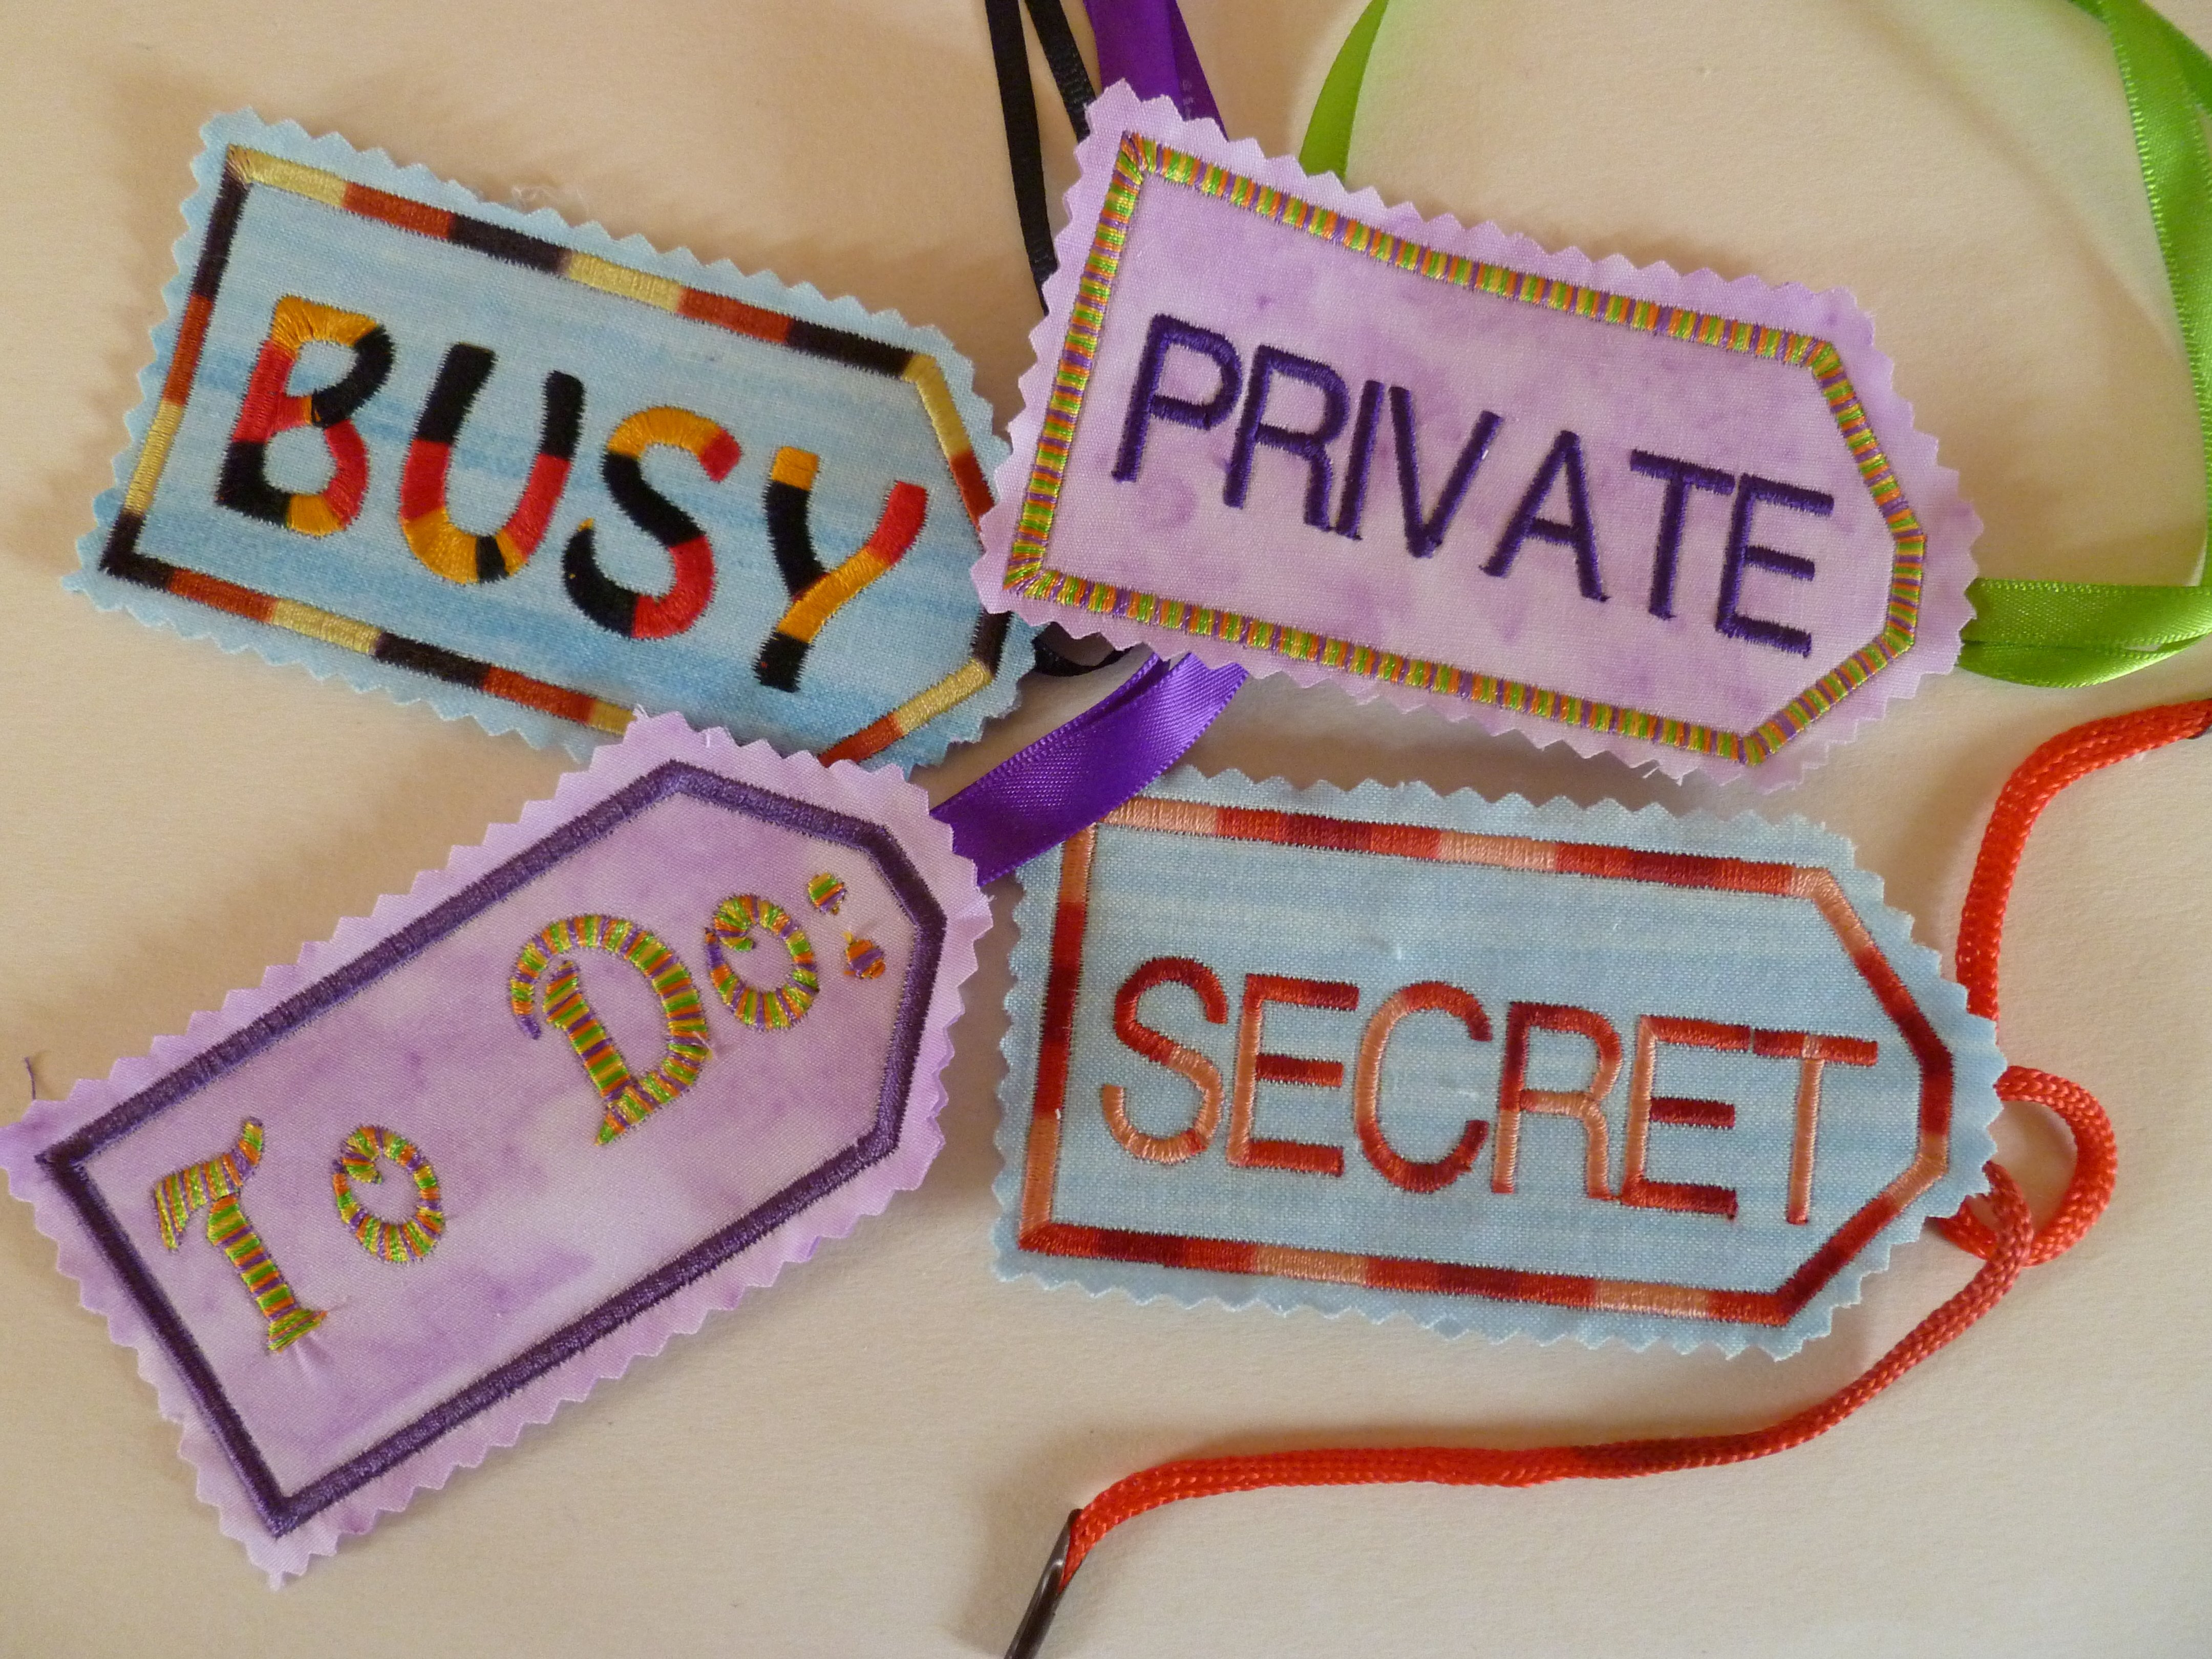
More labels were made at a later stage.
You can choose a vertical stitch out if you wish.
How we went about it:
- Digitise a label in the software to send to the machine.
I digitised a rectangle in Embroidery Canvas with a single stitch outline. Using the Reshape Tool I added two nodes to a short side and dragged them out to taper one end.
By right clicking and dragging I duplicated the outline. This duplicate was changed to a satin outline and the colour changed.
Both outlines were centred using the Align Centres option in the Arrange menu.
I used two colours even though I would stitch out with just one. This is to halt the stitching between each outline and allow the insertion of letters between the two steps.
There may be better ways to do this but I was thinking off the top of my head!
- Hoop up fabric with one layer of stabiliser.
It’s possible to fit 2 of my labels in the Bernina medium hoop but it’s easier to stitch one at a time when fabric choices are different and impatient children are waiting.
I added another couple of layers of stabiliser under the hoop once it was on the machine. This was to add some stiffness to the label. It would be possible to add felt, wadding, Lutradur or stiffer Vilene. The joy of tearaway stabiliser is that it tears away easily from the outline (and I had a pile of it to hand).
- Set up embroidery machine.
Thread up with chosen yarn. We liked the variegated threads that resulted in stripy stitch-outs. Use same or toning thread in the bobbin.
Open the label design file from the memory stick.
Place hoop and any additional stabiliser on the machine.
- Add Name
Insert a name layer to the label by selecting the + sign on the screen
Choose a font from the alphabet file in machine embroidery motifs.
Enter letters for your chosen name and tick when done.
Adjust size and position so it sits within the label outline nicely.
It is also possible to stretch the text in one direction on my machine.
- Stitch out
Make sure this is done in the correct order by scrolling through the colours where necessary. You will need to remove the hoop from the machine before the satin outline in order to add a backing and ribbon. Although the hoop will be off the machine the fabric must remain hooped.
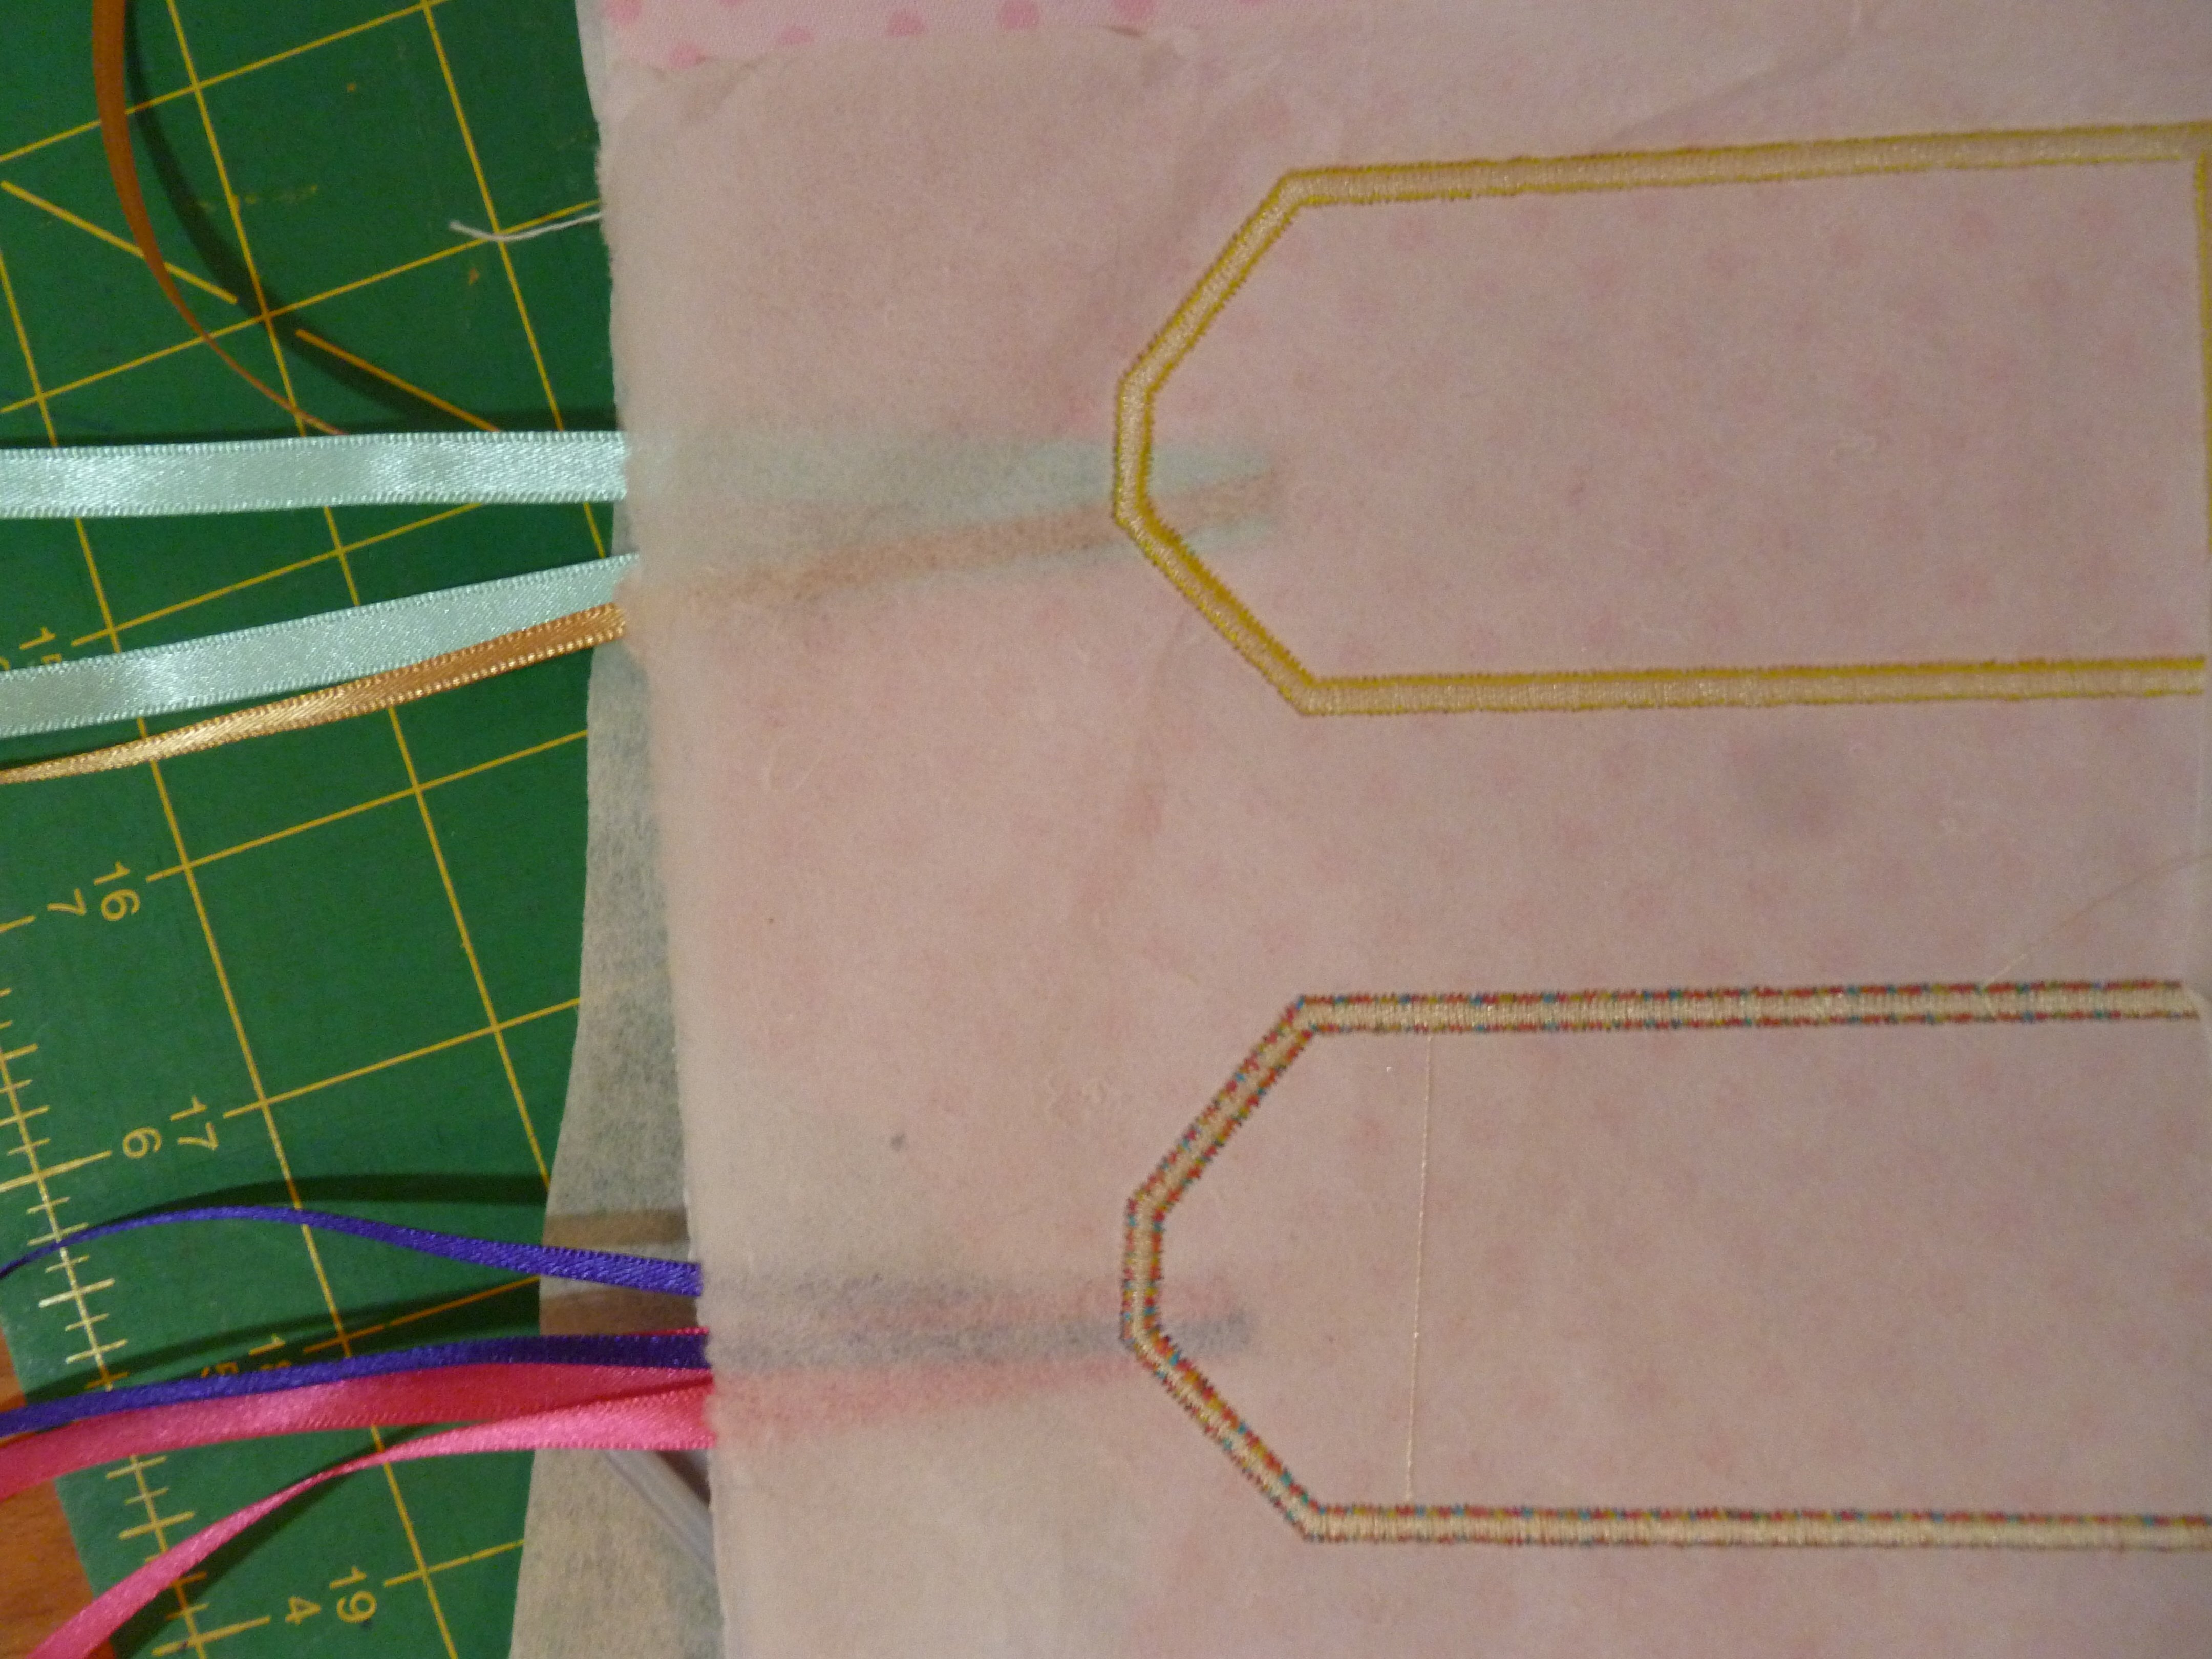
- Stitch single outline of label
- Stitch the name
- Remove hoop from machine to add backing and ribbon (see below)*
- Re-attach hoop
- Stitch satin outline of the label. This will stitch down the backing and ribbon too.
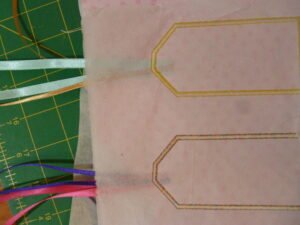

*Adding the backing and ribbon
Once the name is stitched a backing can be added. It’s important to make sure the fabric in the hoop is not dislodged during this process.
Spray-fix a piece of backing fabric onto the back of the hooped design. It should be a little larger than the label. If your fabric is thin and you don’t wish to see the back of the embroidery through it, add another layer of stabiliser first.
Fold a length of ribbon in half and position the folded section behind the label so it will catch in the satin outline. Holding the hoop up to a light or window helps with placement. I used a dab of glue to hold the ribbon in place. It can be fiddly to keep it in place when re-attaching the hoop so I layered another piece of stabiliser behind everything to help hold it in position. Check the backing fabric stays flat too.
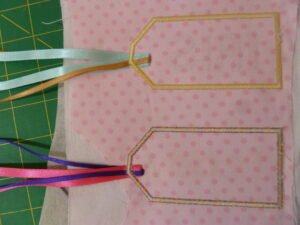
- Finishing
Remove hoop and pull away stabiliser from outside the satin stitch.
Trim around label with pinking shears. Take care not to cut the ribbon.
 Although this project wasn’t planned, it turned out to be a fun, quick make and the children were pleased with the outcomes. Labels can be put to good use in many ways. They can hang on door/drawer handles and bags, as well as labelling gifts, storage and toys.
 With more thought I’m sure these labels could be enhanced. What might you do for a sophisticated or fancier look?
If you have the Embroidery software you can digitise the whole label on the computer, but this time the children wanted a go on the machine instead of the computer. I was pleased to find a good assortment of fonts in the machine.


I love these little labels so cute, but then people that work for Bernina always have such wonderful ideas thank you.