 BERNINA Corporate Blog -
![IMG_7334[1]](https://blog.bernina.com/en/wp-content/uploads/sites/4/2016/06/IMG_73341.png "IMG_7334[1]")
Description
I know it was just a little sneak peak that I gave you all in my Introductory post – so as I am now back in Internet range I can … finally … show you what I’ve been making! Life on the road as The Sewing Gypsy … often has no internet perception for weeks!!
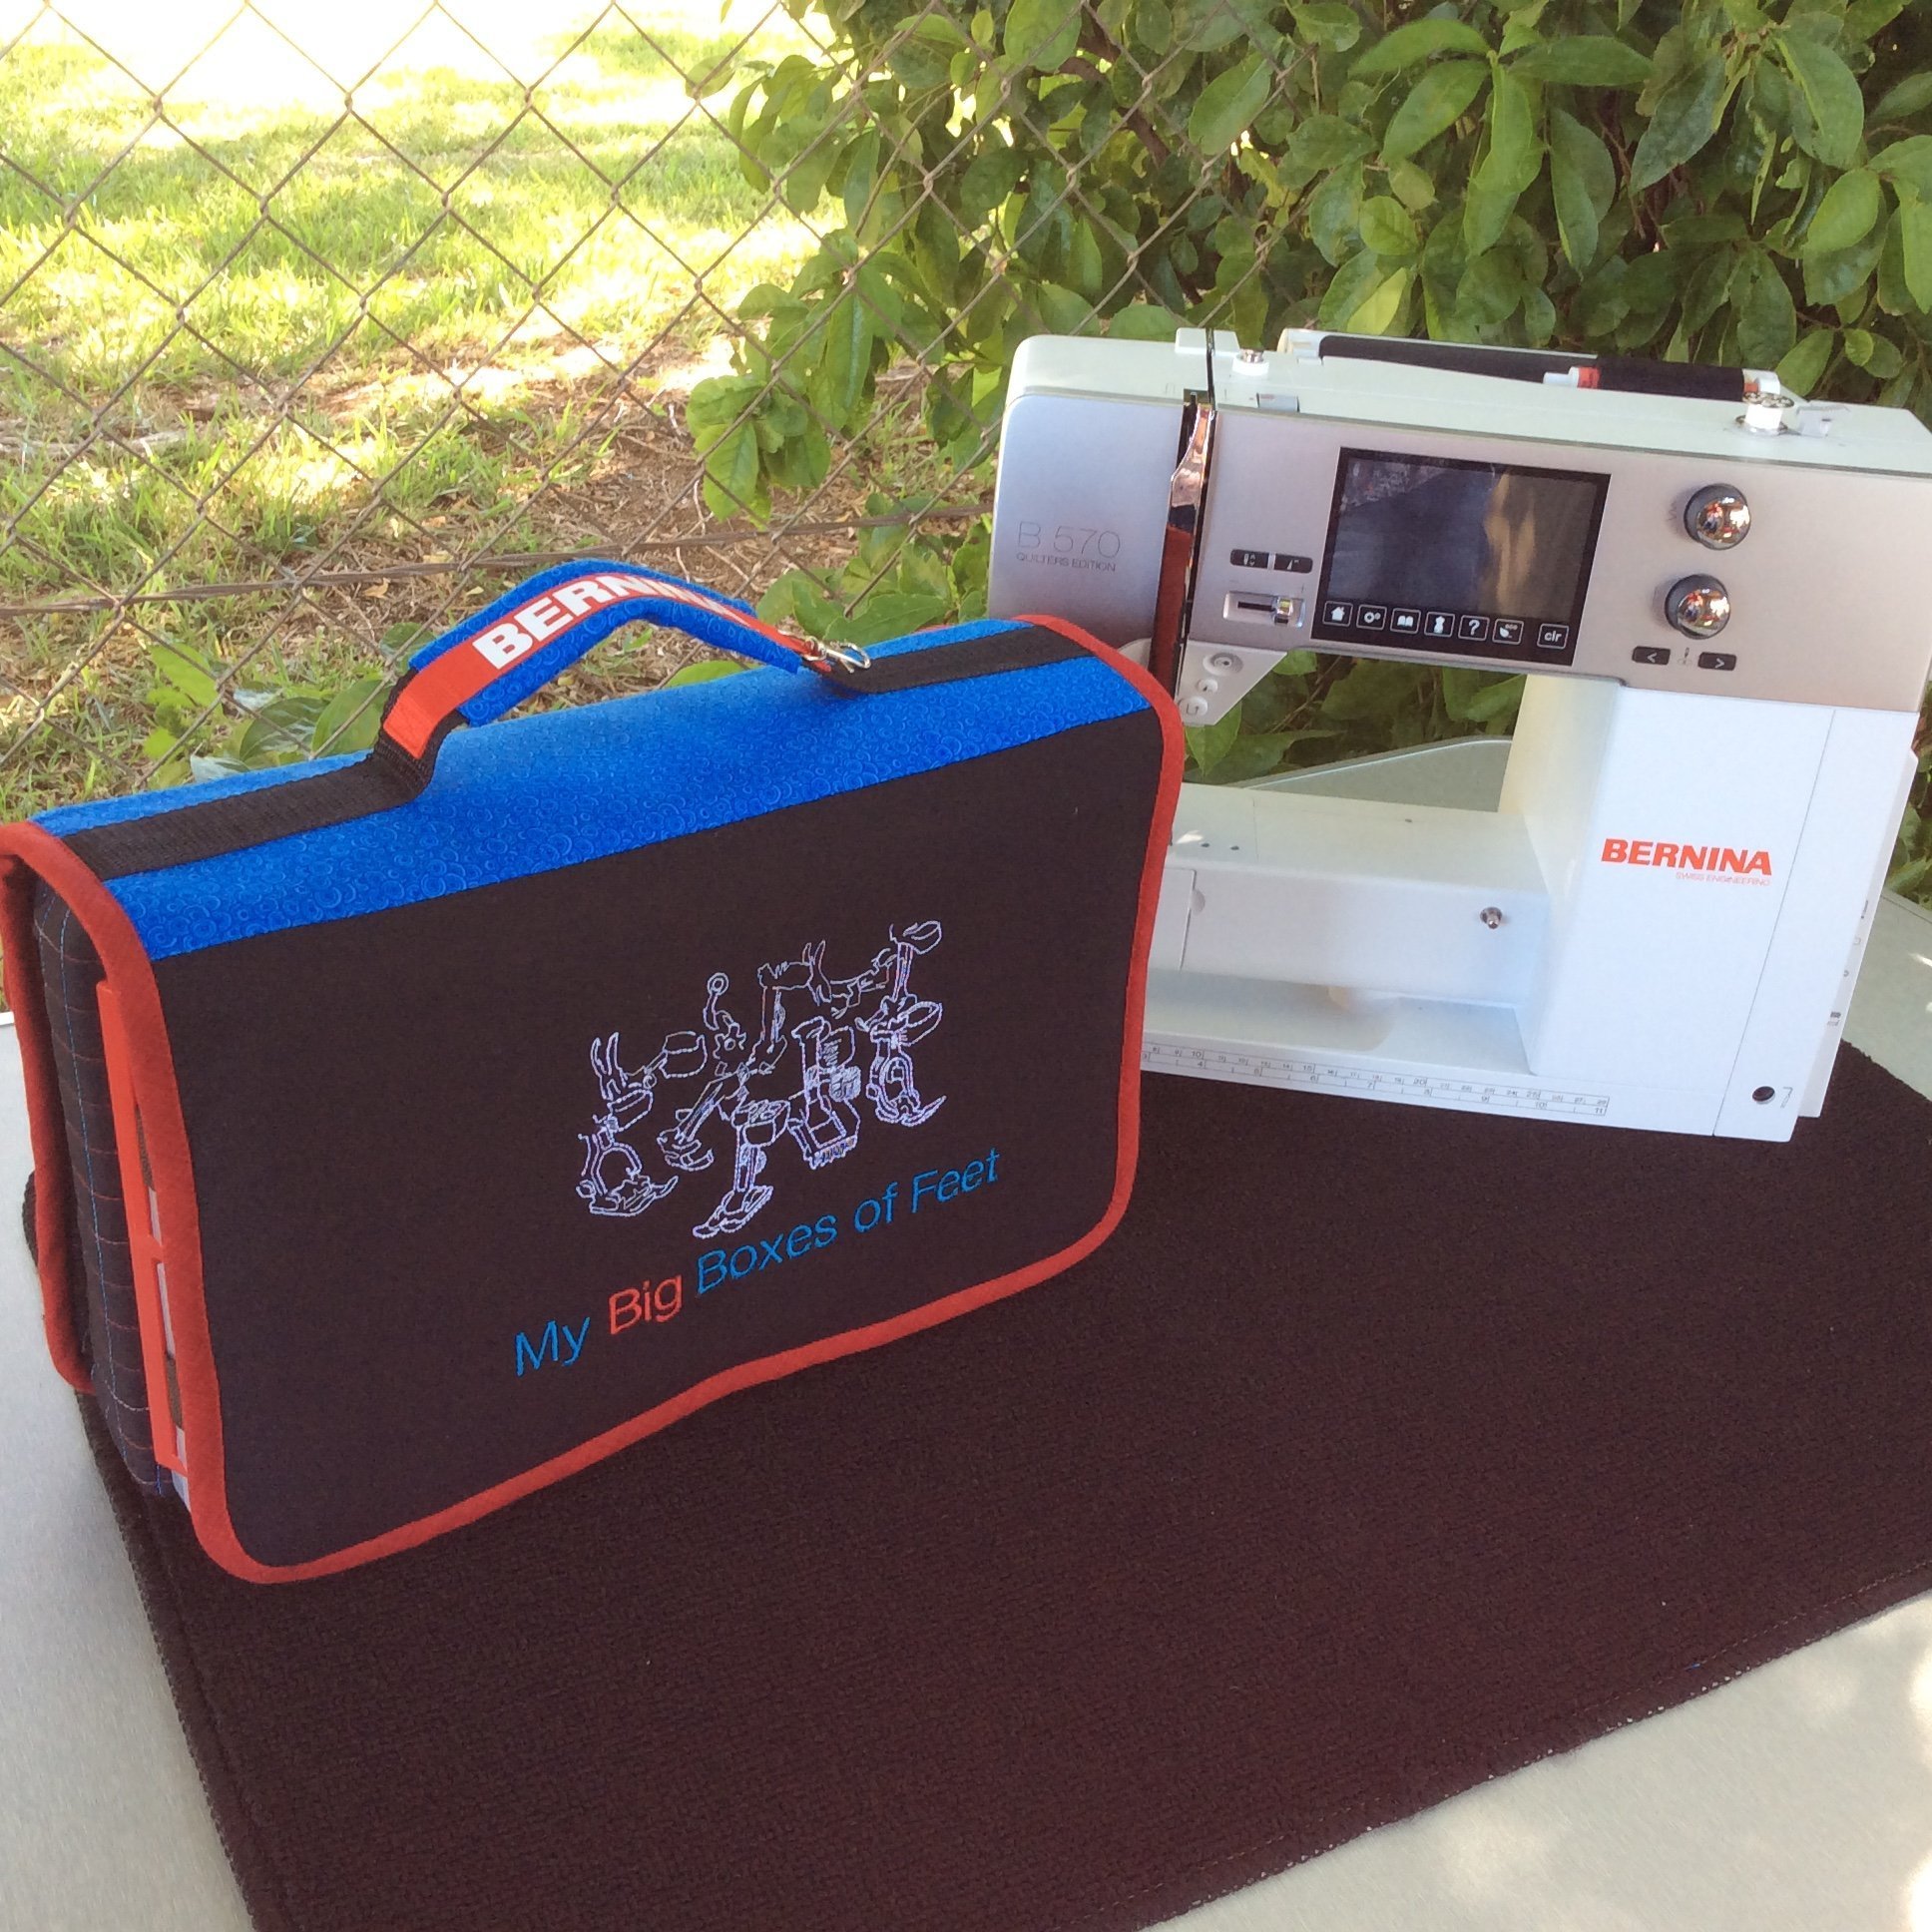

I previously stored all my extra Bernina sewing machine feet (and overlocker ones too!) in two Bernina ‘Doctor’ style bags … sadly these are no longer available in Australia …

My Beloved Accessory Cases
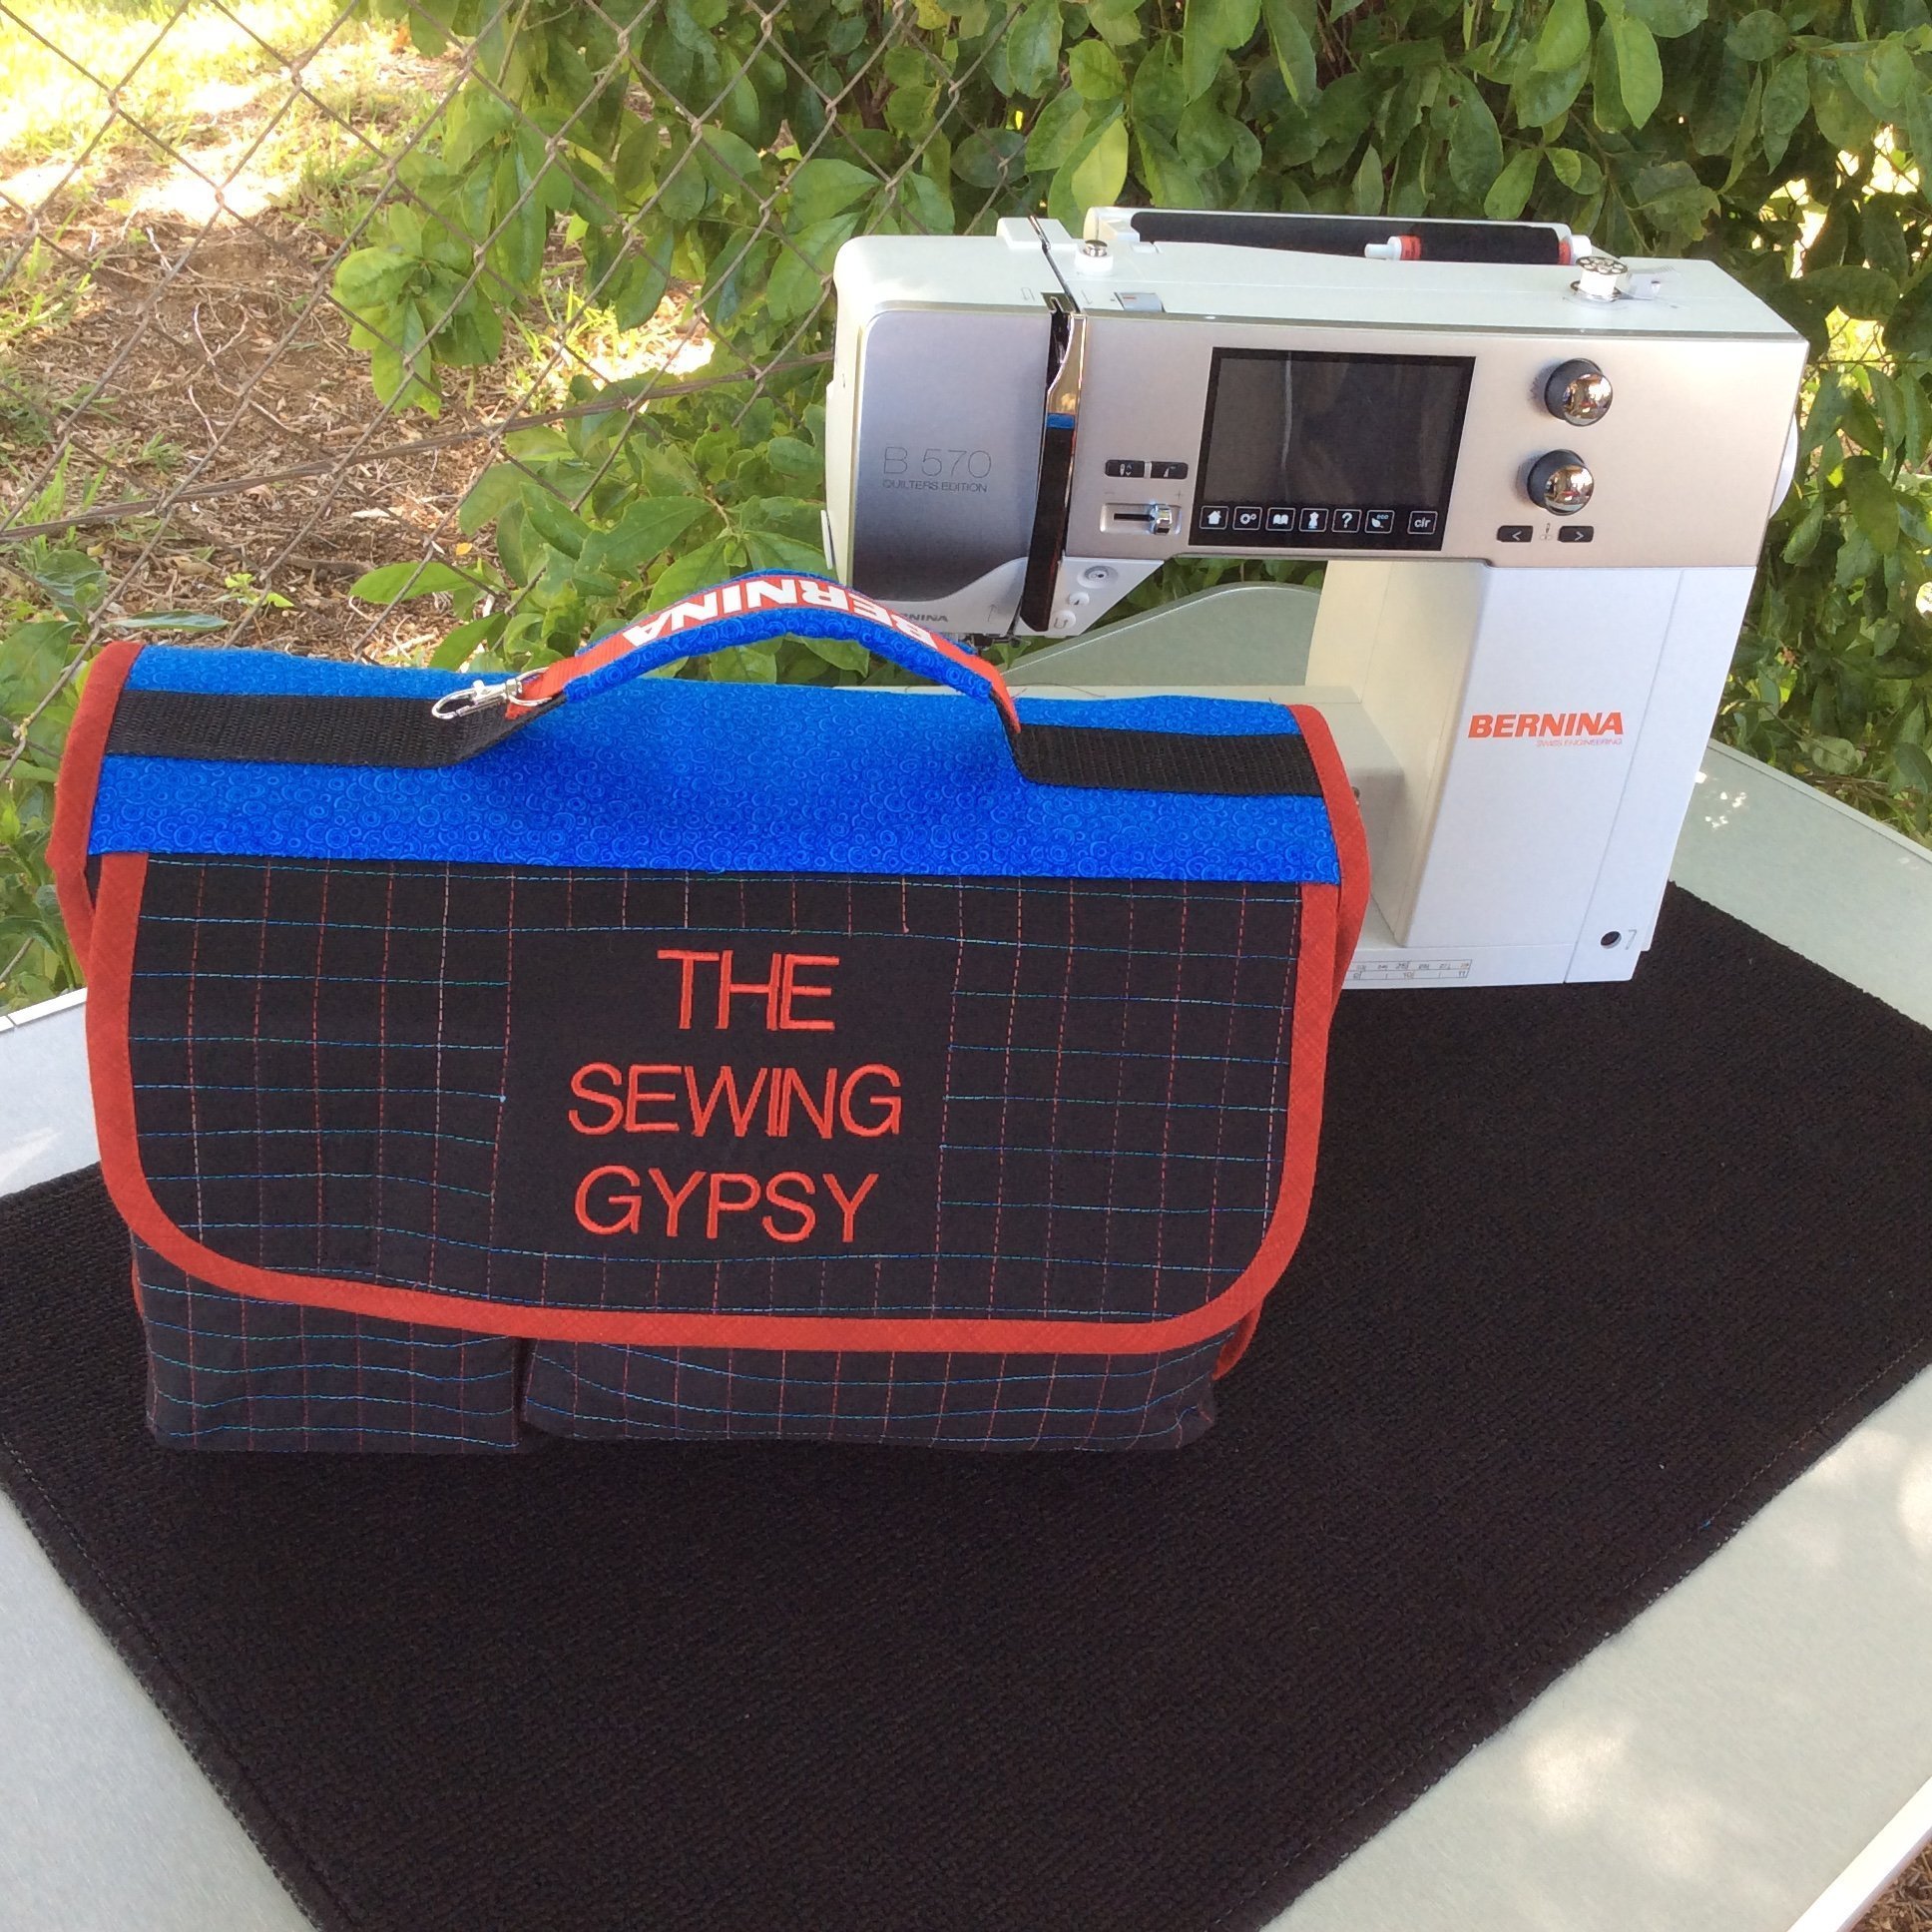
and every time I have them out when I teach, someone asks where they can get one … solution … make your own Accessory/Foot Storage Case! Embroidery your name on it too!! I recently purchased the Bernina Embroidery Collection #82014 and couldn’t wait to use some of these fabulous designs. I am a true Bernina Devotee, passionate about EVERYTHING Bernina – so having my own embroidery files that had the Logo, different models (old and new), and many others including a fab design with just feet!!! … used that one on the front … and called my project … My Big Boxes of Feet … a little play on my latest book my Son David, sent me from California as a gift … ‘The Big Book of Feet’ … how good is this book!!
My Bernina B570QEE ‘Bridget’ – sewed every part of this project like a dream!! I am so used to sewing on my 8 Series Bernina – so set her to task and really gave her an awesome workout – thank you Bernina for the amazing, powerful DC motor these 5 series machines have – when I was adding the final stages of the binding, I was sewing through 10 layers of fabric, 2 layers of Pellon H640 and a layer of bag style wadding!!! (And had a Bernina Size 80 Jeans needle in!!) Truly amazing!!
Part One – Embroidery and Quilting
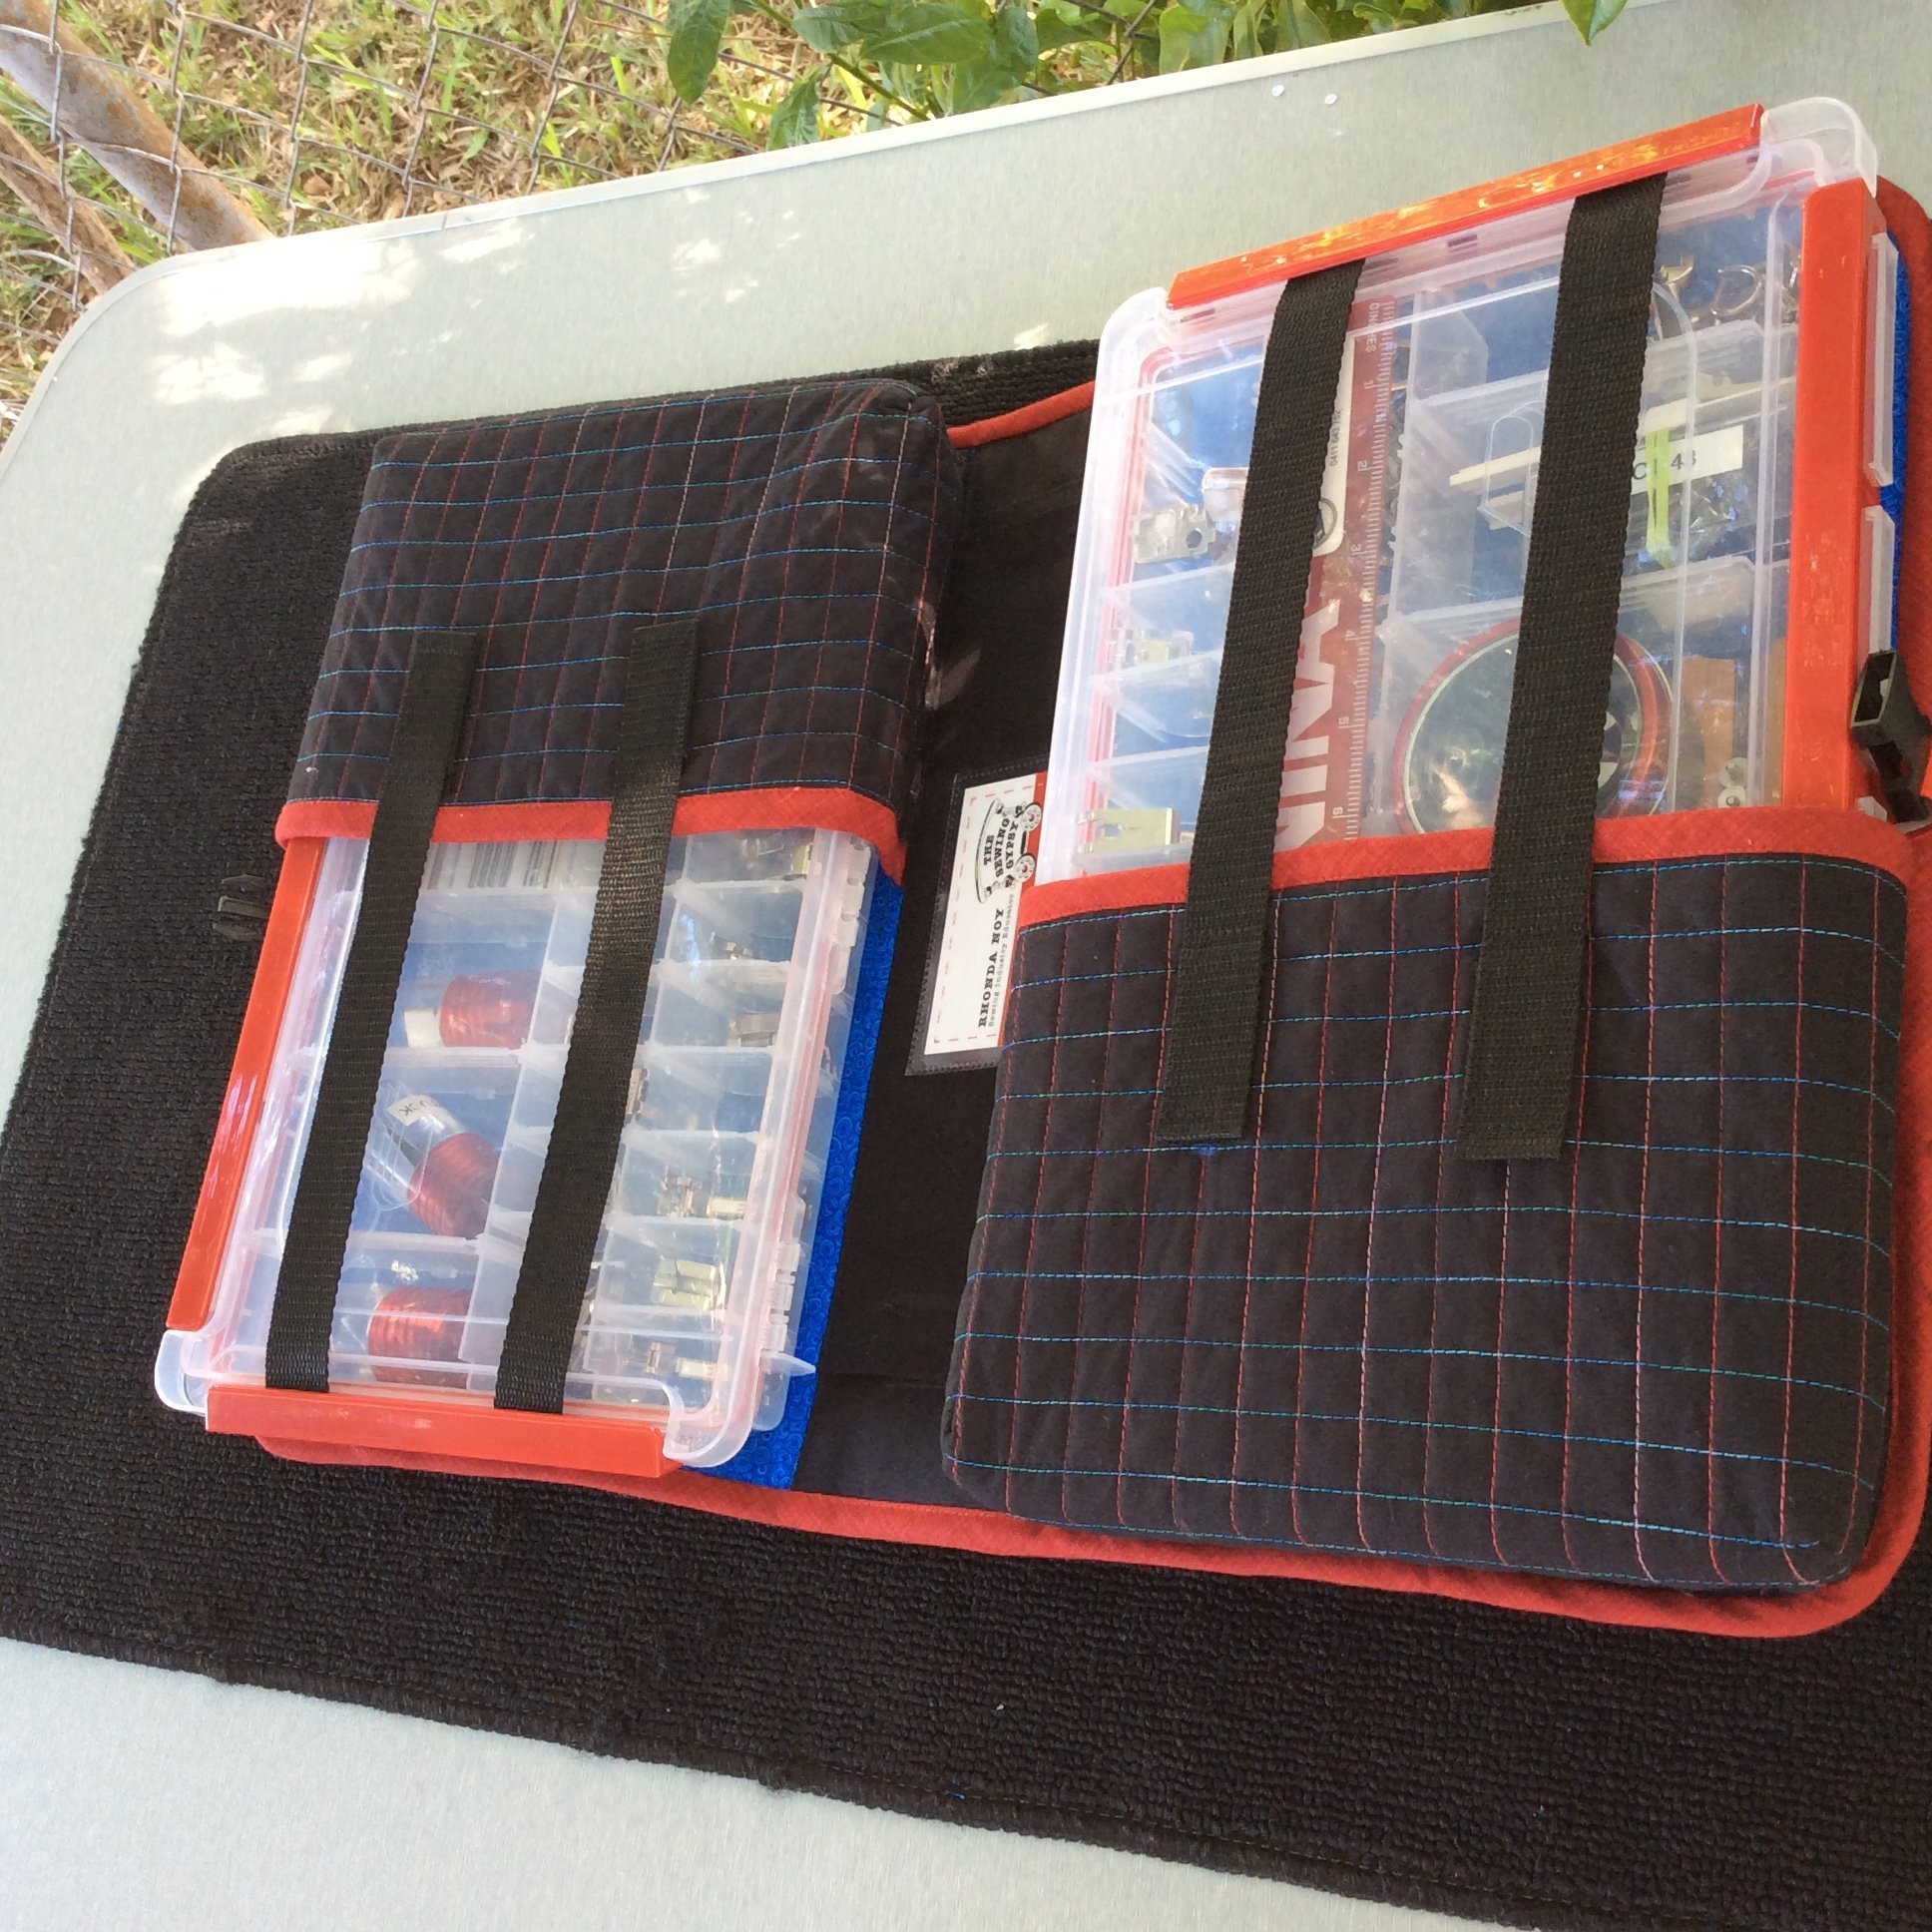
For this project I bought myself two ‘fishing tackle style’ storage boxes that had removable dividers … and lovely red handles – to keep them all secure! (It is my favourite colour!) … Plano Brand … Style # 3740 Stowaway Tackle Tray … ahhh the benefits of having my Fish Whisperer partner Joe, who loves to shop!! … and I guess you could use other types/brands, but the full directions/measurements that will be available after Part 4 of this project, will be based on this model storage tray. (The PDF File will appear on the Bernina Australia Project pages at the end of Part 4)
Feet used in this project …
#1 Reverse Pattern Foot
#10 Edgestitch Foot
#26 Embroidery Foot
#37 Patchwork Foot
#38 Piping Foot
#50 Walking Foot
(If you have a Bernina machine with a 9mm wide stitch width, use the C versions of these feet … #1C, #10C, #97C, and if you have the marvellous Dual Feed system, use D versions of these feet … #1D, #10D, #97D)
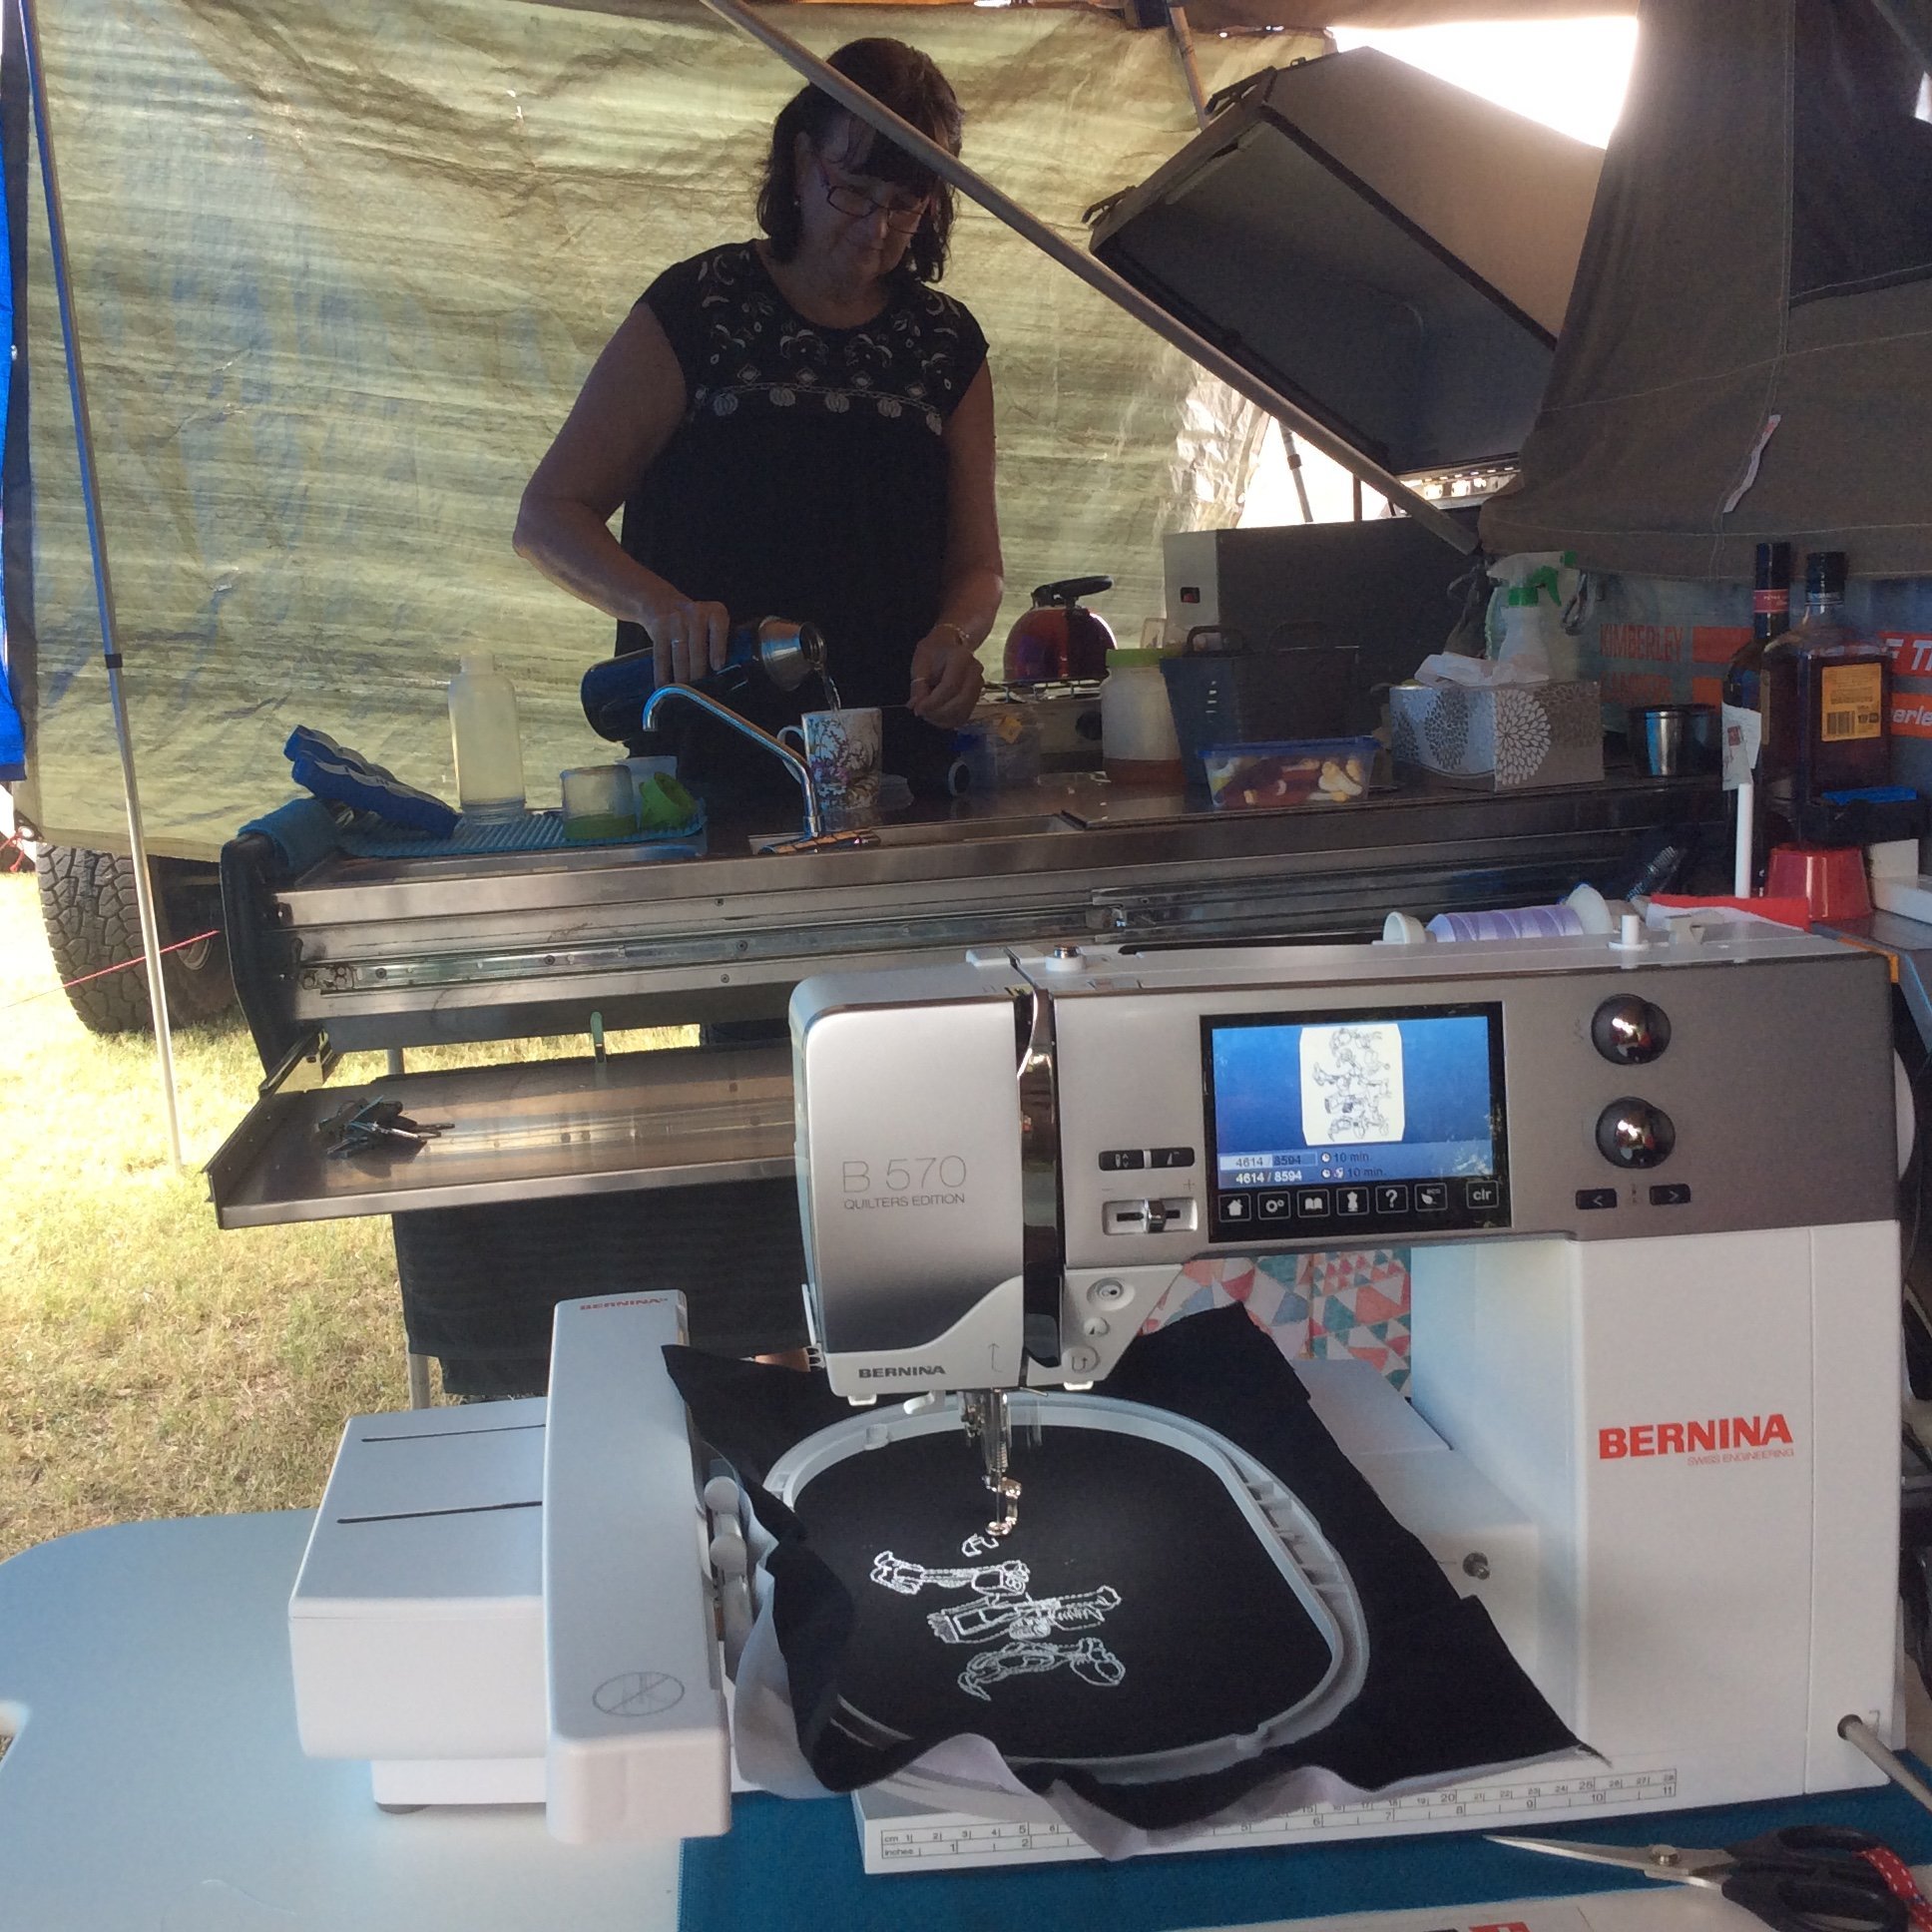
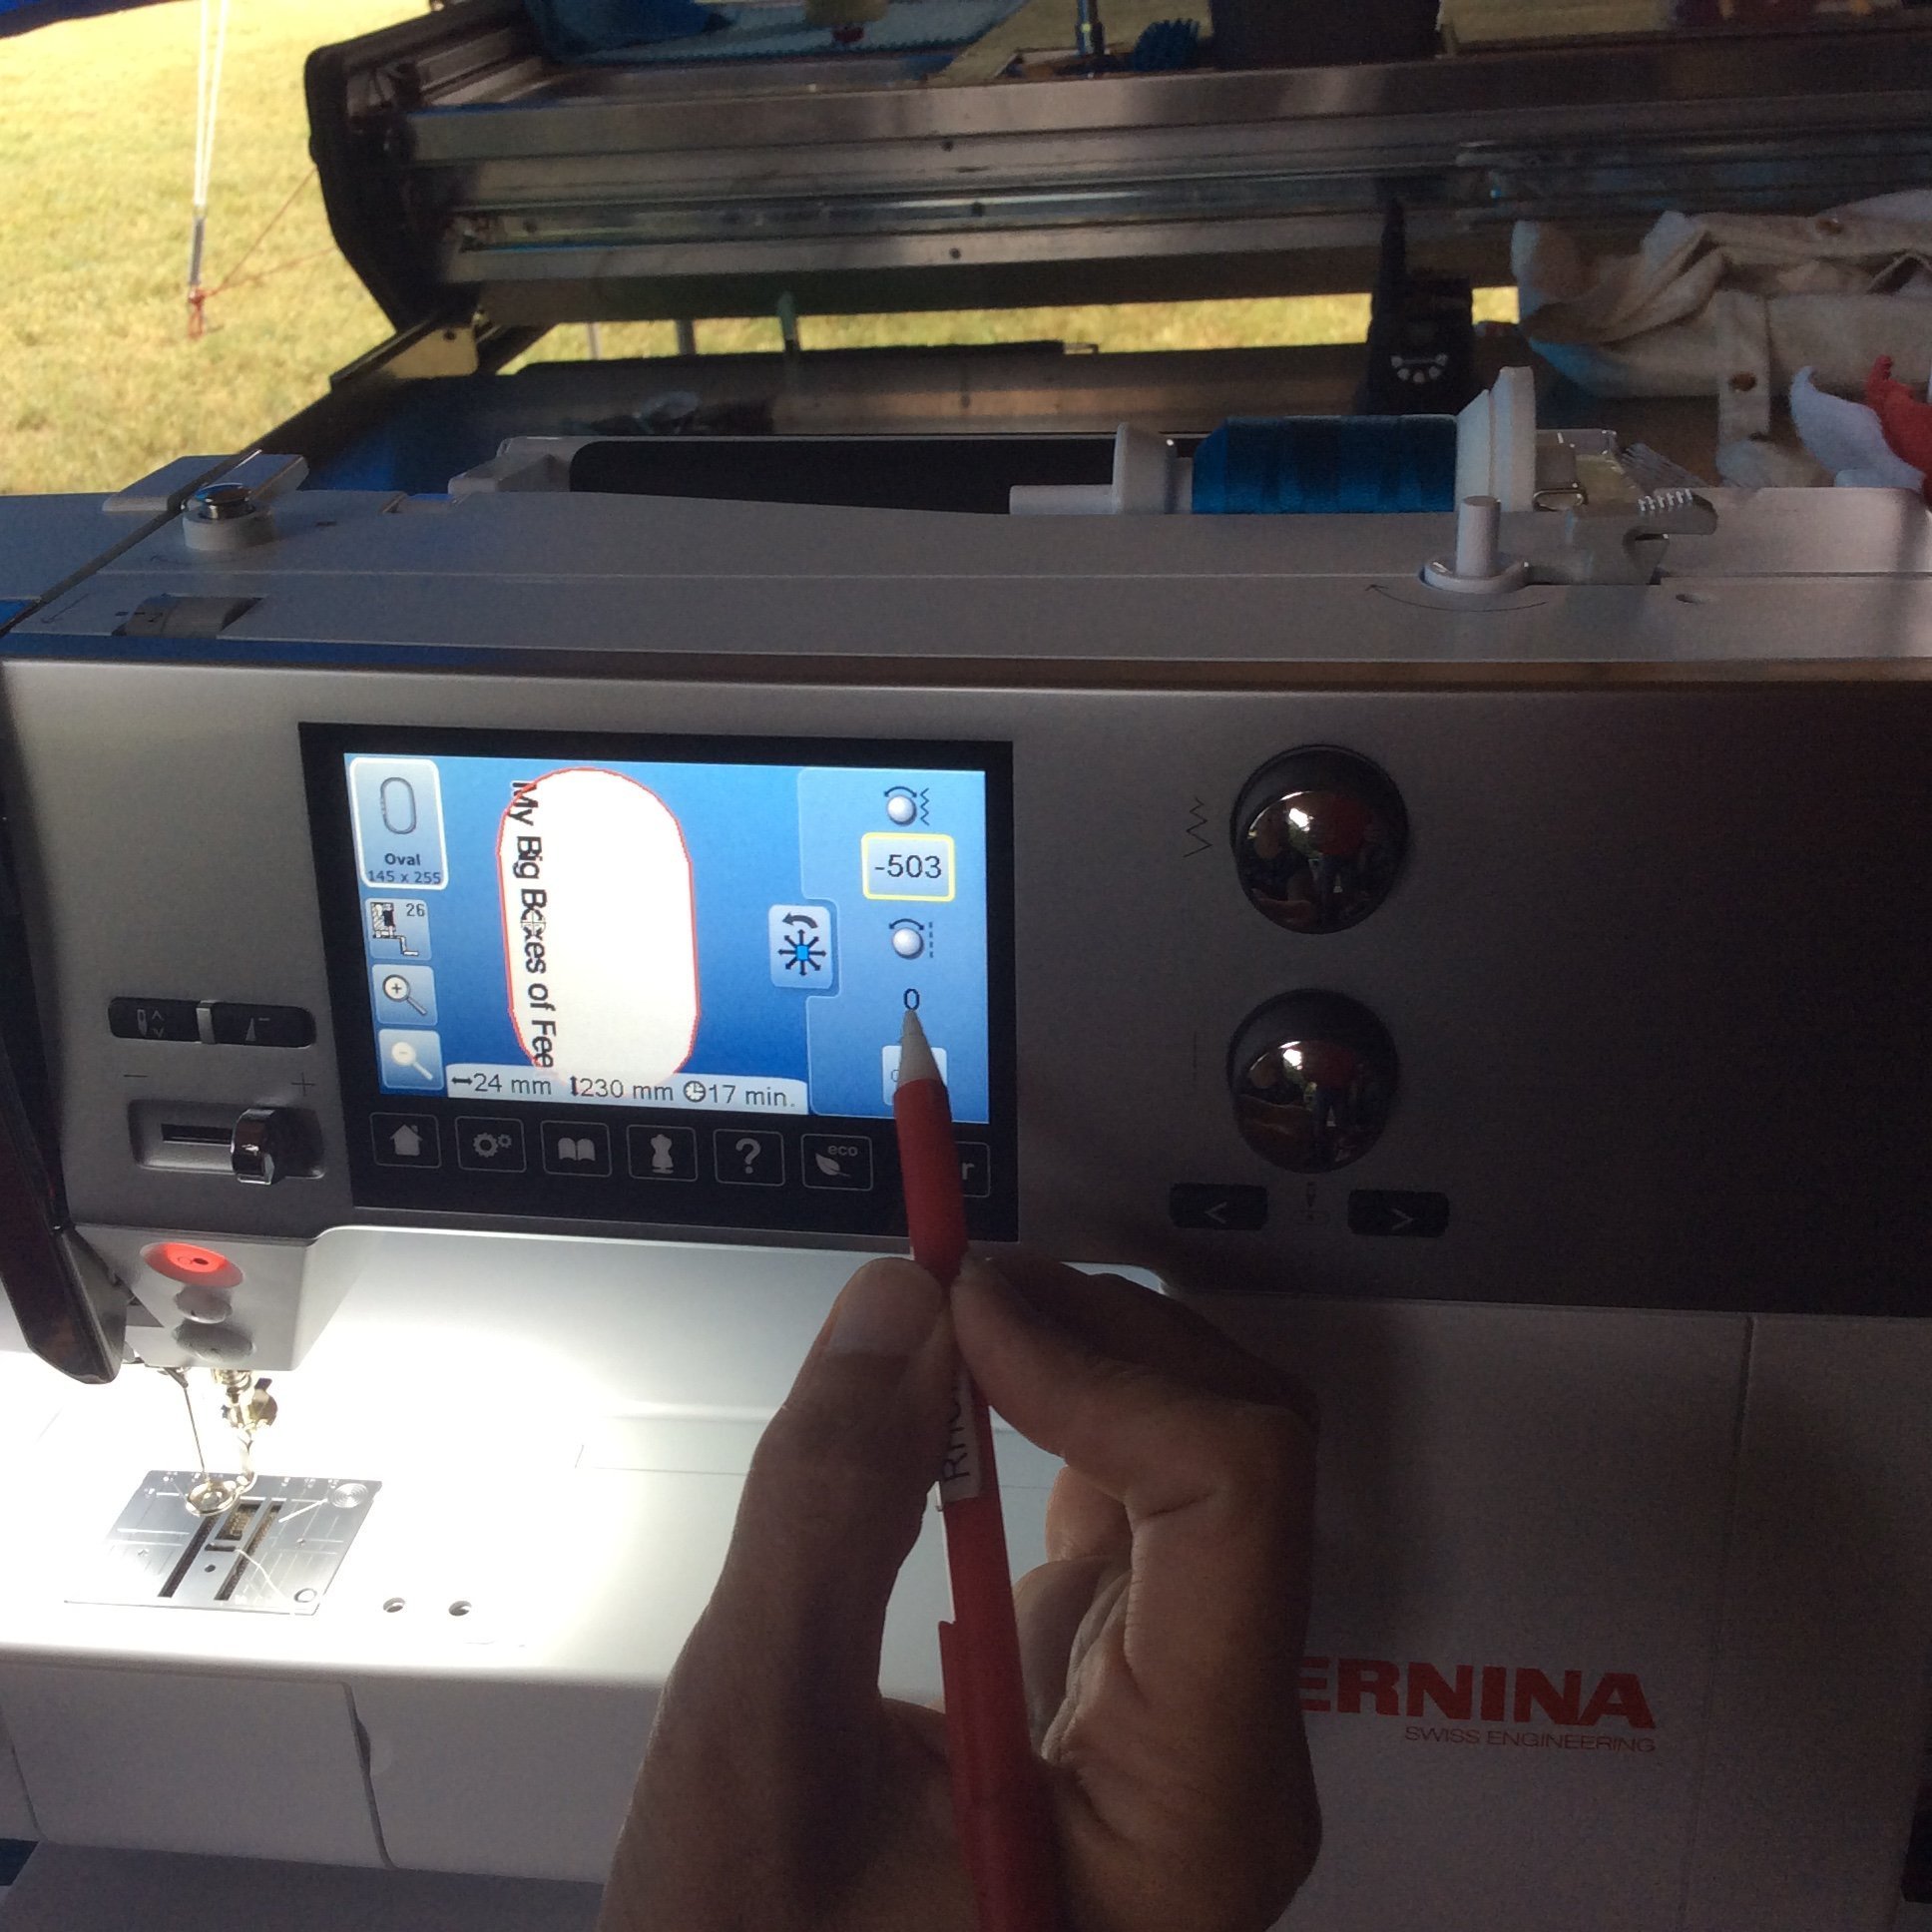
I set up my B570QEE with the embroidery module, chose the design for the front in EXP format on the USB Design #20 – selected the Oval Hoop, rotated the design 90 degrees and resized it to 130% of the original size … then saved it into the machine folder. I usually do this so that if I want to repeat the design, it is already resized etc, ready to stitch out.

I hooped up the black fabric, making sure to drop my inner hoop just that little bit to get a great finish (as well as using the hole on the finger of the bobbin case!) moved the design to the far right of the hoop, so that there was room to stitch out “My Big Boxes of Feet” underneath later. Stitching time 15 mins. I went and made myself a cup of tea, whilst she embroidered the design. (Yes, I’m outdoors, so a flask is the way to go for the day!)
I clip all my jump stitches whilst the embroidery is still hooped – a little easier getting my fine point trimmers under the threads 🙂 …

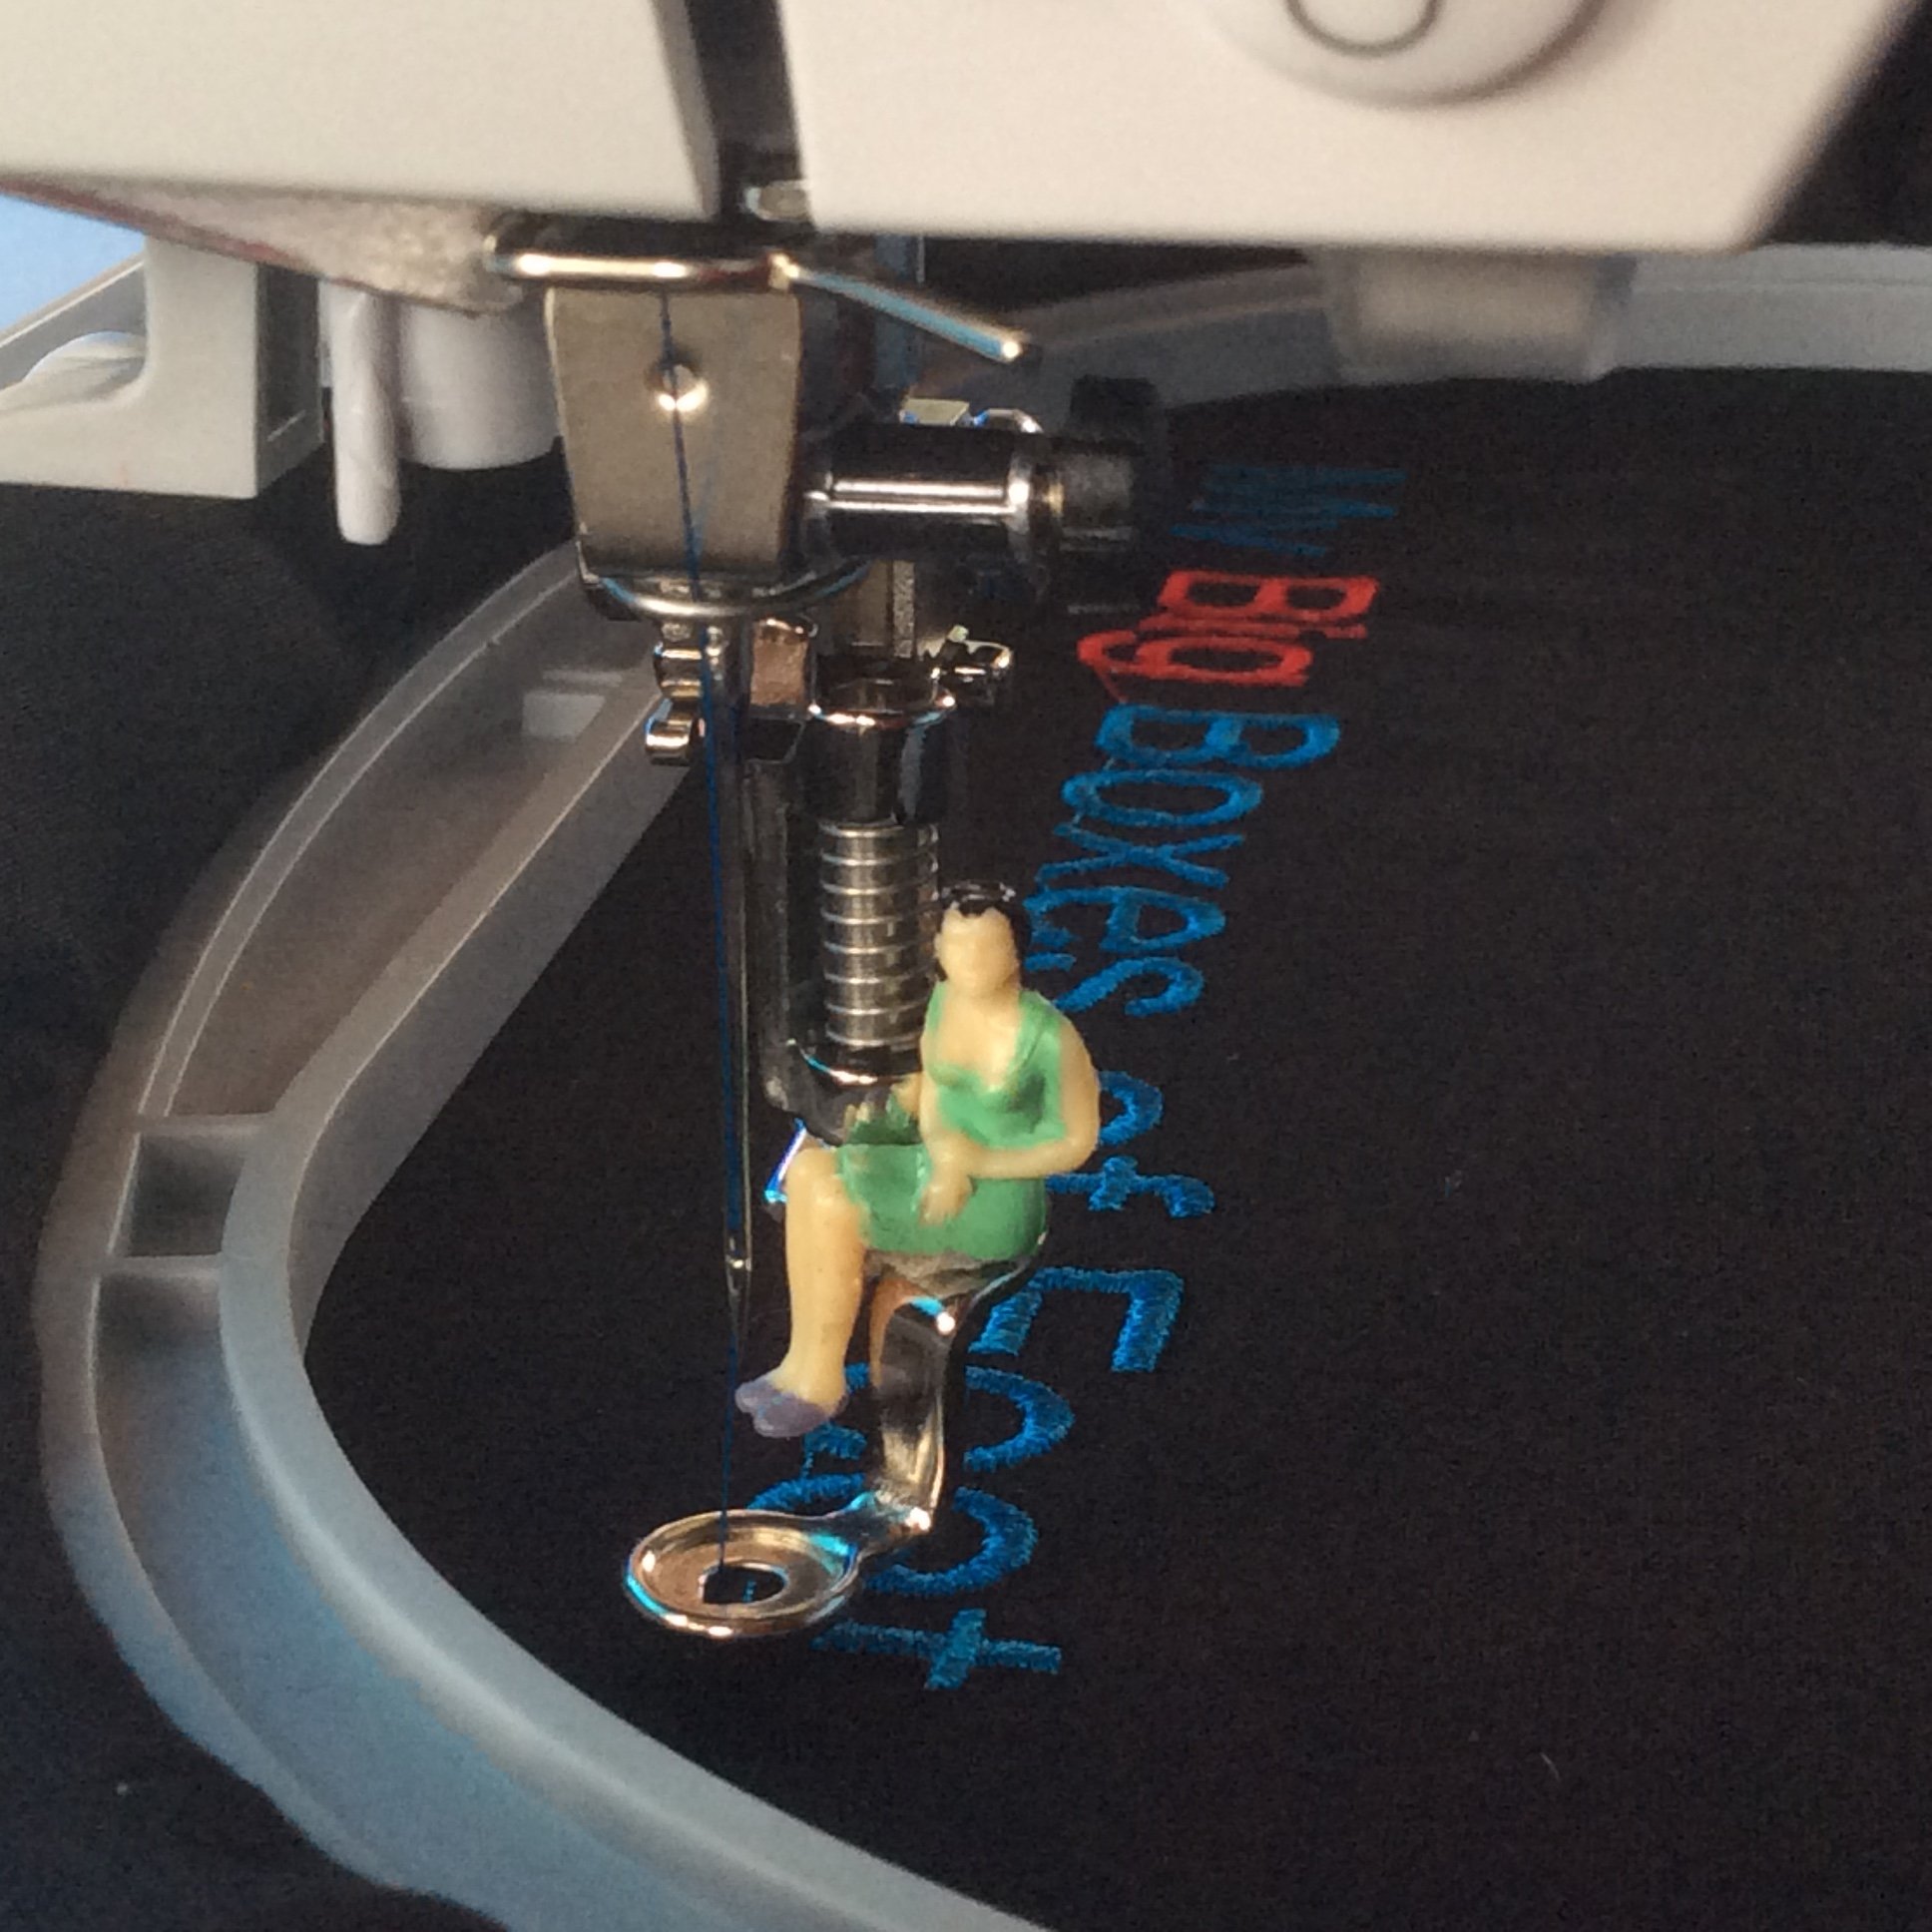
Next I brought in ‘My Big Boxes of Feet’ from the Alphabet side of the embroidery designs, moved them to the far left hand side of the hoop and actually resized them to 60% … I know much smaller than Id usually use without my software – but did push her to the limit!!
Hooped up again, but sat with her this time as I wanted to have two different colours in this one … oh what perfect pretty stitches!!
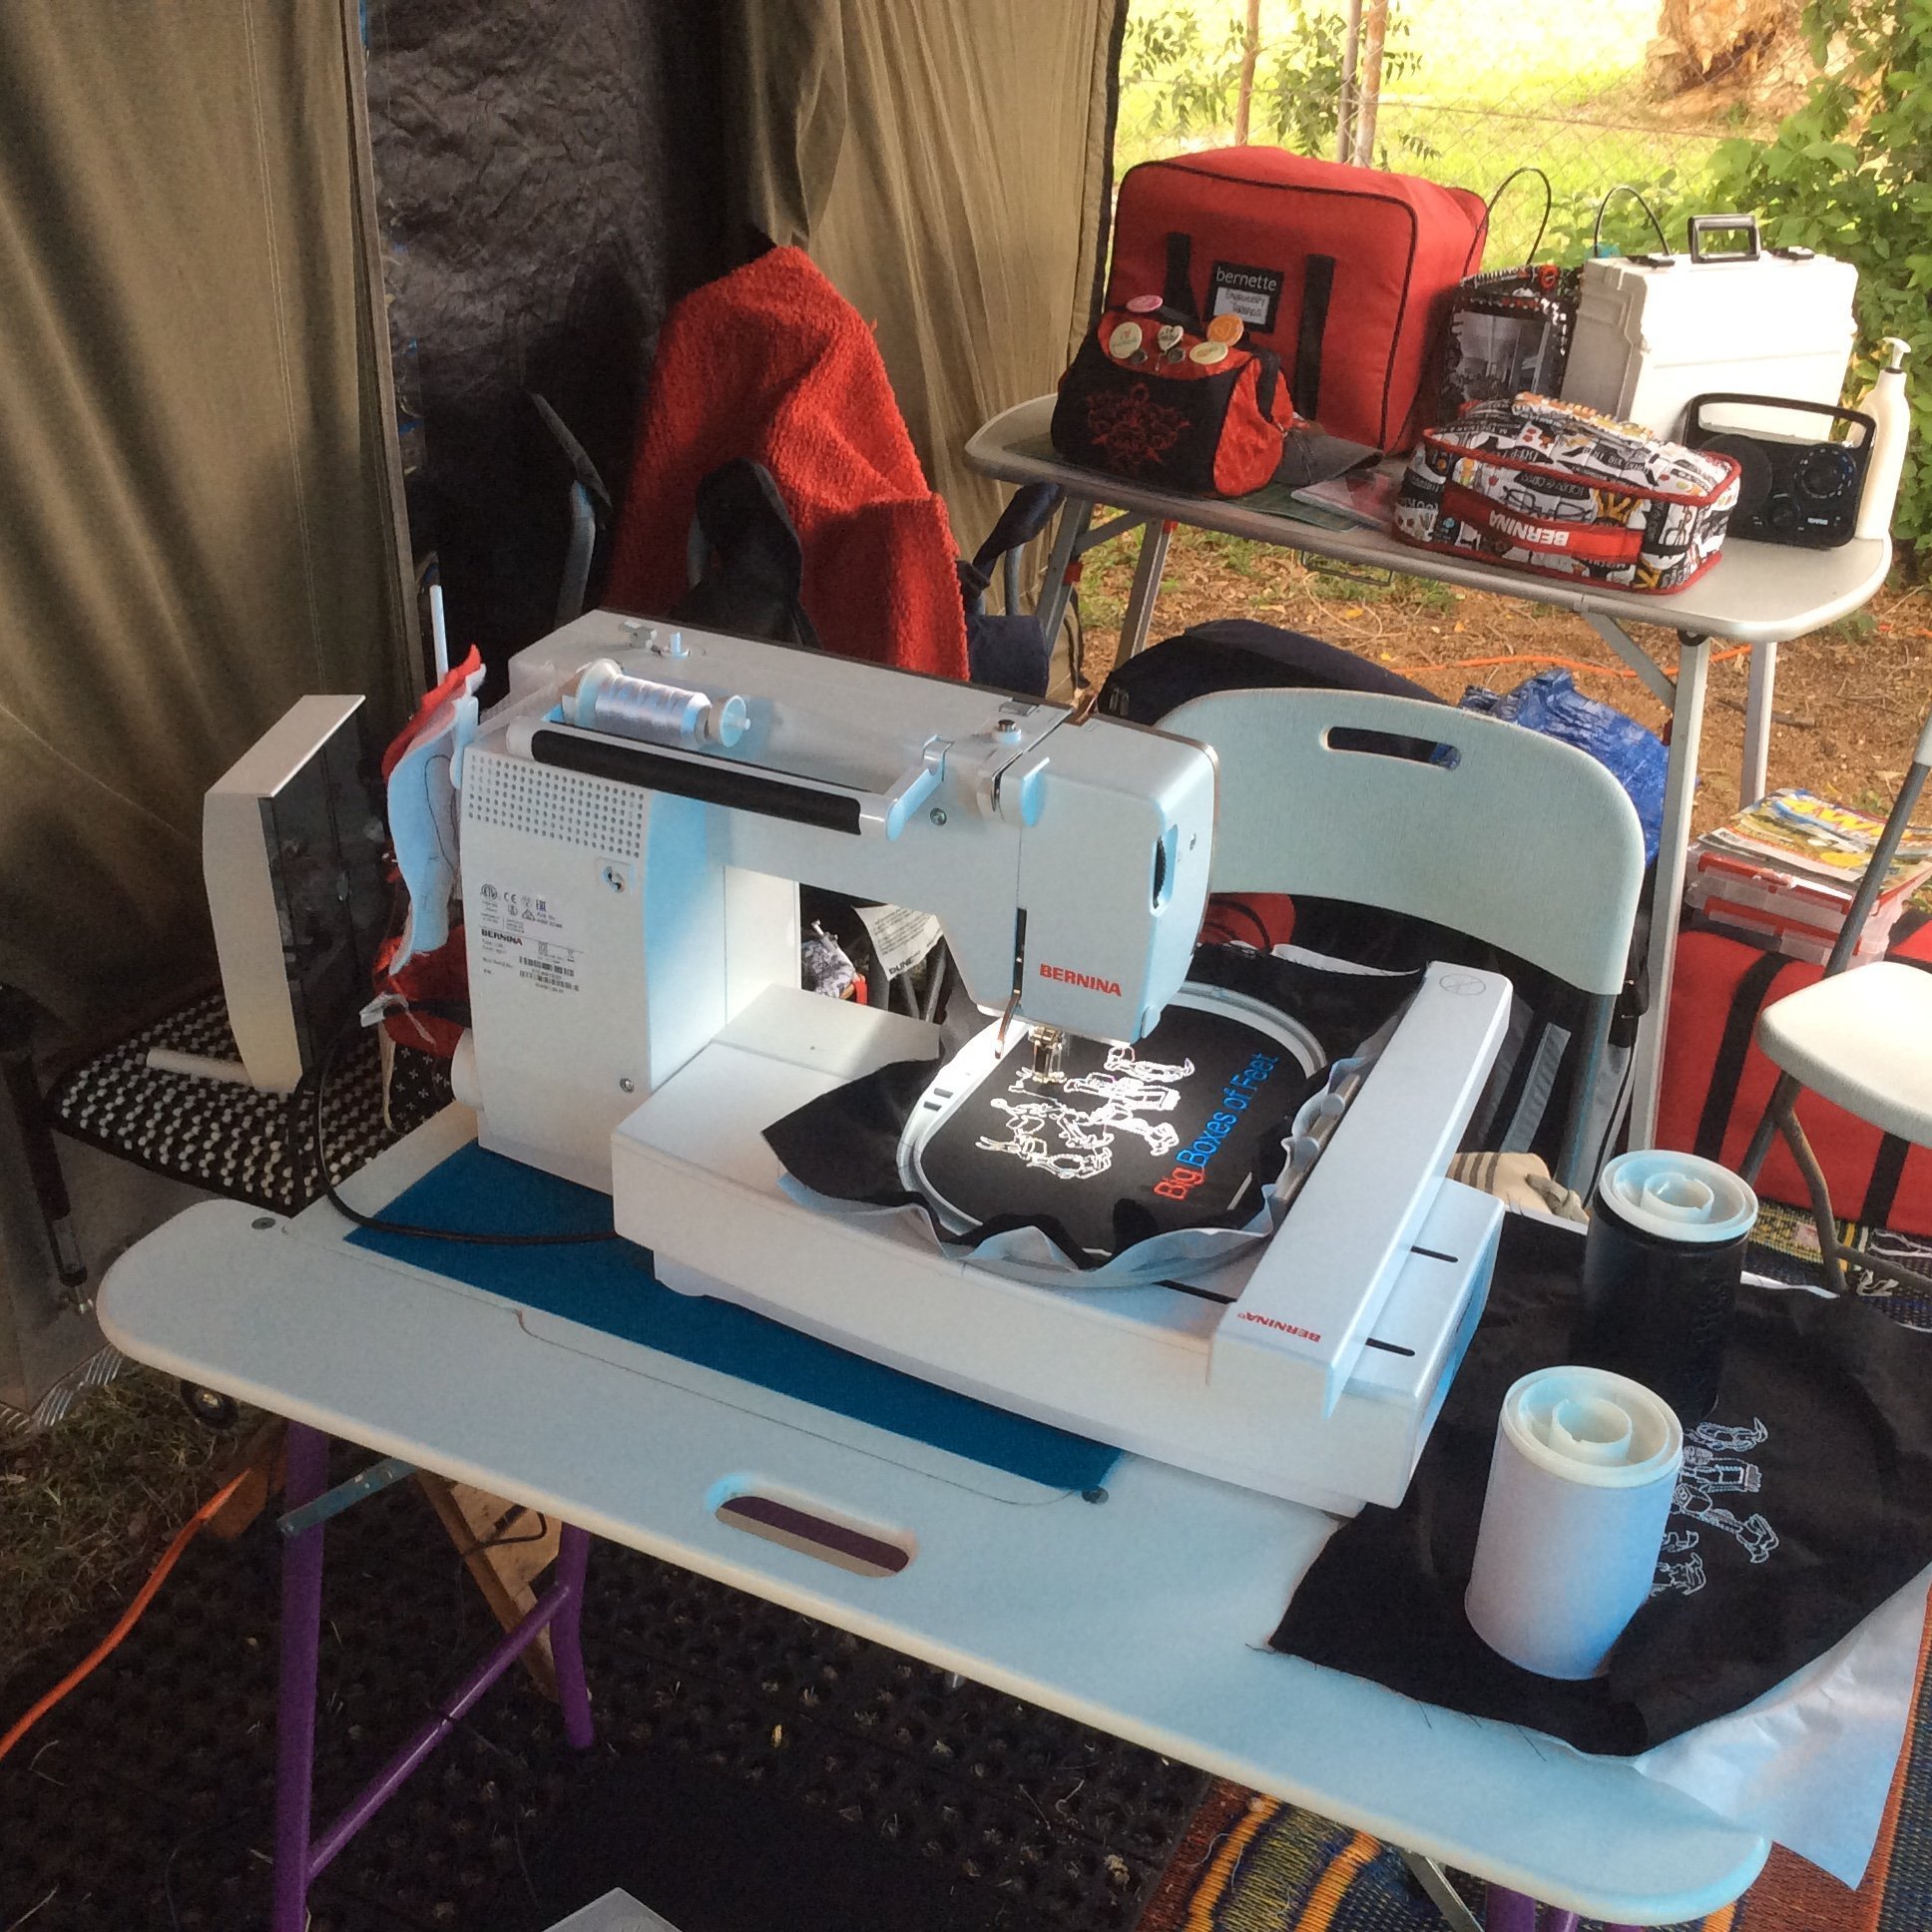
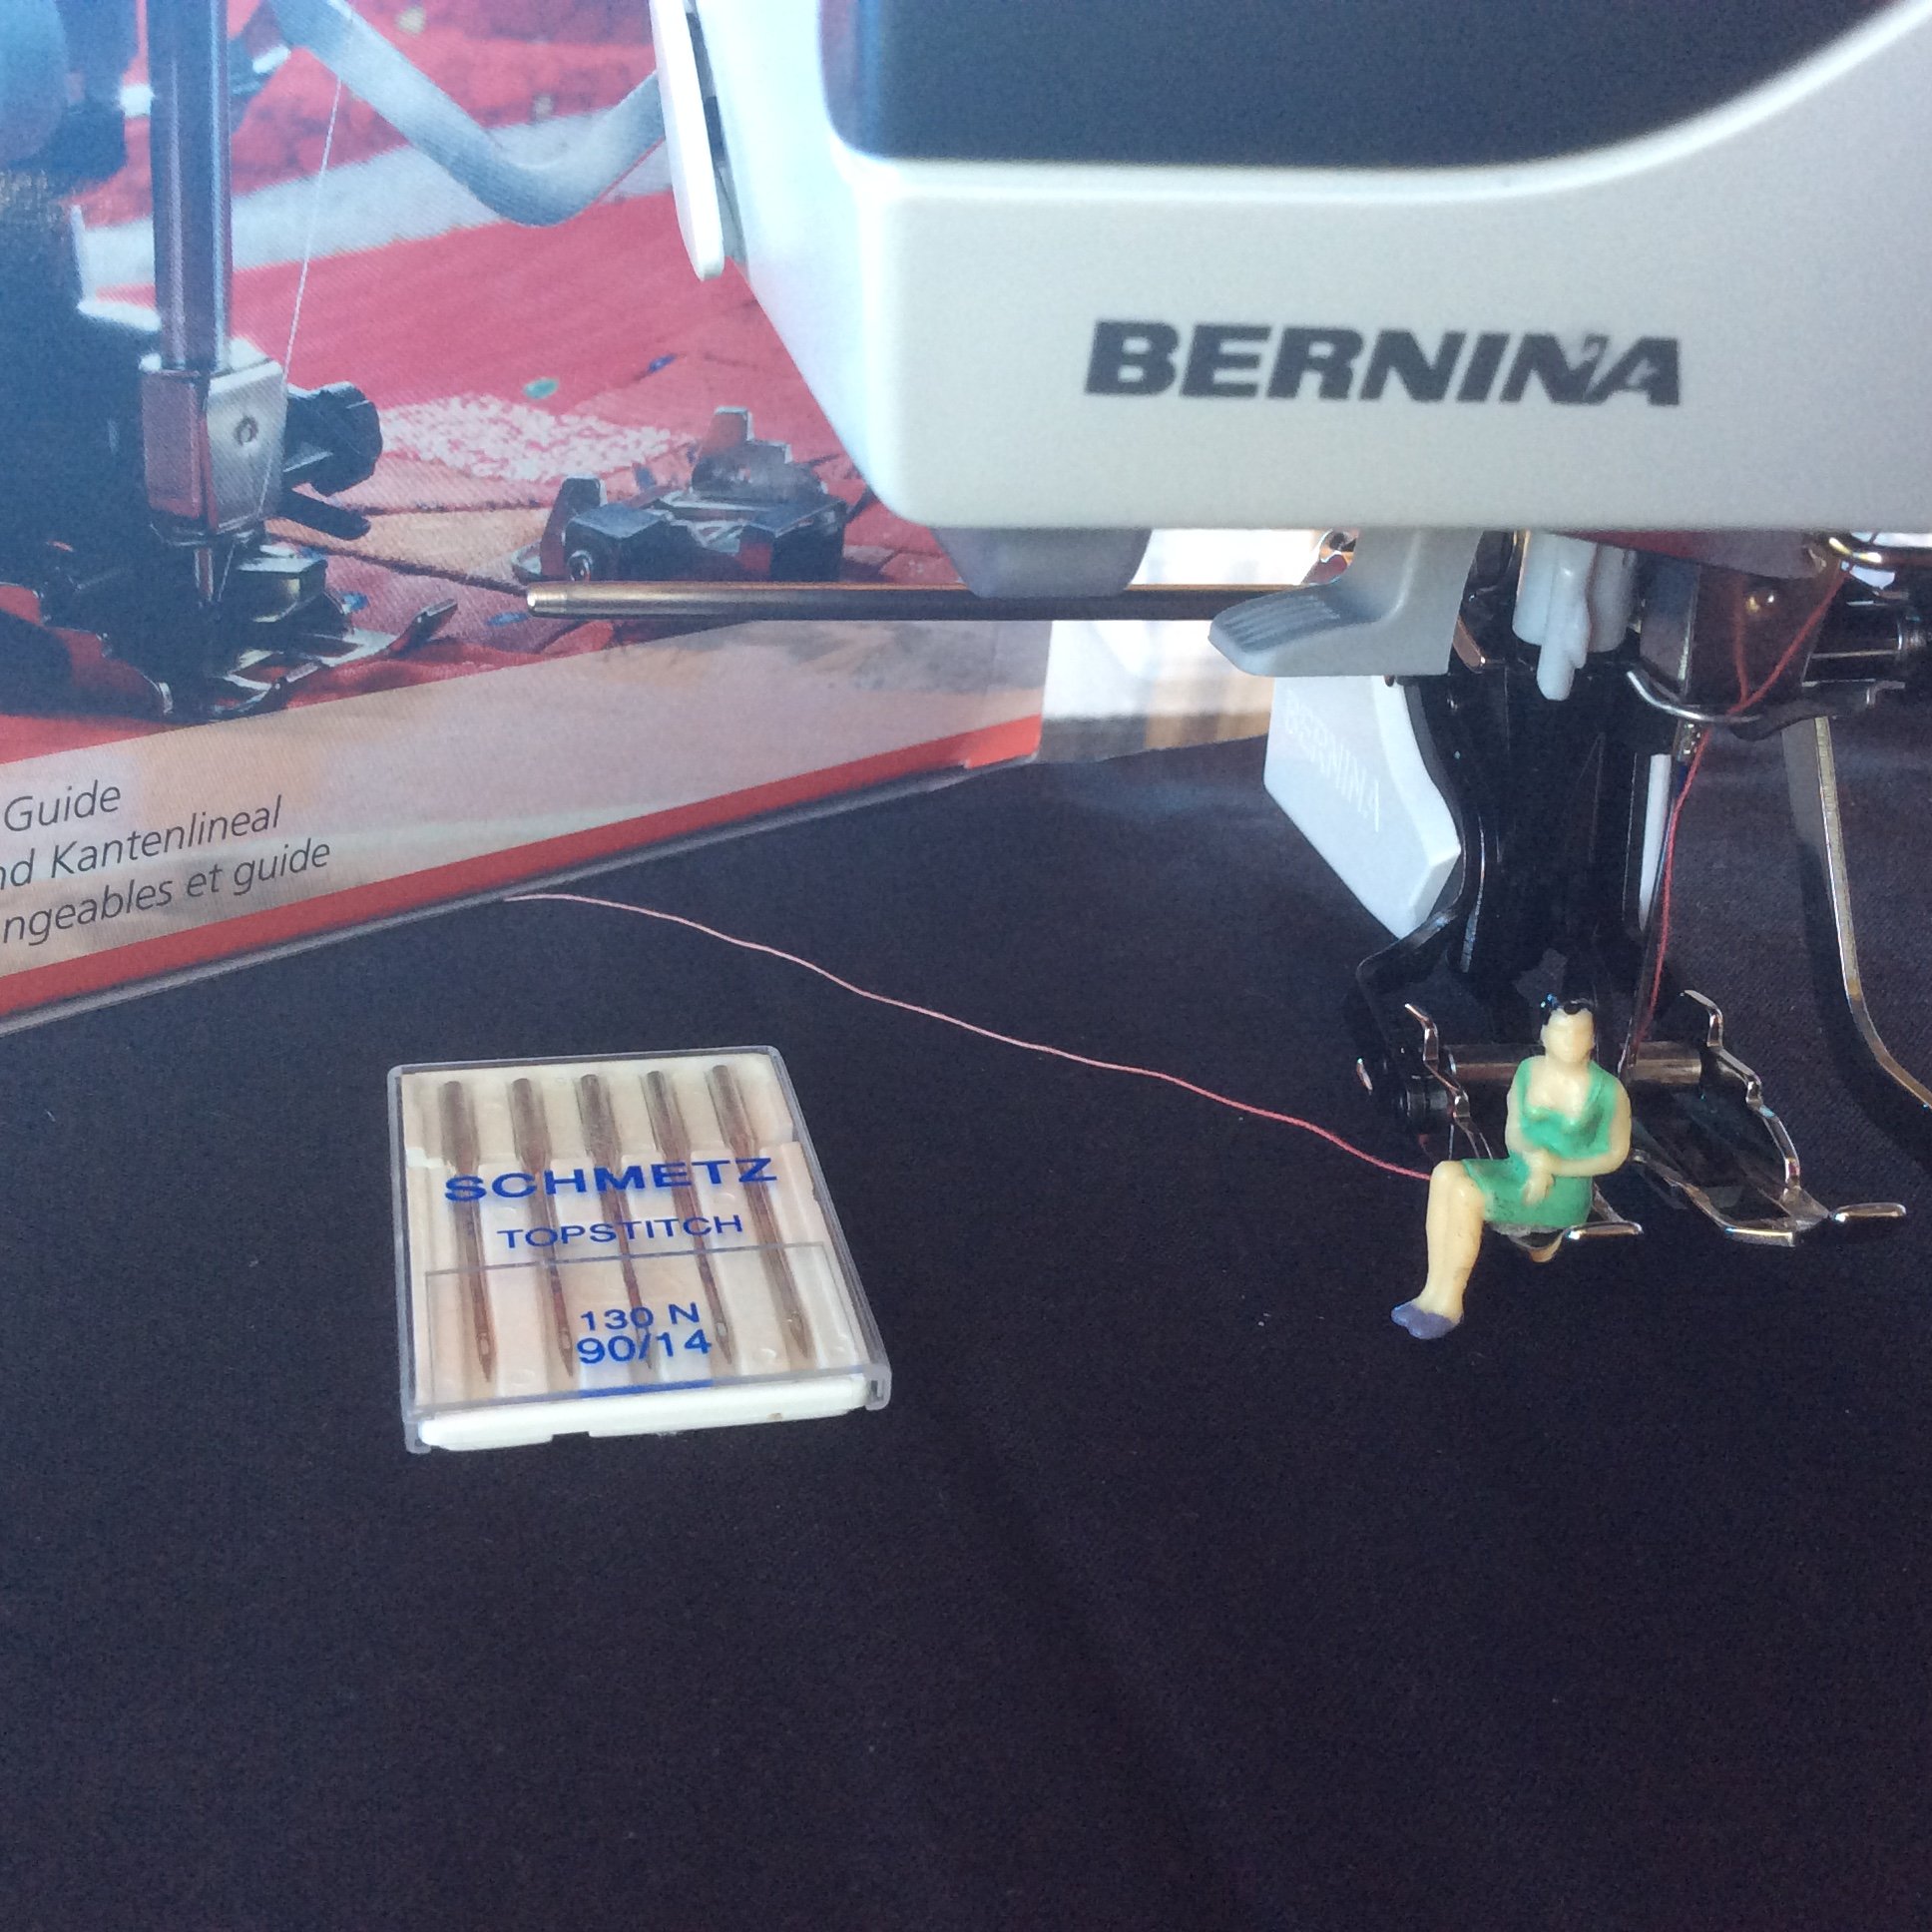
Yes, did a test sew – here’s my setup outdoors with the second sewout finished Size #90 …
Next task was the quilting of the pockets and flap … here’s the finished pieces …
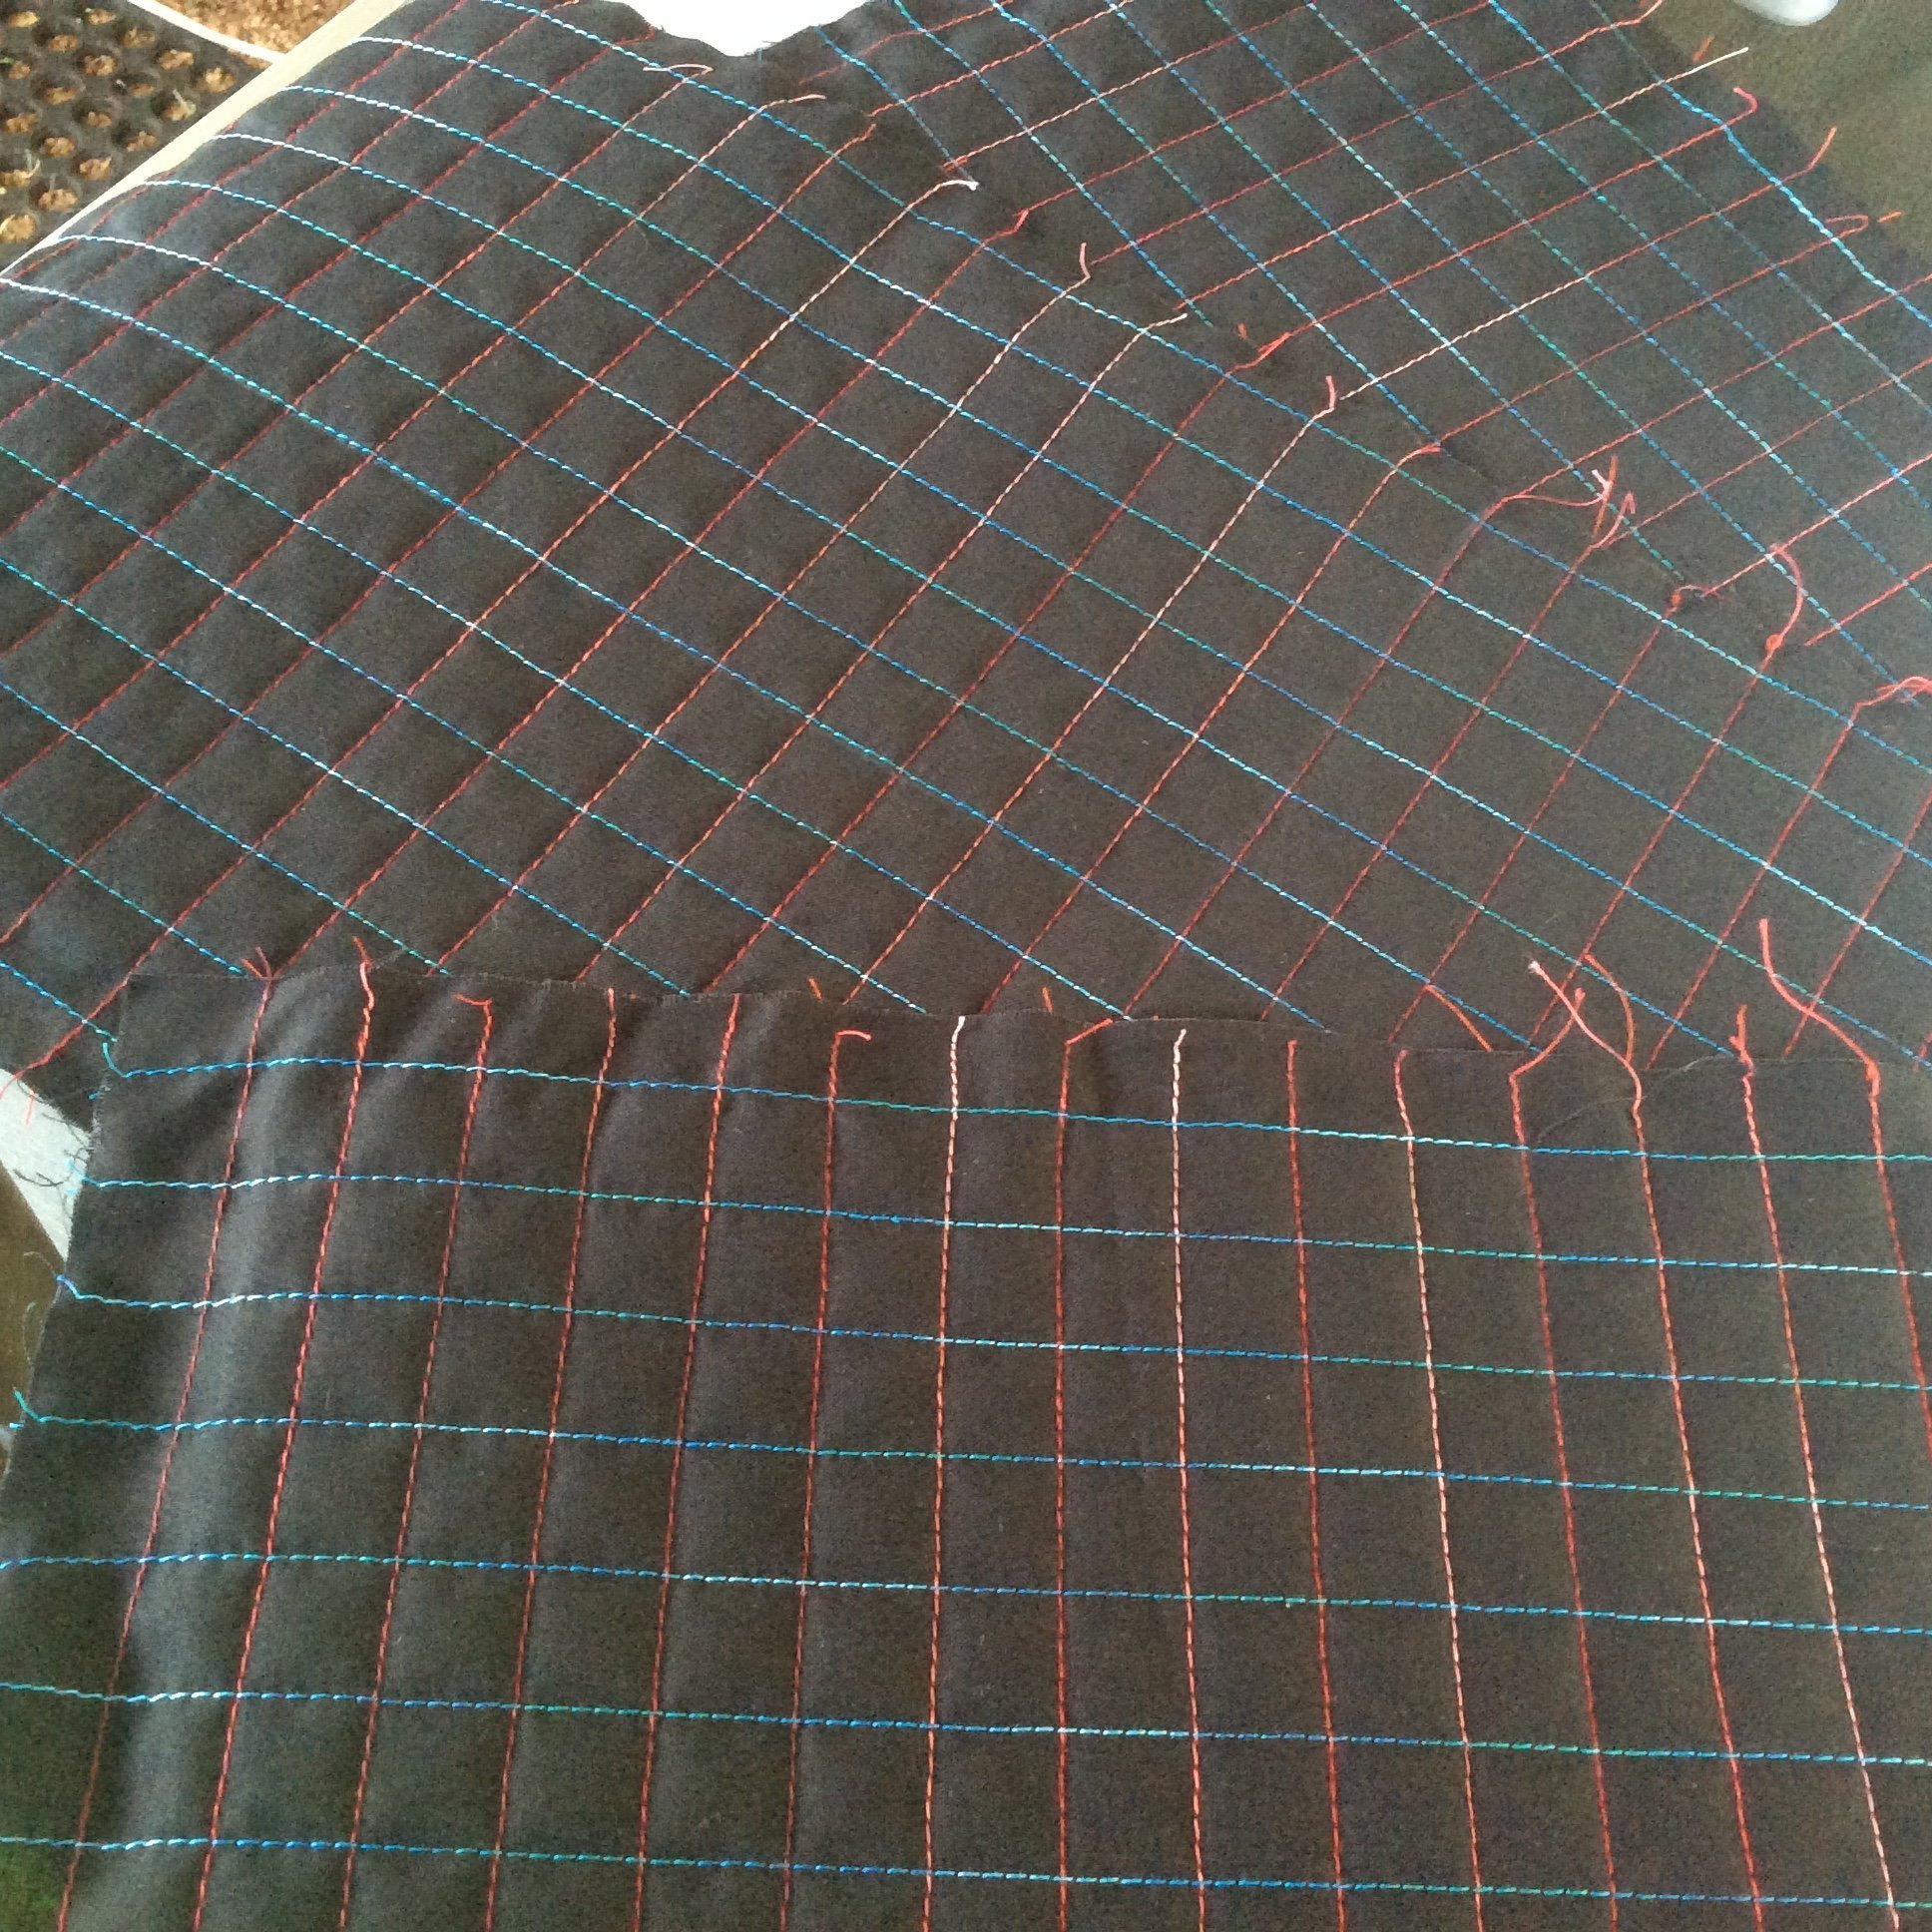
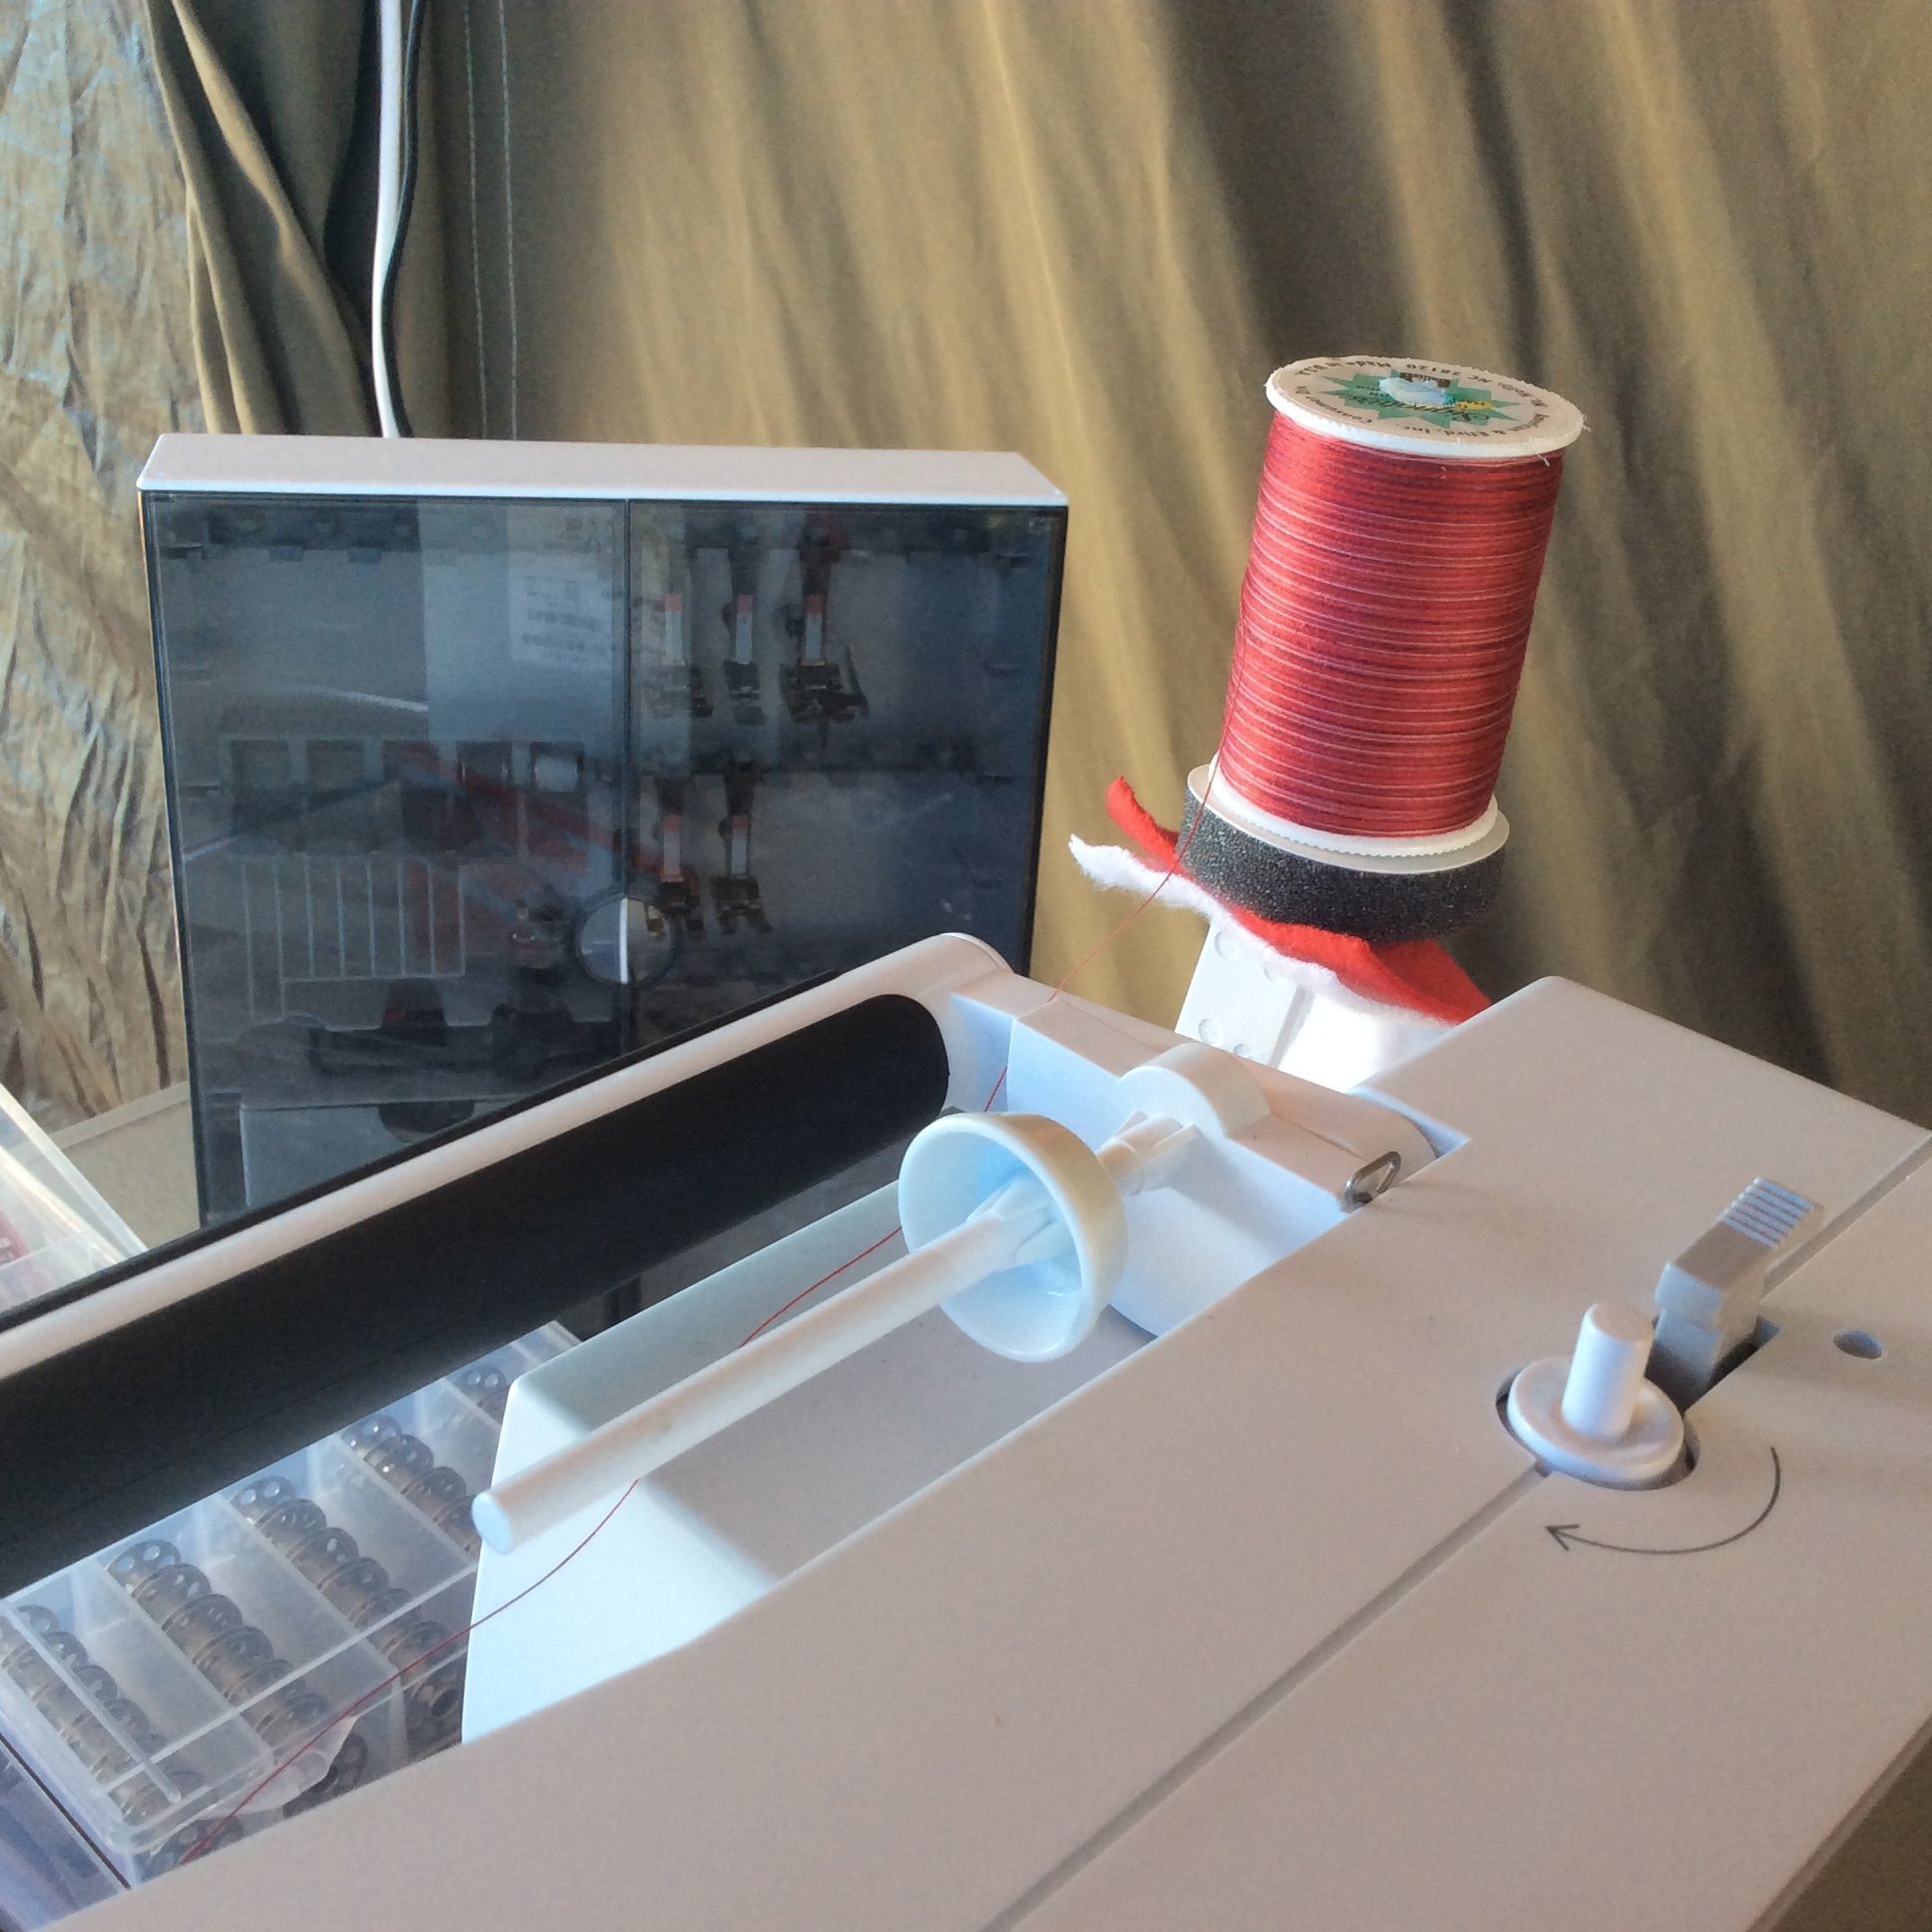
I used some fabulous Signature Varigated thread for both the red and aqua lines of quilting … stood it up on the extra spool holder (as it was a reel of what I call ‘stacked thread’ … and they reel off best when they ‘stand up’!),
a Topstitch Needle,
selected Stitch #1325 (which is in the Decorative Stitch Folder on my machine) … a longer straight stitch, reduced my top tension to 3 (thread is Size #40)
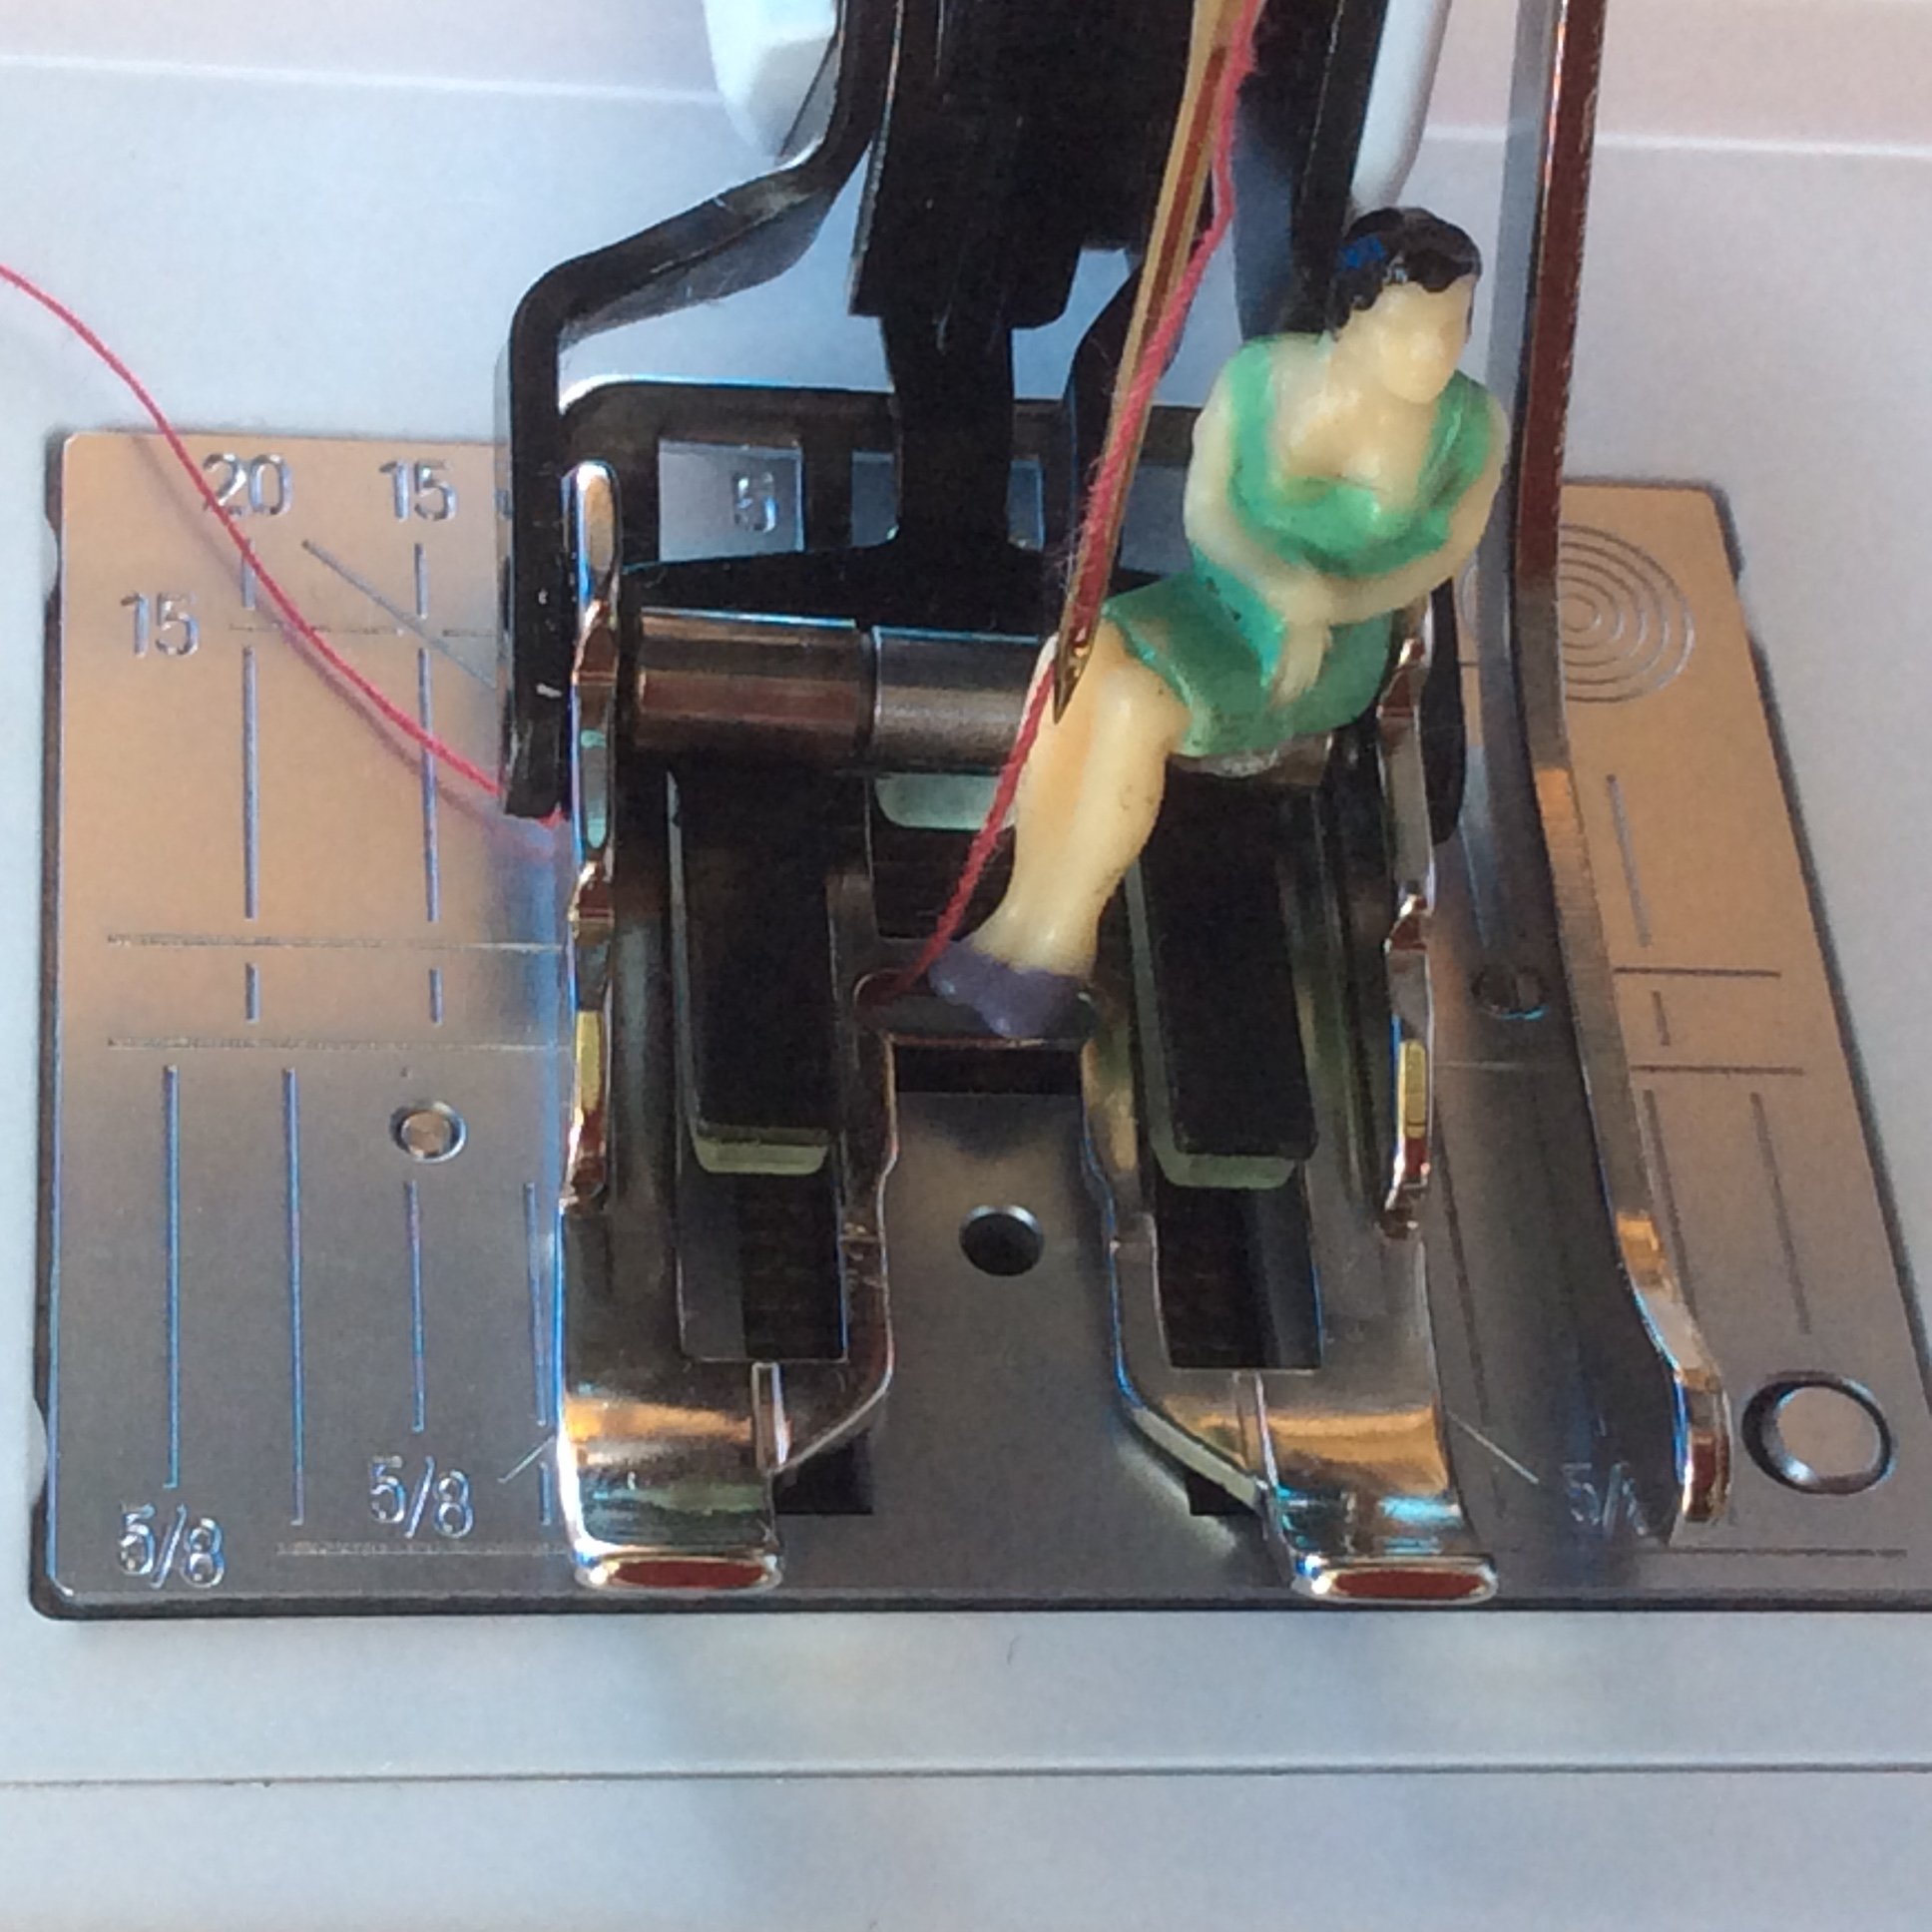
and off I went … my #50 Walking Foot attached with the guide set to 5/8″ (or 1.5cm) …
and my fabulous Acrylic Quilting Table in use too!! … I slide an acrylic storage tray underneath for all my current tools!
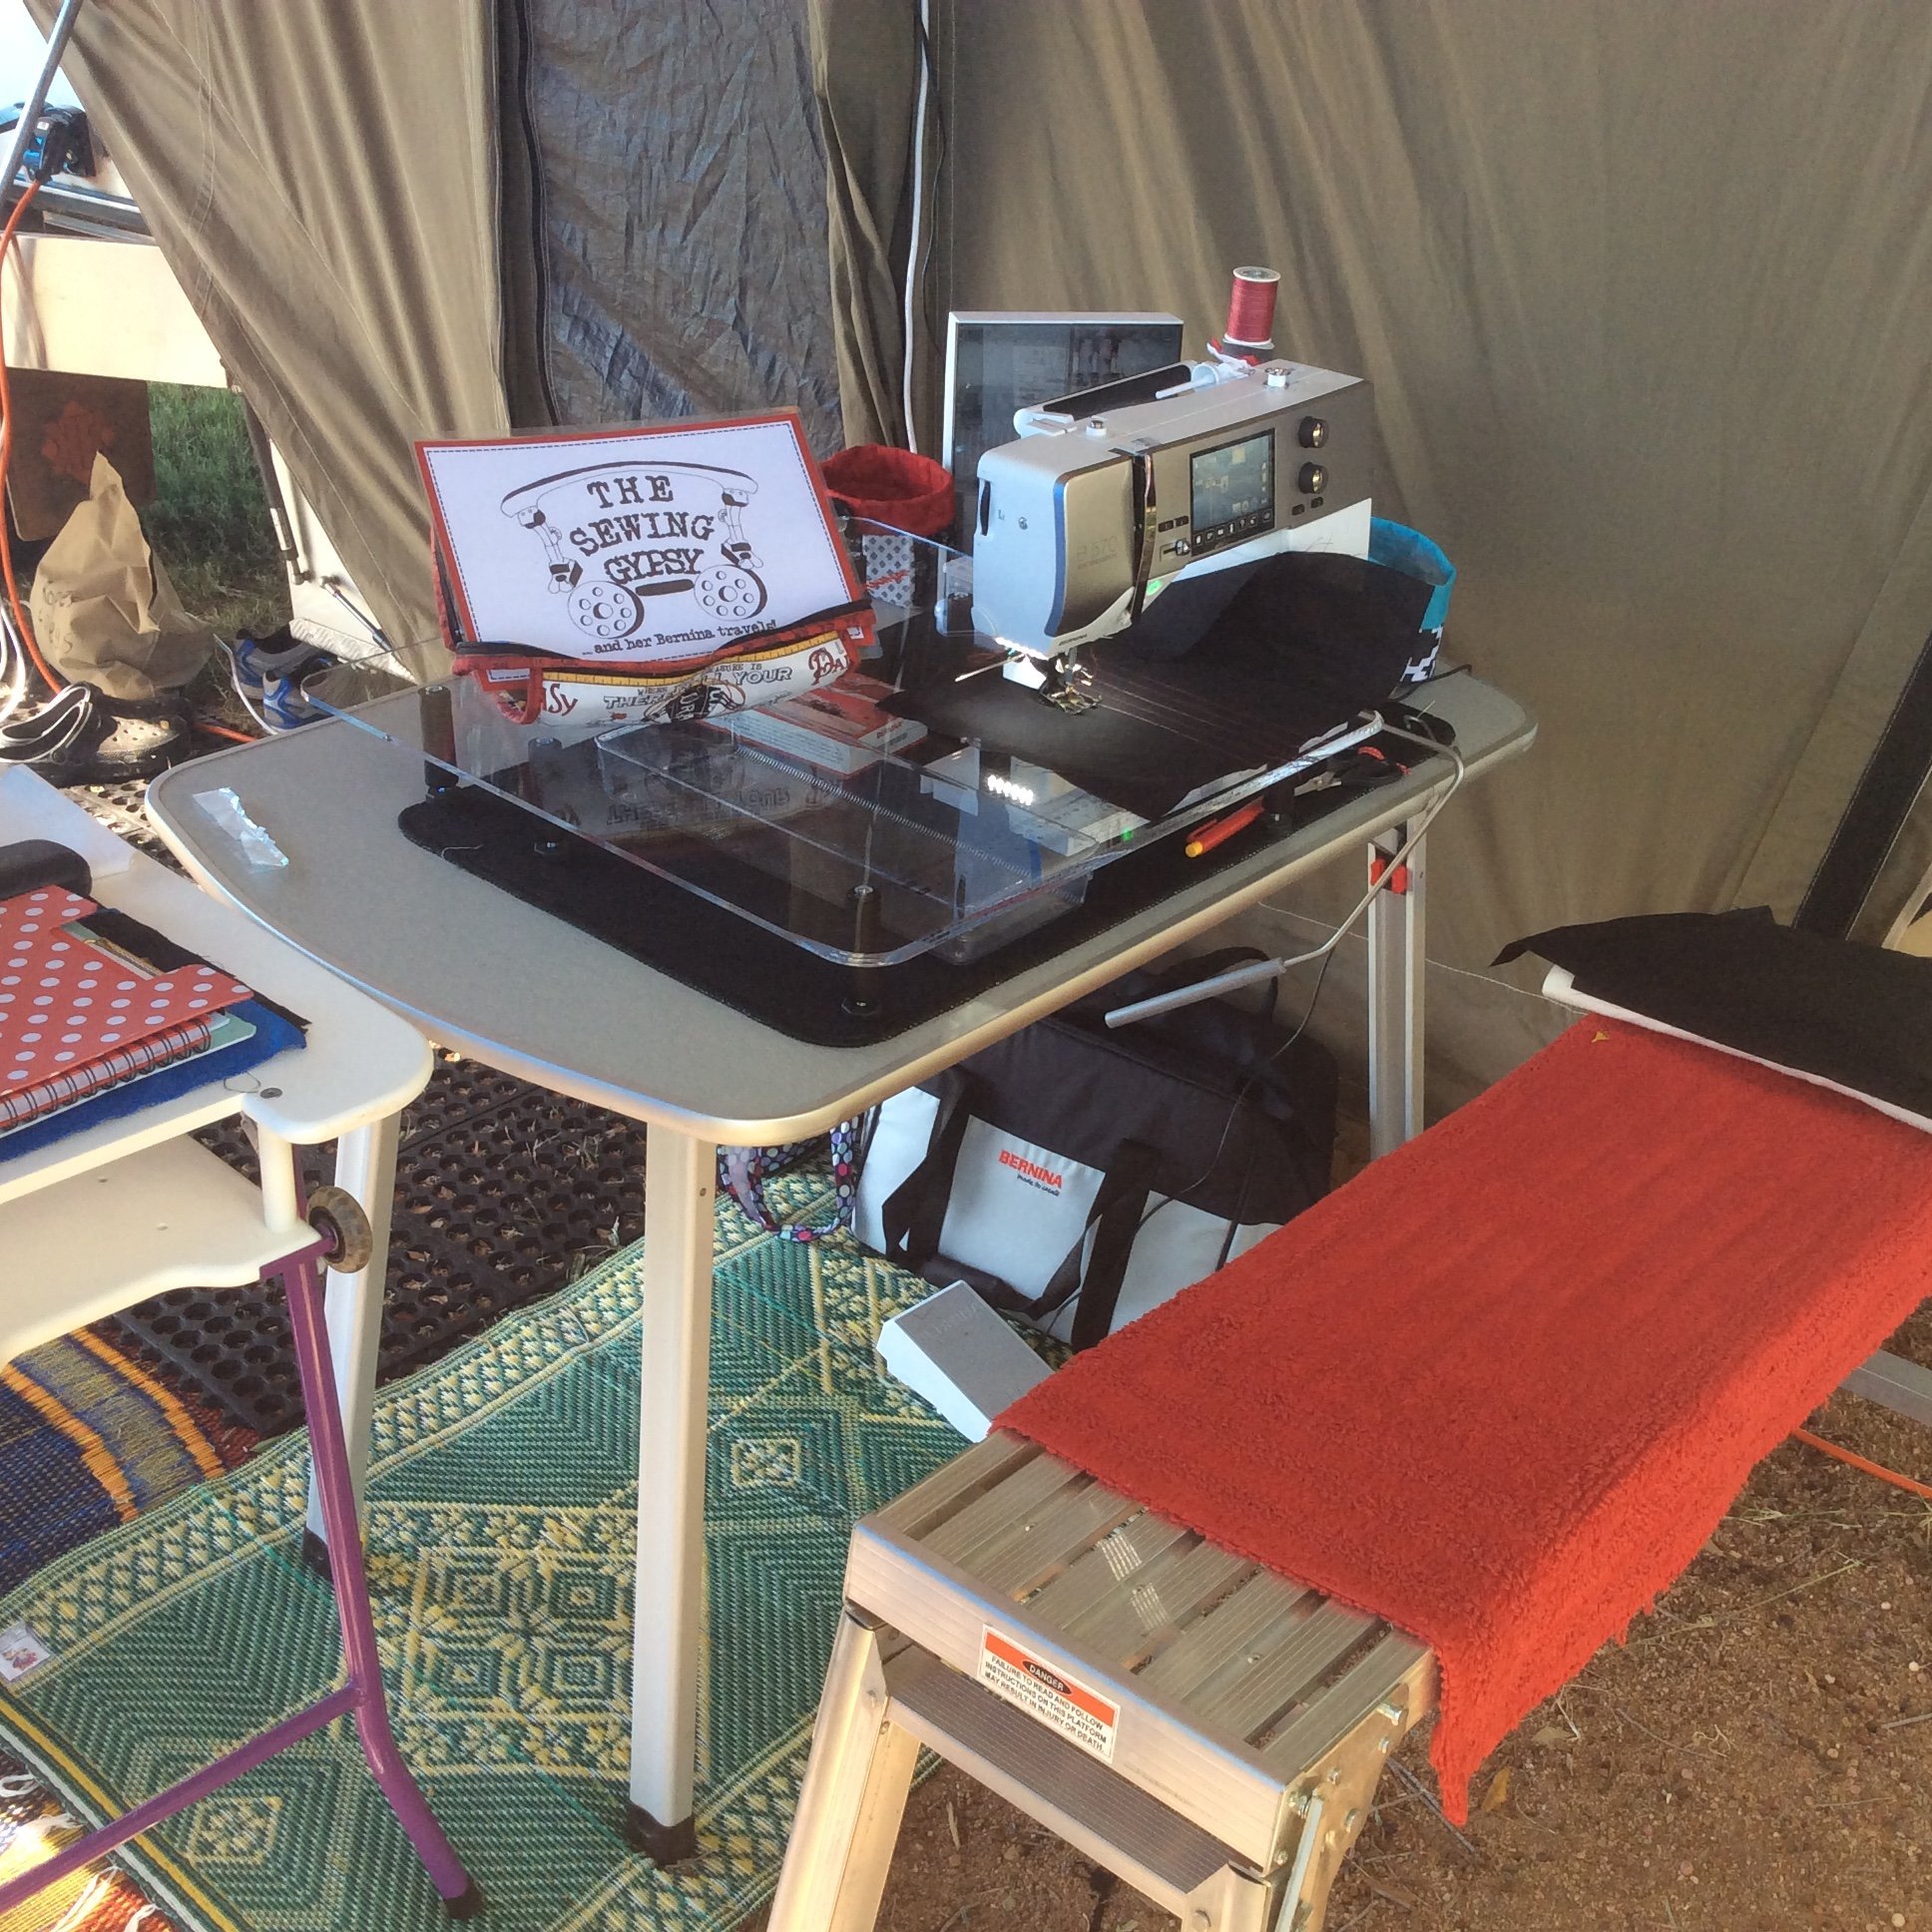
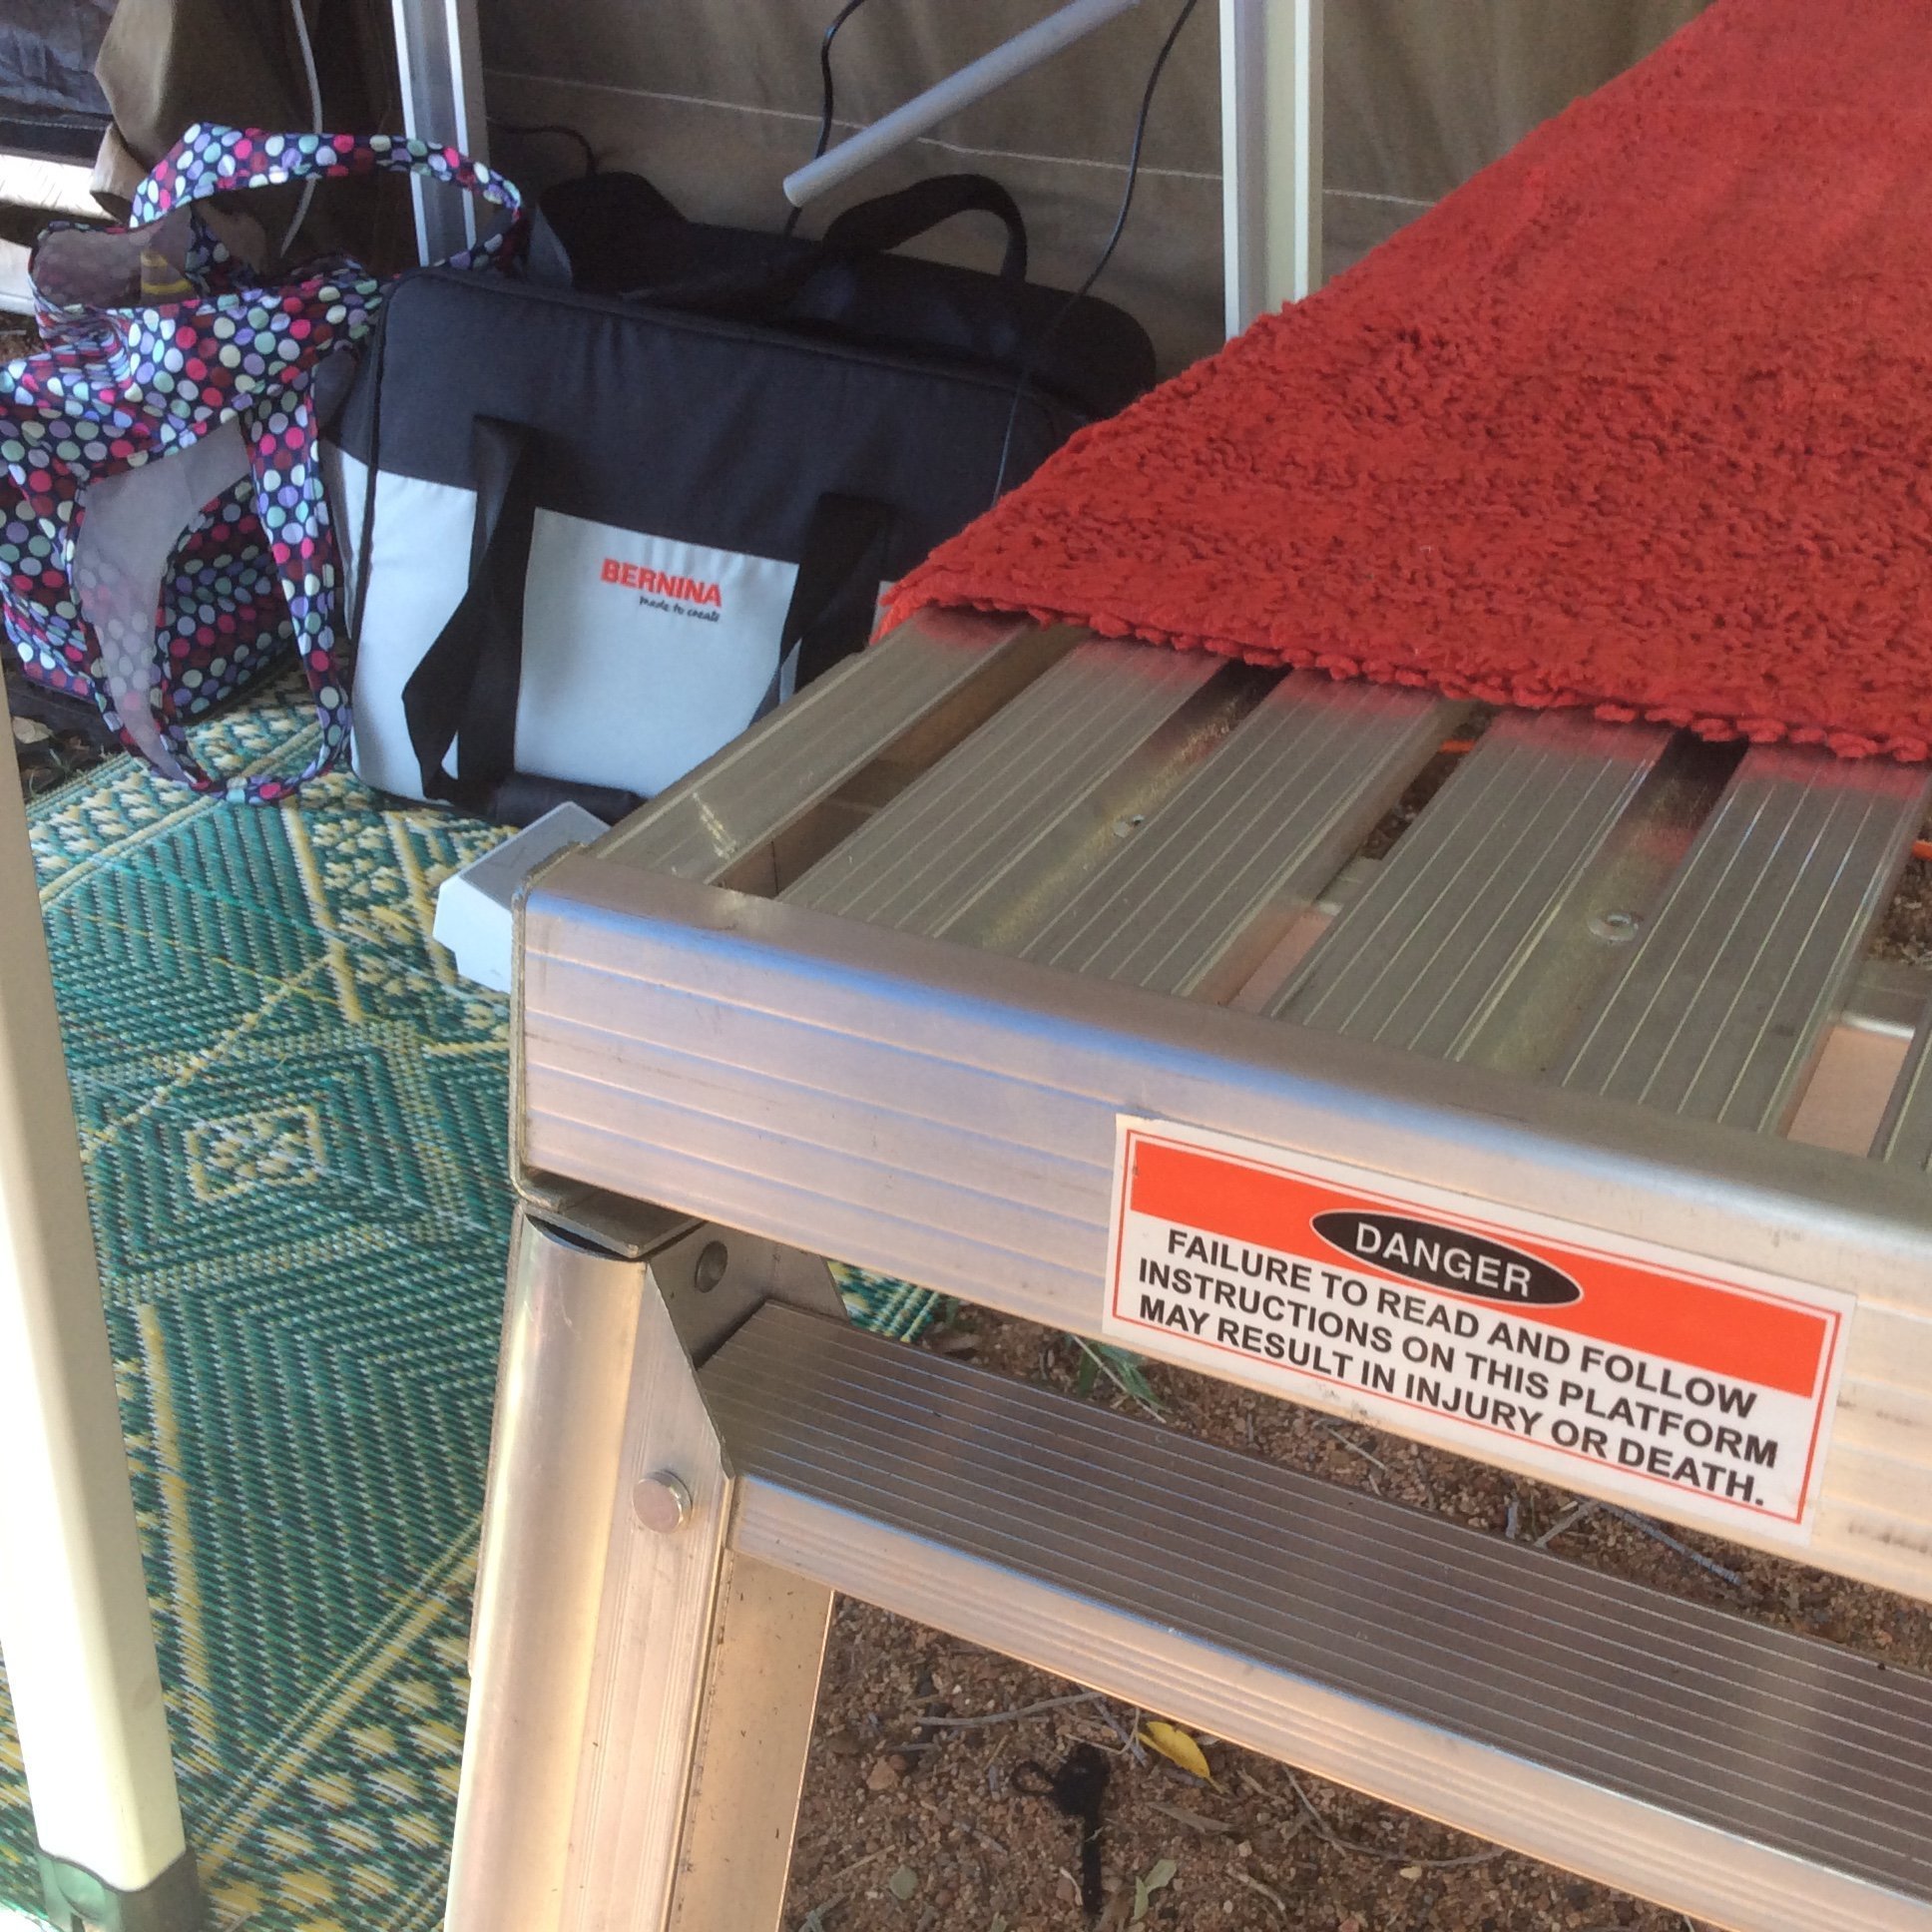
Oh, and my ‘sewing chair’ is an adjustable Handyman’s Trestle … with a warning on the side! Haha
Now that’s the first few ‘bits’ made … so, until next post, happy sewing and travels!
The Sewing Gypsy
![IMG_7334[1]](https://blog.bernina.com/en/wp-content/uploads/sites/4/2016/06/IMG_73341-225x300.png)
Coming up in the next few weeks …
Part Two – Making the Binding, Back Flap and Pockets
Part Three – Handles and Closures
Part Four – Finishing Off
Hi from USA
I can’t find the Part 4 post for this project. And can’t find the PDF project files on the Australia Bernina website. Is this project available for instructions still? Thanks