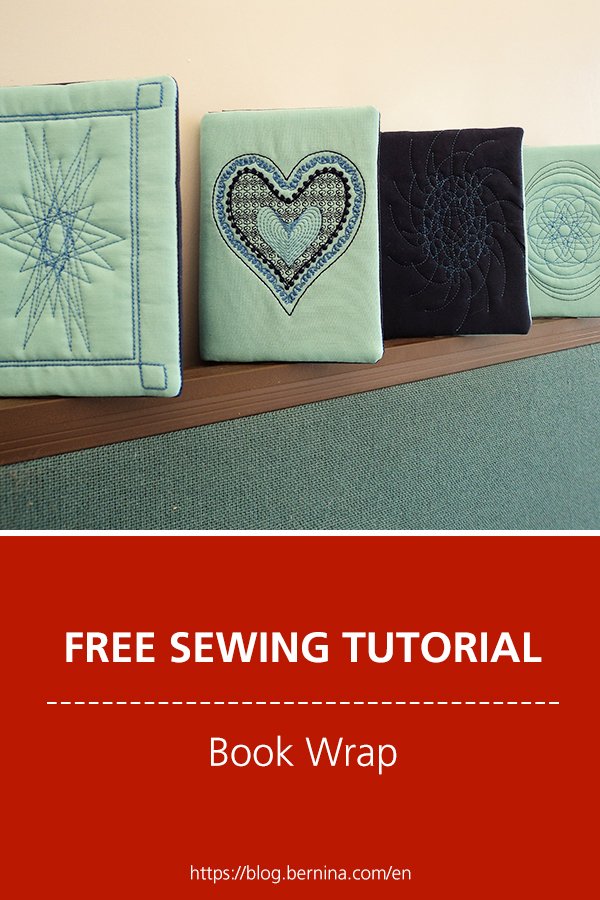
 BERNINA Corporate Blog -
Requirements:
Bernina embroidery machine.
Embroidery designs to fit on the front and back cover of the bookwrap.
Jumbo Hoop or largest hoop you have.
Stitch and tear stabiliser – enough for the size of your hoop.
Temporary adhesive e.g. 505™ .
Thin wadding slightly larger all round than size of bookwrap.
Two contrasting fabrics – a solid colour is best for the embroidered side.
Scissors or rotary cutter and mat.
Coordinating threads for stitching and basting.
Embroidery threads for designs on cover of bookwrap.
Read through the instructions and look at the images before starting the project.
- Measure the book you would like to wrap. Open the book flat and measure from left to right across the middle.
- Measure the width of the spine too and add it to the width. Add 1″ (25mm) for easing when book is closed.
- Measure the book from top to bottom.
- Add ½” (10mm) all round the outside for the seam allowance.
- Using these dimensions, cut one rectangle in the solid coloured fabric and one in the contrasting fabric. Cut a rectangle in wadding slightly larger all round than the fabrics. Cut the contrasting fabric in half from top to bottom in the middle where the spine of the book will be to give two rectangles approximately the size of the front and back covers of the book.
- Cut a strip of the solid coloured fabric the same height as the rectangles, but just wide enough to cover the width of the spine of the book plus an inch (25 mm) on either side of the spine.
- Hoop a single layer of the stabiliser.
- Stitch out the placement line – any thread will do. Fig 1
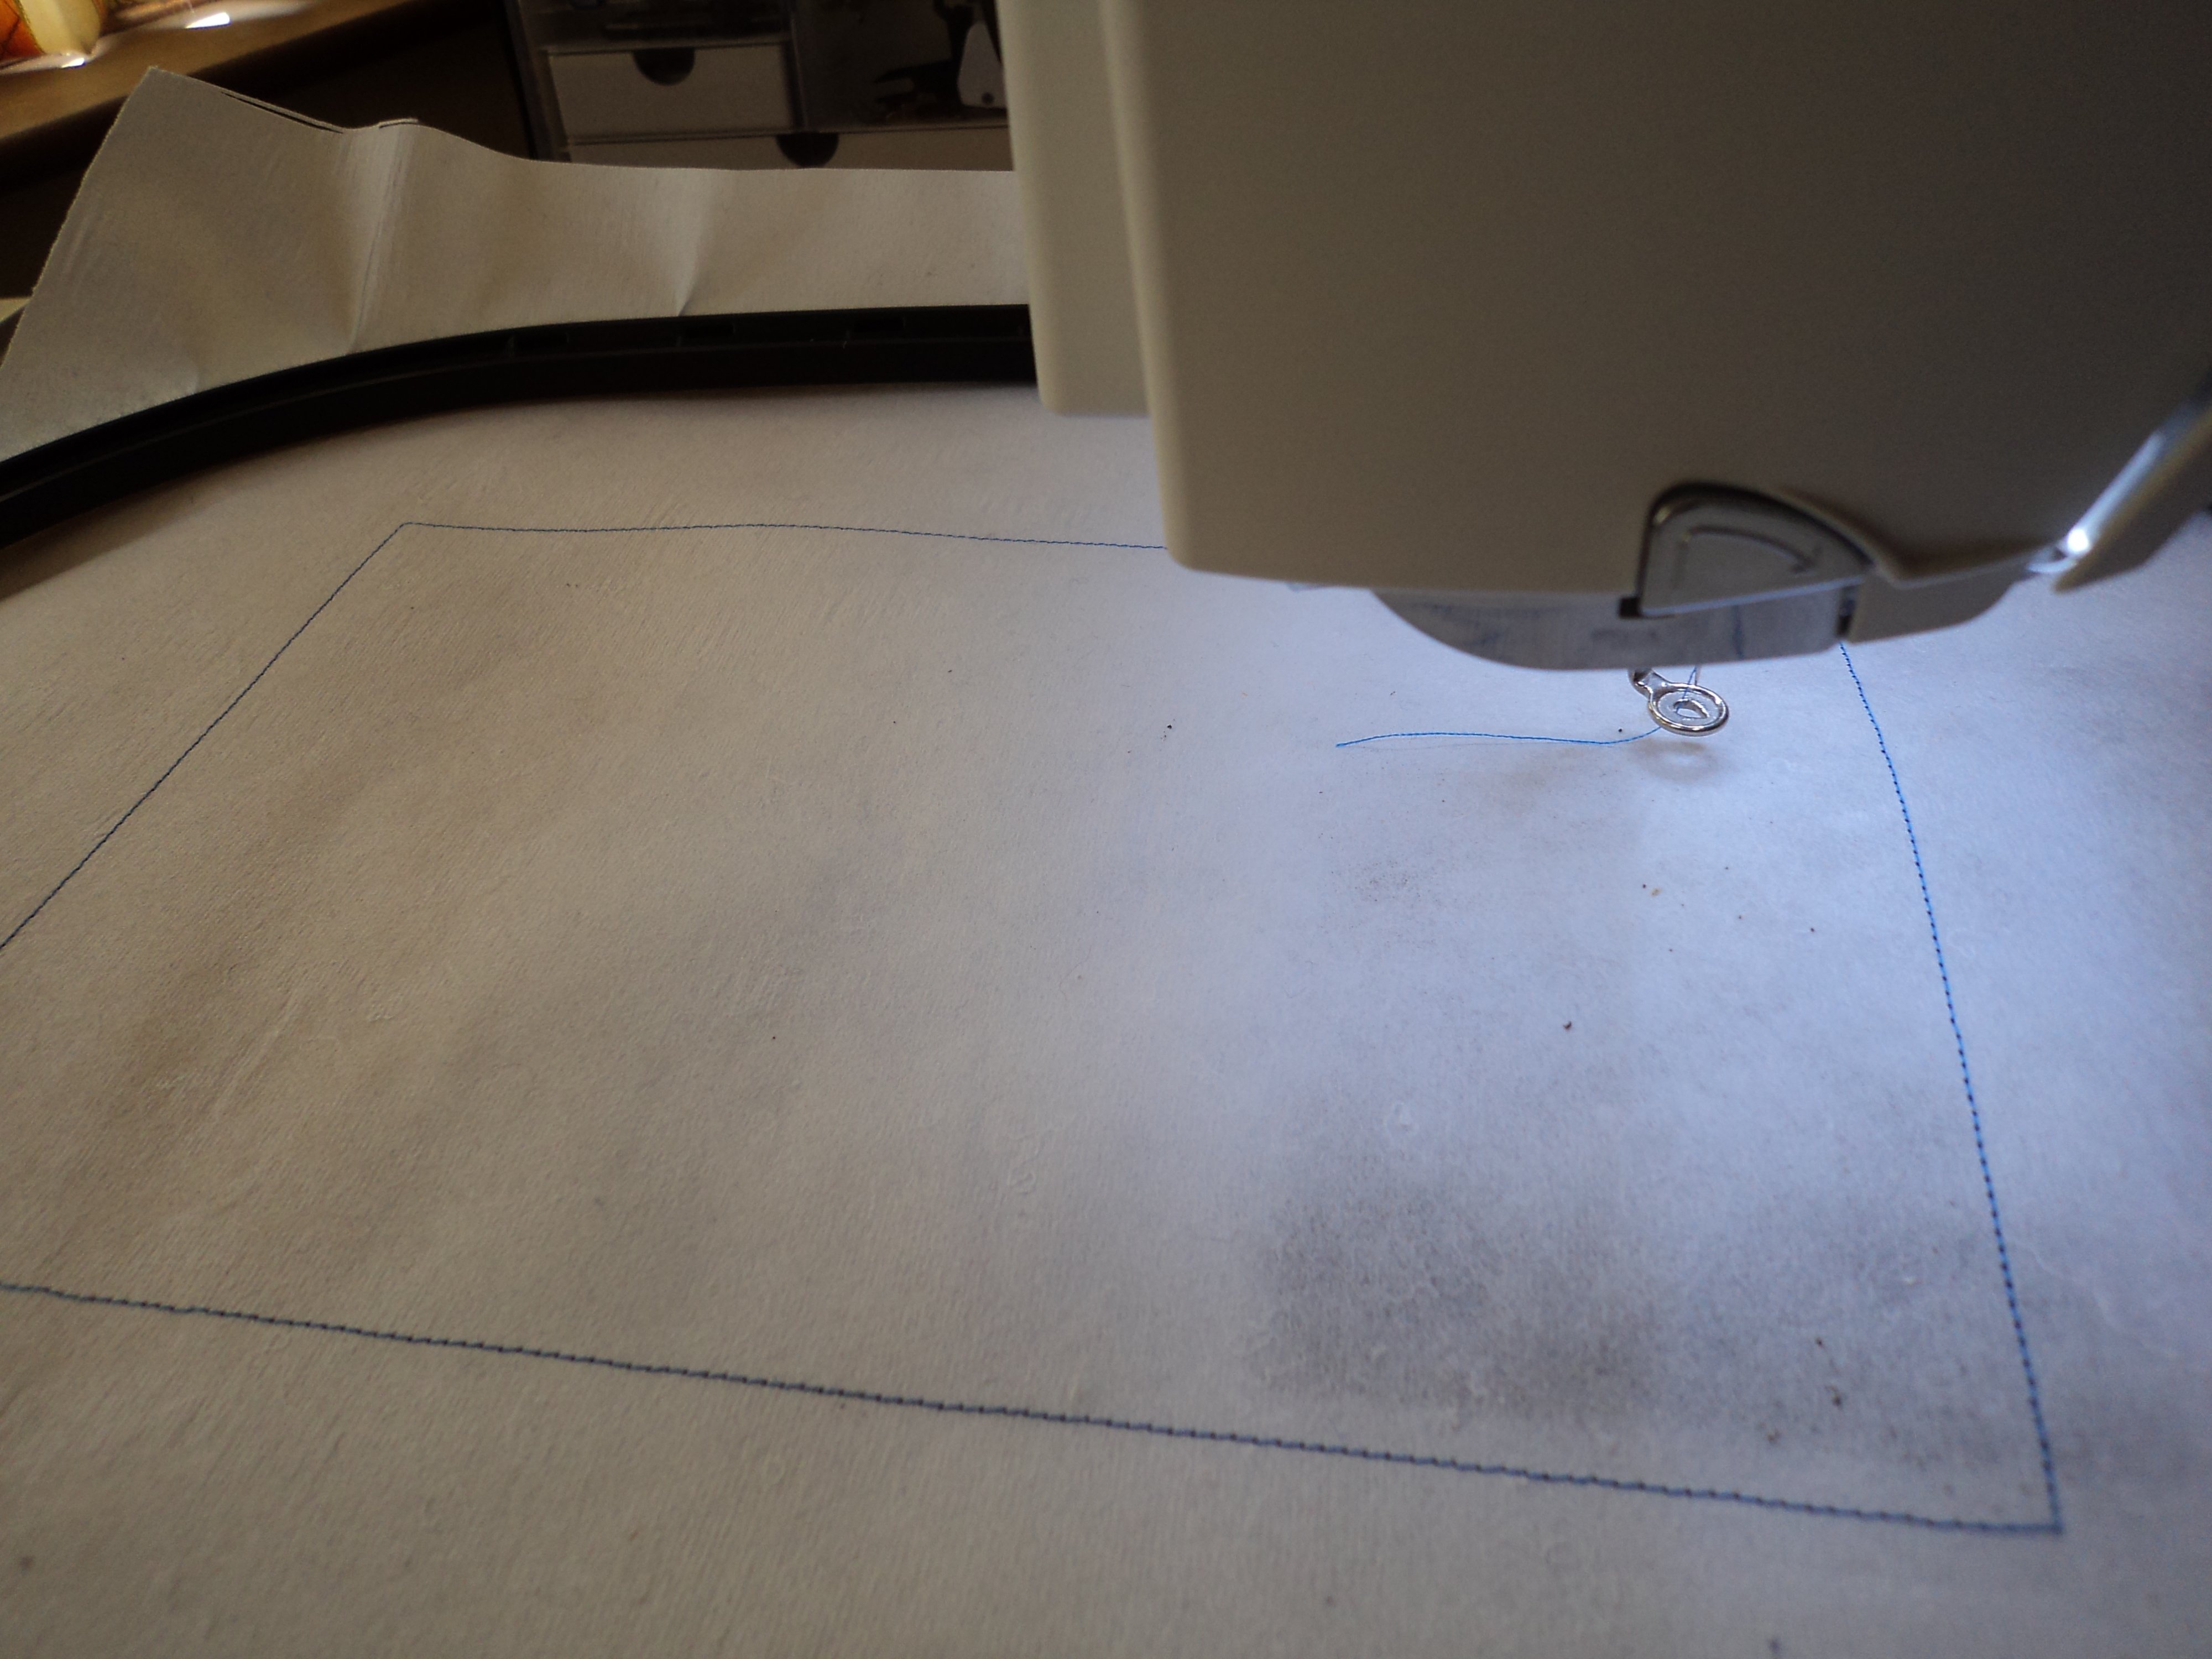
Fig 1.
9. Place the wadding, then the solid coloured rectangle, right side up, on the stabiliser to fit over the placement lines. Use a temporary adhesive spray to keep the fabrics in place on the hoop (do this in a well ventilated space or outside).
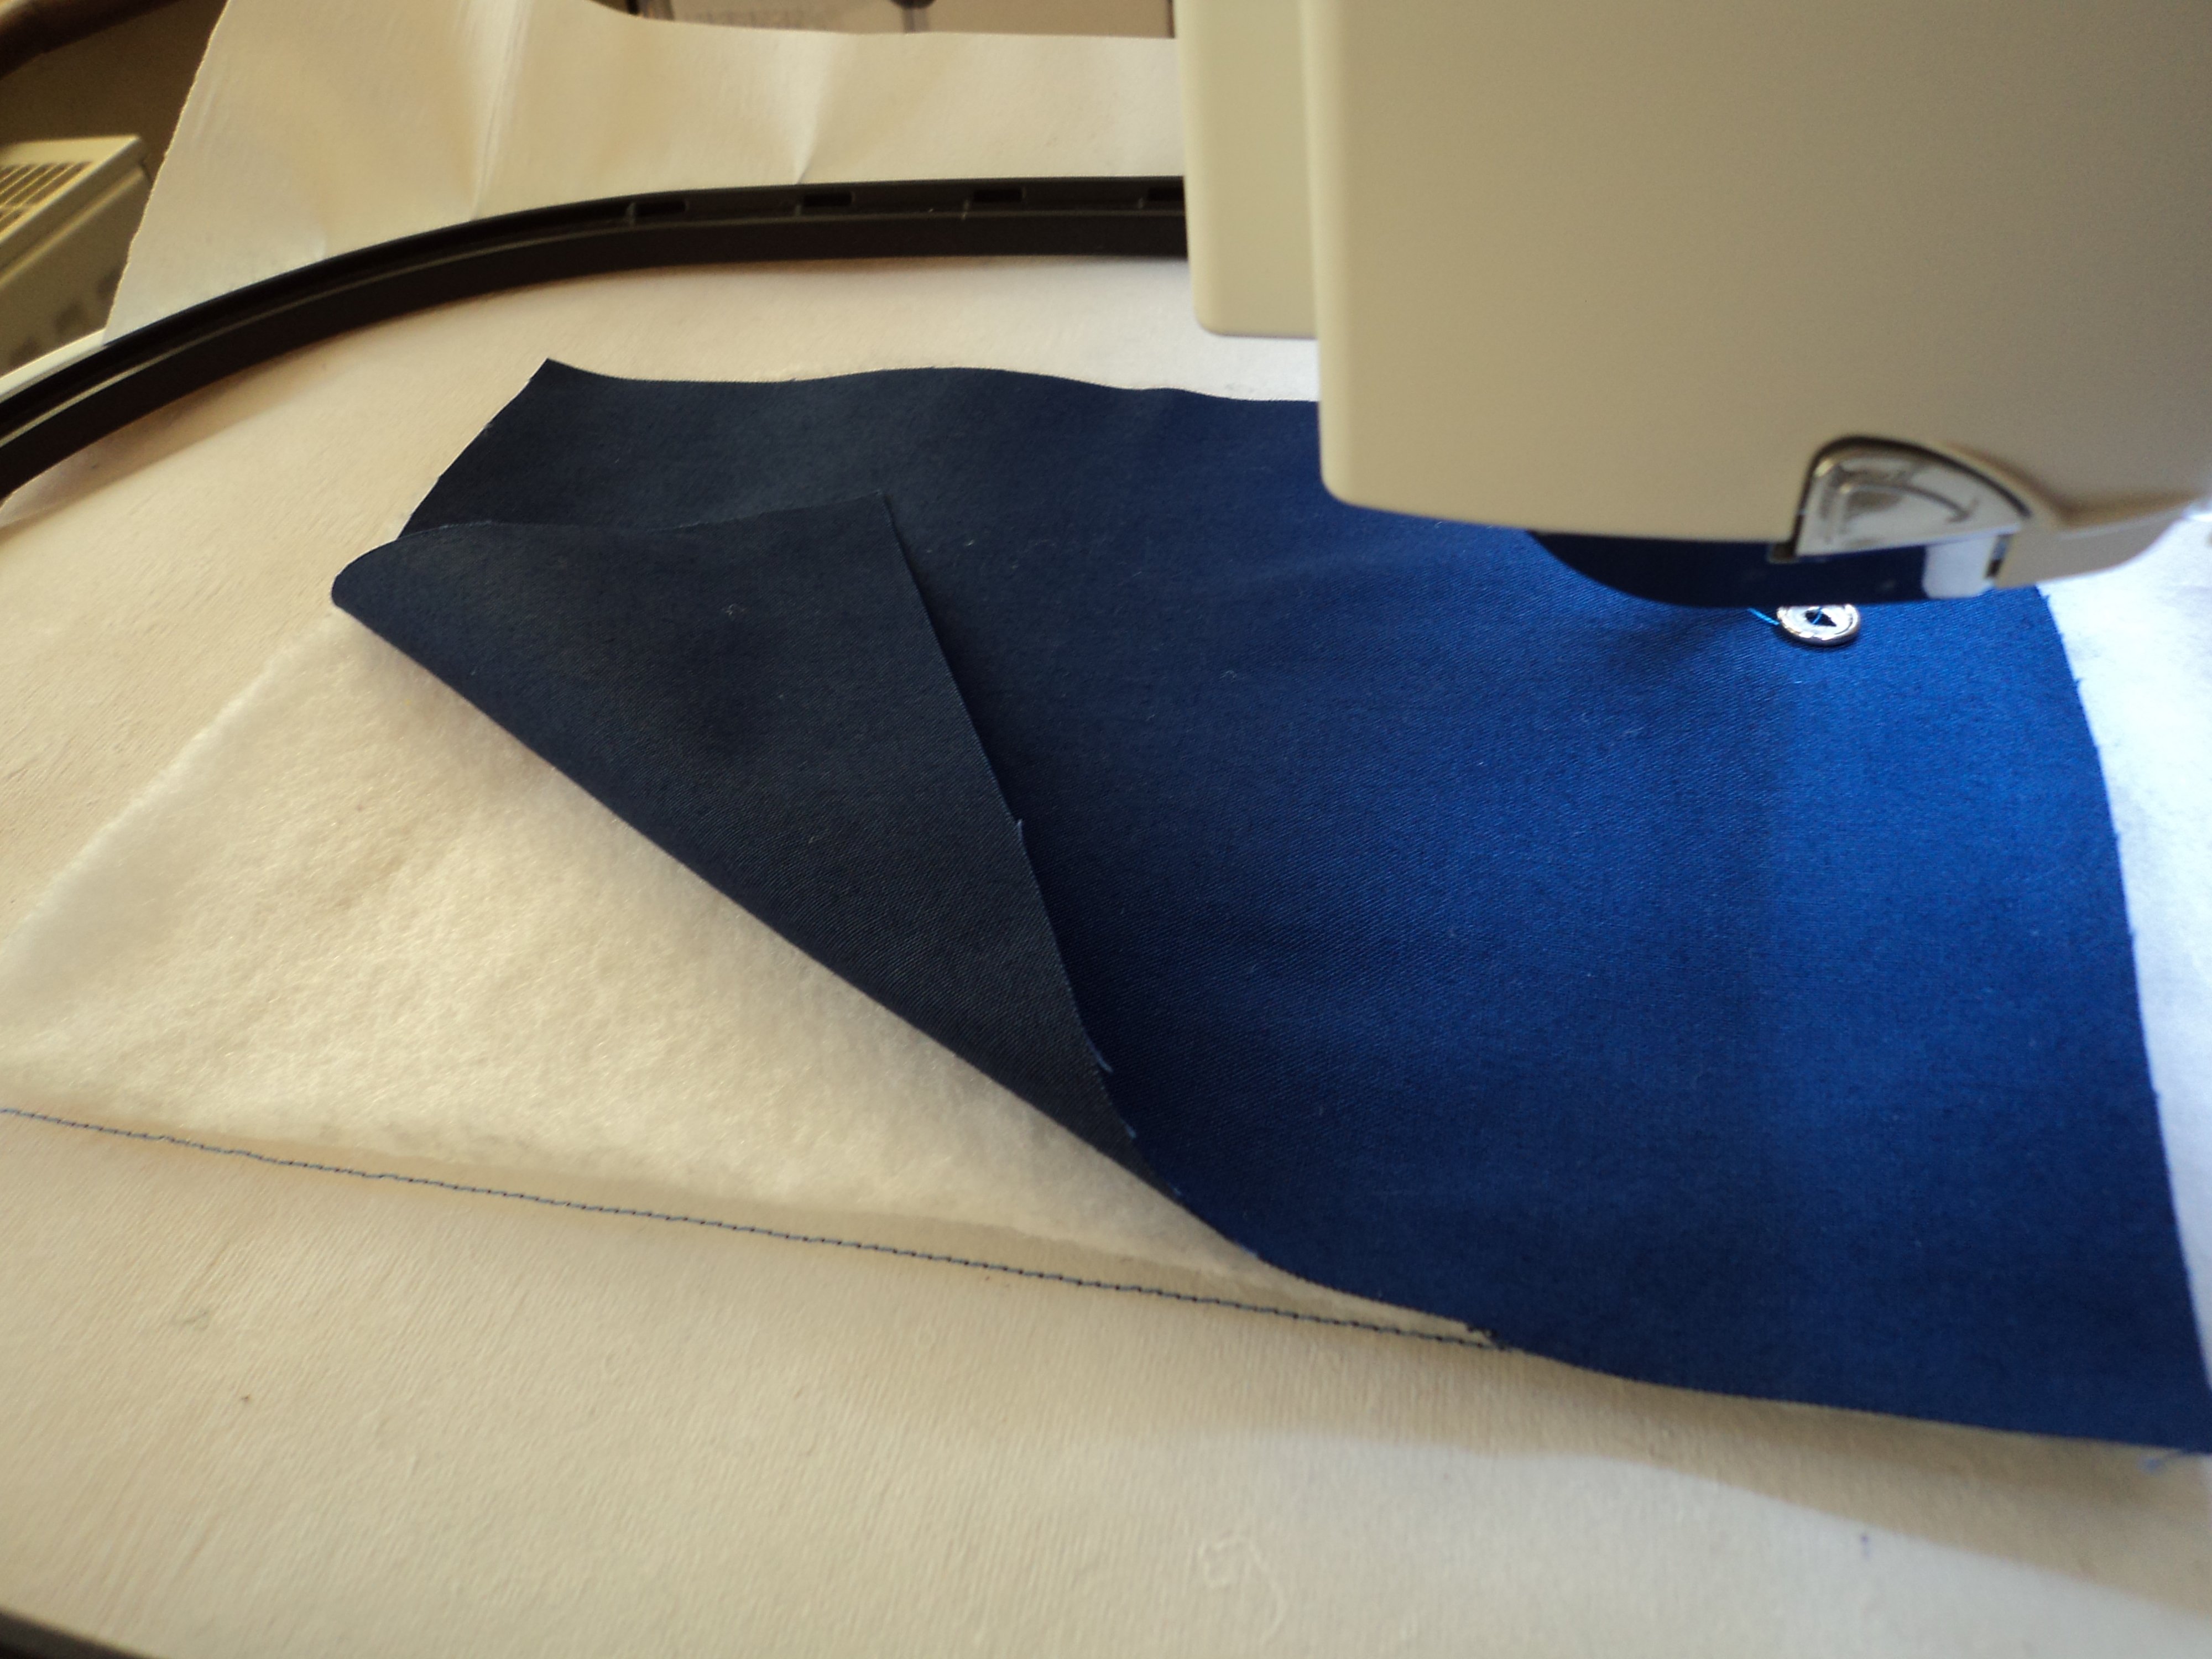
Fig 2
10. Stitch out the chosen design with your embroidery machine.
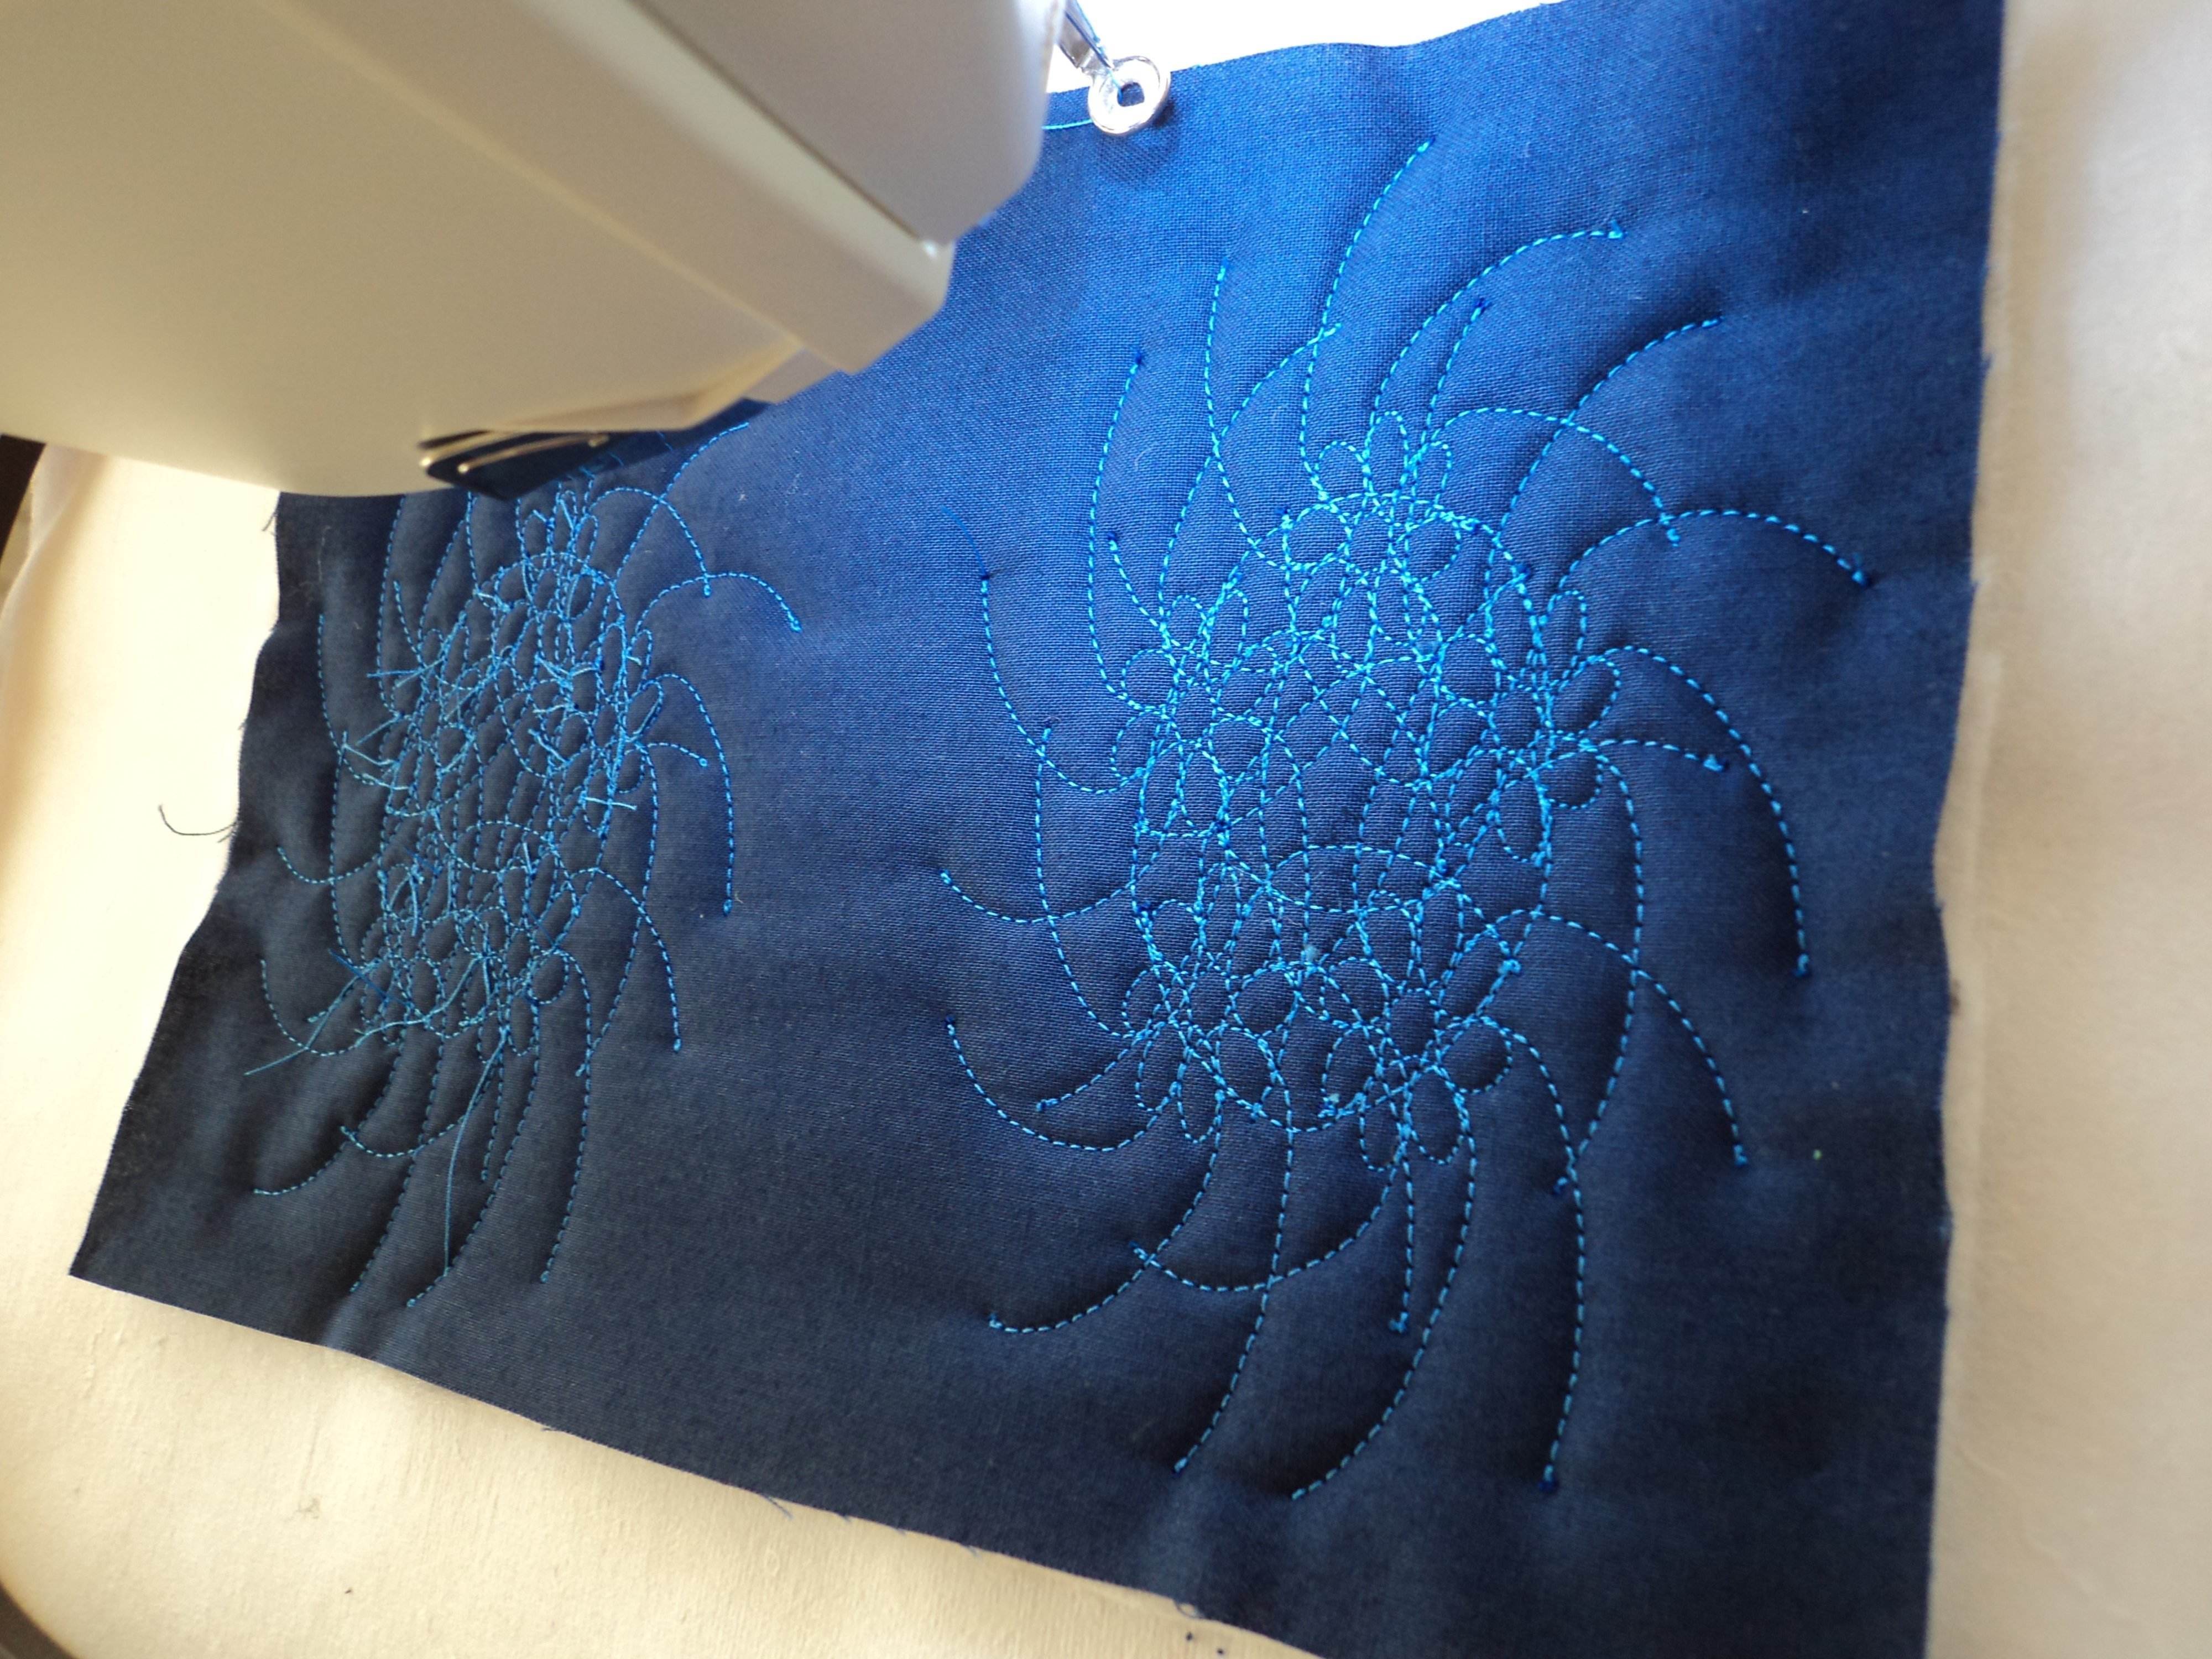
Fig 3
11. Take the two pieces of contrasting fabric and lay them on top of the design in the hoop, right sides together. Fold back a small amount of each of the two contrasting fabric pieces to form an unstitched hem.
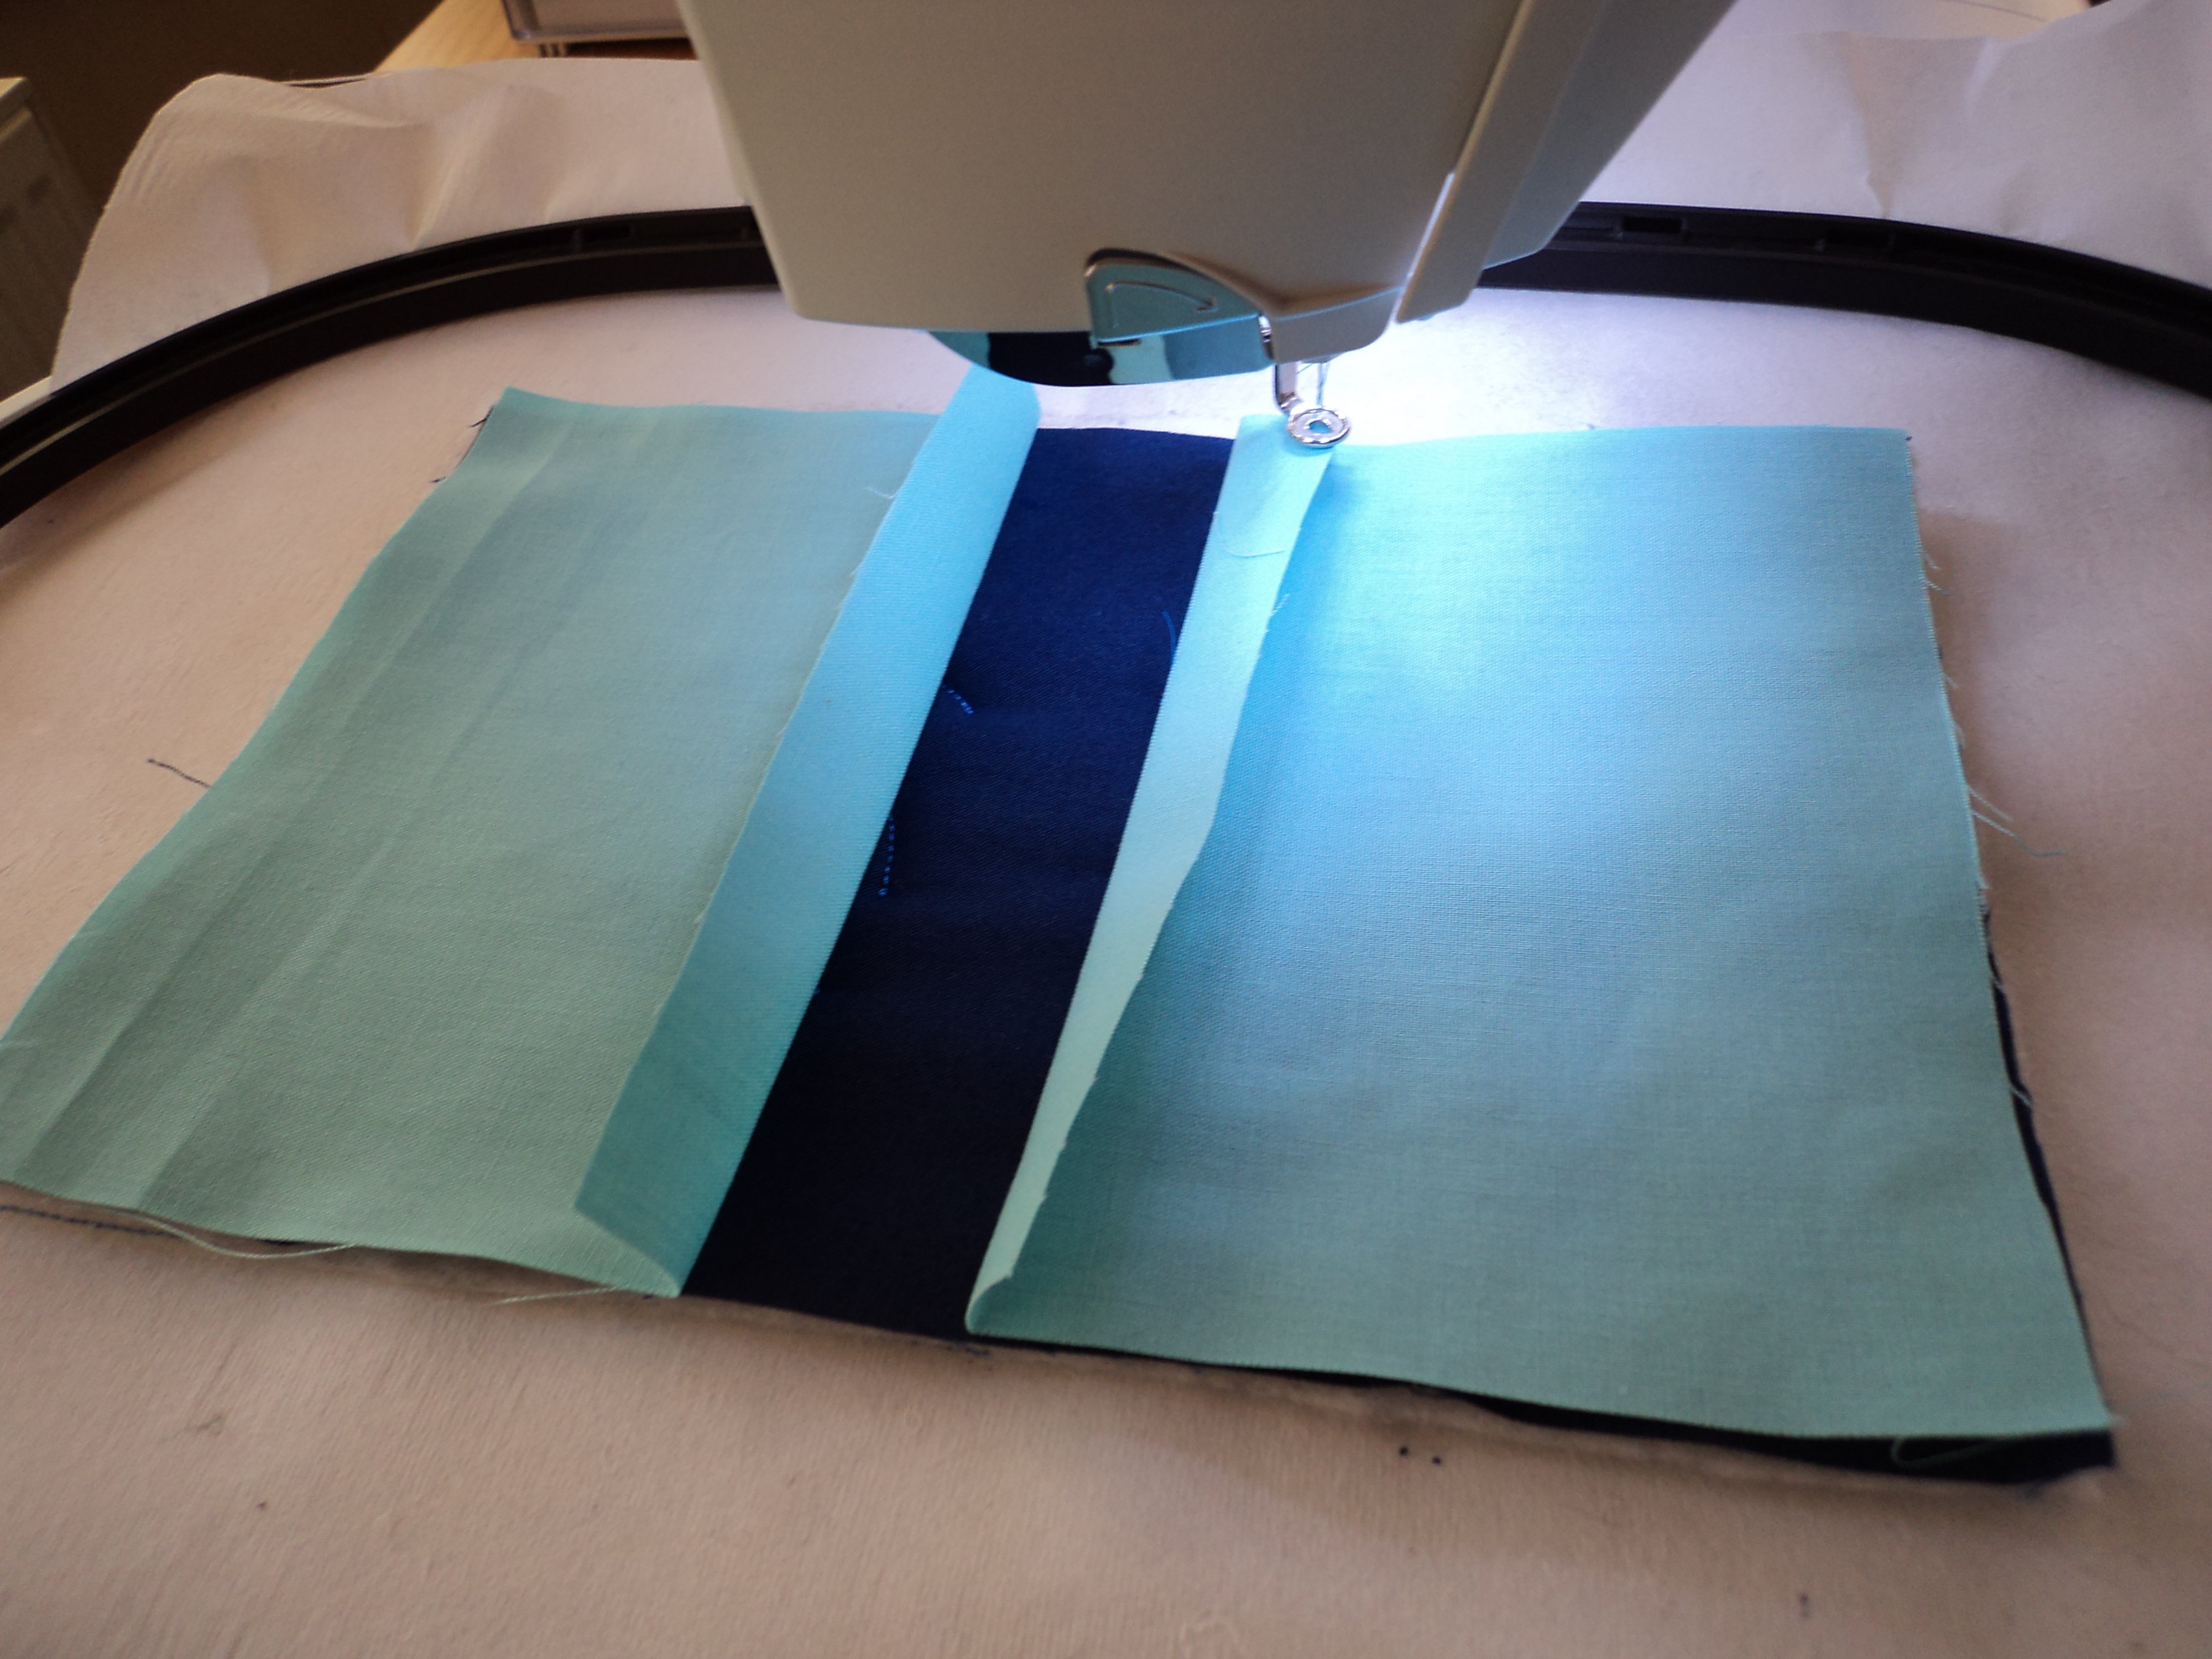
Fig 4
12. Take the strip of fabric for the centre part of the bookwrap and place it on top of the layers already in the hoop, right side uppermost.

Fig 5
13. Stitch all the way round the outside of the rectangle using a ¼” (5mm) seam allowance.

Fig 6
14. Remove from the hoop. Remove the excess stabiliser. (remove the stabiliser from inside the bookwrap for a softer wrap).
15. Clip away the corners to avoid bulk, but don’t go too close to the stitching line.
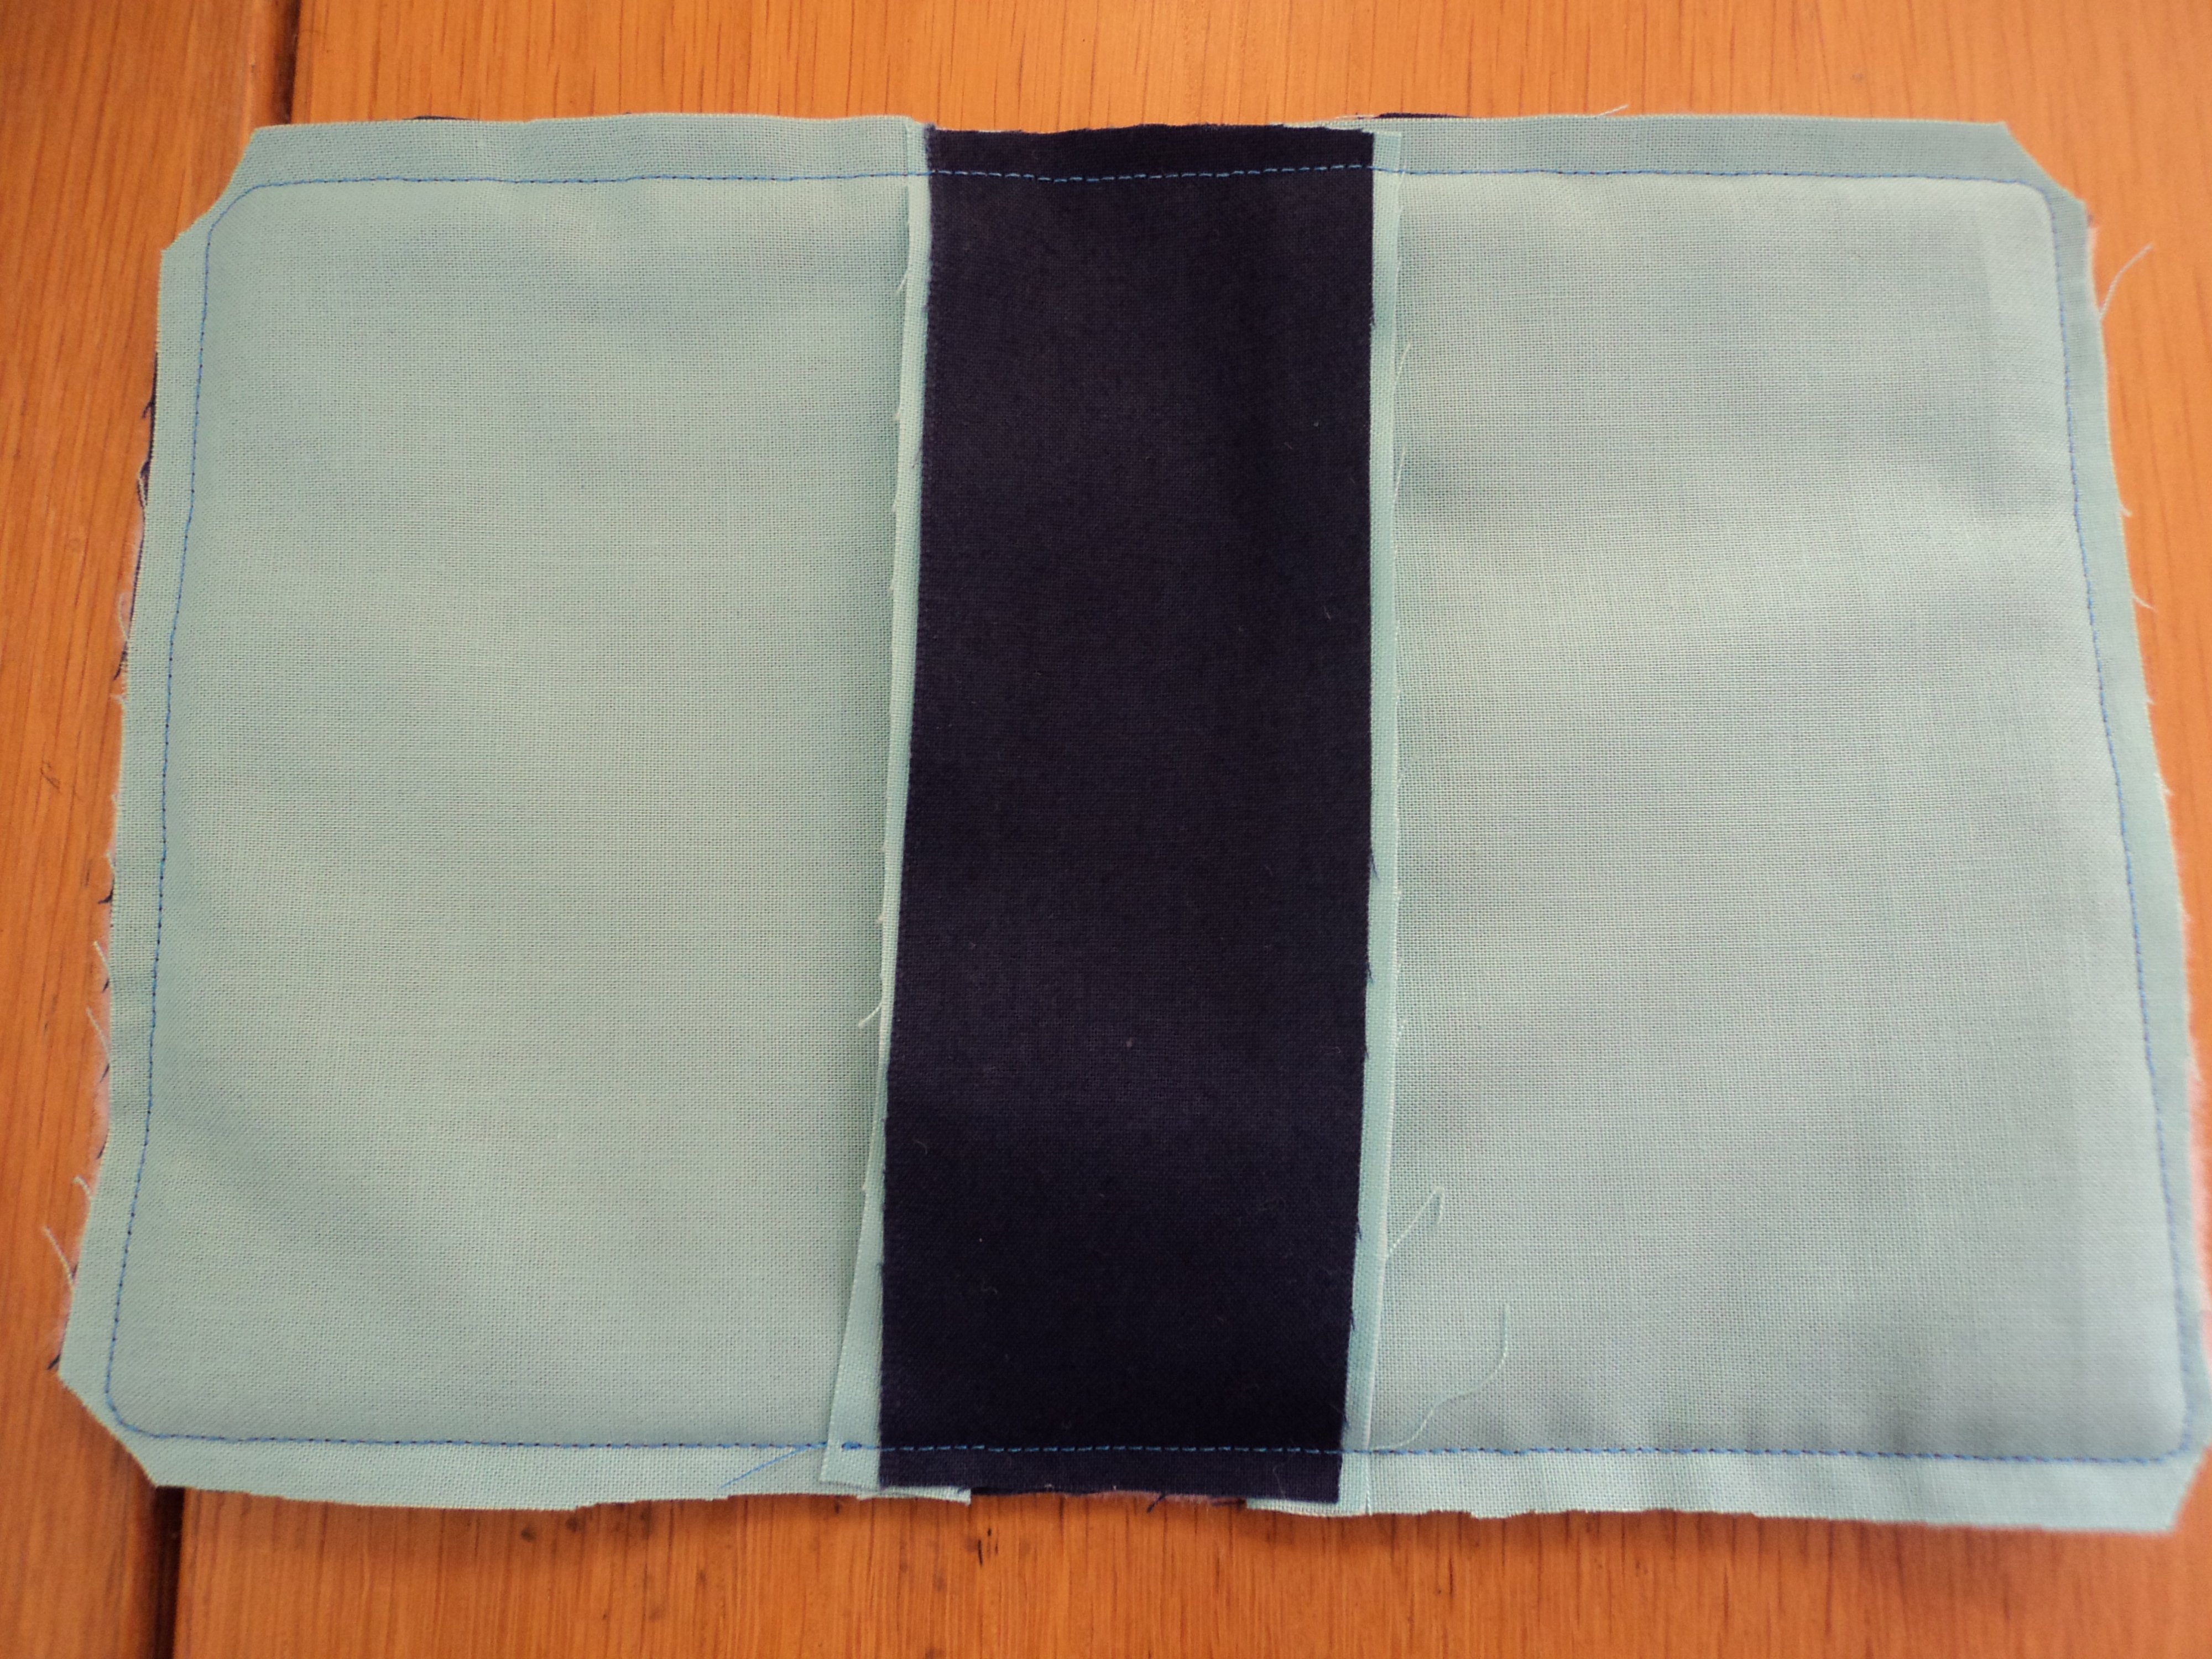
Fig 7
16. Turn the whole bookwrap to the right sides through the gaps left by the strip in the middle.
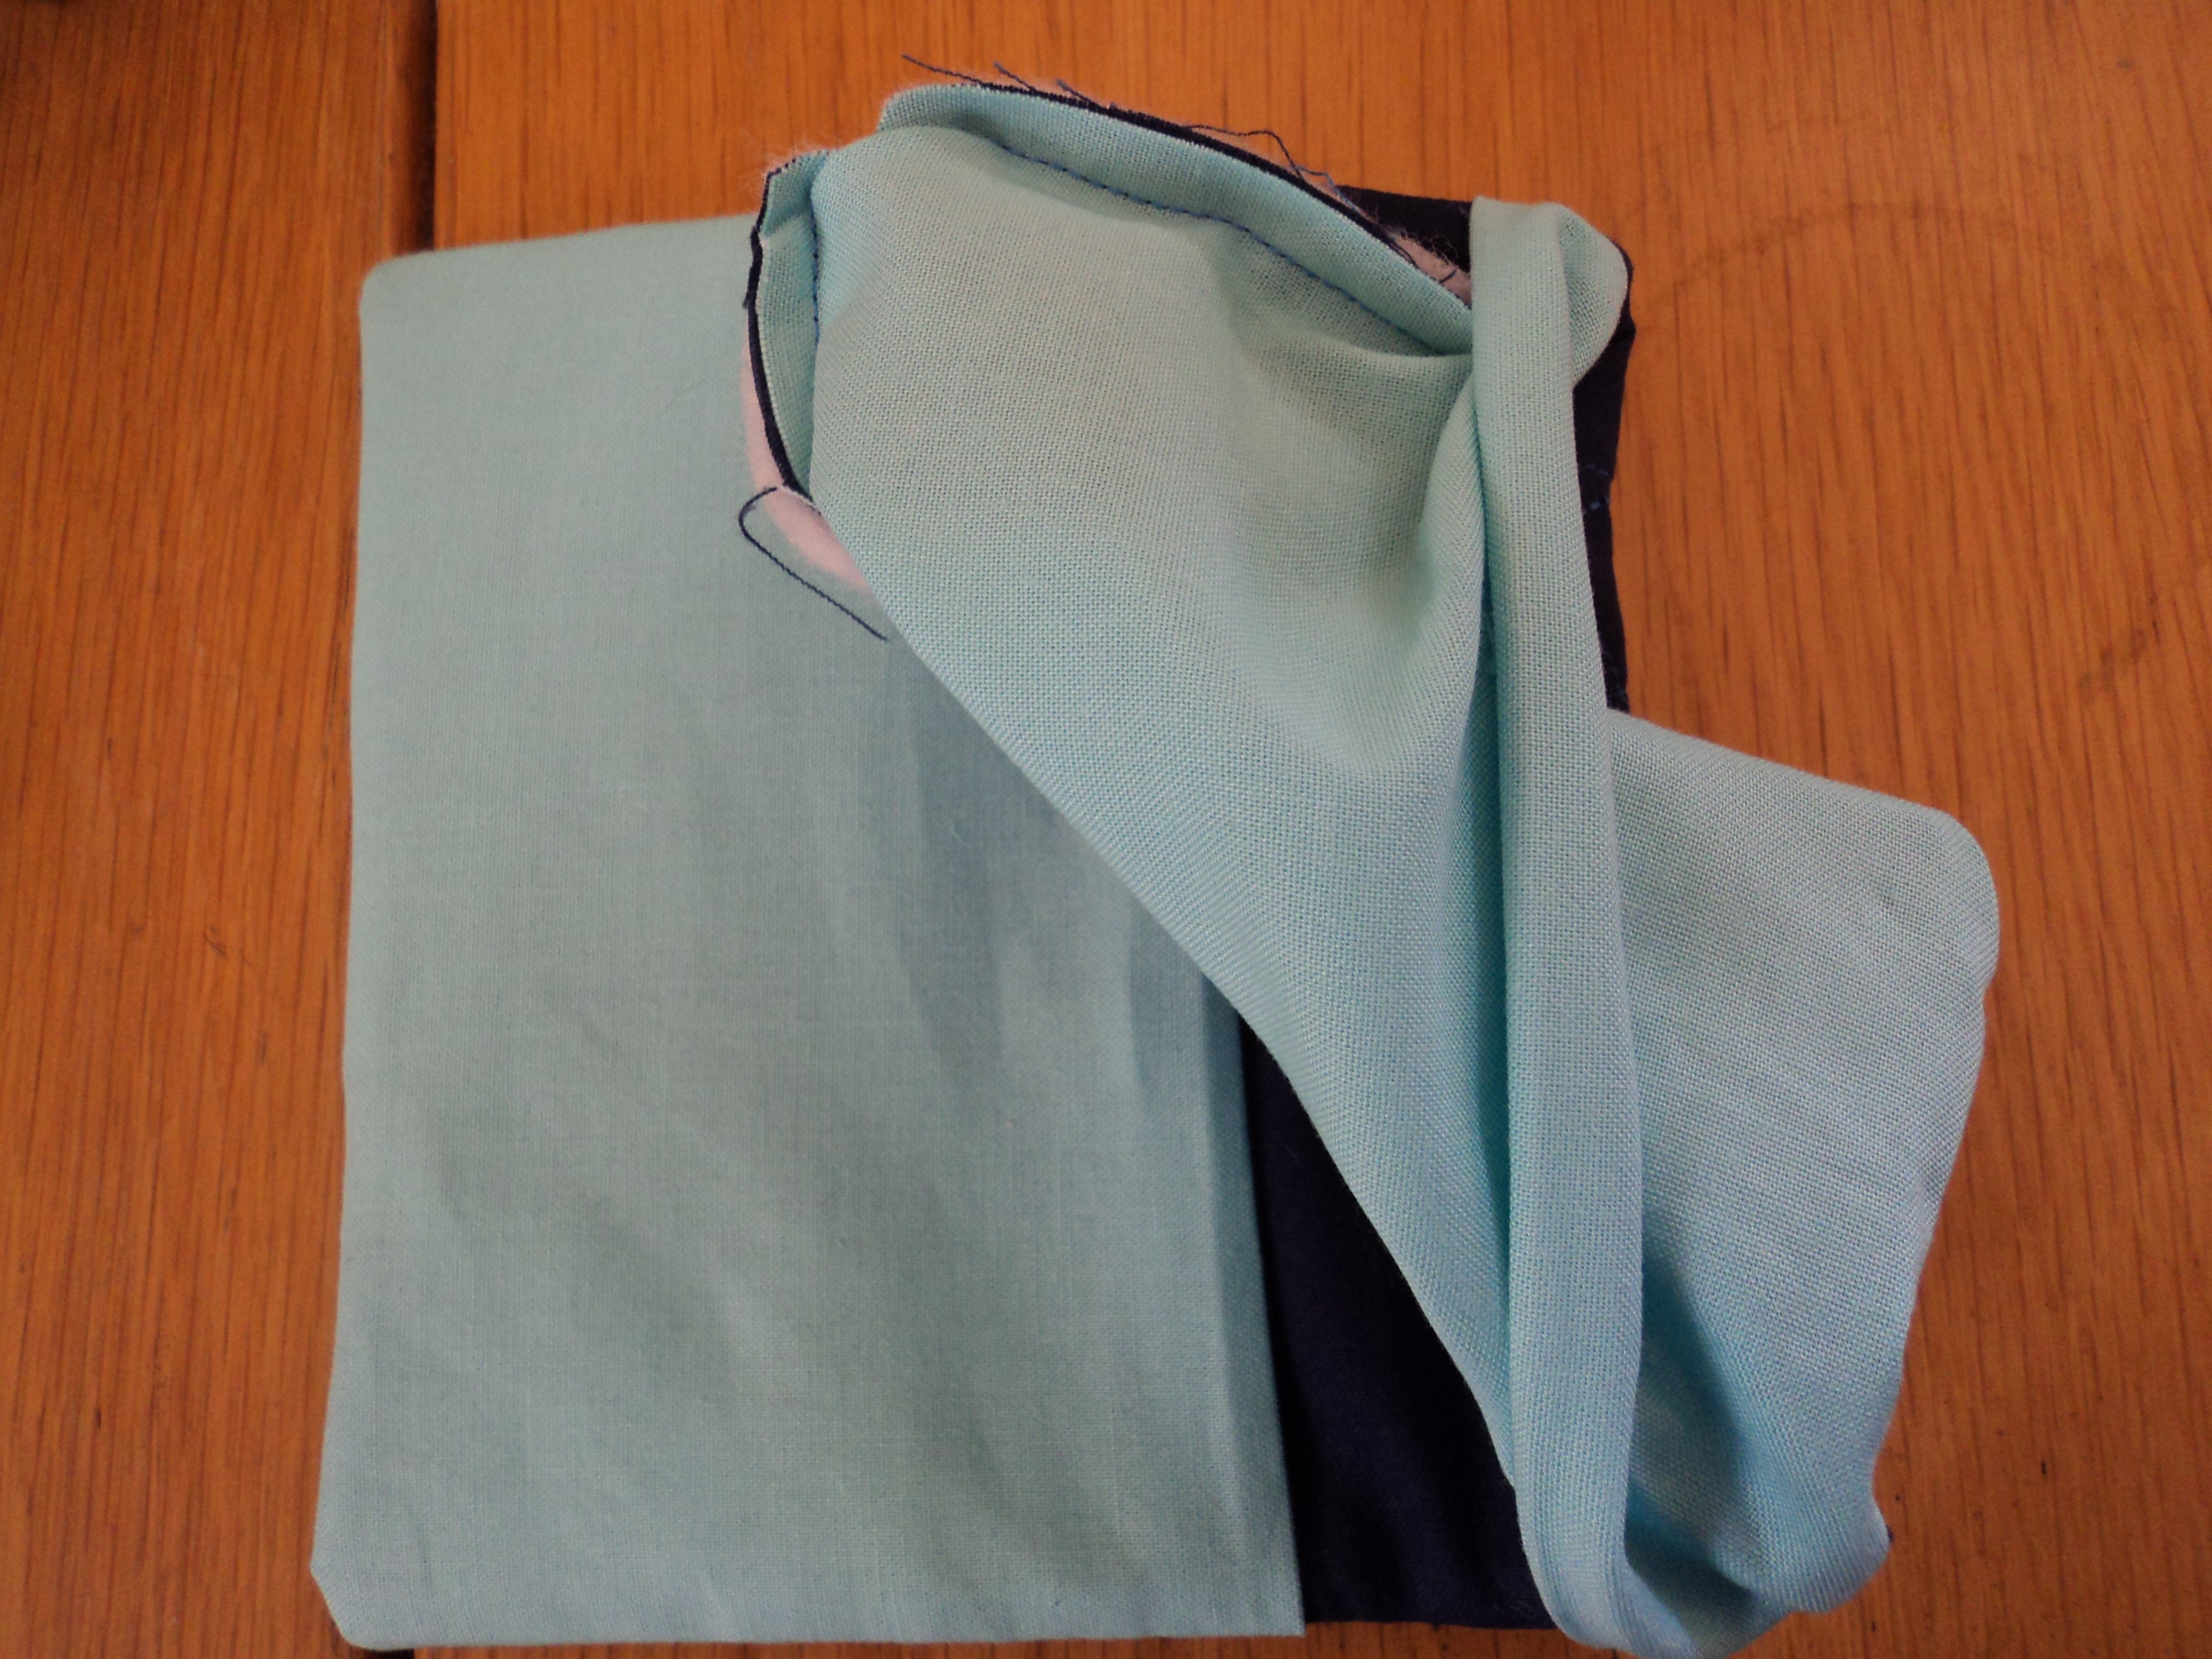
Fig 8
17. Use a blunt-pointed object to ‘poke’ the corners to get them sharp.

Fig 9
18. Take the book and fold the covers outwards towards each other. Slide them into the bookwrap.

Fig 10
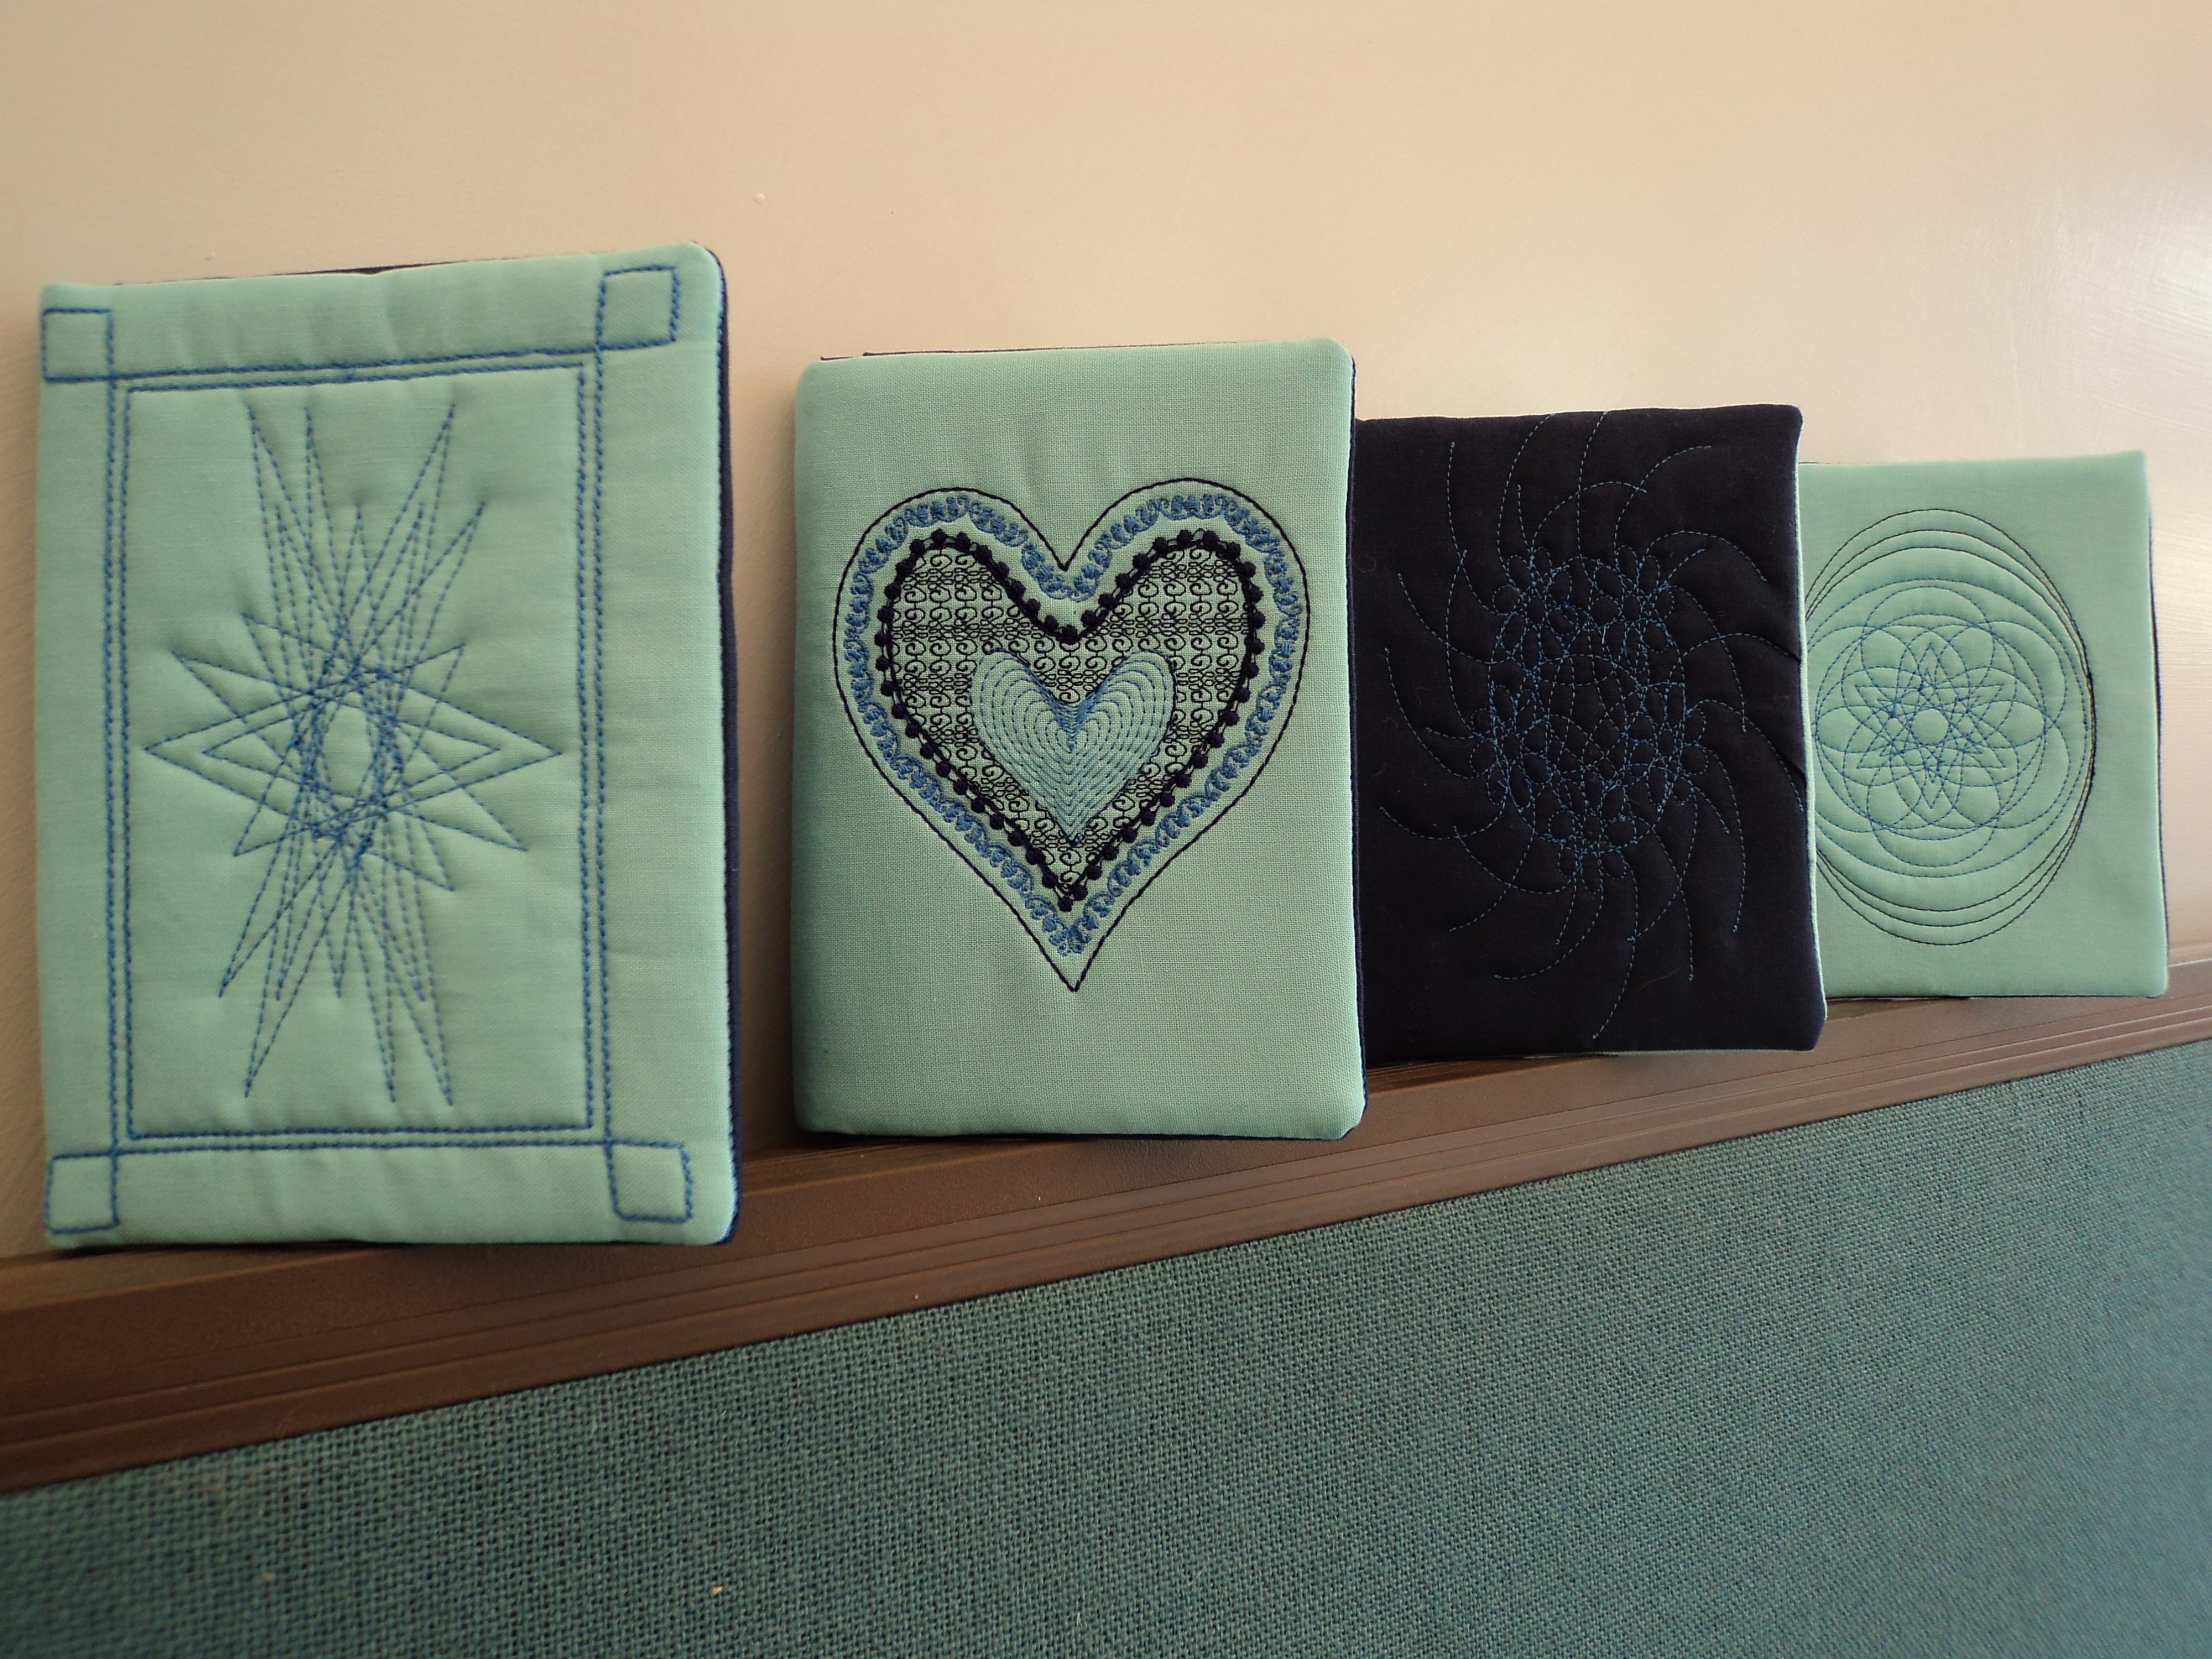
19. Close the book up and you have your lovely designs on the outside of the cover for everyone to admire!
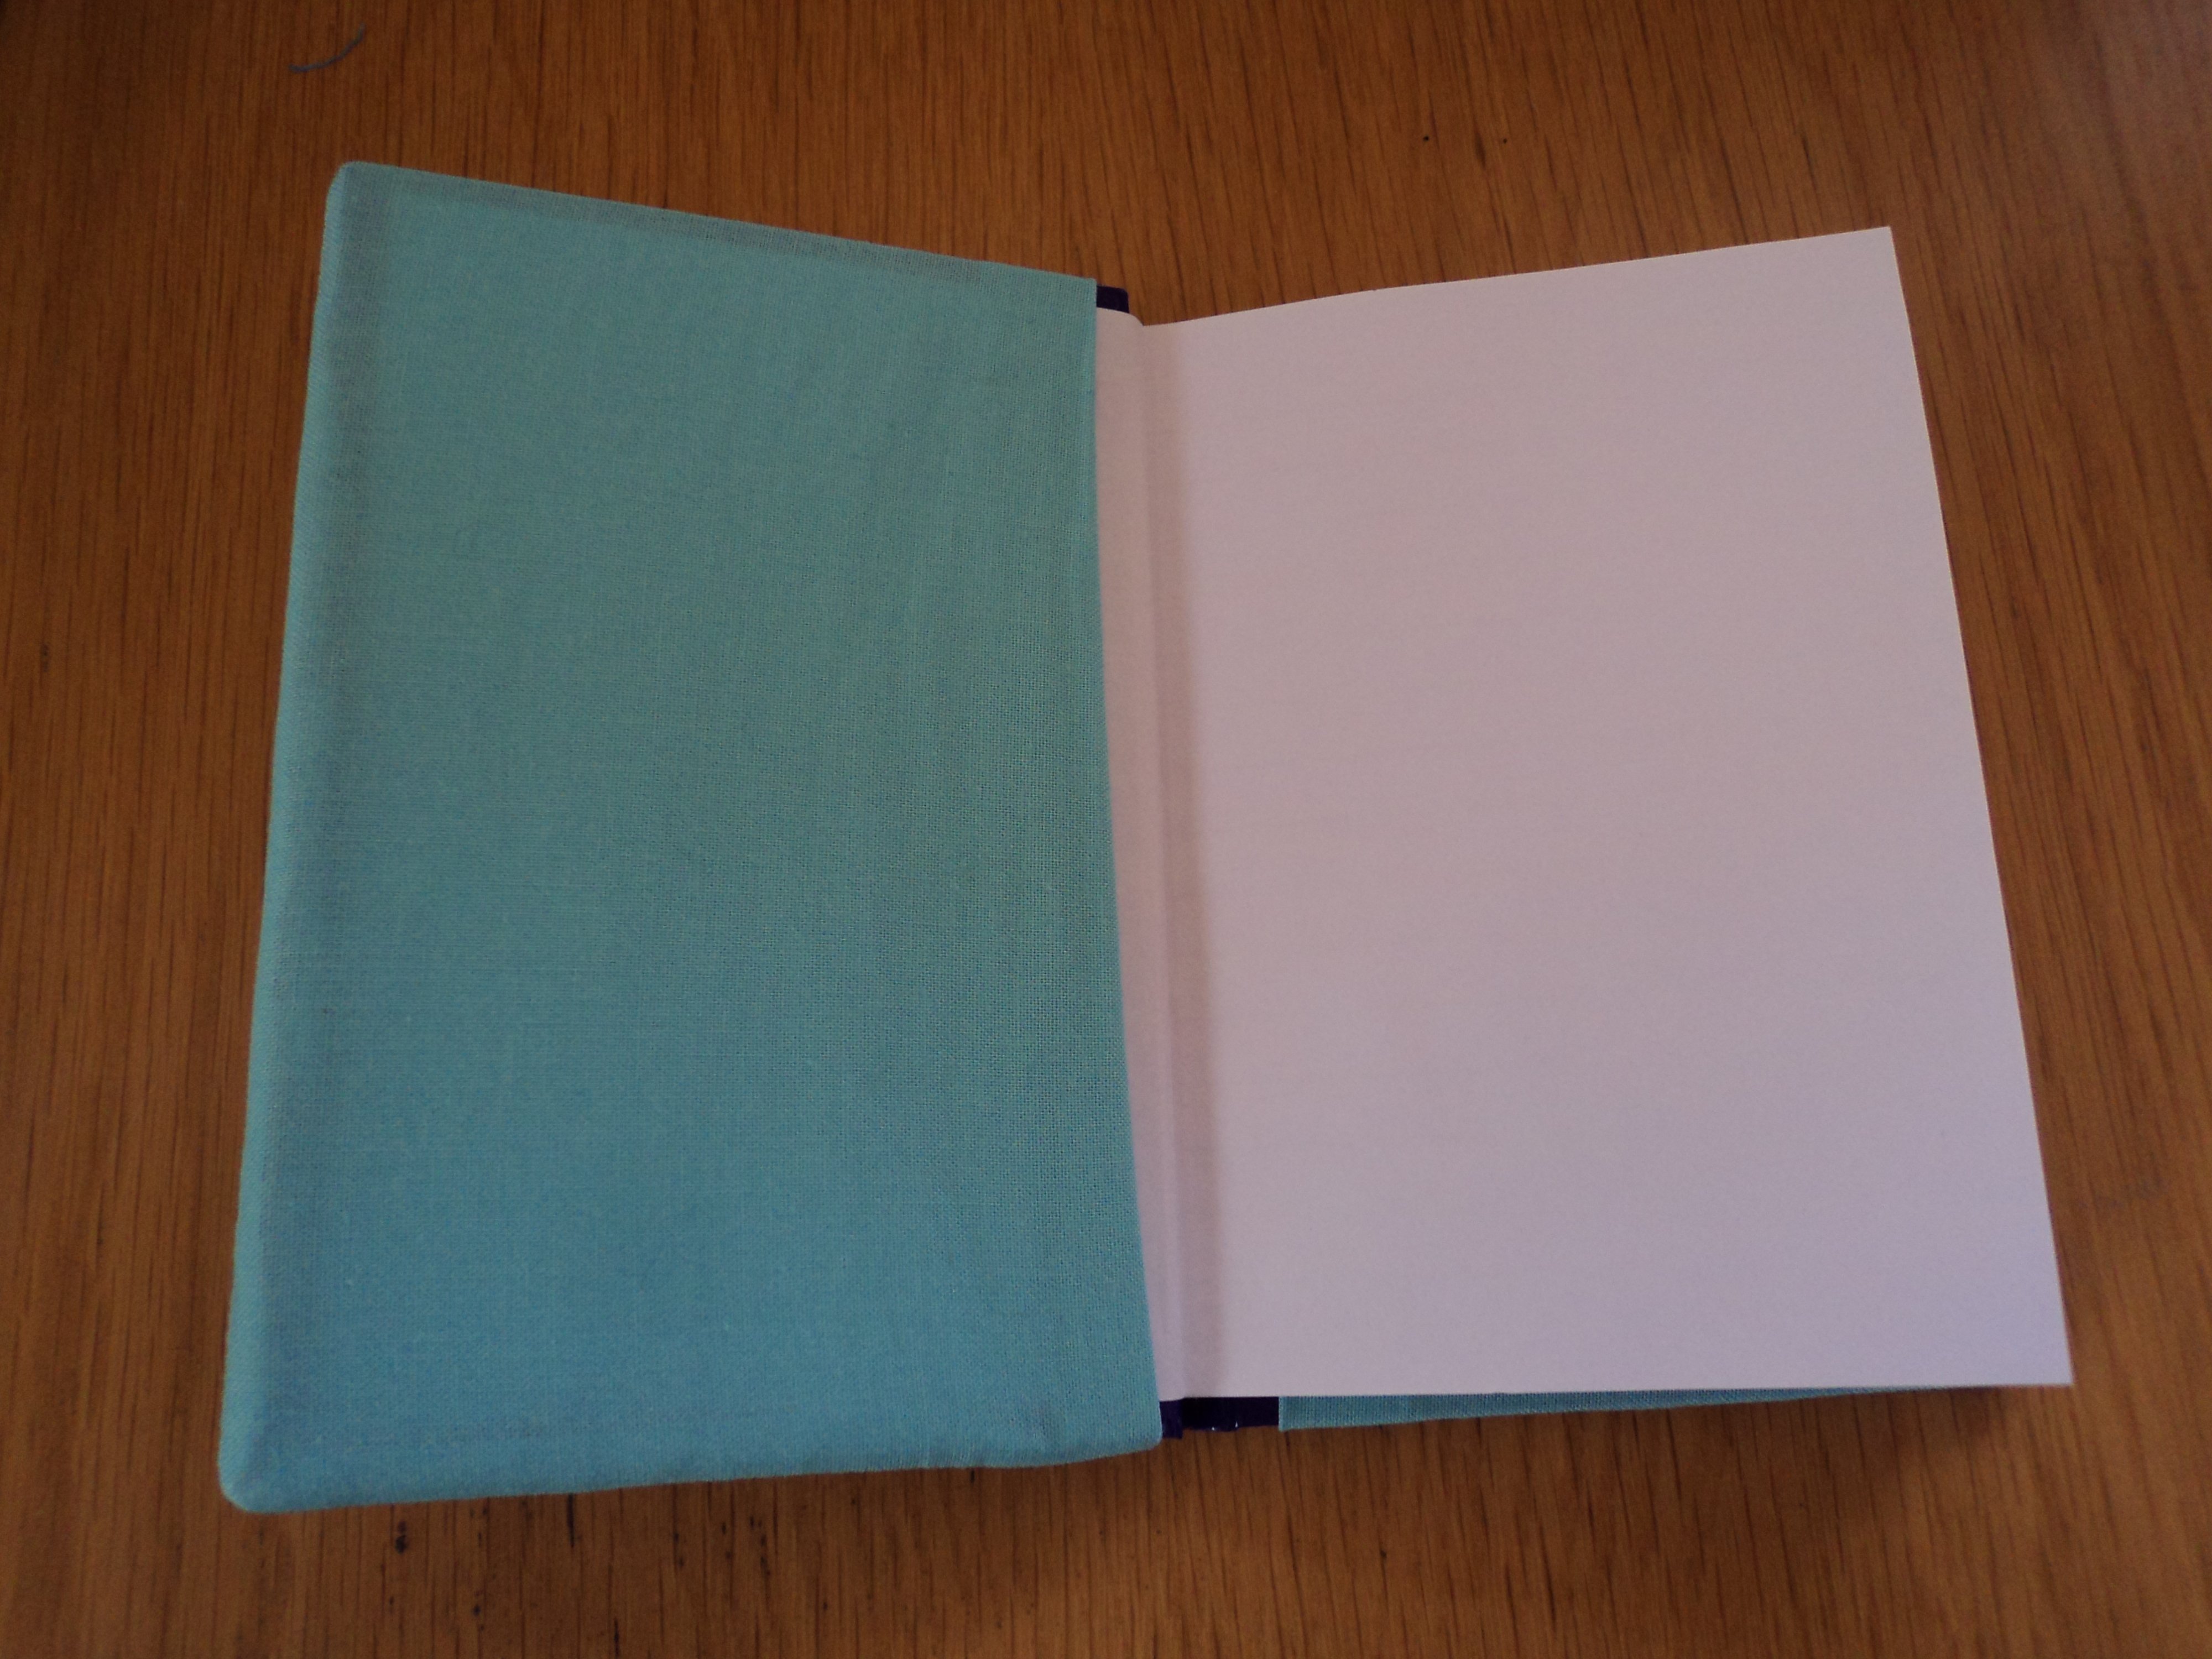
Fig 11
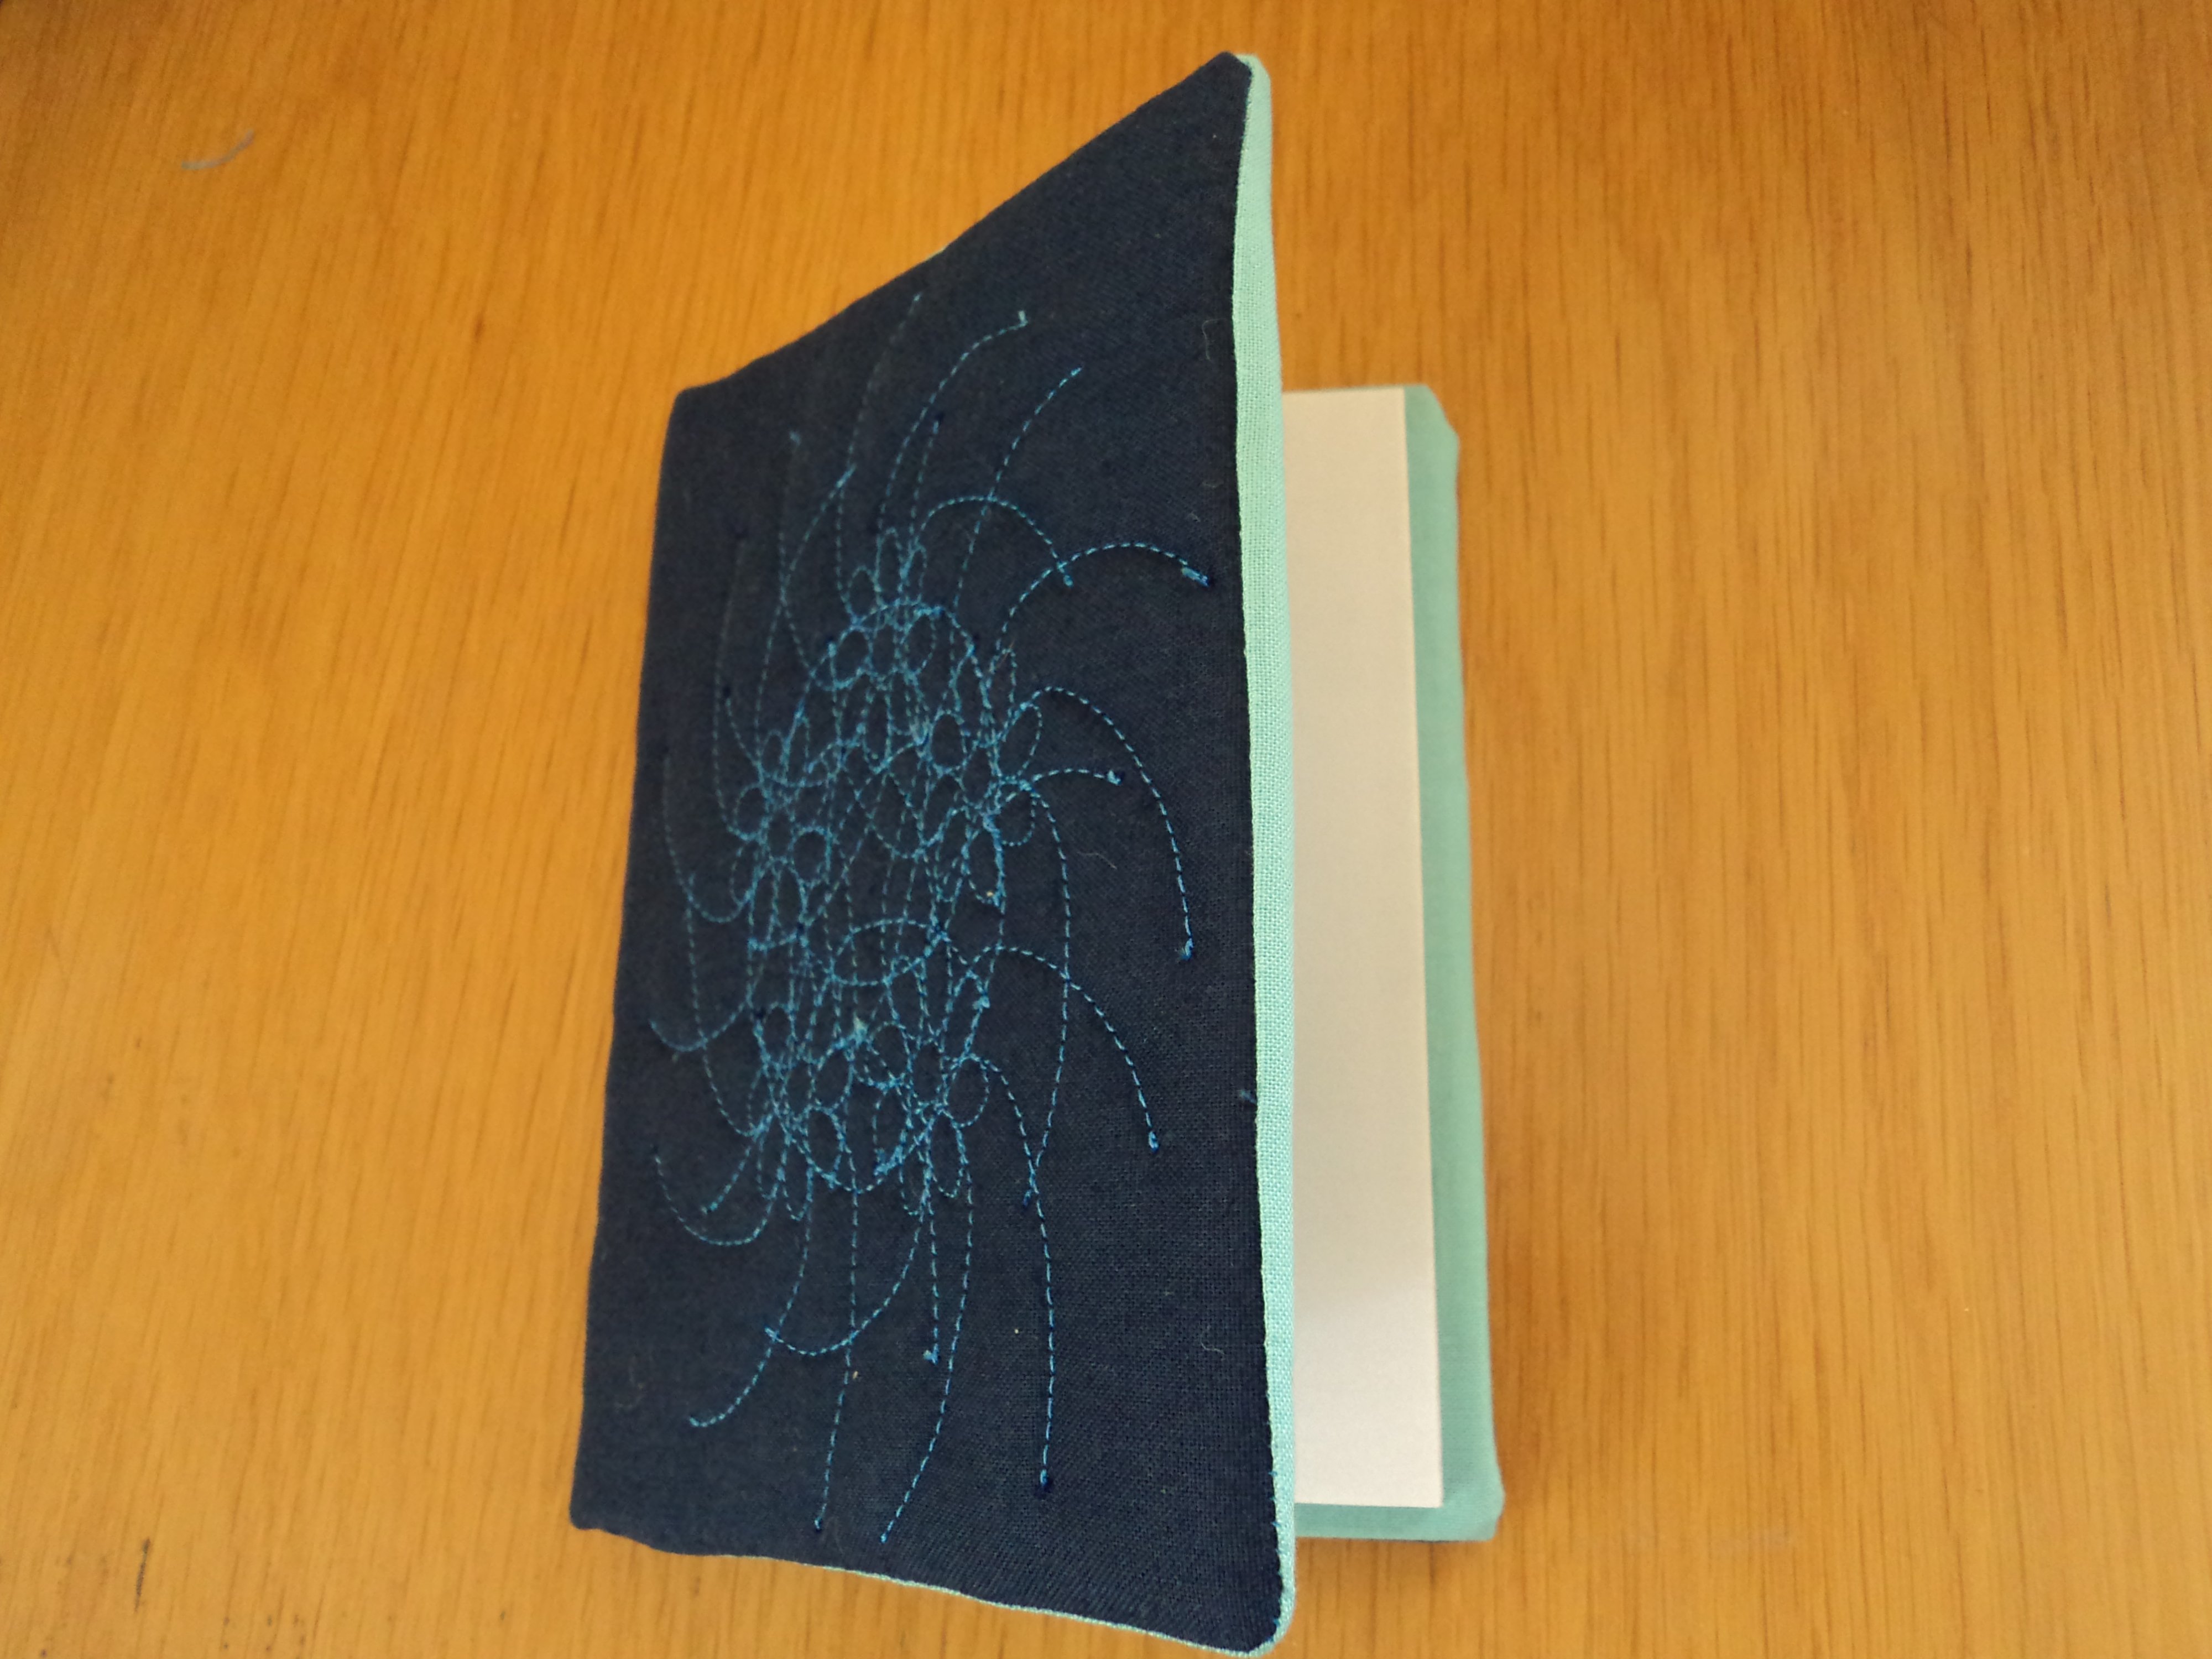
Fig 12
Jan Allston © 2013


Please leave a comment if you genuinely like our blog and the articles in it.