 BERNINA Corporate Blog -
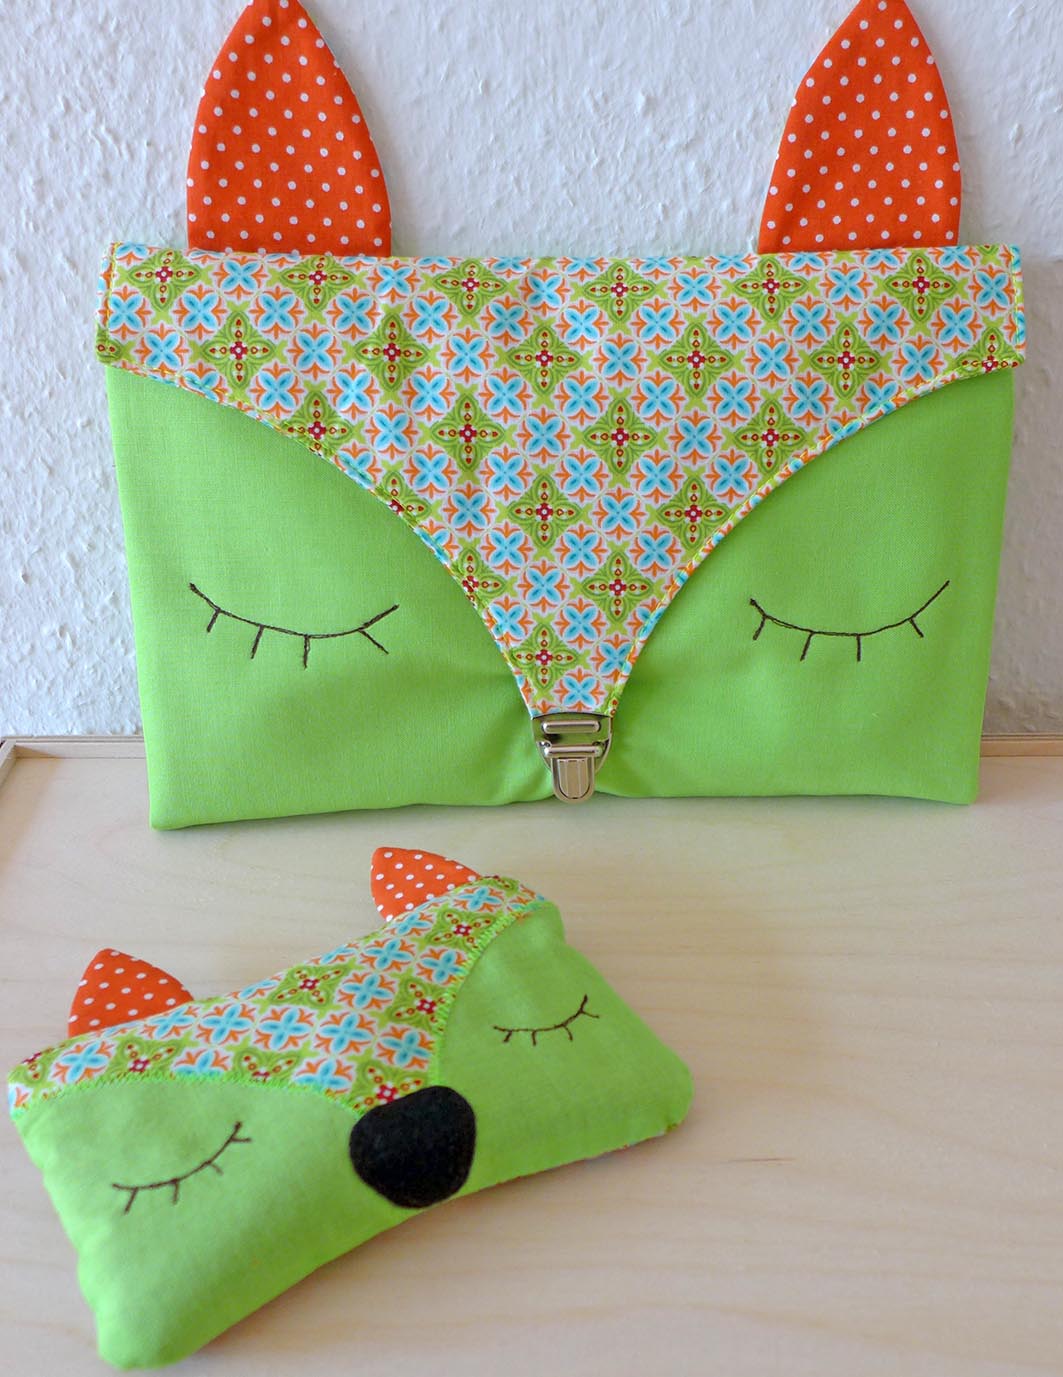
Congratulations on the new BERNINA blog! The blog is now really great and is even more fun. As you may have noticed, we are celebrating the “rebirth” of the blog with a baby week. A number of colleagues have prepared some excellent instructions. I would like to join in and show you how to sew a fox nappy bag and a fox warming cushion.
Materials for the nappy bag (with a fabric width of 110 cm):
Note: the pattern does not include any seam allowances!
- 30 cm cotton, in this case apple green (inside and outside)
- 30 cm cotton, in this case patterned (nappy bag, flap, one side of the ears)
- 30 cm cotton, in this case orange spotted (wet wipes bag, one side of the ears)
- 30 cm H630 wadding
- Small bag fastening (approx. 2.3 cm wide)
- Water soluble pen
- Template Pattern_Fox
Cutting information can be found on the pattern.
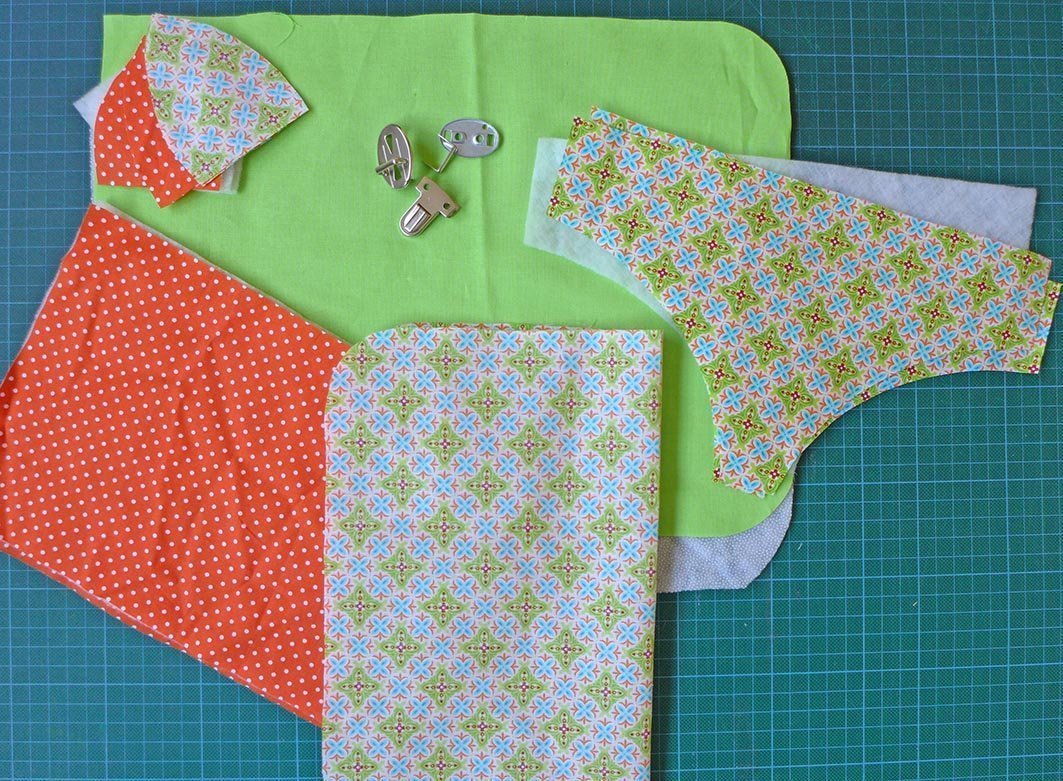
Cutting and sewing instructions for the nappy bag.
Print out the pattern and cut out the pattern pieces. Cut out all the pieces; do not leave seam allowances in the case of the wadding.
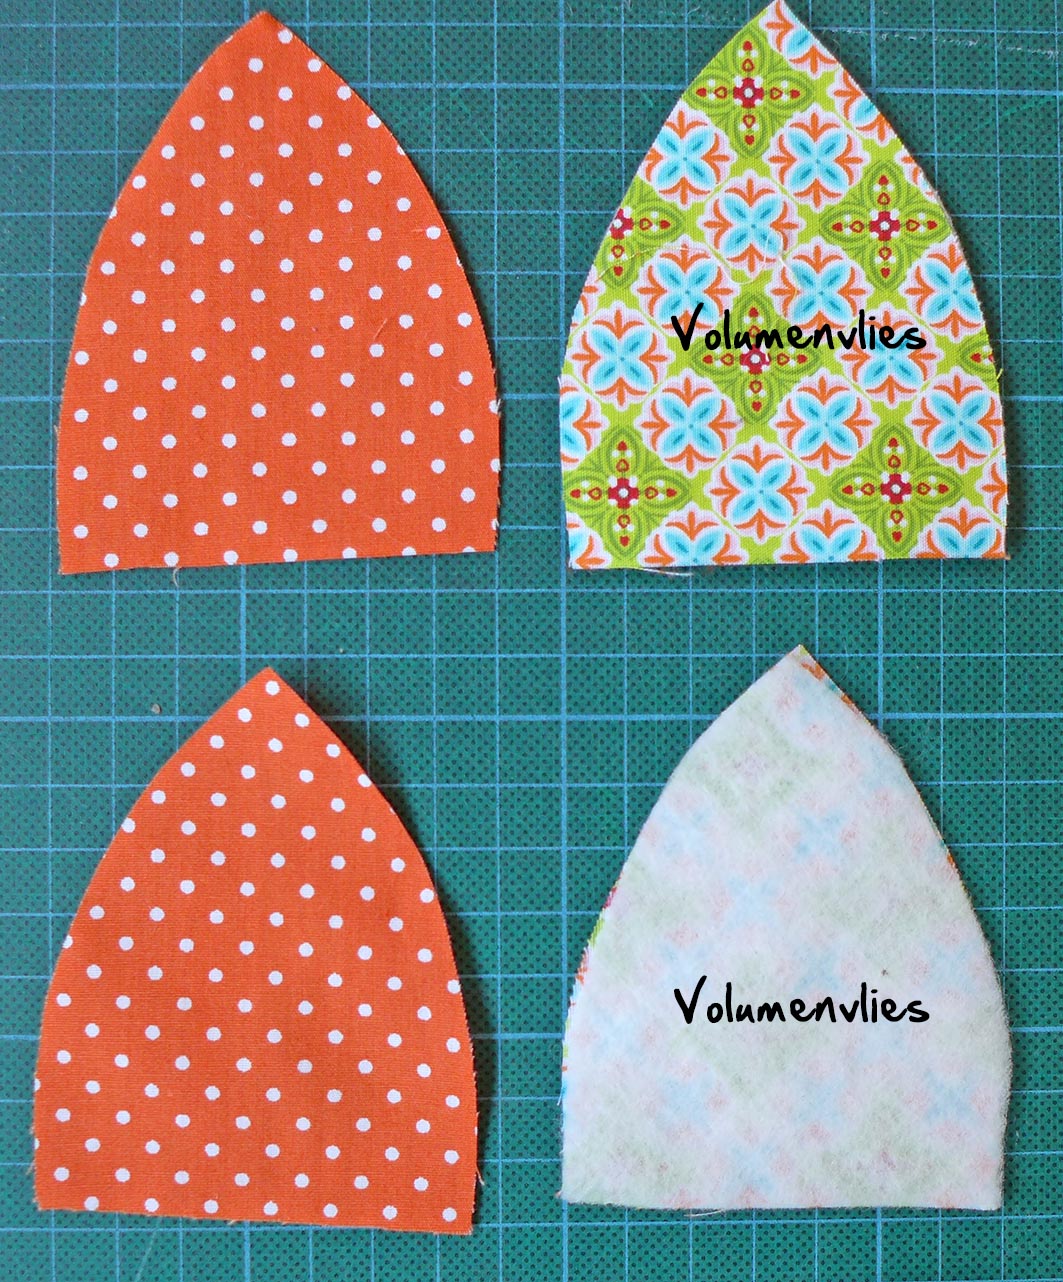
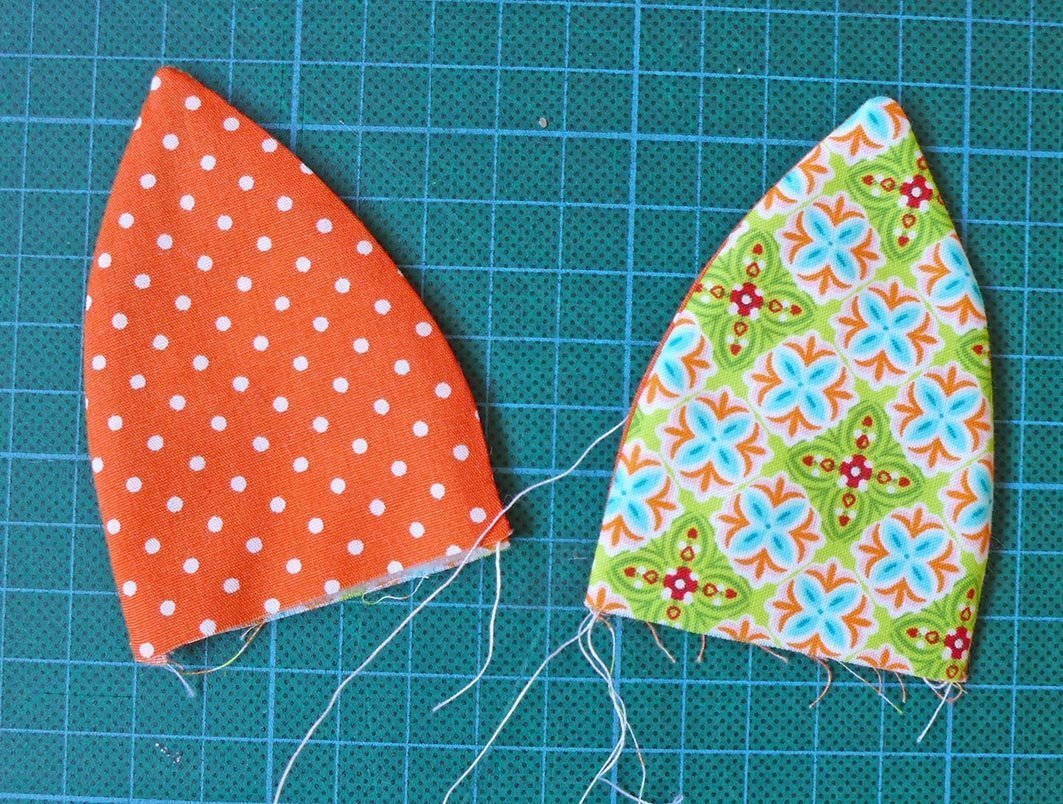
Ears:
Iron the wadding onto the wrong side of one of the pieces in each case. Place two ear pieces (one patterned and one spotted) with the right sides together and sew together using the relevant seam allowance. When you do this, leave the bottom edge open. Turn and press.
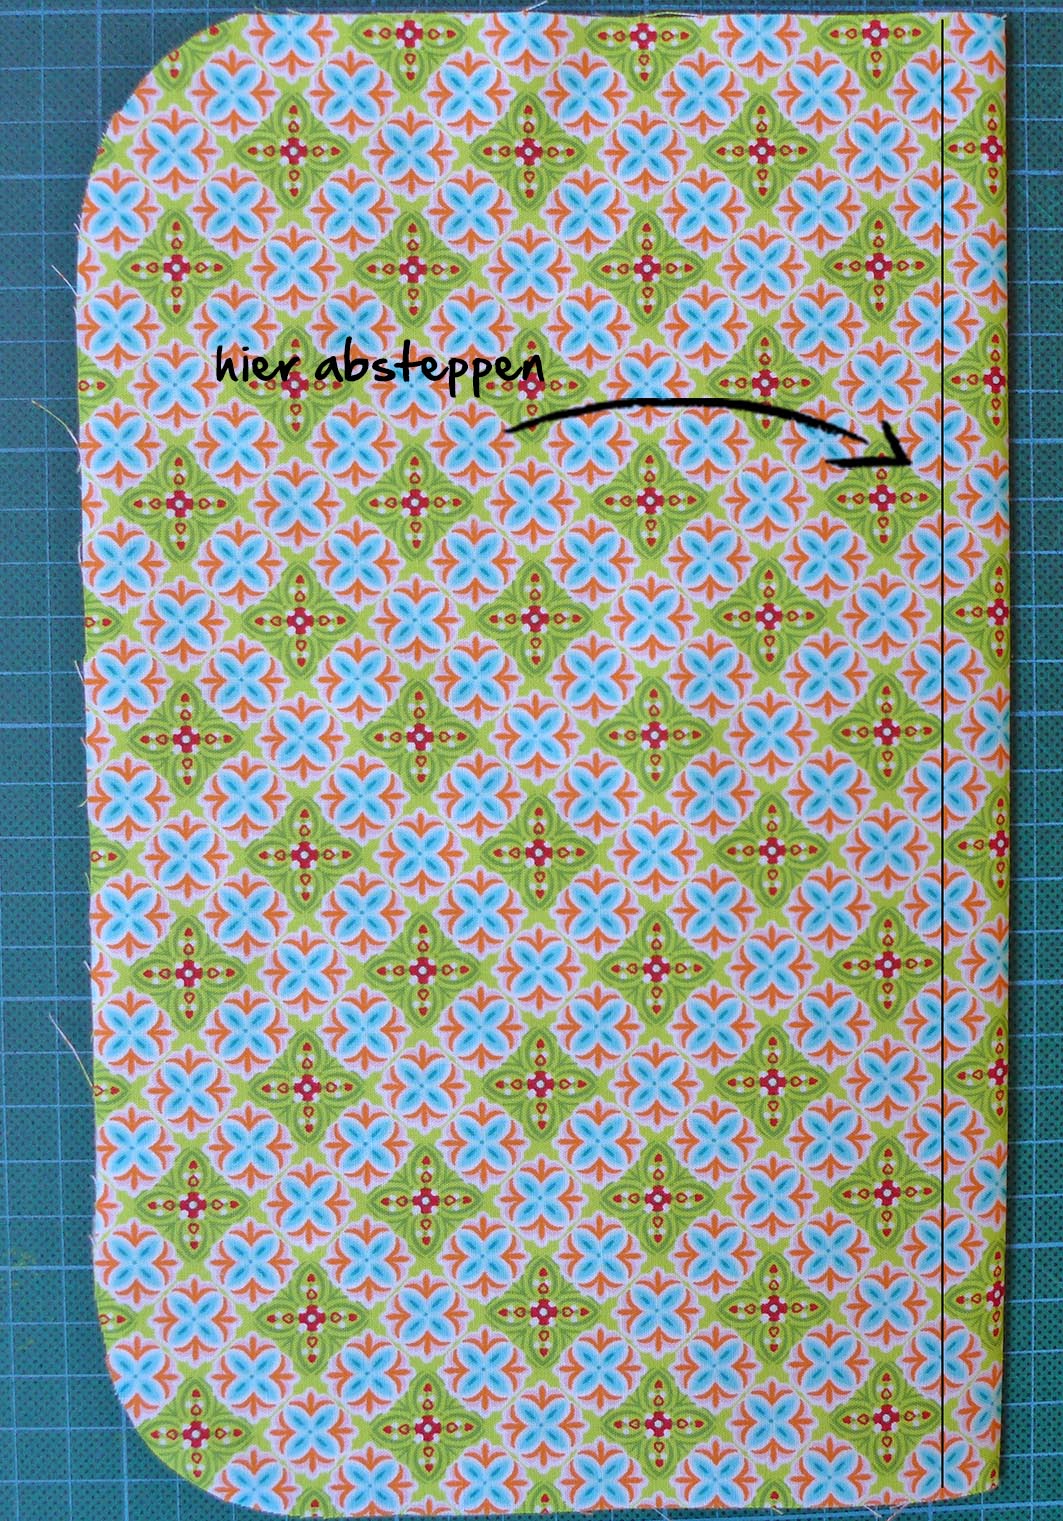
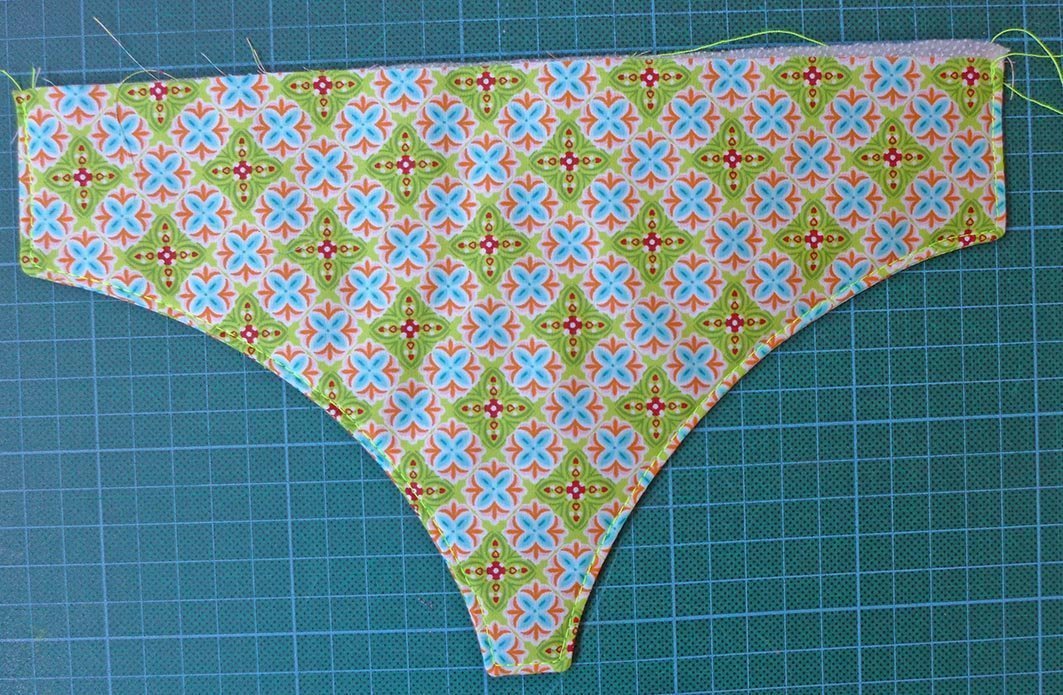
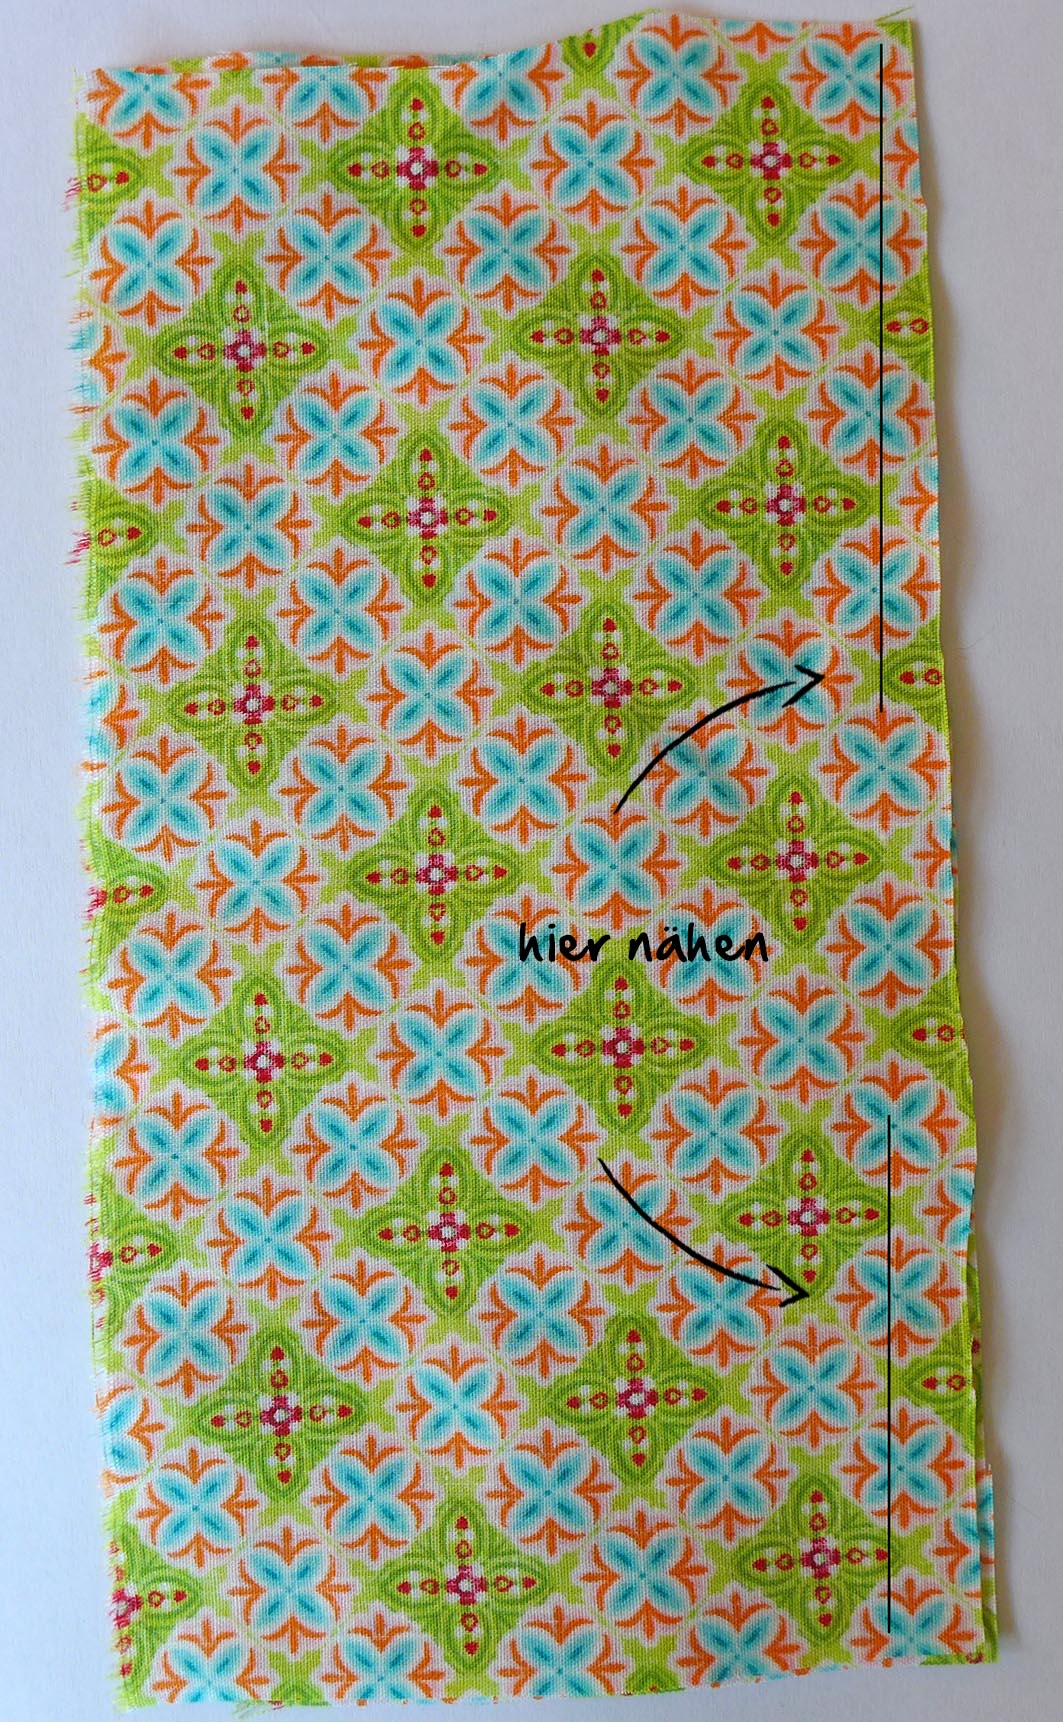
Nappy bag:
Iron the wadding onto one half and fold the remaining fabric so that the fabric has the two wrong sides together. Topstitch the folded edge.
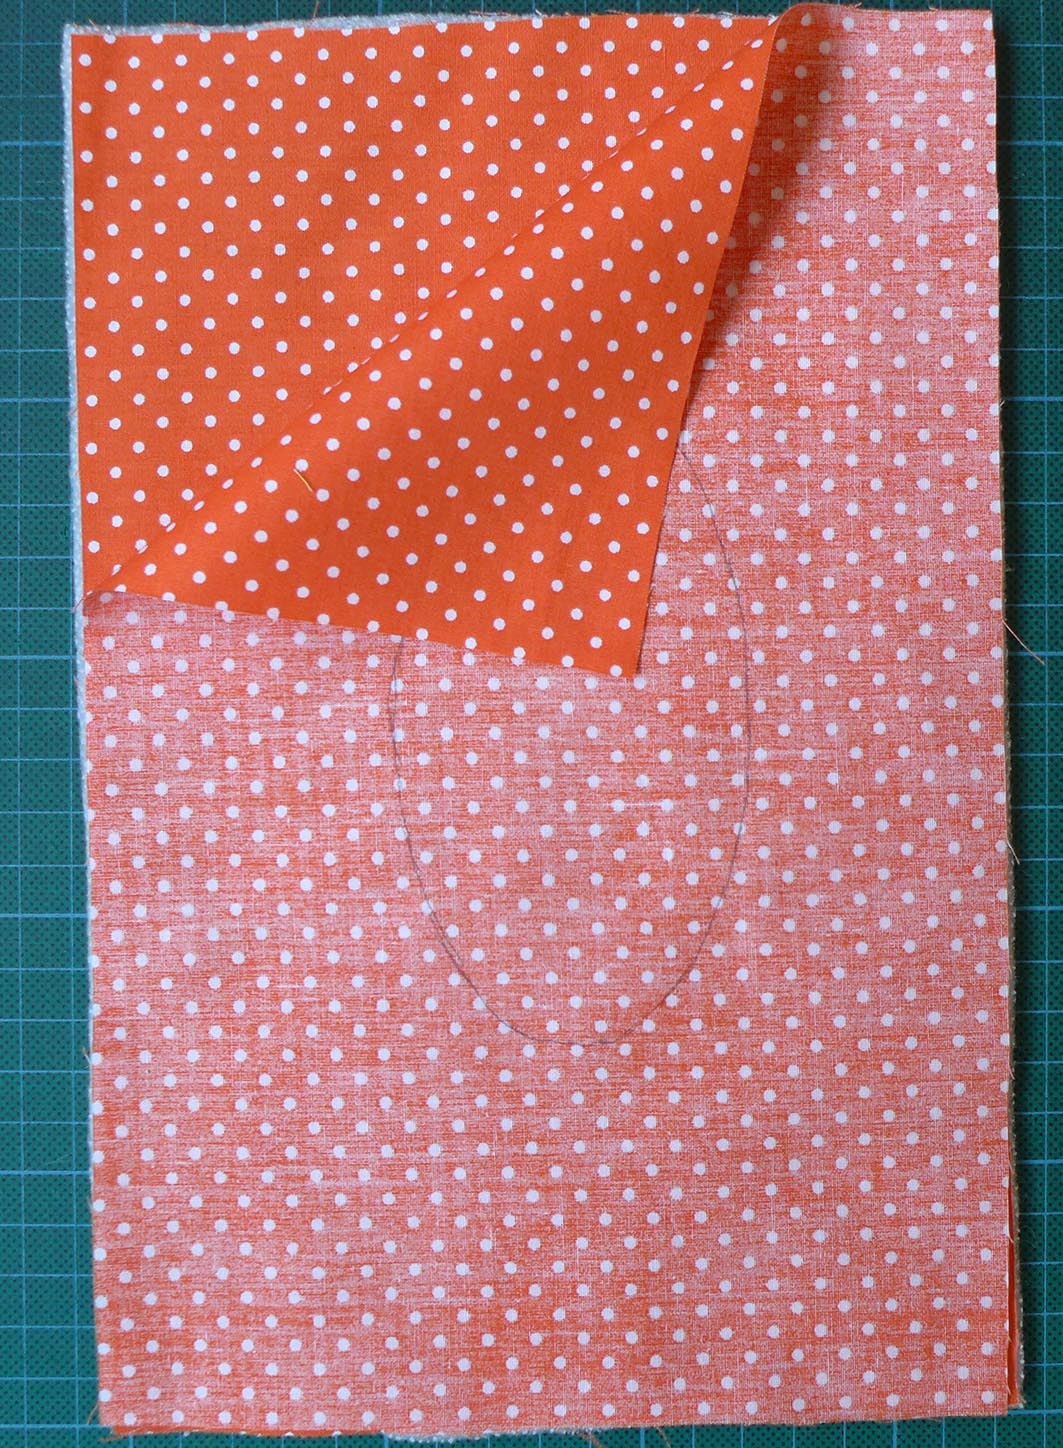
Wet wipes bag:
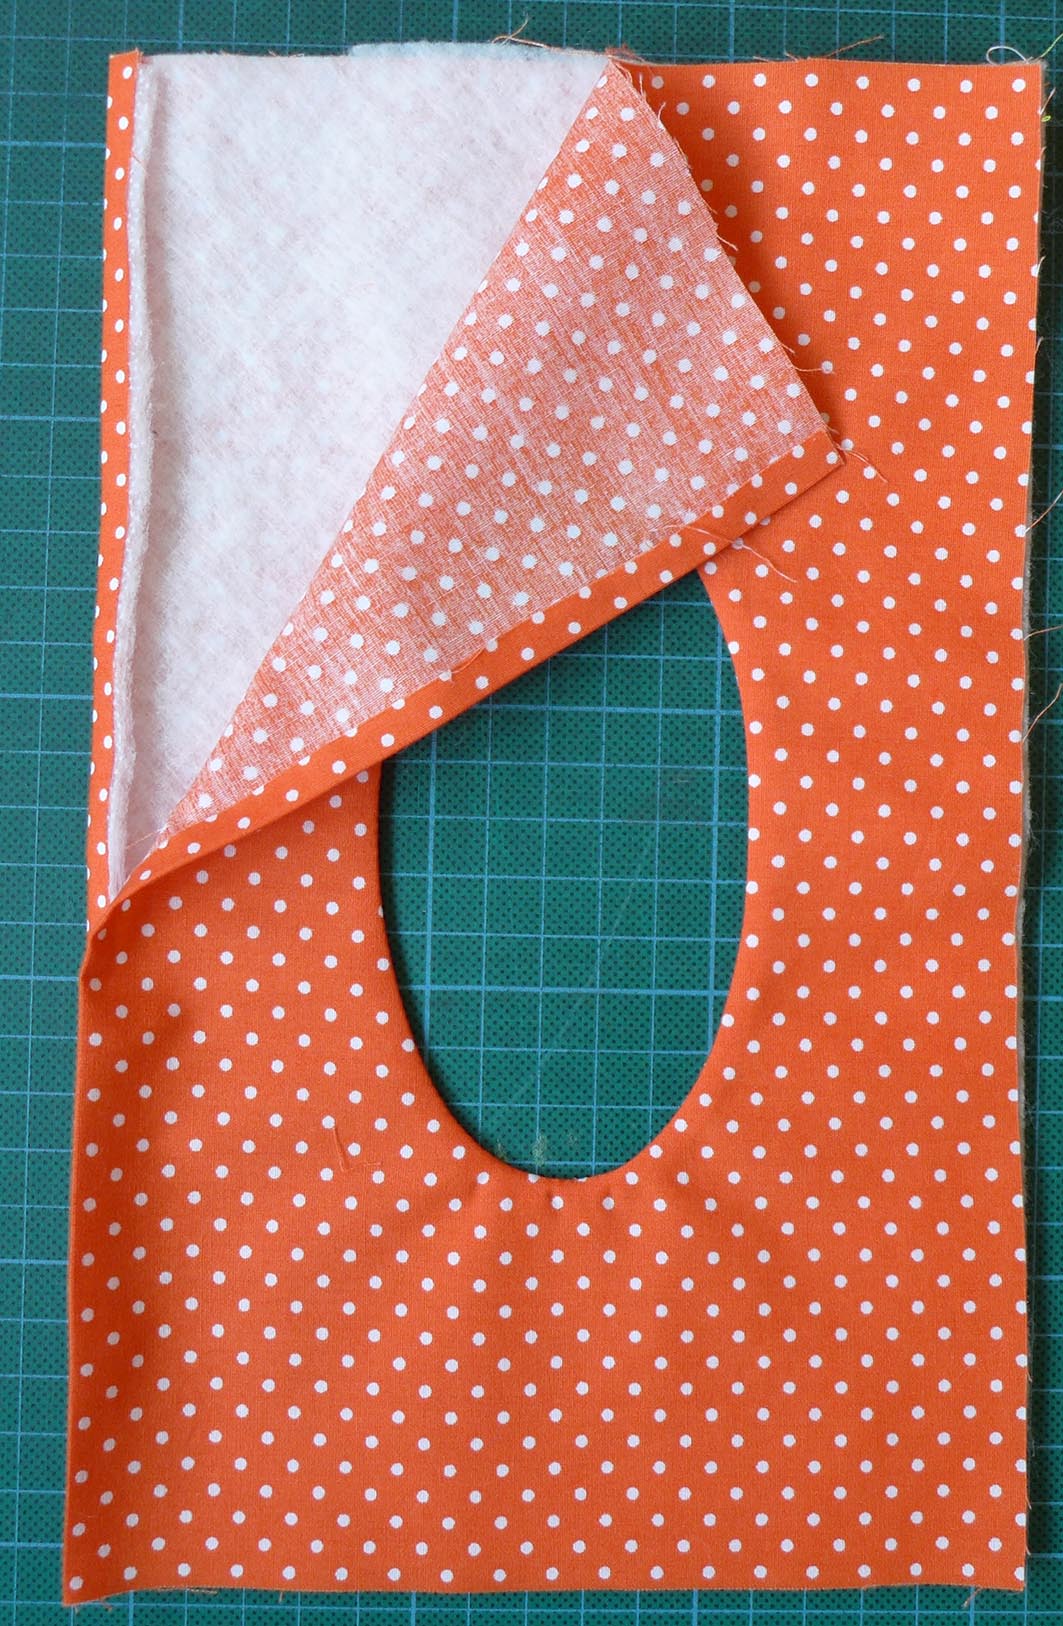
Iron the wadding onto one piece. On the second piece, transfer the oval onto the wrong side. During daylight hours, I use the window as a light table. For this, I stick the template with the material over it onto the window with a small piece of masking tape and transfer all the lines. Place the two pieces with the right sides together and sew along the marked line. Cut out the inside of the oval with a 5-7 mm allowance and cut in around the edge to just before the seam.
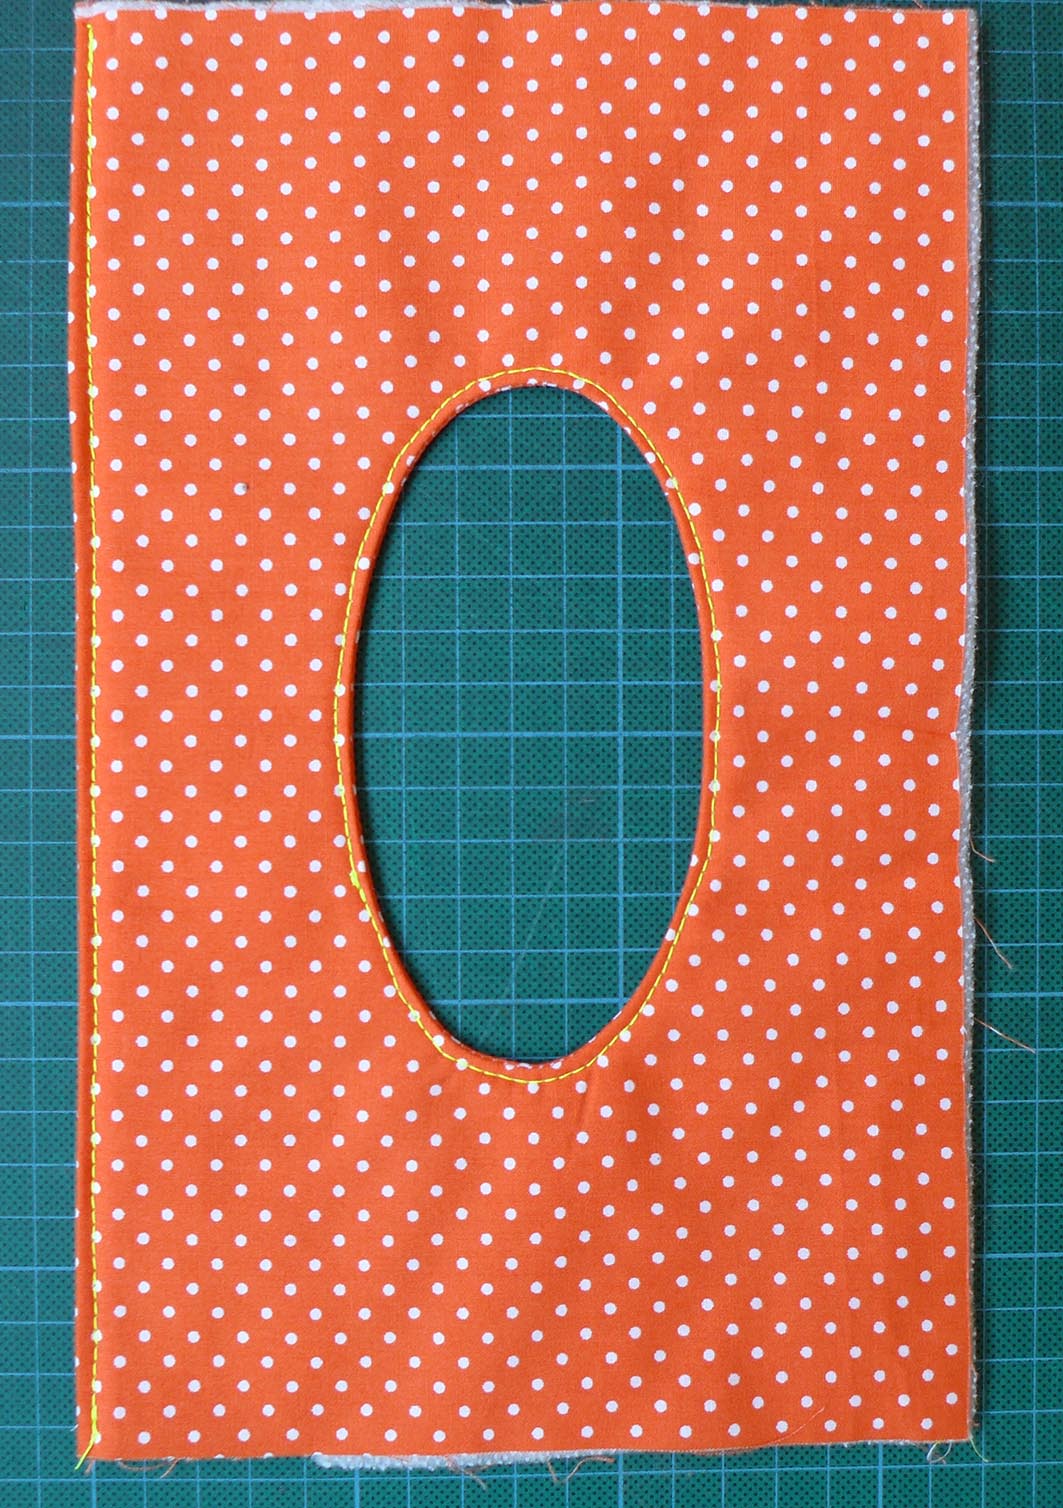
Pull the fabric through the hole so that the two pieces of fabric now have their wrong sides together. On the left-hand side, iron 1 cm of fabric inwards. Topstitch the ironed edge and the “window”.

Flap:
Iron the wadding onto one of the pieces. Place the two pieces with the right sides together and sew around the edge. When you do this, leave the bottom edge open.

Assembly:
Stitch the ears onto the flap close to the edge, as marked on the pattern.
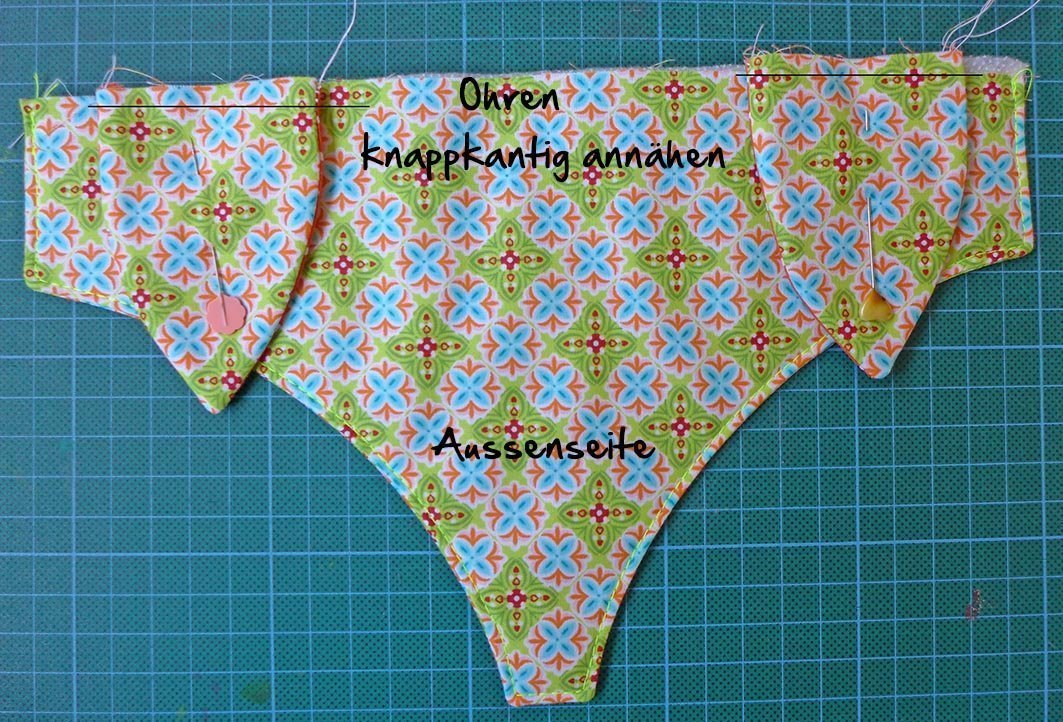
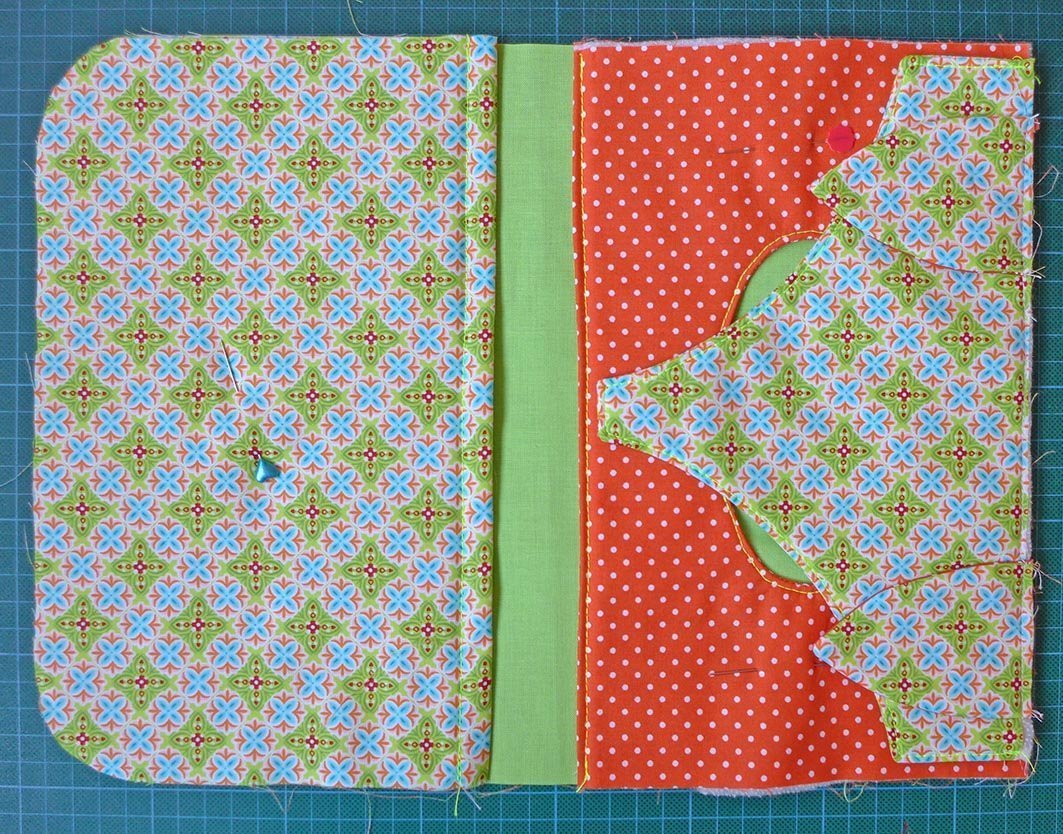
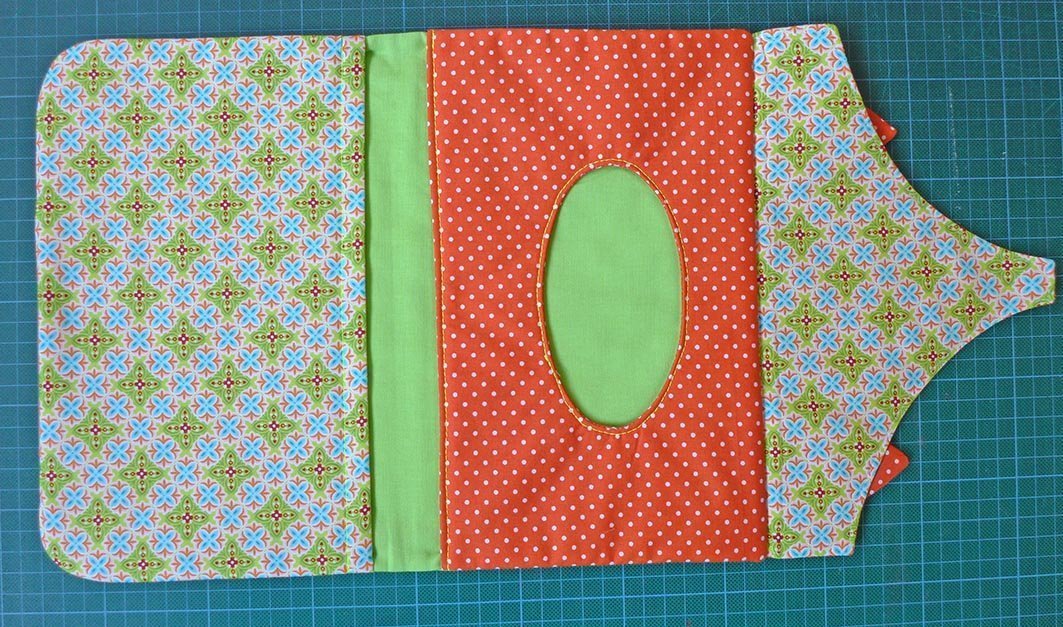
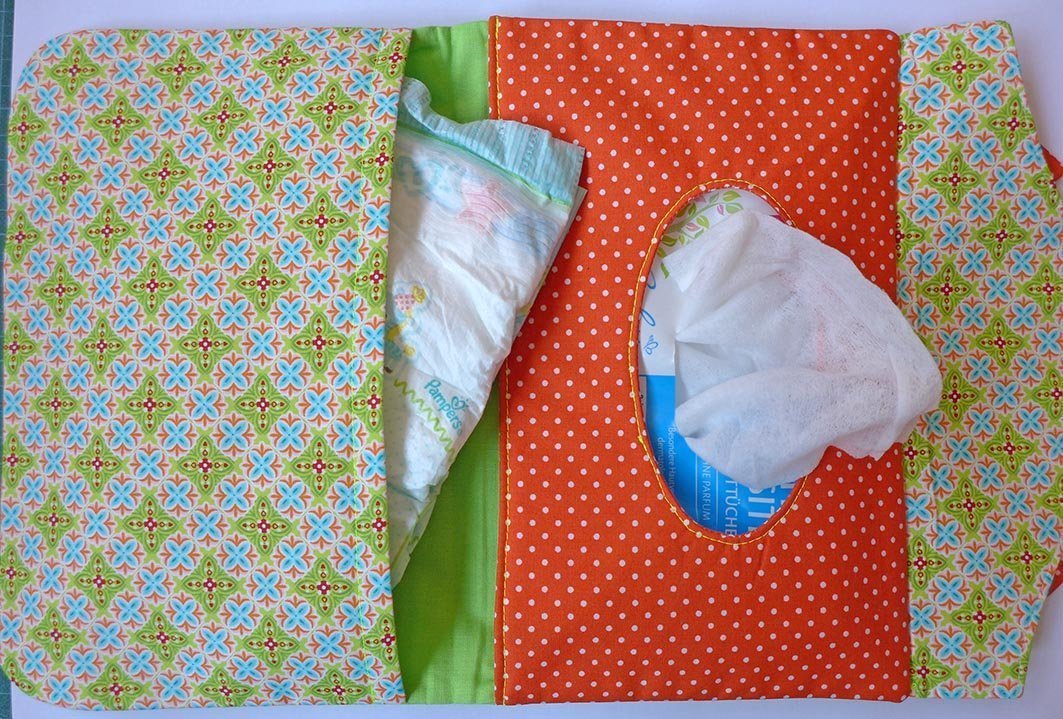
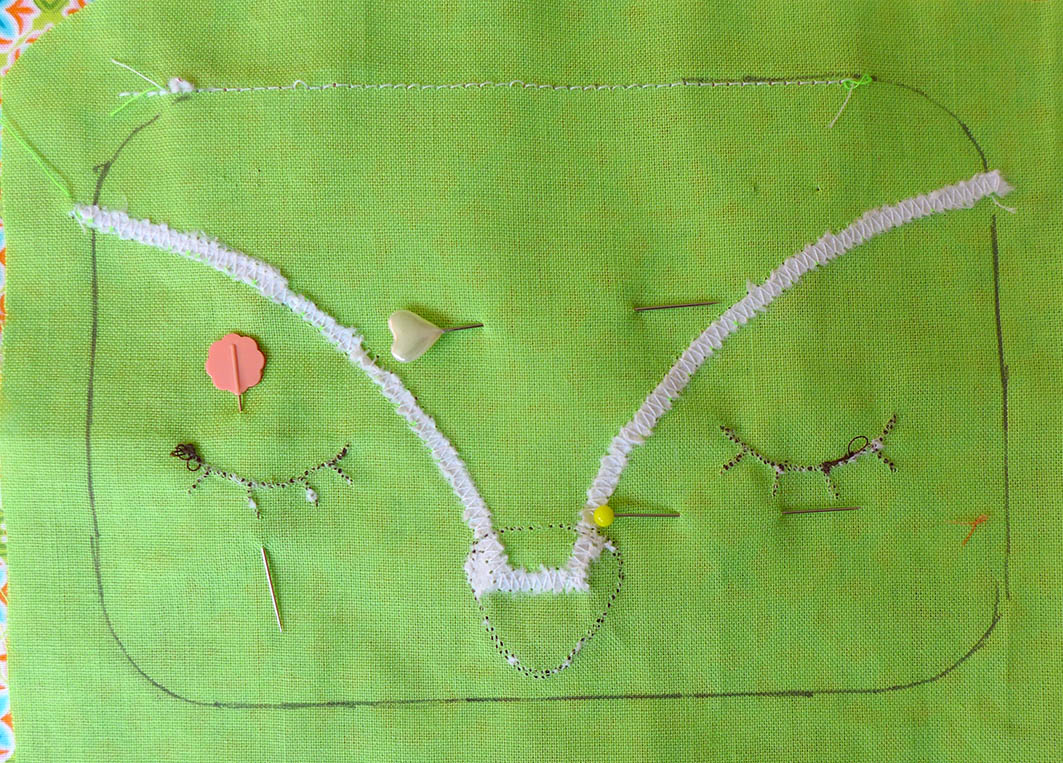
Lay the main inside piece out in front of you and place the nappy bag and wet wipes bag on top, as shown in the picture. If necessary, secure with a few pins.

Then pin the flap on top.
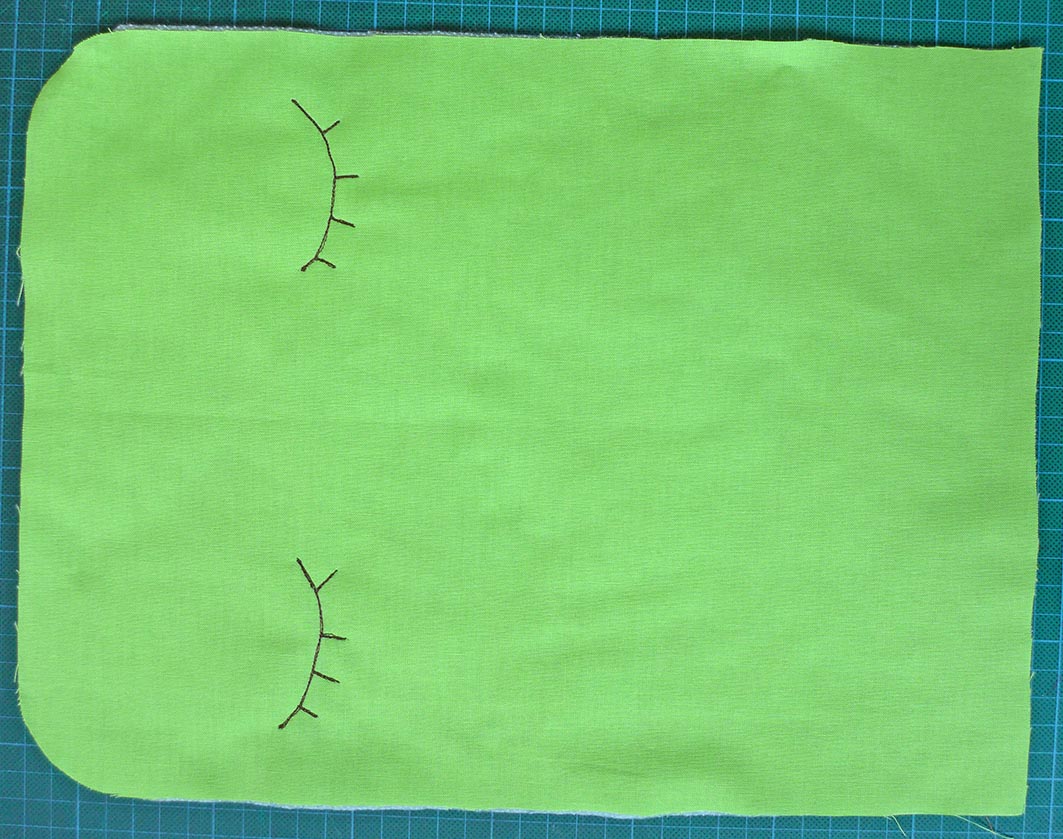
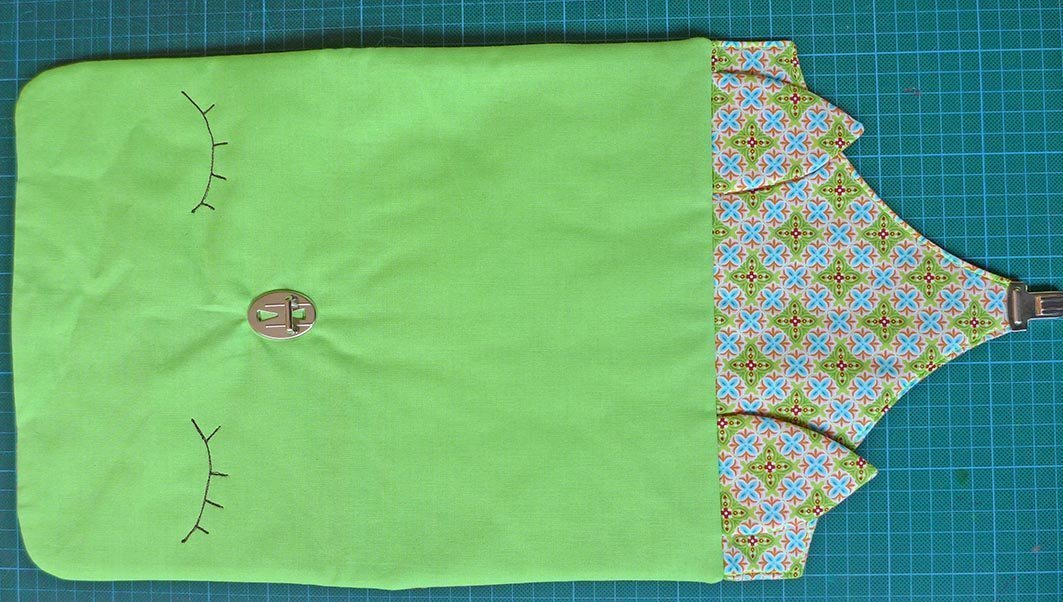
Iron the wadding onto the other main piece, draw the eyes on the right side of the fabric or transfer and sew using free-motion embroidery. Place the piece with the right side facing down onto the previously created “sandwich” and pin together.


Sew around the edge except for the marked turning opening. On the side with the flap, make sure that the flap does not get caught.
Cut into the curves and turn the bag.
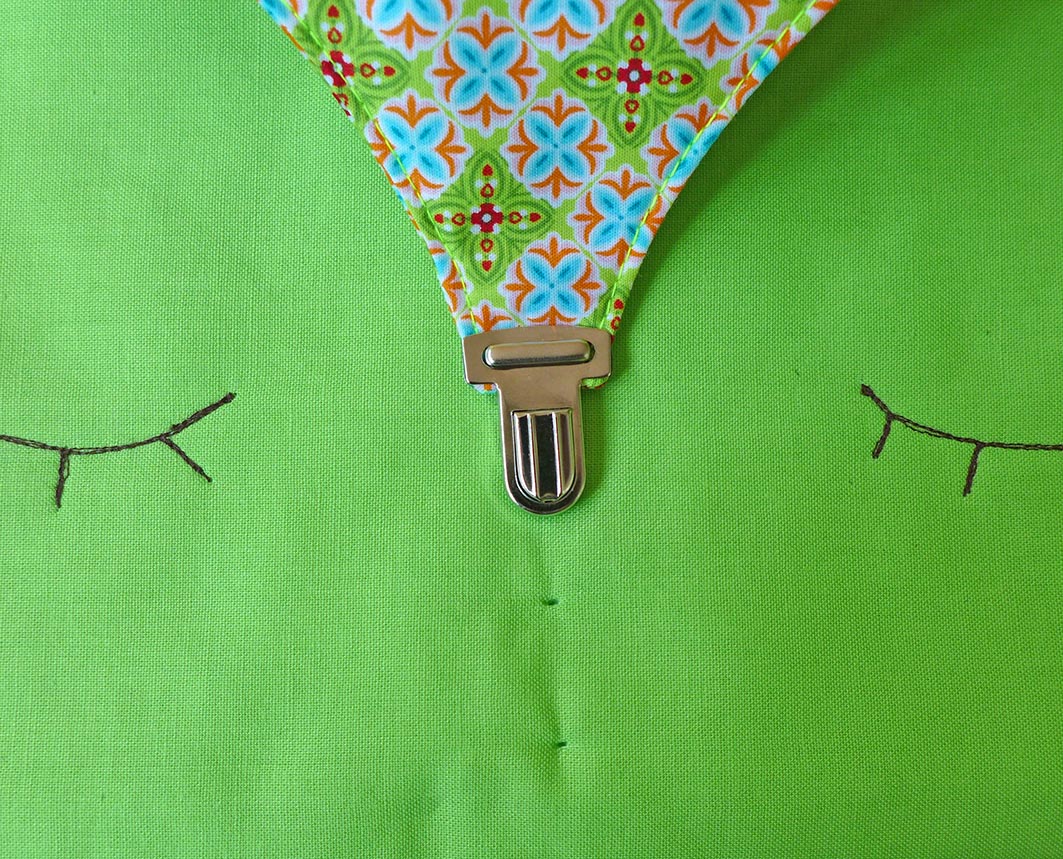
Attach part of the fastening to the flap and fold the bag to determine the position of the second part of the fastening. Attach the second part of the castle mount through the turning opening.
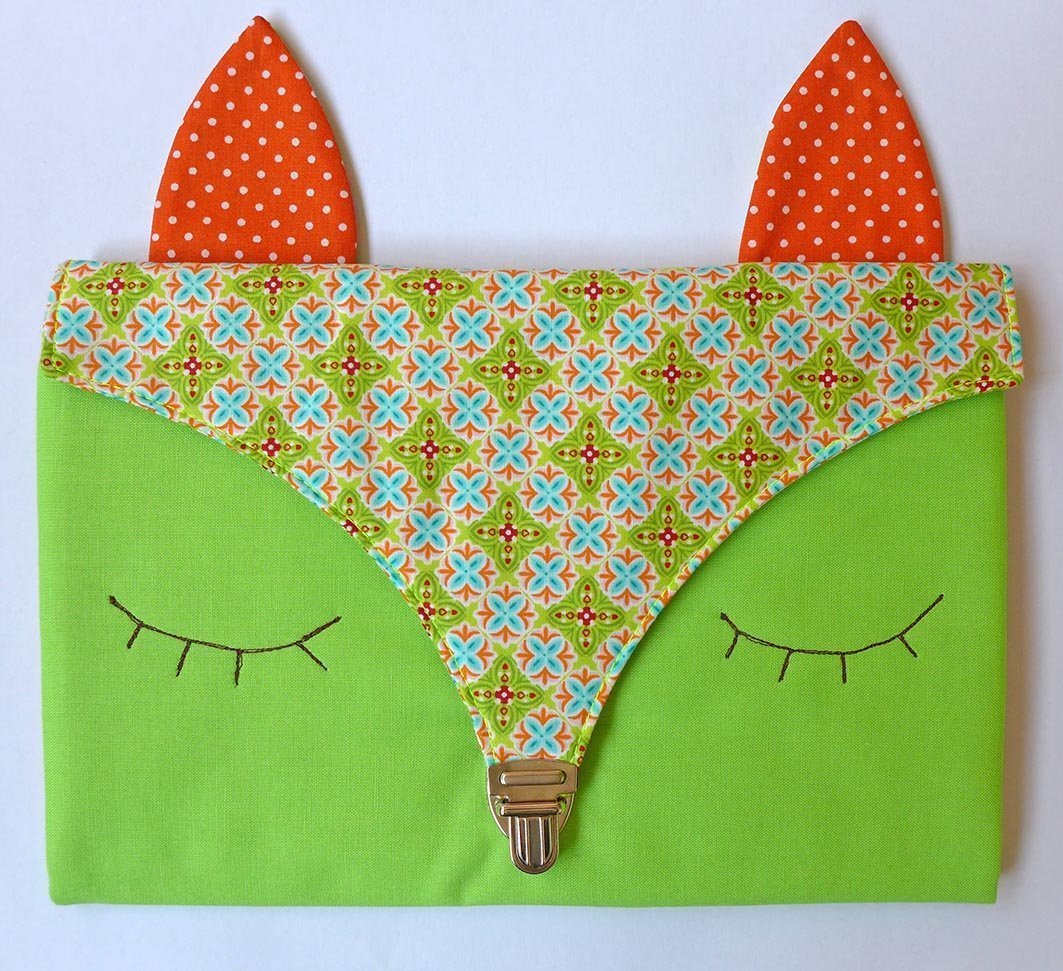
Sew up the turning opening by hand using ladder stitch. Iron the bag, put the nappies and wet wipes inside, go for a walk and change your baby’s nappy while you’re out and about 🙂
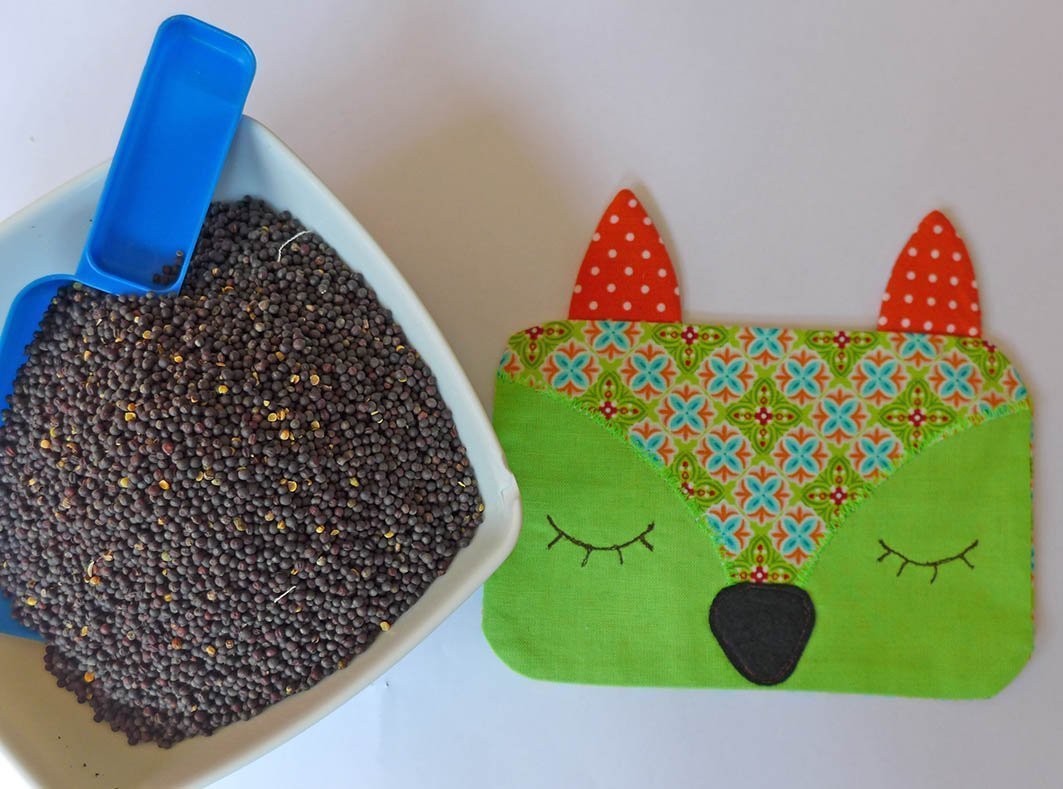
“Ouch – all gone” – fox warming cushion with rapeseed
Why use rapeseed? Most of you already know about warming cushions that use cherry stones. I prefer rapeseed because it is more cuddly for a baby. It emits heat very well and delivers it in a controlled way. It is ideal for baby’s tummy if she has cramps or discomfort. The warming cushion does not cool down completely and absorbs body heat. Another advantage is that the cushion is so cuddly that you can use it as a stuffed toy.
I made the cushion from fabric scraps from the project above. Other materials you will need are:
- 120 g rapeseed
- Cotton thread – important! As the cushion will be heated in the microwave, you should use cotton thread
- Leftover black cotton fabric for the nose (I have used cotton flannel)
- Leftover wadding 100% cotton
- The template can be found in the file “Pattern_Fox” – see above
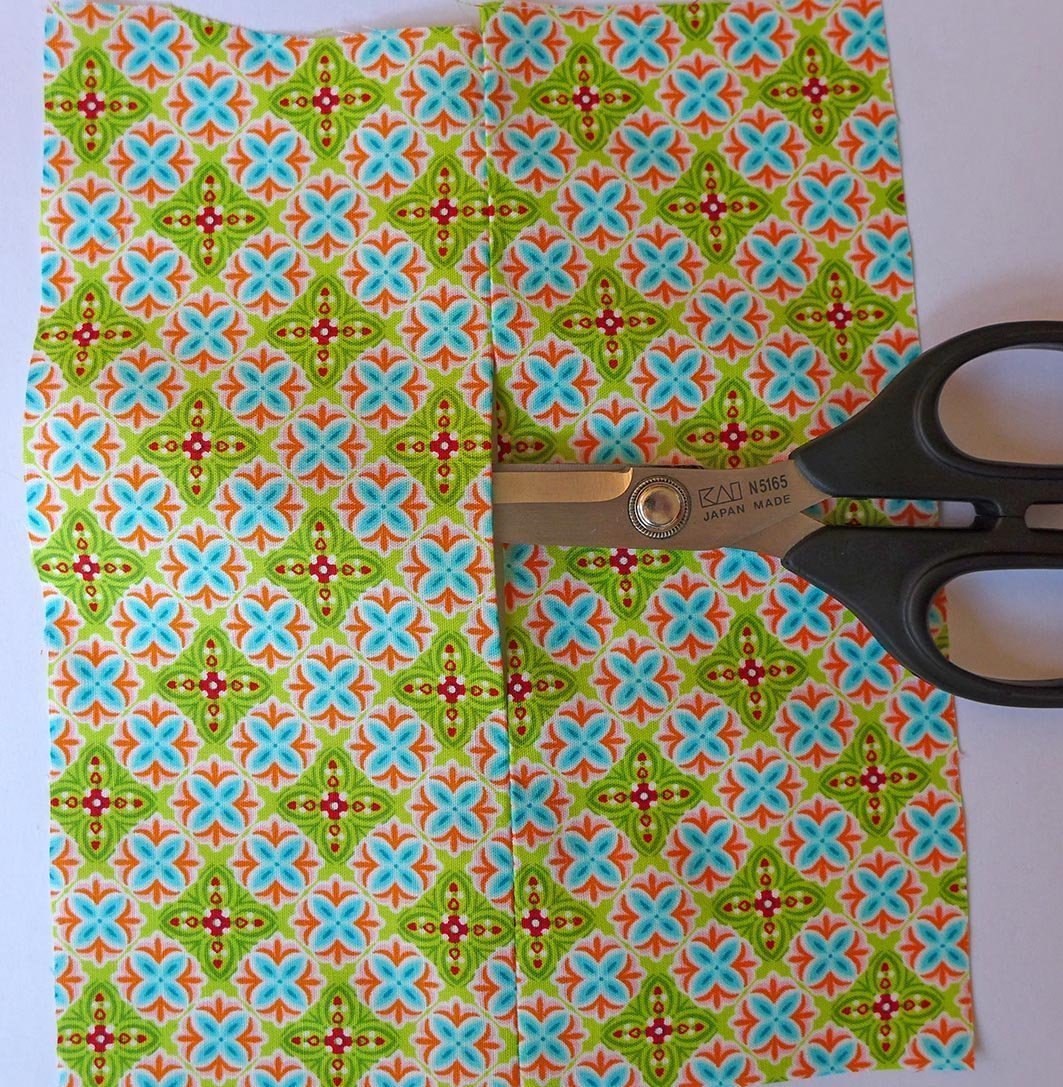
You can cut all the pieces exactly. However, with such small pieces, I prefer to sew using the “sew first, then cut” method. This means that I transfer the pattern pieces onto a large piece of fabric, sew them and then cut them out. In this way, I do not have to calculate any seam allowances or pin together any small pieces.
Transfer the pattern onto the right side of the front fabric.

Cut the face part out of the pattern fabric and appliqué onto the front part using a zigzag stitch. Cut the nose out of the black fabric and attach using the free-motion appliqué technique. Embroider the eye details using free-motion embroidery. Transfer the pattern onto the wrong side of the fabric. Put to one side.
Transfer two ears onto the wrong side of the fabric. Lay out a piece of cotton wadding, then a piece of fabric for the back of the ears with the right side facing upwards, and then the piece with the transferred pattern with the right side facing down. Sew along the marked line. When you do this, leave the bottom edge open. Cut out, turn and iron the ears. Sew onto the front piece close to the edge according to the pattern markings.

Cut out two rectangles approximately 18 x 7 cm in size, place them with the right sides together and sew along the long side, leaving a turning opening about 6 cm long. Iron the seams apart. This is the back of the cushion.
Place the front and back pieces with the right sides together. When doing this, make sure that the turning hole is in about the middle of the cushion. Pin together and sew inwards around 2 mm from the marked line.
Cut out the pillow with a 5-7 mm allowance and cut into the curves. Turn and press.
Fill with around 120g of rapeseed via the turning opening and sew up the opening by hand using ladder stitch.

Usage
Hot:
Preheat the oven to approx. 90°C, switch off and put the cushion into the oven for approx. 10-15 minutes, or heat up in a microwave with max. 800 watts for 1 minute. Heat up further in steps of 30 seconds until the desired temperature is reached.
Cold:
Place in a plastic bag and put into the freezer for at least 1 hour. Rapeseed emits the cold very gradually and evenly.
Washing:
Wash the cushion by hand at up to 30°C, then dry immediately (on a radiator, in the sun or in the dryer) Important! Do not use fabric softener!
Have fun creating!
Kasia


0 Responses