 BERNINA Corporate Blog -
Dear community,
in this blog post you can find easy instructions on how to sew a beautifully embroidered quilted tree skirt – perfect for Christmas!

For those who do not know, I grew up in New York and we always had opulently decorated Christmas tree, the “American style”. My mom always had this beautifully embroidered and quilted tree skirt. Hers was also a lot bigger.
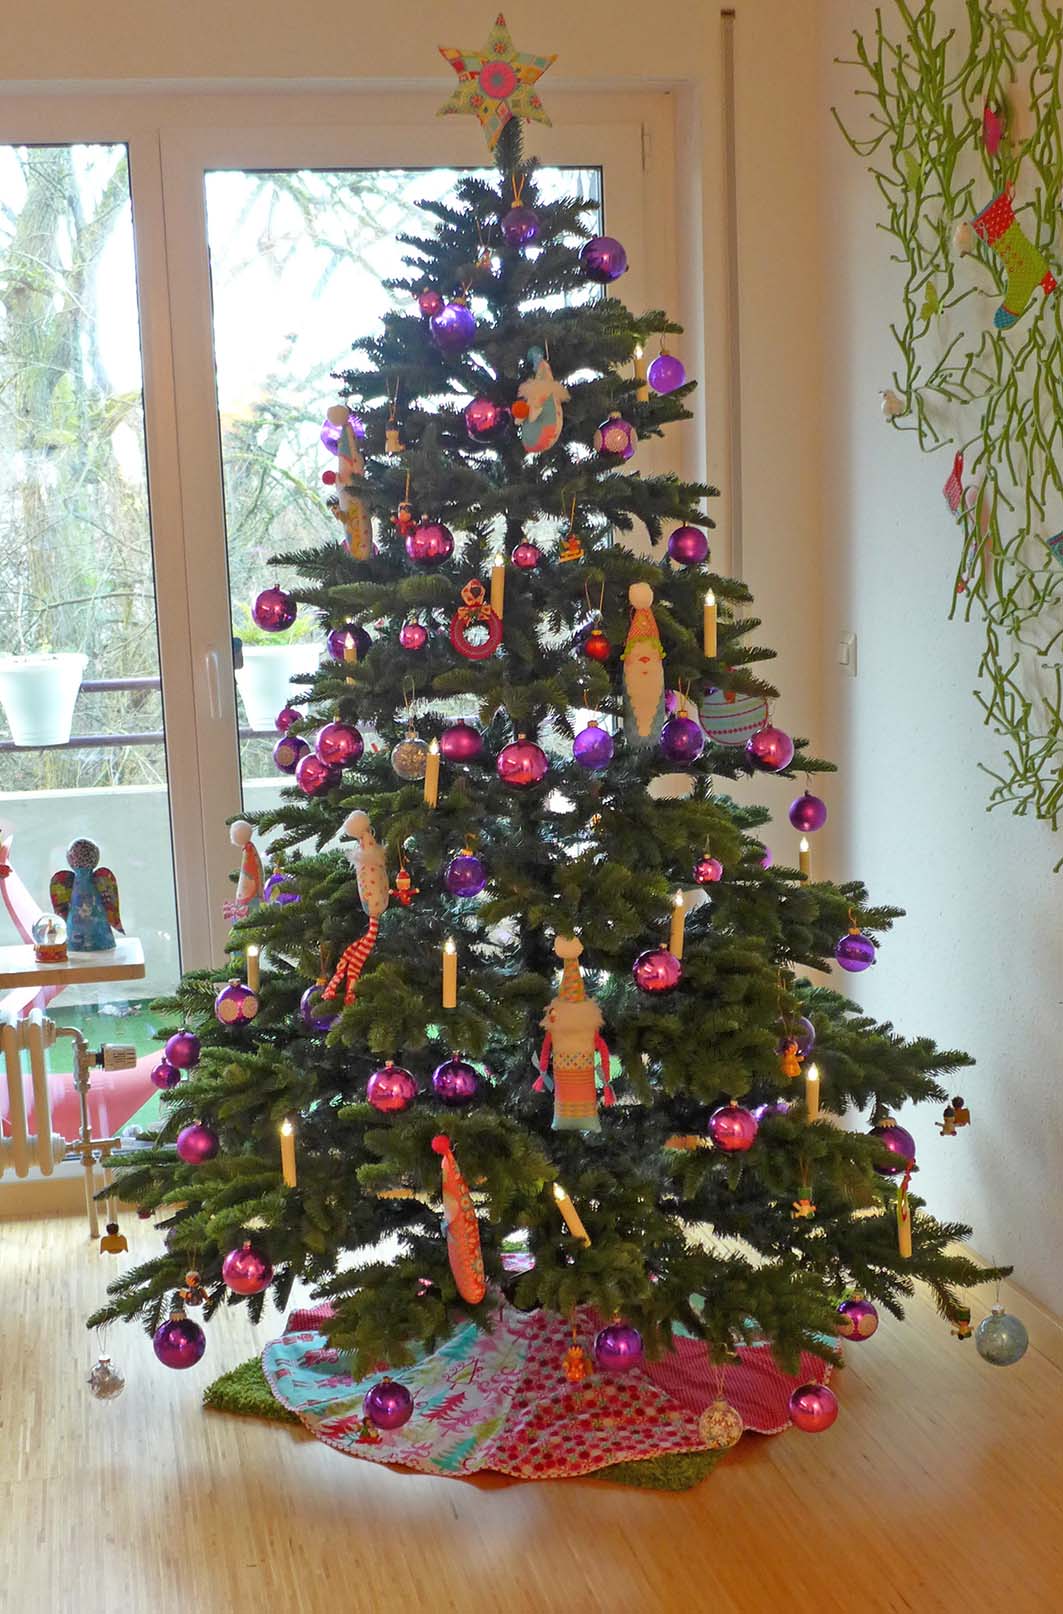
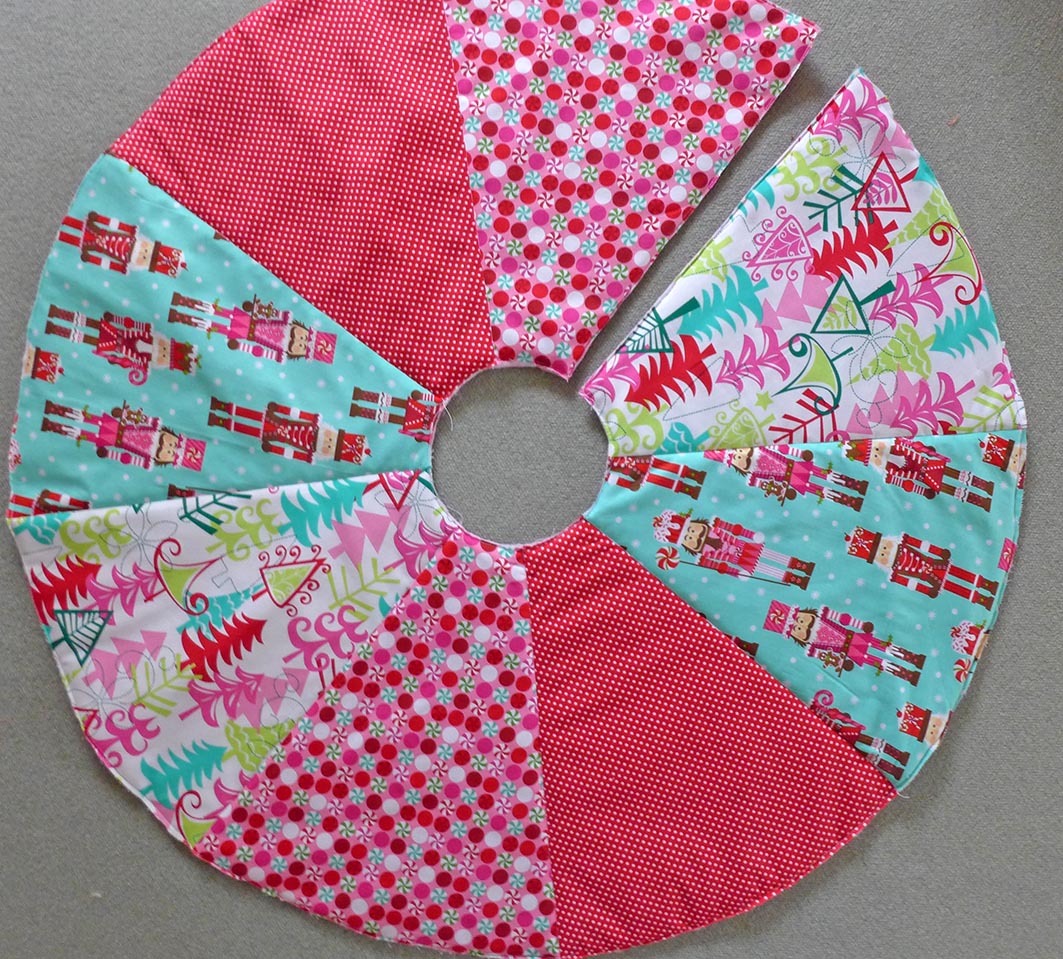
My tree skirt here is a simple one but because of the wonderful modern prints it fits perfectly in our phase of life with a 6 year old princess. Everything here has to be pink 🙂
Would you like to make one like that too?
Materials needed:
- coordinating cottons for the front ( 60 x 50 cm per panel)
- 1,3 meter cotton for the back (fabric width 145 cm)
- 6 meter bias tape 20 mm wide pre-folded
- 1,3 meter batting (standard width 145 cm)
- 1,2 meter Satinband o.ä.
- pattern (the skirt size is 120 cm diameter) Treeskirt_pattern
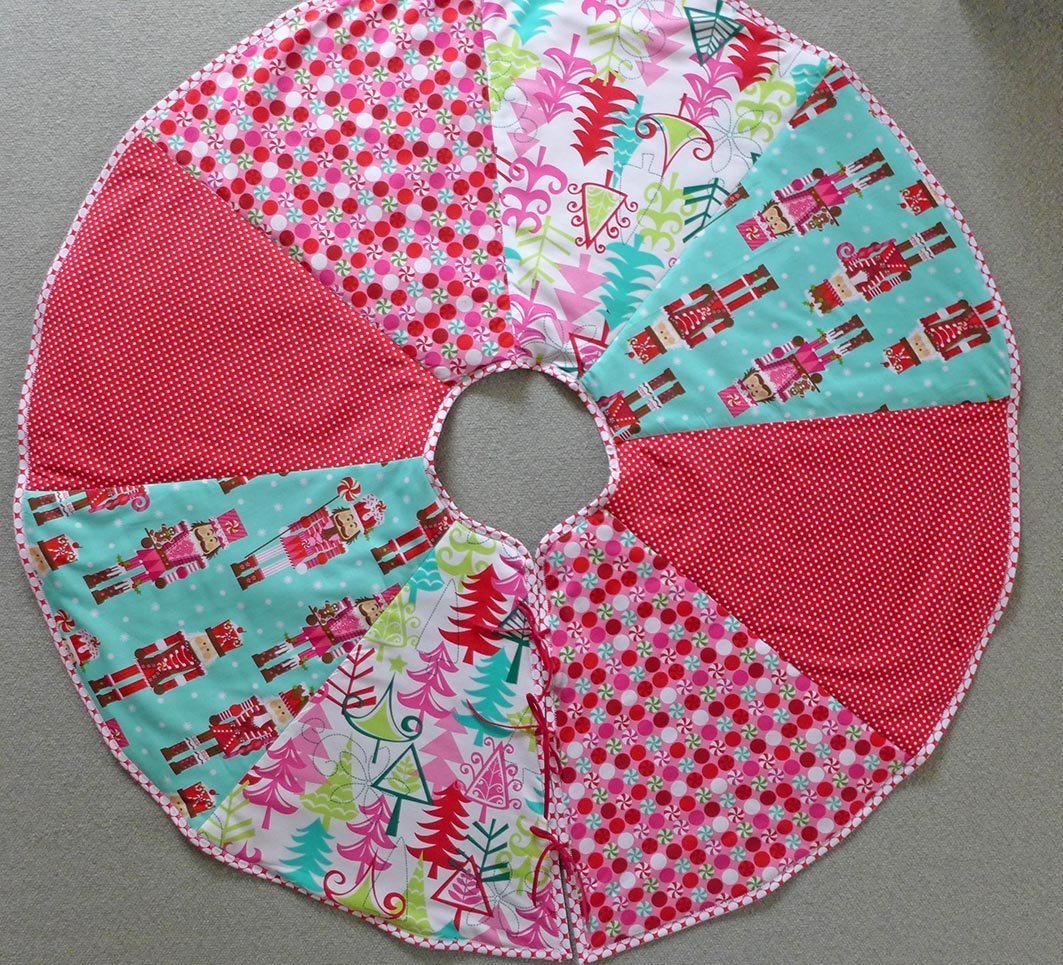
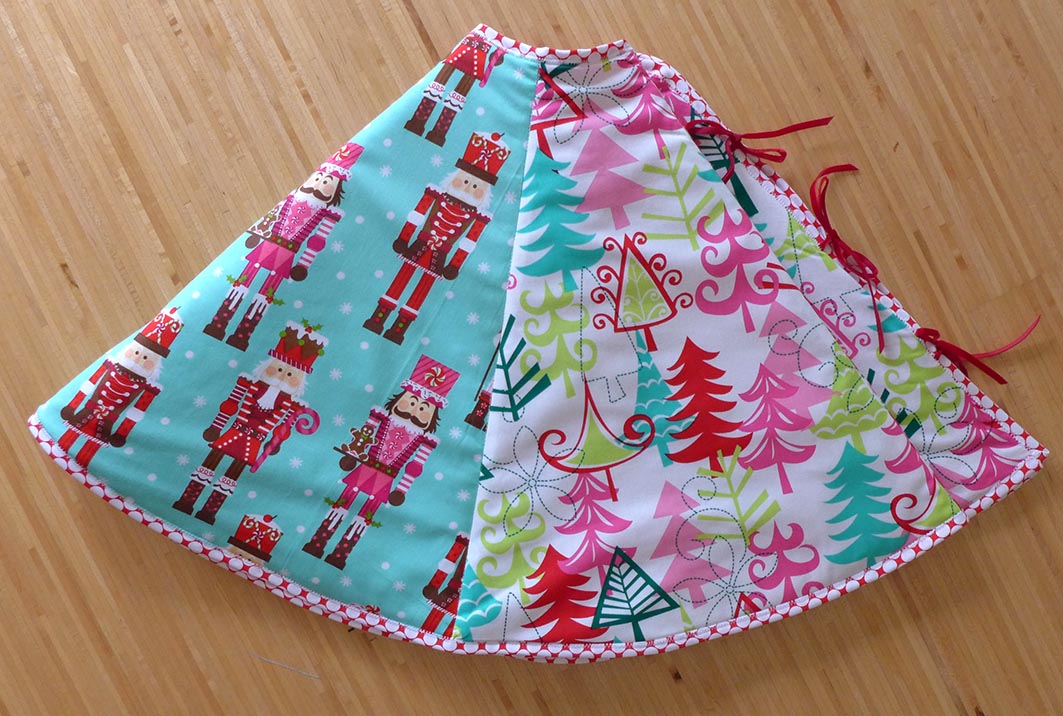
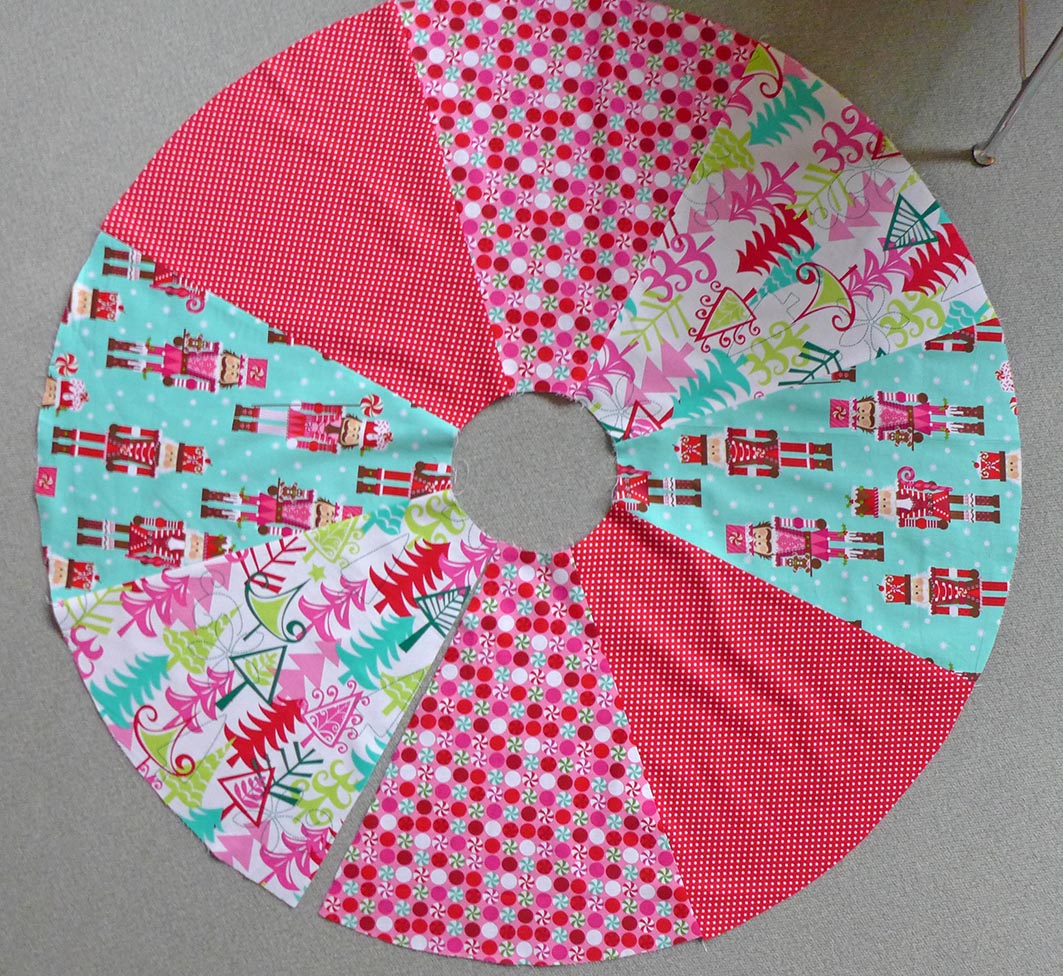
Cut 8 coordinating pieces for the front adding a seam allowance. Sew the pieces onto one another according to your allowance, but do not sew the last seam that would build a complete circle.
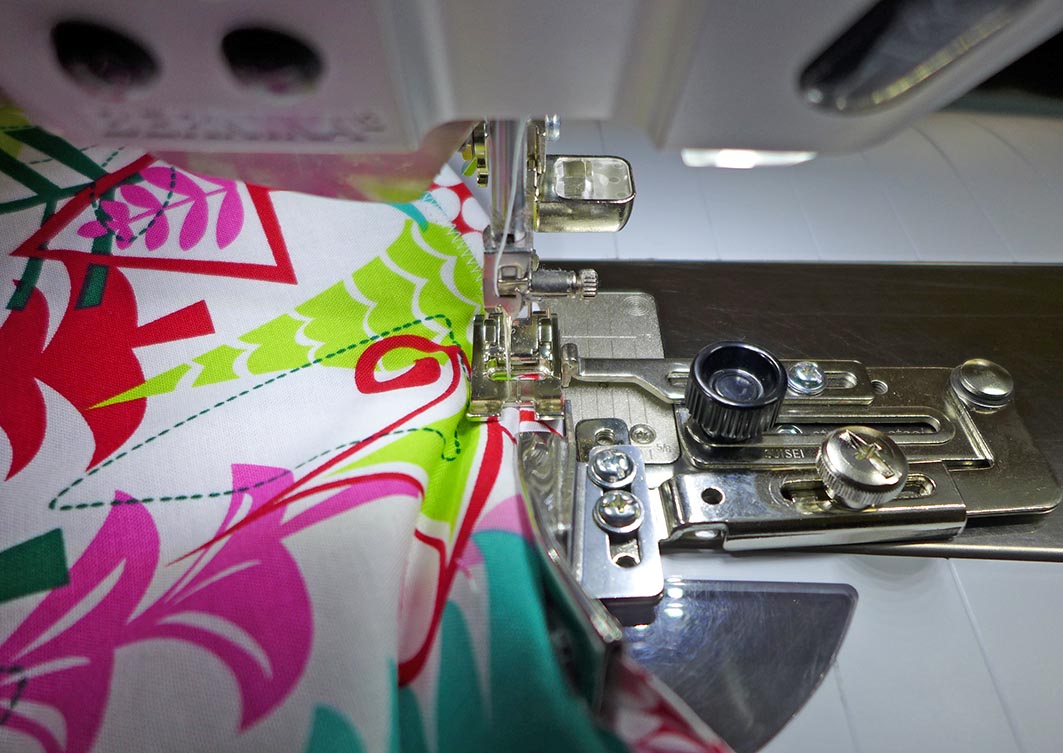
Use the completed front as a template and cut one piece out of cotton for the backside and one piece out of batting. Pin all the layers as you would pin a quilt: back face down, batting, front face up. Stitch in the ditch between the panels through all the layers or quilt as desired. Finally sew all around close to the edge with a straight stitch so that nothing can slip while you attach the binding later.

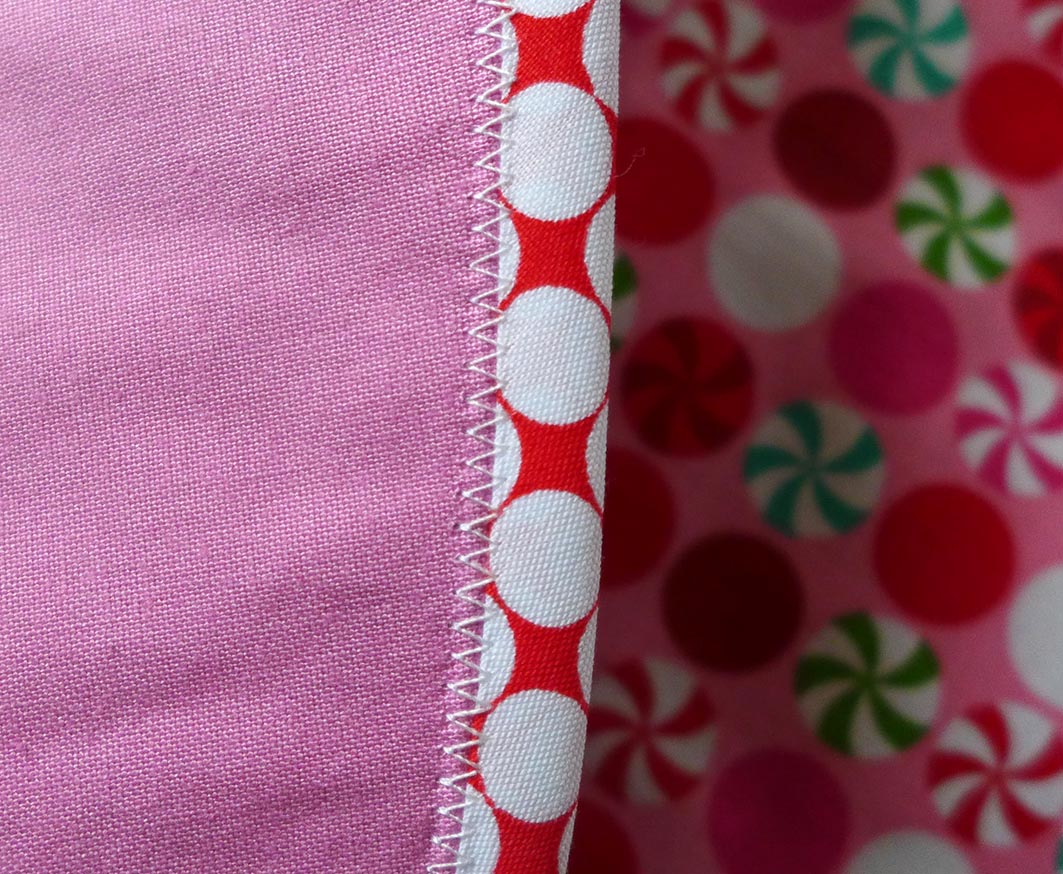
Sew the bias tape on. For this job there is no better tool as the Bias Binder Attachment Kit Nr. 87. I used this somewhat scary “work of art” for the first time and am absolutely positivly impressed by it. I could neve bind so perfectly with a normal sewing foot!
I was done binding this skirt in 15 minutes, and look how perfect it is (picture front and back)! The best for me was also: no pins! Yeah!

In this video you can take a closer look on how this binding tool workst:
Cut 6 20 cm pieces off your ribbon and sew it on the sides while binding. Just slip it under the bias tape. I attached mine every 10 cm.

Your tree skirt is now finished! Ok, mine has to be yet ironed:-) Here with a visitor:-)

I wish you all nice holidays!
Kasia


Thank you. You reminded me it us about time I made one for our family. Hilary
Lovely idea Kasia. Thank you for sharing it with us all.