 BERNINA Corporate Blog -
Dear community,
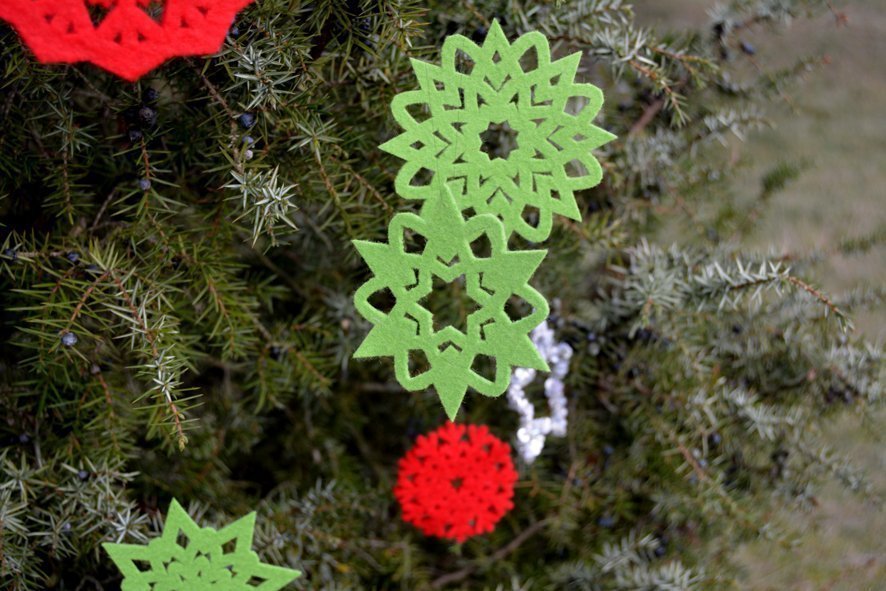
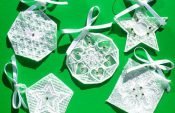
in this blog post you can find easy instructions on how to make beautiful Christmas tree pendants (with cutwork freebie).
For St. Nicholas’s Day I have a couple of cutwork freebies for you in my stocking. I have made you 3 different cutwork stars that you could use as tree decorations, for example…
Here is the file for downloading: Draw_Dateien
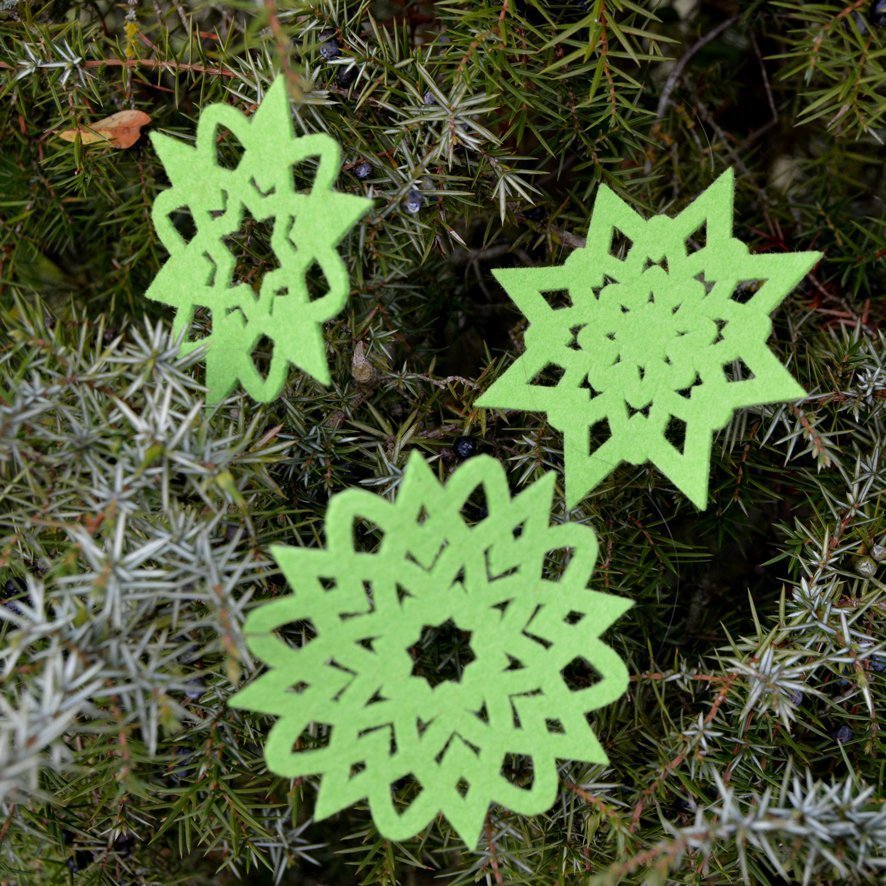
Star Pattern 1…
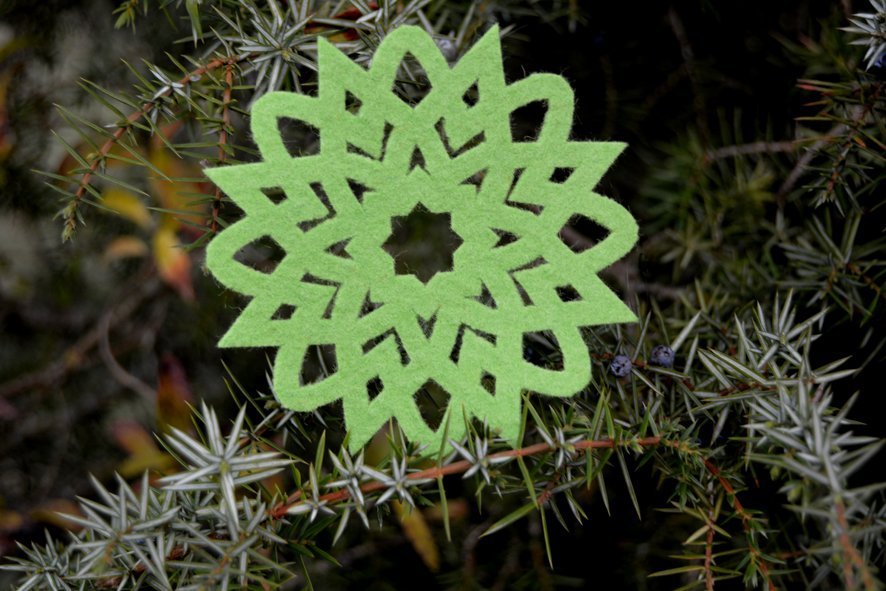
Star Pattern 2…
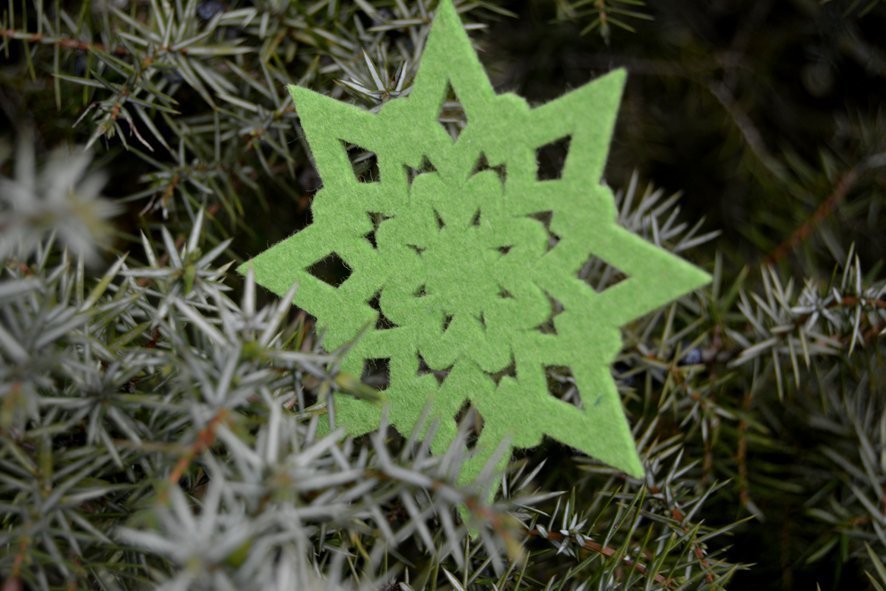
Star Pattern 3…

For the 3 stars you will need:
- Good quality felt, approximately 20×20 cm, approximately 3 mm thick in your favourite colour
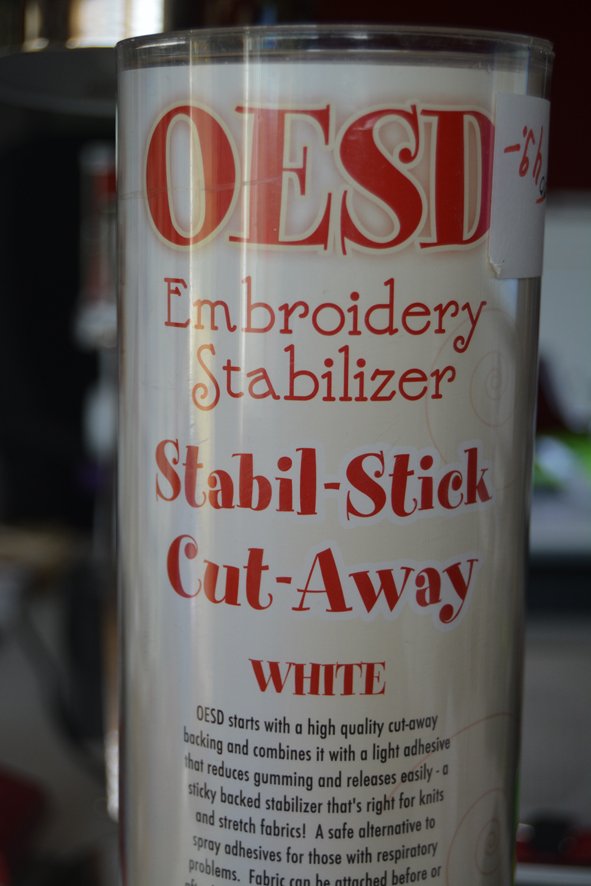
- Self-adhesive fleece backing, e.g. Stabil-Stick Cut-Away from OESD
- Nylon thread, embroidery thread or sewing thread for hanging the stars
Here’s how you make it:
Download my freebie folder. In the folder you will find the individual CutWork files, print-out PDFs and the original Draw files. You can open the Draw files directly in the BERNINA DesignWorks software and, if you like, you can change the design of the stars. You could, for example, add little rhinestones etc. or make a Paintwork file from the CutWork file…
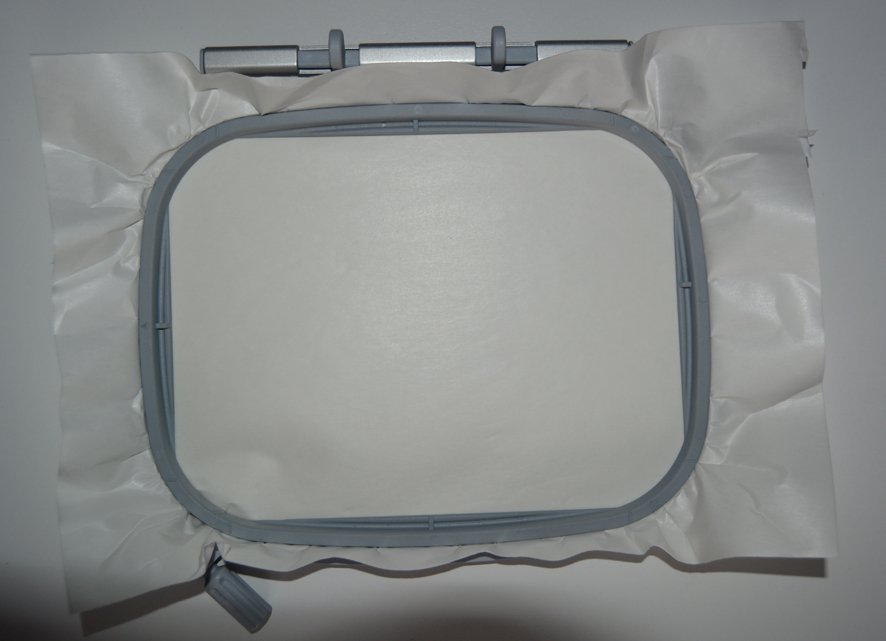
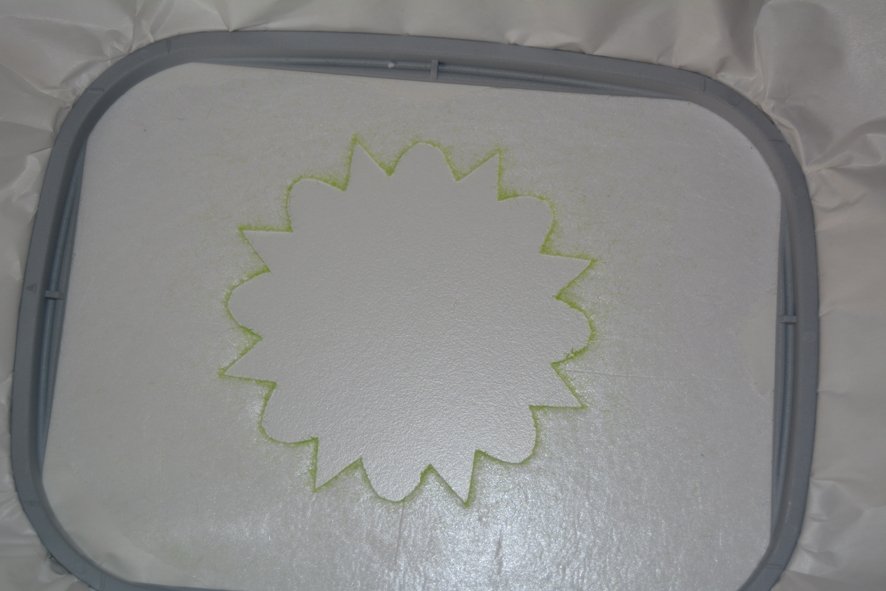
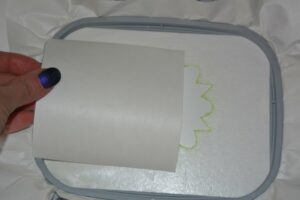
First, stretch the self-adhesive fleece backing in a suitable embroidery frame. I used a 130×100 mm frame…
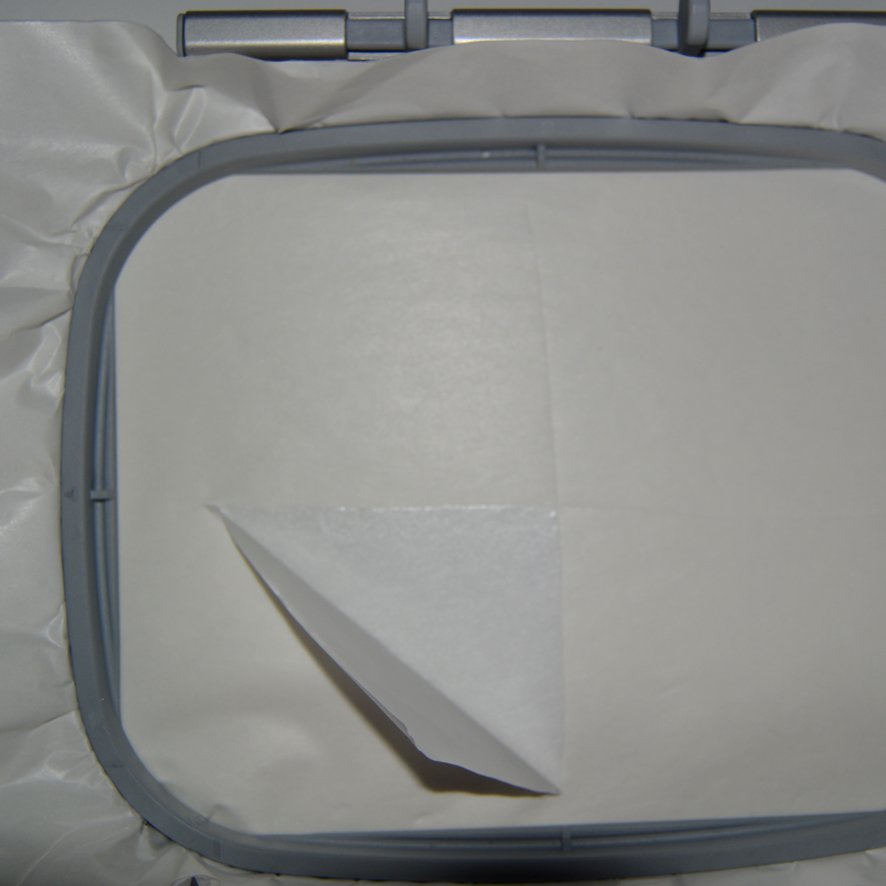
Then scratch a small cross in the middle with a pin so that you can remove the foil…
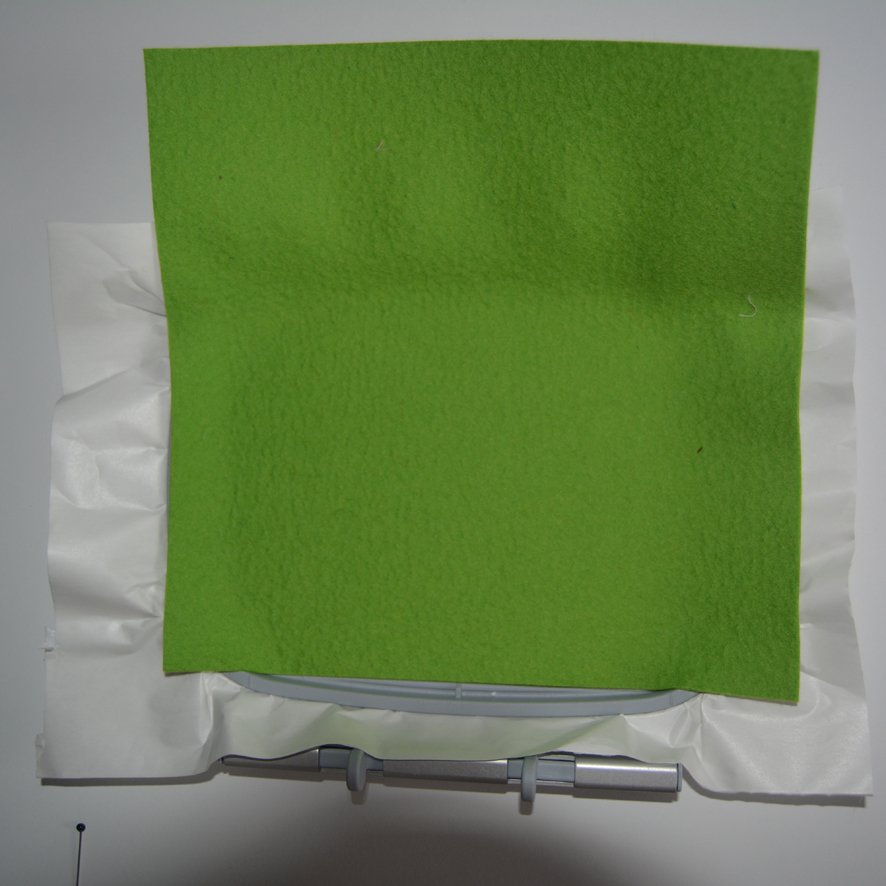
Now stick the felt to the fleece backing…
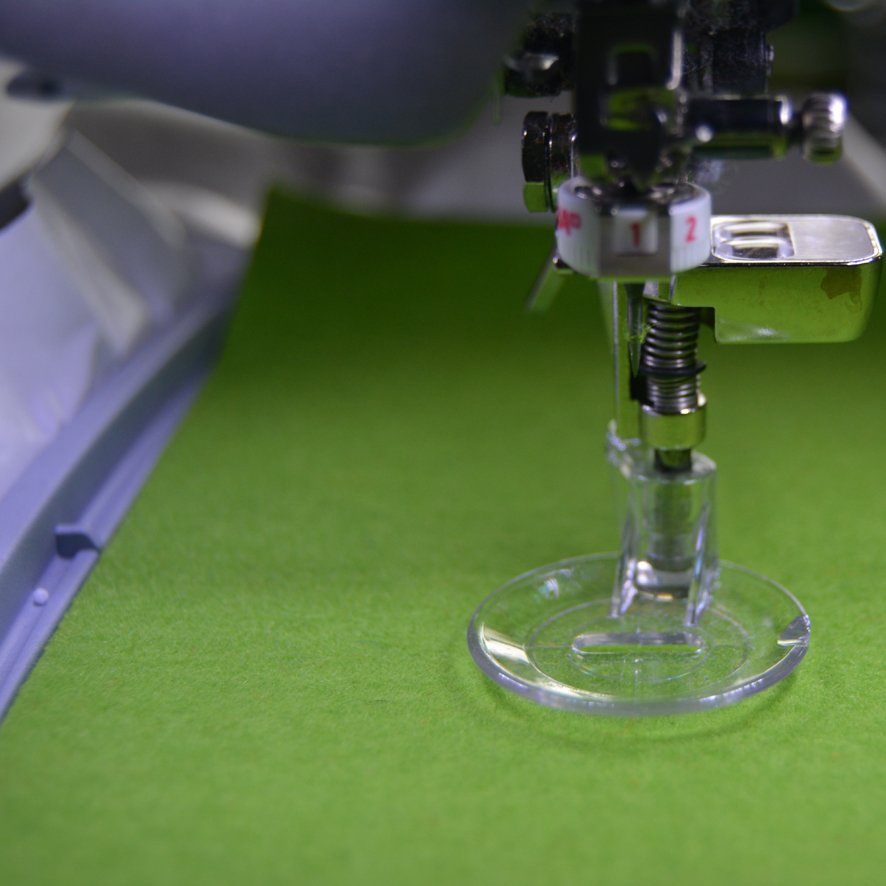
Save the CutWork file onto a USB stick, use a cutwork plate and cutting tool, clamp the embroidery frame, download the cutwork pattern…

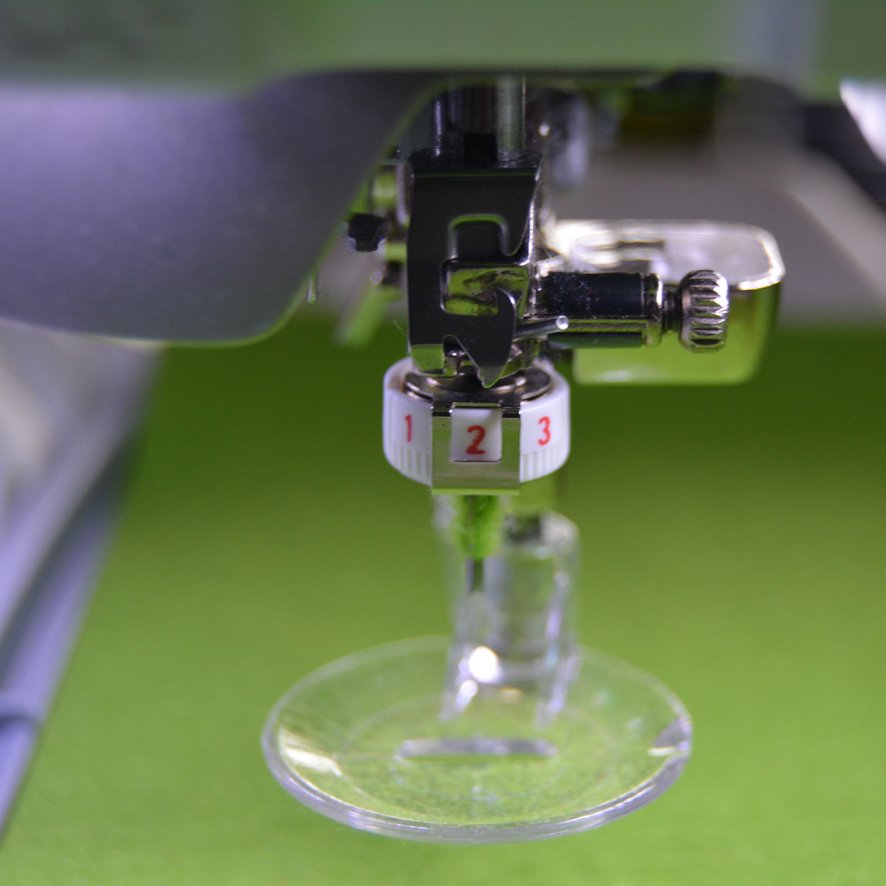
Make sure that the cutting tool is at Position 1…
Now you can start! Cut out the stars and adjust the needle position according to the instructions…
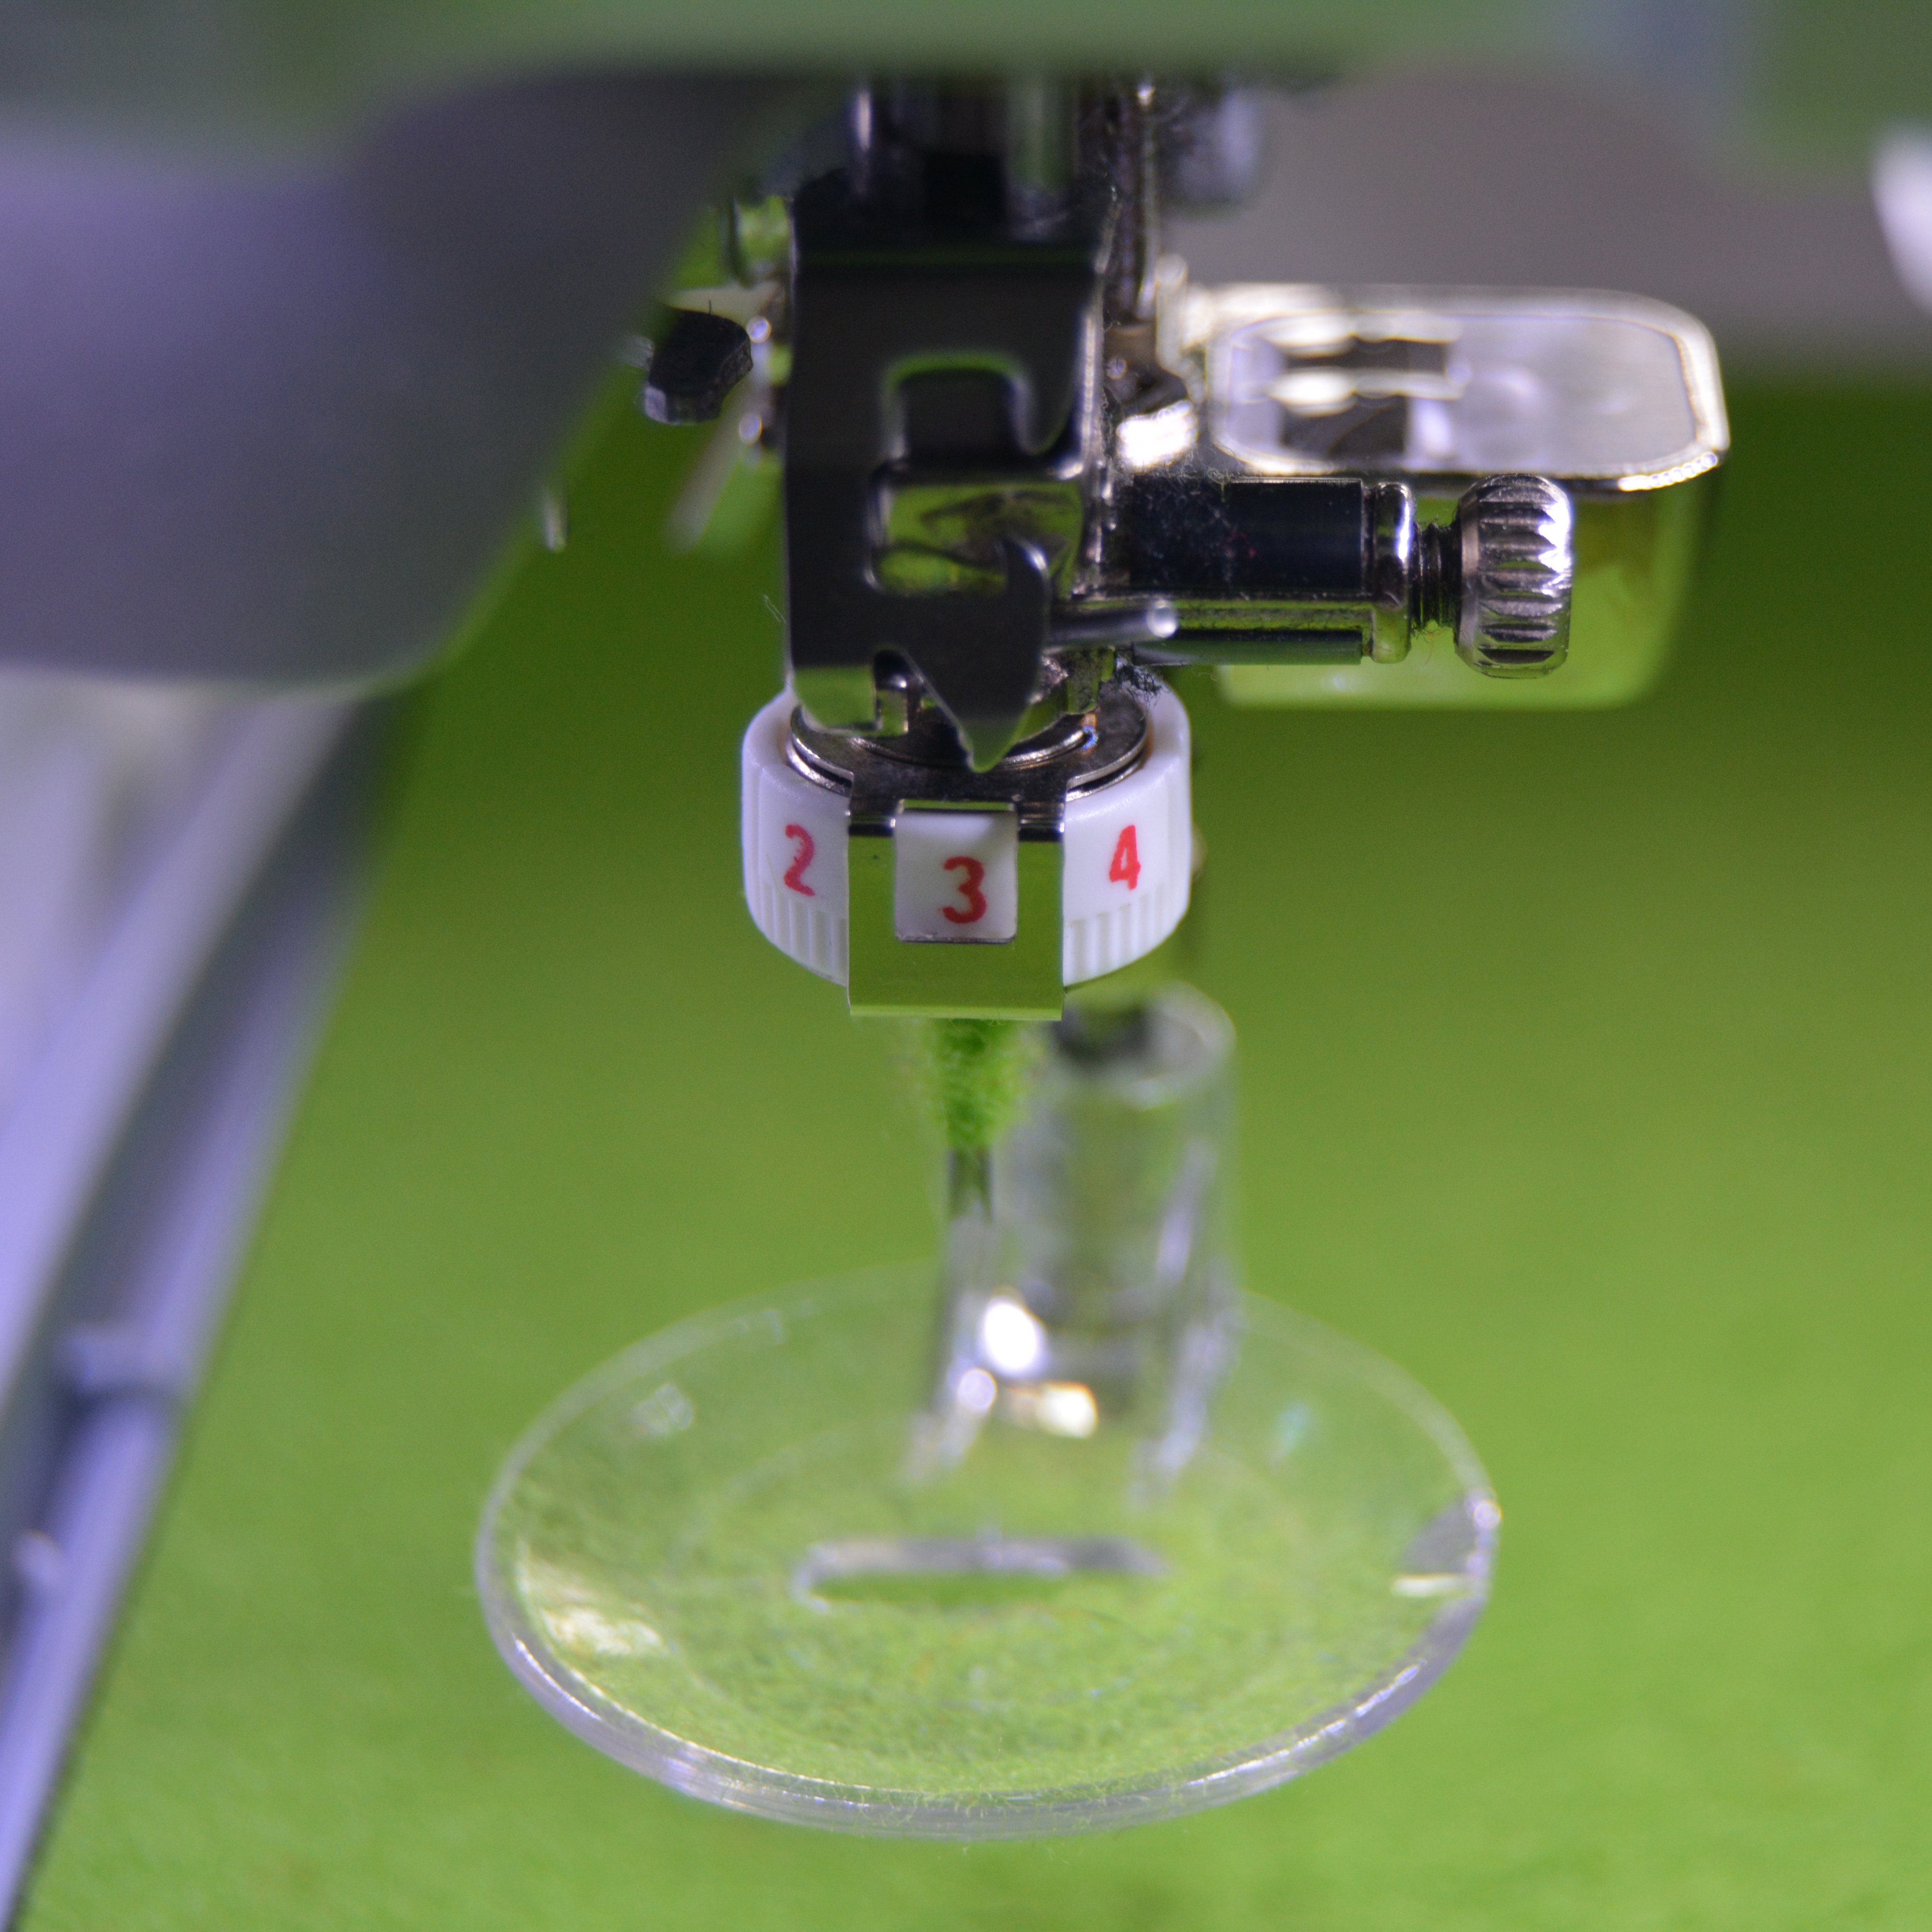
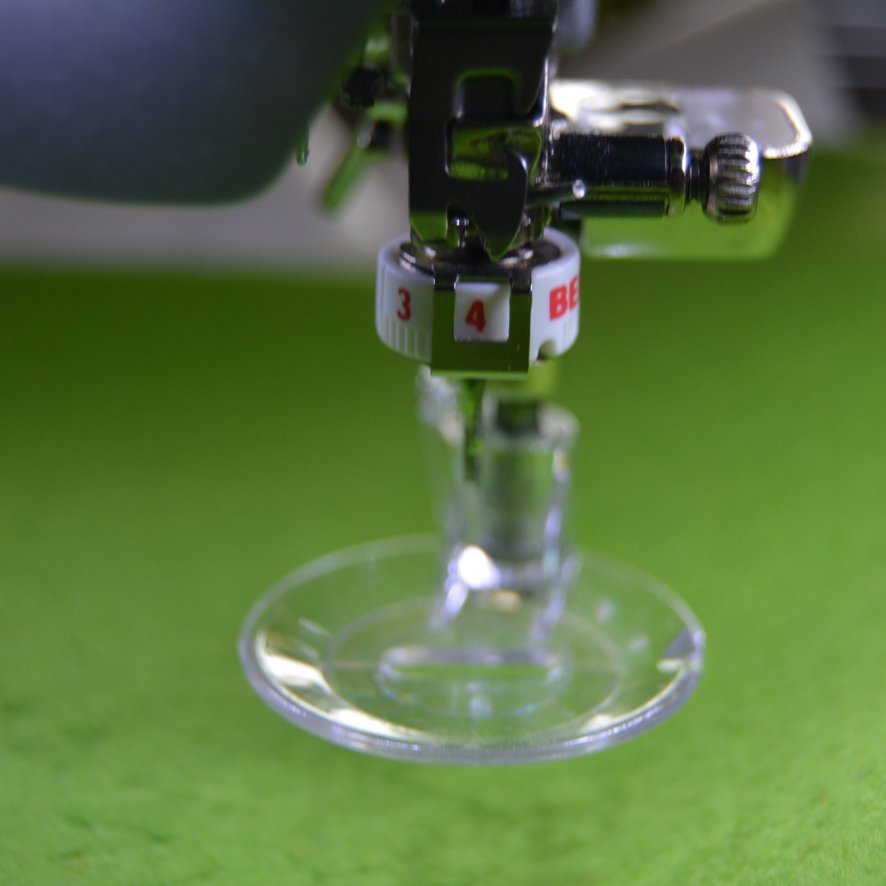
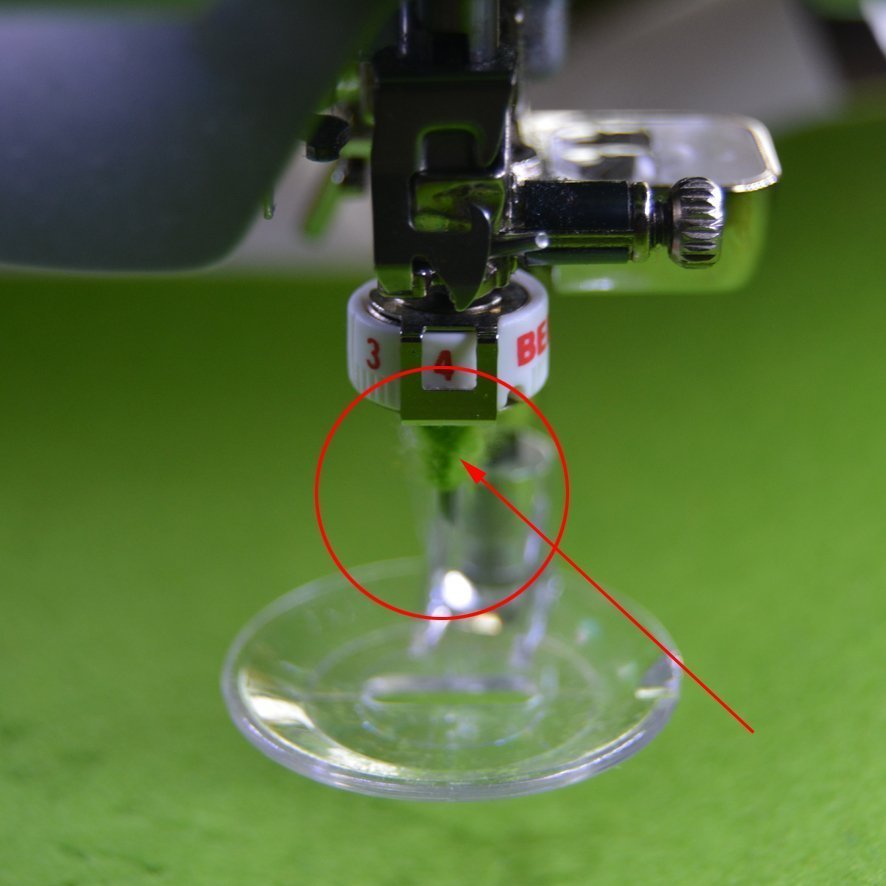
Remove the fluff from the needle from time to time. Because a lot of fluff comes off the felt, the material gathers around the cutting needle…
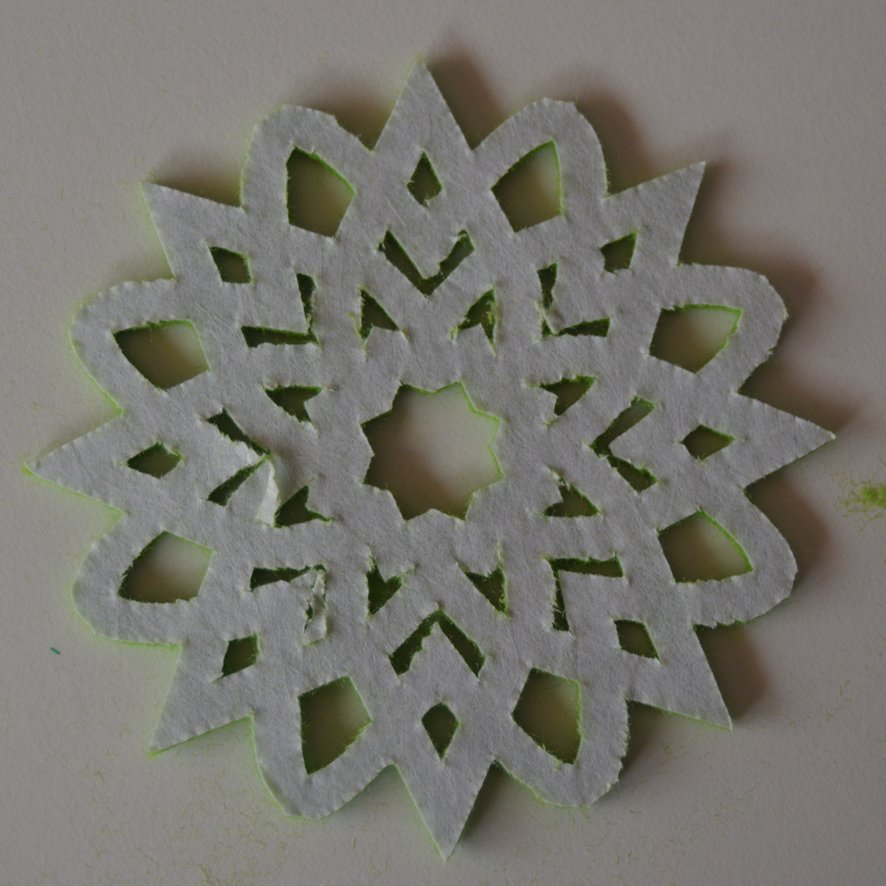
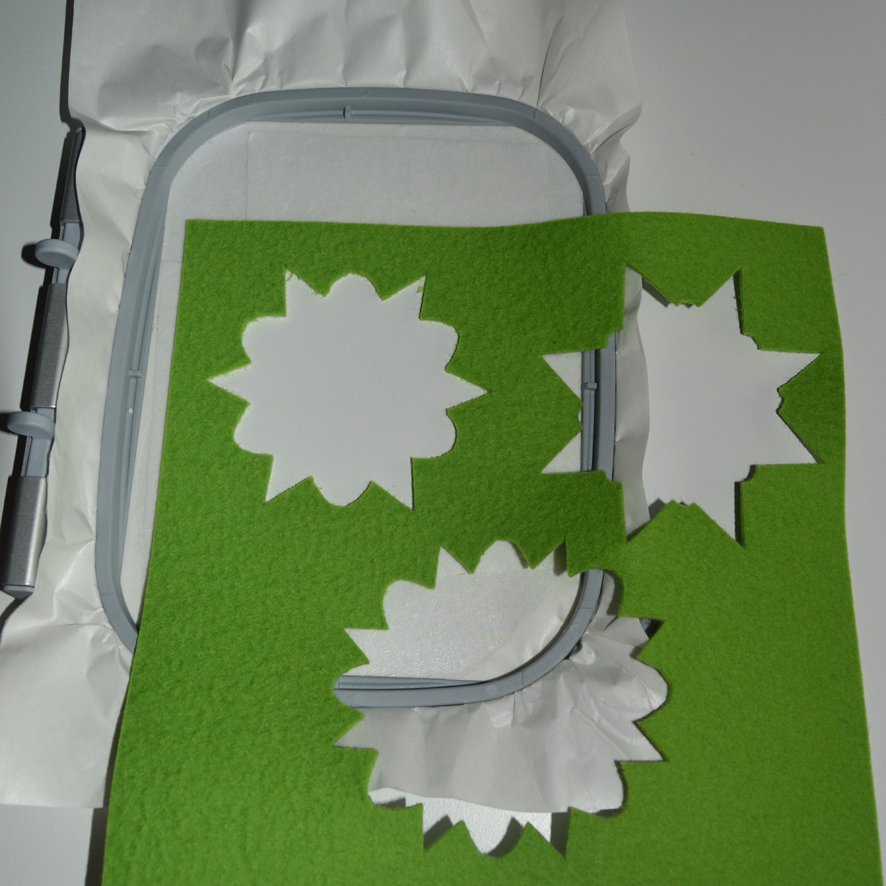
This is what it looks like when it is cut out…

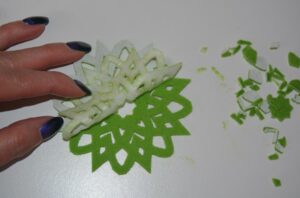
Now push the cut out parts out of the felt star. You can do this quite easily with a thin embroidery needle…

After you have removed all of the cut out bits, carefully remove the fleece backing from the back of the fabric…

Pull a thread through one of the points with a sewing needle and that’s it! I have one more little time-saving tip for you. For the other stars, you don’t have to stretch out the fleece again every time. Cut off a small piece of fleece and stick this over the cut out hole. Then remove the foil and you can stick the felt on for the next star…

You only need to change the fleece in the frame completely after it has totally lost its sticking power! Have lots of fun making my stars.

Here is the file for downloading: Draw_Dateien
Bye for now
Andrea
P.S. The stars are for personal use only. You can cut them out and send the stars to your loved ones or work on the file a bit more. However, I hereby explicitly forbid any commercial use of the files and the products resulting from them!


0 Responses