 BERNINA Corporate Blog -
Dear community,
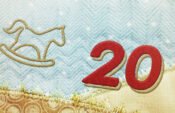
in this blog post you can find easy instructions for sewing a christmas pegasus (with free pattern) – the perfect decoration for Christmas and New Year’s Eve!
The wonderful Christmas season is getting closer and closer and at home we are looking forward more every day to a traditional Christmas tree and the presents beneath it.
Because we have our Christmas tree up by 6th December, and we already have the smell of baking biscuits adding to the wintry atmosphere, the decorations have to be chosen very soon.
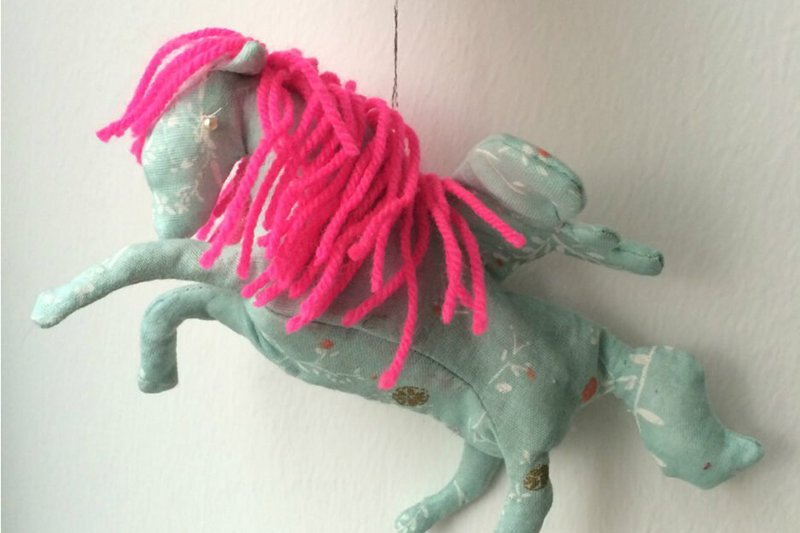
And because my daughter is a big fan of horses, especially unicorns or Pegases, this combined with her colour preferences for pink and light mint, gave me a little idea.
Also, every year since her birth I have given the little apple of my eye a Christmas tree decoration as a present. And every time it has been something quite unusual or special.
The 8th Christmas tree decoration will be one I have sewn myself, and I hope very much that it will light up her little eyes.
In case you like my idea and would like to try it yourselves, I have written some quick instructions:
Material:
– Print out pattern: DINA3 Pattern Pegasus
– Copying paper
– Tracing wheel
– Fabric
– Scissors
– Sewing machine
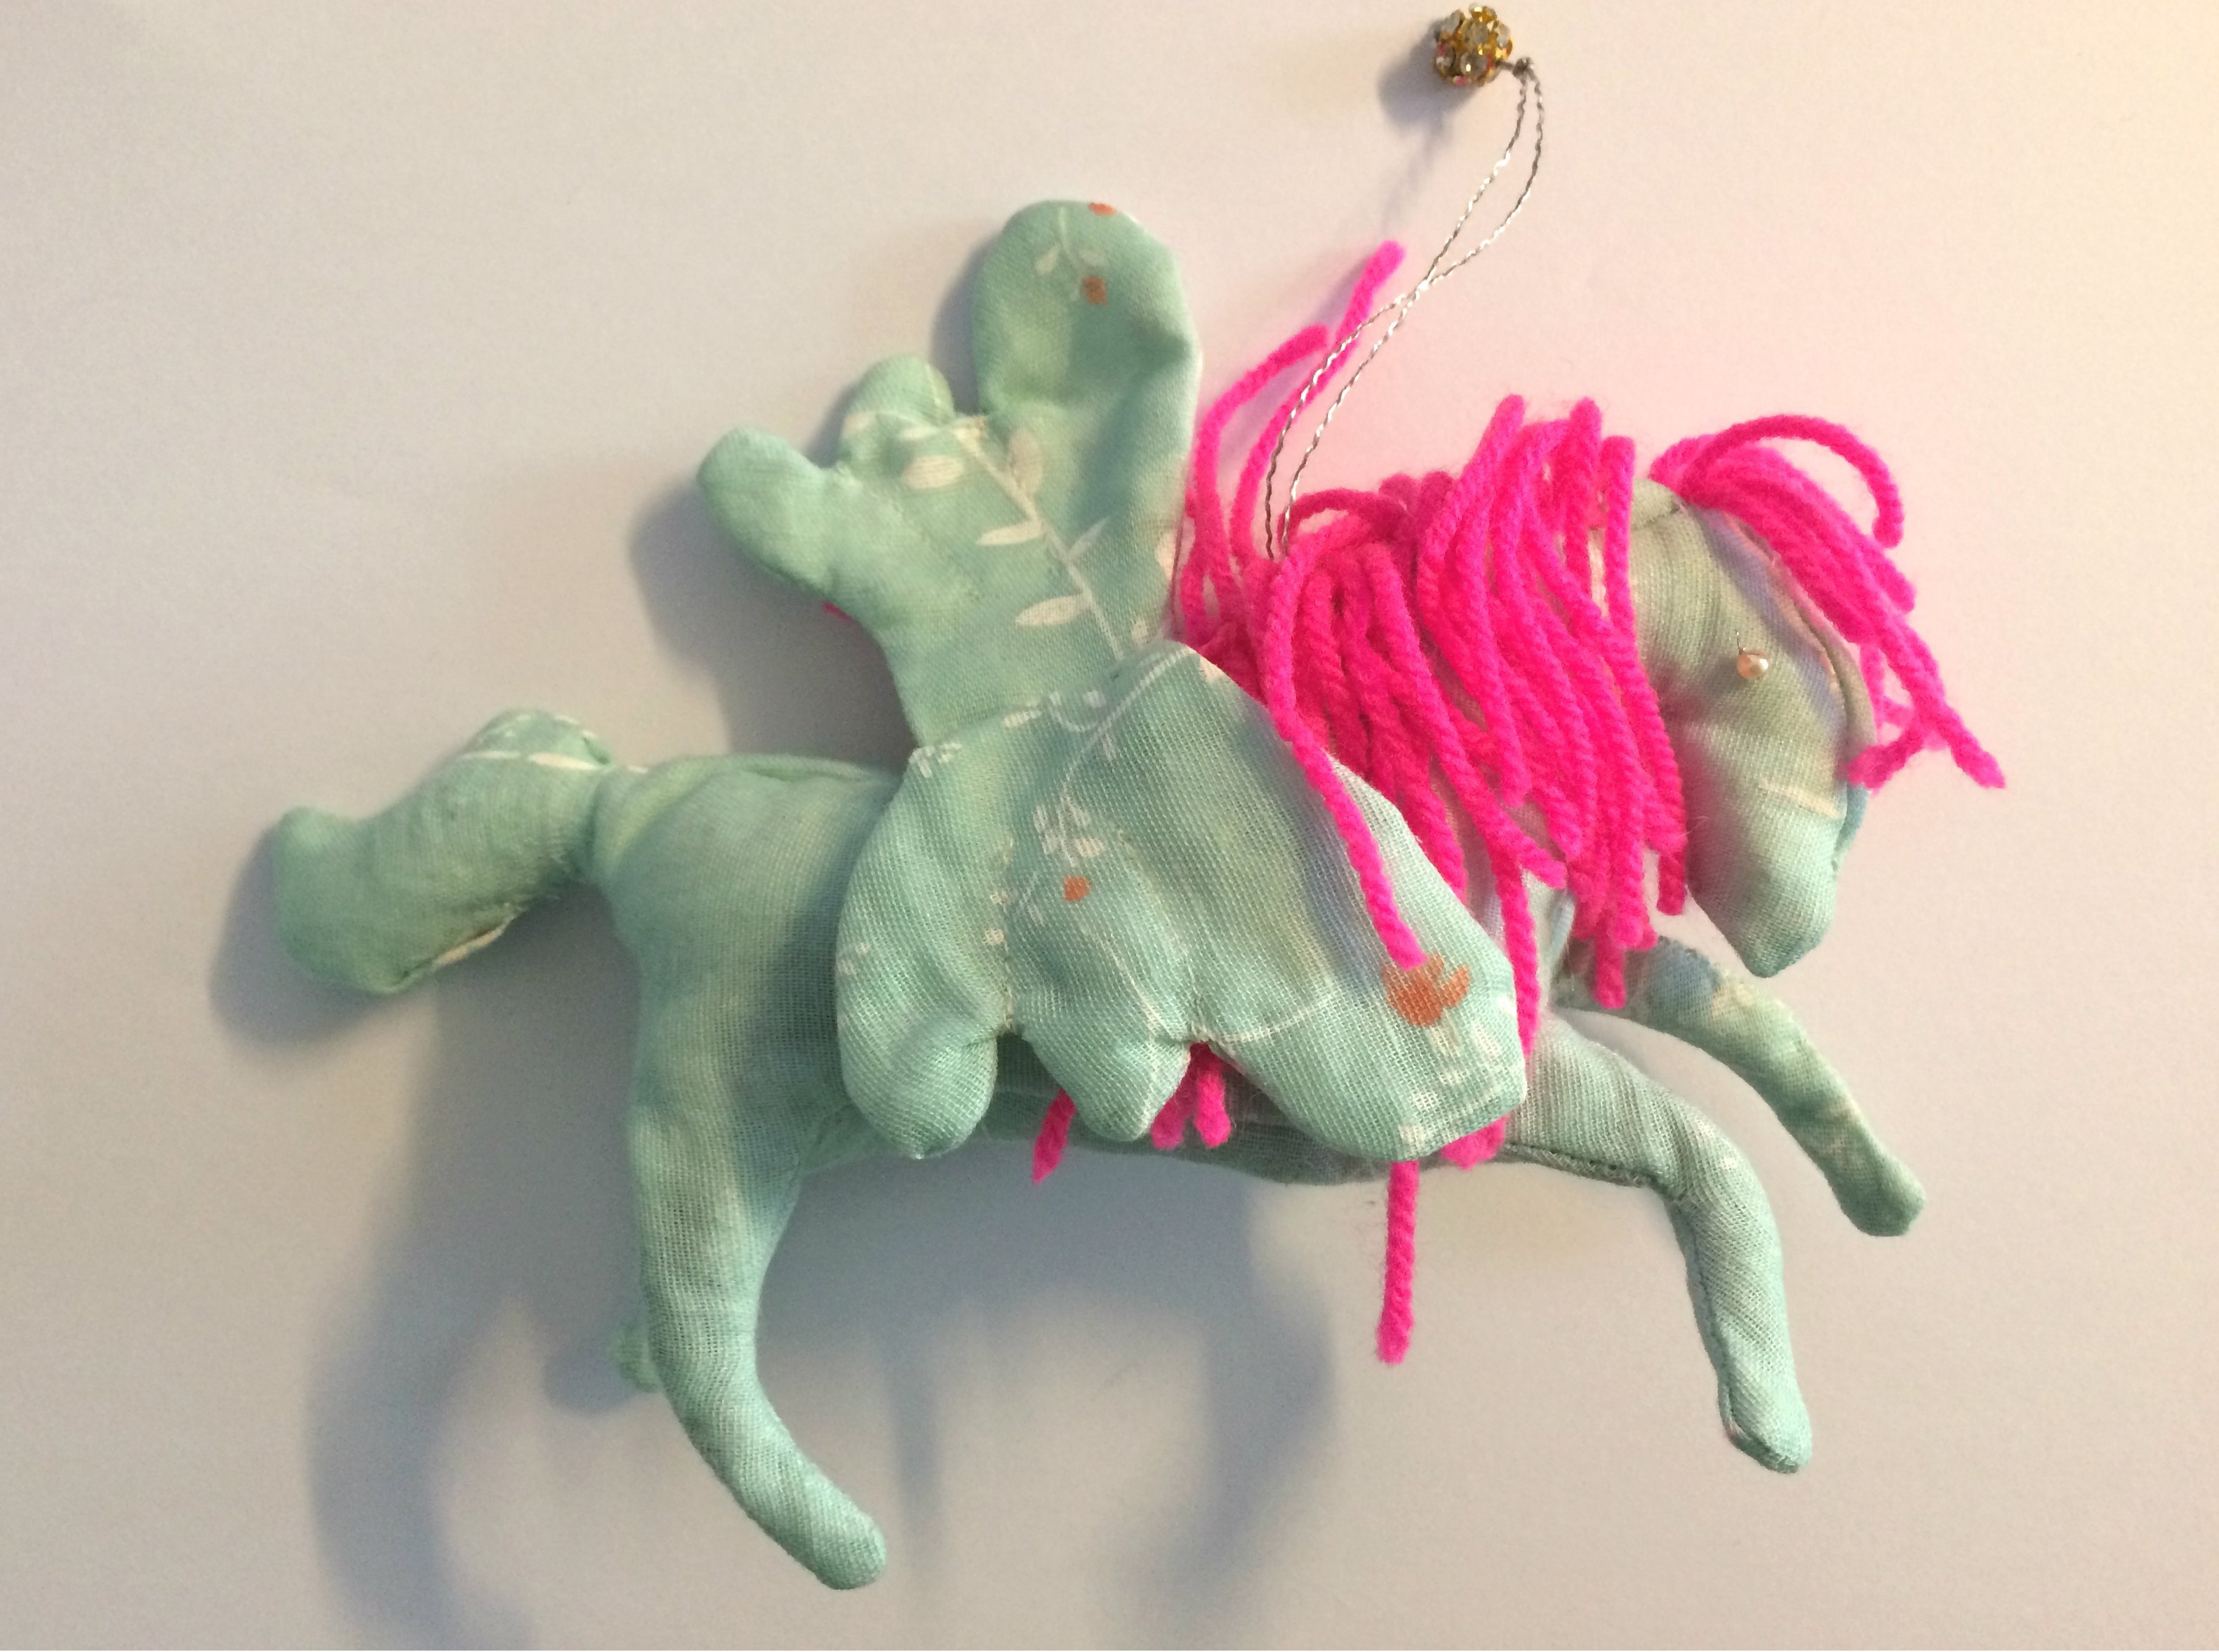
– Card and wool (for the mane)
– Filling (Lavender flowers or cotton wool)
– Beads for the eyes
– Wire for the legs
– Time
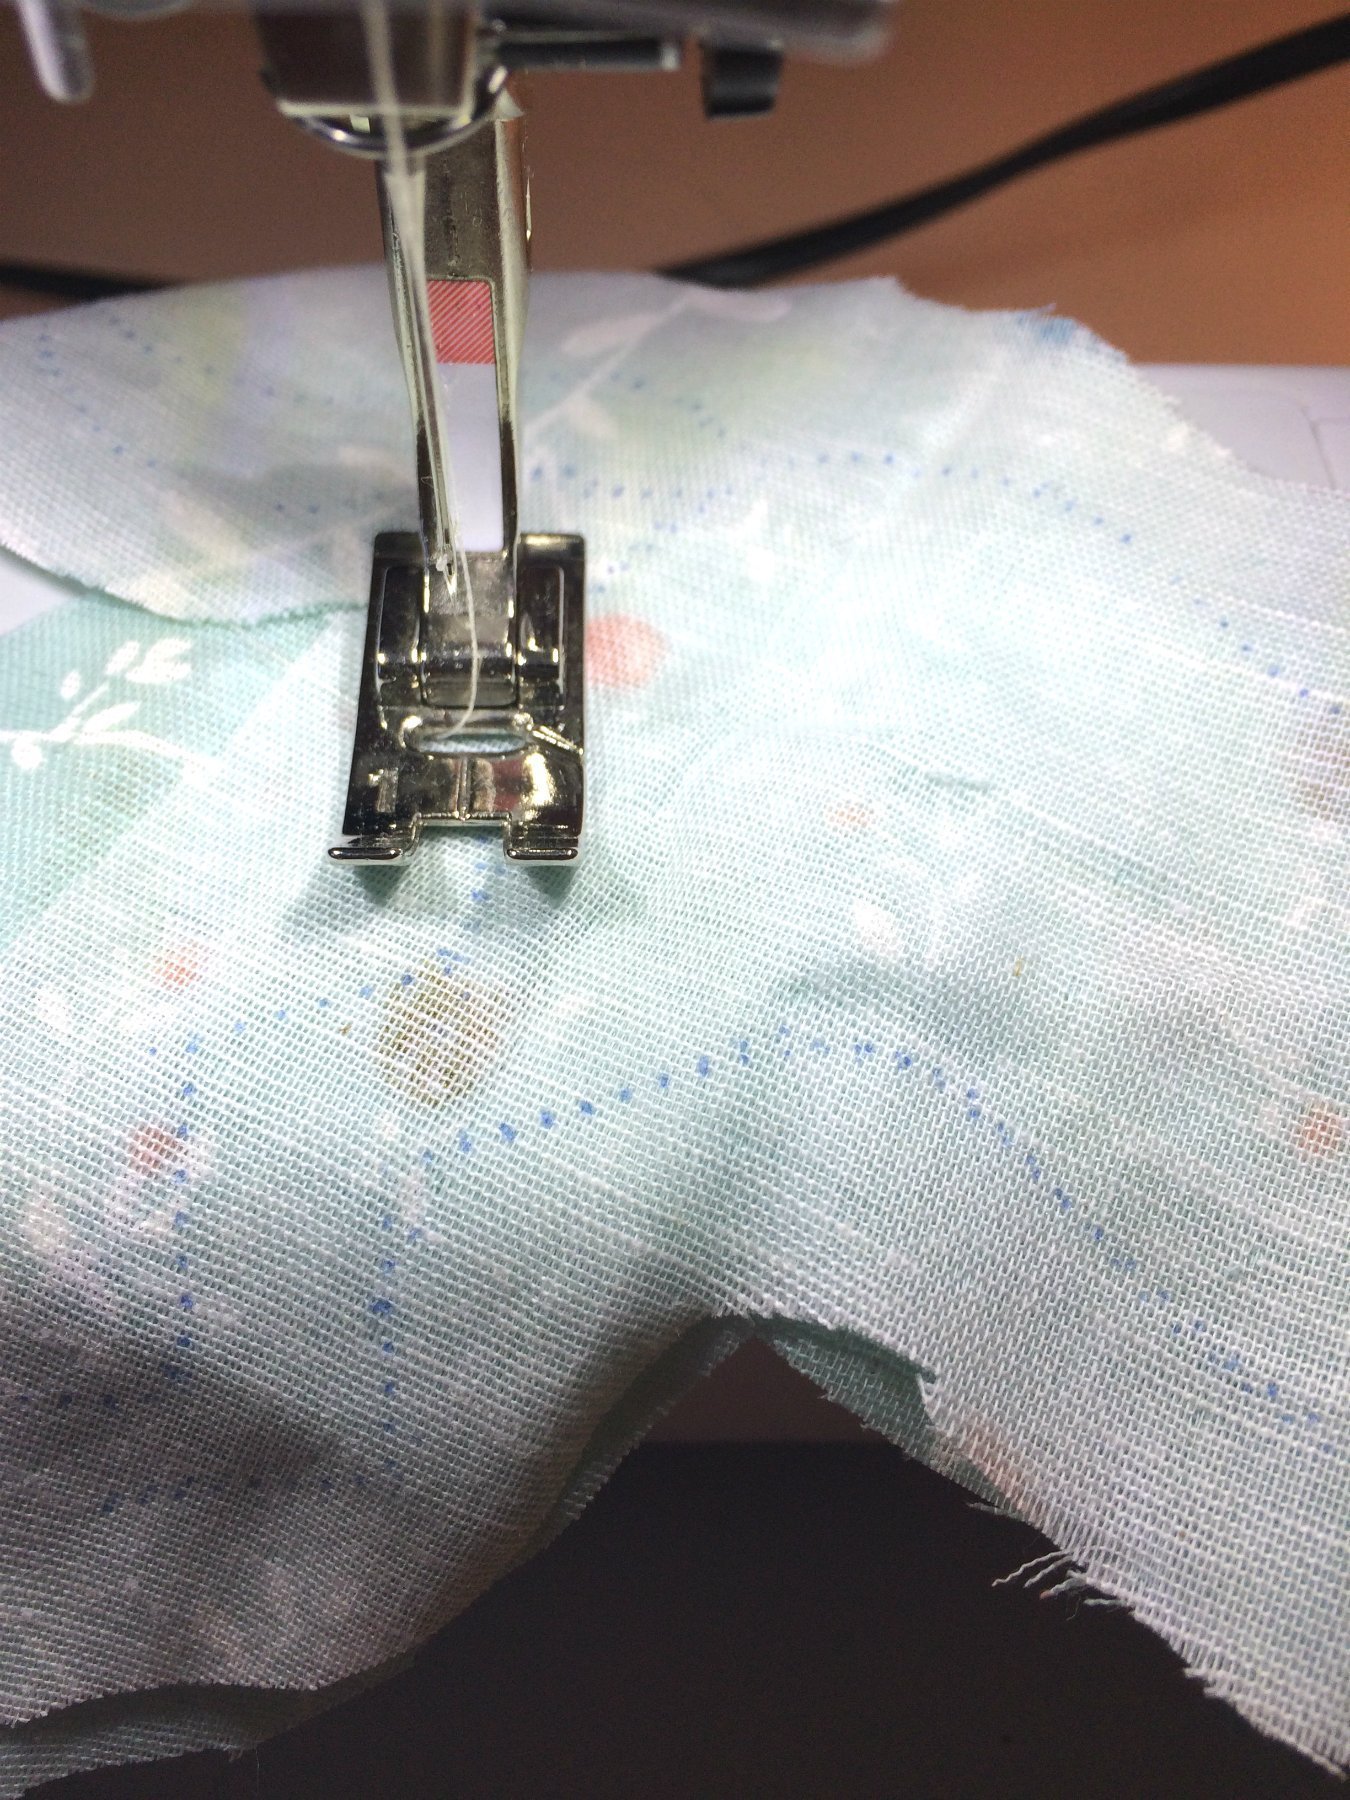
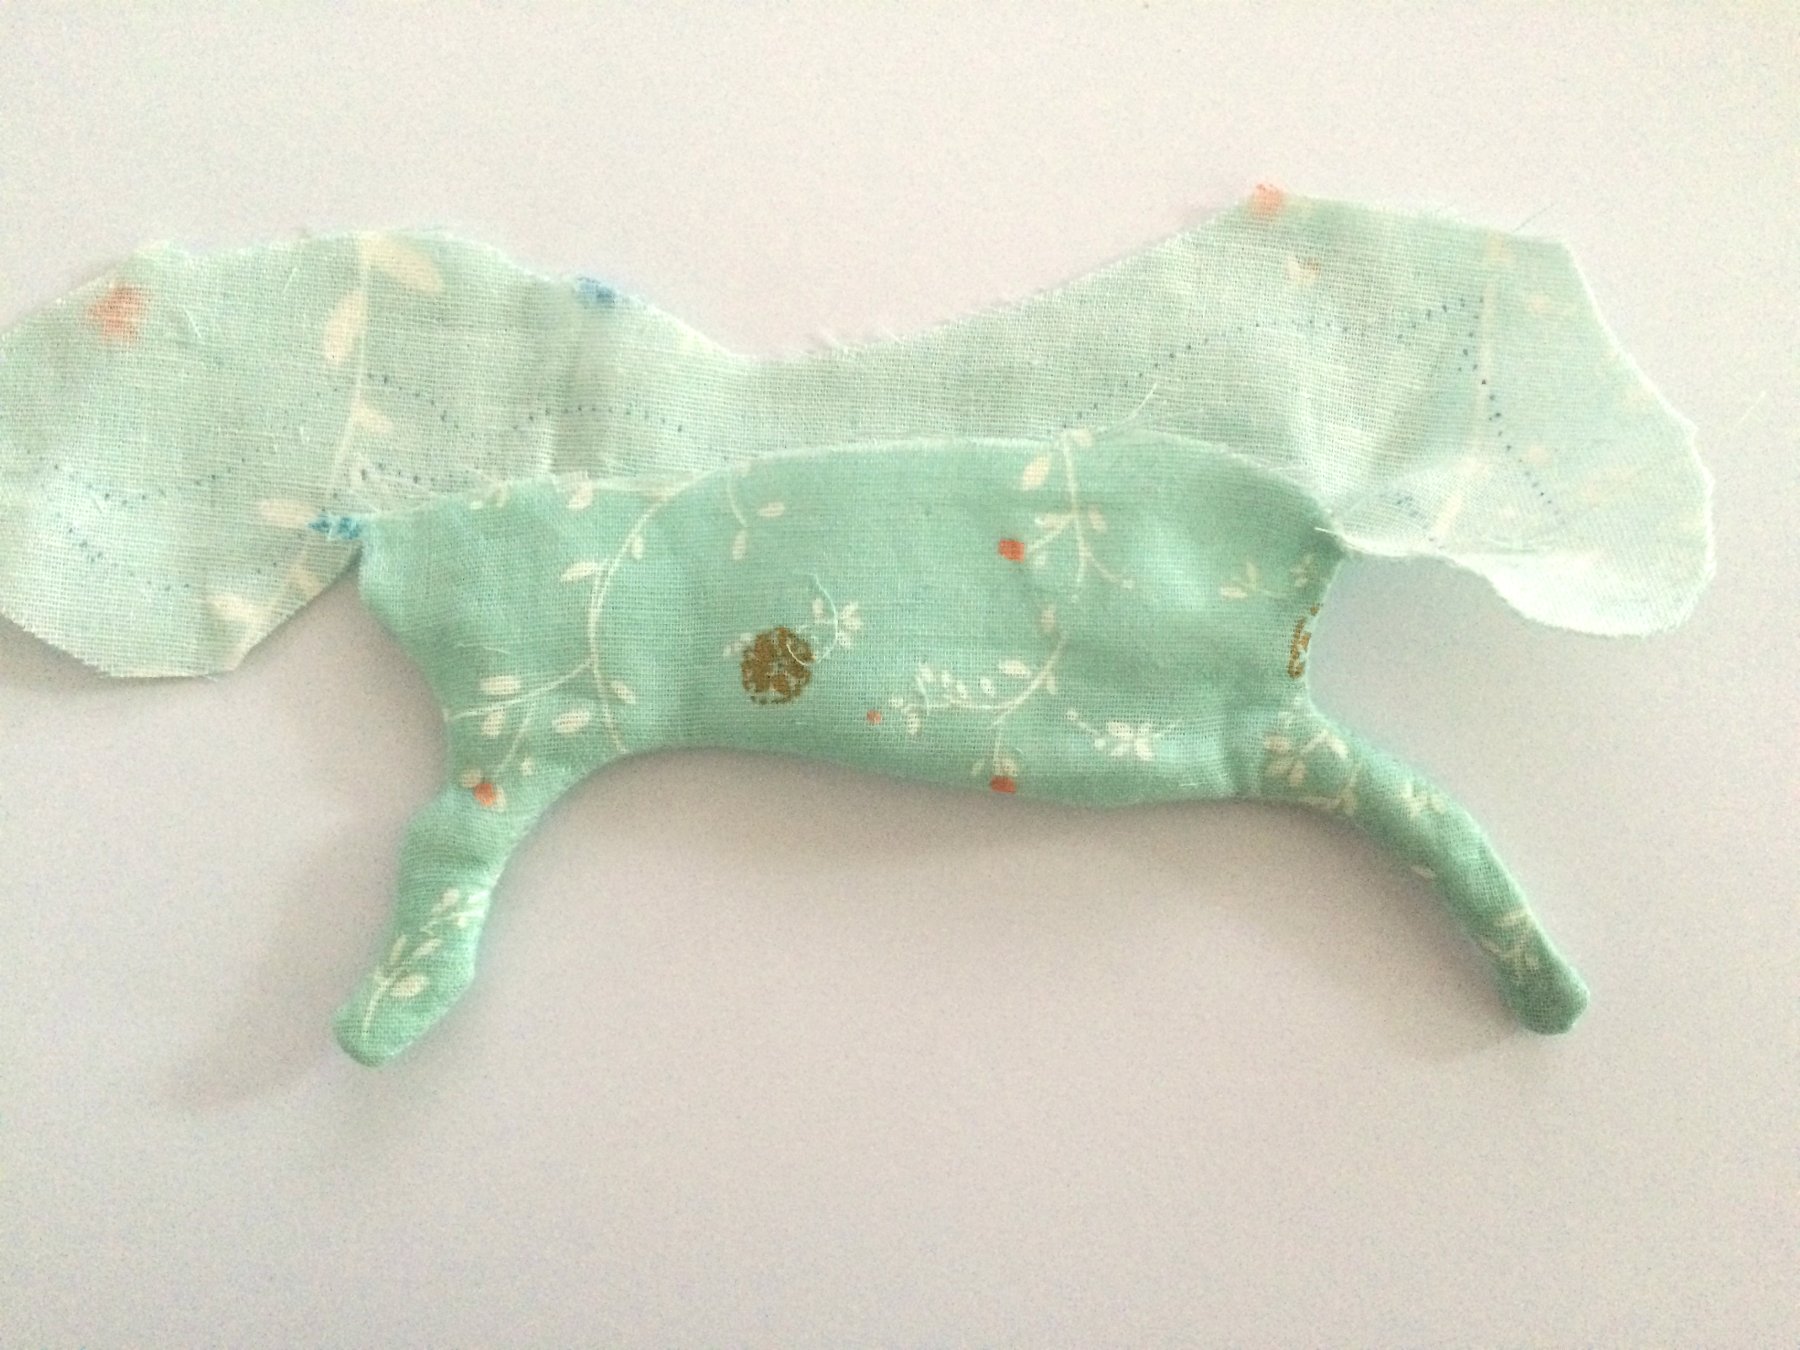
First, print out the template with the pattern onto DIN A3 size paper. Then lay the copying paper between the fabric and the template and follow it with the tracing wheel. Note that the template does NOT include a seam allowance. One of approximately 1 cm must be added!
So cut out the shapes including a seam allowance.
Then sew both halves of the underside together with the fronts. On the template, these are Figure 1 entire horse and Figure 1 bottom section of horse as well as Figure 2 entire horse and Figure 2 bottom section of horse.

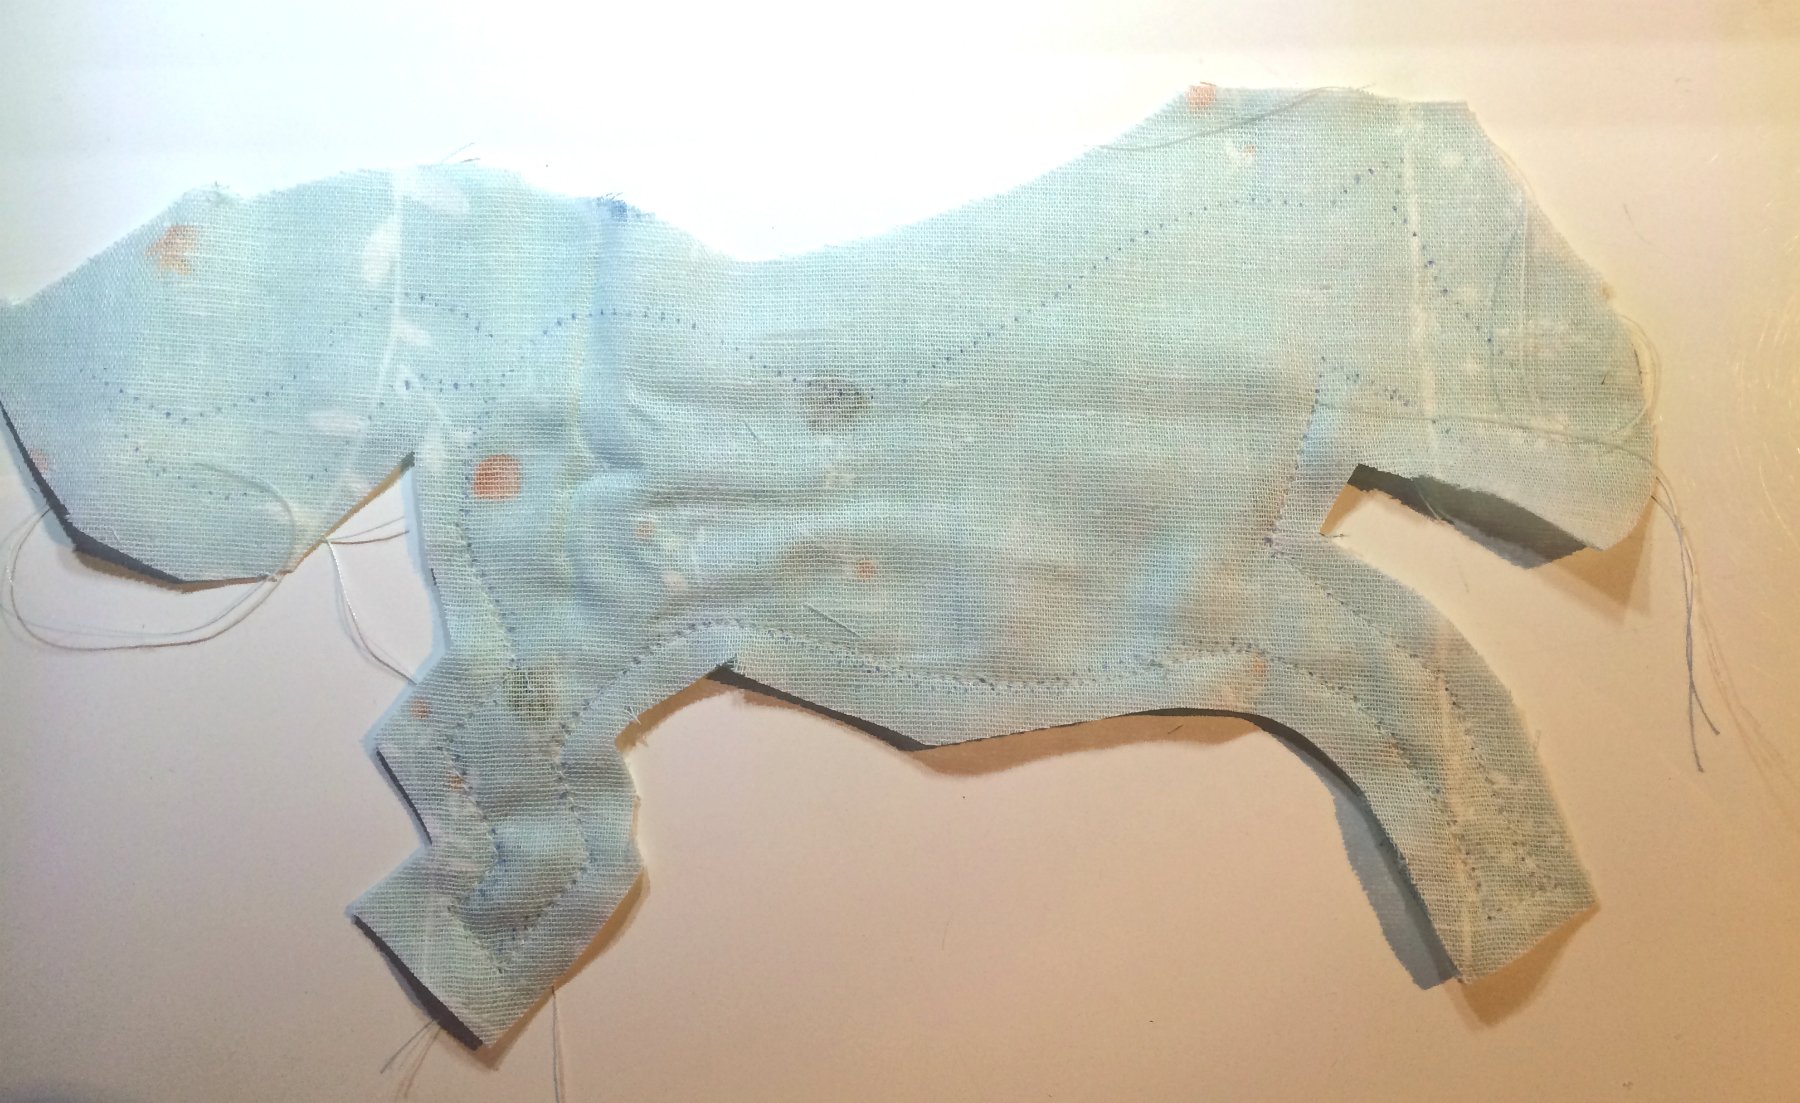
Next, stitch the ears together. To prevent the corners from warping in an unsightly manner, add cuts with fabric scissors around the shape up to the seam. I trim at this point.

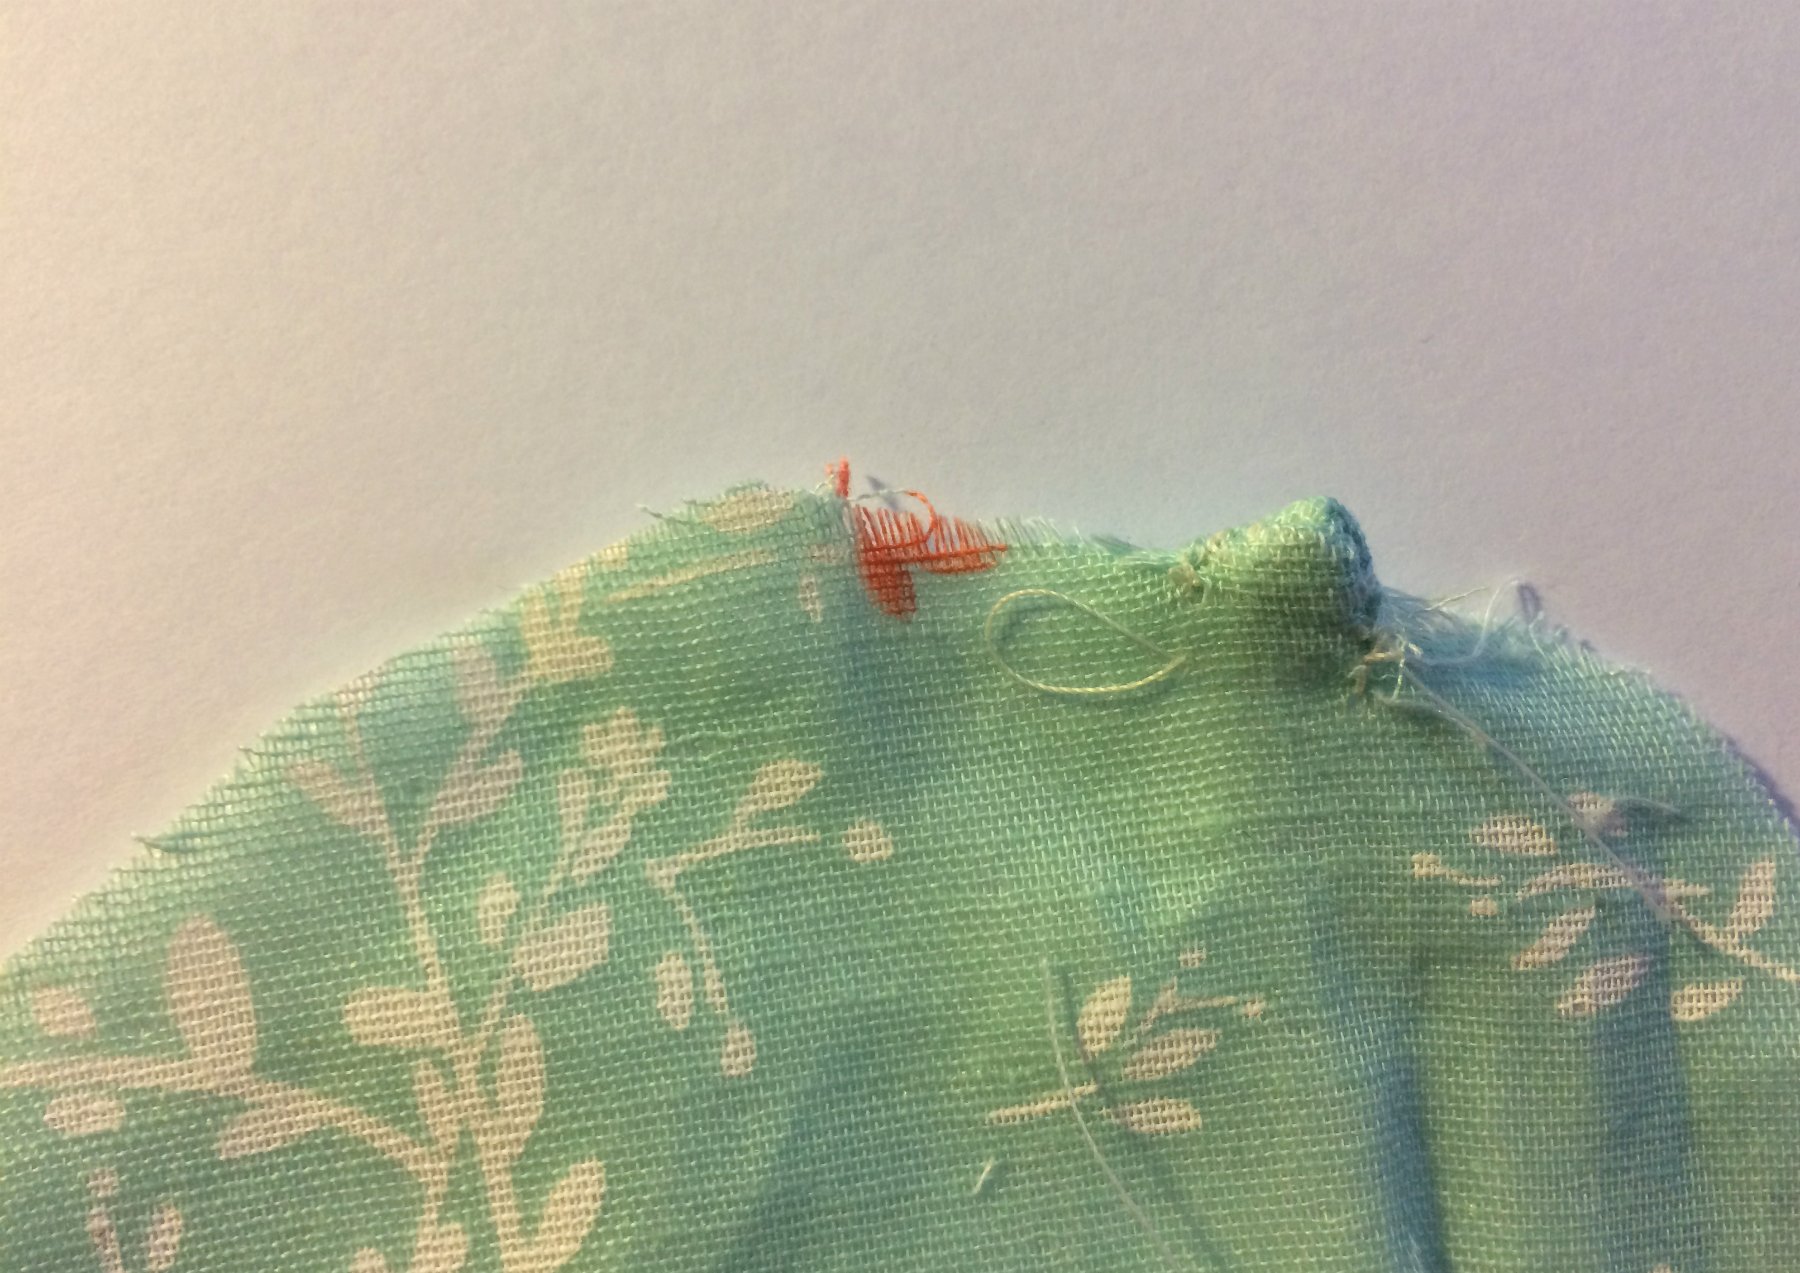
The most fiddly parts in my opinion are the feet, the ears, and pulling the horse’s tail outwards. Because it is very small, I used a narrow ballpoint pen case to slowly bring the legs outwards.
If using a pen, use the case only, otherwise there is the danger of ink getting on the fabric. However, you could also use other objects; they just need to not be pointed and the process must be done carefully.
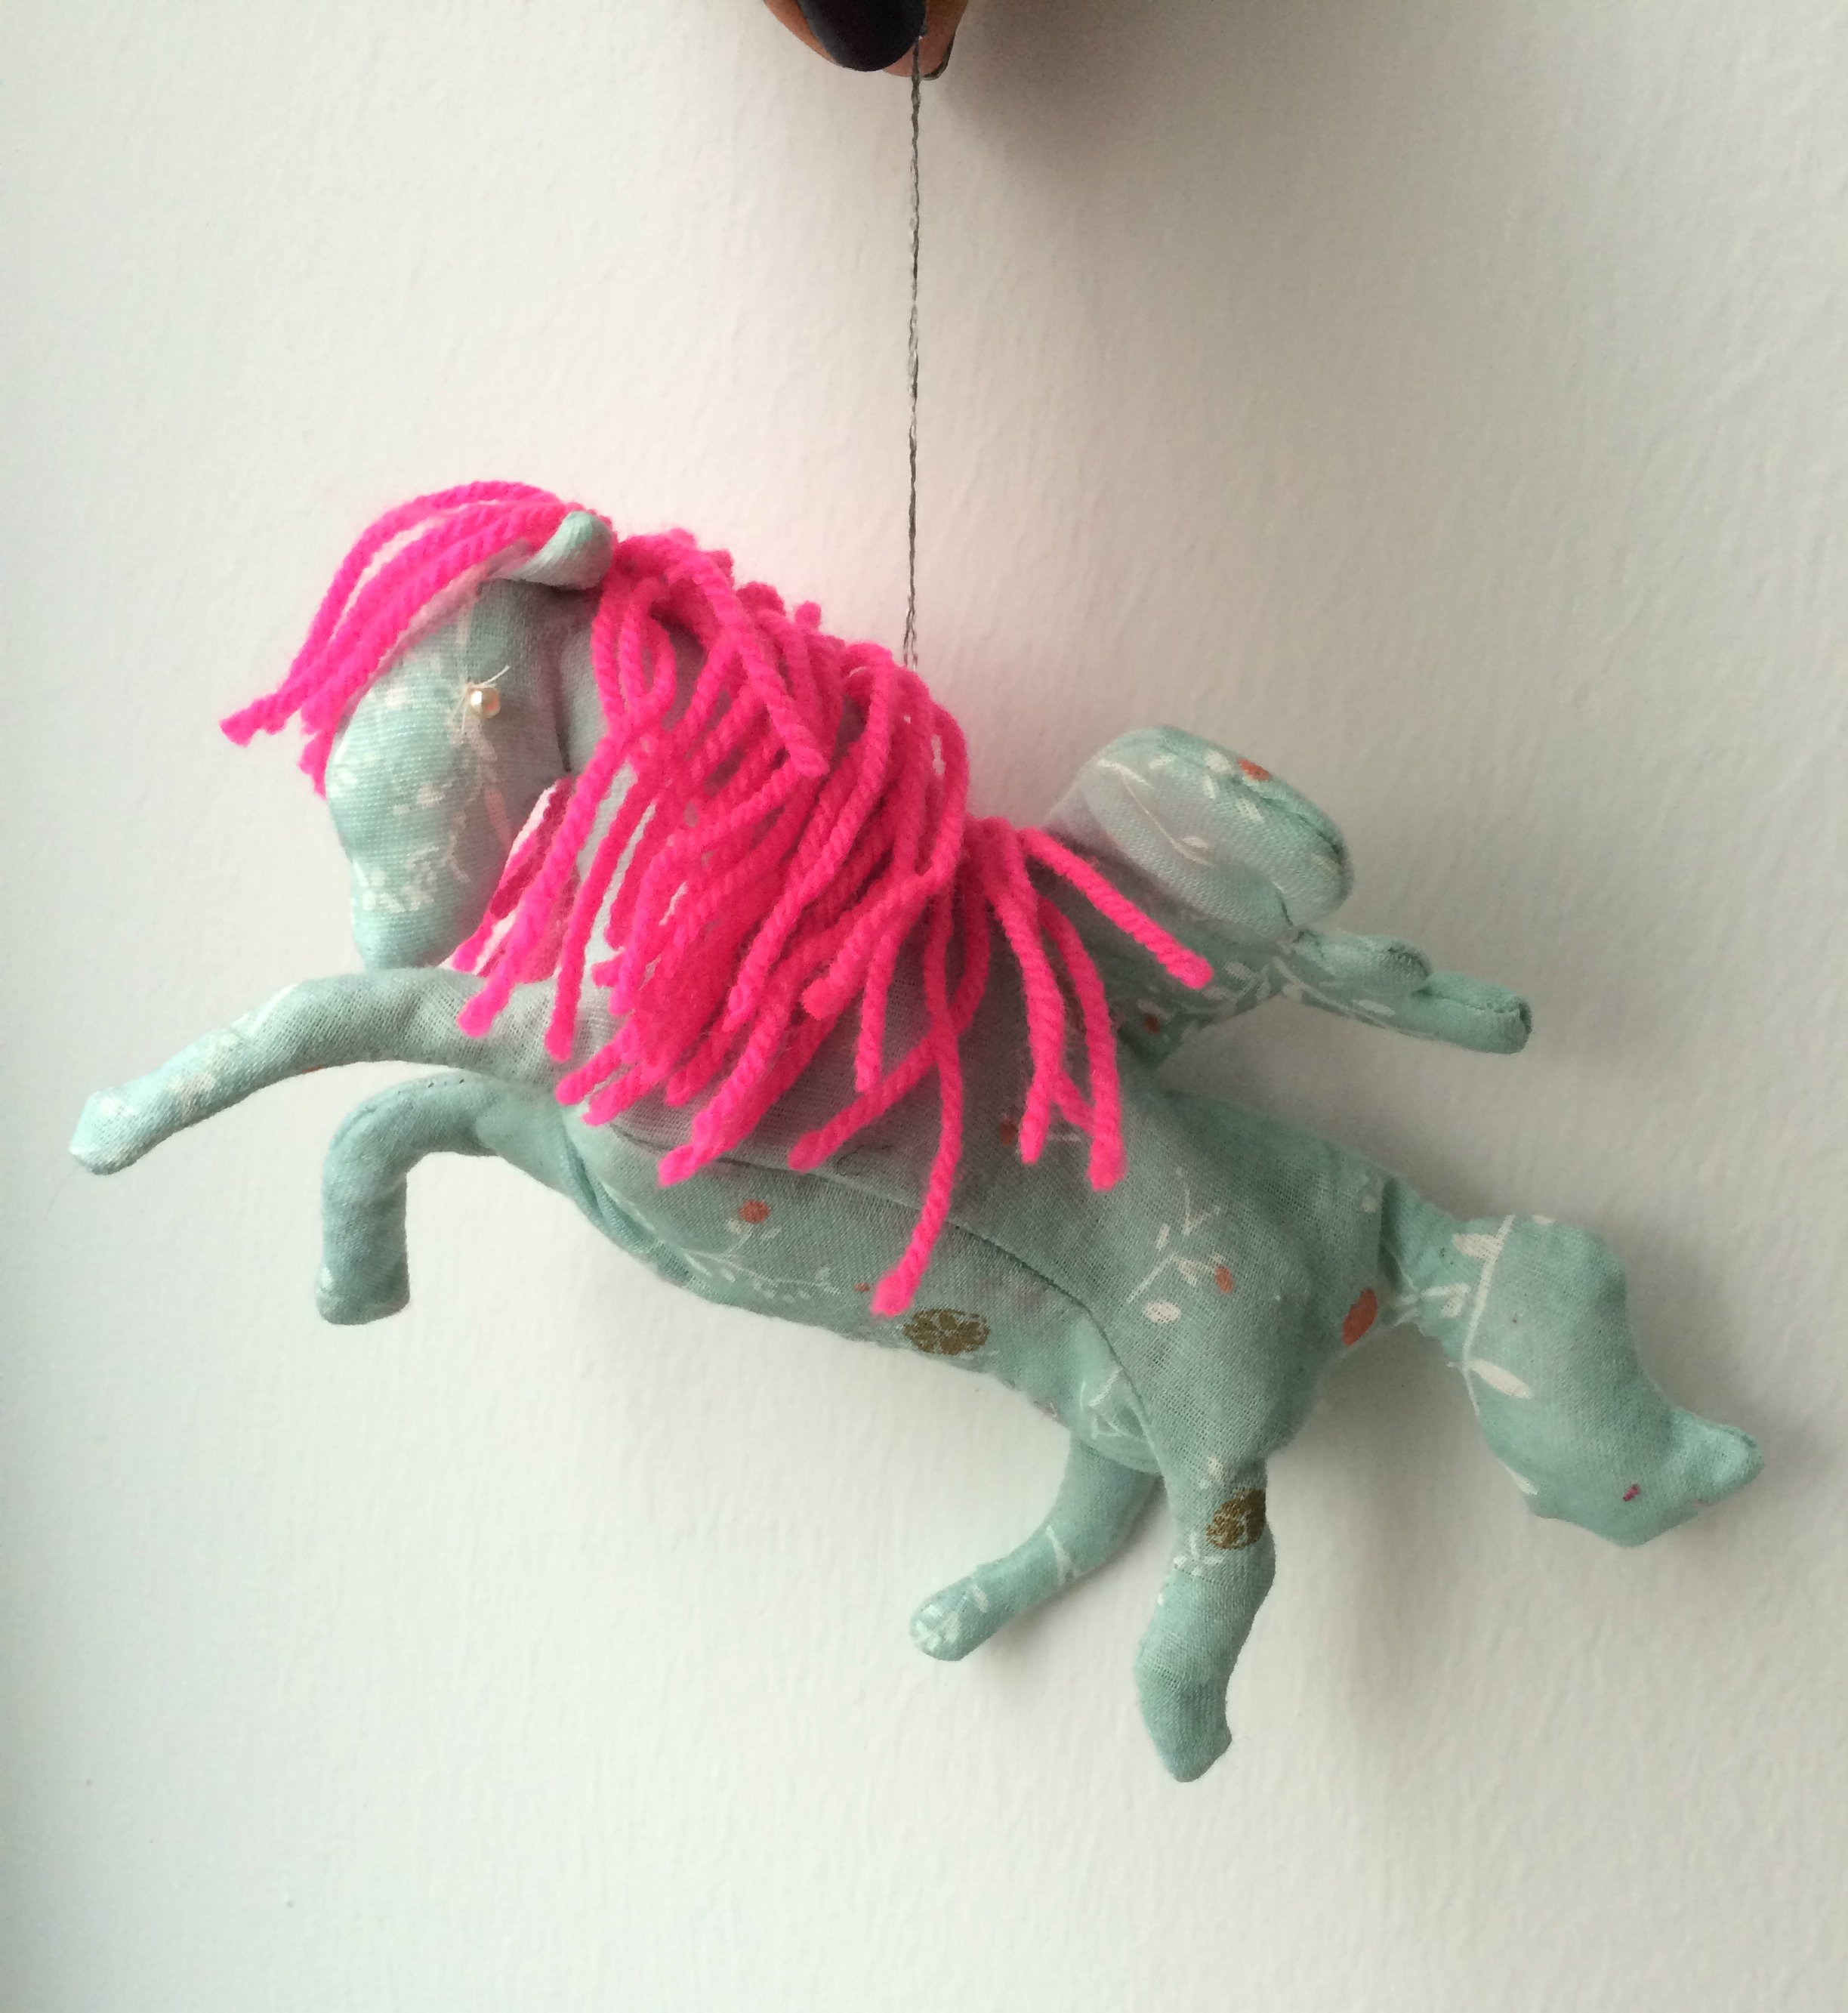
When that is done, each breast section is sewed to a side with a wing. The same is done for the nose.
The mane comes between the back and the nose. For this, simply wrap wool around a piece of card, cut up one side, wrap with paper and stitch 3 mm from the edge with 1 stitch. This has the advantage that slipping does not occur after stitching and the seam is hidden in the seam allowance of the body / head. Then insert it between the pieces of fabric and stitch in place.
Stitch the wings into the middle of the back: fabric on the wrong side and laid on top of each other. Insert the wings and fix them in place with a pin, so nothing slips out of place.
Before the underside and the second breast side are completely stitched up, take two pieces of wire and bend and twist them into a loop, so that no ends are poking out, before inserting them into the legs. Then you can fill the horse with lavender flowers and stitch it closed. I personally find lavender simply wonderful AND it will keep flies and moths out of the children’s cupboard the whole year round. So it’s a handy 2 in 1!
If you are not a fan of lavender or do not have any to hand, you can also use cotton wool for the filling. You can also, of course, add a drop of rose oil to the cotton wool, so that the horse smells of roses.
You can complete the final stitches by hand or do the external seam with a sewing machine.


Now wrap it up because Father Christmas is waiting already…
With fondest regards,
Stefanie Hildebrandt


0 Responses