Dear community,
in this blog post you can find easy instructions on how to make an embroidered Christmas doily – the perfect decoration for Christmas and New Year’s Eve!
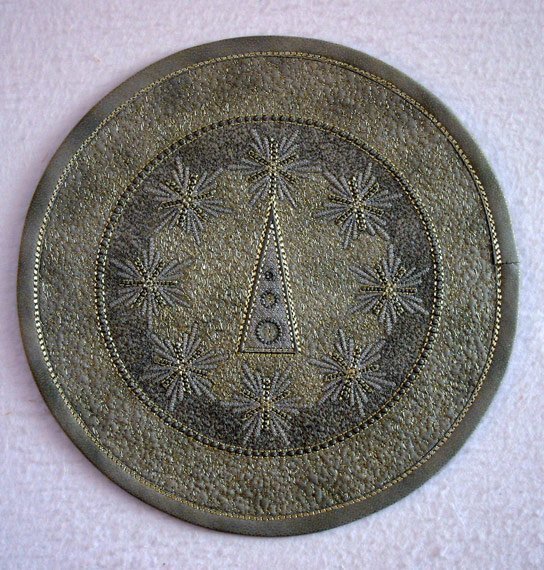
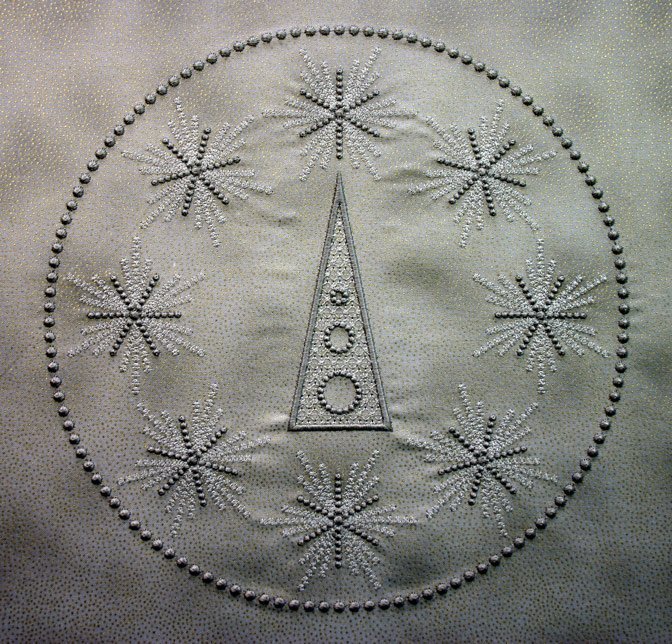
My contribution to the BERNINA Advent calendar is a doily that is decorated in the middle with a stylised Christmas tree.
Instructions for creating the embroidery pattern
The embroidery on the doily consists of 2 different embroidery patterns.
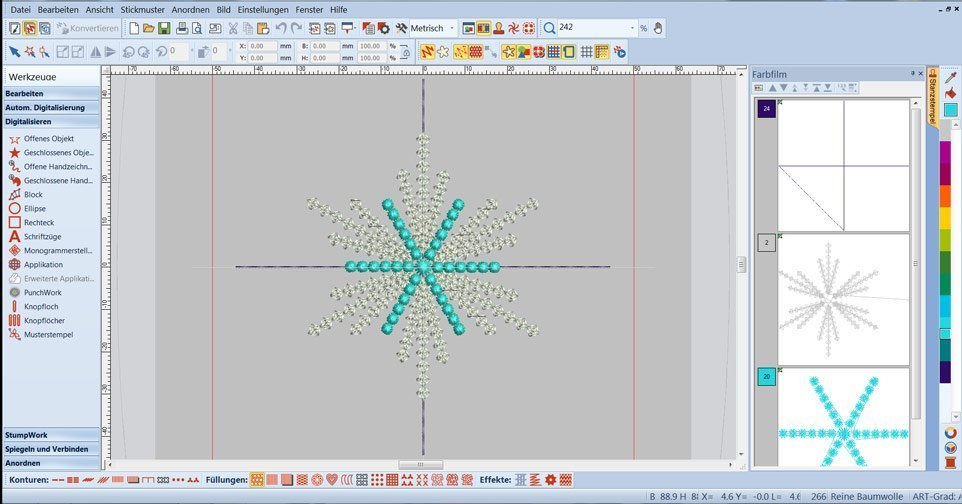
Snowflake
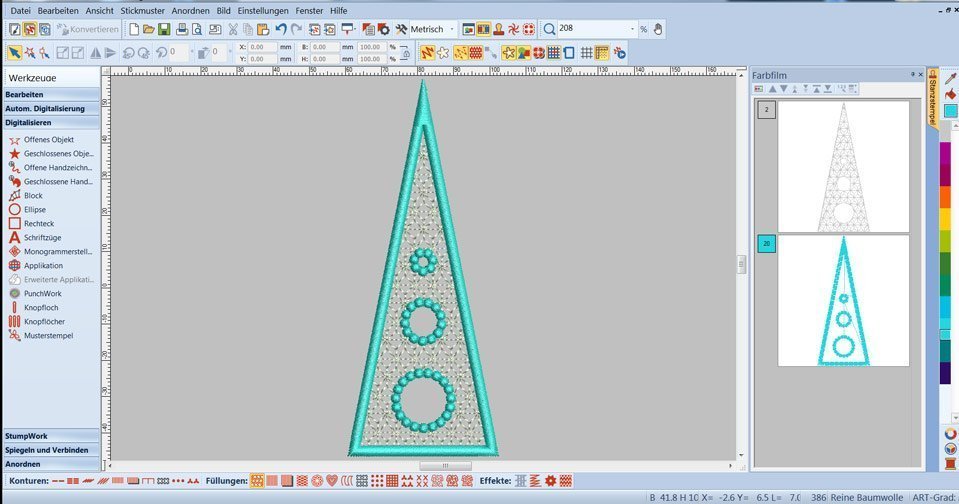
Stylised Christmas tree
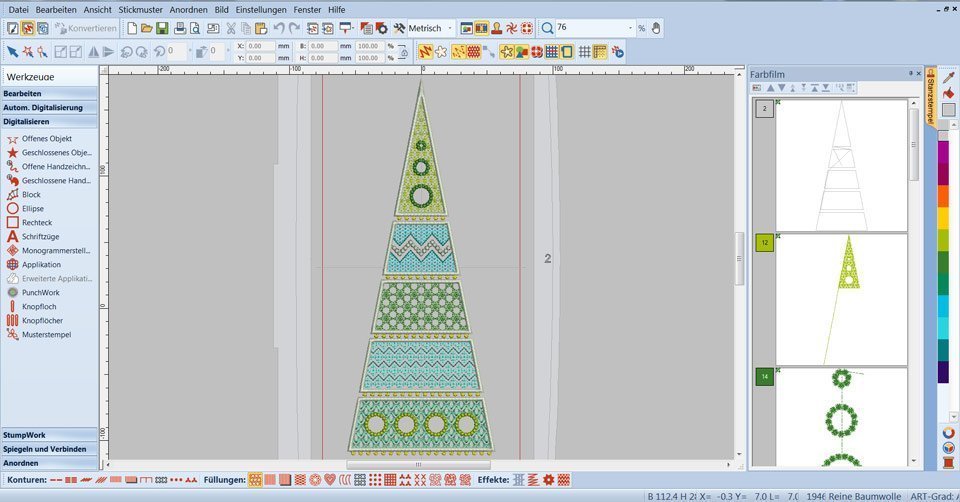
The Christmas tree is from the following pattern.
(Both embroidery patterns are by Sarah Vedeler from the ‘Sparkle’ collection.)
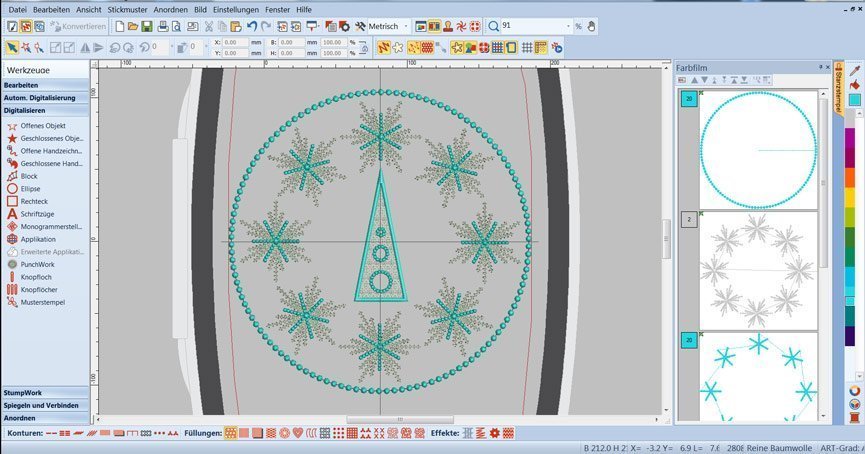
Using the function ‘Mirror and Merge’ – ‘Wreath’, I positioned the snowflakes in a circle of 8, with the Christmas tree in the middle.
Finally, I digitised a circle as an outline and selected ‘Knotted Contour’.
The pattern combination fits in the Jumbo frame of the BERNINA 830 and 880.
If it is made 90 % smaller, the combination pattern will also fit in the maxi-frame of the B 780 and 750.
Quilting of the tablecloth
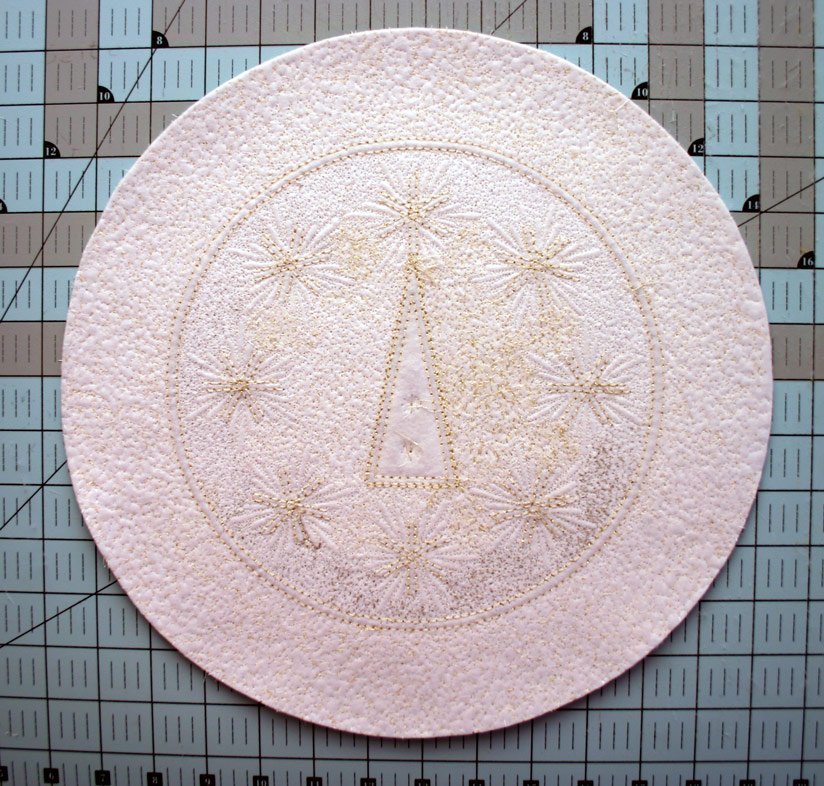
You can clearly see that (despite excellent material preparation and frame tension) bulges occurred in the middle of the complex embroidery pattern combination.
I laid the embroidered top on a layer of Thermolan and a thin layer of backing fabric and stitched around the Christmas tree and outside the knotted border with gold-coloured metallic thread to smooth out the bulges.
The back after the specks.
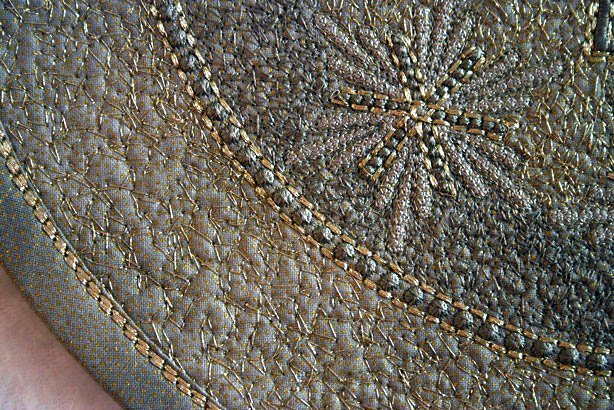
With a BERNINA 780 embroidery stitch and metallic thread, I added more accents to the Christmas tree, in the snowflakes, along the knotted border and finally on the bias binding trim.
Wishing you a wonderful Advent and Christmas season.
Best wishes,
Susanne
 BERNINA Corporate Blog -






0 Responses