Dear community,
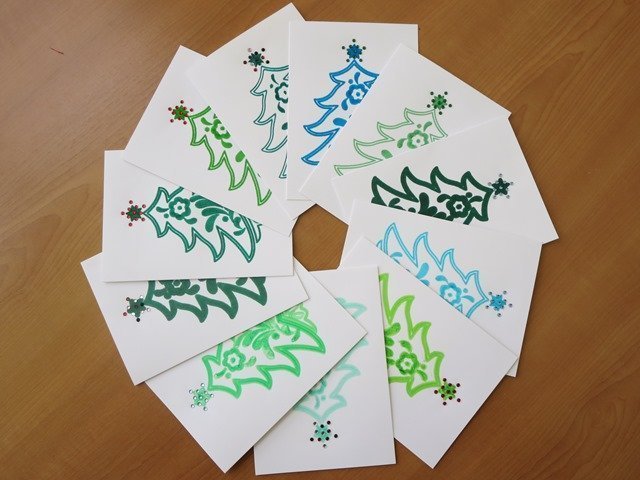
in this blog post you can find easy instructions on how to make individual christmas cards.
Only a couple more sleeps and the Christ Child will be at the door.
Like in so many previous years, I left myself quite a bit of time to find Christmas presents. The presents are now ready, and only the Christmas cards still need to be done – but they need to be posted very soon! What shall I do? I’ve been to all the shops but couldn’t find the right cards. Then I had an idea! I have the BERNINA Deck The Halls DesignWorks Collection with its lovely Christmas motifs. I should definitely be able to whip something up with those. I quickly bought some plain folded cards in size DIN A6 and went to my computer.
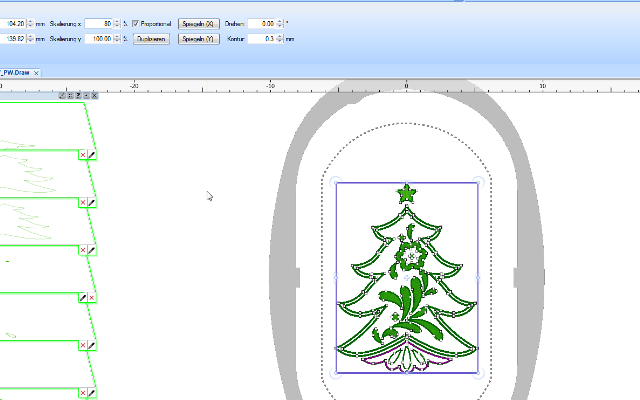
I knew I would find what I wanted. For my card project I used the 21018-07_PW motif, a PaintWork Christmas tree, and 21018-6_CR, a CrystalWork Christmas tree.
I had to make the Christmas tree a little bit smaller using the software so that it would fit onto the cards. I highlighted the entire tree, ticked the ‘Proportional’ box and entered 80% for the scale.
For the CrystalWork 21018-6_CR motif, I removed all of the little crystals except the star.
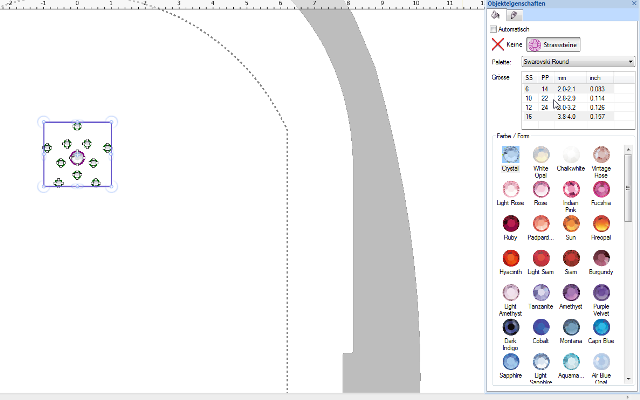
And finally I put little crystals of equal size around the star. I used size SS10. There is a large selection of sizes..
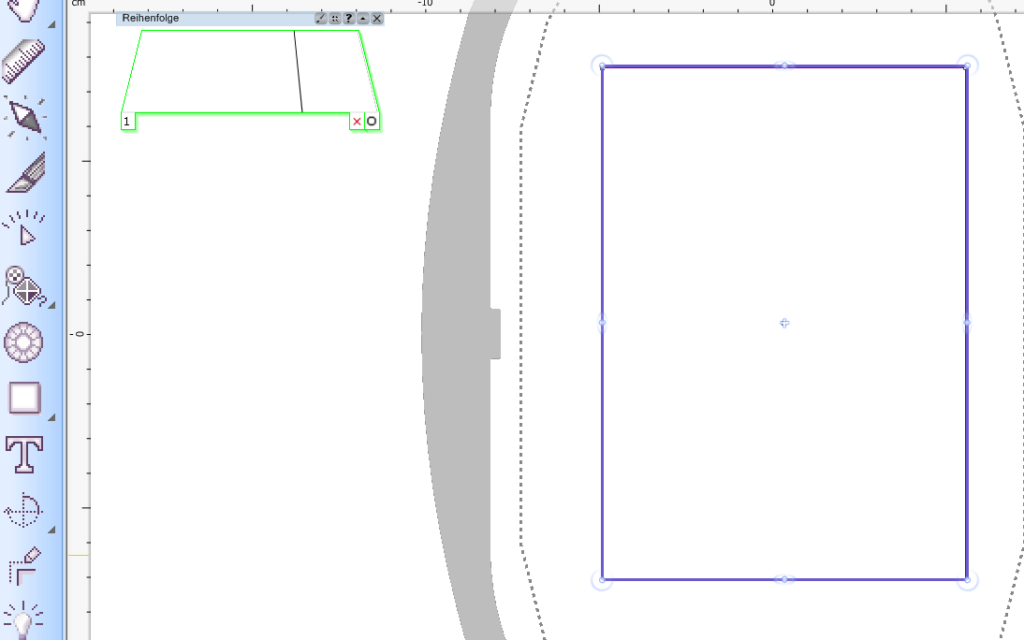
Then I also created a placement line. Just use the ‘Create Shape’ tool to make a rectangle. Adjust the size afterwards. Enter a value of 108 mm for the width and 148 mm for the height. First, untick the ‘Proportional’ box. I deleted the filled surface and then had a placement line for my cards. I exported all the files to my USB stick.
Then I looked for any pens that would write in green and for rhinestones in a variety of colours and went to my machine.
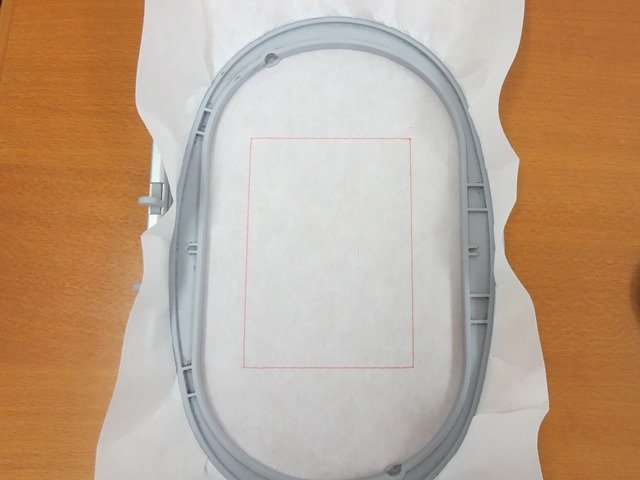
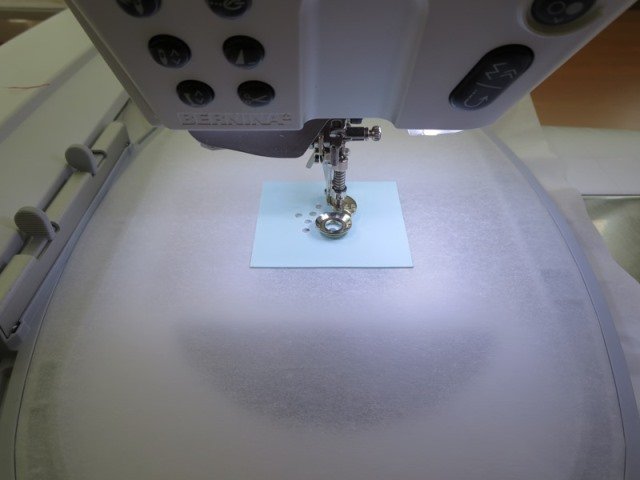
First I loaded the placement line, stretched backing fleece across my frame for cutting off and embroidered the line. Please do not use self-adhesive fleece for painting paper. It sticks too strongly and the paper tears when the backing fleece is pulled off.
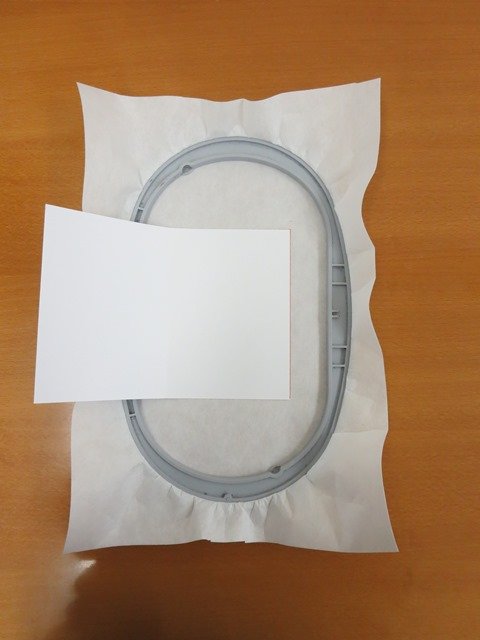
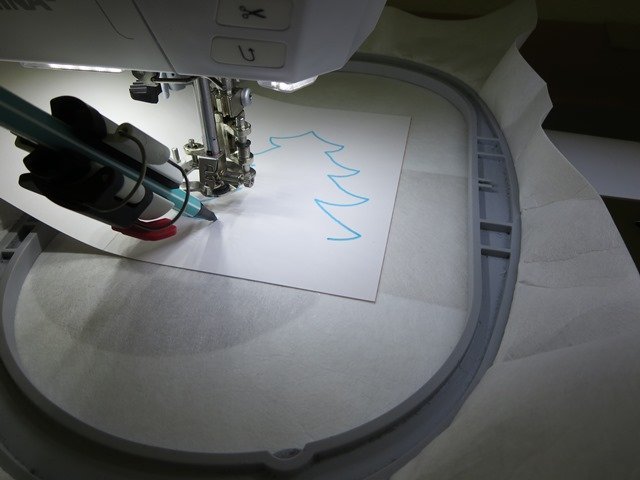
Then I added a touch of adhesive spray to the backing fleece and let it dry a little. I placed the cards in the frame and attached the PaintWork tool to the machine.
Then one by one I let the machine paint on the cards with the different pens.
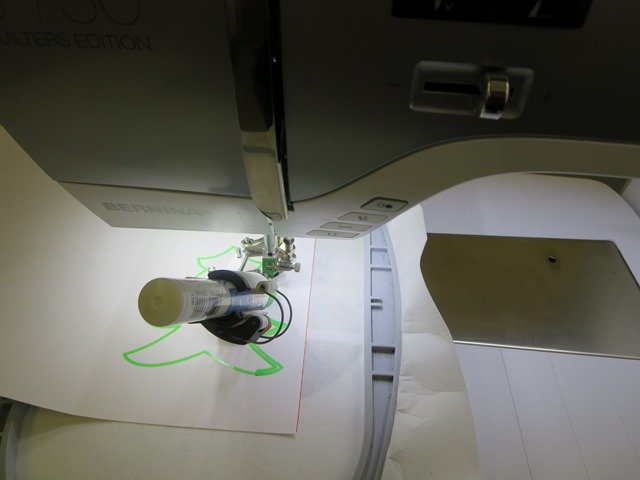
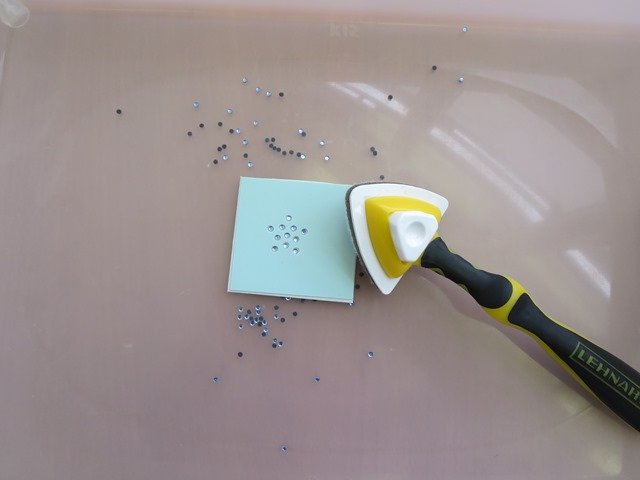
I let the cards dry well and worked on my template with the CrystalWork tool.
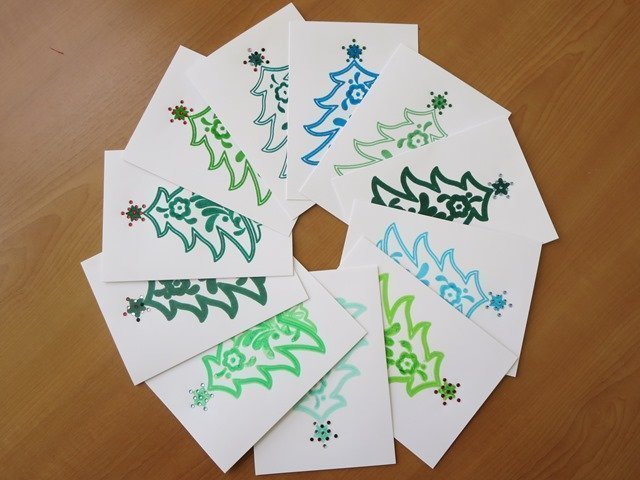
I put different-coloured little crystals in the template and created 11 iron-on motifs, which is exactly the number of cards that I had painted.
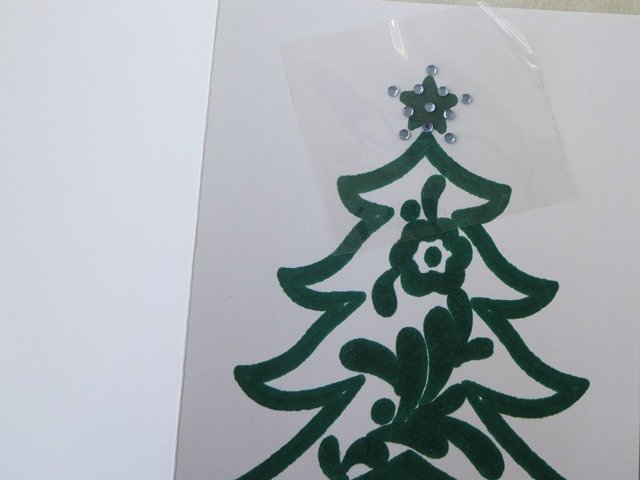
Now place the iron-on motif on the painted star and iron it down.
Finally, iron the folded cards flat again.
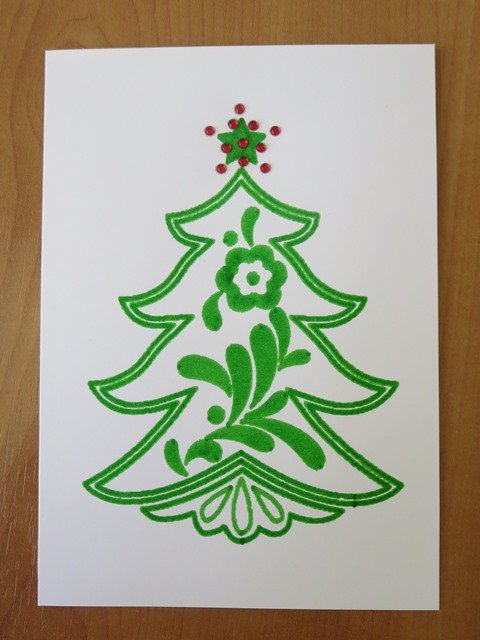
That’s it – finished!
I have never had such unique Christmas cards. Now just write a quick greeting on the inside, place into an addressed envelope and put them in the post.
Wishing you a peaceful Christmas with your loved ones and best wishes for the New Year.
Warm regards,
Birgit
 BERNINA Corporate Blog -





Hello Hillloah Driskill
Please contact the support of BERNINA UK.
Thank you very much!
Regards
Birgit
Thanks Birgit, Happy New Year to you too.
Very nice Birgit. Is the “fleece” you are using what we would call “stabiliser”? It looks too thin for wadding that we put inside quilts.
Hello Jan,
happy new year!
Sorry for my late answer. I was on Chrismas Holiday.
Yes, the “fleece” is a cutaway stabiliser.
Best wishes,
Birgit