Dear readers
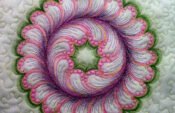
Thank you very much for all your positive responses on Facebook to my painted feather wreath.
I am delighted that you like them so I will try to explain how I create them step by step.
But first I want to tell you how I got around to quilt a feathered wreath, which was then painted.
One day I found photos of wonderful quilts by Patsy Thompson in the Internet. I bought her CDs and tried to imitate what I saw in the lessons . There I found the feathered wreaths. And “wow” that was exciting. I couldn’t get these beautiful designs out of my mind. So I began to practice.
A little later I discovered “Craftsy” for me. There I became aware of the splendid painted quilts by Annette Kennedy. I took her course and watched as she gave an incredible depth to her quilts using paint and brushes. And again, I was more than impressed.
I knew there must be a way to bring these two wonderful techniques together. And the search and trying out began.
I think now I have found a way to combine both techniques in an art quilt.
Now let’s look at the supply list.
Supply List
You will need:
• Cotton Fabric
• Wadding
• Thread
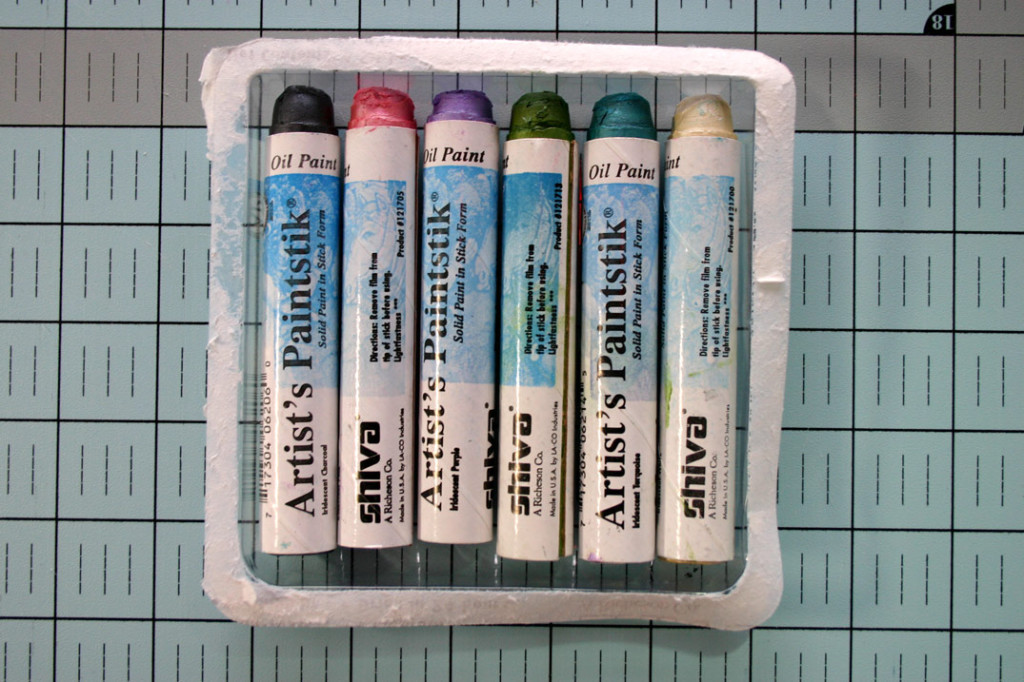
• Paintsticks
• Brushes
• A template
• A Quilt Marker
• A pencil
• A sewing machine, where you can drop down the feed dogs
• Quilting foot
• Sewing machine needles
• Quilt gloves
This is the rough overview. Now we discuss the individual items in detail.
Cotton Fabric
Use cotton fabric of very good quality to avoid pills and fuzz, which you can see on the next photo.
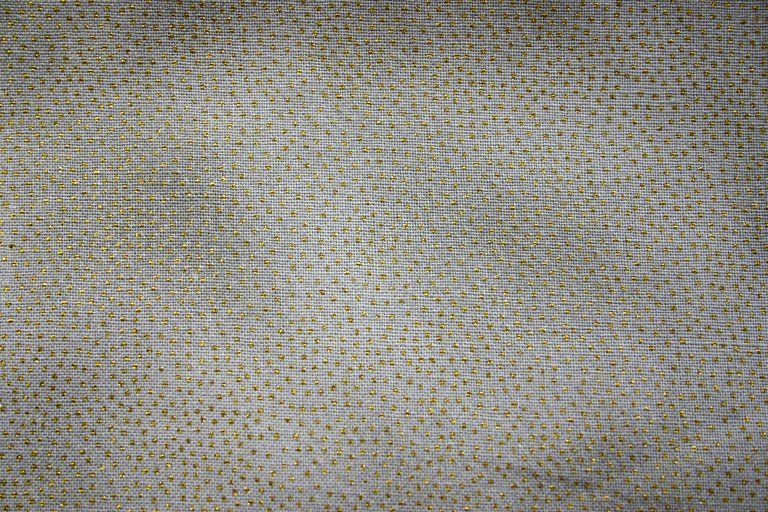
The following Patchwork fabric feels cool and smooth. It is closely woven and well suited.
Now let’s talk about the color and the pattern of the fabric.
On a light material, the applied colors show up very well.
Overall View
If you only want to quilt and not to paint, you may prefer a dark background. The colors of the thread will pop up beautifully.
Overall View
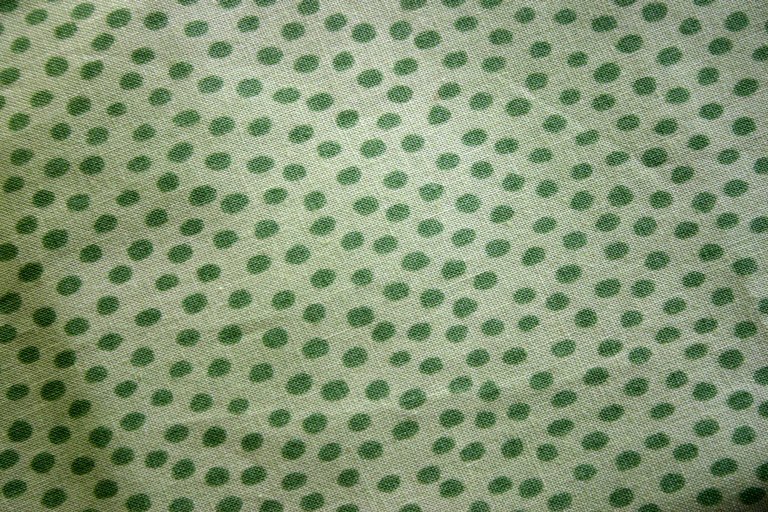
Bold patterned fabrics are unsuitable. The painted feather wreath will disappear in the fabric.
Example:
Wadding
For wadding, I use Thermolam.
Threads
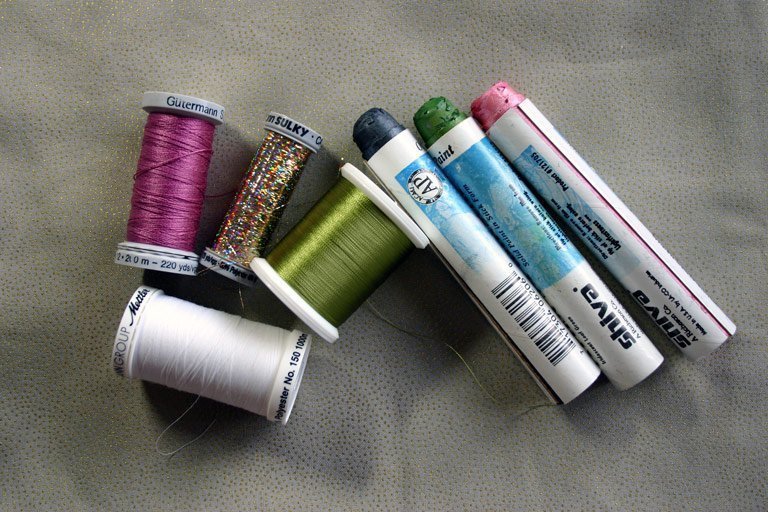
For the contour of the feathered wreath I used 12wt Cotton by Gütermann.
The “filling” of the feathers is “Holoshimmer” by Gütermann Sulky and 40wt Rayon by Madeira.
The bobbin thread is from Mettler.
I bought matching color paint sticks.
Paint
For painting my feather wreath I used “Paint Sticks”.
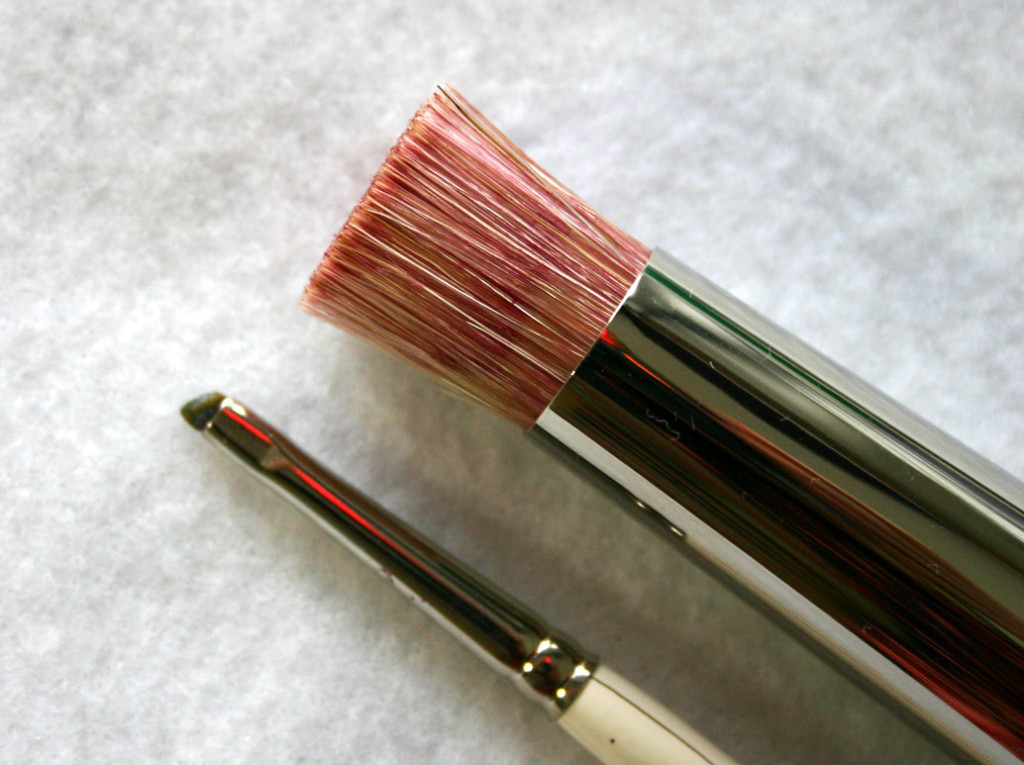
Brushes
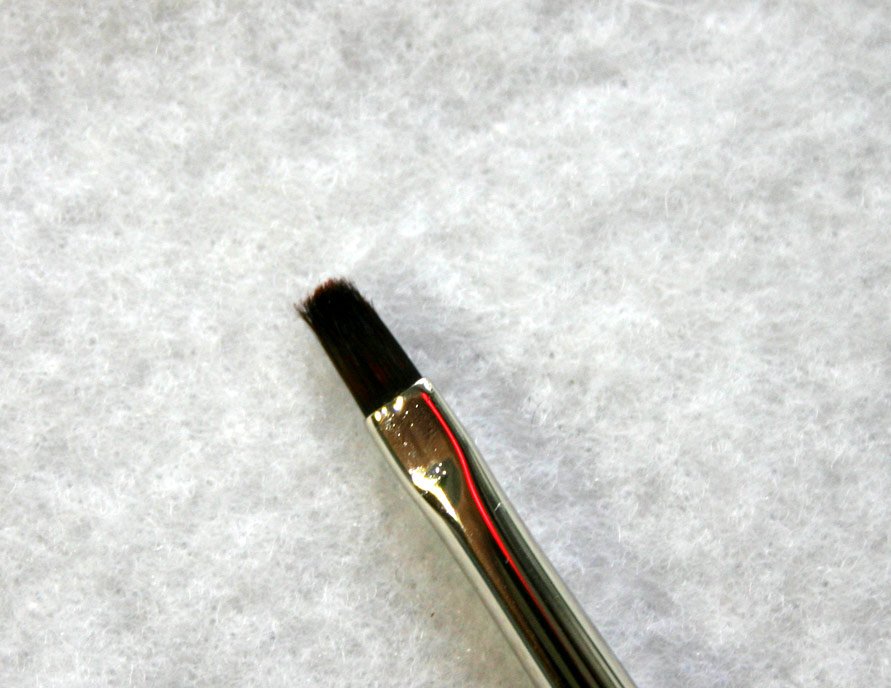
For painting only brushes with short, stiff bristles are suitable.
The small brush is for fine painting, the large one for the background.
A brush with long soft “hair” is not suitable.
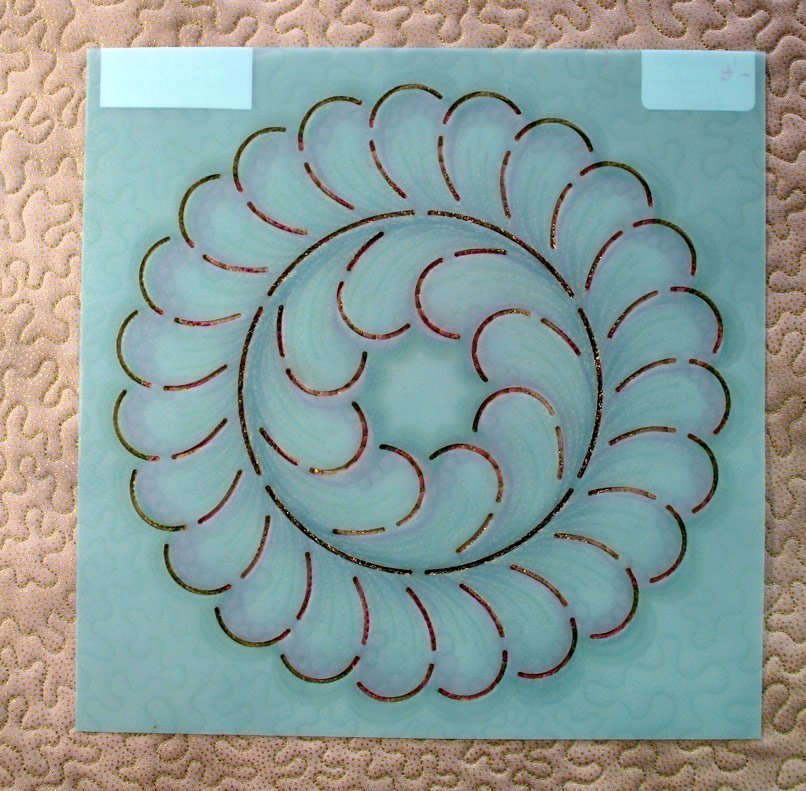
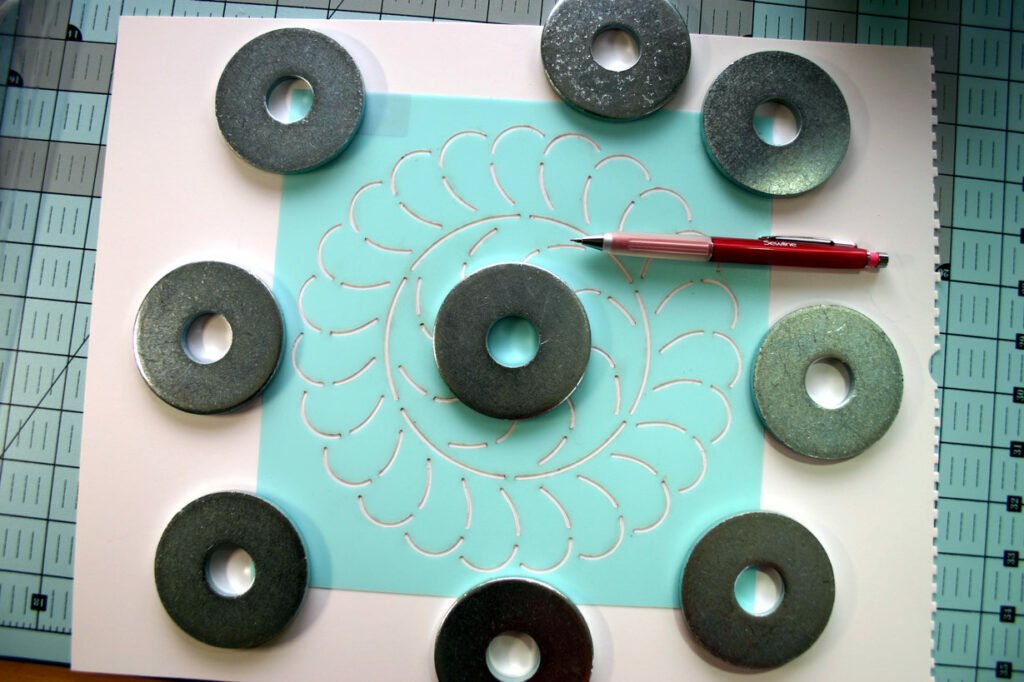
Template
The feather wreath template is available in different sizes.
Mine has a diameter of 30 cm.
Quilt Marker
For transferring the pattern onto the fabric you need a marker, in a color wich stands out very well against the fabric.
The template lays on a piece of paper on the next picture.
I am sure you have already guessed what comes at the end of this article.
Right, it is your “homework”. 🙂
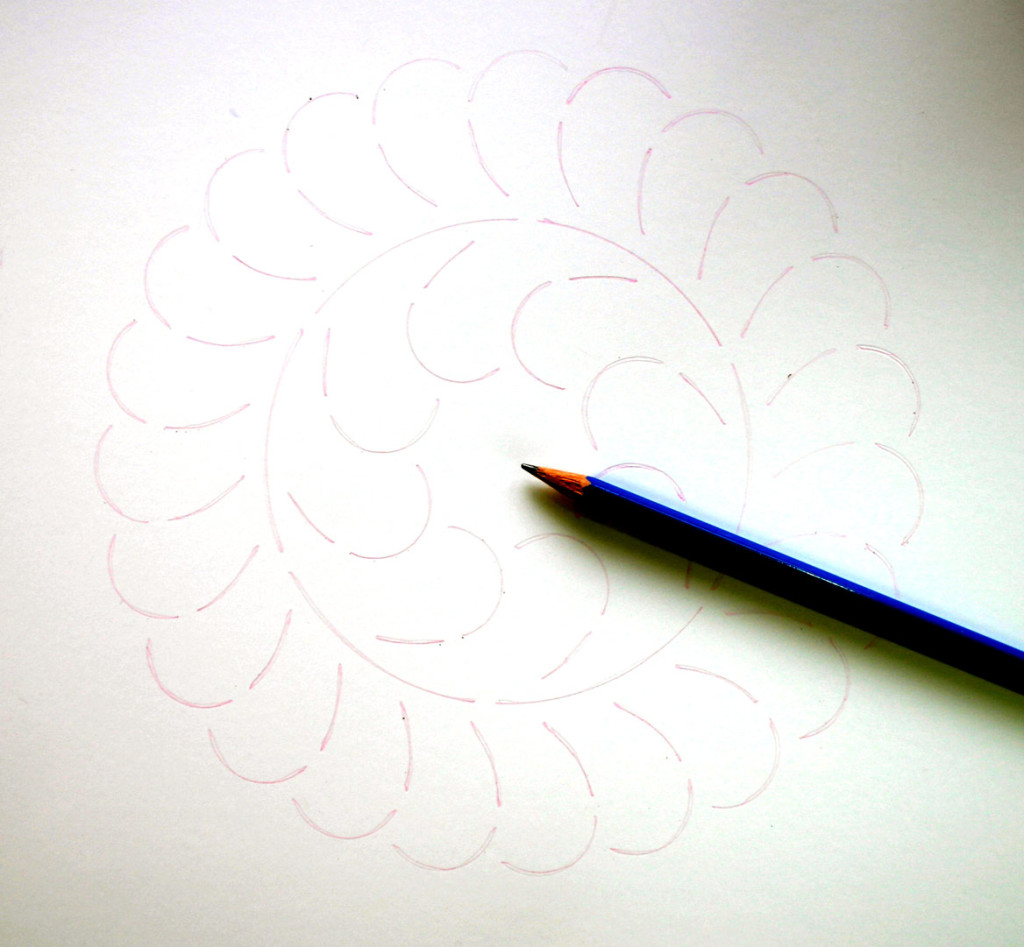
Pencil
After you have transferred the design of the pattern on the paper, you should practice with a pencil to follow the lines, so that your brain has the ability to memorize the movements.
With arrows, I have tried to show you the direction.
I start on the circle and draw one feather element (black arrows).
On the left side of the first element, it goes back to the fork or intersection, where the next element gets its point.
The arches of the feather elements, which form the inner and the outer boundary of the wreath, all consist of only a single line. All other lines are twice or four times in the middle of the circle.
I would ask you to look at the video I posted on YouTube. There you can see how I quilt a feather. It is not a wreath, but you will recognize clearly how the feather is formed.
Sewing machine
You can use any sewing machine for fmq, which allows lowering the feed dogs. I quilt with a BERNINA 780th
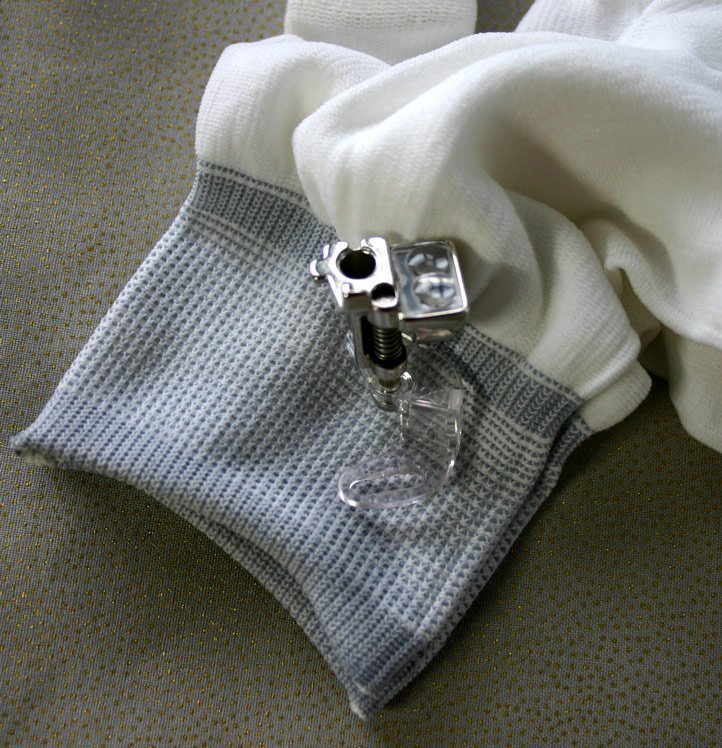
Quilting Foot
For quilting I take the quilting foot # 29 C. With it I have a clear view.
Sewing Machine Needles
For the 12wt Cotton thread you need a needle with a large eye. For the 40 weight rayon yarn and for “Holoshimmer ” a fine needle is suitable.
I used a 90/14 Topstitch and a 60/8 Microtex.
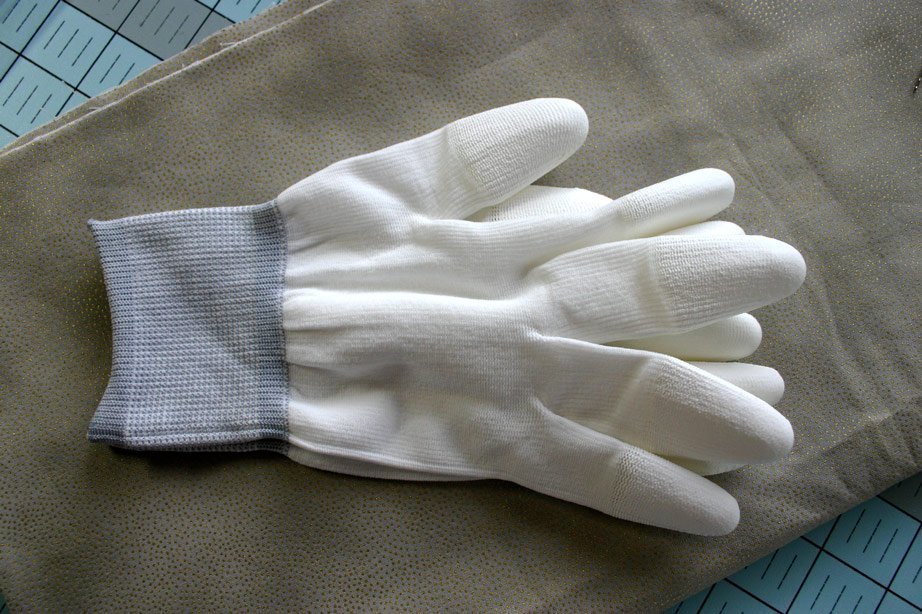
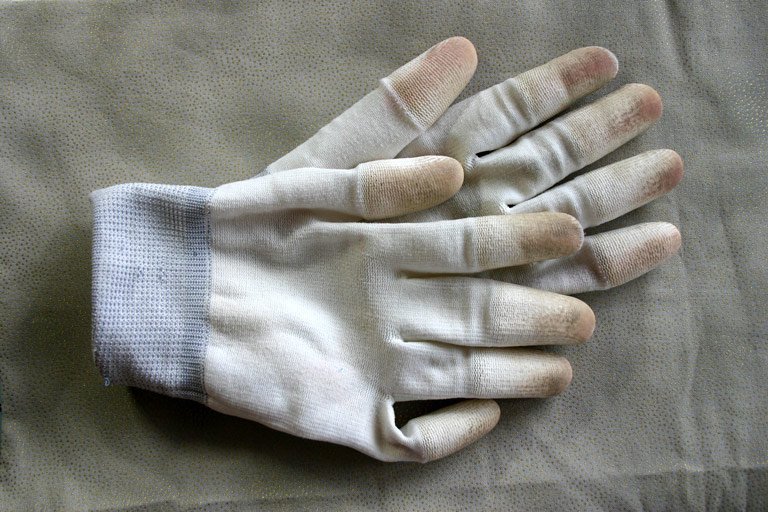
Quilt gloves
I can do good quilting, when I wear gloves. These are new.
These show signs of many quilting hours.
Please choose the necessary supplies wisely, especially your fabrics, yarns and paintsticks.
The effect of the feathered wreath stands or falls on the harmonious interaction of these three components.
If you are unsure about your color choice a color wheel may help you.
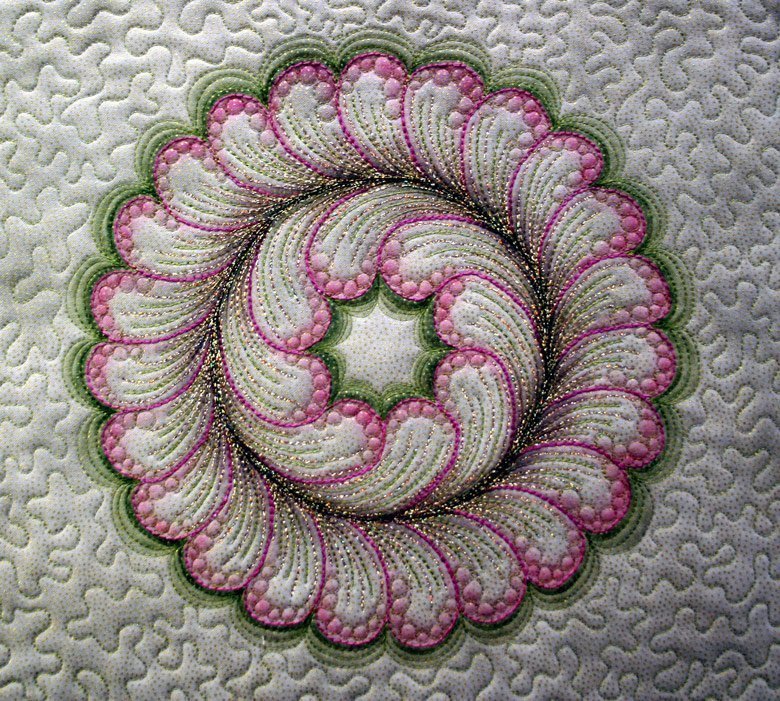
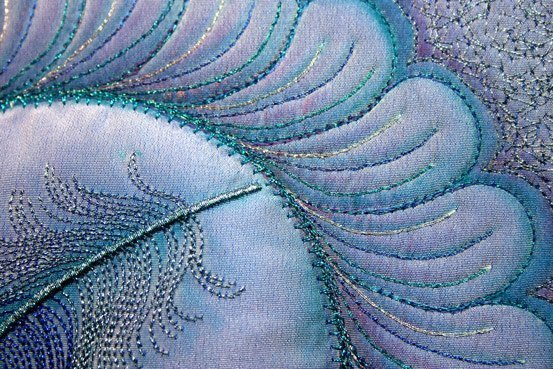
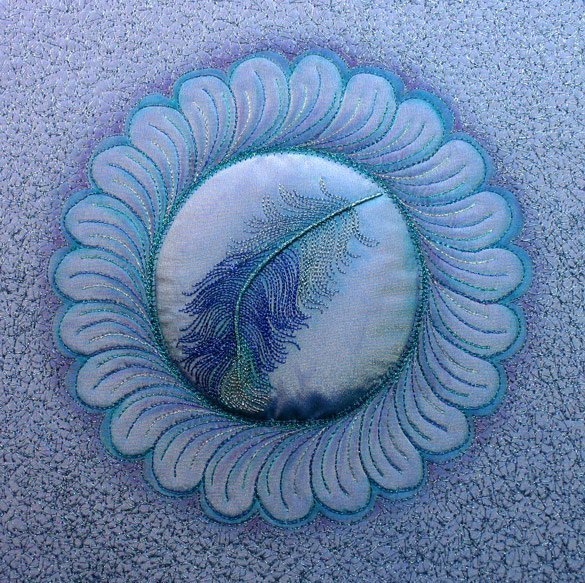
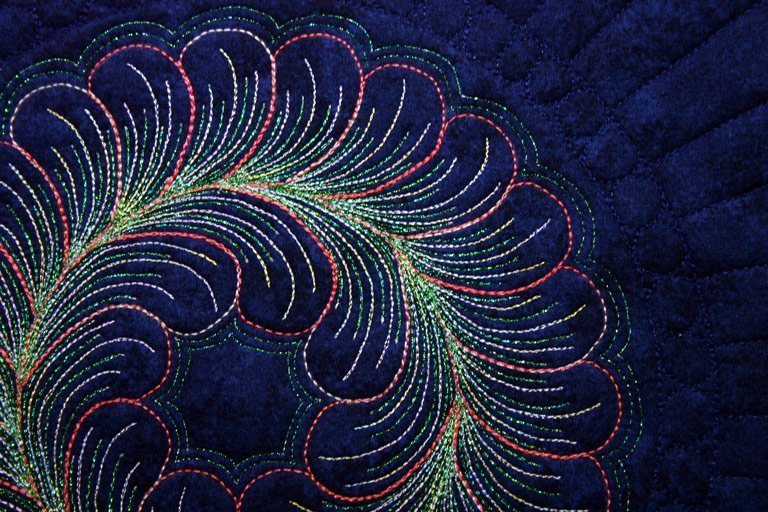
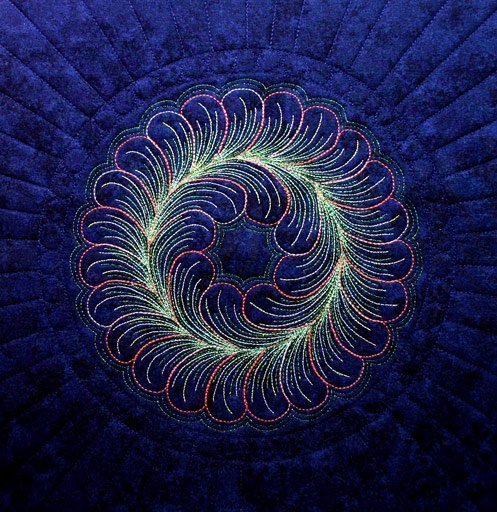
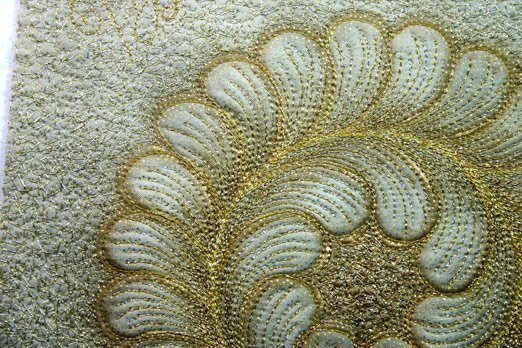
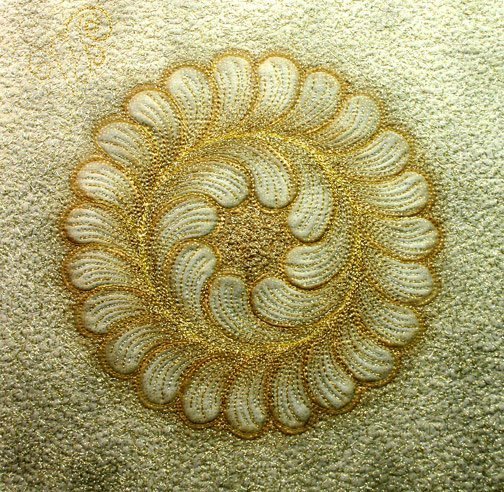
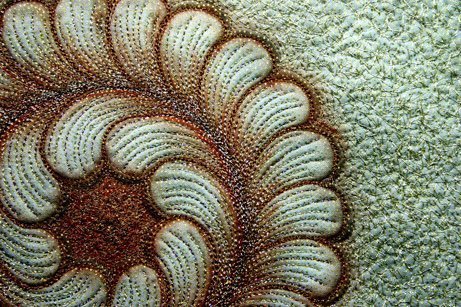
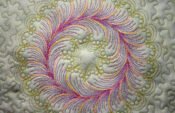
At the end of today’s lesson I would like to show you yet, that feather wreaths, which are decorated in one color, can also be quite attractive.
Overall View
Detail
Home Work
Please practice drawing feather wreaths with a pencil on paper.
You can ask any questions in the Comments box.
Also, there I would like to see your drawing exercises. Please post photos of your exercises.
Thank you for taking part in the first part of the online course “Feather Wreath, quilted and painted”.
See you next Monday for the 2nd lesson.
Until then, have fun with the exercises. 🙂
Susanne
 BERNINA Corporate Blog -






Can anyone in Australia please help me understand thread weight.I have more than 300 reels of thread more than 30 brands/ ranges given.Most have no indication of thread weight. On the label, mostly just a barcode and a colour number and perhaps an indicator of fibre, my ValdAni top stitching threads are 35wt and are quite heavy, my Hemmingworth rayon embroidery threads are 40 weight and very light I’ve been through ore than 50 spools of various Gutterman threads no indication of weight….can someone give me a brand name or some other indicator of a 12 at and a 30 at thread…..I’m really perplexed.Thanks Sue
So many of my spools of thread have lost their labels so I, too, am wondering what weight they are. I love the Mettler spools that have the info printed on the plastic rims. I do know that the lower the number the thicker the thread and the higher the number the thinner the thread (100wt silk). I googled 12 wt thread and it came up with Aurifil, Sulky and Wonderfil to name a few. Good luck tracking your thread down.
Hilary
Do you quilt first than paint? If it is how do you use the shiva paint sticks?
Hi Susan, yes I quilted first than used the paint sticks. In the following lessons I will describe how to quilt and how to paint. Please wait and come back 02/02/2015. I’ll show you how I quilt the outer border of the feather wreath. You can also watch a short video showing my quilting.
Thank You for responding to me before I go out and get these paints. When I do buy them should they be the basics or the others? I think you are an awesome instructor.
Thank You I will be buying those Shiva paints. Any type special that I should get before 2-2-15? I’m trying to get prepared.
Thank you, Susan. 🙂 Please buy the Shiva paints corresponding with your thread colors and your fabric. See the pic above once more. You can see the matching colors of threads and paint sticks.
So, because I had the pic on my phone, I wasn’t able to post it here. That’s why you see a link to my blog here, http://balefiresquiltsandmore.blogspot.com/2015/01/i-back-in-blogger-land.html ;-). Waiting on my template, so I used what I had :-). Hope it count too
Hi Gunda, thank you for the link to your blog. Your painted wreath is well done. 🙂
Dear readers,
Thank you for your feedback. 🙂
It’s actually not so easy to get a wreath stencil in Germany.
Therefore the second part of the online course will start on 2015/02/02.
Please keep/save your drawings. We still need them.
Greetings,
Susanne
Did my homework, but need to find a way to post a pic here, because the pic is on my phone. Thanks for this great class
Hi Gunda, thank you very much for doing your homework. 🙂 I’m looking forward to see your pic.