 BERNINA Corporate Blog -
Dear readers
Welcome to our second part of the online course Feather Wreath, quilted and painted.
Today I will show you how to quilt the outer border of the feather wreath.
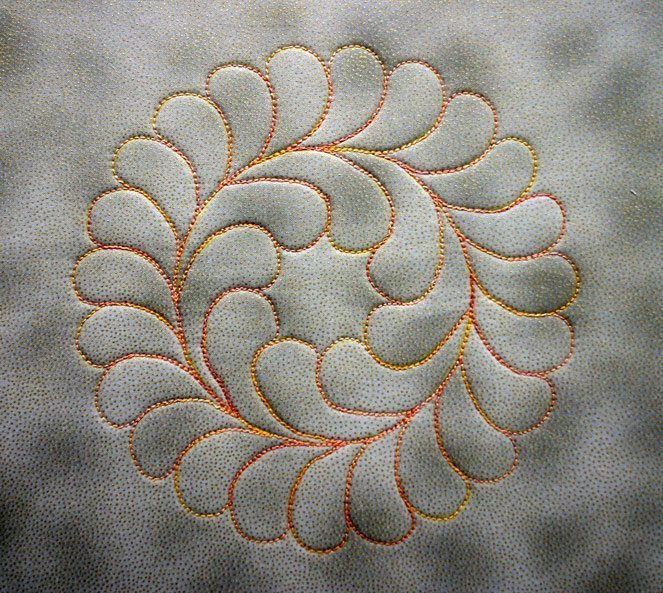
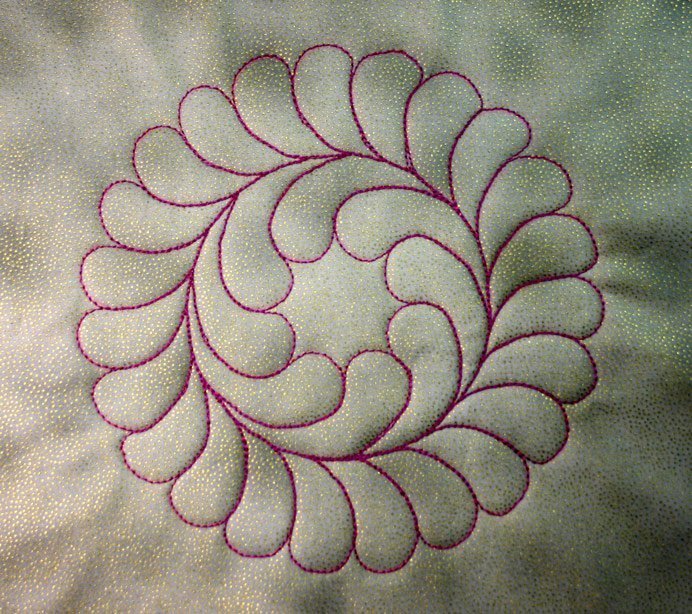
This is our goal.
Inner feathers turning around clockwise
Inner feathers turning around counterclockwise
Please prepare three or four sandwiches for quilting.
If you have more than one sandwich, you can use one for painting. If you only have one sandwich, you might be reluctant to paint it.
Preparing the sandwich
You need
- Fabric for the top
- Thermolam
- Fabric for the back
Please use thin, light fabric for the back.

I prepare my fabrics with starch to give it more body. This is very helpful when painting with paint sticks.
I do not wash my feather wreath quilts. They are hanging on the wall like a piece of art.
Please transfer the lines of your stencil onto the sandwich.
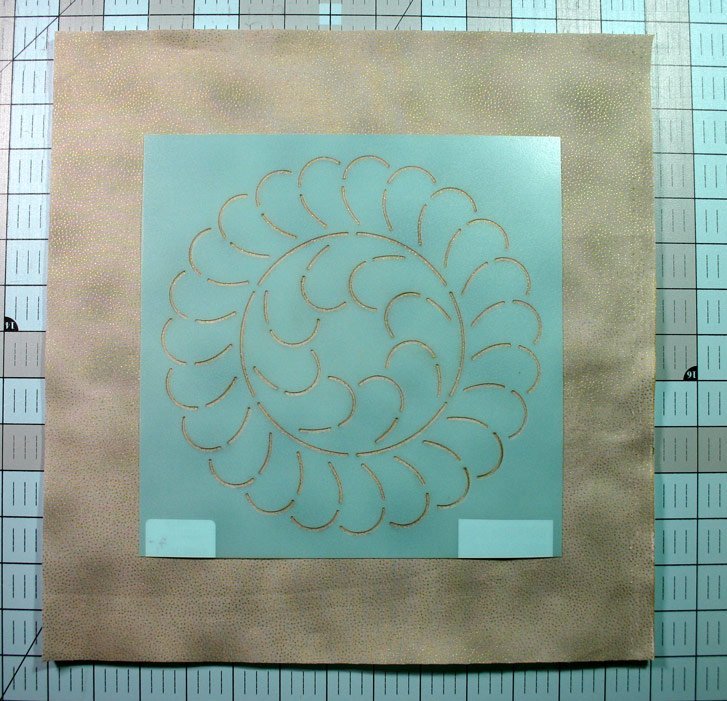
To do this I used a quilt marking pencil.
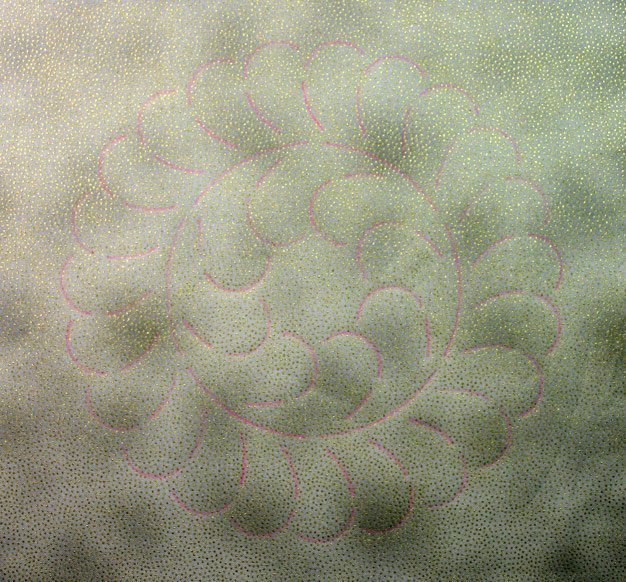
Detail

Preparing the machine for quilting
Please clean and oil your machine before starting to quilt.
Use a 12wt cotton thread and a 90wt needle for quilting the outer border of the feather wreath.
Machine settings BERNINA 780

Please test these settings at your machine before starting your quilting.
It takes about 15 minutes to quilt a feather wreath.
Please watch the video.
Feather wreath with variegated thread
Detail
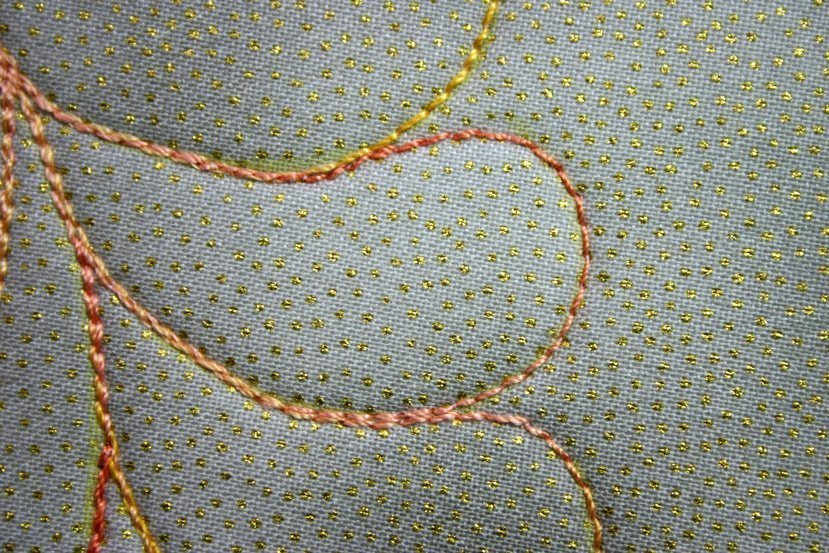
The following photo shows a little mistake. Don’t worry. It doesn’t matter.

When you have finished your feather wreath the mistake will be invisible.

Have fun by quilting your 3 or 4 feather wreaths and please upload photos of your wreaths in the comment box.
Part 3 will be online at 09/02/2015.
Best regards,
Susanne
0 Responses