 BERNINA Corporate Blog -
Dear readers,
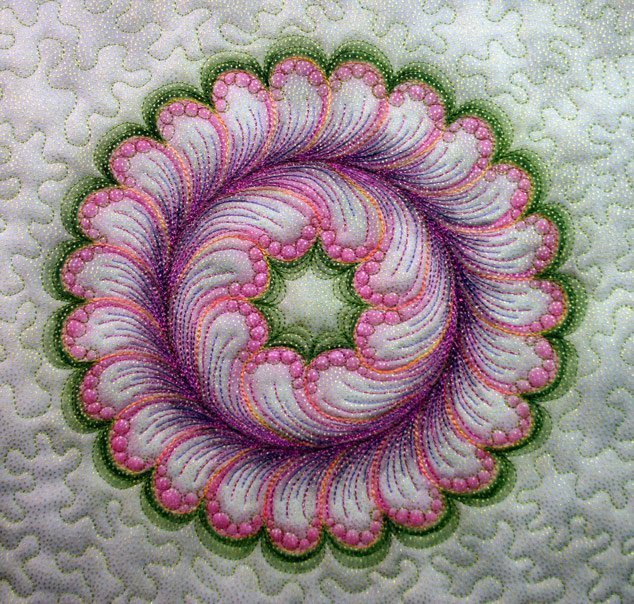
Welcome to the last part of our online course Feather Wreath, quilted and painted.
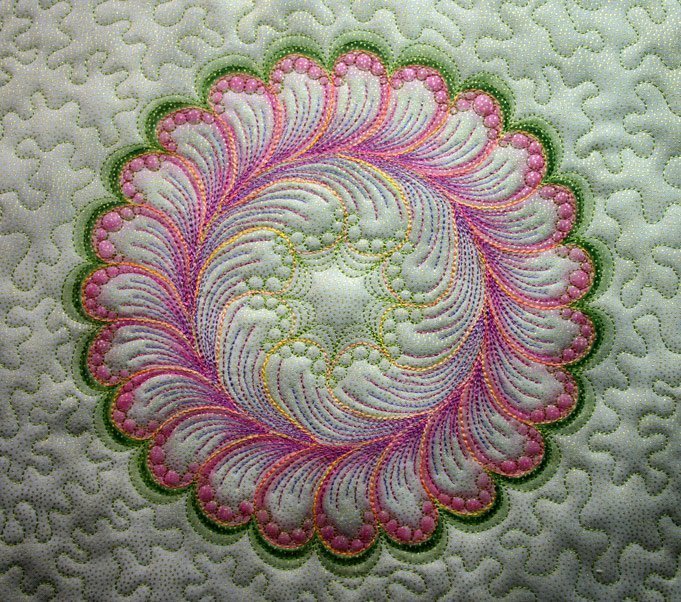
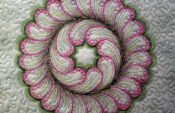
You’ll have finished the whole feather wreath by the end of this lesson and this is what your feather wreath will look like.
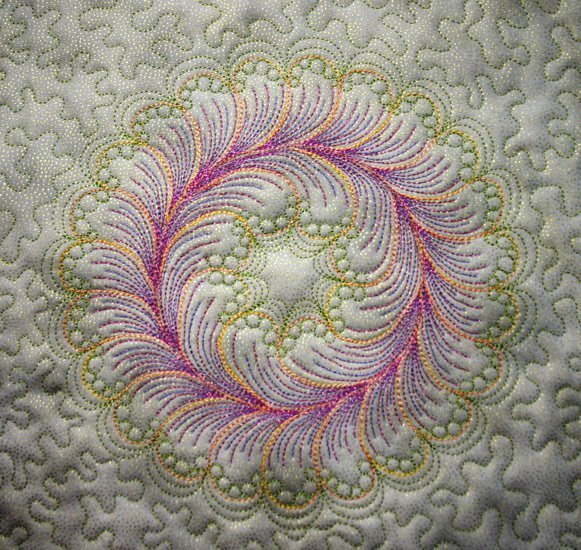
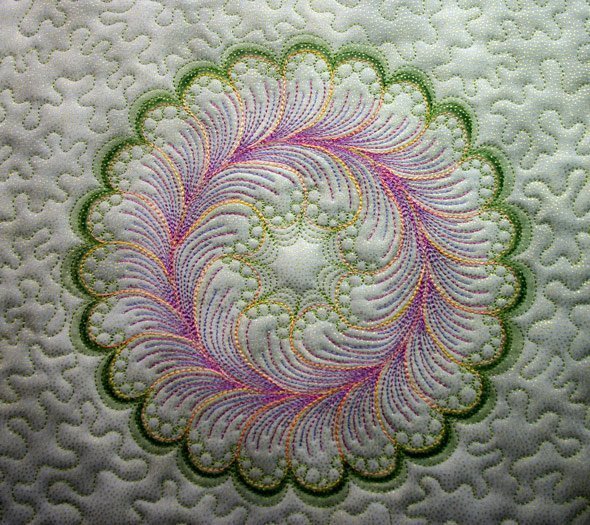
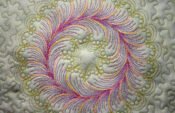
This is how it looks without painting.
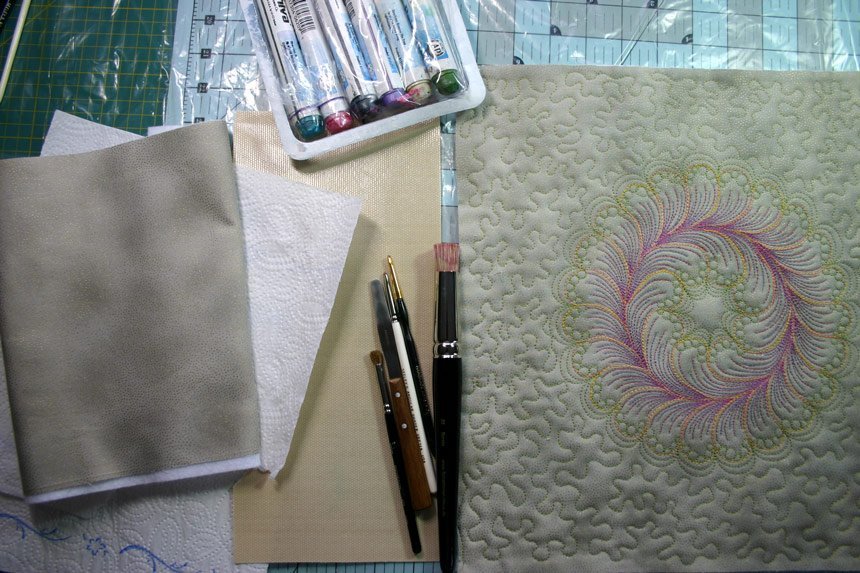
Now let’s have a look at my working table.
You see the Paint Sticks, brushes, a palette knife, a remnant of fabric, a piece of plastic and paper towels.
Please remove the outer layer of the Paint Sticks.
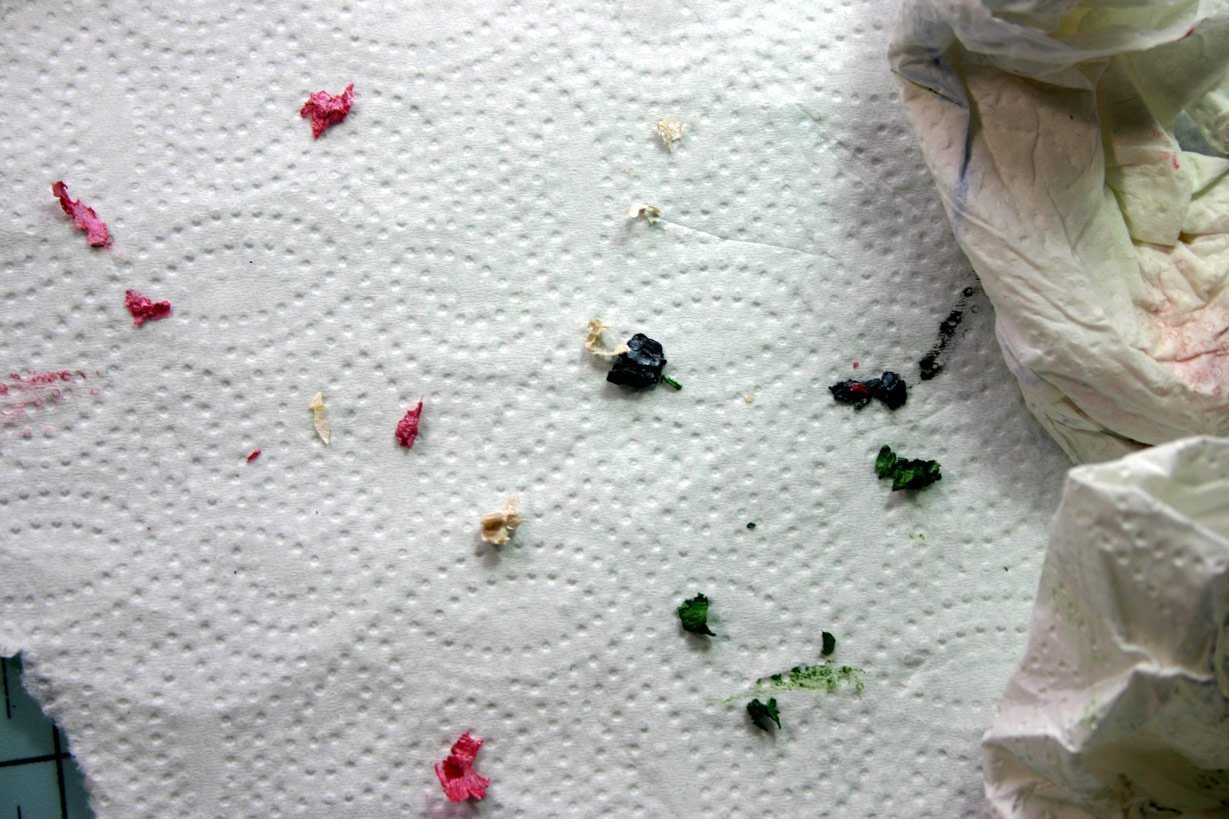
For my feather wreath I have chosen these colors.
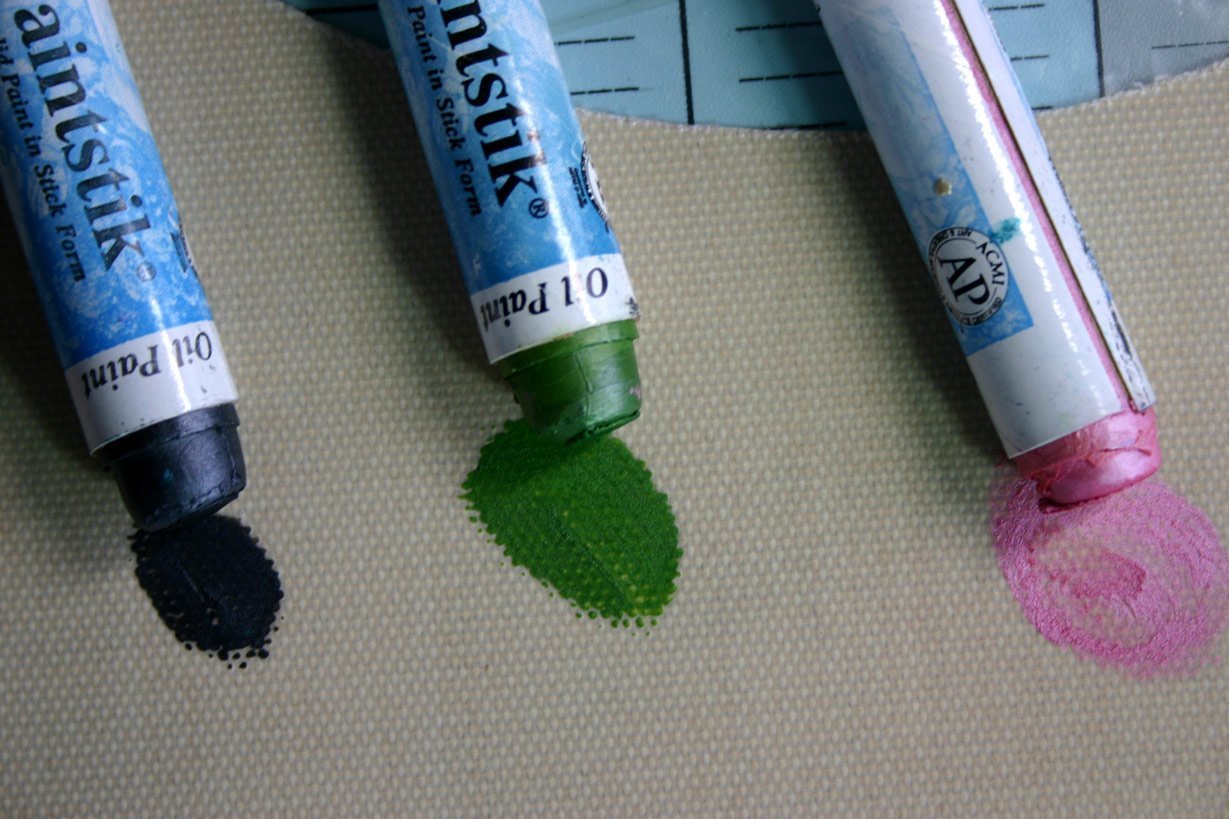
For a deeper shade of color I mixed green and black.

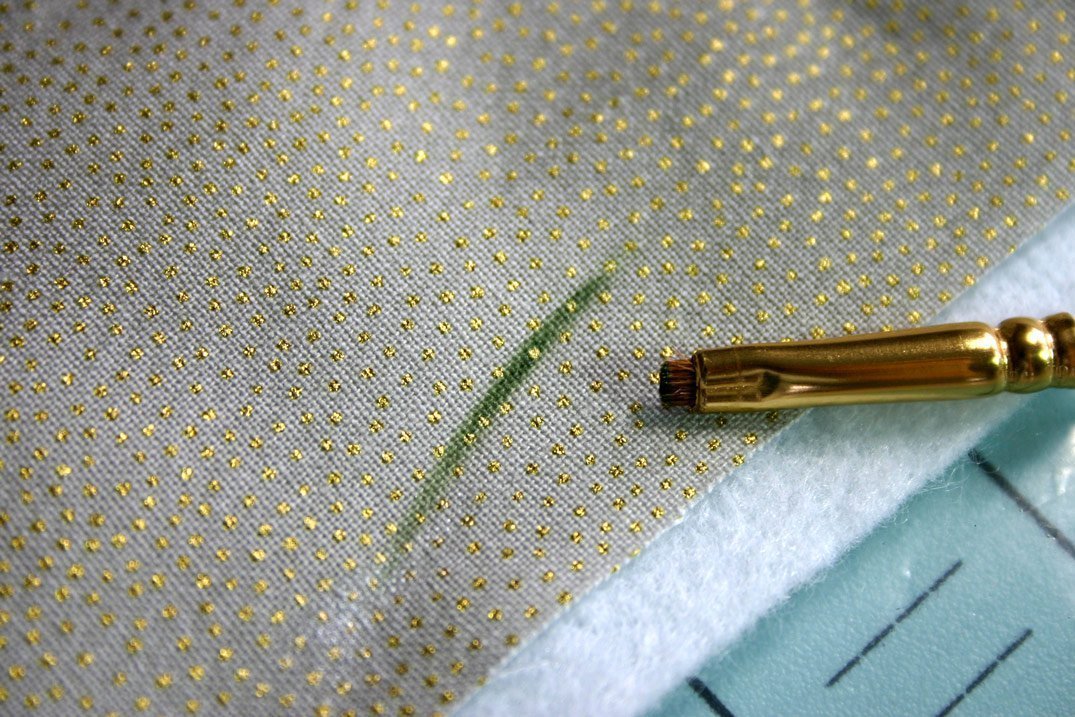
I make the first brushstroke on the remnant of fabric to control the shade of color.
Please watch the video to see how I paint onto my feather wreath.
The first step is done.
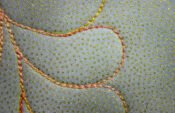
Now the bubbles are going to have a touch of color.
Please watch the video.
Finished it could look like this.
Repeat these two steps for the inner feathers, too.
Deepening one color for the circle line will give the feather wreath a real 3D look.
Finished
Kind regards and happy quilting and painting
Susanne

Oh this is lovely. I have that stencil and so will try it but I don’t think I can get hose paintstiks. Will use my Intense pencils perhaps. None of the videos are available now.
Some cushion covers I’ve made using this technique
. Thanks for the inspiration !
Very nice, Sue. 🙂 Thank you for sharing.
The paint really makes this design stand out. Thank you for sharing Susanne.
Thank you, Jan. You’re welcome. 🙂
Really good to see how you created these lovely effects. Thank you!
Thank you very much. 🙂