 BERNINA Corporate Blog -
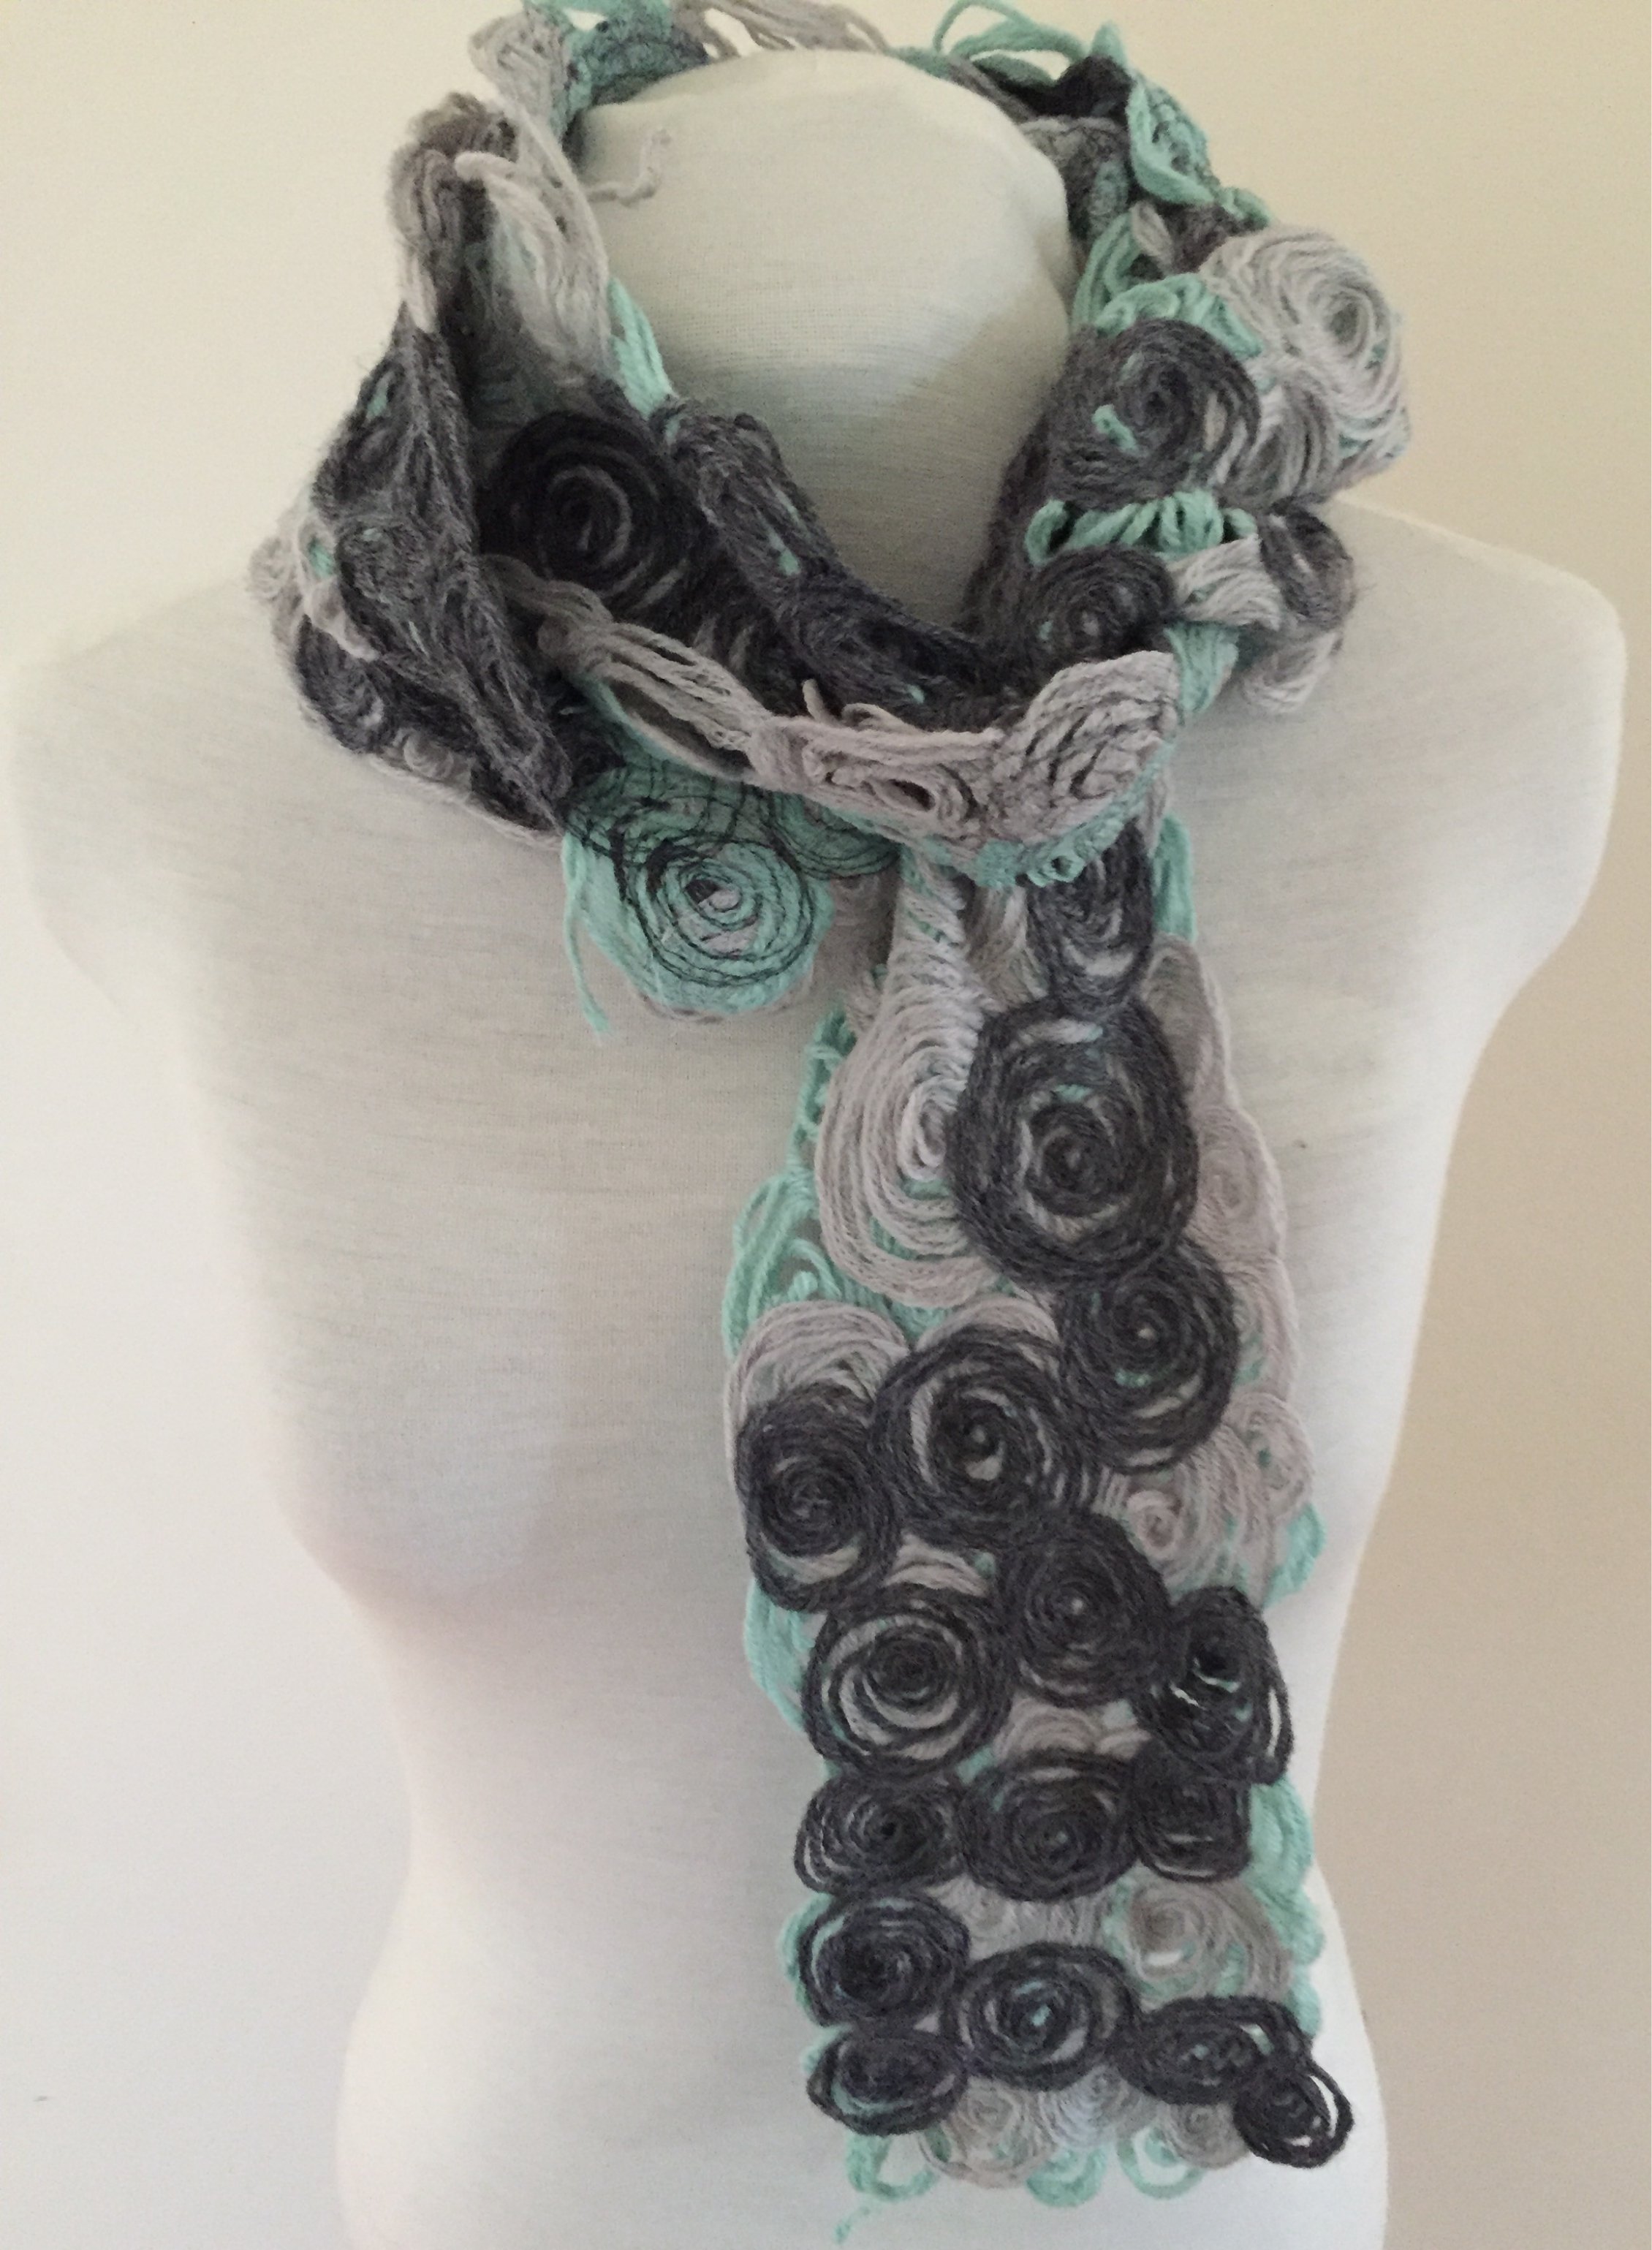
Ok confession time: I suck at hand crafts! Give me a sewing machine and I feel endlessly creative. Give me a crochet hook or a pair of knitting needles and I turn into a tangled mess. Long ago, I resigned myself to a life without hand knitted creations. But as winter’s chill made itself known a little early this year, I decided enough was enough, it was time to make a scarf.
Now I couldn’t bring myself to face those dreaded knitting needles again, so I had to look for a machine alternative, and I found it in the couching foot. The couching foot allows you to stitch cord and wool down to any surface in any pattern your desire. This is how I went about making my no needle scarf.
First things first, gather your supplies.
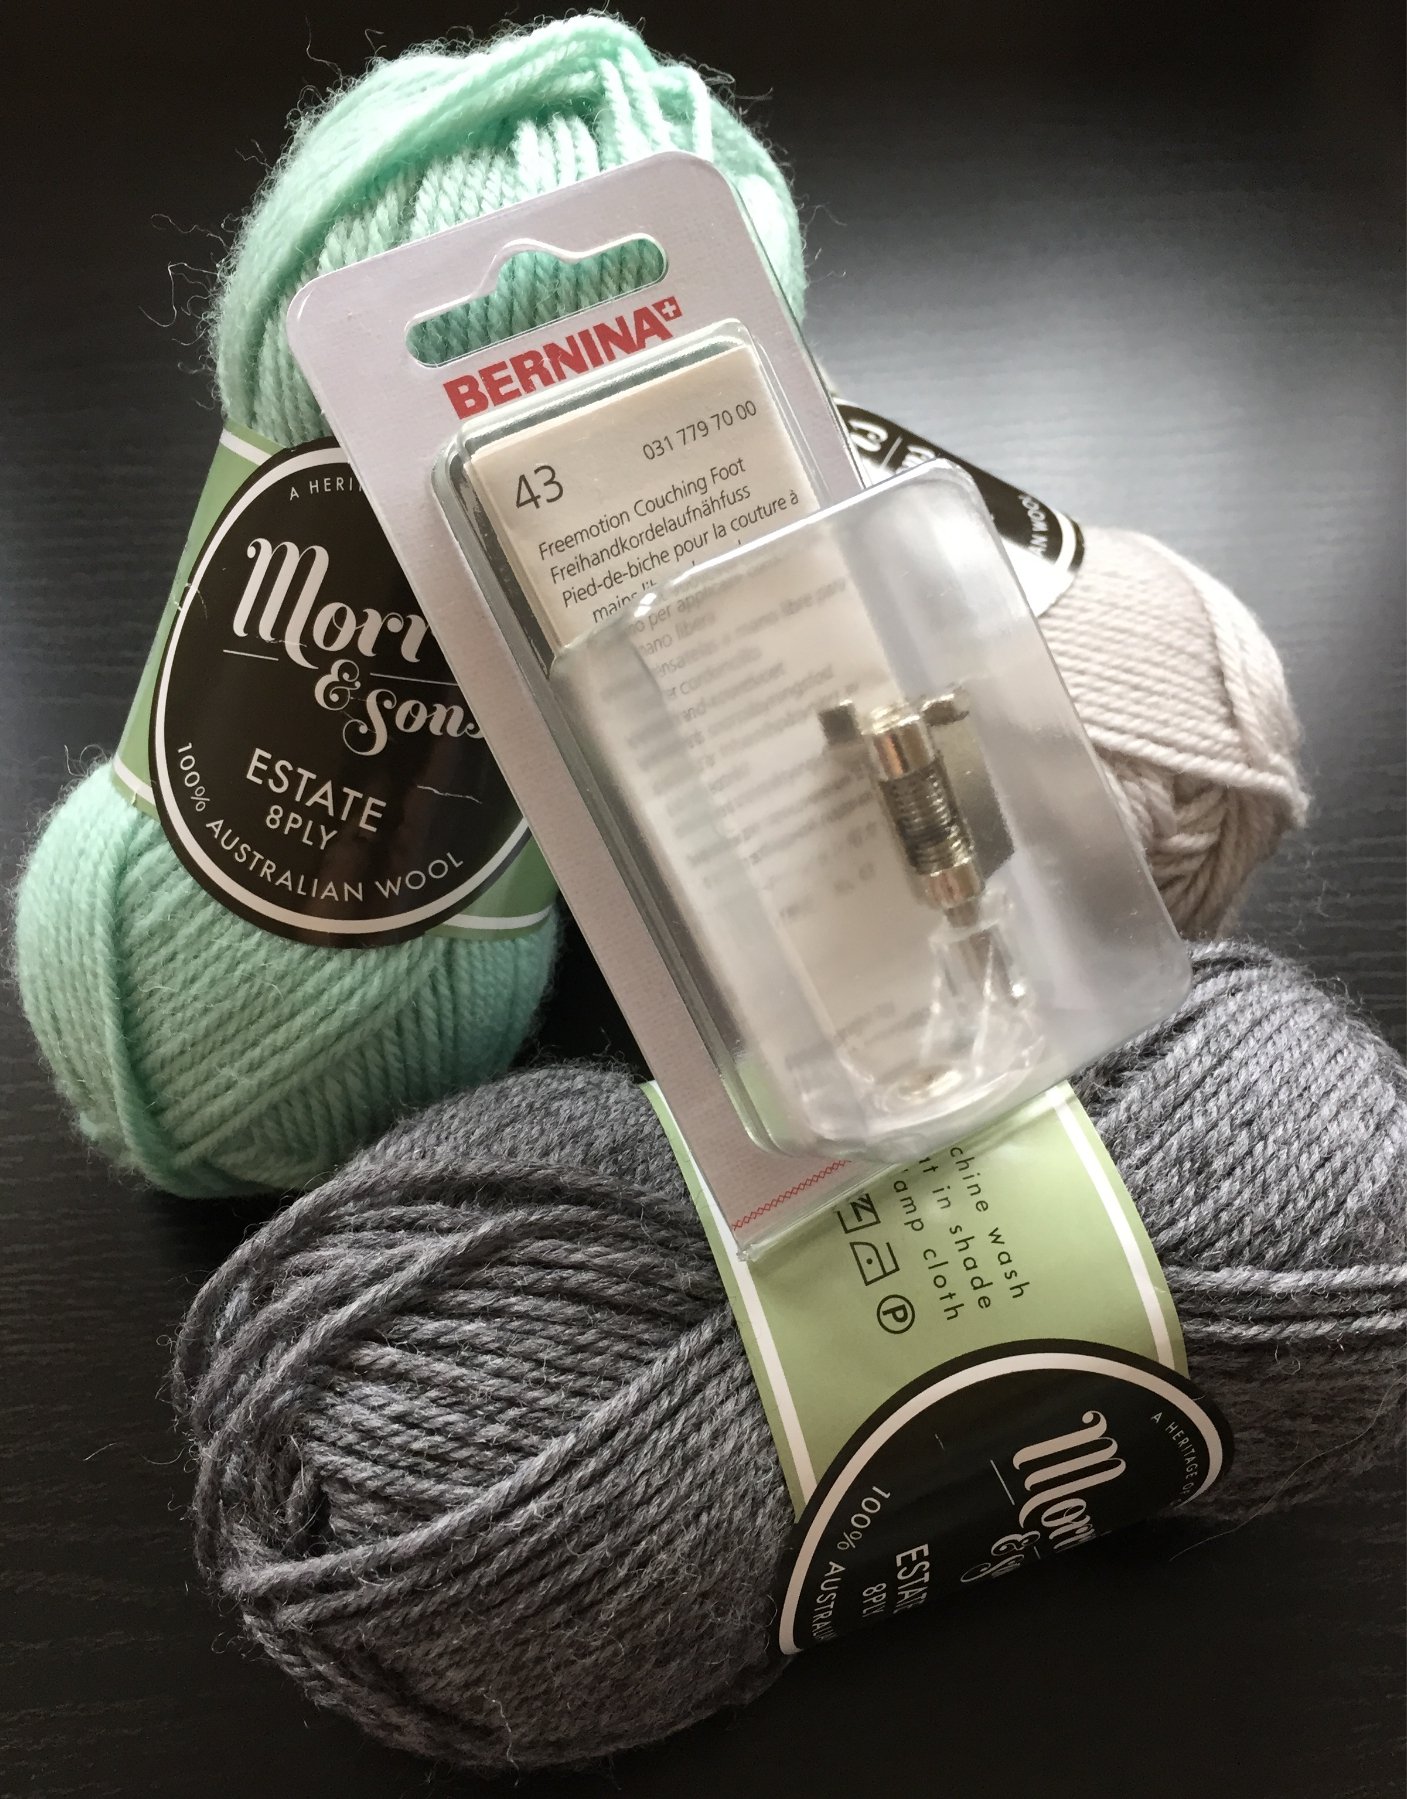
Firstly, you will need the free motion couching foot #43 (for Bernina machines that is). You will then need your wool, 2-3 balls of 8ply should do it, plus thread to match. Lastly, you will need a type of stabiliser called washaway. Washaway is the weight of a fine interfacing, but will dissolve in water. You will need 2 pieces the same length and width as you want your scarf to be.
Preparation, Preparation, Preparation
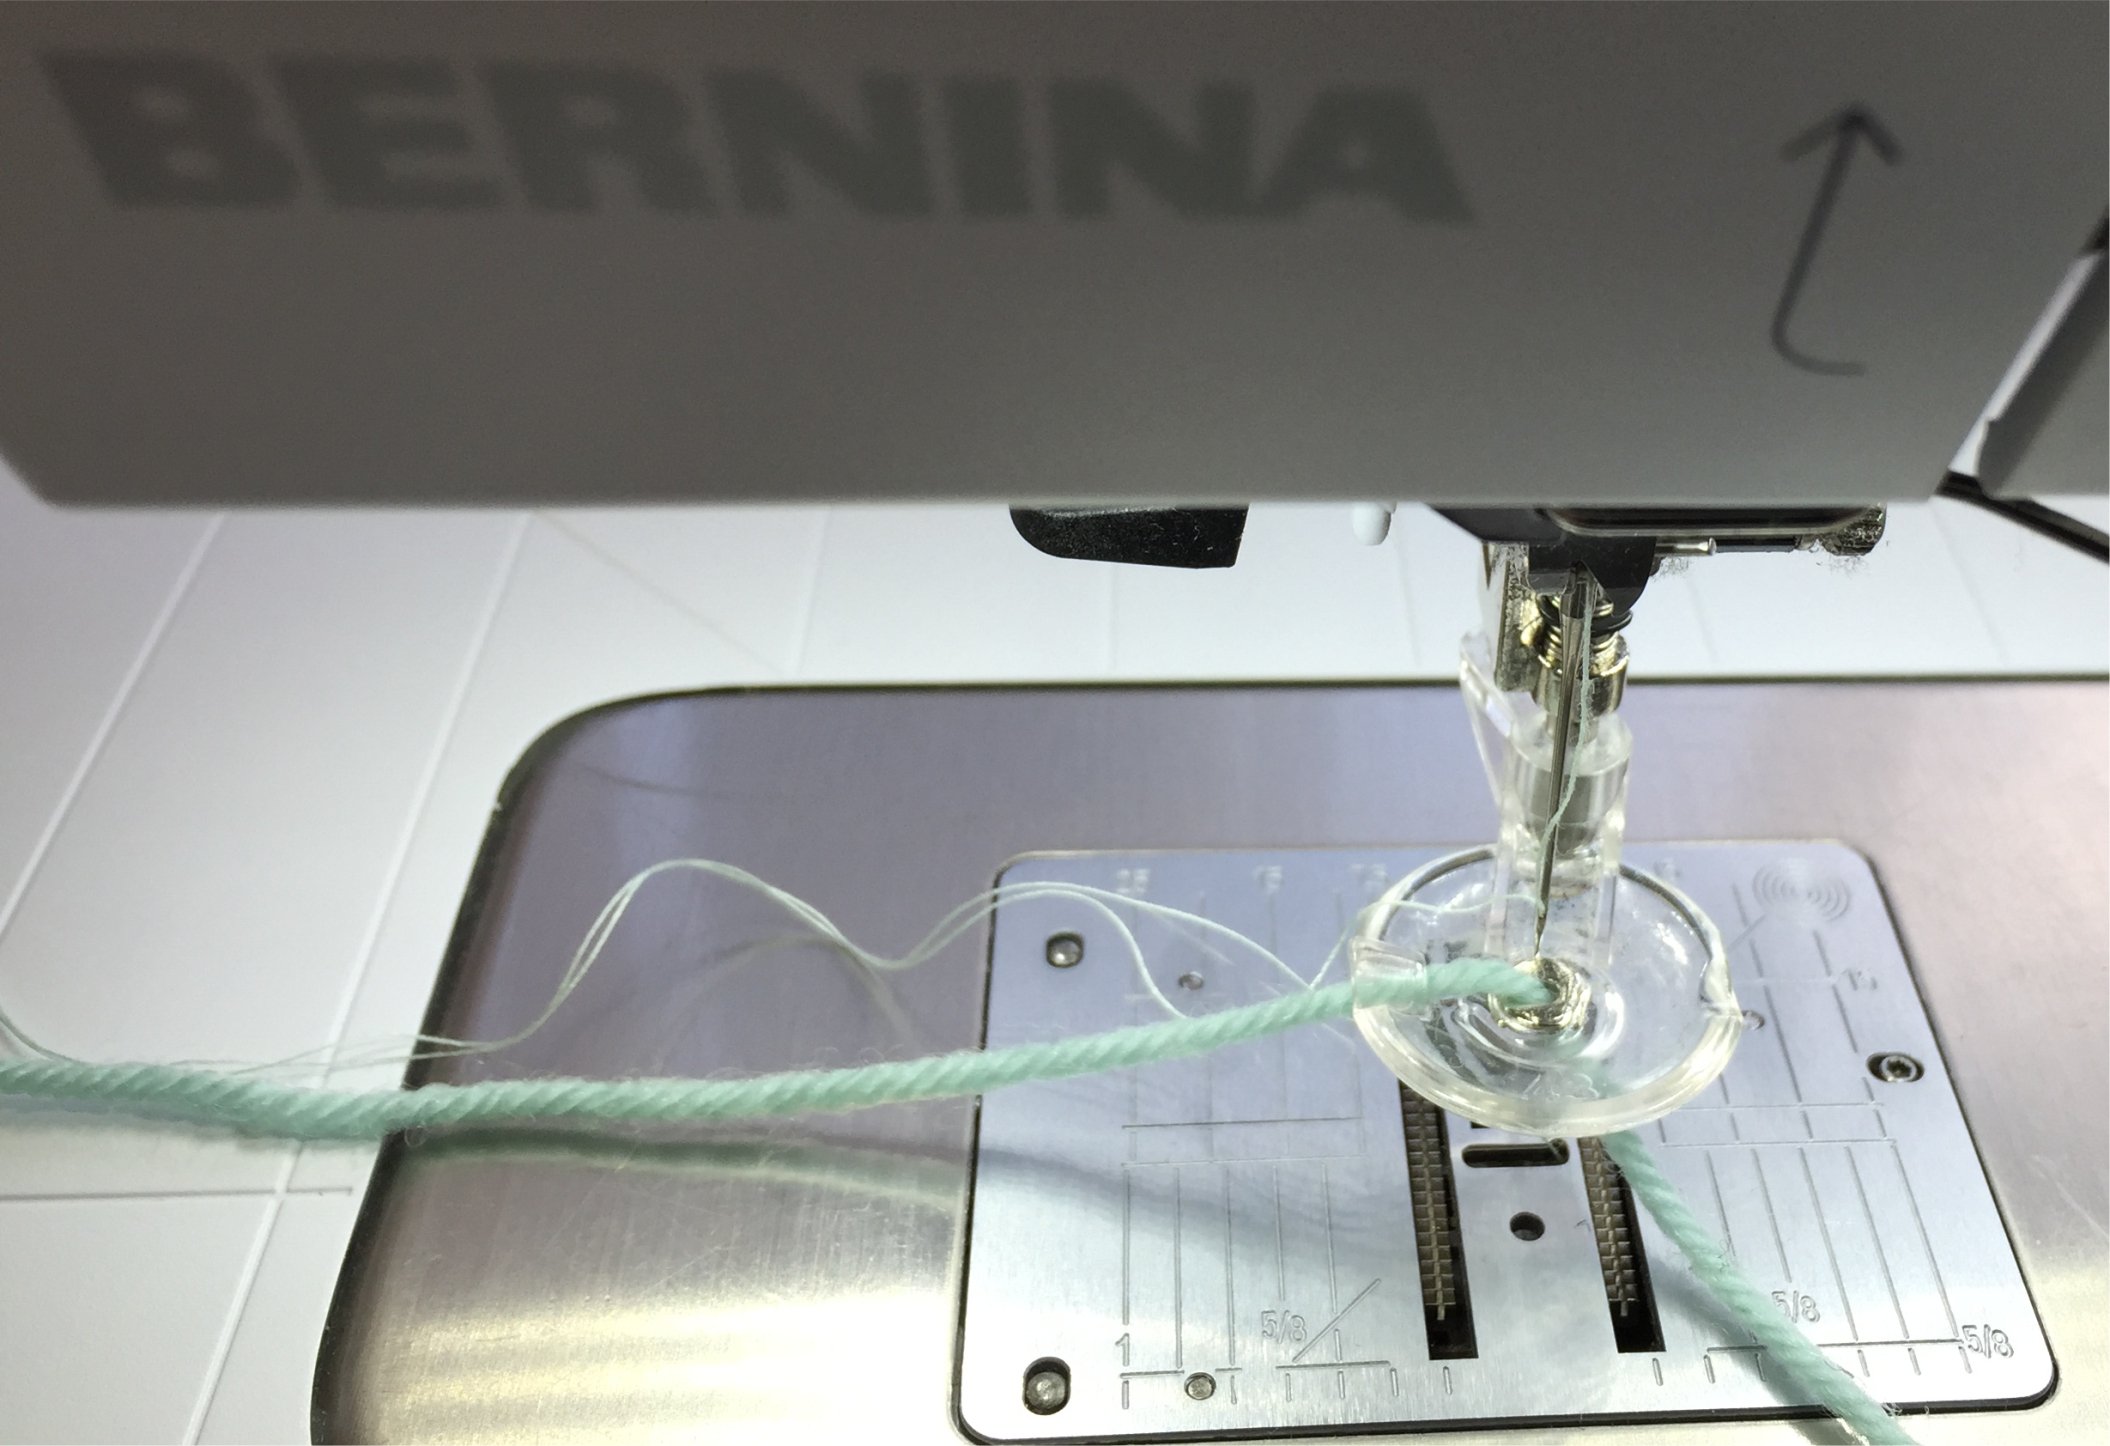
With the couching foot off the machine, feed the wool through the side hole, and then through the centre. The foot comes with a wire guide to help do this (and for the love of god, don’t lose it! If it falls on the floor, you will never find it again!). Then put the foot onto your machine. Thread your machine up with a thread that matches your wool. Select straight stitch and lower the machine’s feed dogs.
Time to Get Stitching
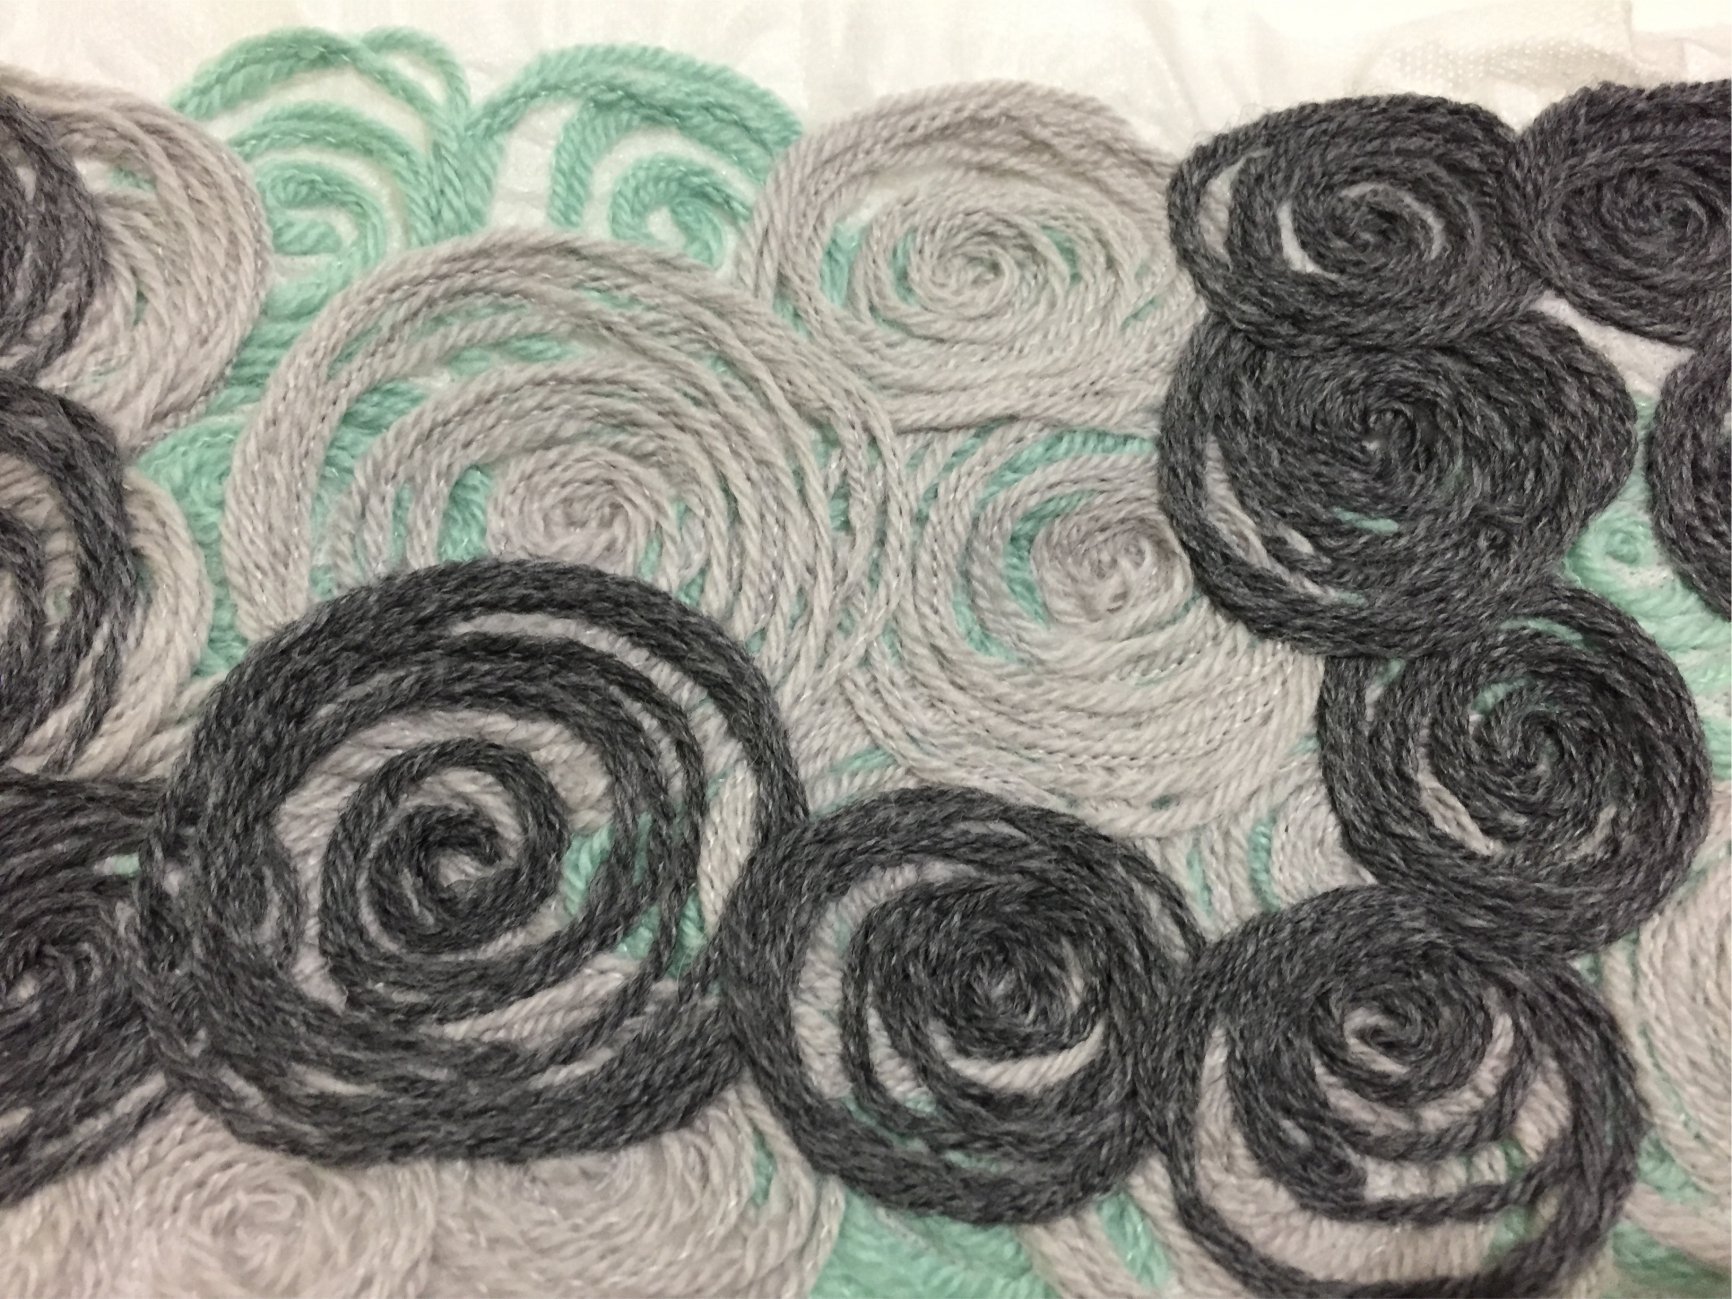
Take the 2 layers of washaway and place them one on top of the other. Place the two layers underneath the foot. Now free motion stitching is a little different than normal. As soon as you put your foot on the foot control you need to start moving the fabric in the pattern you want. For couching, it is extremely important that you have the needle moving fast, but your hands moving slowly. If you move your hands too fast, you will pull the wool out of the way of the needle and miss it completely. Move the washaway in your desired pattern.
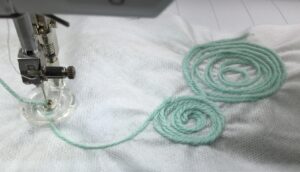
Don’t worry if the washaway bubbles and puckers. Continue all the way down the length of the washaway. If you are doing multiple colours, you can leaves gaps.
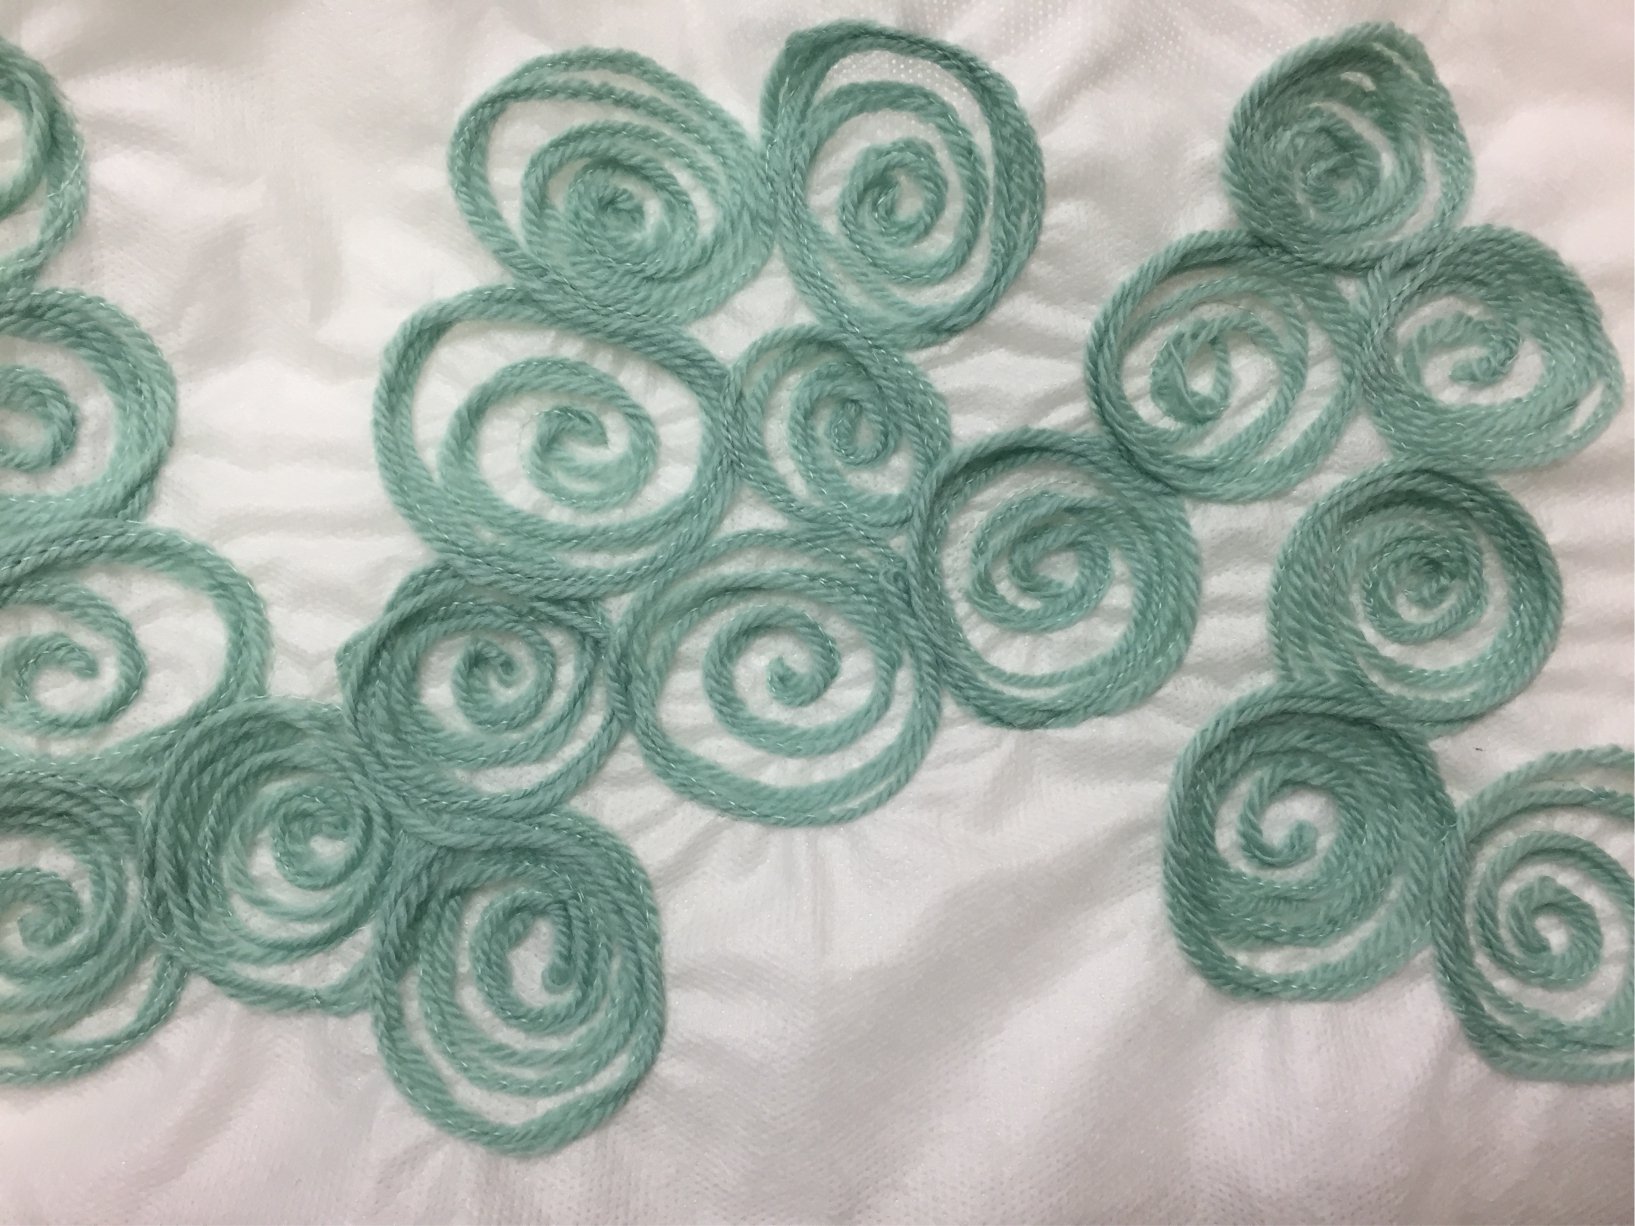
Keep layering up your different colours of wool. You just have to make sure, that everything is well covered and stitched over multiple times.
Time to take a Shower!
When you have finished all the stitching, it’s time to get rid of the washaway. The washaway really needs constant running water through it to dissolve it completely. So rather than dumping your scarf in a bucket of water, have a shower with it. I know that sounds nuts, but placing the scarf under the shower spray whilst you are waiting for the water to heat up or your shampooing your hair, is the best thing for it. If all the washaway isn’t dissolved the scarf maybe quite stiff when it dries. If that’s the case, simply take a shower with your scarf again. (Be aware that the scarf will feel sticky as you dissolve the washaway. When it stops feeling sticky, you know it’s all gone).
Once dry, you can use the scarf to keep out the winter chill, accessorise an outfit or lasso wild animals! Really the choice is yours.
If you have anything you have created using the couching foot, I would love to see it. You can post pictures at:
https://www.facebook.com/TheSharedStitch
I love it !
Thanks Tina!
Thanks Hilary, I am glad you like it.
Brilliant. What fun. I have made scarves before using wash-away stabilizer, but this is completely different. Thanks for sharing.
Hilary