 BERNINA Corporate Blog -
The magic word is “Inspiration”. It is usually not available non-stop, can not be influenced or even forced. But now and then it is generous and fell down, like a creative rock. There is access to it then and to make something out of it!
This happened to me on the flight back from my vacation in Portugal. Whilst thinking about all the impressions of the previous days, a new idea came up and luckily there was time to have a go for it.
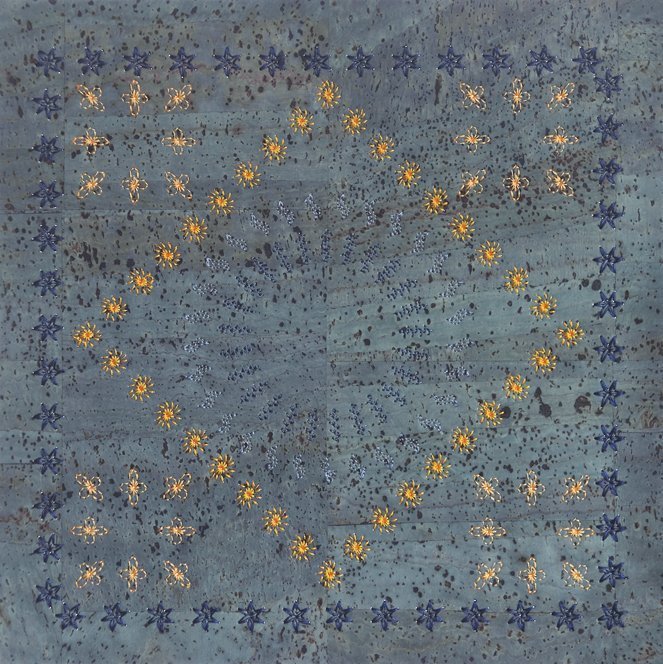
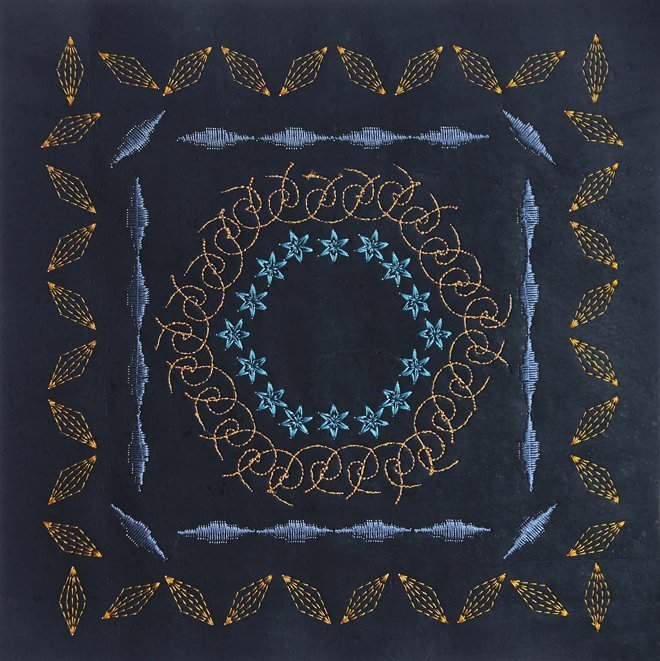
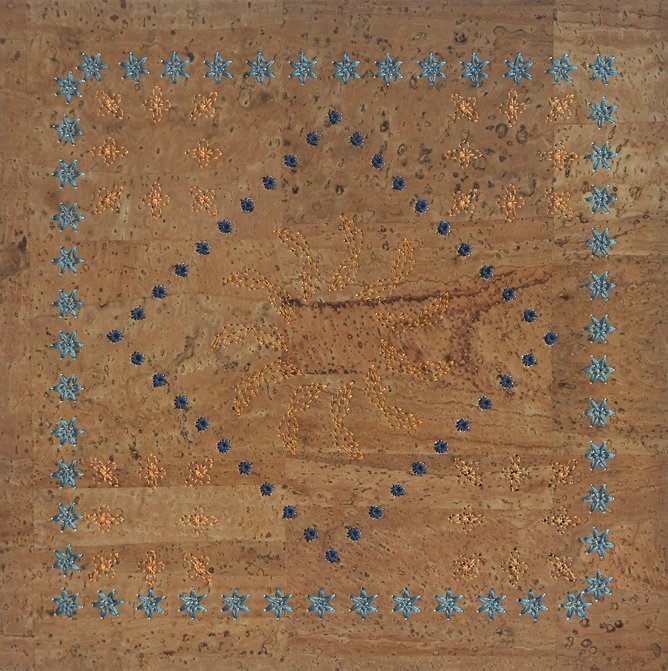
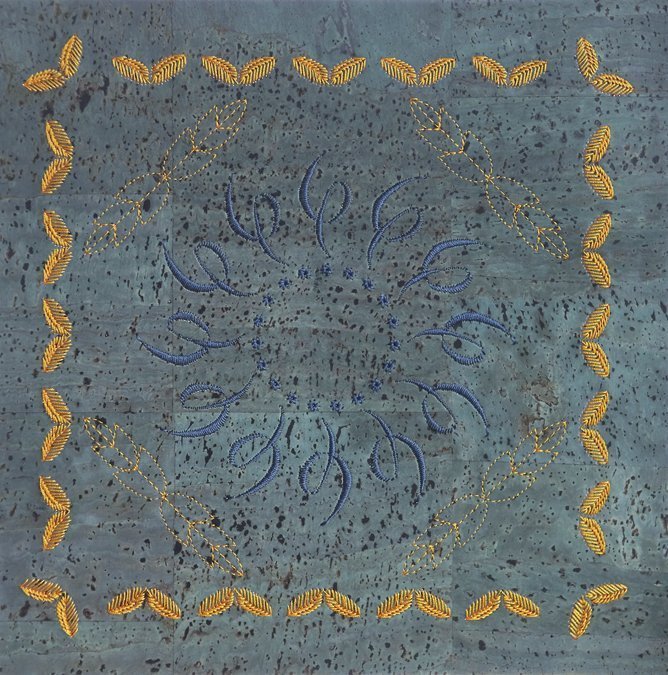
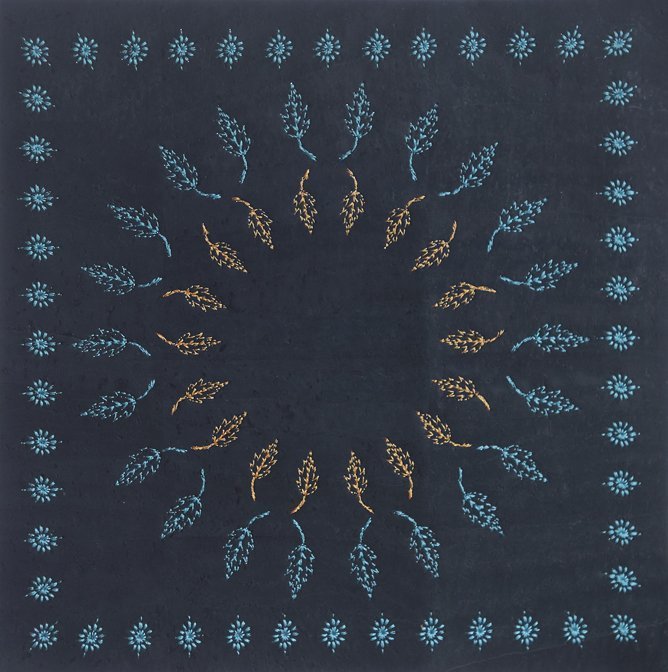
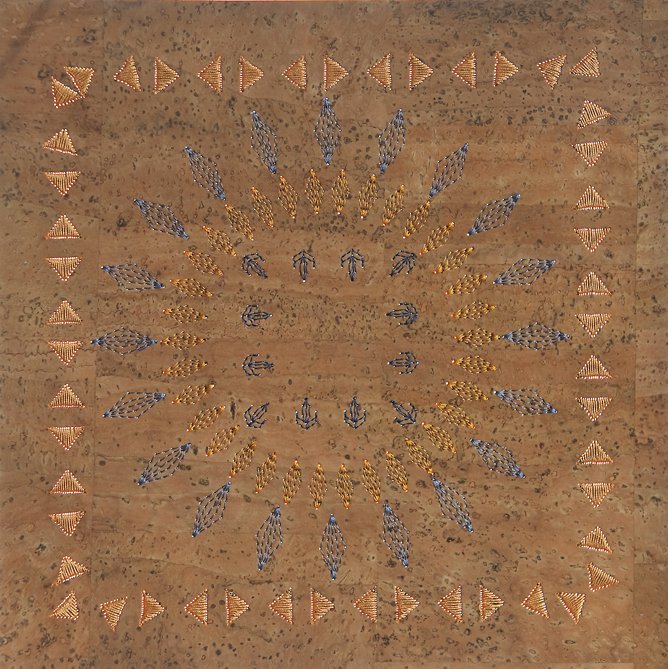
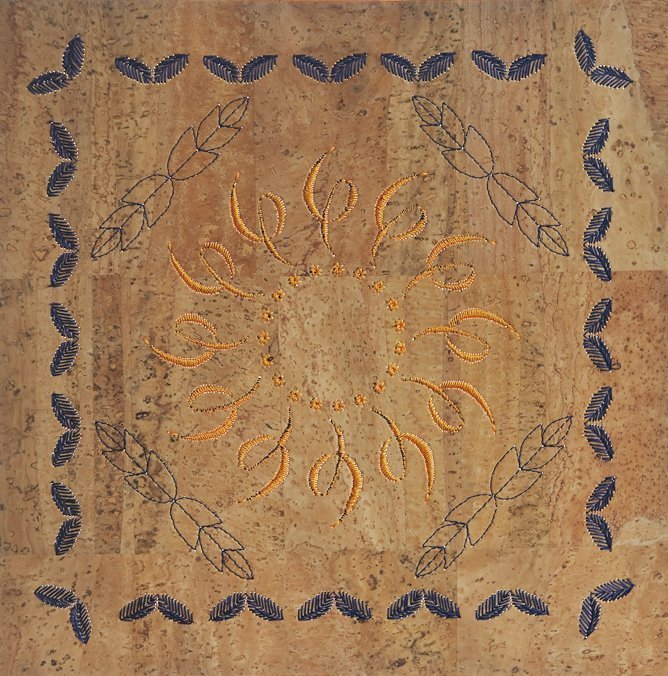
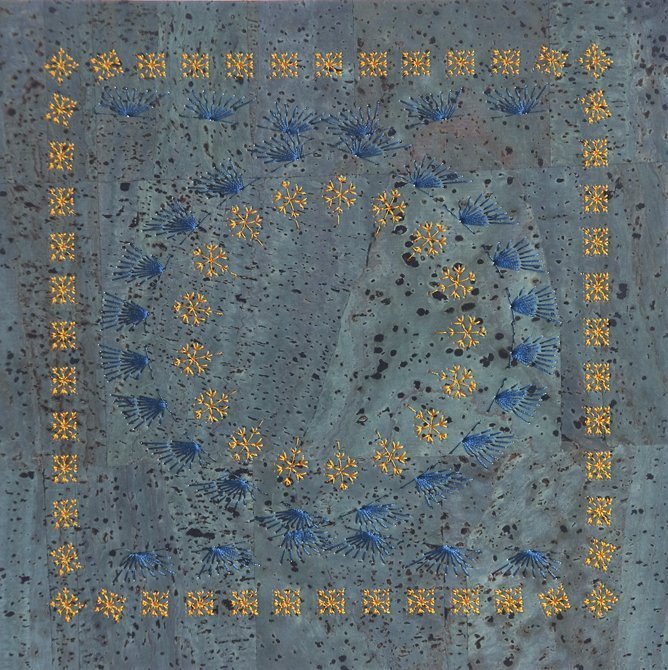
The Portuguese Azulejos, these beautiful wall tiles, that adorn not only floors but also house walls, inside and outside, got stuck in my mind and I wanted to capture them on the Portuguese cork material. And in order to apply these multiple patterns in a special variation, found in my idea in 8000 meters hight, I wanted to use the ShapeDesigner of me BERNINA 880. It should work out.
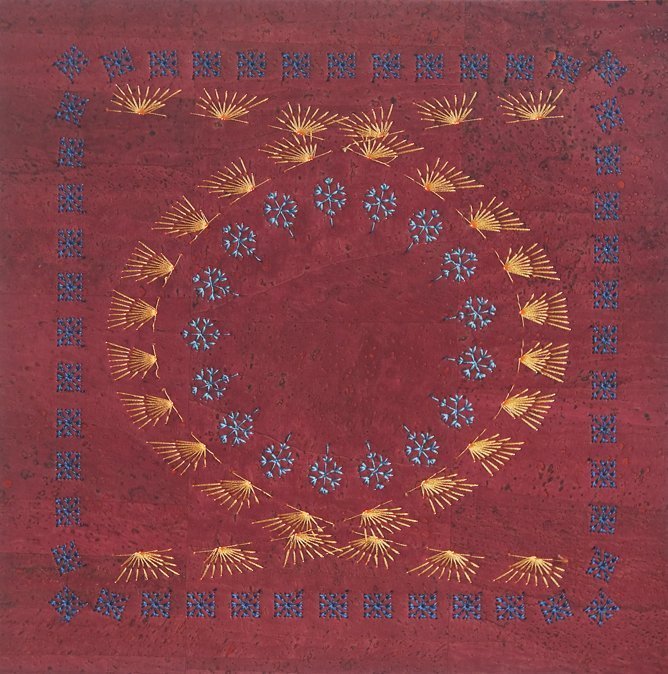
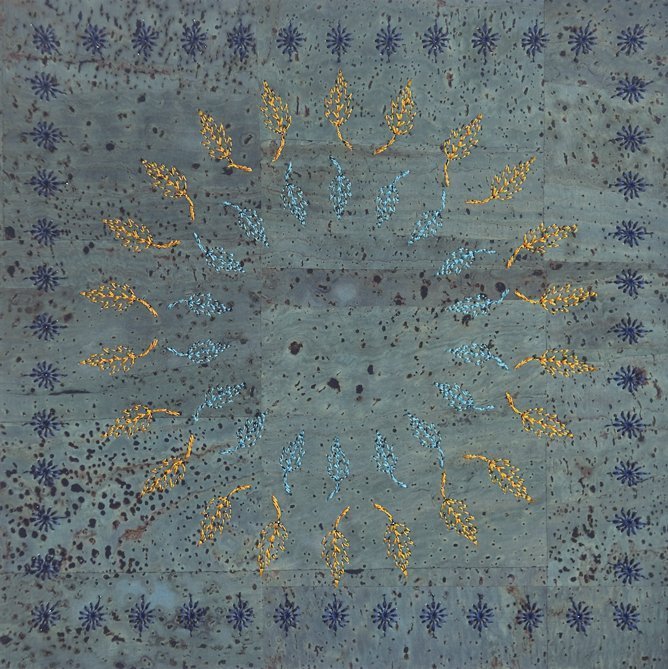
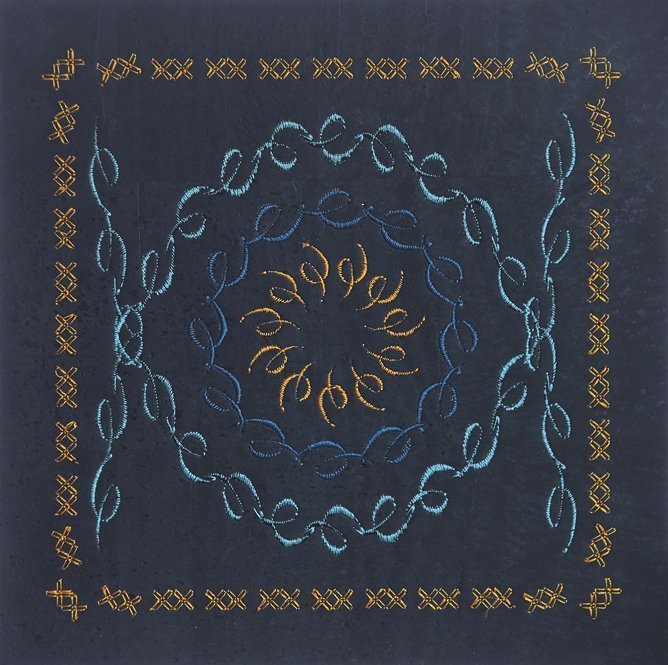
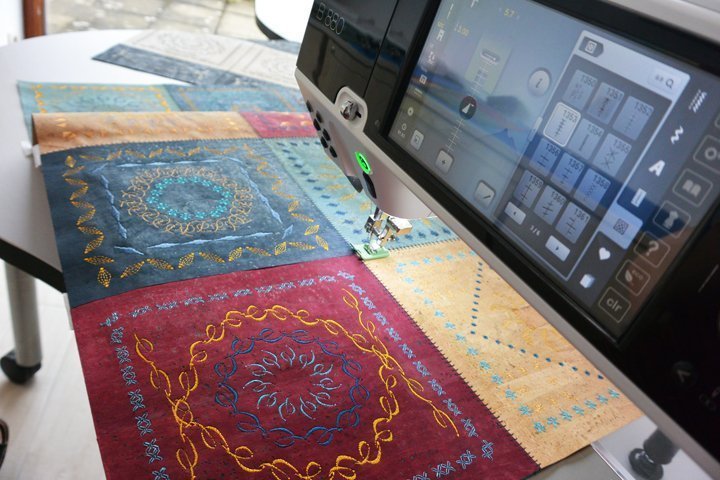
Well, it should become a two-side table runner. One side in a slightly folk style, the other side in a classic, elegant design. I choose the iridescent light blue, the new raspberry, the navy and a new natural color. The classic side is made of black and white.
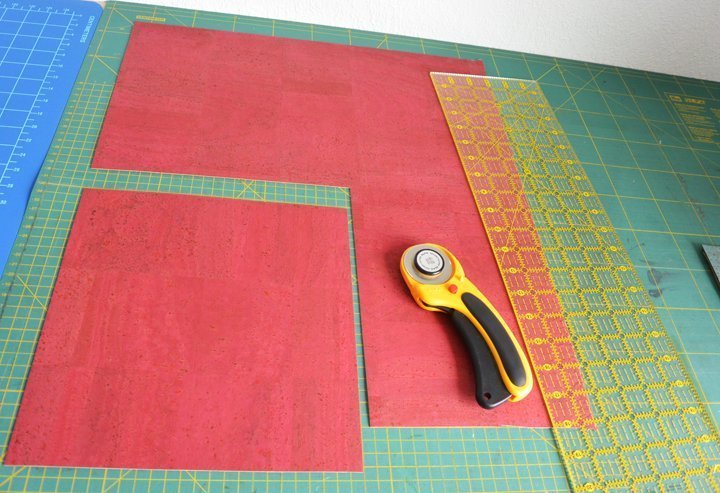
Cut a total of 14 parts of 25cm x 25 cm – for the colorful side – and 7 parts white and black each, also 25cm x 25cm.
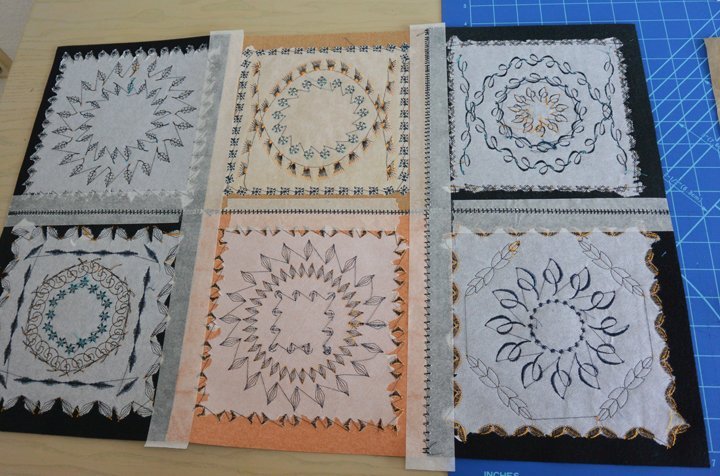
In addition I am happy to offer all 9 different embroidery designs as a freebie, so that these beautiful tiles can be stiched on the different BERNINA embroidery machines:
Download designs for Midi Hoop
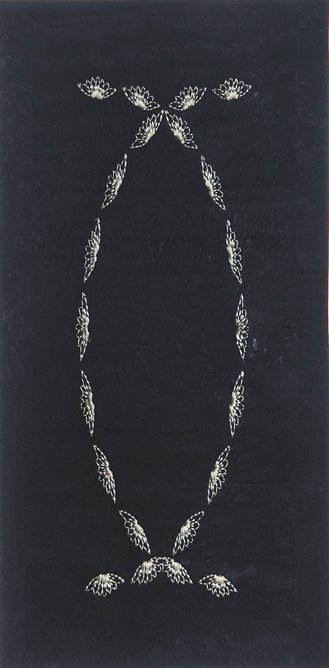
If you cant use a Midi-Hoop with your machine, then you can use the smaller designs for the Oval Hoop. I made a second table runner with smaller squares, so the proportions would still be correct. For this, I cut my squares 20cm x 20cm and the rectangle for the other side, which comes later in the instructions, 20cm x 11cm.
Download smaller designs for Oval Hoop
I also made a valentine version of this project. You can read about it and find some heart designs in this plog post.
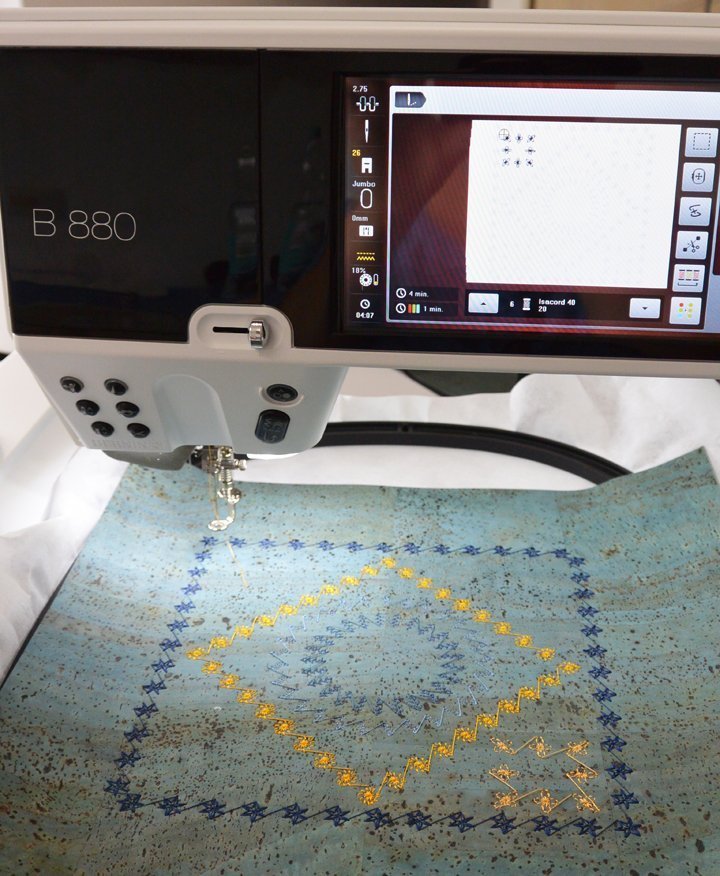
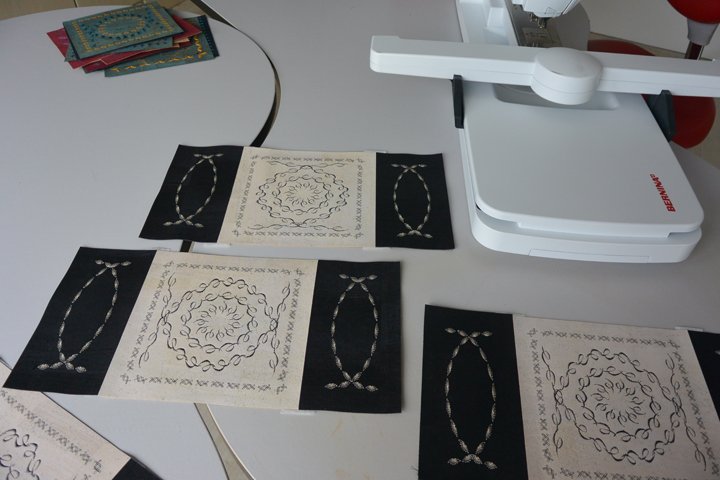
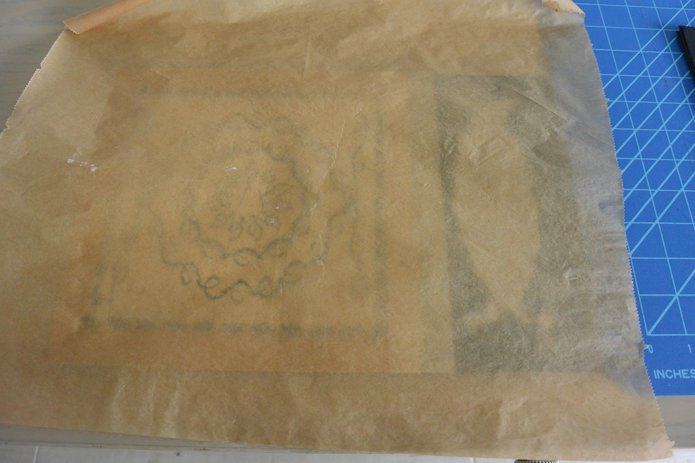
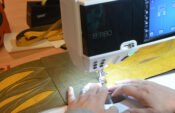
After cutting one corksquare is fixed with temporary adhesive. I did prepare one motif for a tile in advance with the shapedesigner of my BERNINA 880.
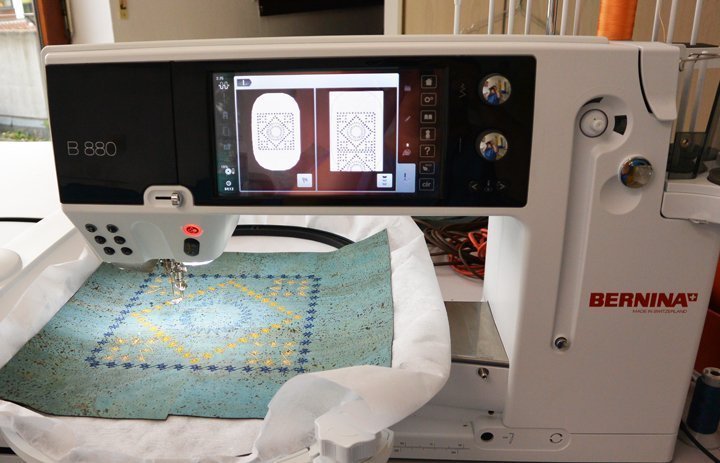
The first frame is embroidered on the lightblue cork, the inner pattern do follow just afterwards:
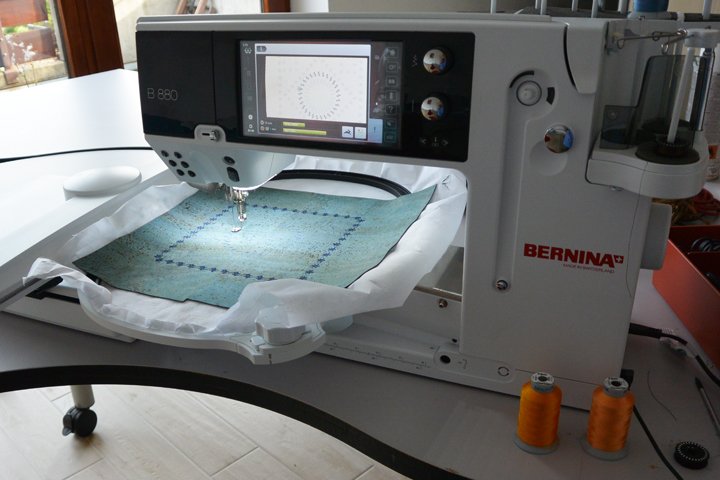
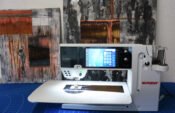
and the BERNINA 880 embroiders clean and precise:
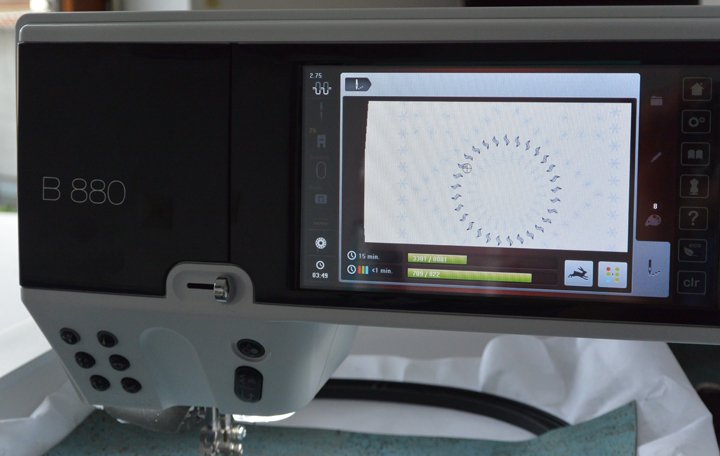
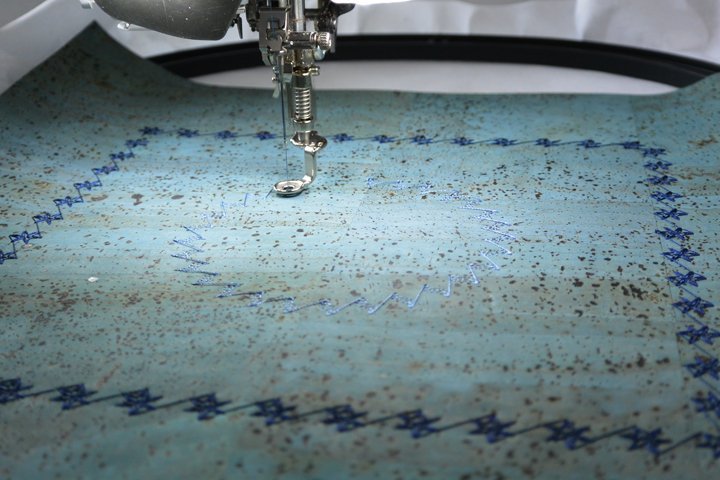

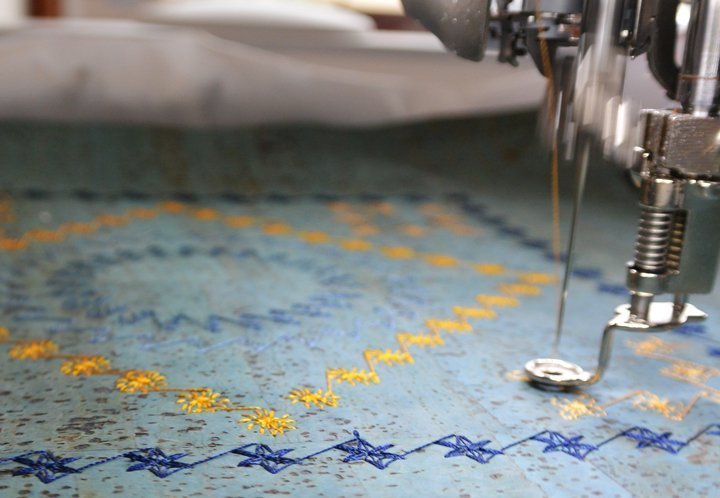
until the first of 14 tiles is finished:
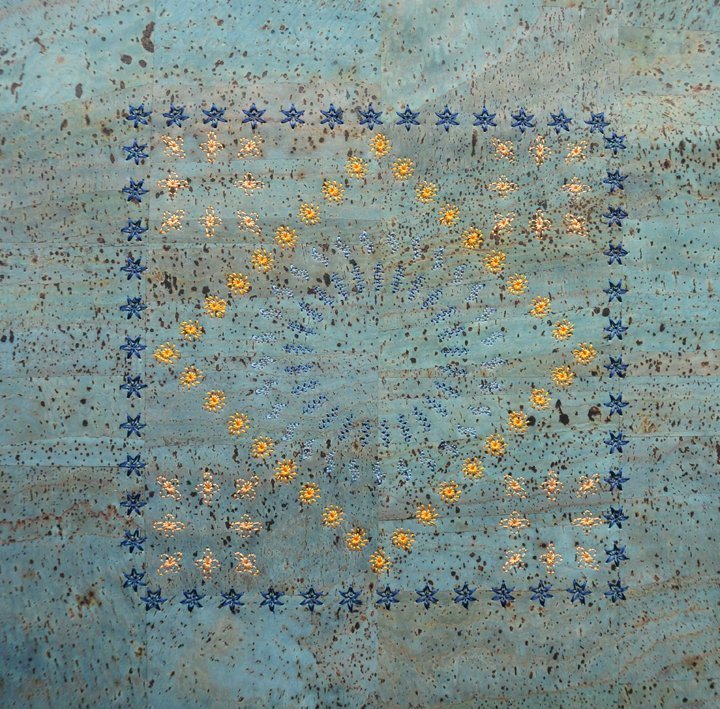
This shapetool is a real addictive. It makes you forget time and keeps you playing and playing…
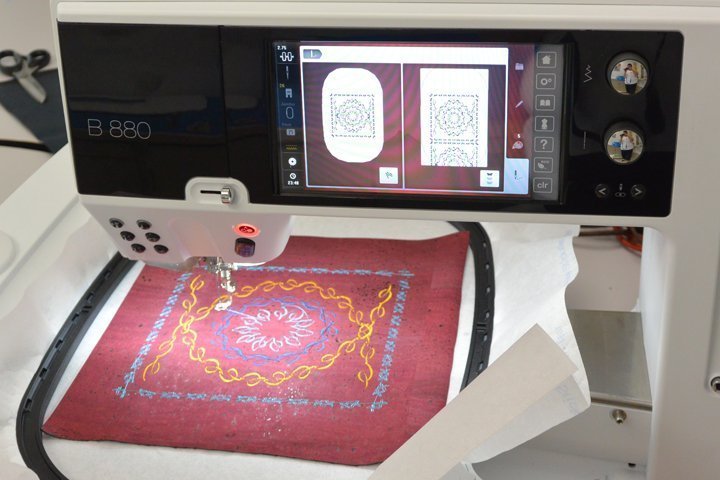
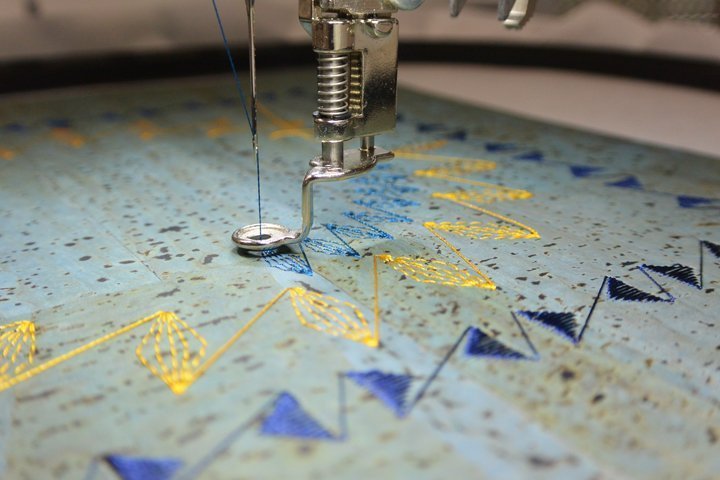
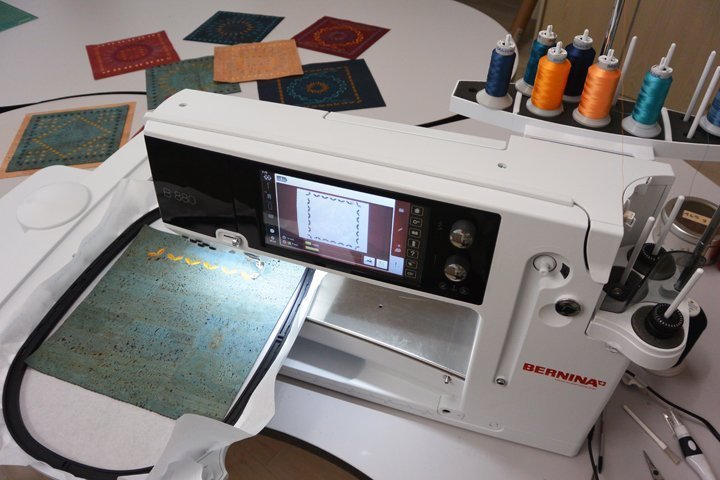
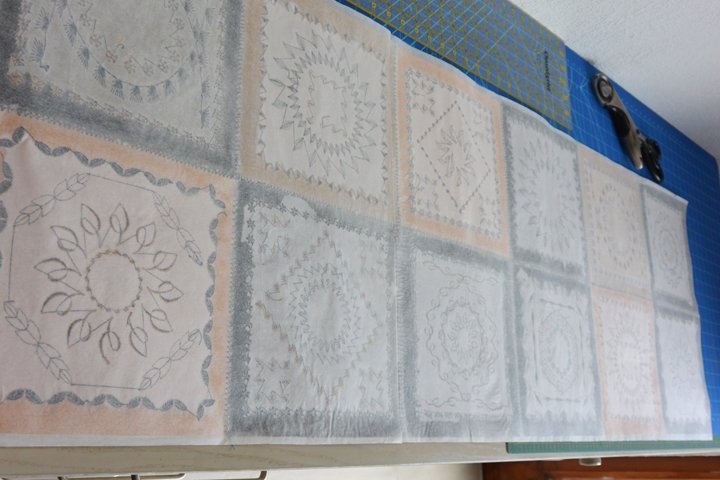
Table filles up with many colorful cork tiles…
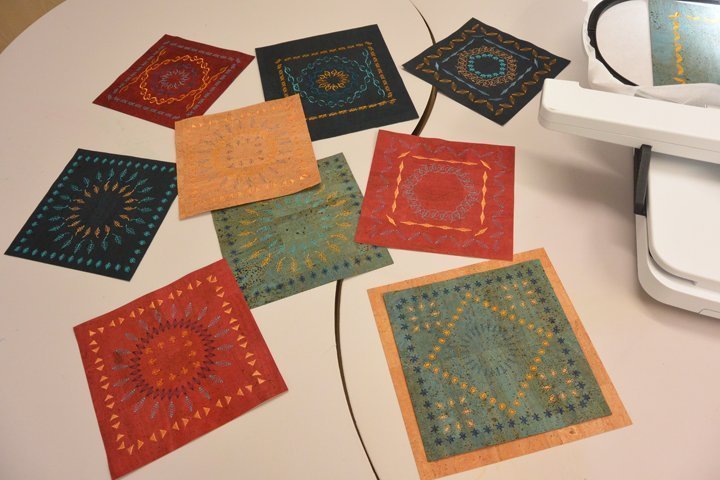
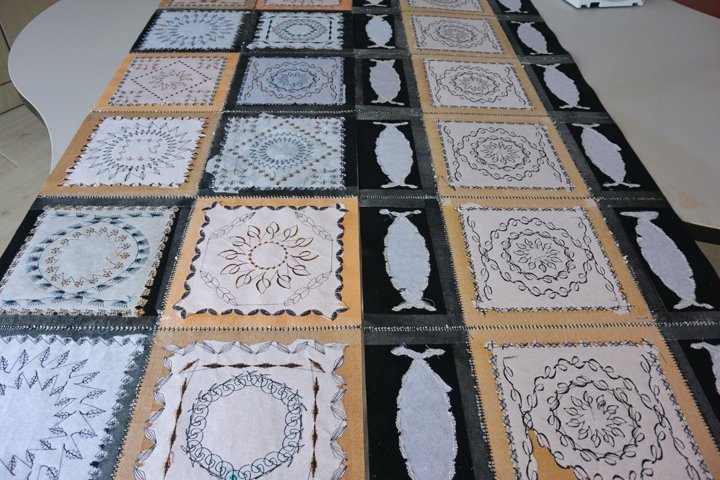
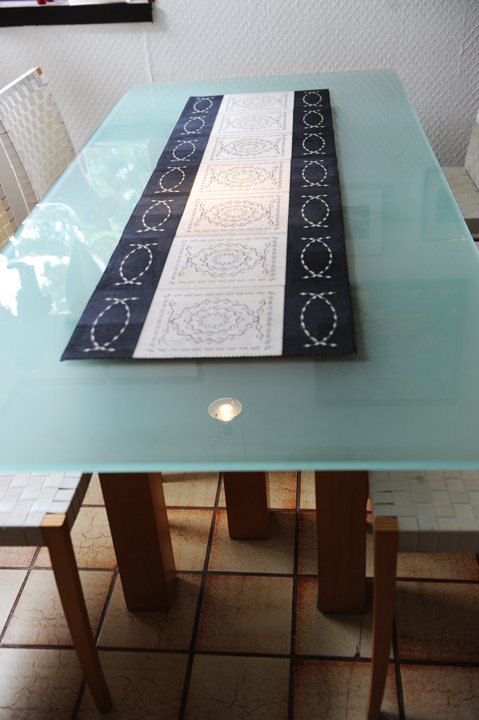
And once assembled it looks as follows – I am excited:

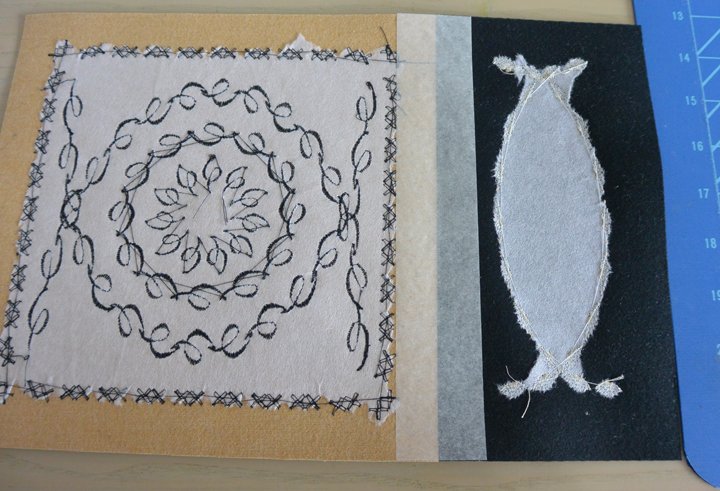
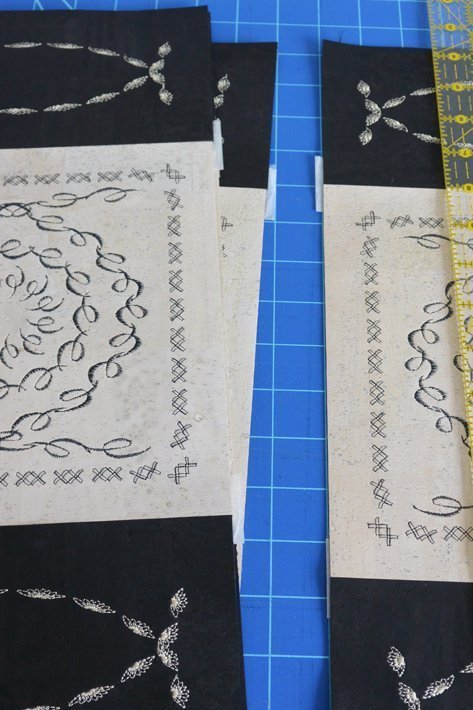
The back should now be classically elegant. My husband had a brilliant idea: ” Why not to set a tile in the center and two halved tiles around?” Said and done.
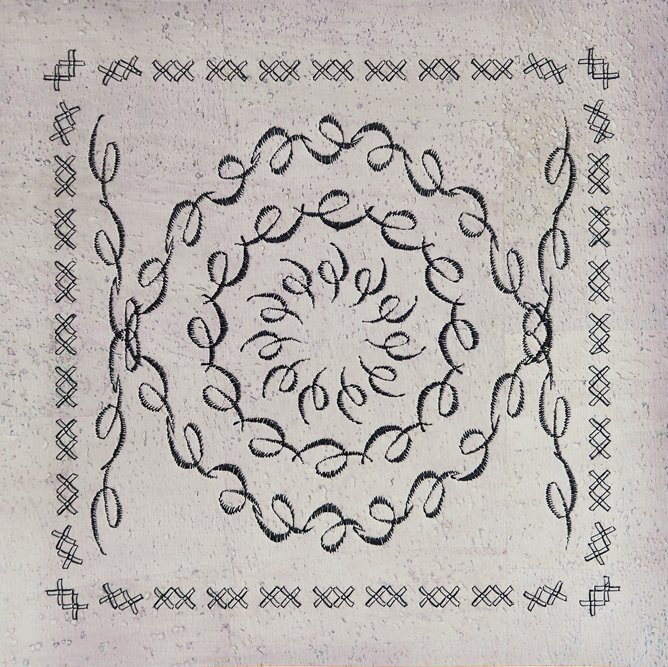
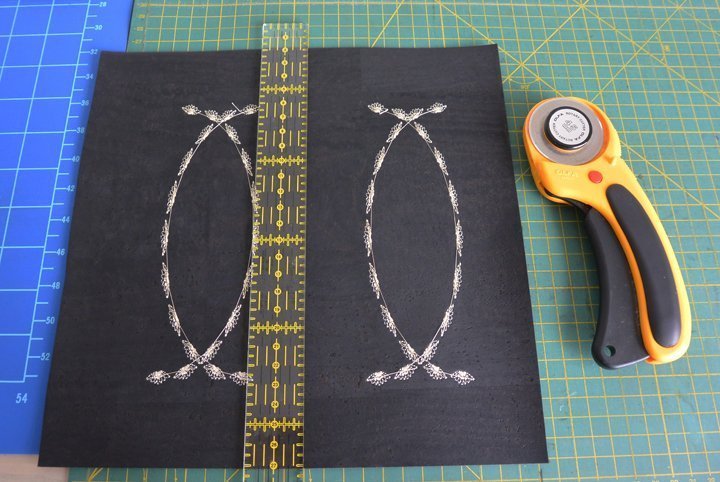
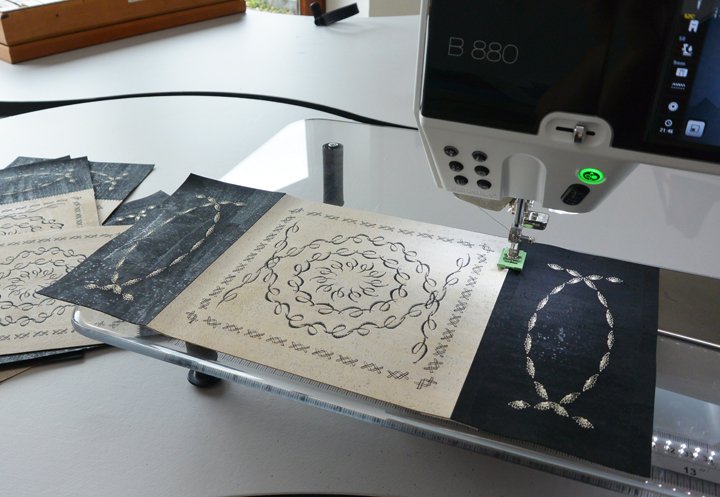
For the classic, elegant variation I chose black and white.
And it should show only two motives, simple and straight.
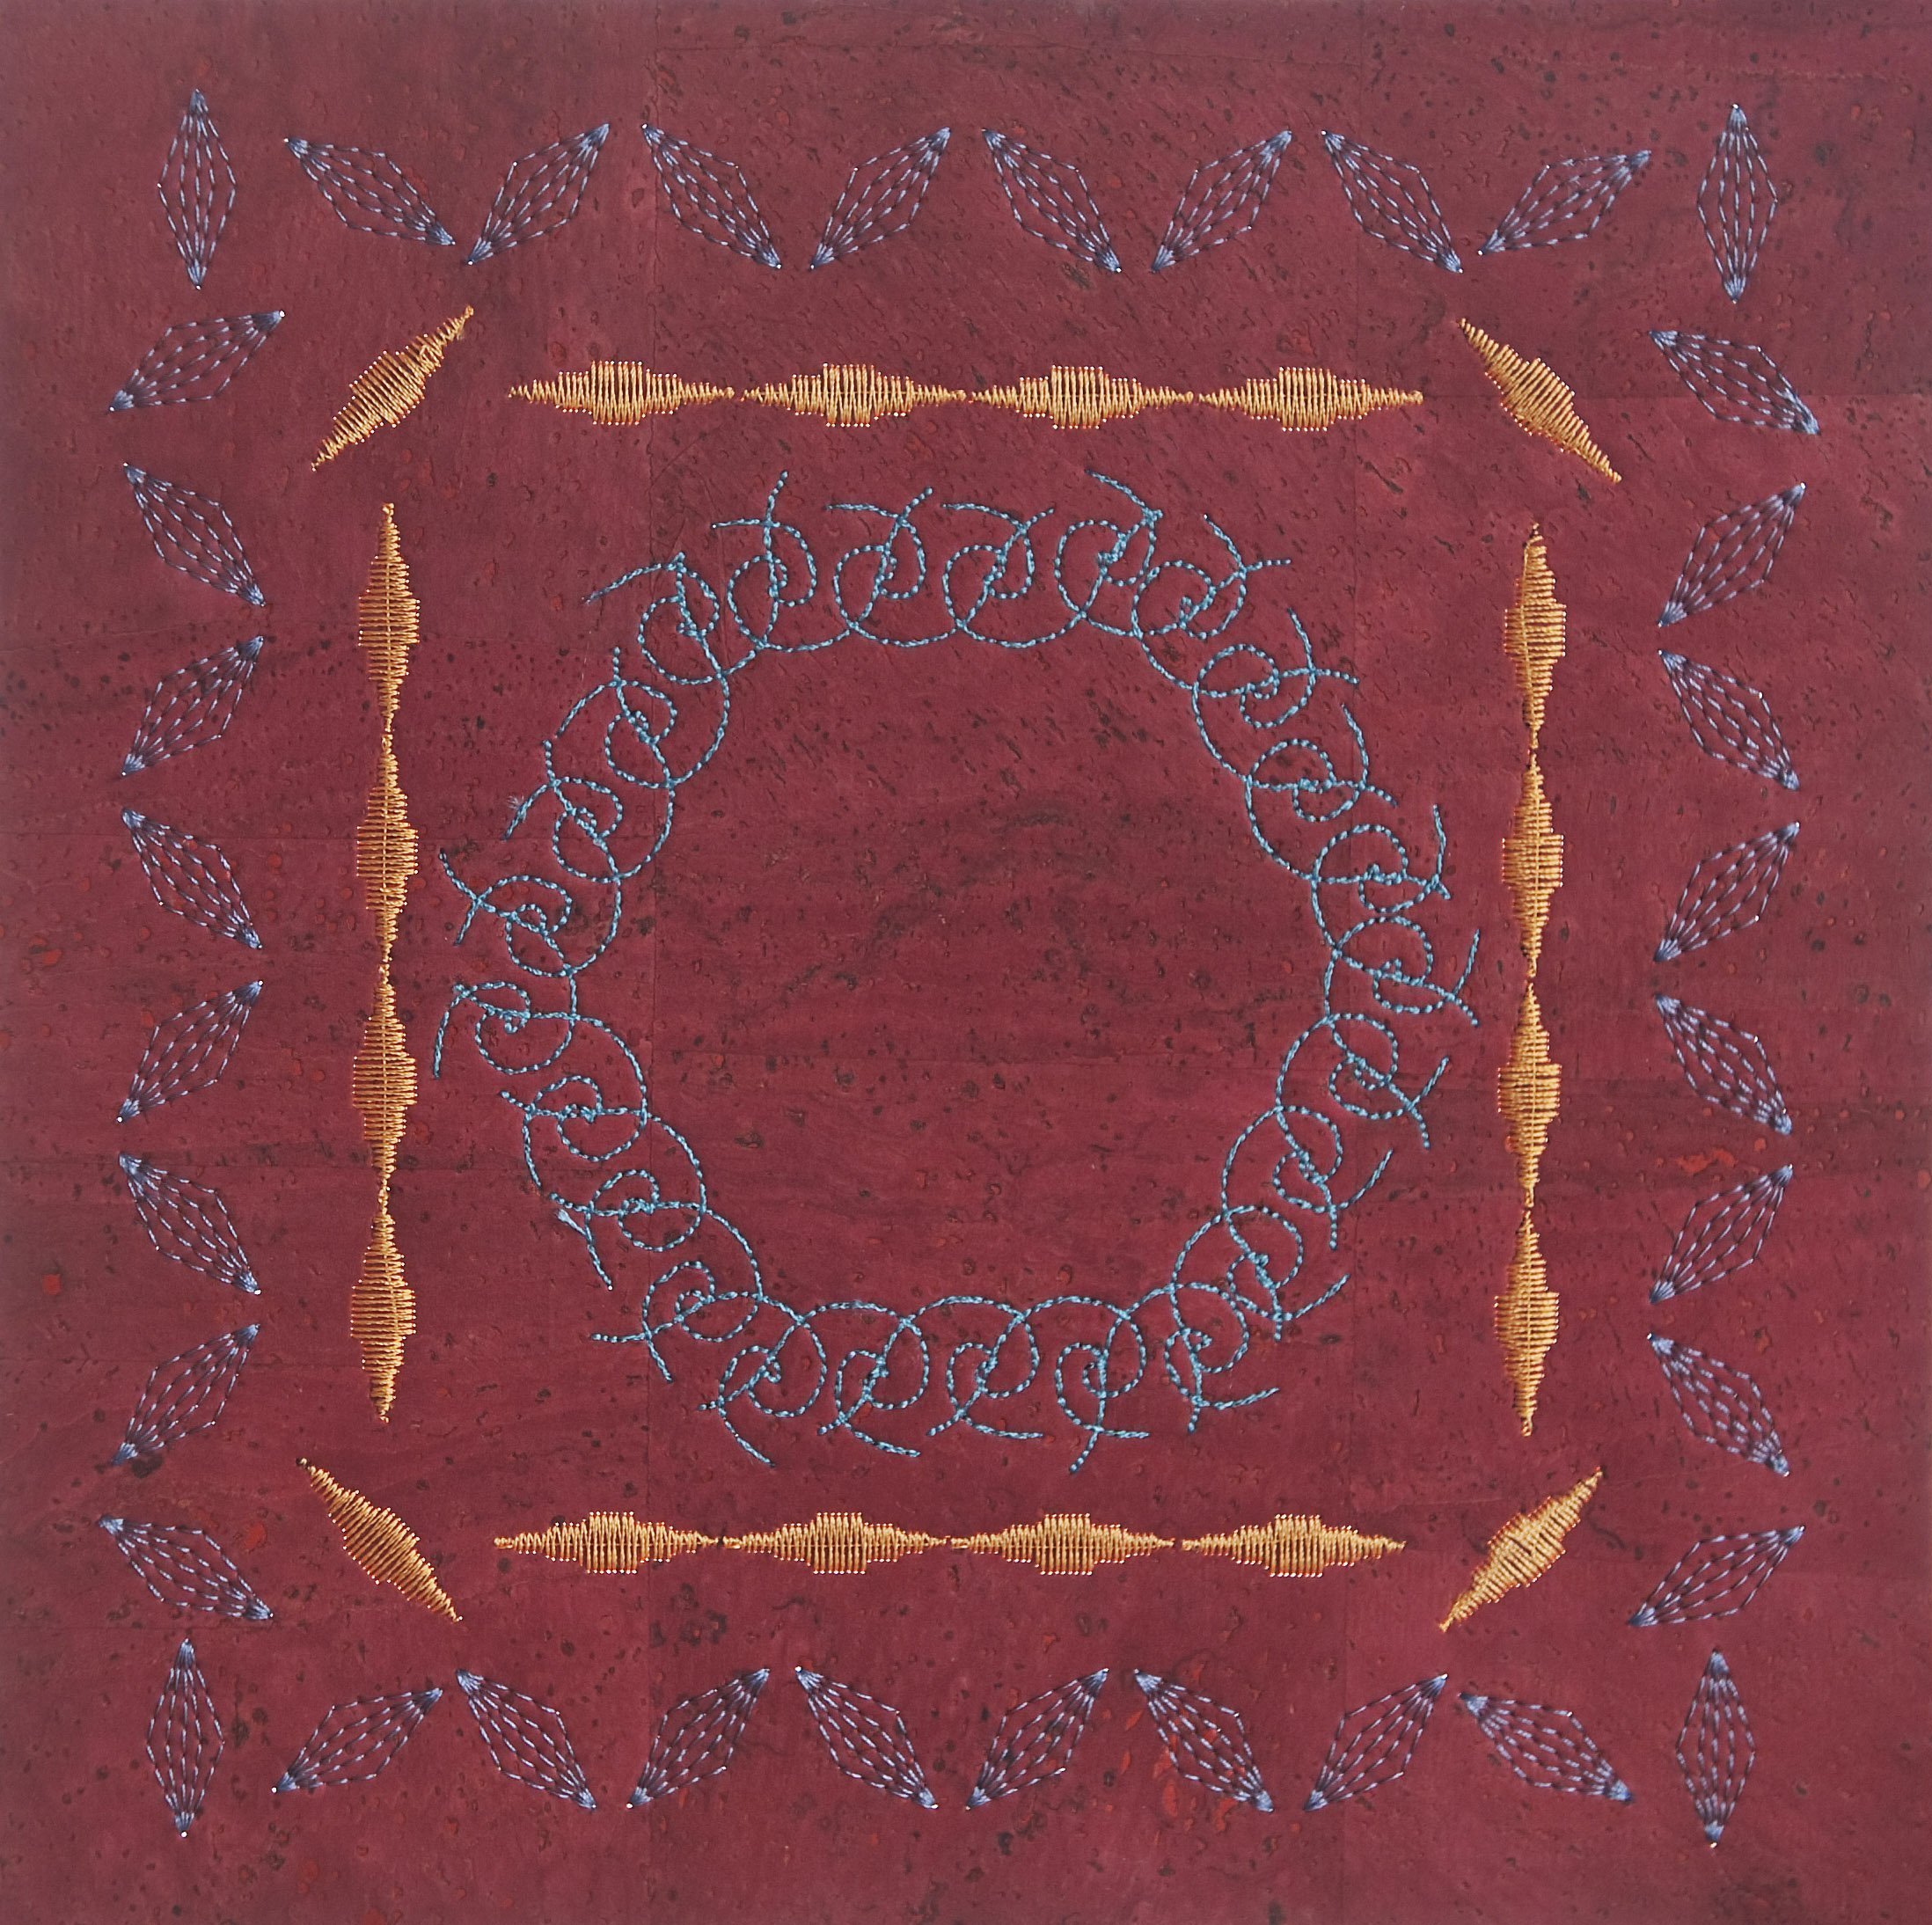
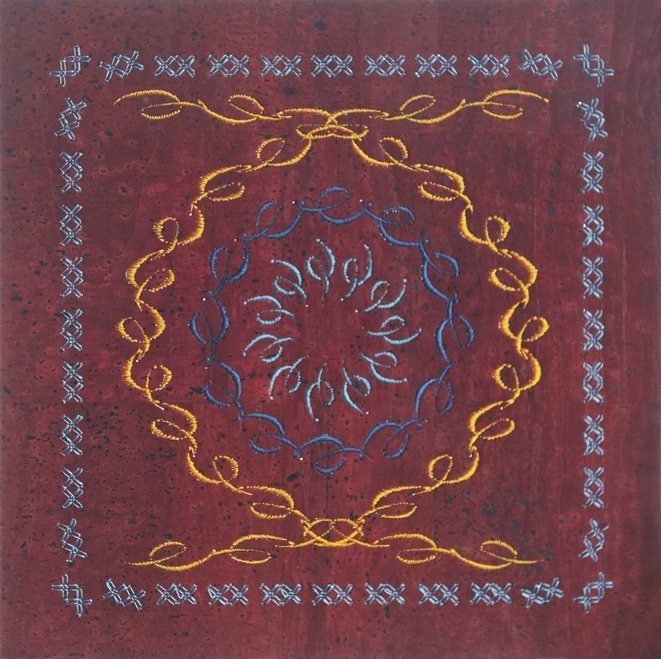
Subsequently, these 16 different motifs and embroidered cork tiles have emerged. There are a total of 8 subjects that you can download at the top of this post:

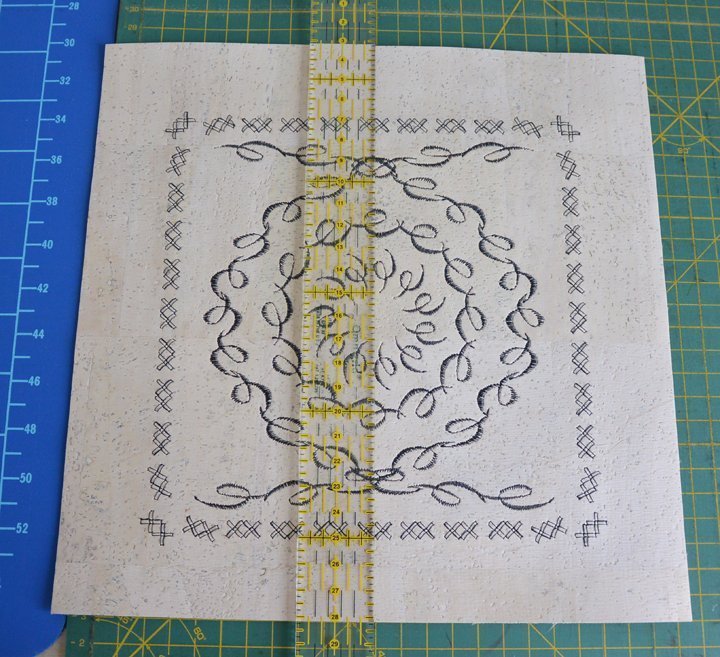
The runner should be as flat on the glass-topped table and have no fat bulges through any seam allowances. Therefore, I set the individual cork pieces along with a quilt stitch. The only condition to work as – the cut must be one hundred percent clean and precise.
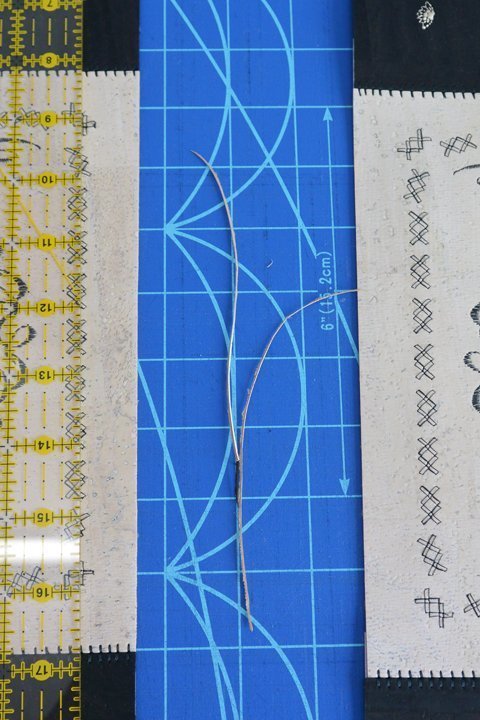
Final size cutting after embroidering: 22cm x 22cm.
Halved tile for back: 11cm x 22cm.
For an exact cut I am looking for the center of the tile, using the measure of the cutting mat. The centerpoint is at 11cm. Not moving the cork I now move just my ruler to 22cm and cut the first edge. This is my guidance section and I can easily now shorten all three remaining edges accurately. Pay attention to a very exact angle!
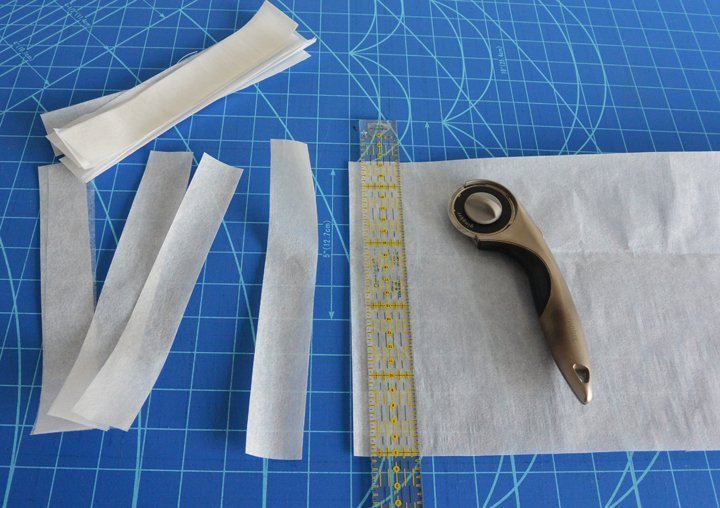
To connect the individual cork tiles I choose Vliesofix. A strip about 4 cm width and 23cm length is about to join two square edges.
Iron-on on a solid surface – not a soft board. Make sure the ironing temperature is not too high, otherwise the synthetic material on the back of the corkleather shrinks.
Once all tiles are connected all overhanging Vliesofixedges need another precise cut.
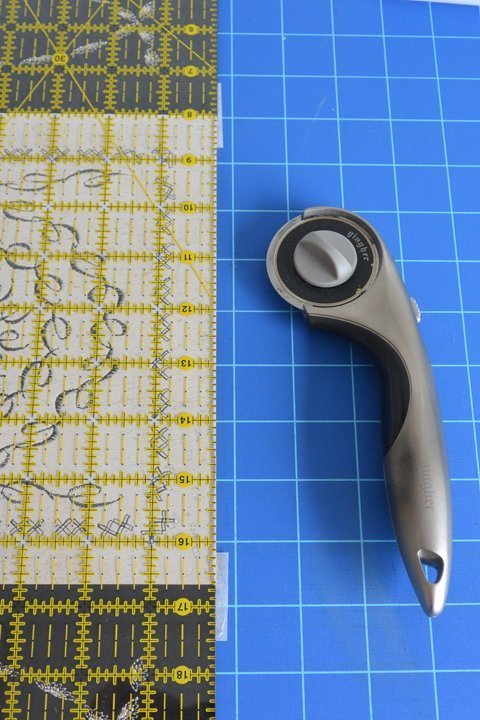
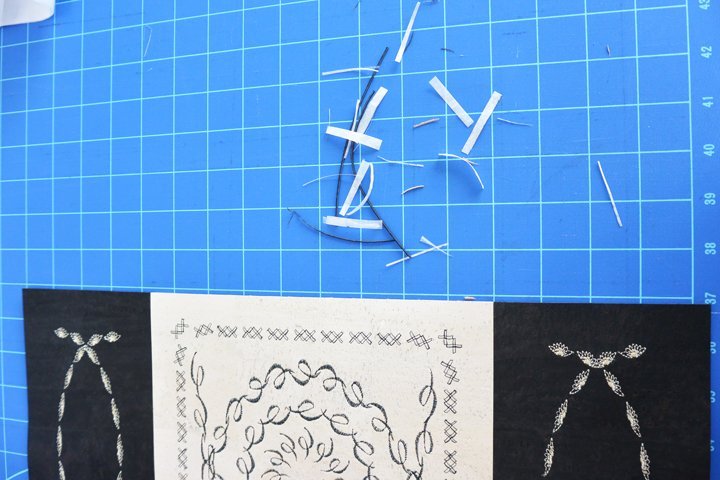
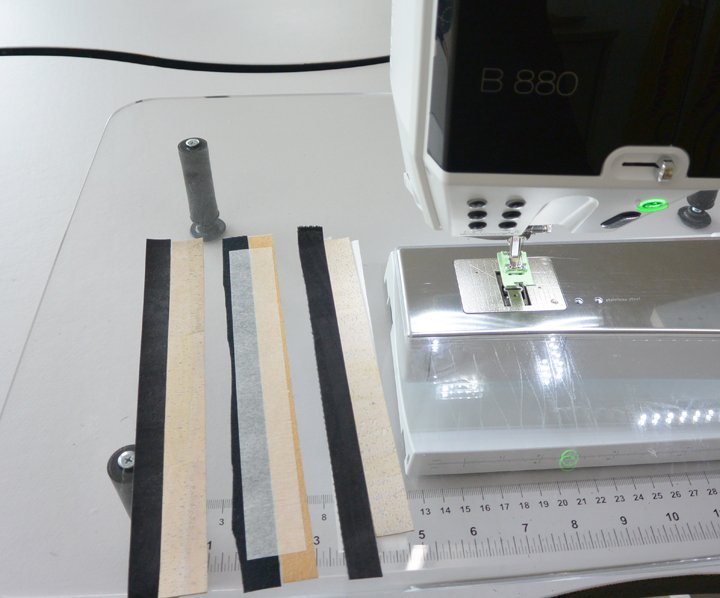
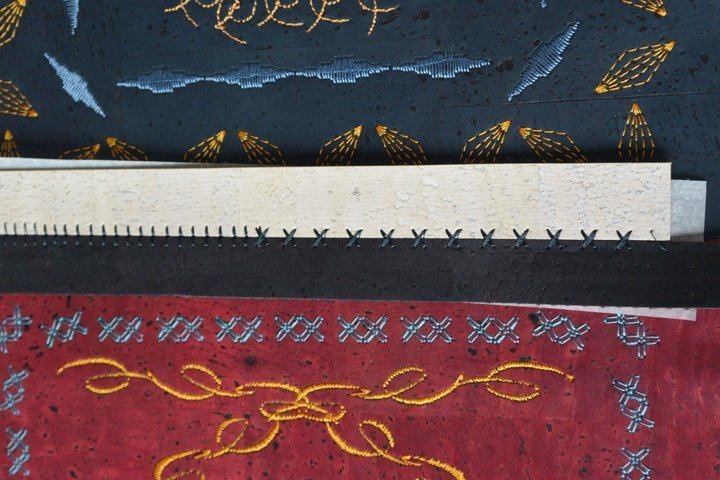
To test the matching quilt stitch and to make it visible, I prepared a few samples of the corkstripes, that were also connected to fusible web.
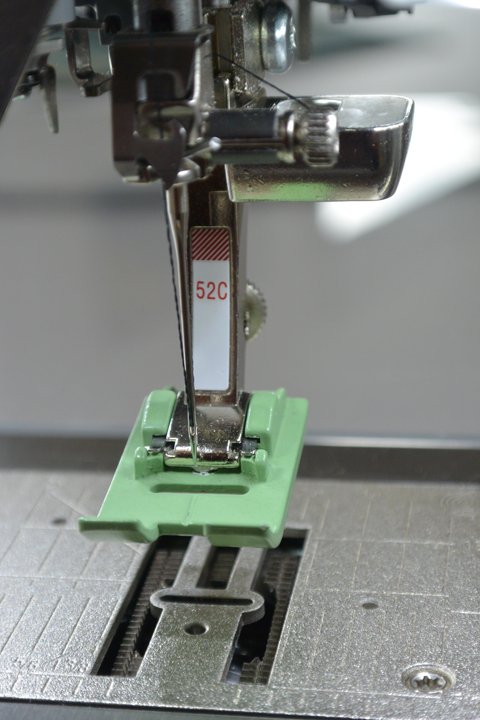
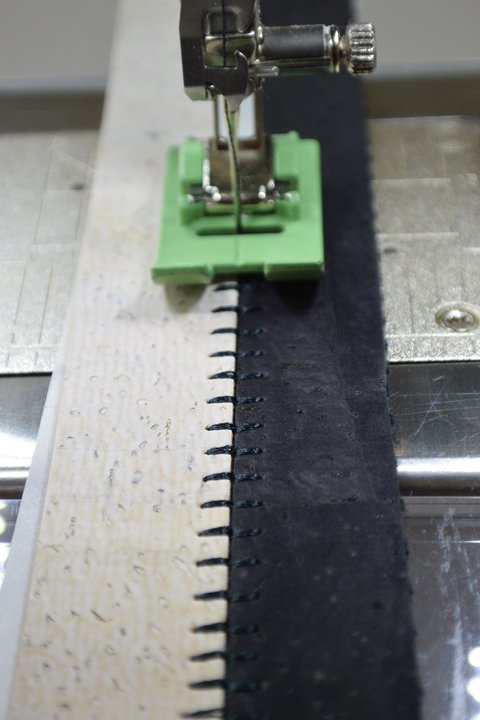
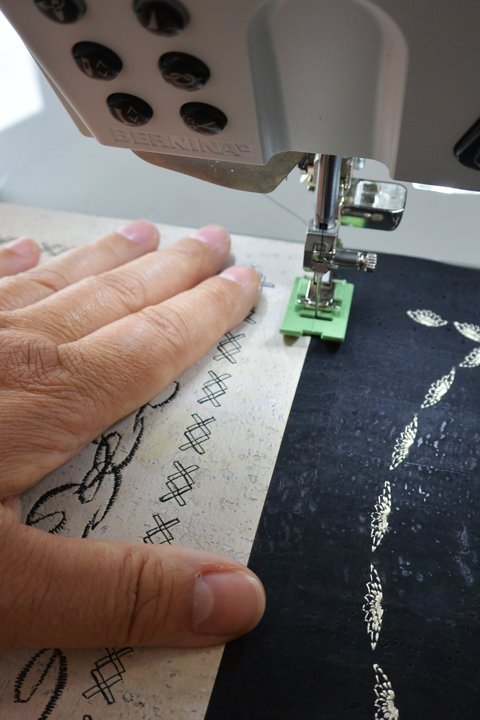
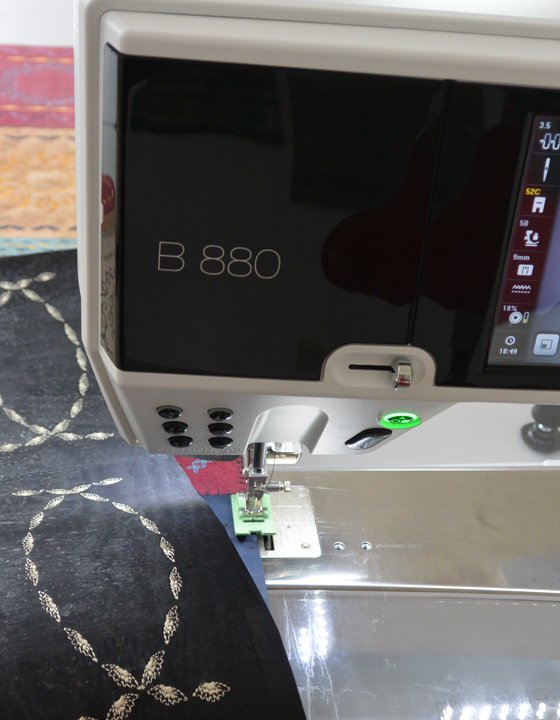
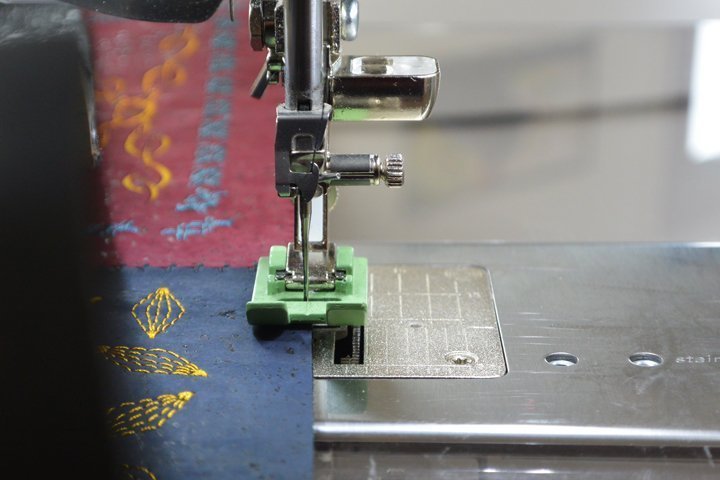
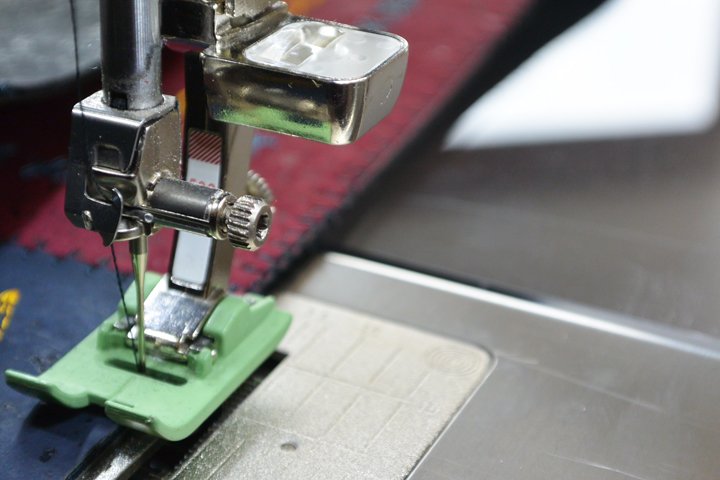
For joining I choose the zigzag presser foot with sliding sole # 52. Due to the coated presser foot it glides effortlessly over the cork leather.
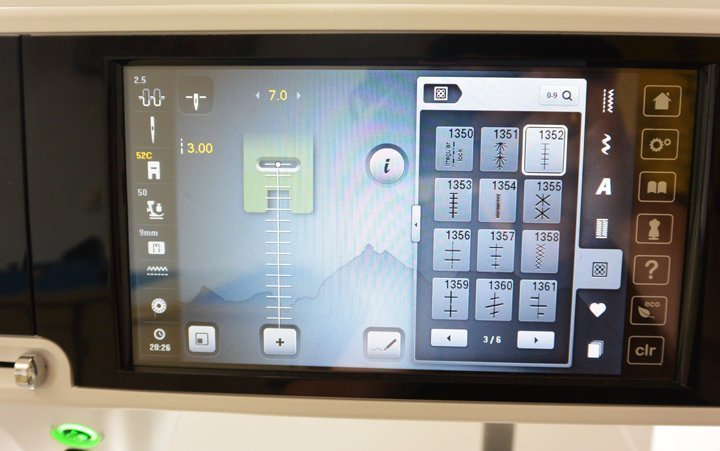
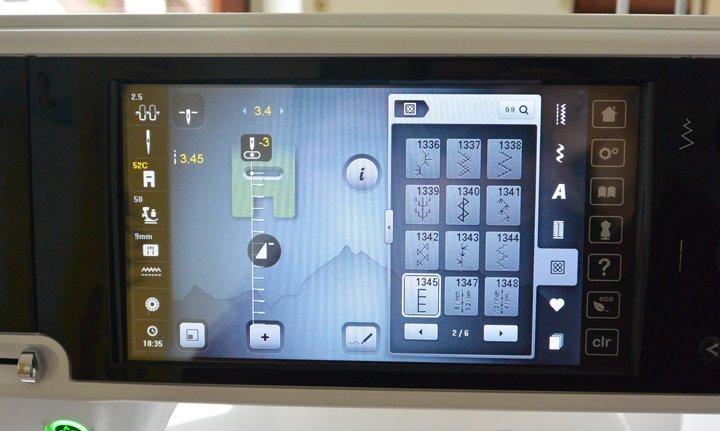
Choosing the quilt stitch:
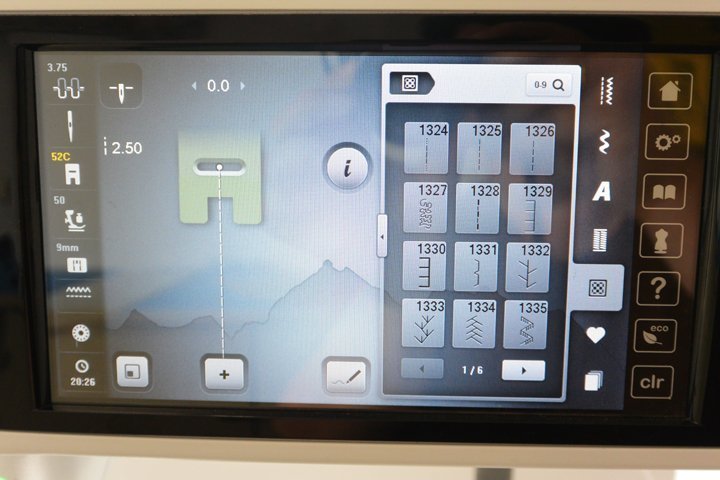
and look for a stitch, that joins both sides, left and right and connects them. My favorite one is this classical quiltling stitch:
It is simple, reliable and maintains a neutral addition to all those decorative stitches, that have already been applied by the shapedesigner on the cork. Some first sample stitches already found on the cork strips:
This looks great, but I want to try and look at a second variation:
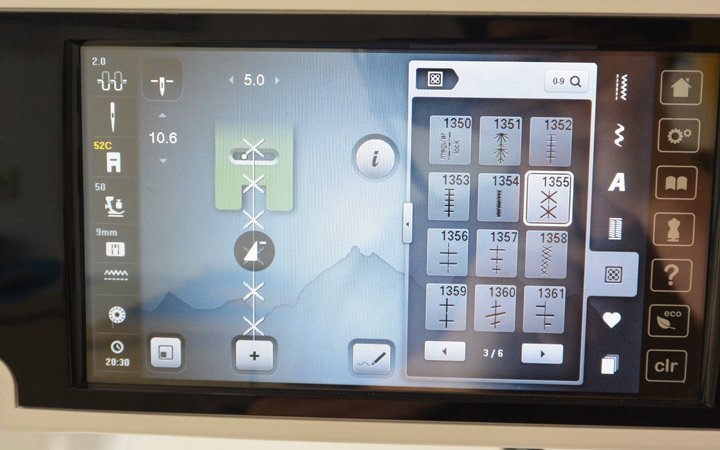
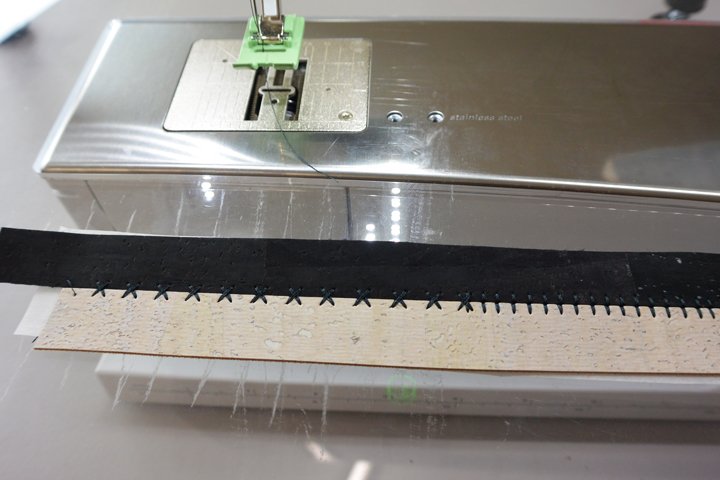
Both samples look fine, but I have to choose just one:

Well, it’s the first one.
All edges are sewn together with this quilt stitch:
Some small corrections with ruler and some cuts
Then I connect the assembled rows again with Vliesofix and sew the two sides of the runner together piece by piece. It is ironed and sewn once each time, only then is the next section added. Please make sure that you sew from “inside to outside”: the sewn material runs on the left side to the sewing machine, only the material to be attached lies under the free arm of the sewing machine. Otherwise there will inevitably be a material jam.
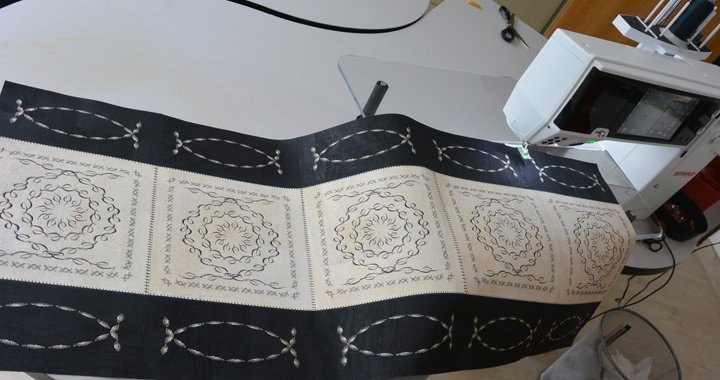
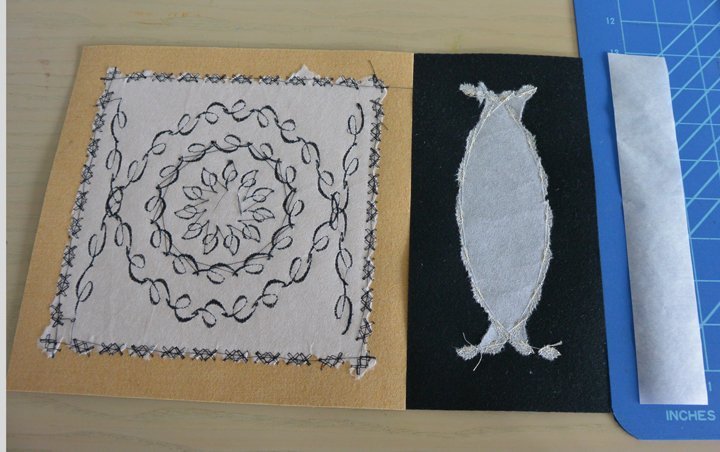
Front and backside of the tablerunner look like this now:

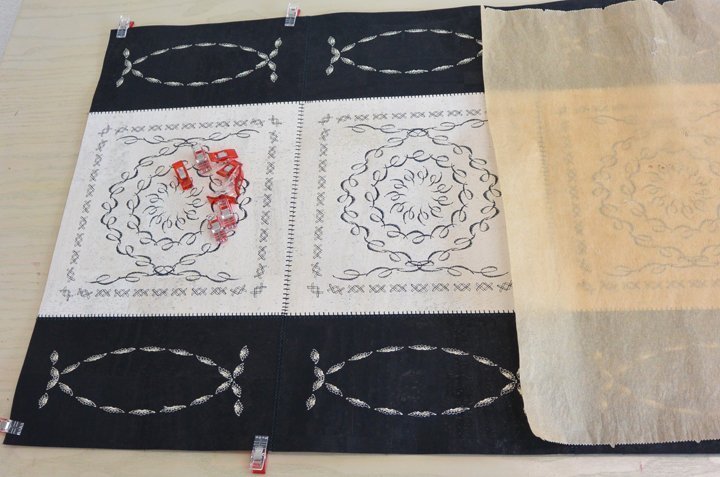
The entire table runner is covered with another layer of Vliesofix, ironed on one side:
Overlapping edges must be trimmed, take the paper of the Vliesofix off, both sides must be exactly positioned and fixed by little clams. Take a sheet of barchmentpaper and iron both side carefully together.
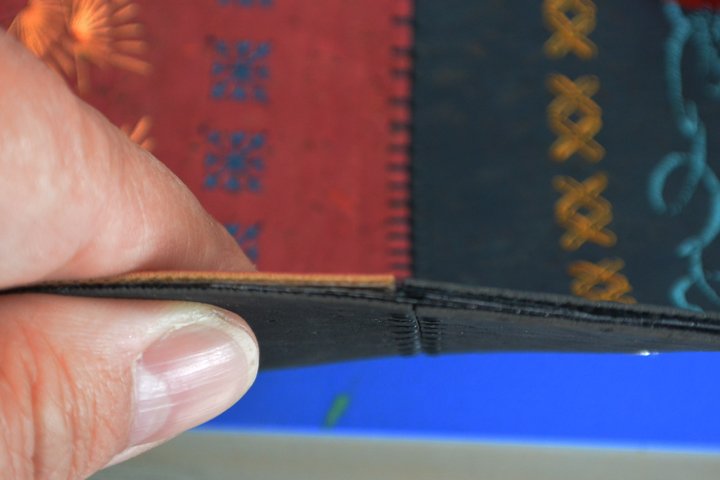
The last thing to do is to connect the outer edges of the corktiles with another quiltstitch. I choosed again and decided for a stitch, that ressembled a bit to the first one.
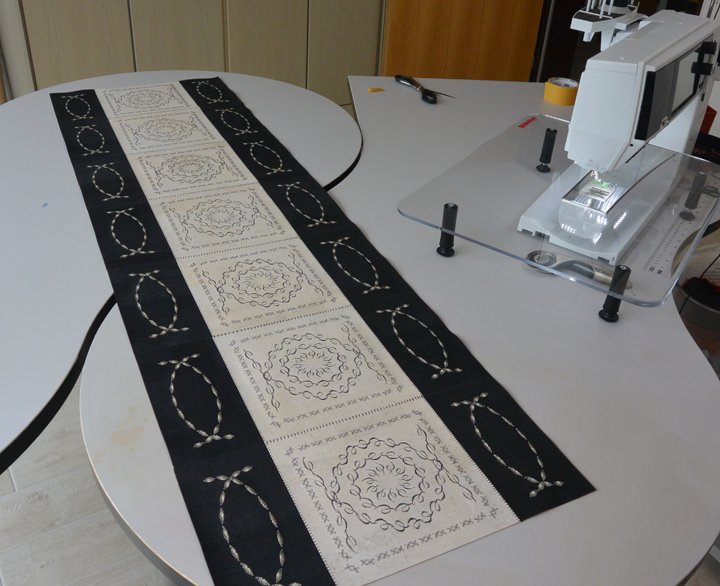
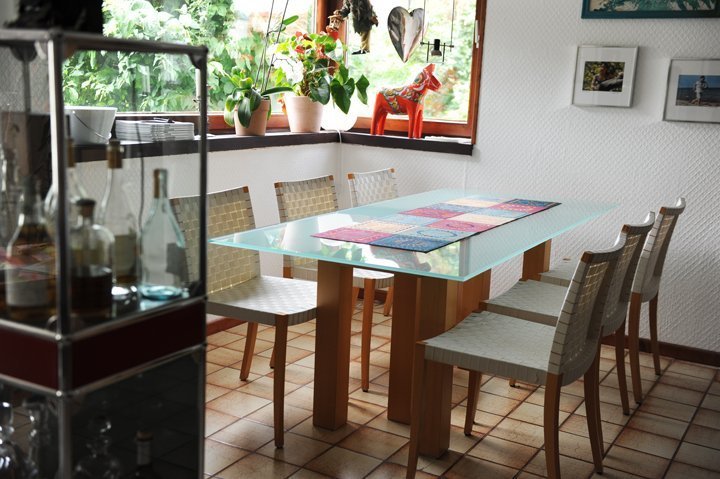
And here it goes – on the table!
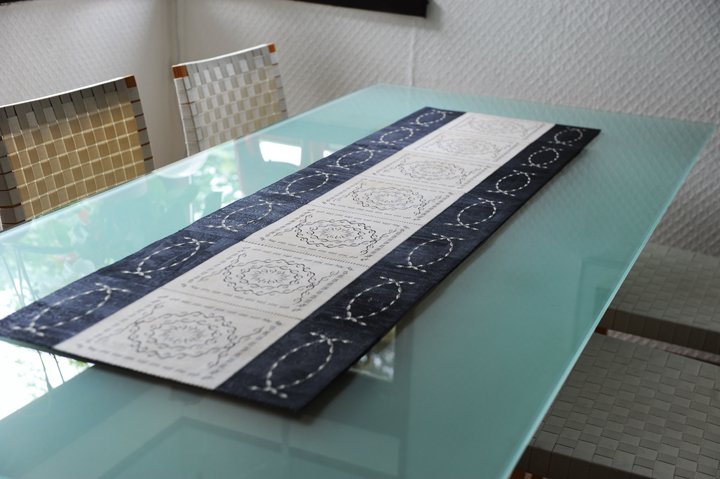

turned around – also pretty!

Have fun in doing your own table runner.
If you are interested in buying cork material – you find it here in my corkleathershop.
Cordially,
Jutta Hellbach

That is so lovely, and you did it so well! Inspirational!
Can you pls tell me where I will be able to find the downloads. ? Is it possible to make these with my bernina 770q?
Dear Sylvia,
You can find the downloads under the first picture. Just click on the red words and the Download should start automaticly.
The folder has all the tile designs Jutta made on her B 880. You can transfer these files to your B 770 QE and embroider them, so it is possible to make them with your machine.
If you have any more questions, let me know!
Kind regards, Ramona from BERNINA International
I did not see the downloads for this fabulous project! Can you please point me in the right direction for downloading them? Today is the first time I have seen the table runner ( May, 2021), and I would love to recreate something similar. I love the simplicity of the designs…so elegant!
Dear Cindy,
The downloads were indeed missing, but I was able to add them to the blog post. Jutta Hellbach is also an author on the german block, and there she made several posts about the Azulejos. The downloads were in the second and third part. I also stumbled upon a valentine design and have added a link to that post in the top part of this post as well. You can find all downloads and links under the first now picture.
Happy sewing!
Best regards, Ramona from BERNINA International
great work. i am looking for forward to your continuing post of this subject. then getting started myself. thanks greatly.