 BERNINA Corporate Blog -
I set myself a little challenge recently: NO MORE BUYING FABRIC OR ANYTHING YOU CAN MAKE YOURSELF UNTIL CHRISTMAS. It’s a challenge born out of necessity really, as my stash of fabric is getting to epic proportions (and considering my sewing room is also my spare bedroom and office it’s not great!) . So after I set myself the challenge I decided to actually go through all my fabric to actually see what I had to work with.
I found this:
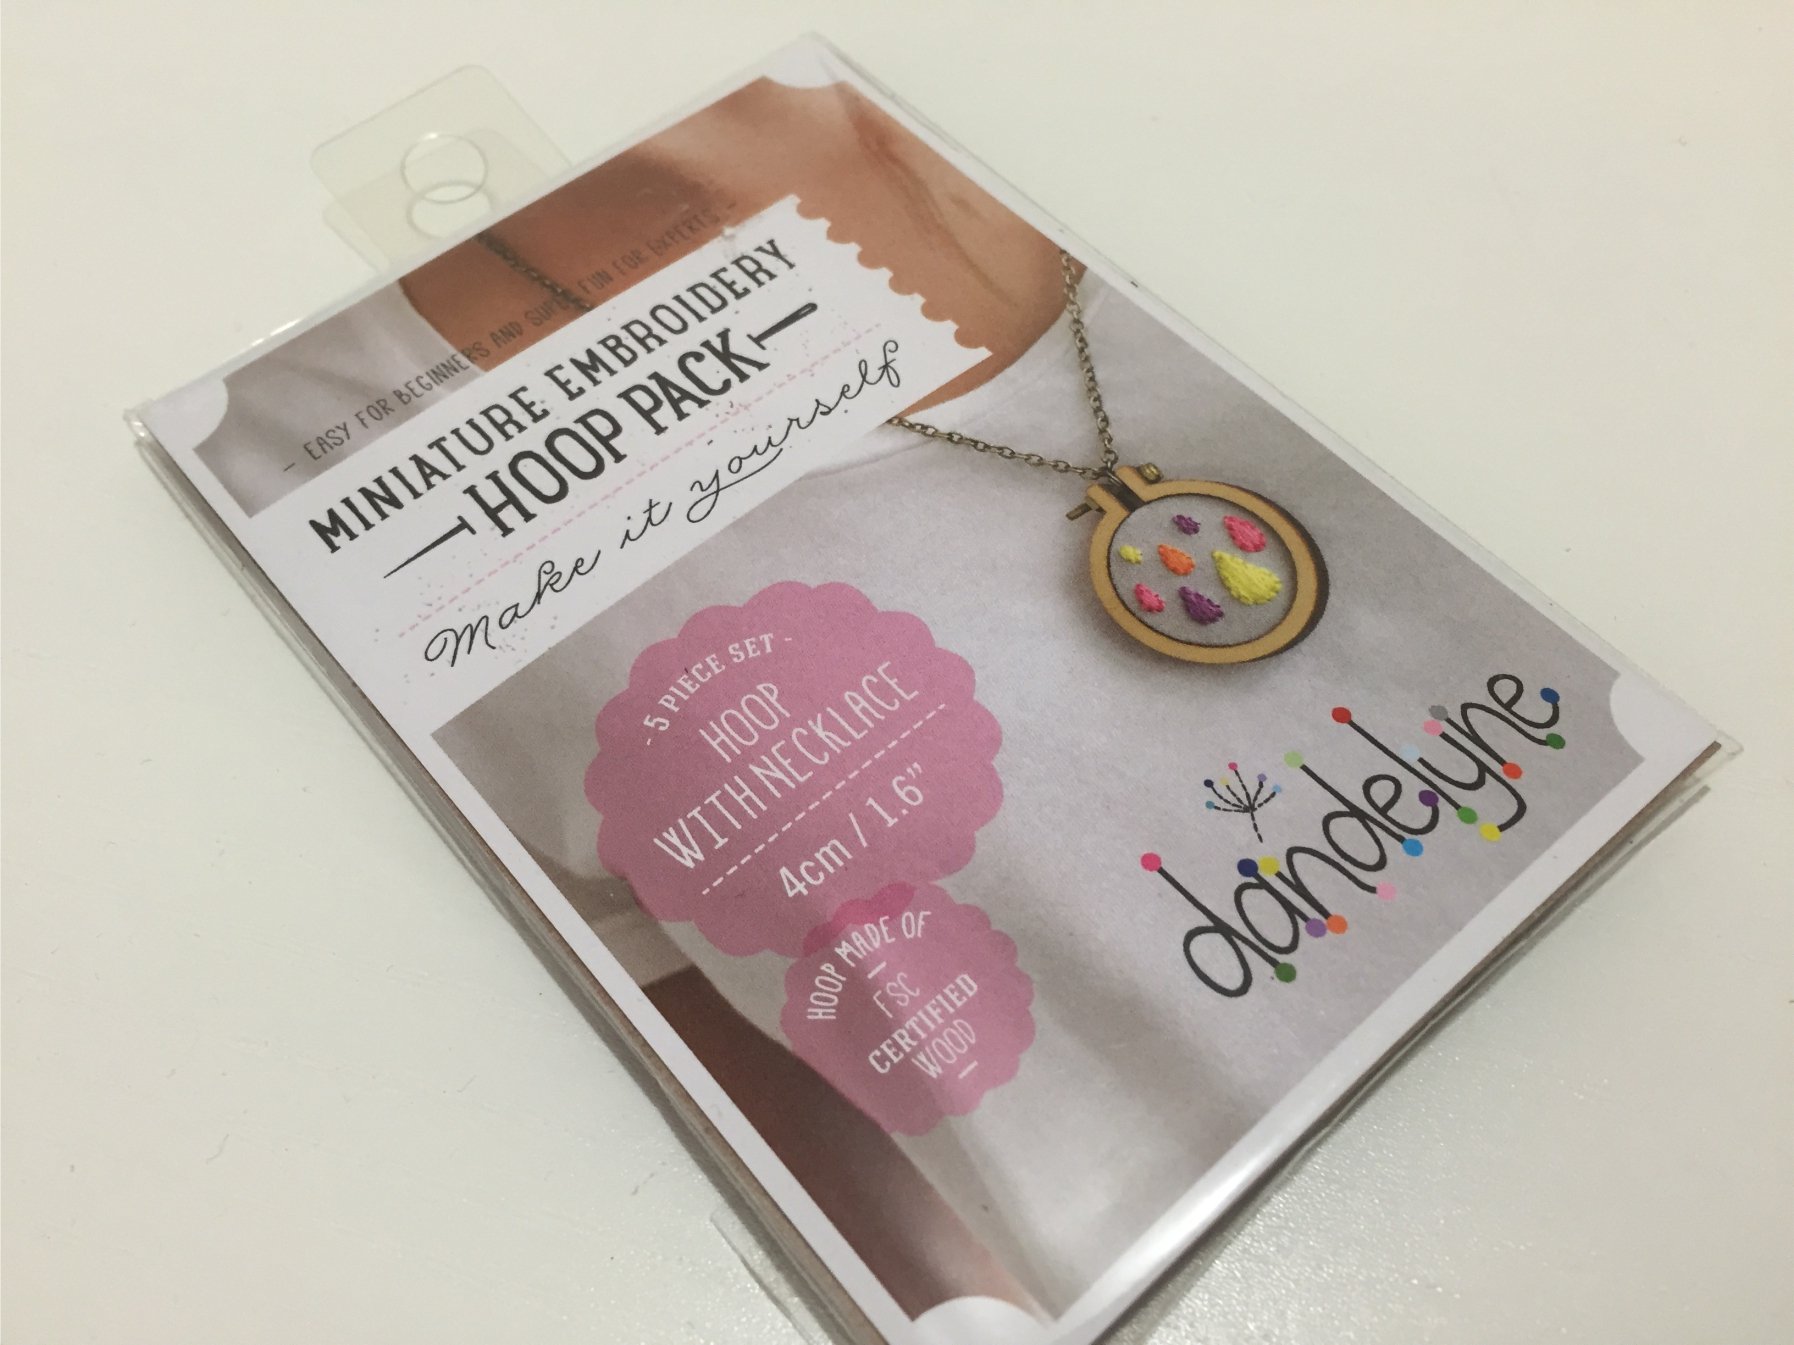
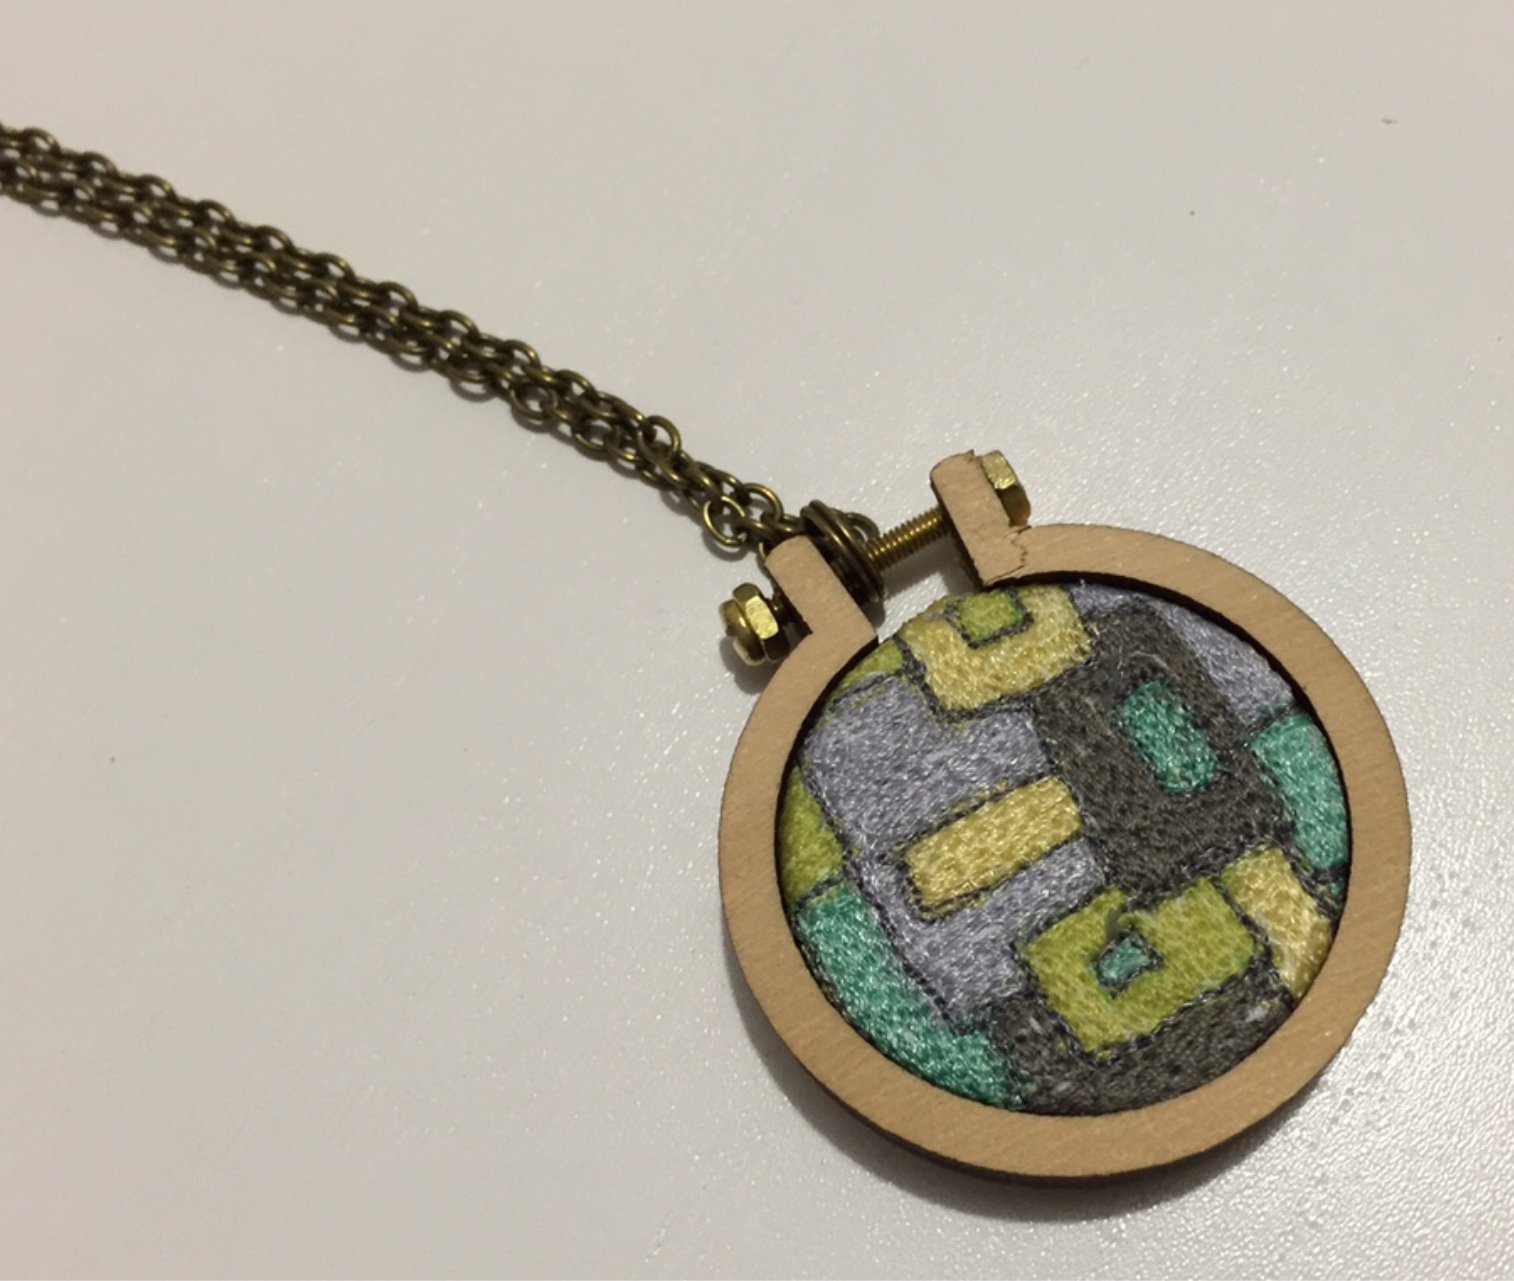
One of those mini embroidery hoops that you can use as a necklace or a brooch. I thought it was the perfect way to end my Sunday afternoon. So first things first, what to fill it with? At first I thought I would just grab a scrape of cool fabric to stick in there but I just couldn’t find anything that looked right. So that really only left one option, free motion stitch something yourself! I have always loved free motion because there are no rules, just do whatever you like and how often can you really say that in life!
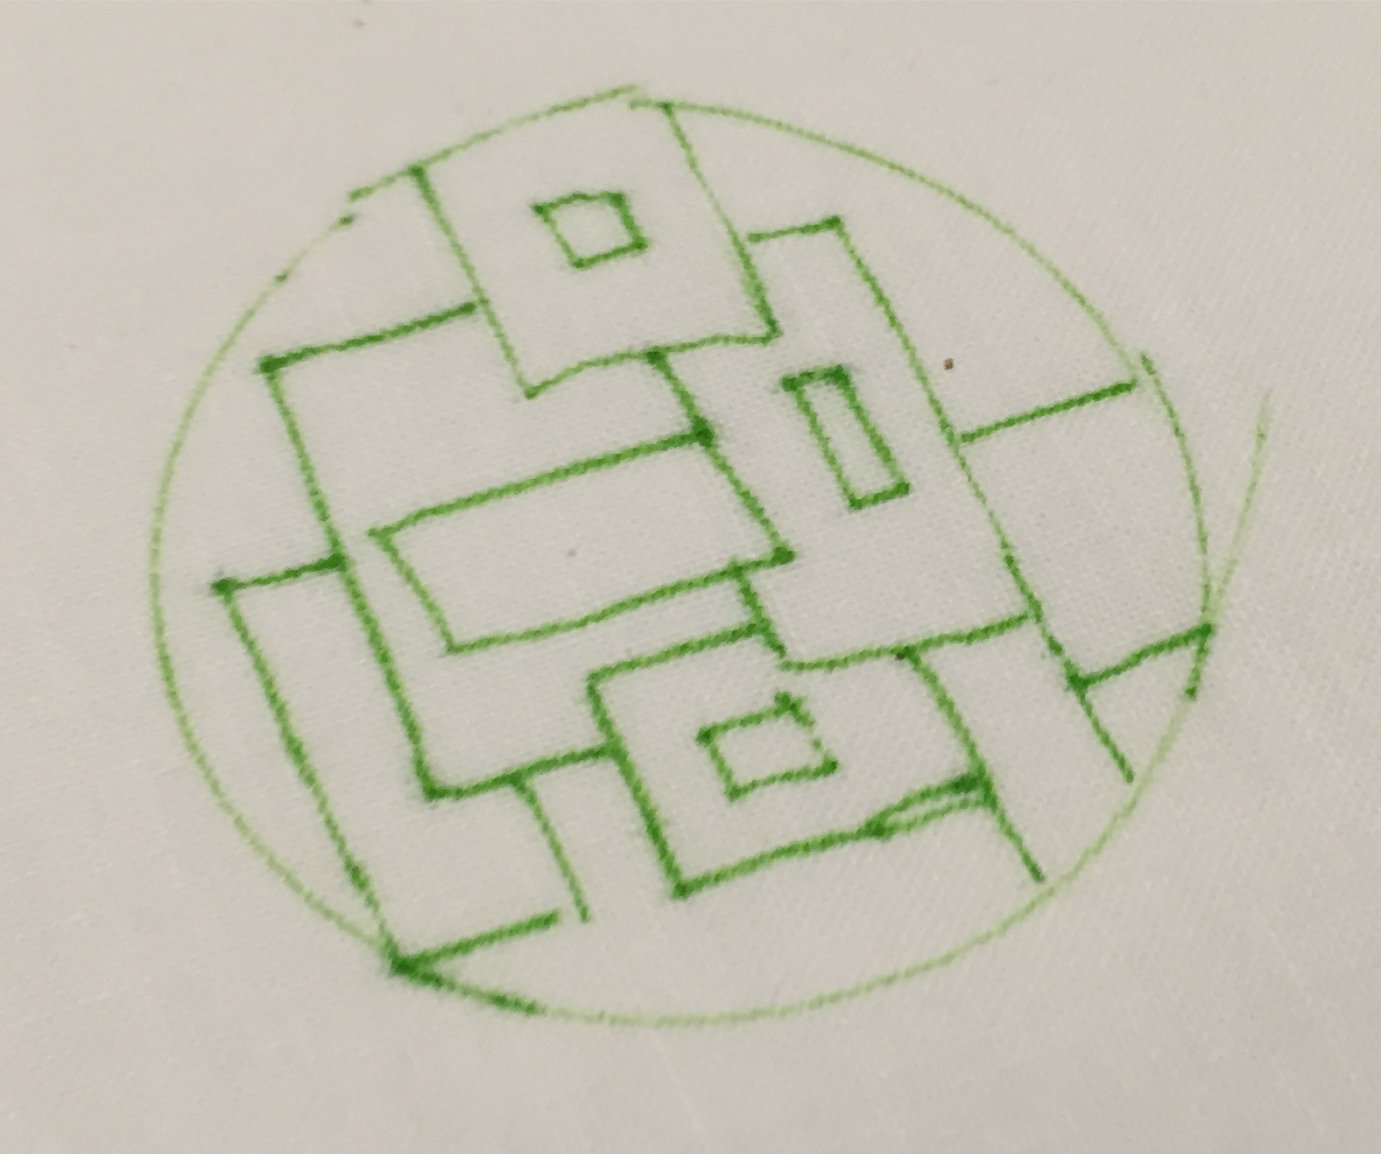
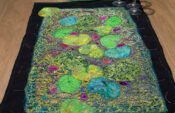
Once I decided to use free motion stitching, I started designing my hoop. I took a cue from some fabric I had just finished using on a dress and went with a solid geometric design. To make it easier I traced around the outside of the hoop and then drew in my design (I am using plain homespun for fabric but I have stabilised it with iron on interfacing for strength).
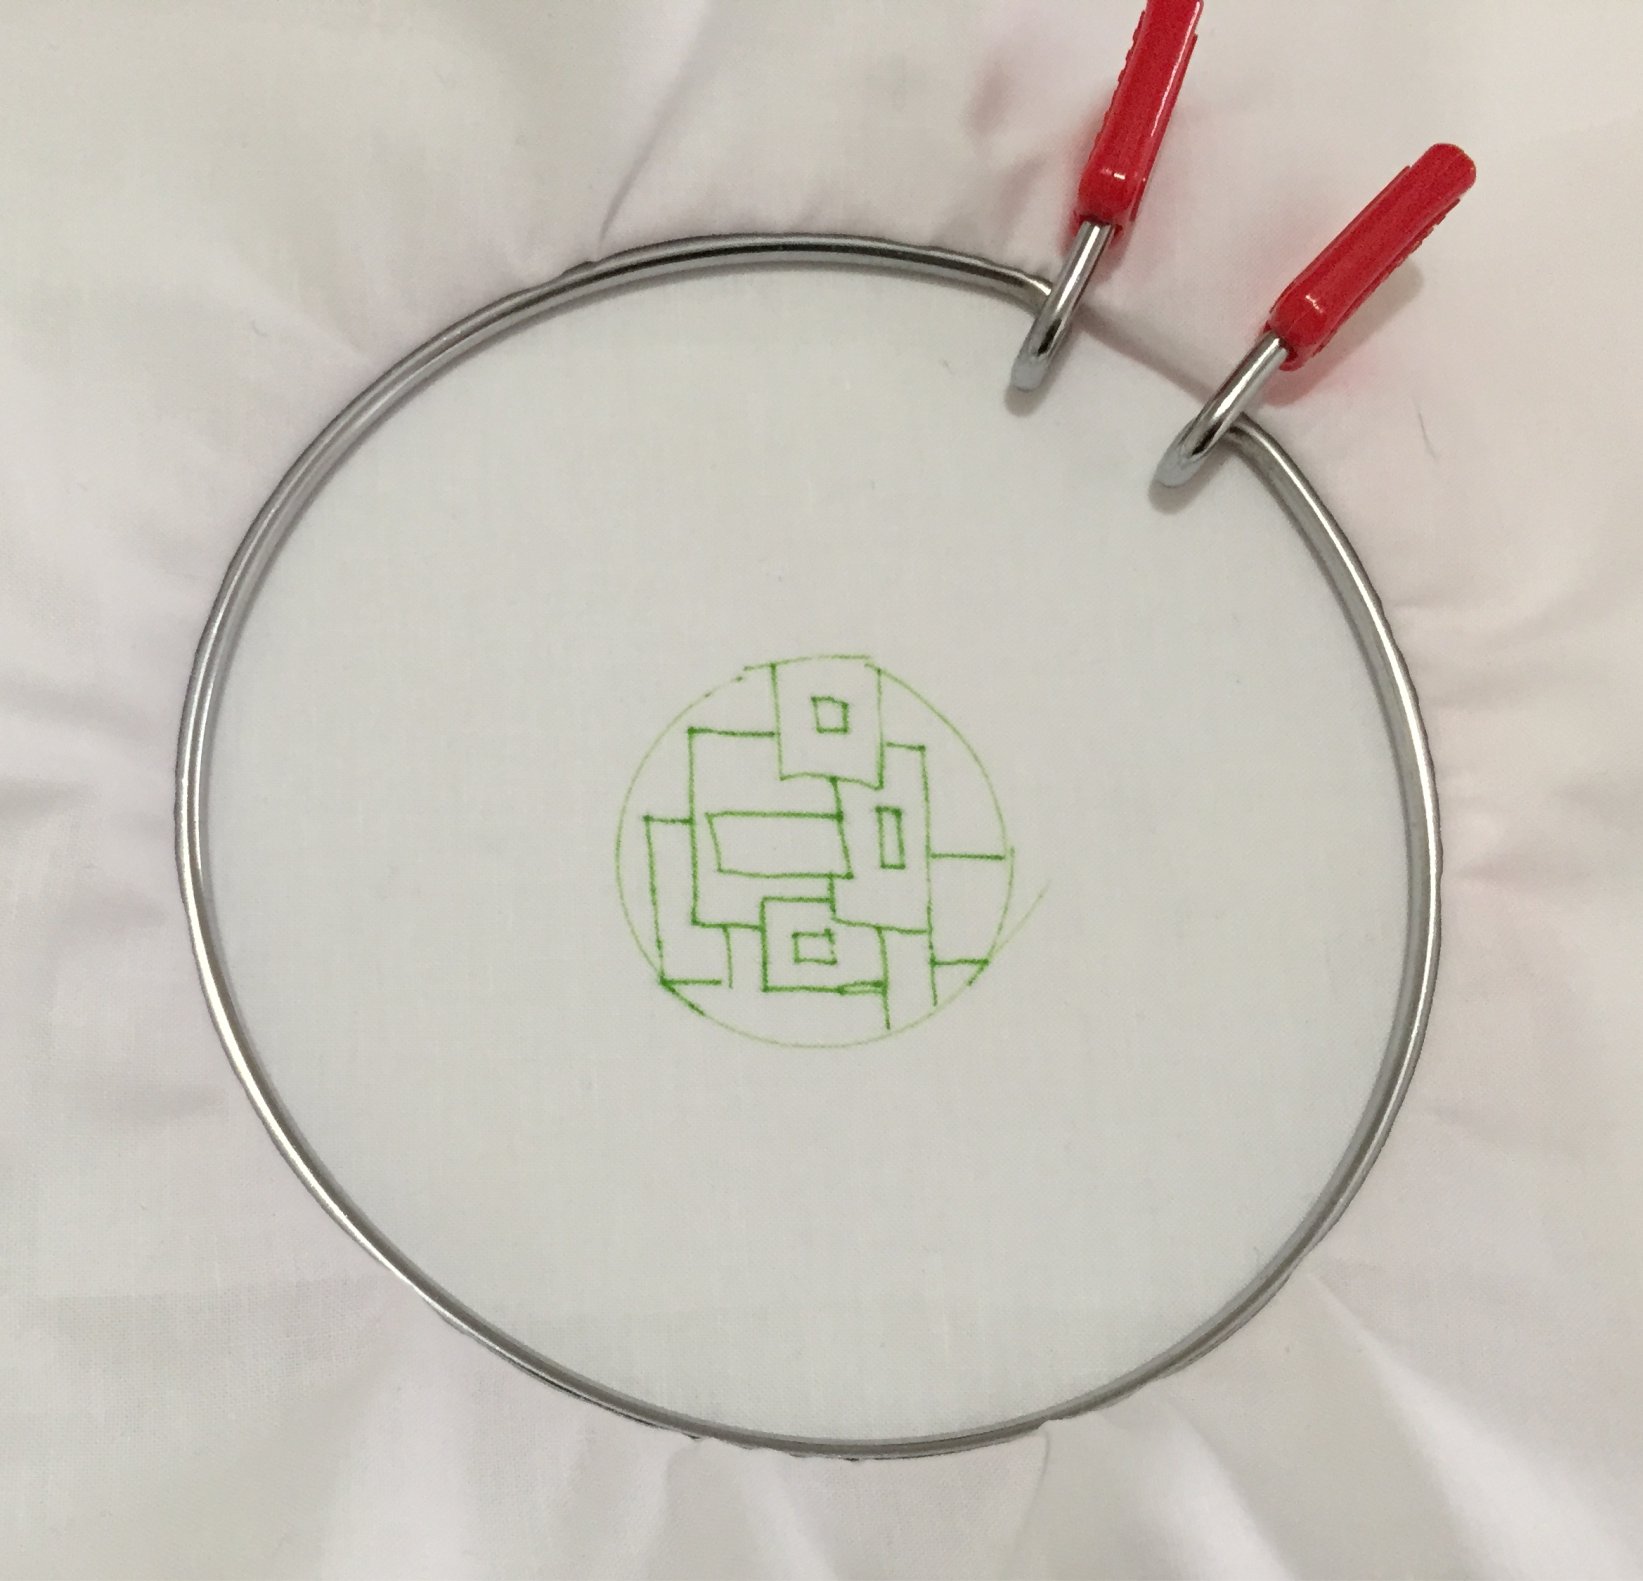
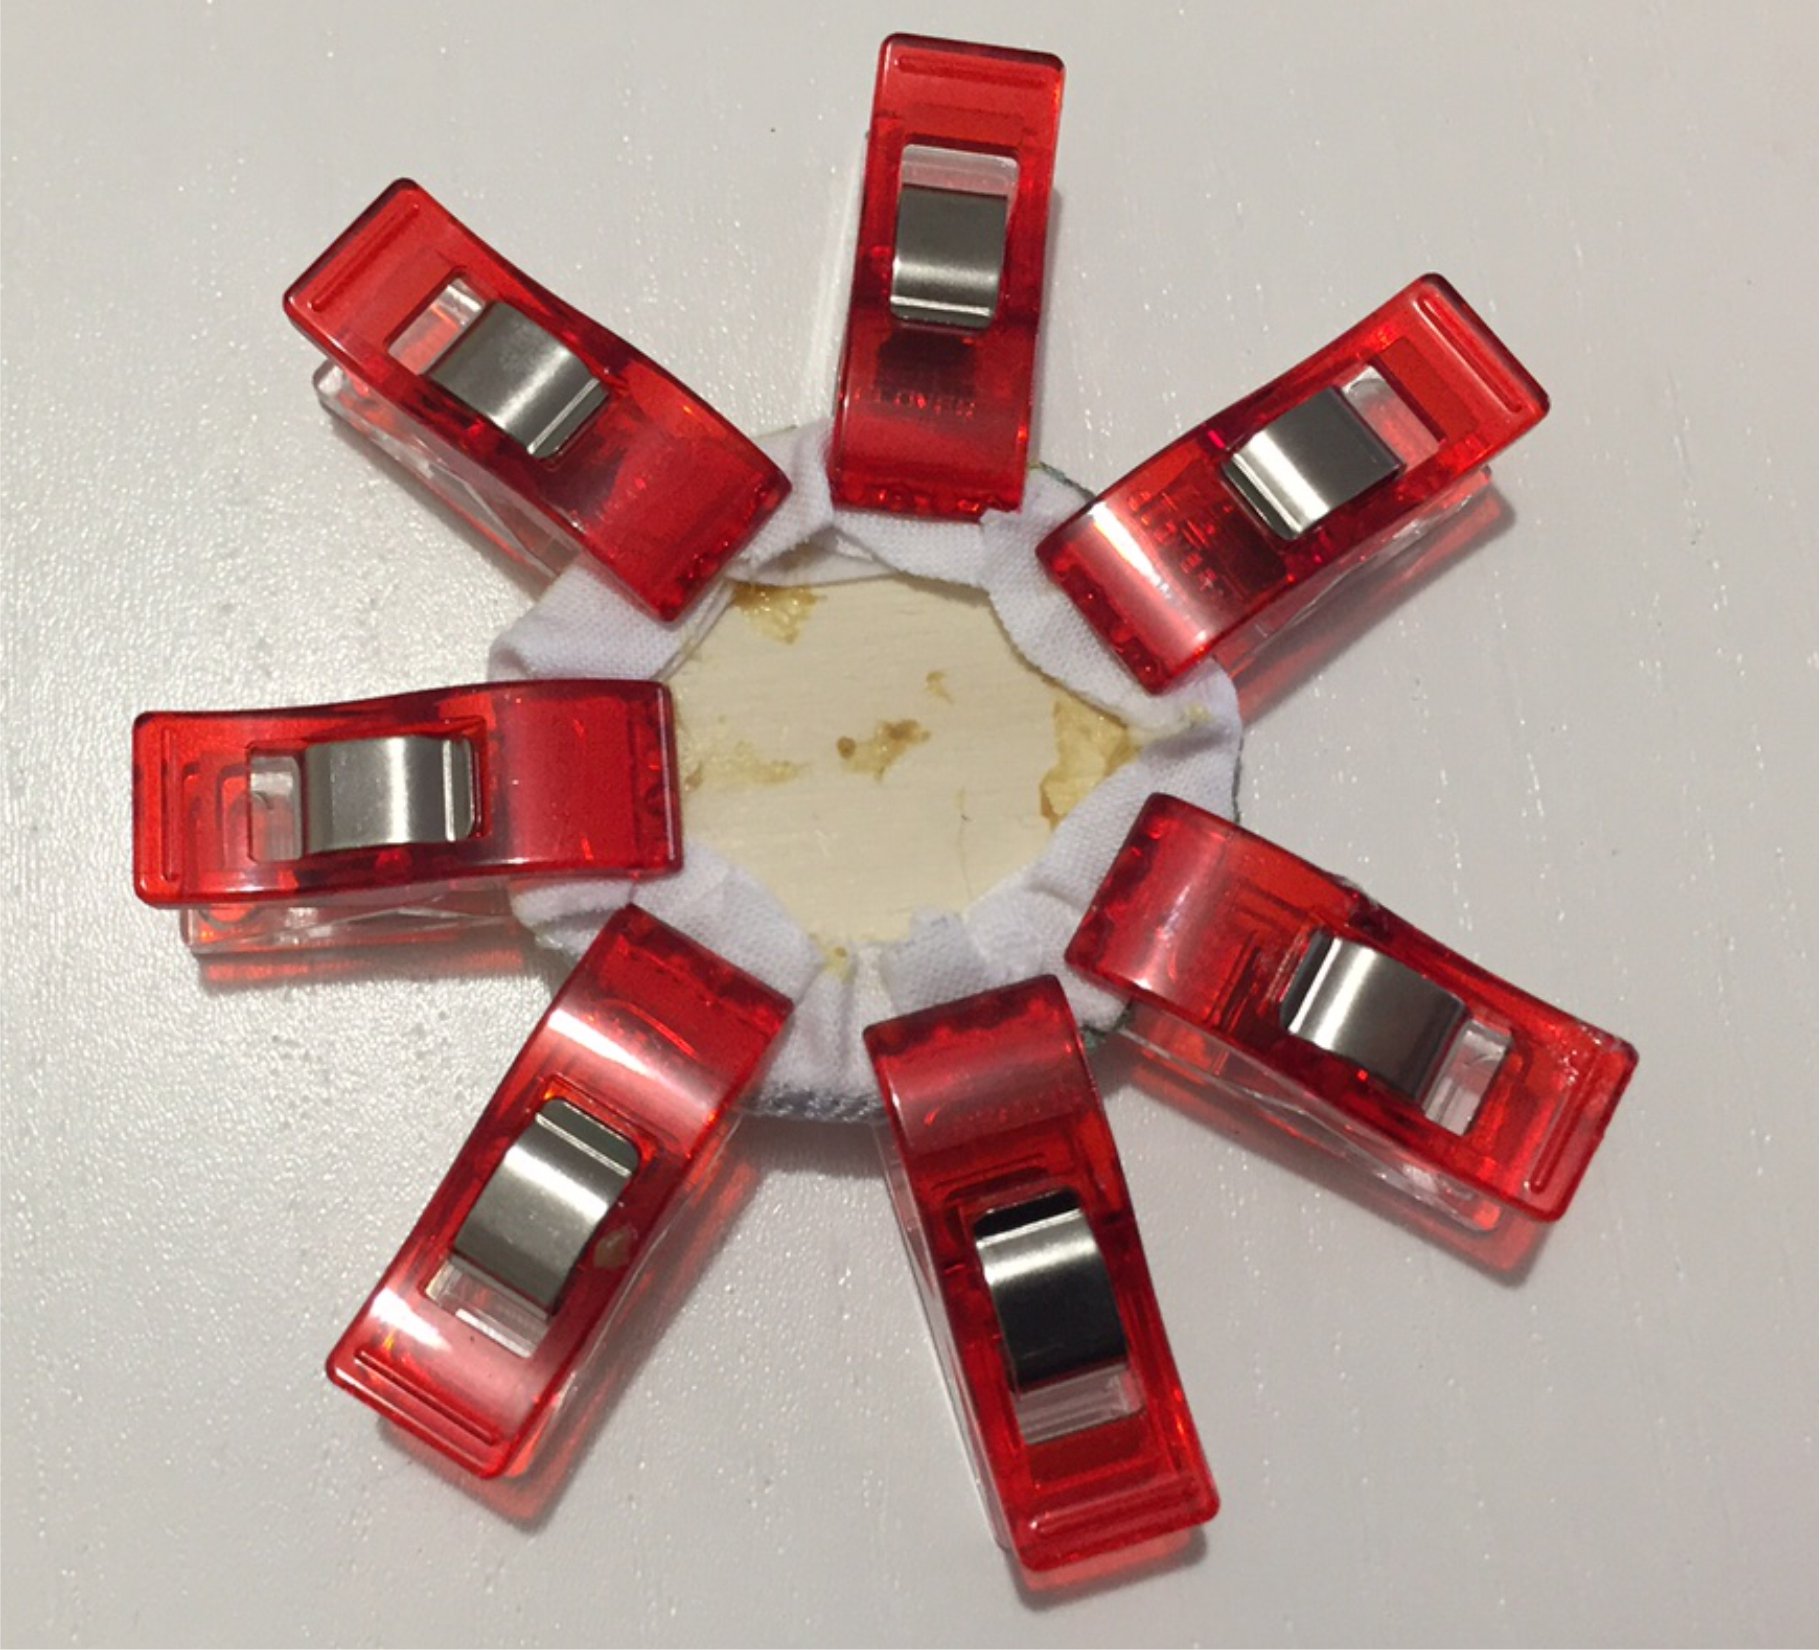
If you are doing solid free motion like I am here, it’s really important that the fabric is well stabilised or you will see it shrink before your eyes as you sew. Hooping it is the best way but just to be safe I have also put some tearaway stabilizer at the back as well. Remember you can’t over stabilise, so it’s better to be safe than sorry.
Then onto the most critical decision: thread choice. Traditionally this type of free motion would be done with embroidery thread, but I have never been one tradition so I choose a mix of embroidery and normal thread. This will give me a nice mix of matte and shiny textures. The machine prep is simple, put on a free motion foot (whatever one you prefer), lower your feed teeth and change the needle to a 90 jeans. Jeans needles are strong and they have a sharp point on them so it’s perfect for this type of work.
The most important thing to remember when you start to free motion like this is to move slowly and as much as you can in the same direction. It’s just like colouring in when you were a kid (or as an adult) moving in the same direction gives you a nicer result.


When you have finished it’s a nice idea to outline your different sections in a darker colour. This just helps them pop a bit more.
Then it’s the simple matter of cutting your free motion piece back and securing it in the hoop. I used wood glue rather than craft as I think it’s stronger. TIP: Don’t over tighten the screw at the top, if you do you can split the hoop (I speak from personal experience here, thank god for glue!).
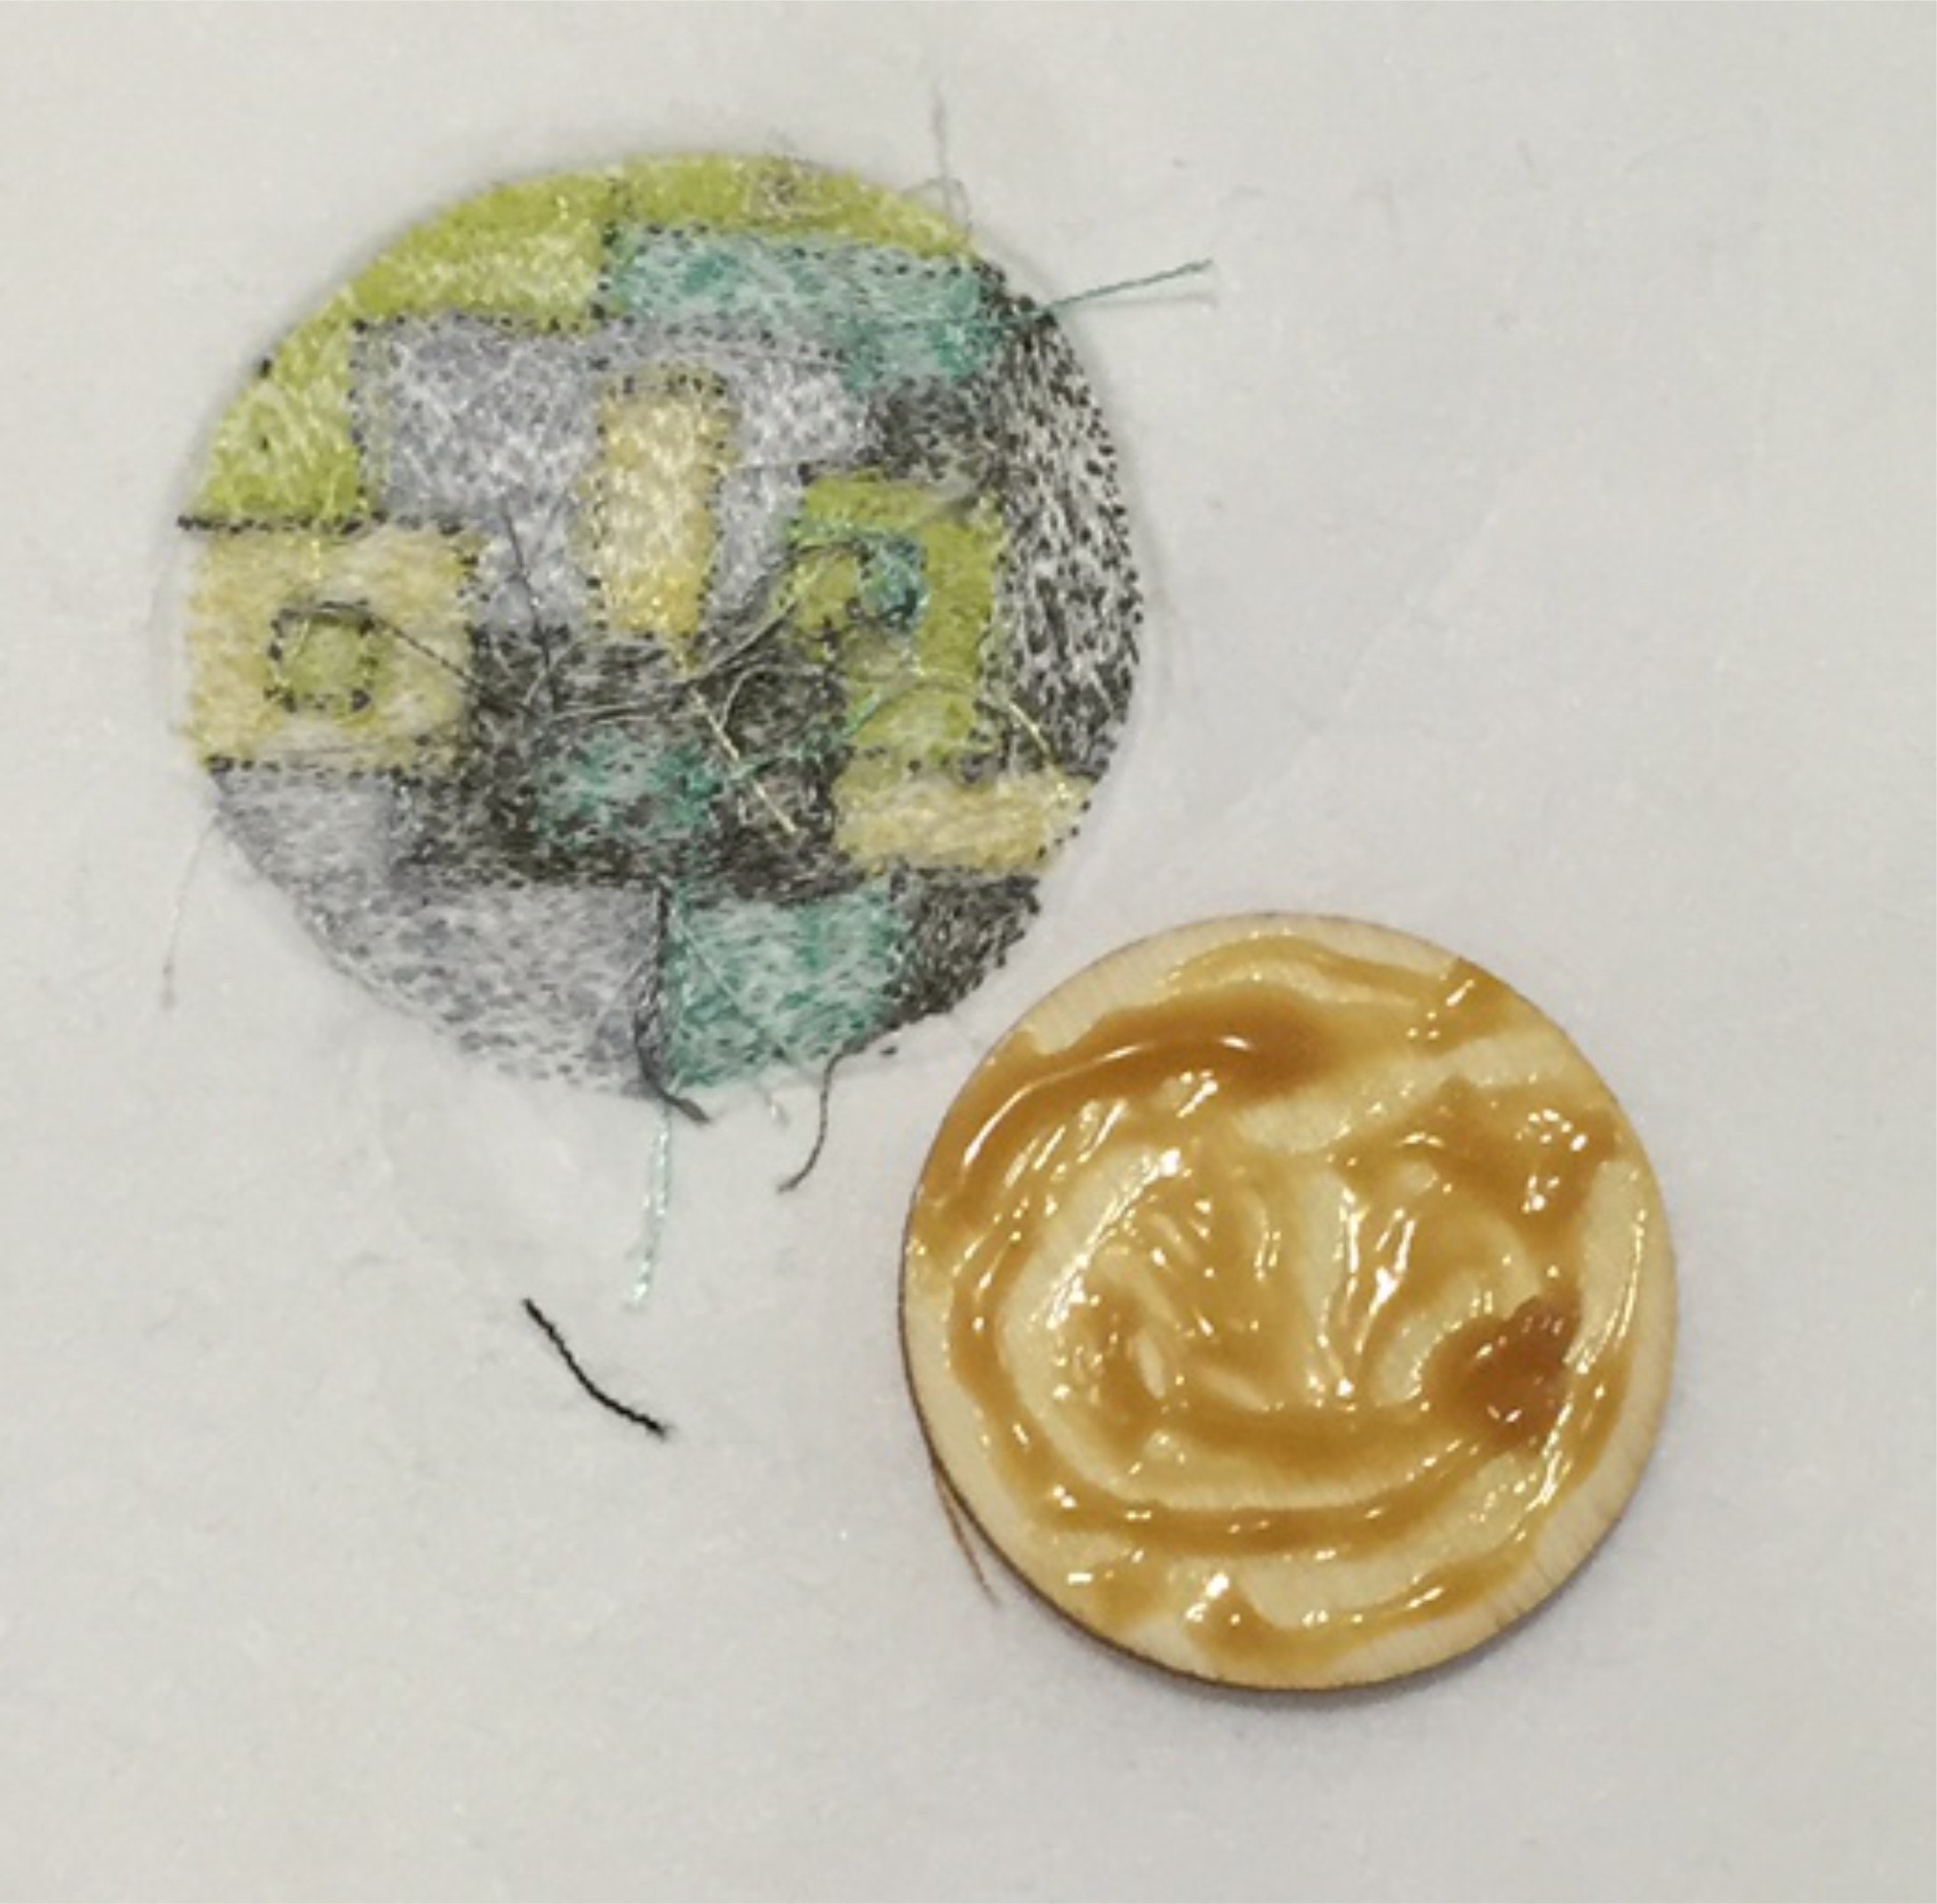
And there you have it, in the space of 1.5 hours (yes that’s really all it took) I have a fantastic piece of jewellery which is uniquely mine and very cool even if I do say so myself!
Has anyone ever used these hoops before? I would love for you to share photos of your work at

Lovely and quite special. It reminds me of the small stiching works of japanese and korean quilters.
Very nice indeed,
cordially,
Jutta