Today we design small 9mm motives which we stitch horizontally, not seen from the front.
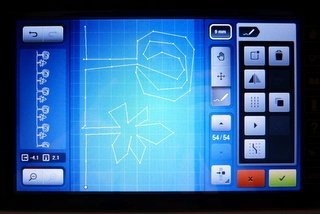
I admit that it takes a little practice to draw 2 motives one after the other in one go, without interruptions with the motives lying down. As usual, I recommend practicing on paper first. Remember that on the left you can see how the motives will look like. You can always make corrections before stitching, by selecting the individual dots and correcting them (see Part 2). Please make sure that your endpoint is so far away from the motive that the individual elements do not overlap. Again, you can see this best on the screen to the left.
I stitched my trimmings with a green variegated thread.
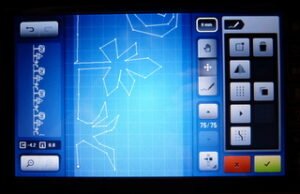
Of course, I got more courageous and added a third motive. Theoretically, you can continue this game. All you have to do is shift the screen upwards by using the button with the hand and add a new motive.
Please practice this until you are very familiar with the use of the individual buttons. Then it will be very easy for you to design your own motives, as shown here:
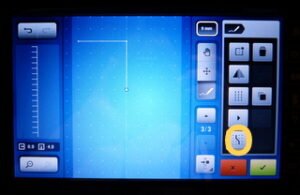
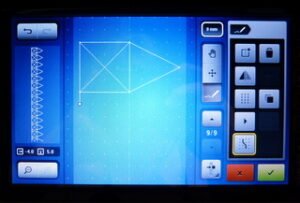
Finally I would like to show you what you can do with the „screen dots“ screen. Click on the „Snap to grid “ button, and another screen with regular dots will show. This tool helps you to design accurate lines and corners, e.g. houses. The free style drawing will be aligned to the nearest screen dot.
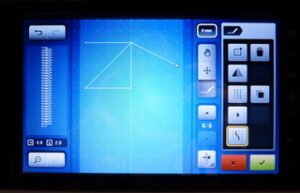
In Germany, we have a popular nursery rhyme with eight syllables. It helps you to draw a house with 8 strokes. We have translated this as follows: This is the house of Santa Claus.
Please practice this on paper until you have managed to draw this without stopping. No line must be duplicated. You can involve the entire family.
Please remember that you must not draw uninterrupted lines, but you must only set the points. The lines will appear automatically.
There you have it: an entire village of Santa Claus houses.
Next time we will alter the available decorative stitches. Please come back!
Have fun!
Pia
 BERNINA Corporate Blog -




0 Responses