I am very rarely home for Christmas. All of my family either live interstate or overseas and I usually visit them over the holiday period. This has meant that there hasn’t been any reason for me to decorate for Christmas as I was never home. This year however I have decided to take a break from airports and long car trips to spend Christmas at my place and have a proper break (not that I don’t love my family, but I think we can all agree that they can be tiring sometimes, especially on mass!). This means of course that I will need to make my apartment distinctly more festive for the duration. There will be the standard baubles and lights, but I really want something more…..well cute to be honest. So here is what I came up with….
Santa’s Little Helpers
Materials
35cm or a Fat Quarter of Linen
15cm of Fabric for the Hat
35cm of Iron on Interfacing
A Scrap of Felt, Wadding or Fur for the Beard
A Felt Ball or Skin Coloured fabric and stuffing for the Nose
Rice
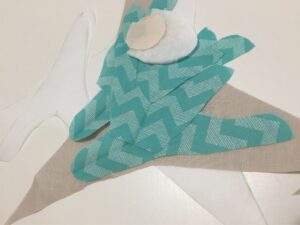
Step One: Print out the pattern and cut out all pieces. Fuse the interfacing onto the wrong side of the fabric.
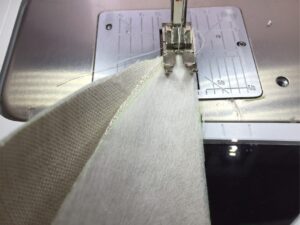
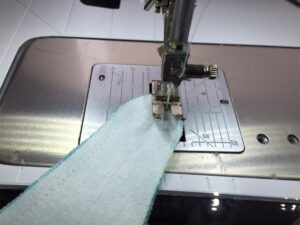
Step Two: Thread your BERNINA with a neutral colour thread and attach the ¼ foot #37, 57 or 97 (the seam allowance for the pattern is ¼ inch so the foot will make it easier for you). Take the body piece and pull the right sides of two points of the triangles together. Start at the top and stitch down one side.
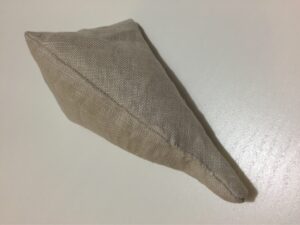
Do this for the other two sides but leave a gap in the last side you sew. Turn the body through and fill with rice (I tried stuffing first but they have a tendency to fall down rather drunkenly at inappropriate moments. Hmmm………. maybe I should have stuck with stuffing, it is Christmas after all 🙂 ).
Hand stitch up the gap
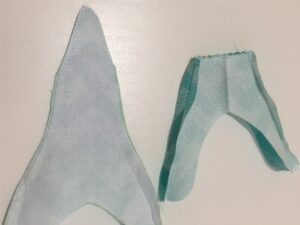
Step Three: Take the two hat pieces and place right sides together. Stitch around the outside only. As the pieces are small this can be a little fiddly, but it’s a great time to use either your knee lever or set your machine pressure foot to hover. It will make turning the corner a lot simpler.
Step Four: Swap to your #1 foot. Select an overlocking stitch. Run the stitch along the two straight edges of the hat facing. Go back to your ¼ inch foot. Stitch the outside seams of the hat facing.
Step Five. Take the hat piece and clip the bulk of the seam allowance away from the tip. Press the sides seams open on the hat facing.
Step Six: Turn the hat through and push out the point. Slide the hat facing over the hat and line up the side seams. Stitch all the way around the bottom. Again, this can be a little fiddly so use your knee lever or hover position.
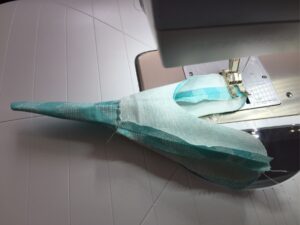
Turn the facing through and give it a good press.
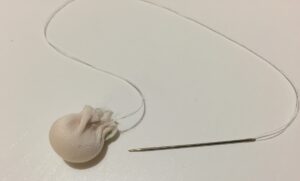
Step Seven: If you are using fabric to create the nose, run a row of hand tacking stitch around the outside. Put some stuffing in the middle and pull the stitch tight. Do a few securing stitches to hold it in place.
Step Eight. Place the hat on the body. Decide where you want the beard and the nose to sit. Hand stitch into place.
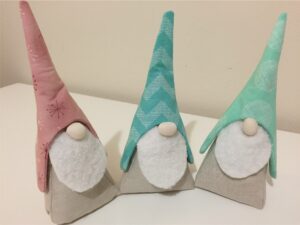
And there you have it! Three more rather adorable guests for Christmas lunch!
Download the pattern here:Pattern
I’d love to see your holiday sewing. Please share your creations at:
 BERNINA Corporate Blog -
Thanks Shaunna, love to see some pics!
These are adorable! I can’t wait to make some for our house.