It been pouring here in Chennai and the city is flooded resulting in your house arrest. What better than to cheer yourself up with a sunny li’l project !
Level : Beginner
Project : Simple pin cushion
To start, dig up some scraps in white and yellow.
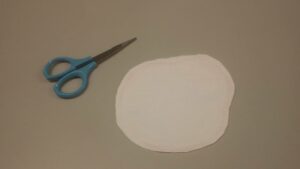
Take 2 white pieces roughly 4″x4″ and draw a not too perfect circle on the wrong side. Keeping both pieces right sides together, sew on the drawn shape. Trim along the sewn line leaving a quarter inch seam allowance. Clip into the seam allowance at 1″ gaps taking care not to snip the stitches.
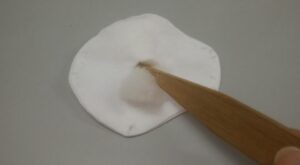
Now tug at the centre to slightly separate the 2 layers and carefully make a half inch snip across the middle of just one layer. Through this slit, turn the entire thingy right side out and press. Take pieces of scrap batting and insert through the slit, taking care to not make the ‘white of the egg’ too puffy.
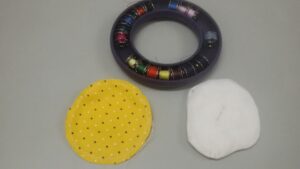
Take a piece of yellow fabric and cut out a circle roughly the size of our ‘egg white’. A perfect circle this time. I used the inside of my bobbin ring as a template. Hand baste or machine baste around the yellow circle about 1/8″ from the edge. If machine basting, remember to increase your stitch length to the max. In either case, remember to leave long tails of thread both at the beginning and the end.
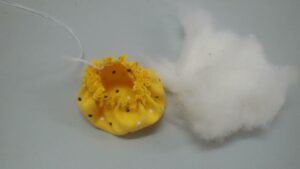
Holding on to one tail, gently pull on the other tail and ease your fabric together till you are left with an opening about half inch wide. Carefully tie the tails together so the opening stays put. Stuff this ‘ball’ with batting scraps taking care not too overstuff it making it too tight for the pins to enter. Remember its a pin cushion, not a paper weight !
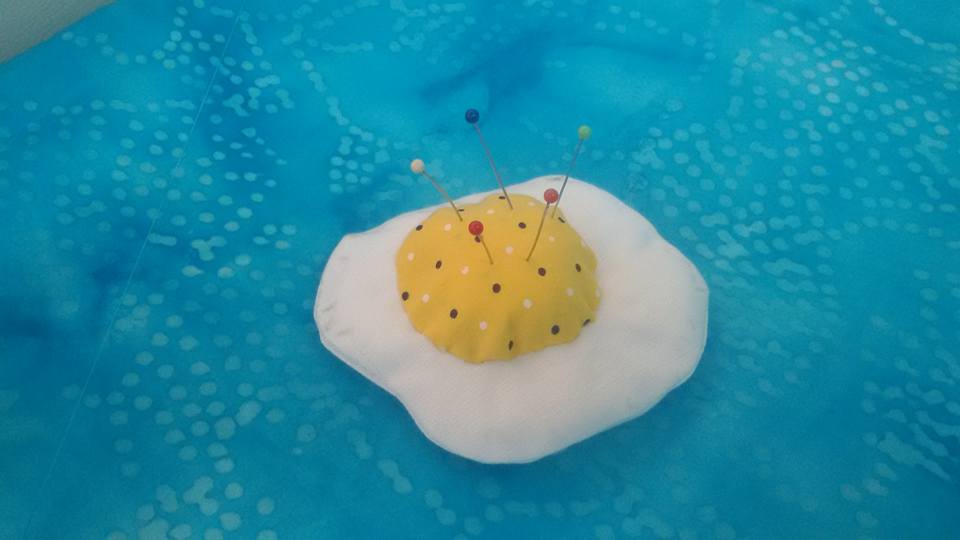
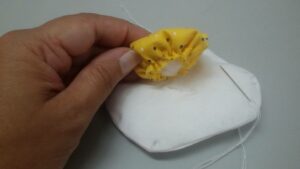
Gently pat to flatten a bit, place the open part of the yellow ball on top of the slit on the white base and sew with invisible stitches all around , catching the yellow yolk and the white albumen of our egg.
Our cute li’l pin cushion is ready ! Sunny side up !
 BERNINA Corporate Blog -




Thank you for the free ideas…much appreciated