 BERNINA Corporate Blog -
Dear community,
in this blog post you can find easy instructions for making an embroidered Christmas stocking (with free embroidery template) – perfect for Christmas!

My children have been asking me excitedly for weeks when they can open the first window on the Advent calendar. Today is finally the day and even for us adults, the magical Advent period begins, when we can hopefully manage to find a little bit of time and some peace and quiet for creative projects despite all the hustle and bustle.
I am especially pleased to be able to start our blog Advent calendar this year – which has all been created with a theme of “Beautiful wrappings”. I am at least as excited as you are about the 23 projects to follow over the coming days! And I can assure you that lots of great ideas await you! I have already had a peek at one or two photos…!
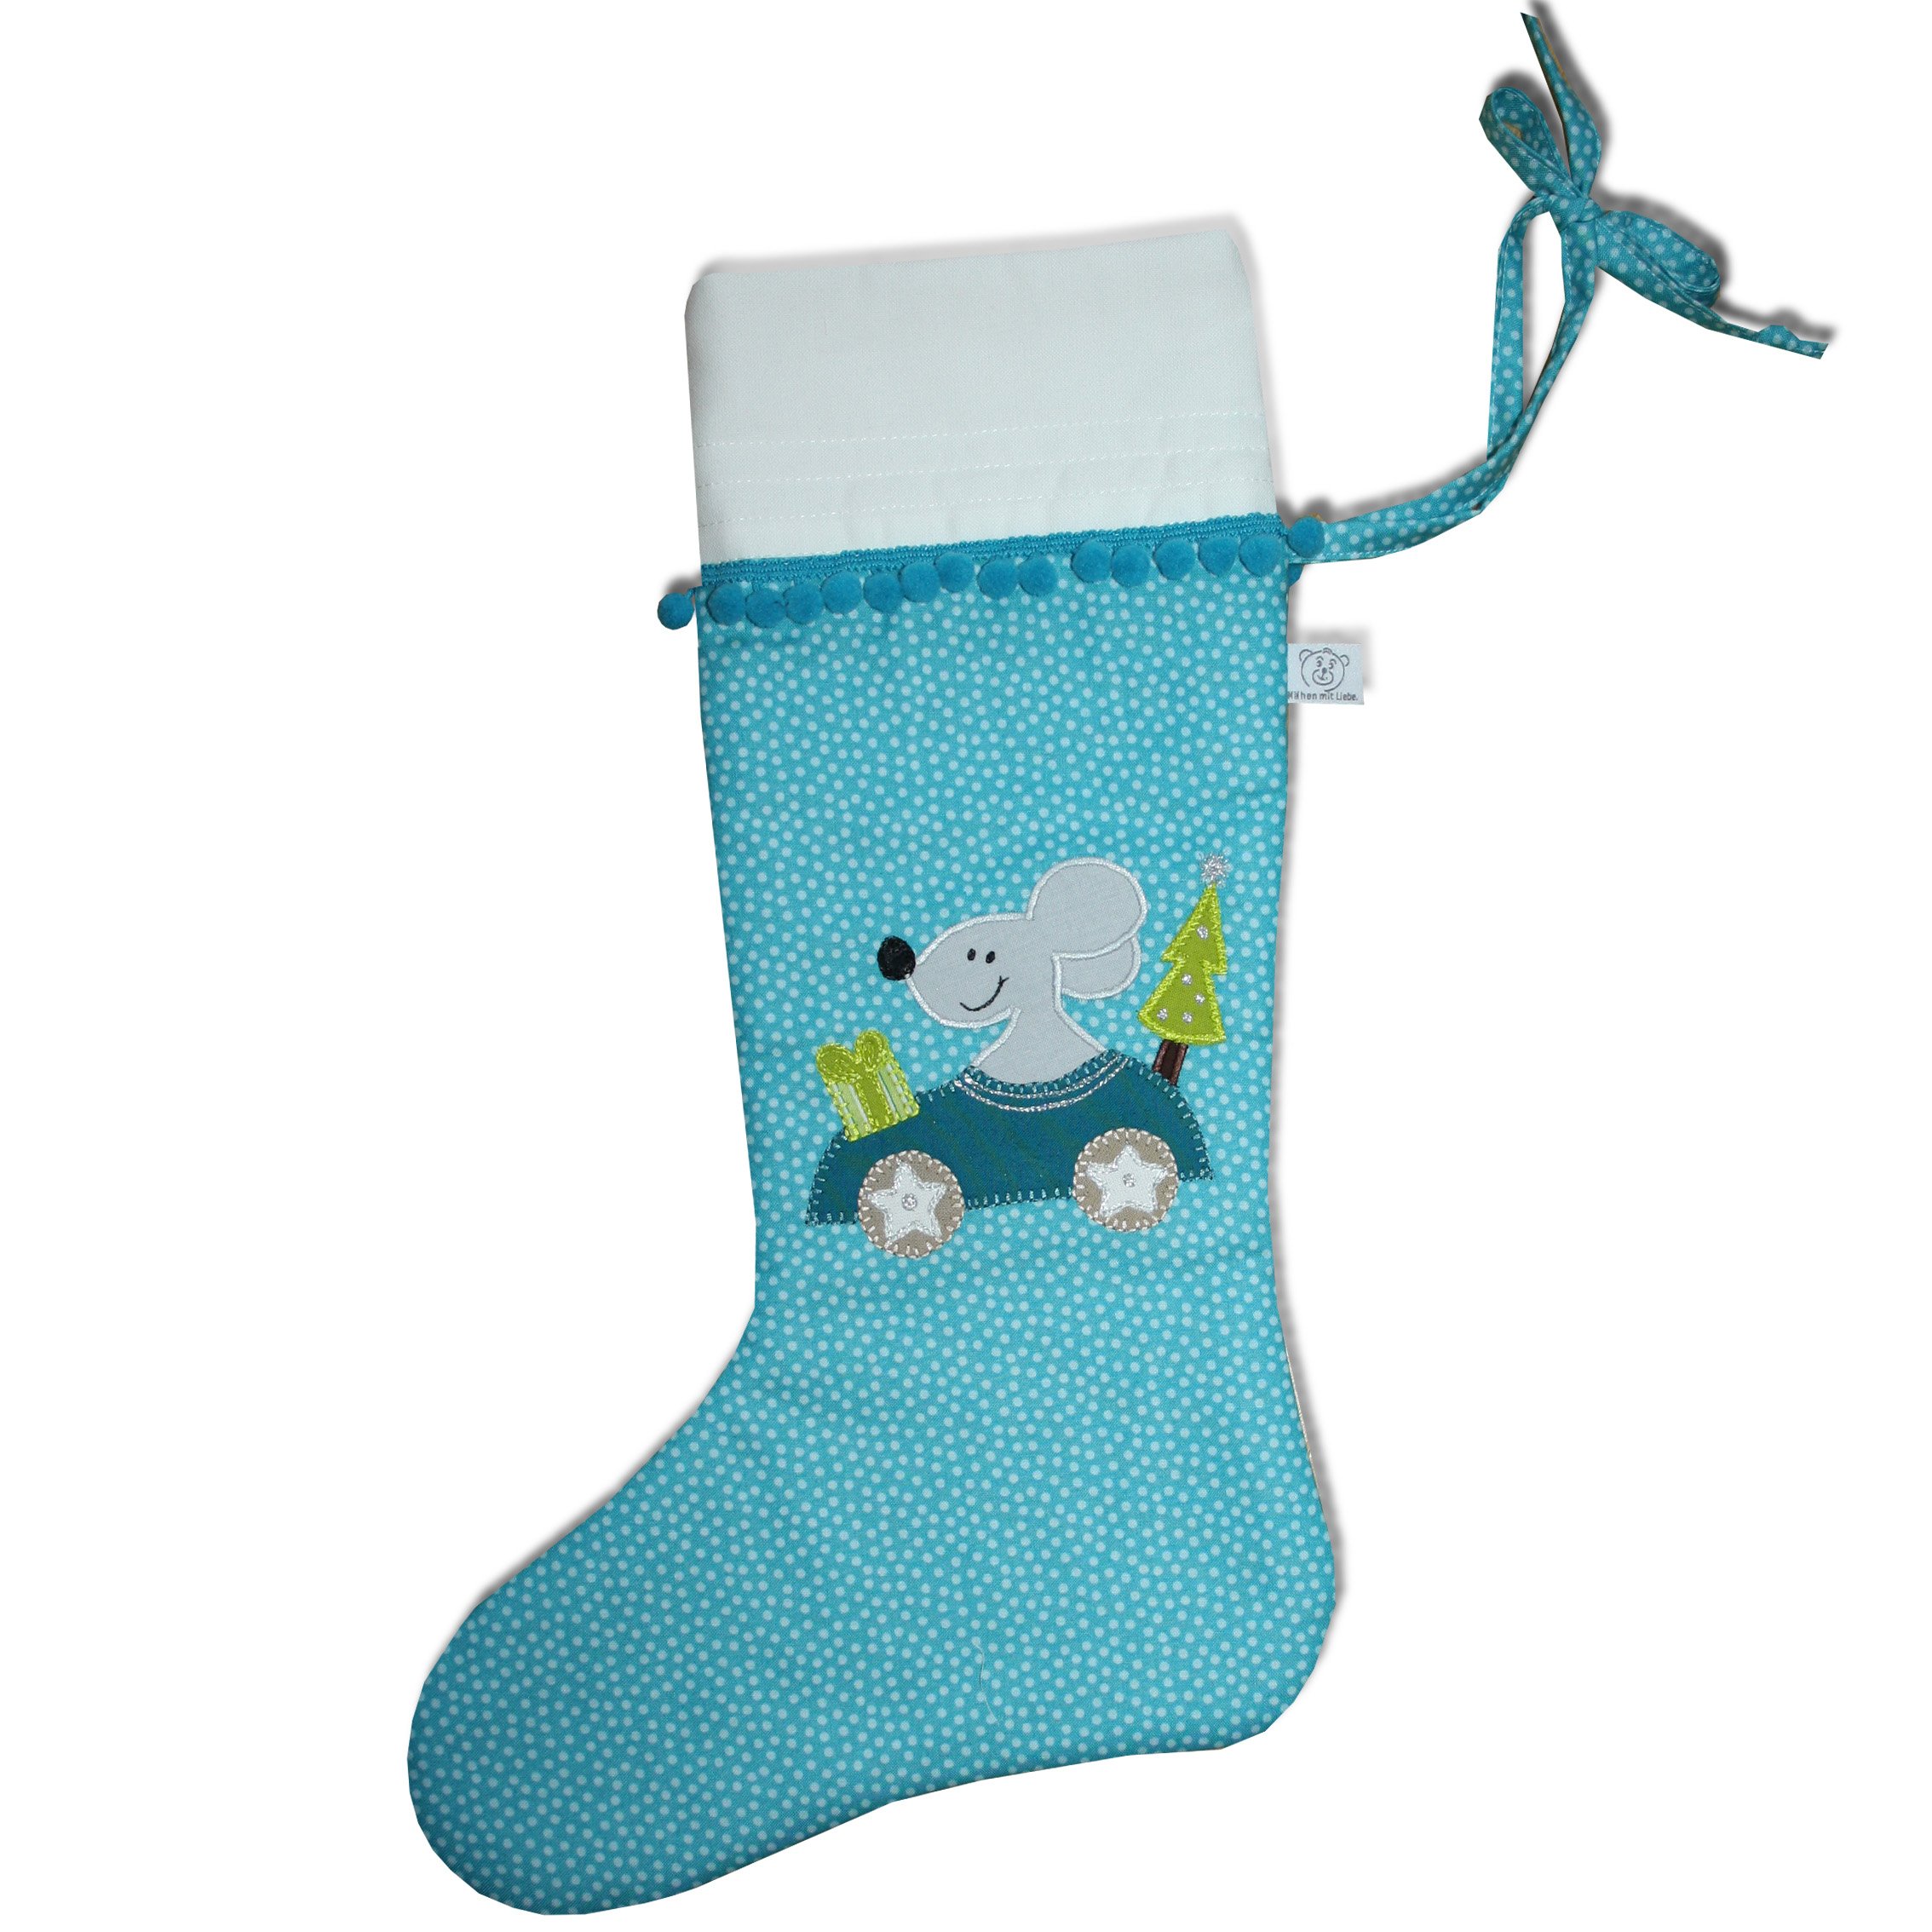
I can happily look back on an extremely exciting and creative year. It is not only in the BERNINA Challenge that penguins have rocked my sewing room. So what could be better than featuring this subject one last time this year and appliquéing the happy little guys onto a Christmas stocking? I very much hope that you like this pattern as much as I and my team of little experts do. So quick, get to your sewing machine so the stockings are ready to hang up in time for Christmas! The stocking is approximately 40 cm long, so it offers plenty of room for lots of lovely treats!
- Here’s how to make it! | Materials required for one stocking
- 45 cm turquoise cotton fabric with stars | Fabric 1
- 10 x 70 cm natural white cotton fabric | Fabric 2
- 50 x 50 cm batting 249
- 35 cm white pompom edging
You will also need the following for the appliqué designs:
- 15 x 13 cm black
- 15 x 10 cm white
- 8 x 5 cm red
- 7 x 7 cm orange
- 7 x cm light green
- 20 x 15 cm backing fleece
- 25 x 15 cm fusible web
- Twisted embroidery thread, black
- Cutting out
Assemble the two pattern pieces (see worksheet numbers) for the stocking from the worksheet before cutting out. The pattern templates do not include a seam allowance! You will have to add this on yourself. The appliqué pattern is available to download here:
Pepino penguin Christmas stocking
Cut out the fabric as follows:
- Fabric 1: 4 stocking pieces, opposite ways round, 2 tie ribbons 40 x 4 cm each
- Fabric 2: 4 cuff pieces
- Sewing
Transfer the appliqué patterns from the worksheet onto the smooth side of the fusible web, then cut out approximately and iron onto the back of the relevant fabrics with the rough side down. Then cut them out carefully. Remove the backing paper from all the pieces and arrange them on the stocking piece. Now appliqué all the pieces with matching embroidery thread using a method of your choice. Don’t forget to put backing fleece underneath! Here are some examples of possible methods you could use:
- close zigzag stitch, using Appliqué foot #23
- a decorative stitch (e.g. blanket stitch), using Appliqué foot #23
- Appliqué with lines of freehand embroidery using the BSR (BERNINA Stitch Regulator)
Remove the backing fleece once you have finished the appliqué work. Embroider on the details (faces, baubles, dots on the toadstools) freehand on the machine (e.g. with the BERNINA Stitch Regulator) or by hand using twisted embroidery thread. Make sure you use a good thread! Machine embroidery thread is ideal for the upper thread and special embroidery bobbin thread for the lower thread.
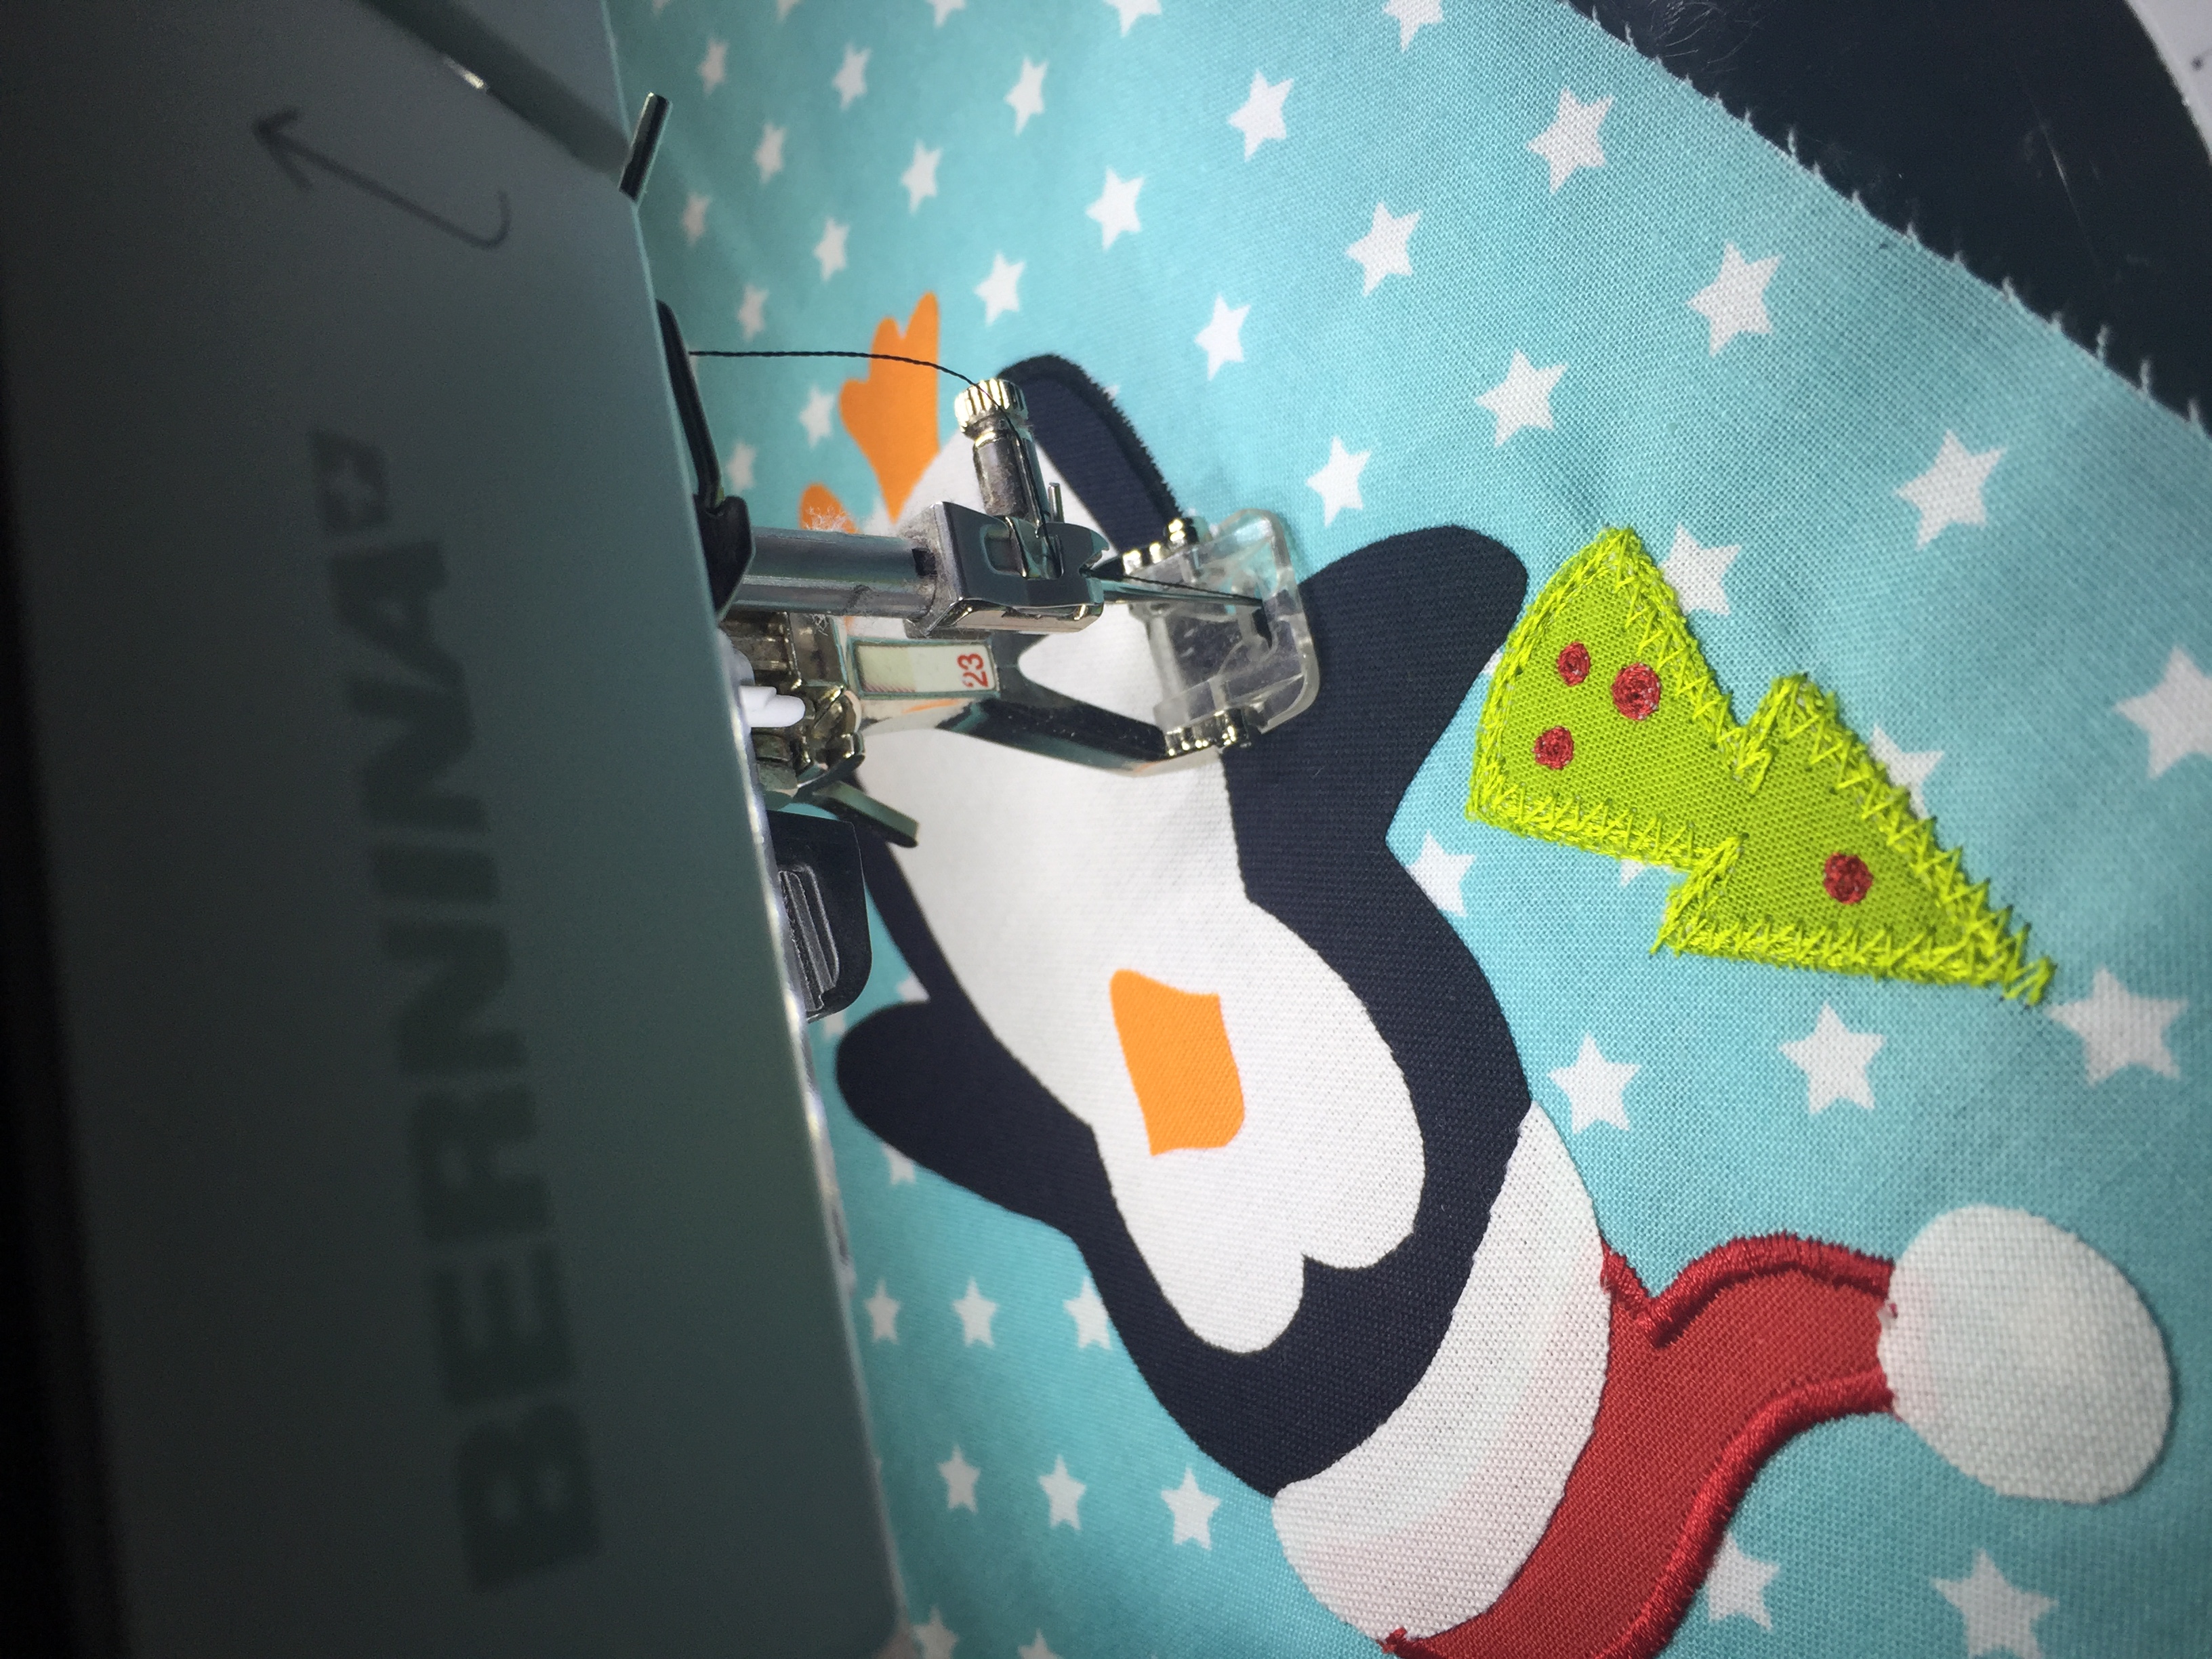
Appliquéing using zigzag stitch and Appliqué foot #23

Embroidering on the eyes freehand with the BSR (BERNINA Stitch Regulator) .
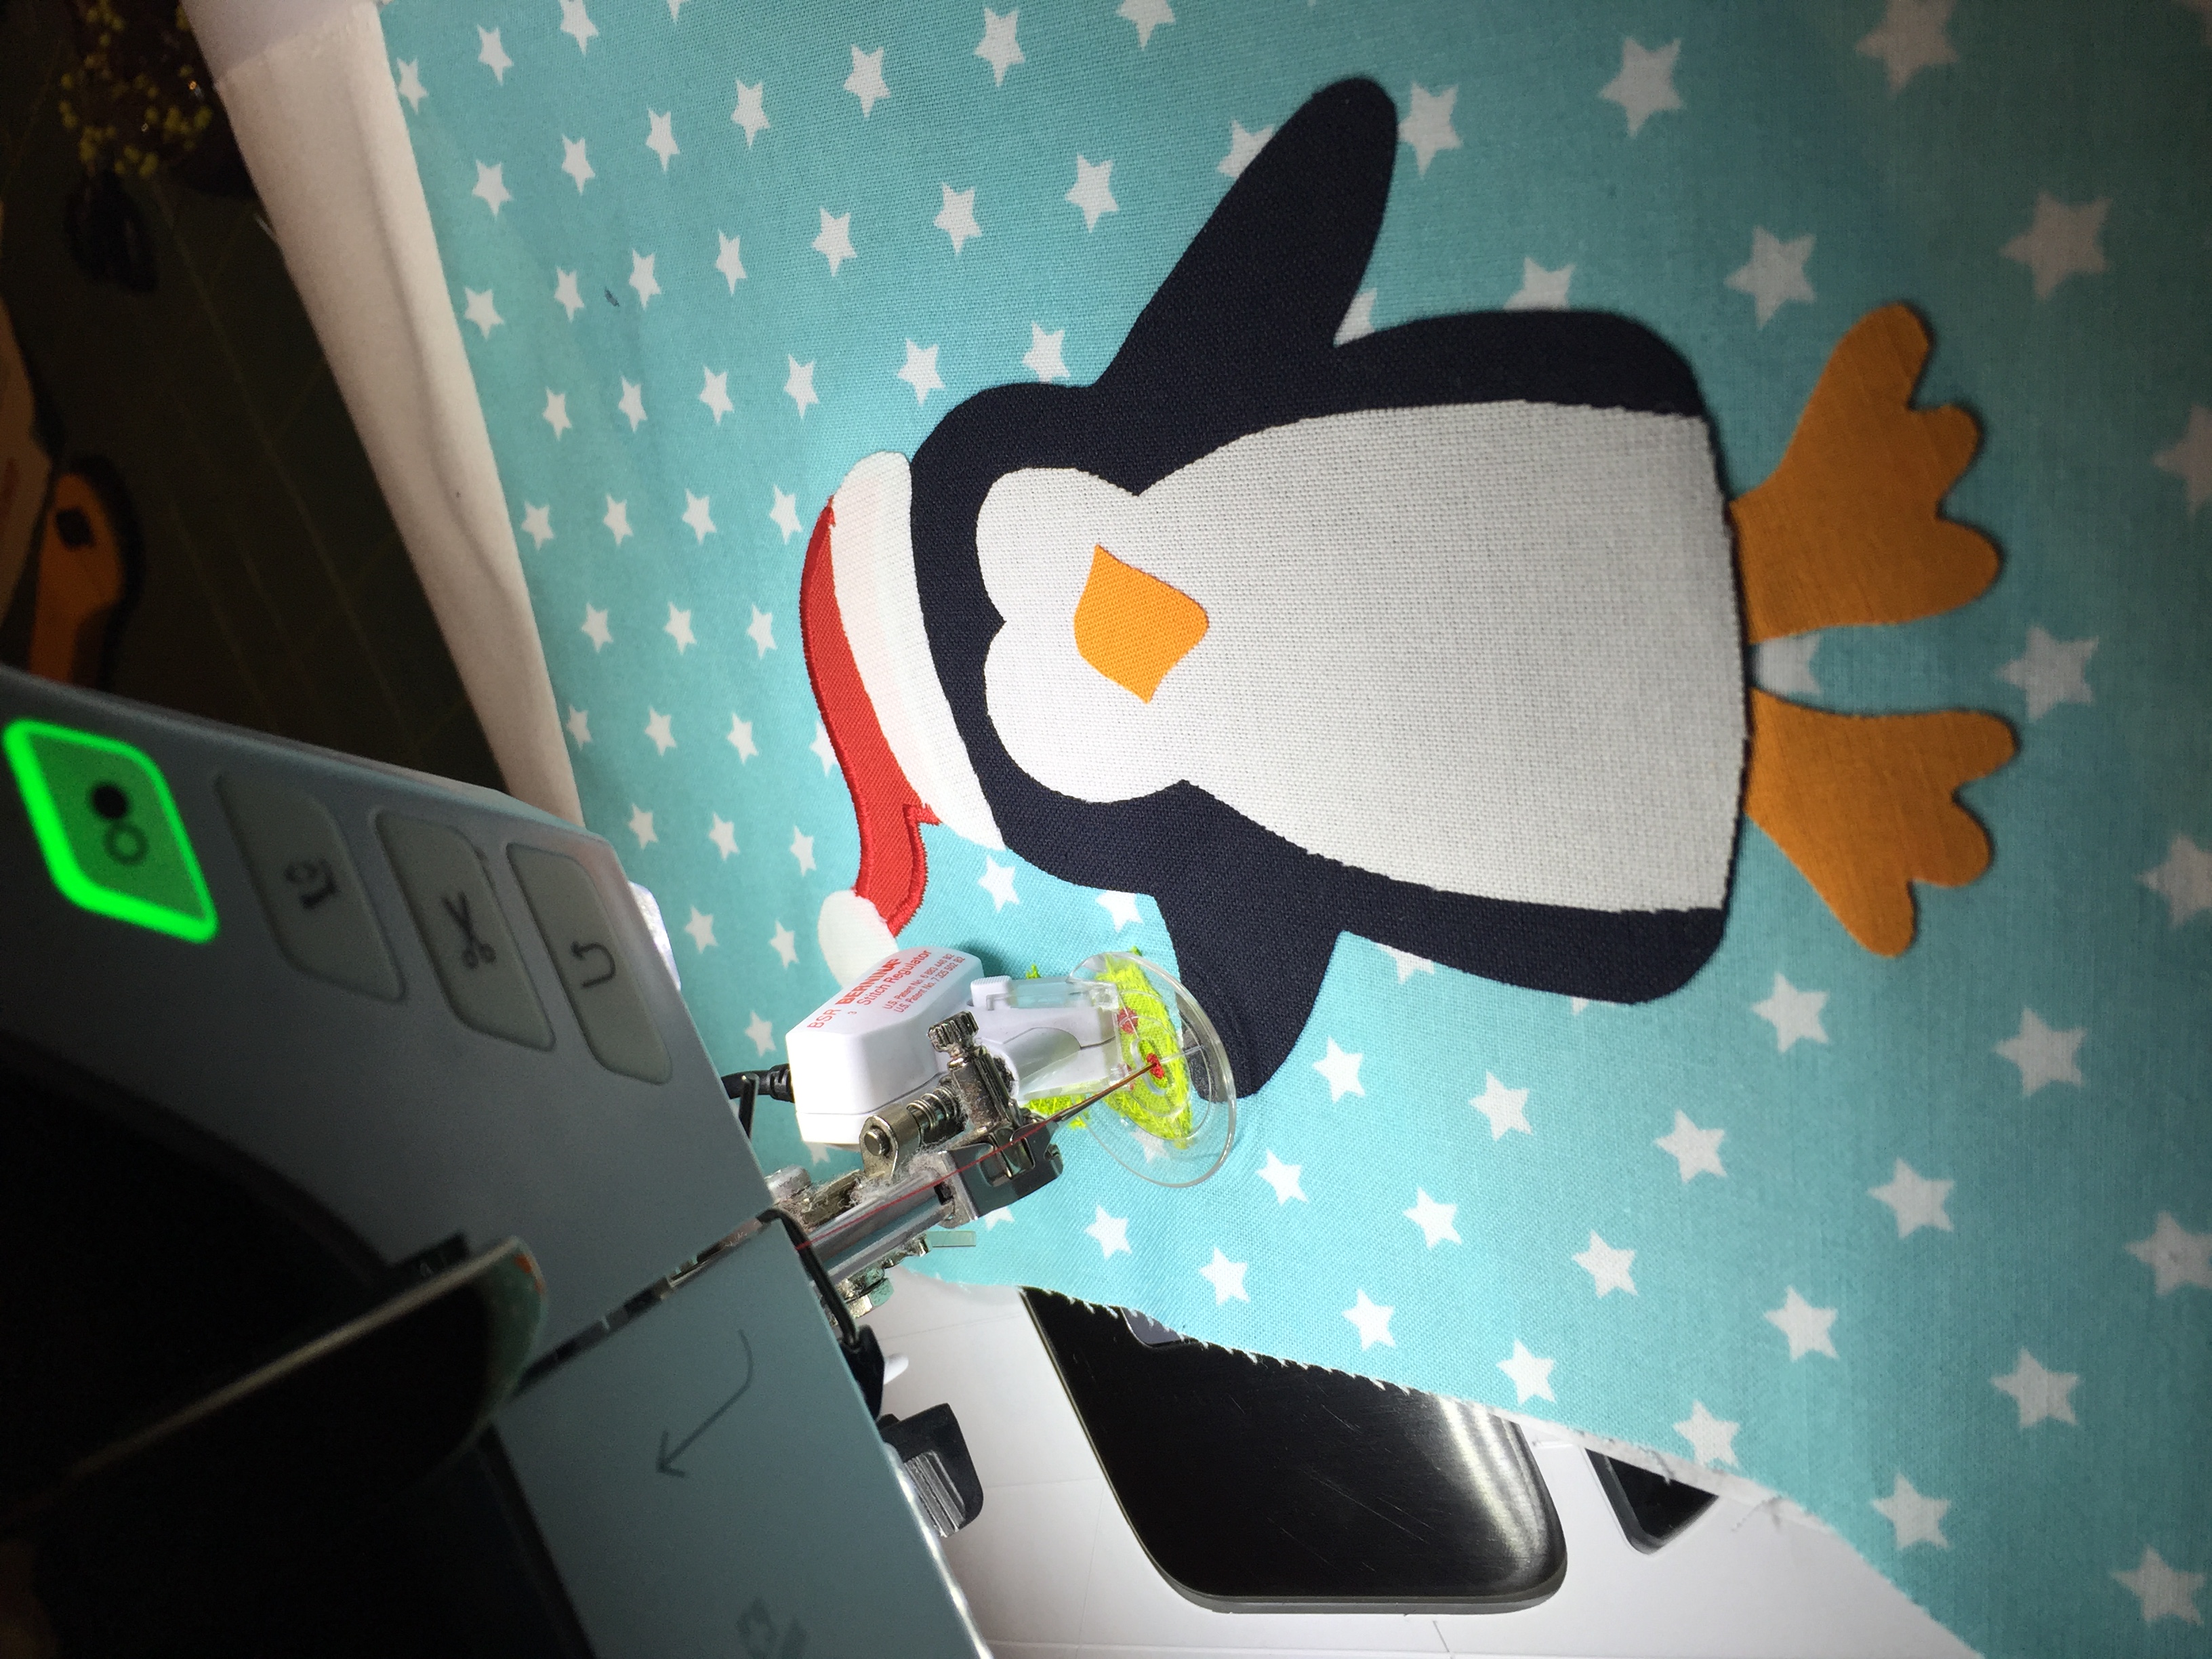
Details can also be embroidered on beautifully with the BSR.
You can find a detailed article with lots of pictures on the subject of appliqué work in one of the first articles I wrote in this blog six years ago.
Once you have finished the appliqué design, sew one cuff piece on to the top of the stocking with the right sides together (see worksheet). Press the seams open. Now sew two stocking pieces together (i.e. with the stocking and cuff assembled) with no appliqué pattern with the right sides together for the lining. On one of the long sides, leave an opening approximately 10 cm wide for turning.
Iron the tie ribbons made of fabric 1 lengthwise in the middle, then iron in a 1 cm hem. Topstitch the open edge close to the edge. The BERNINA Binder attachment for unfolded bias tape #88 allows you to produce superbly precise tie ribbons. You can find a detailed article on this HERE in one of my earlier posts.

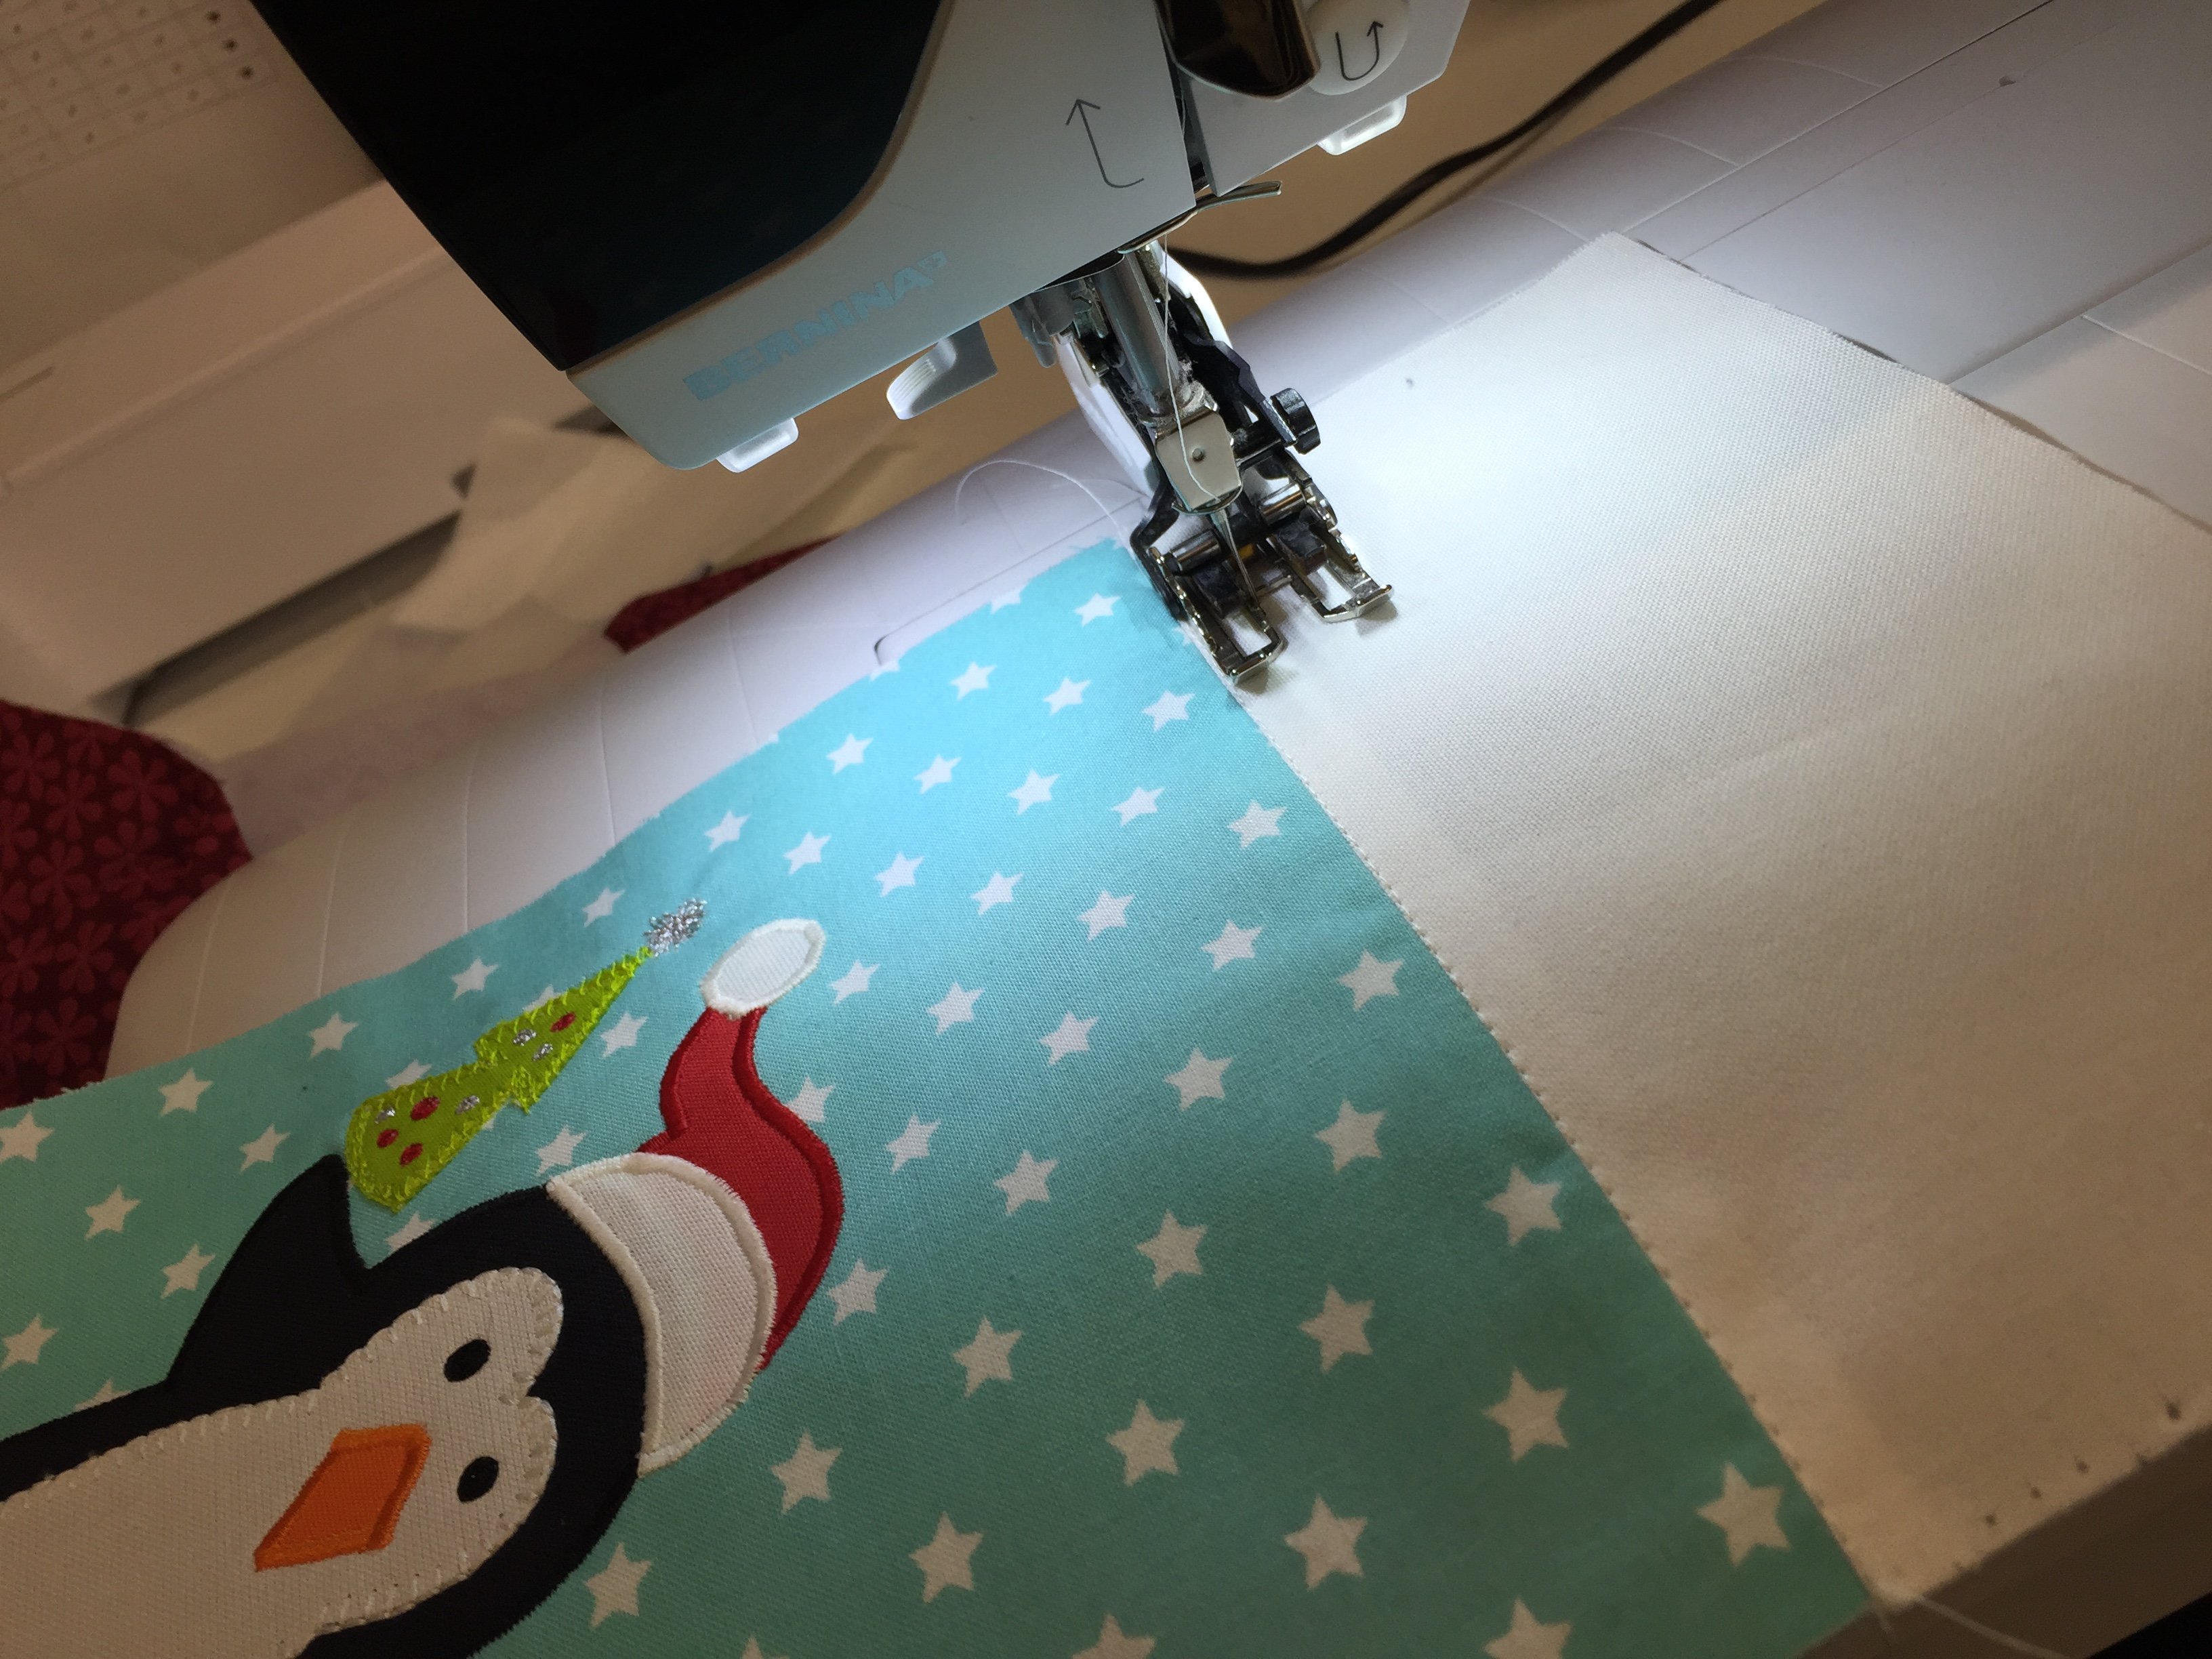
Place the two remaining stocking pieces (1 with and 1 without an appliqué design) onto the batting and cut the batting out to the correct size. Attach the batting to the back of the fabric (right side up) with some tacking stitches or spray adhesive. Topstitch the rim as you wish with a few lines of stitching running horizontally. This works particularly well with the Walking foot #50 as with this, all the layers slide evenly through the machine and there are no odd “bumps” in the fabric.
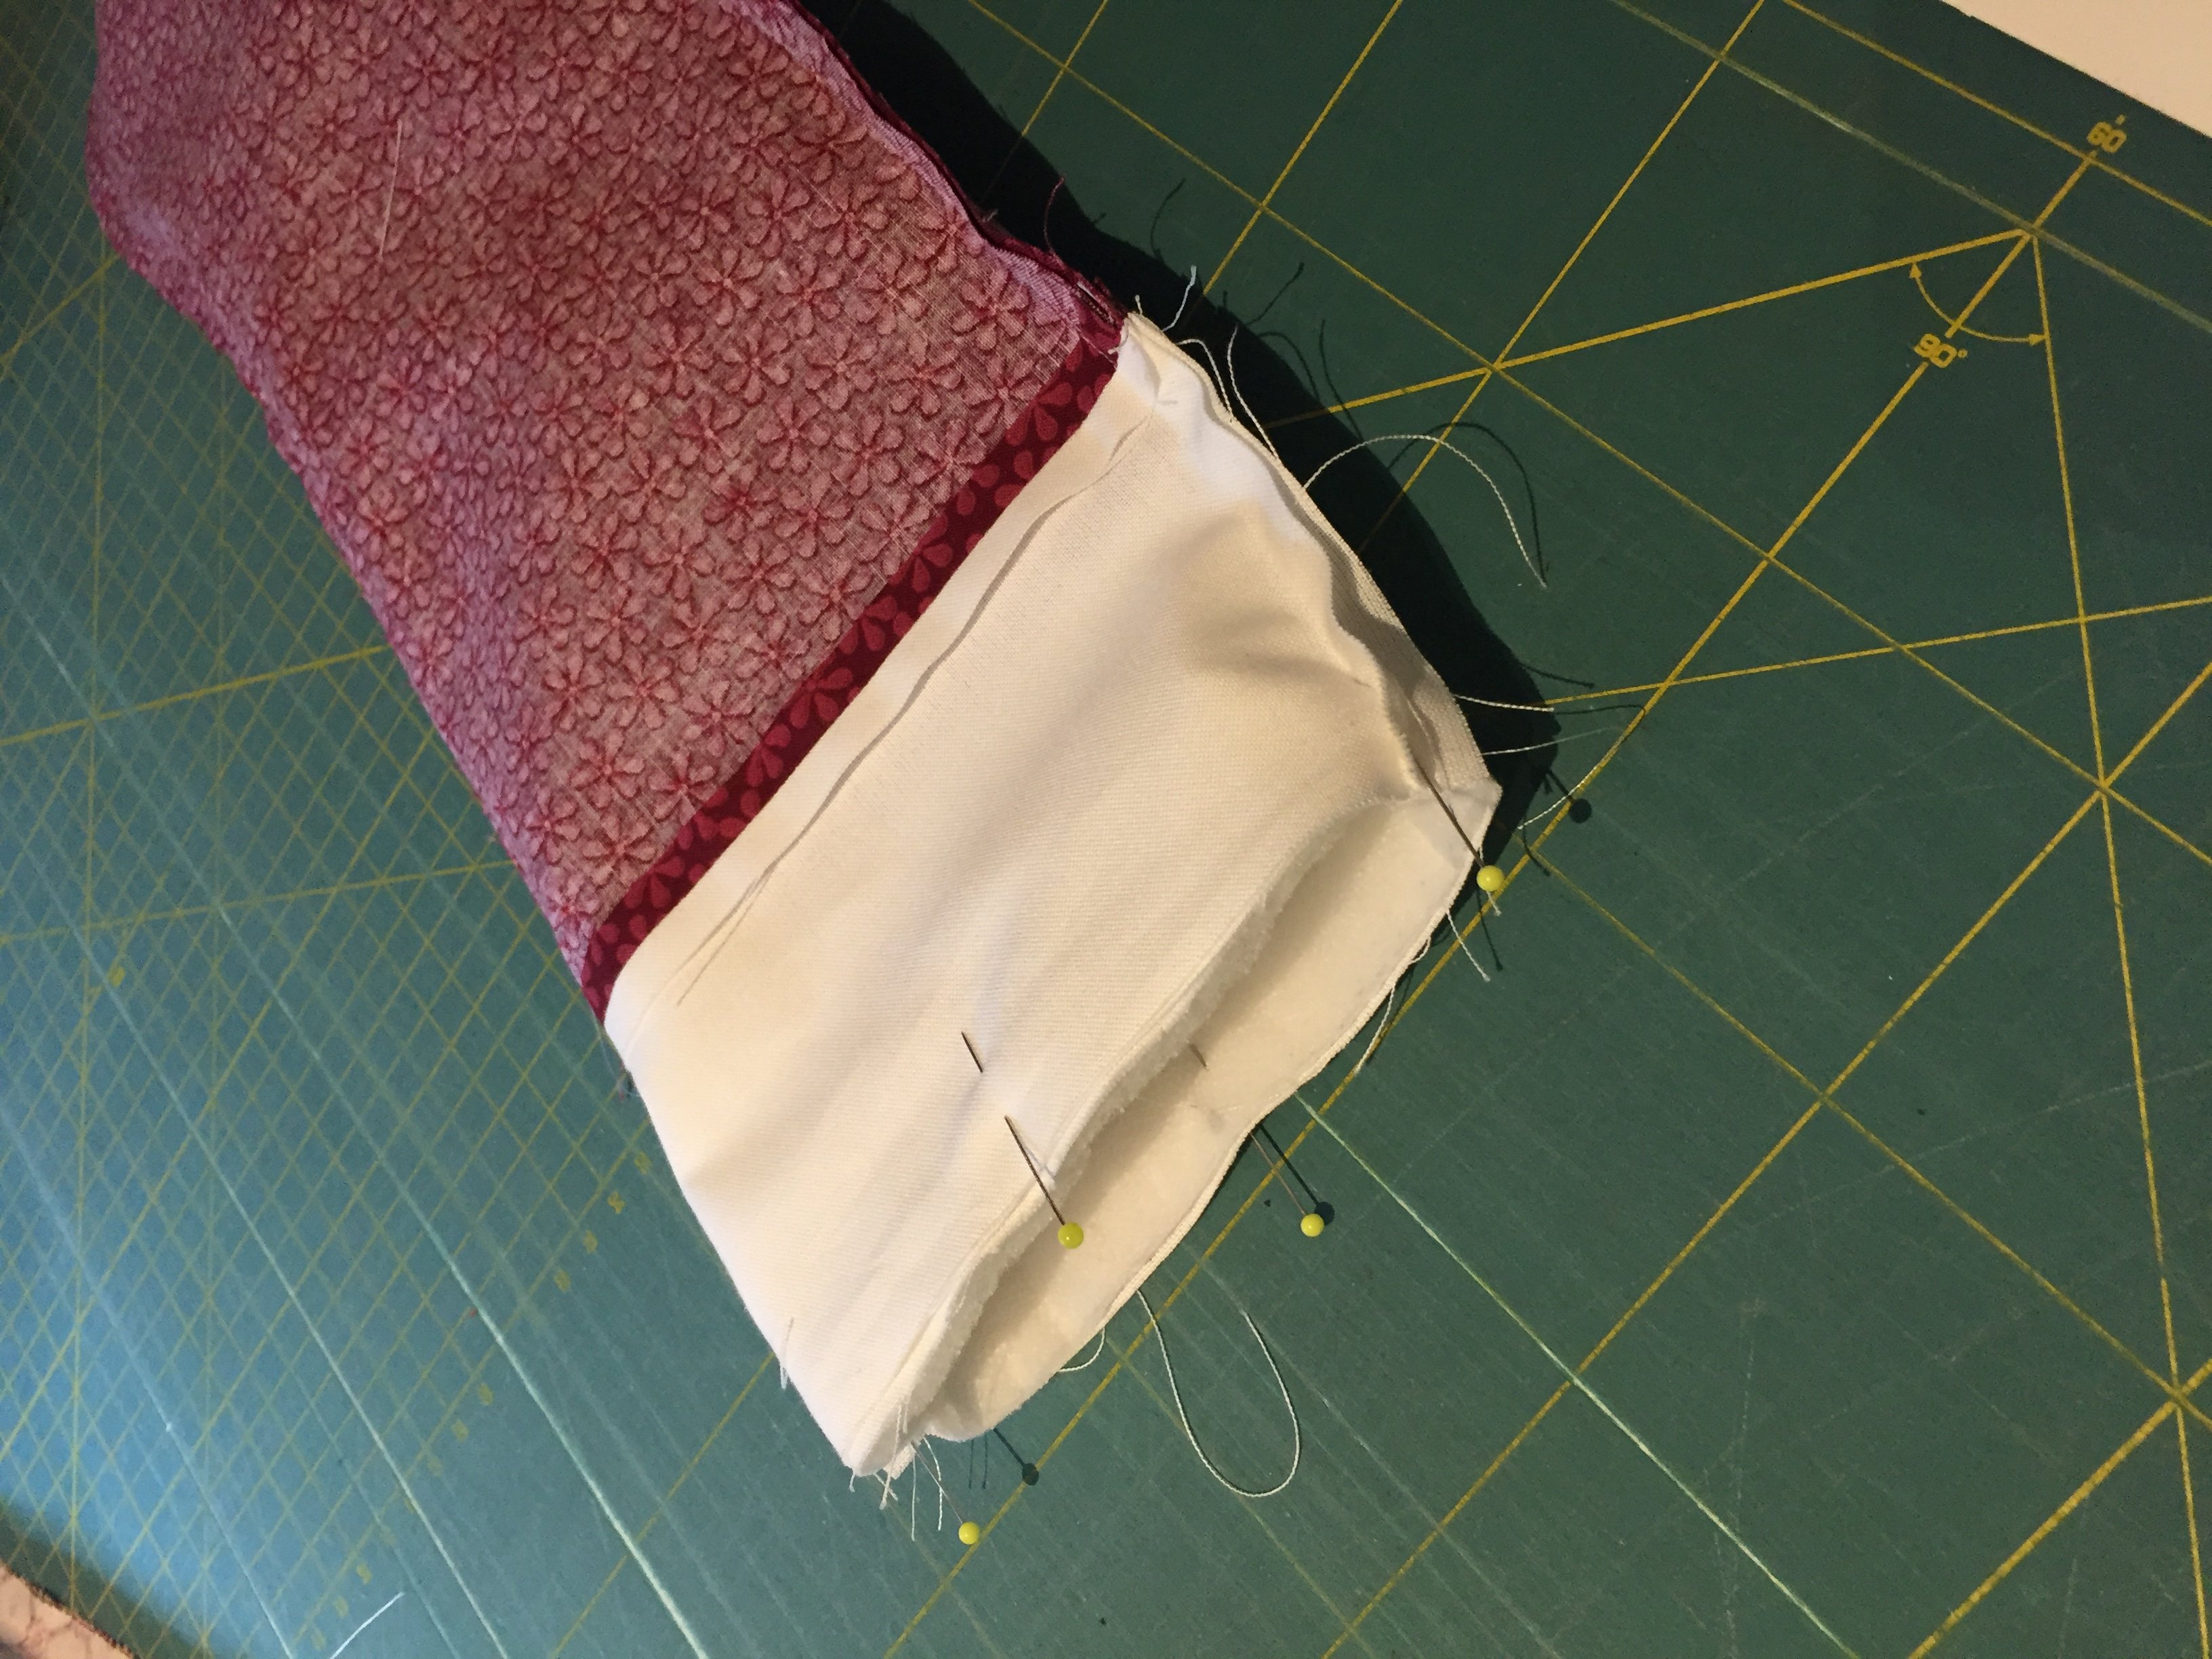
Put the two stocking parts right sides together and sew them together. As you do this, sew in the two tie ribbons into the back of the stocking (see photo). Tie the other two ends together later to prevent them from fraying. Alternatively, you could also fold in the seam allowances before sewing the ribbons.

Now assemble the lining and top layer of the stocking with the right sides together and sew them together at the top edge. The side seams should line up exactly. As you can see, the colour has changed here because I forgot to take a photo of the Penguin stocking at this stage…
Now turn the stocking the right way through the opening in the lining, close this with a narrow edge seam using the Edgestitch foot #10 and push the lining into the stocking. Sew on the pompom edging by hand using fell stitch.
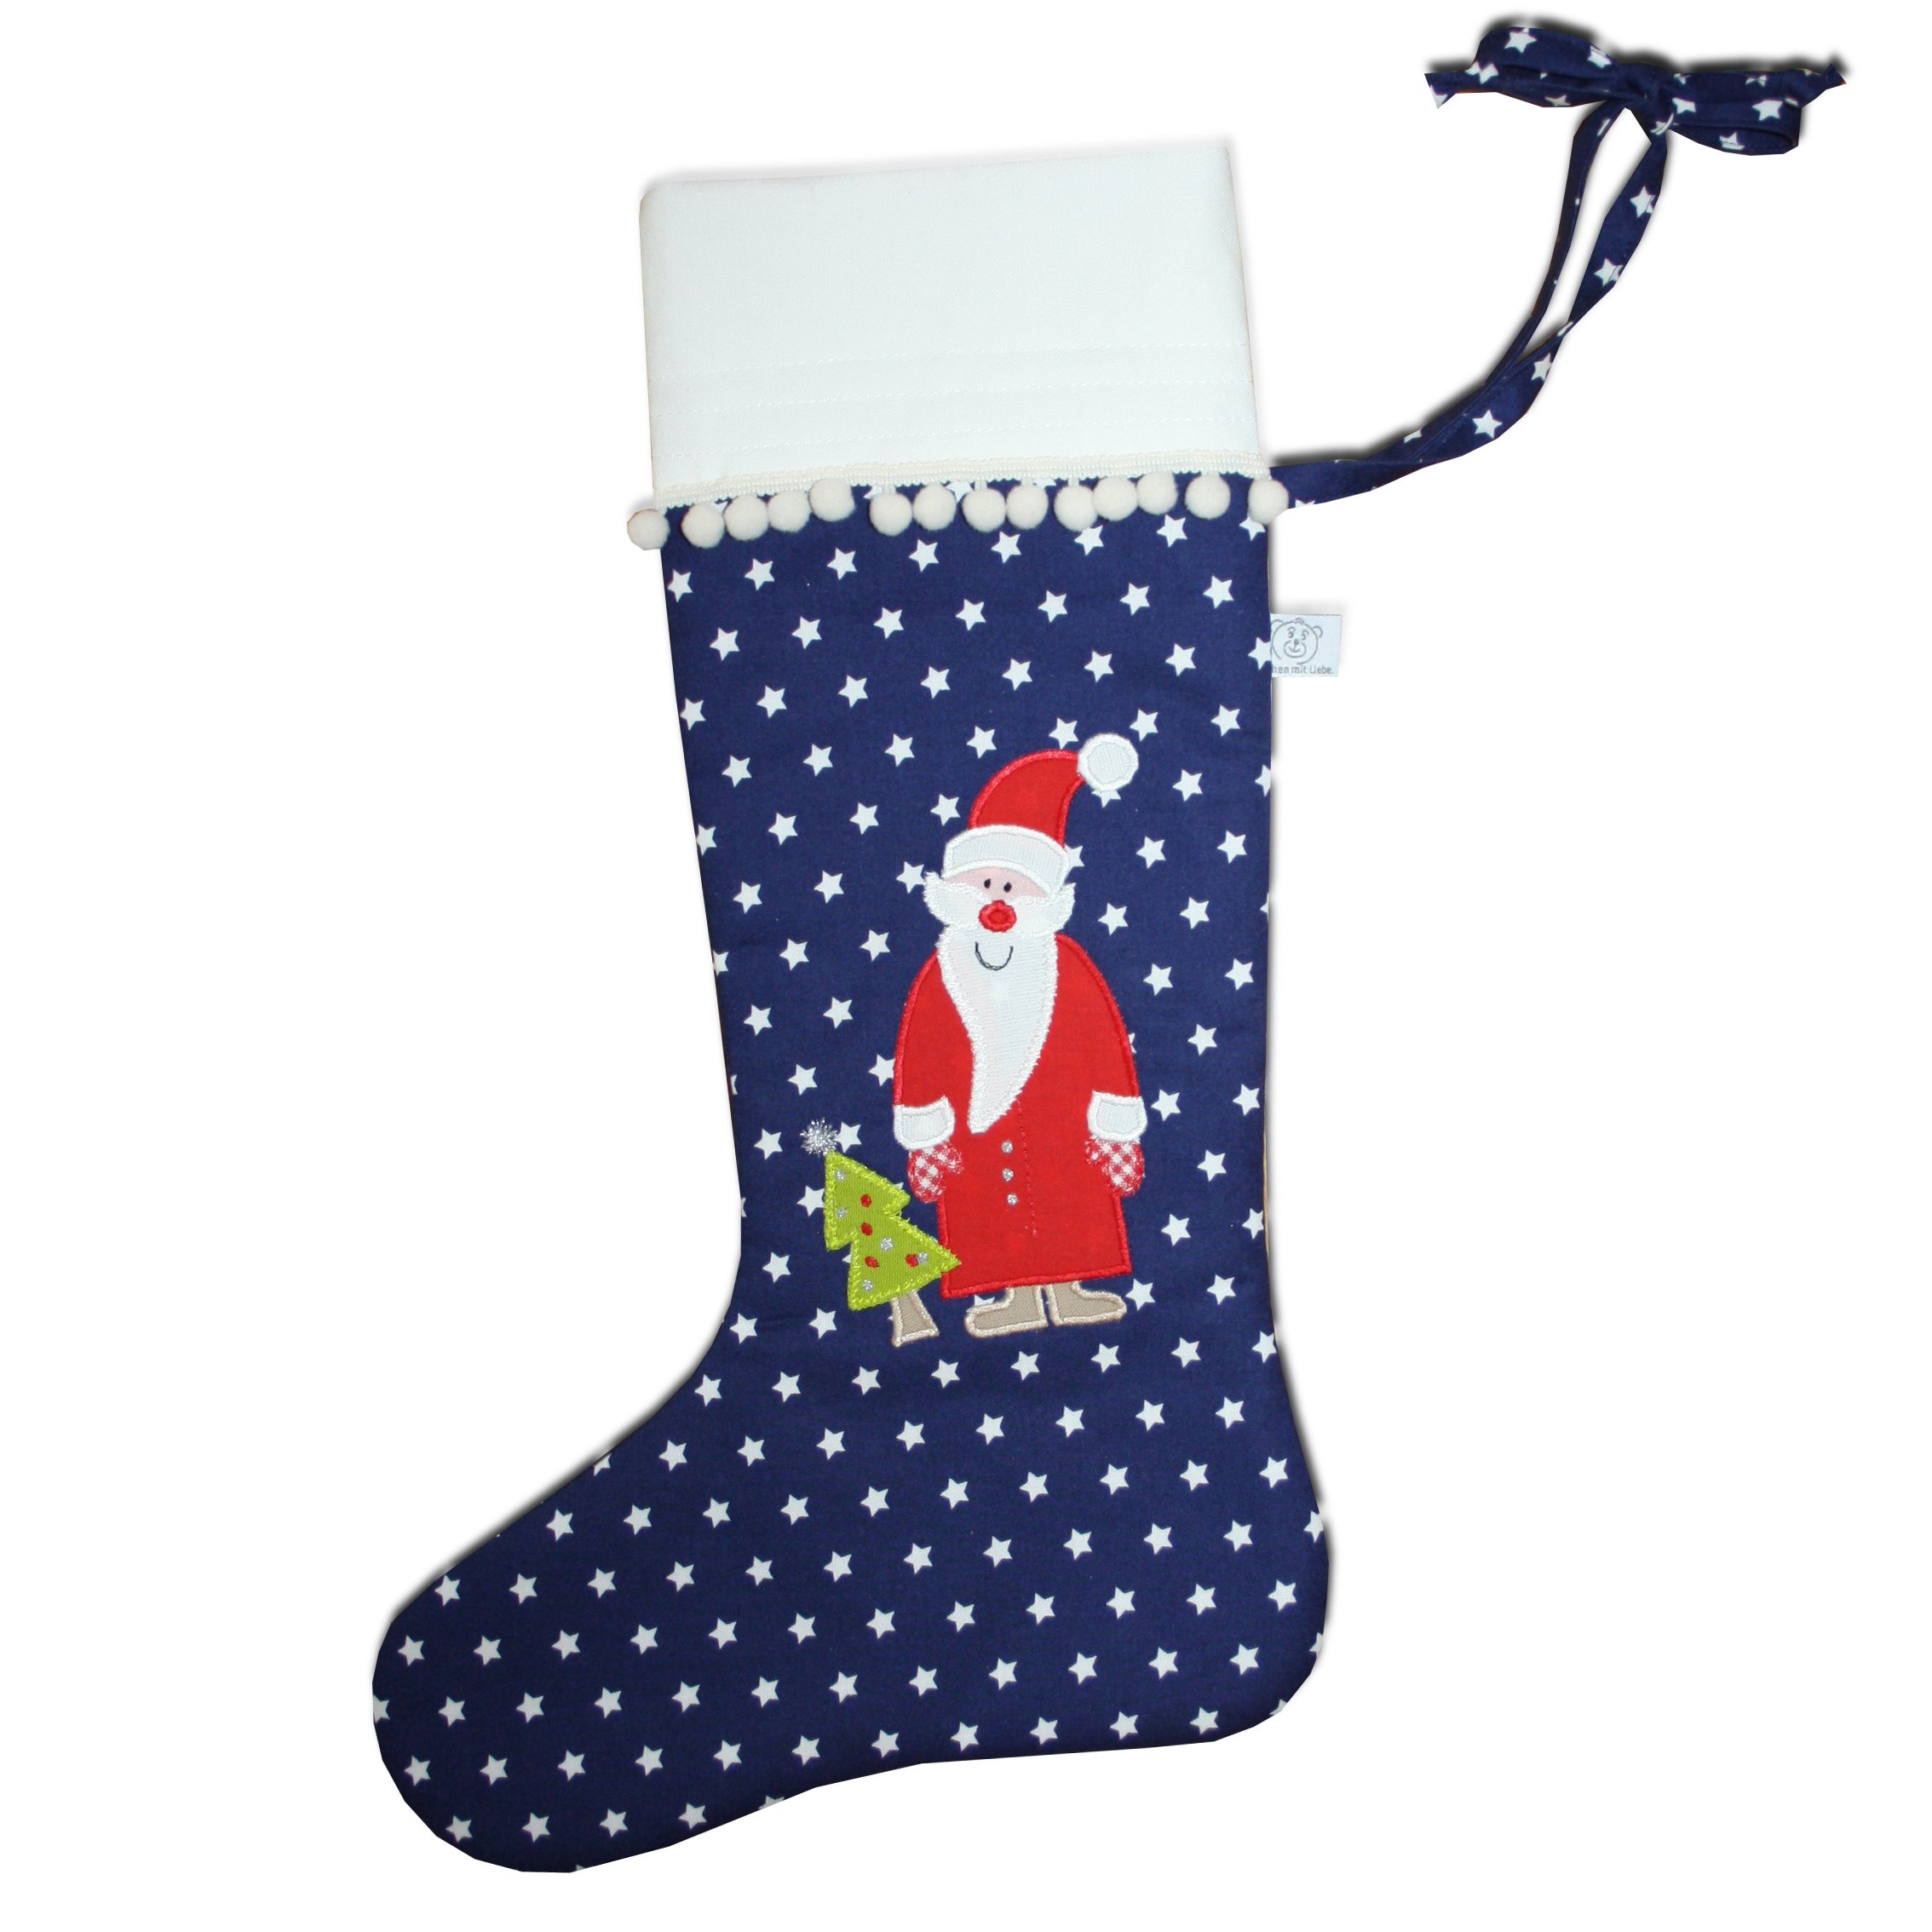
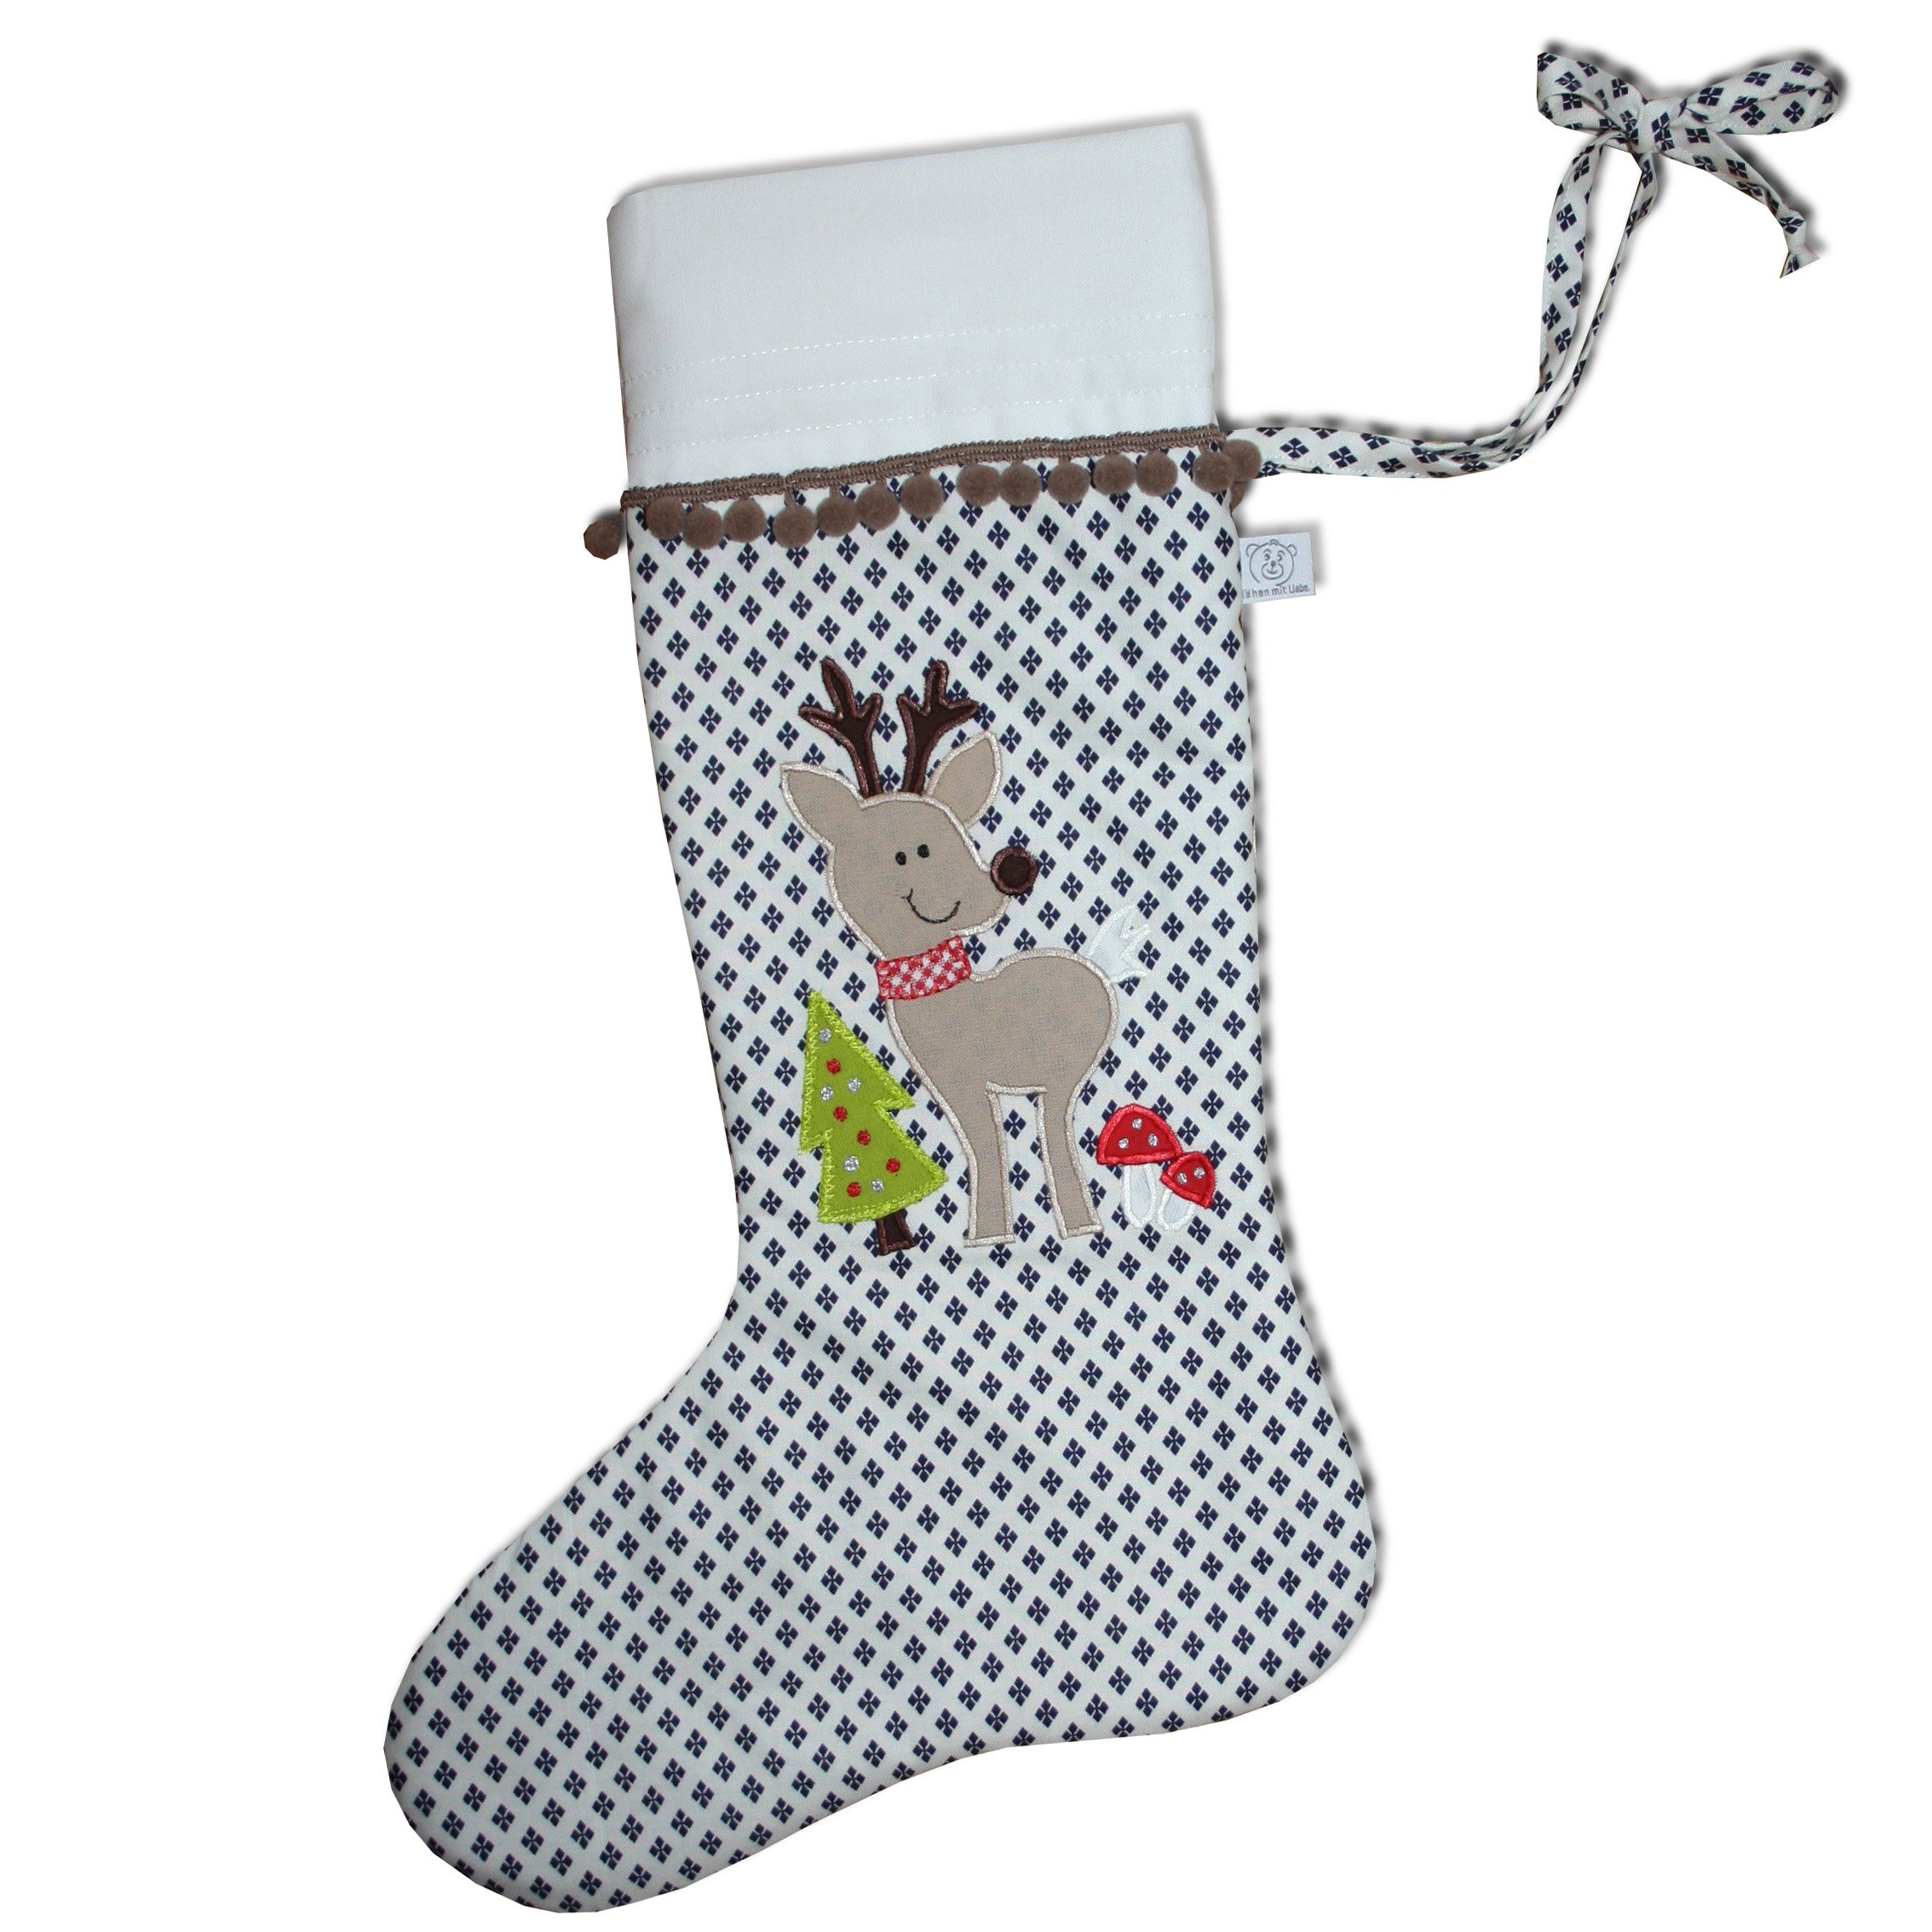
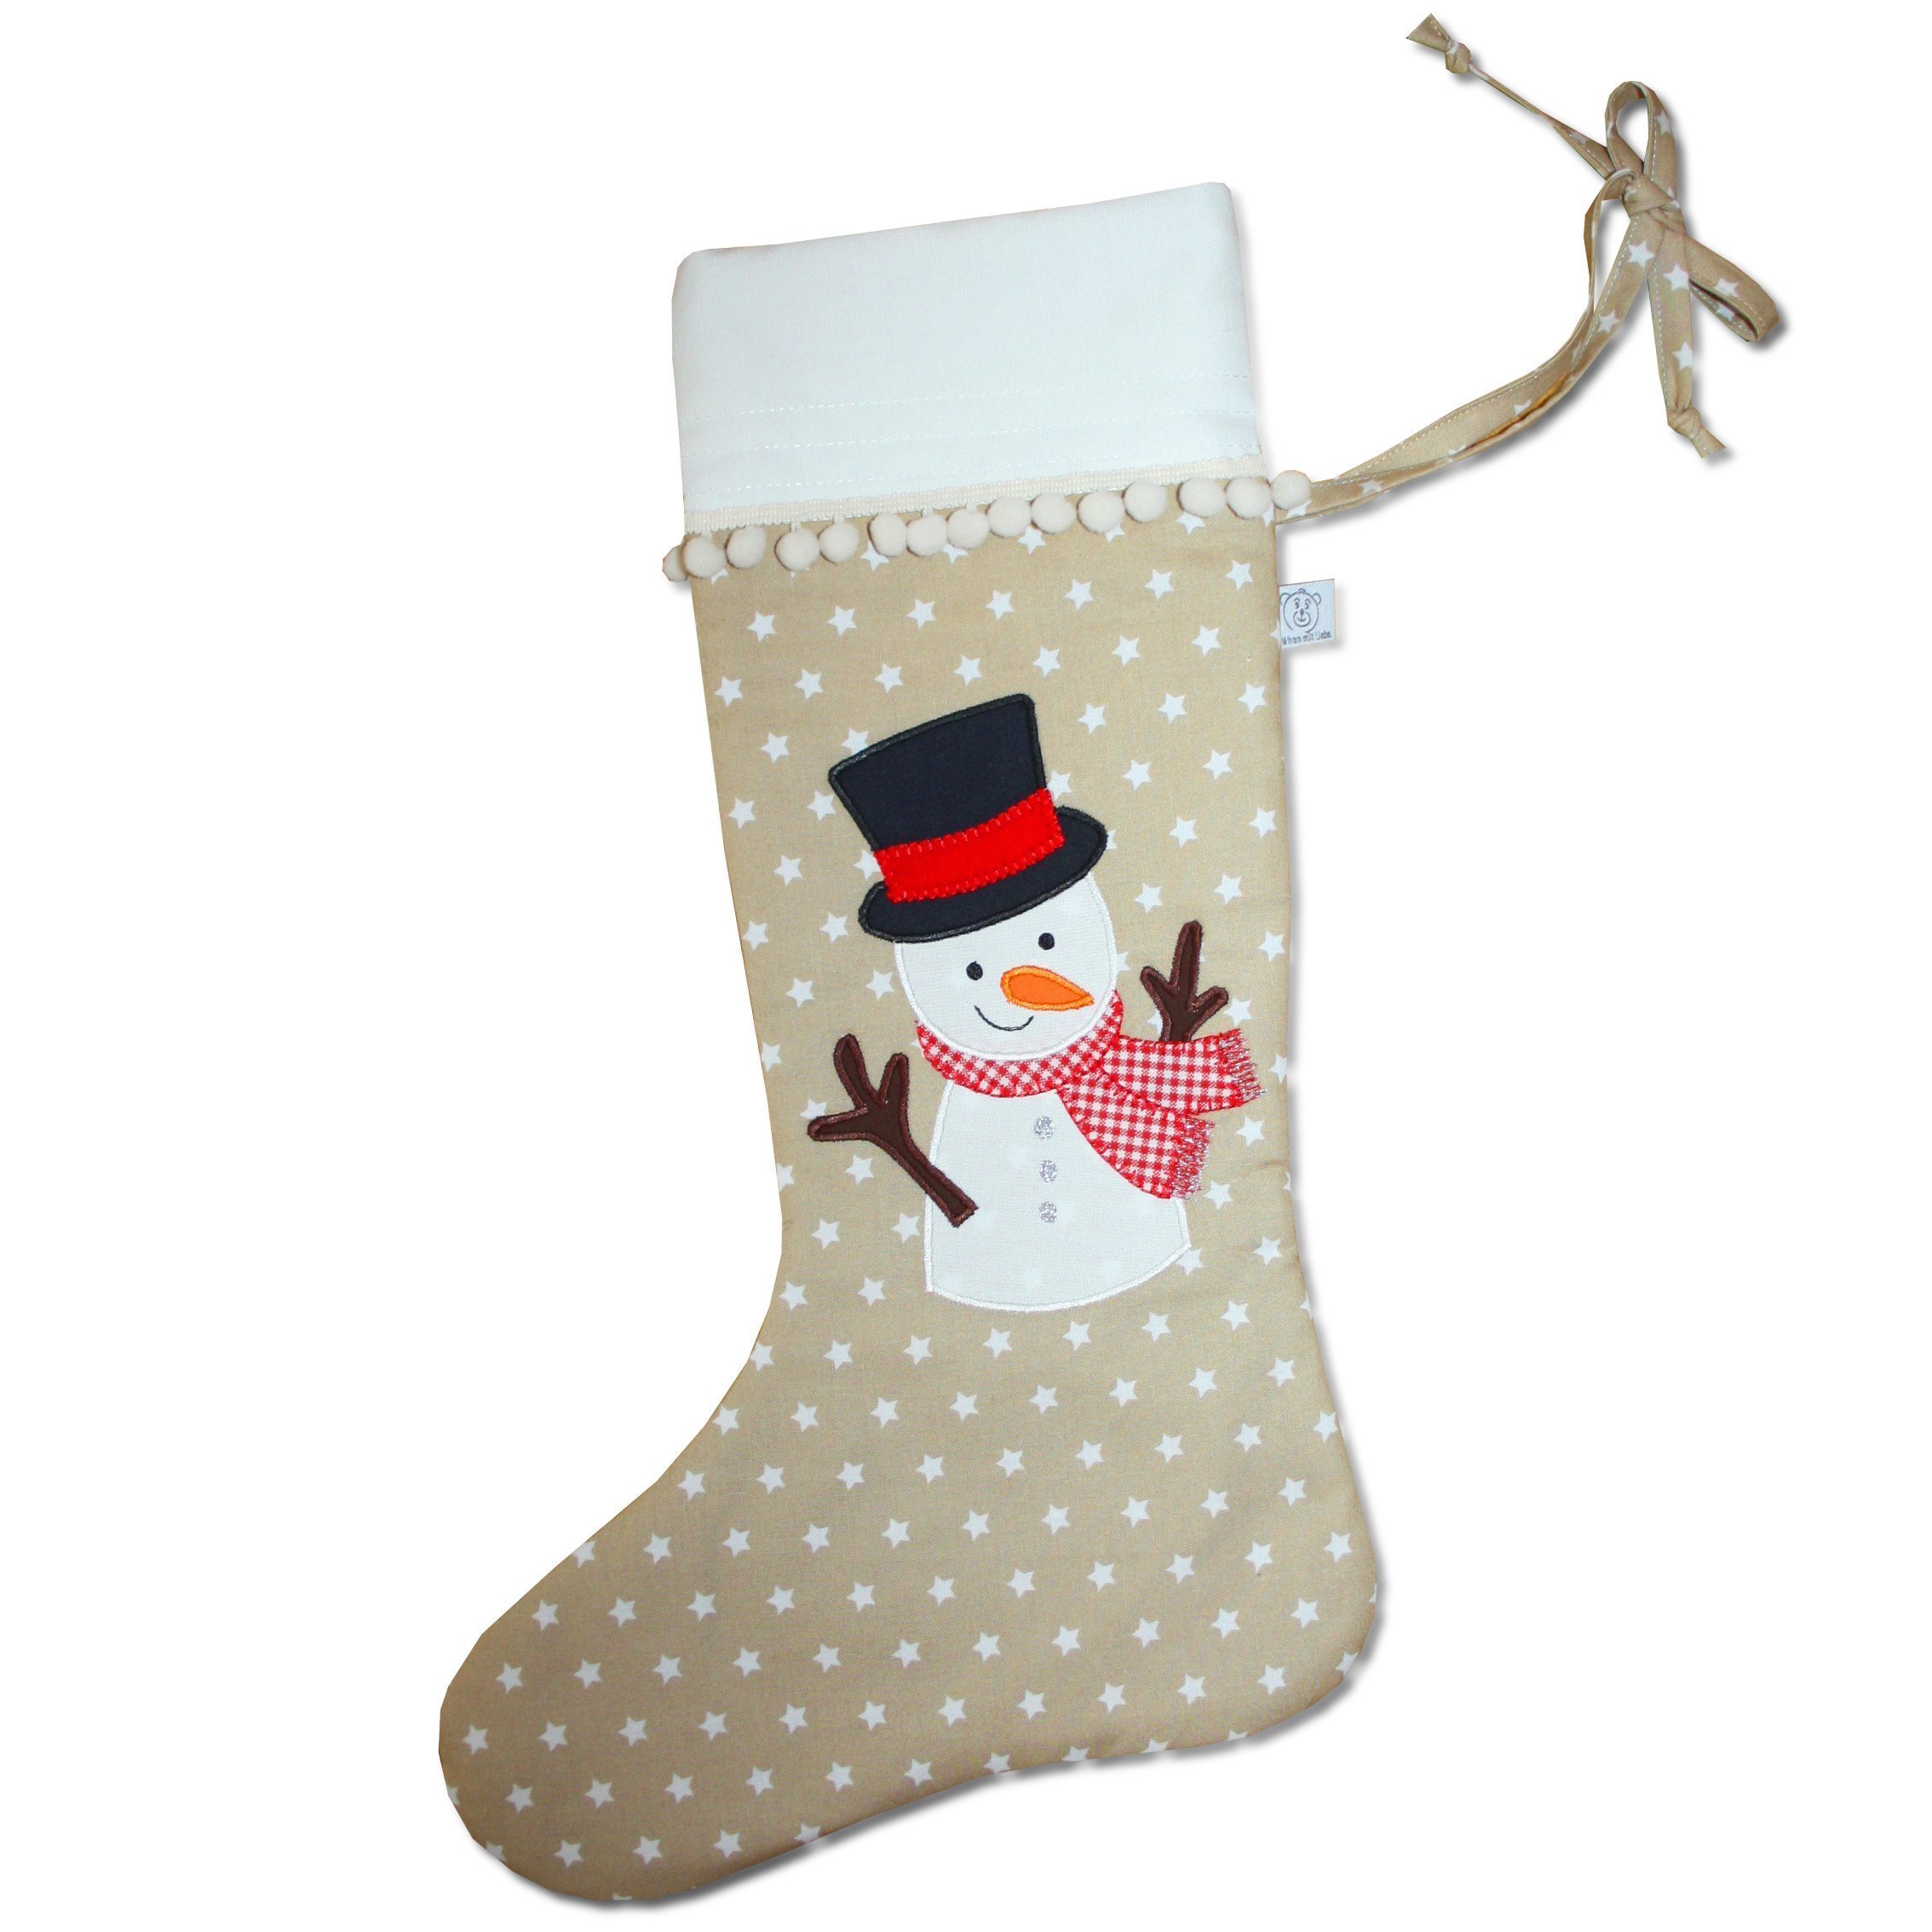
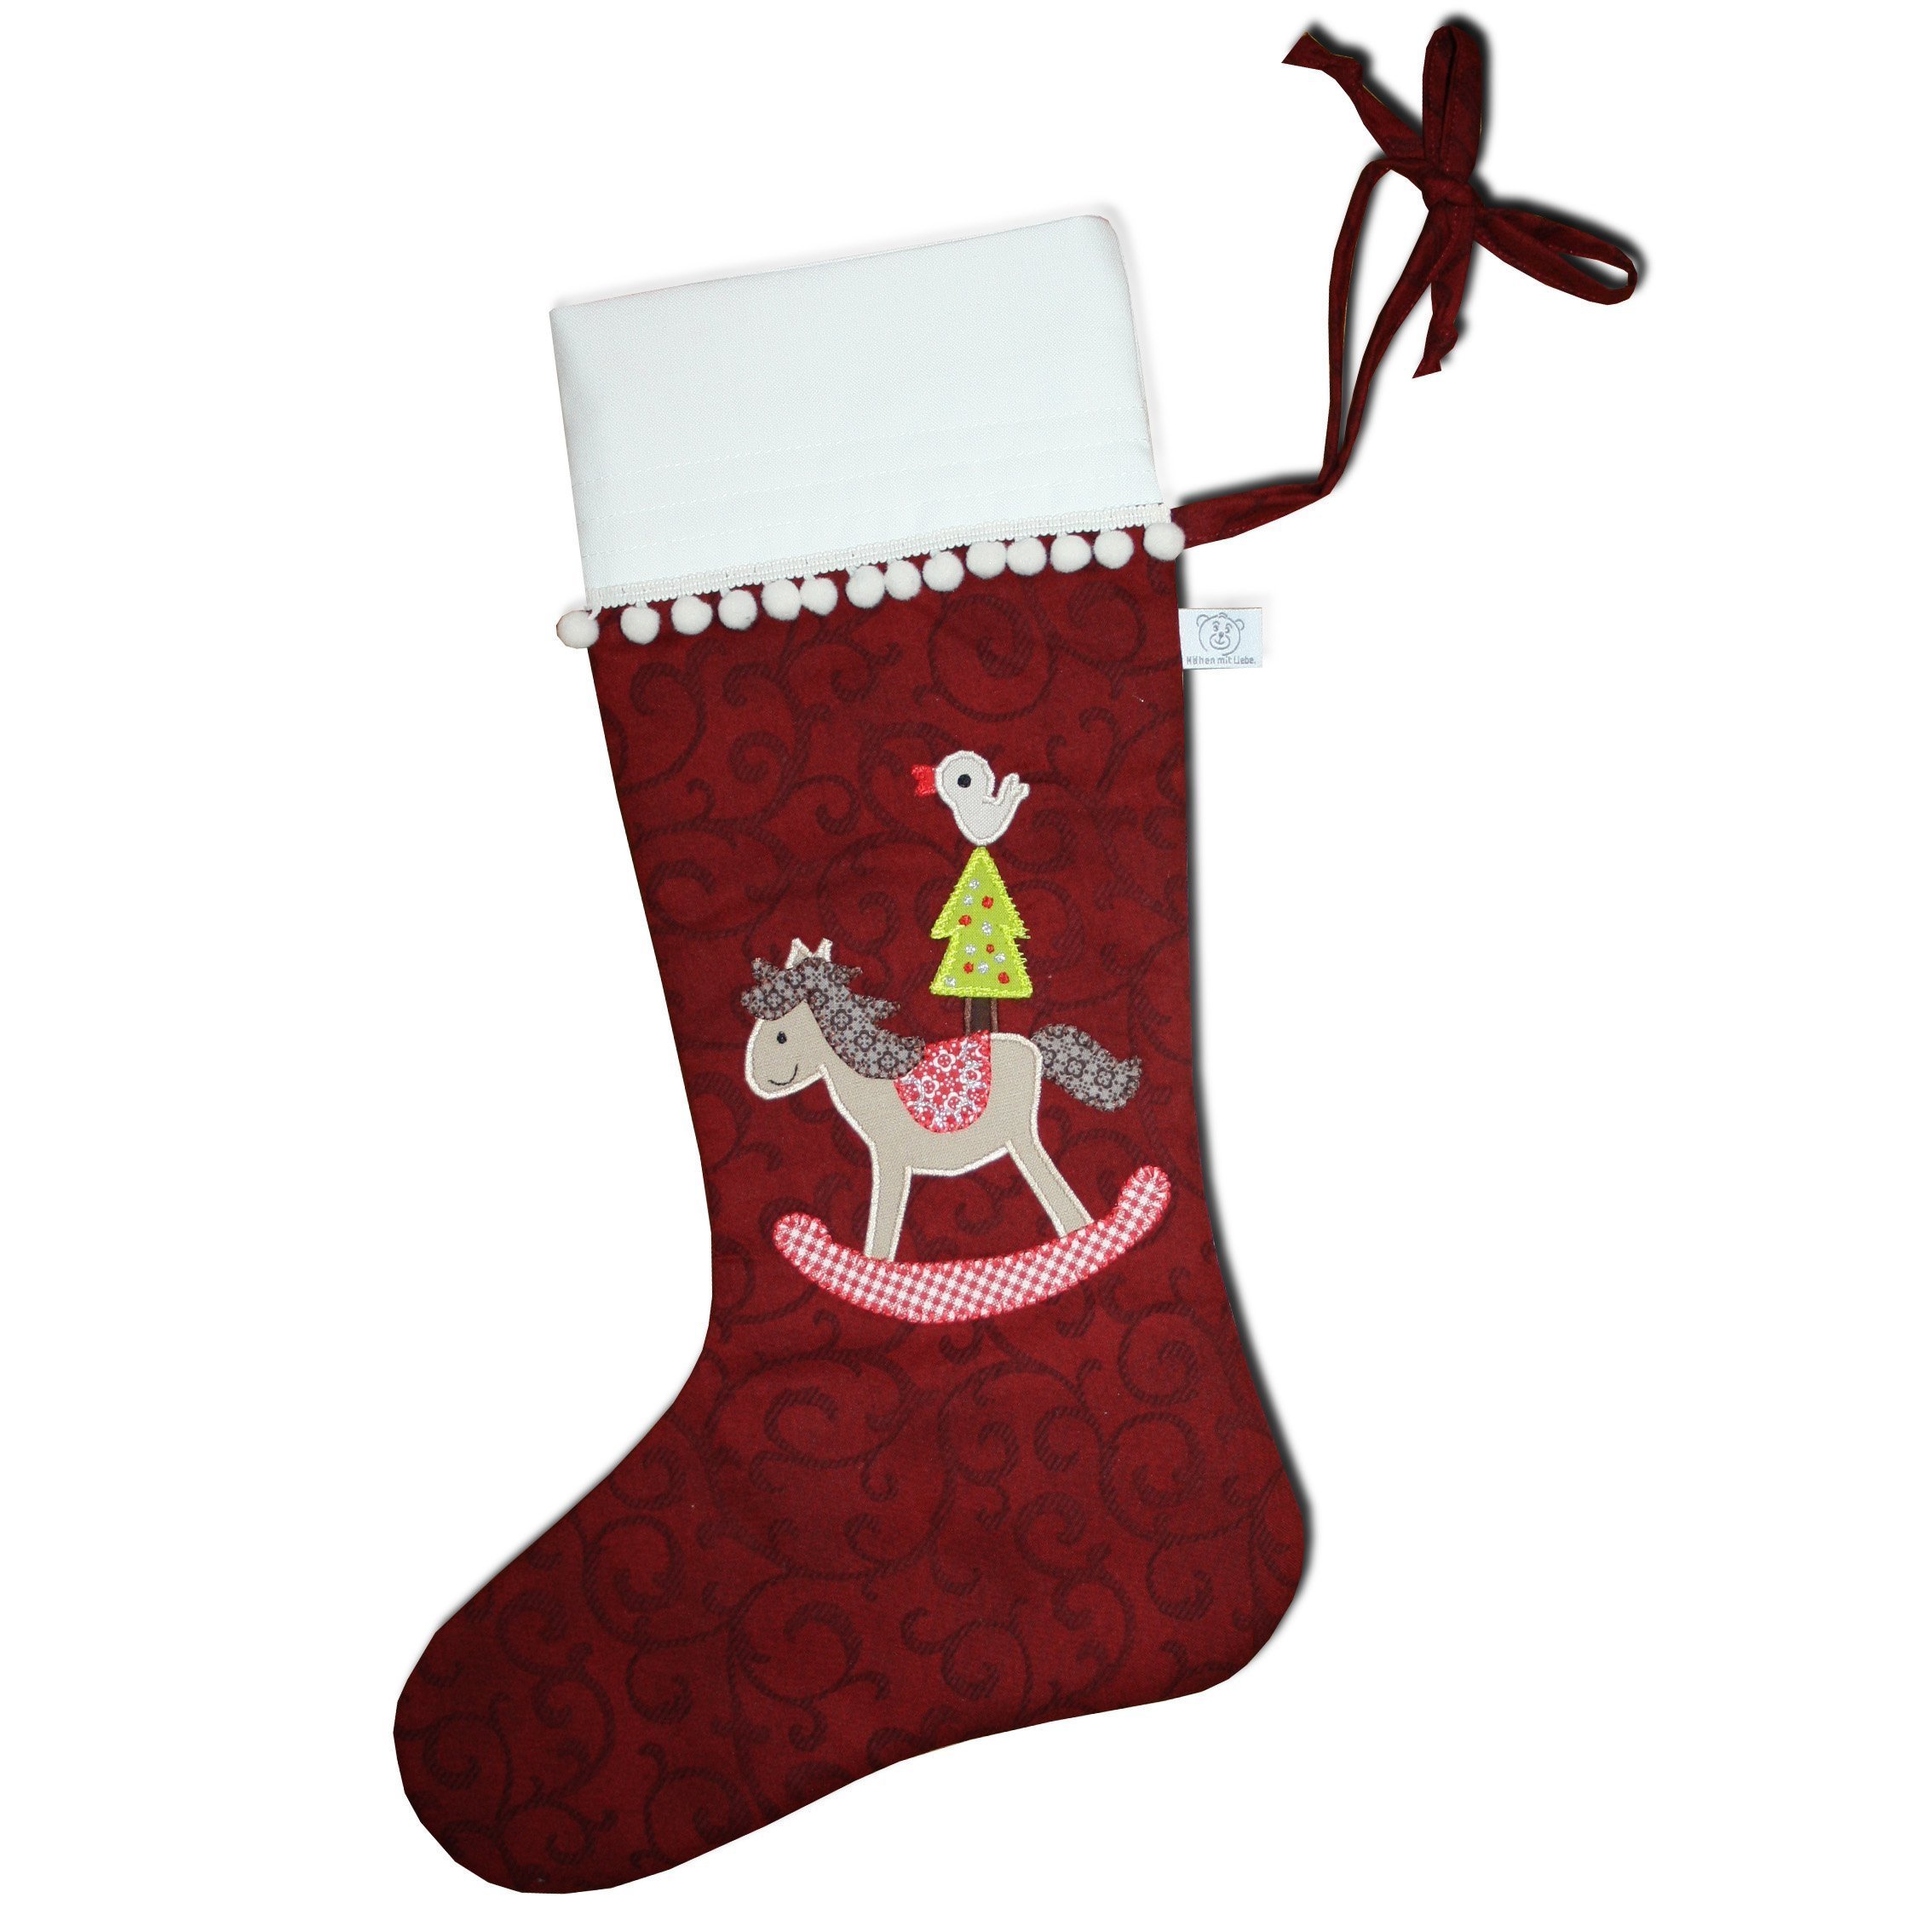
Your stocking is now finished! But beware! This project is highly addictive! How many families will end up with just one stocking!?! Here are a few ideas for other designs:


I hope you have lots of fun and enjoyment making them, and I wish you a wonderful Advent period and of course lots of fun making the fantastic wrapping sewing projects here on the BERNINA blog!
Happy Advent
from Claudia


0 Responses