Dear community,
in this blog post you can find detailed instructions for sewing a fabric gift bag vor men (with free pattern).
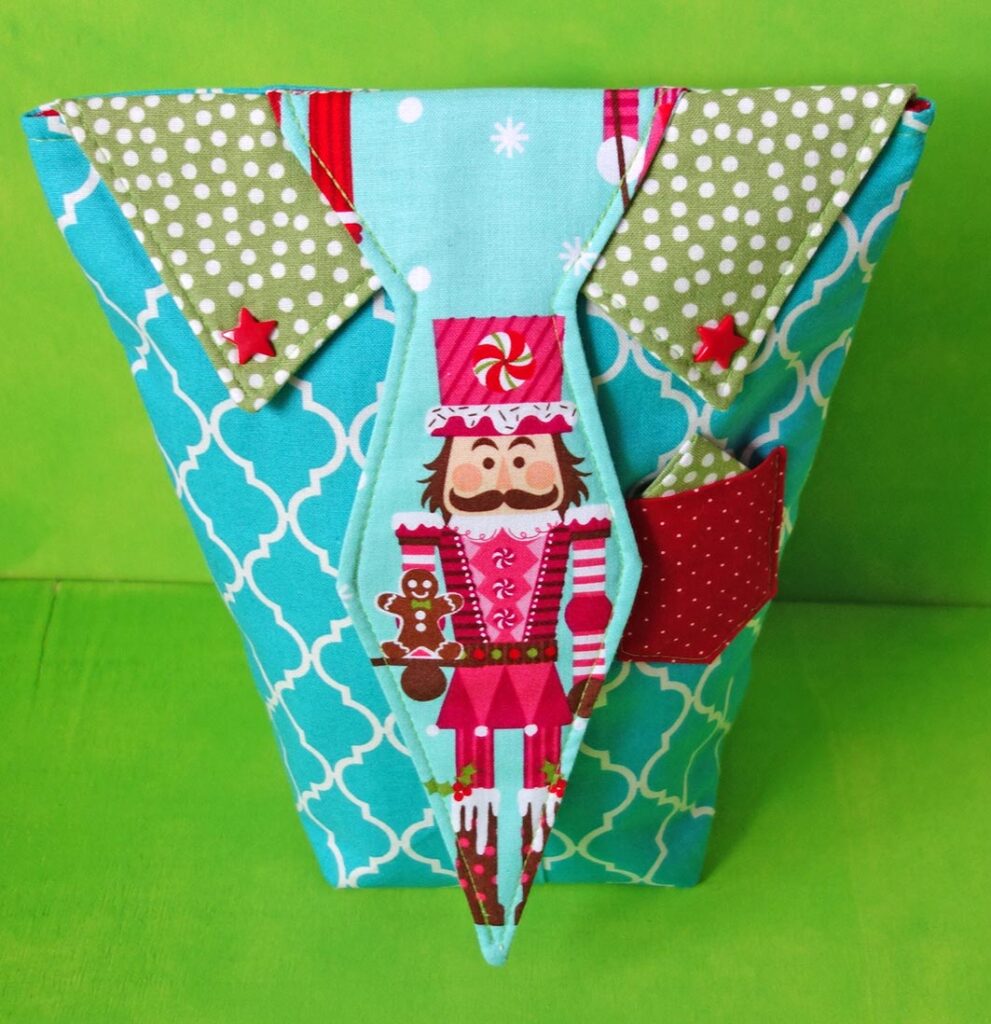
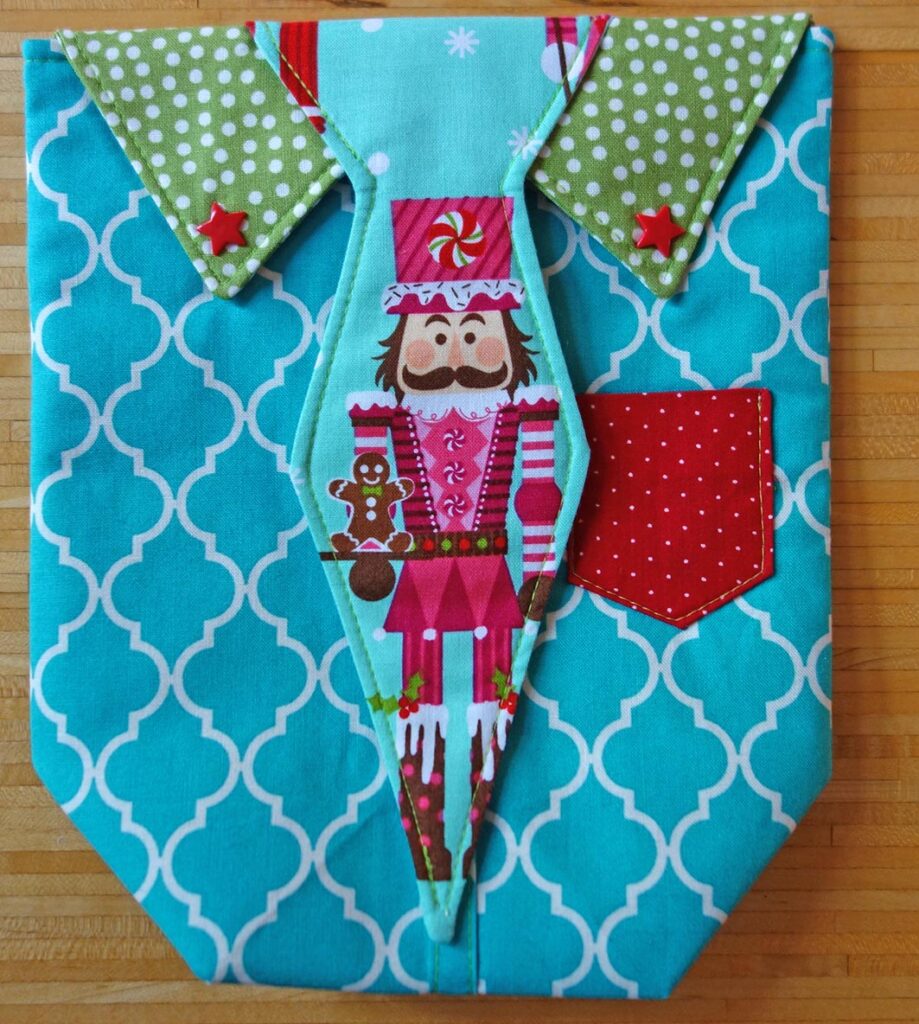
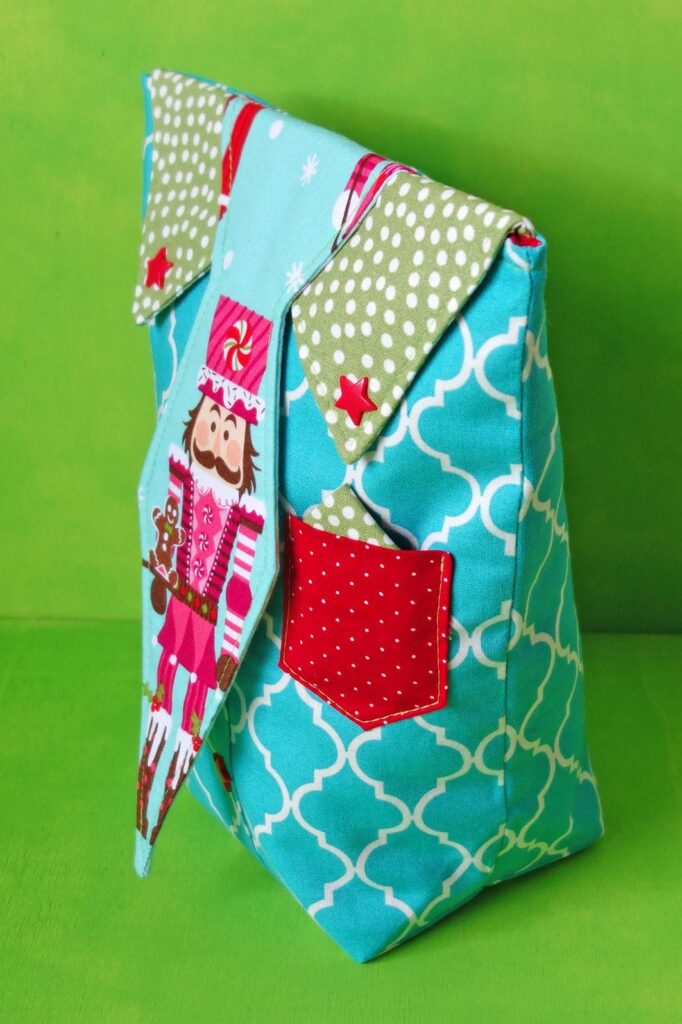
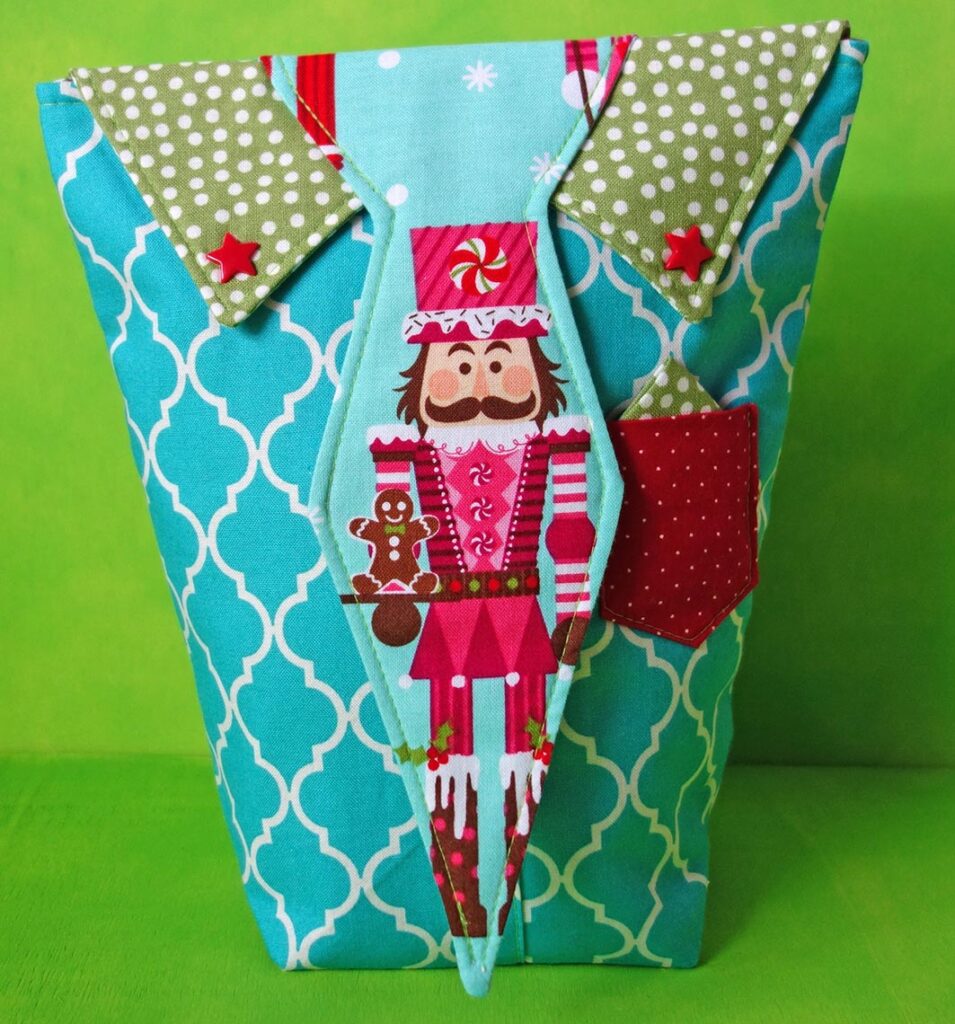
We always make pretty things for children and women, but I think that men also like hand- made Stuff! This is why I decided this year to make something for the lovely men in our lives. „Nicely wrapped“ is the motto this year. This sweet and pretty Tie- Bag is not only an eye-catcher, but it also brings a smile to one’s face right away. It is perfect for the little and big men!
Materials needed:
- 30 cm fabric 1 – woven cotton – outer bag
- 30 cm fabric 2 – woven cotton – lining and breast pocket
- 15 cm fabric 3 – woven cotton – collar
- 25 cm fabric 4 -woven cotton – tie
- 25 cm thin batting
- 5 KamSnap buttons in star- form, red
- Fabric marker
- Pattern: Gift_bag
Print the pattern and cut the individual pieces out.
Cutting:
A seam allowance of 1 cm is included, unless otherwise instructed.
- 1 x front out of fabric 1
- 1 x breast pocket out of fabric 2 – read number 4
See notes under number 1 for all other pieces.
- 1 x rear of outer bag out of fabric 1 and 2 x lining, plus 2 x out of batting, all around smaller by 1 cm
Sewing:
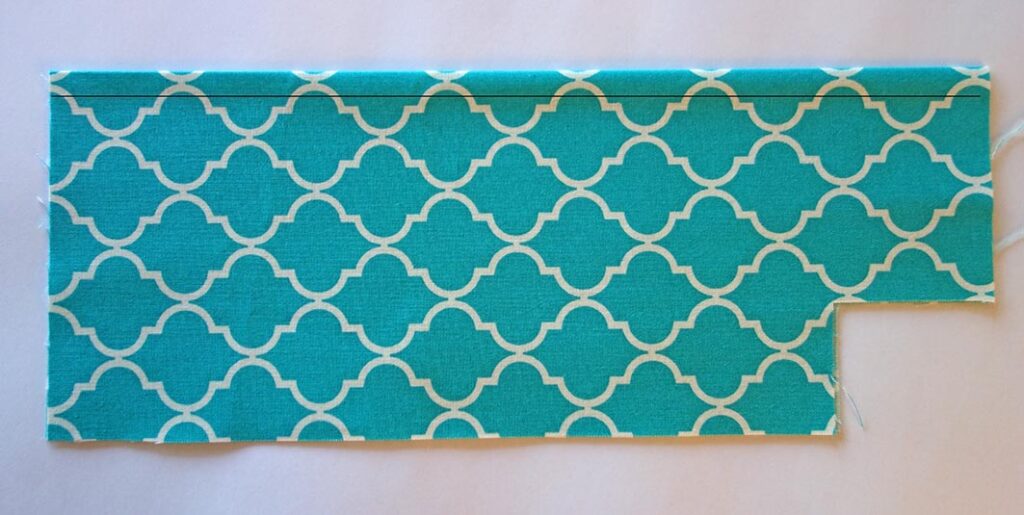
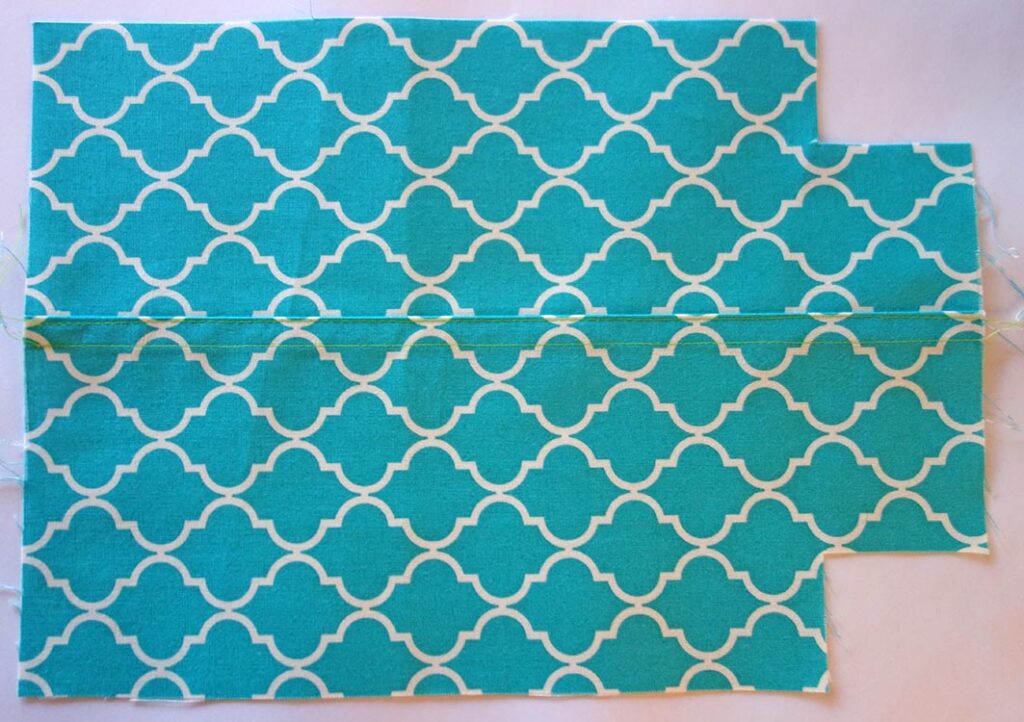
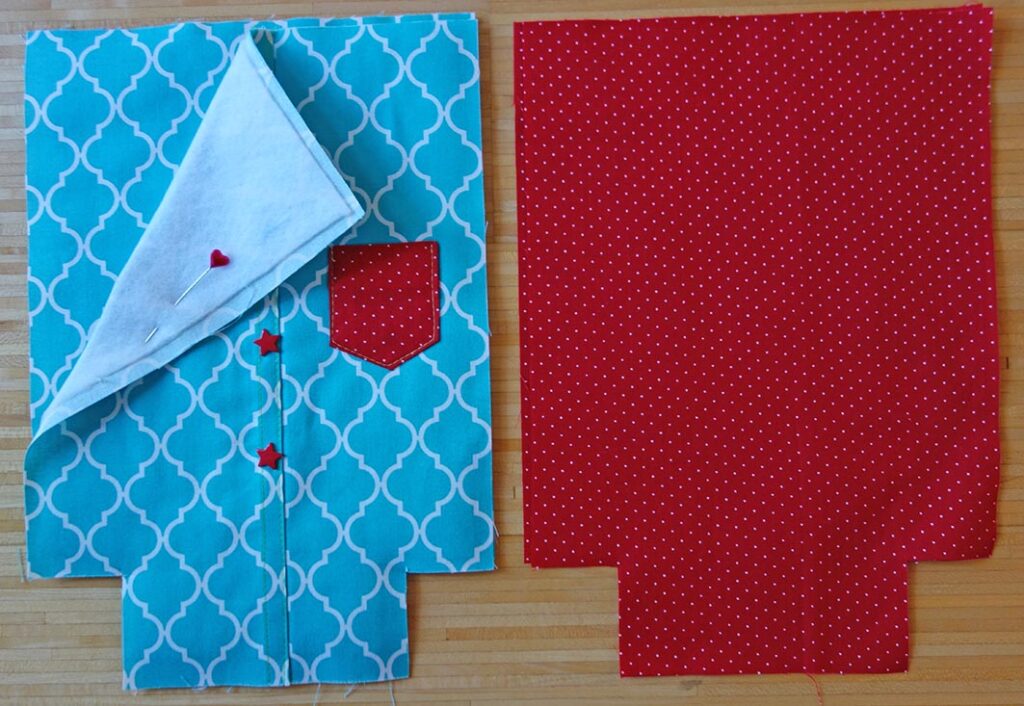
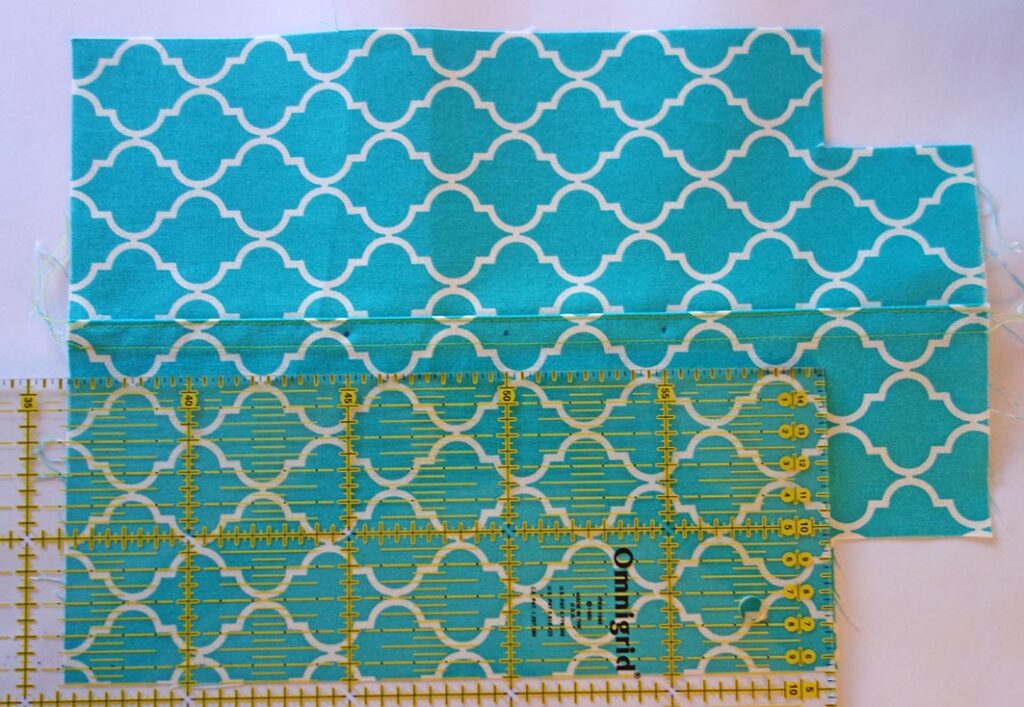
1. Fold the front piece in half, left sides together and sew a 1 cm seam on the fold. Iron this plait to the right and edge- stitch. Use this front piece as a template to cut the back and lining.
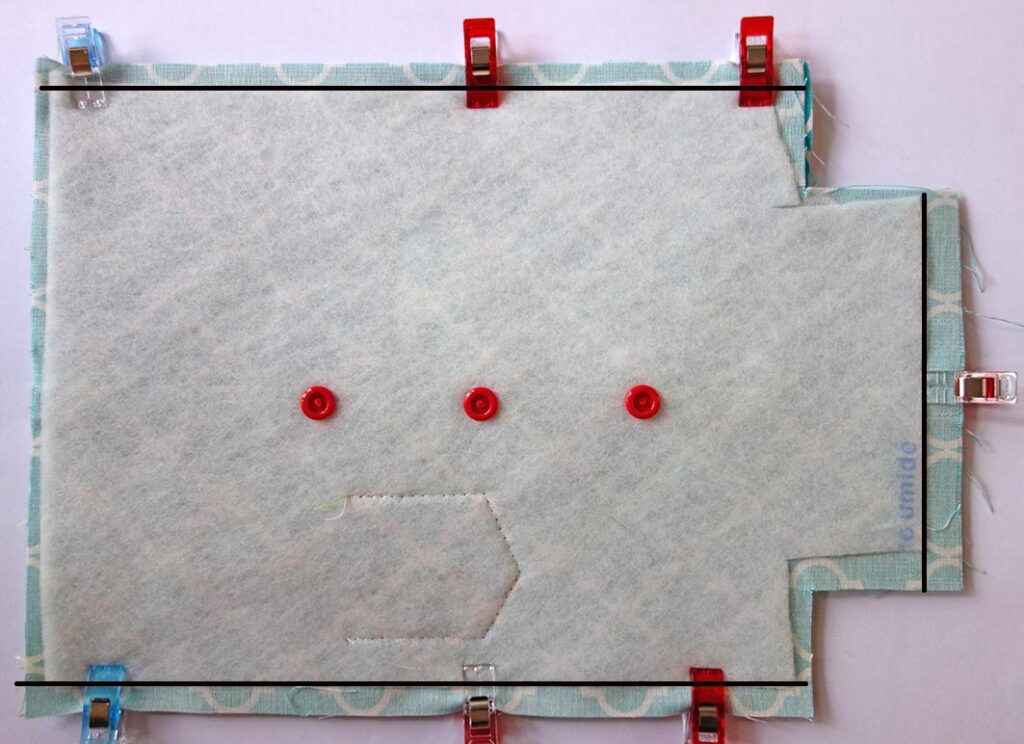
2.Iron the batting onto the left sides of the outer bag pieces.
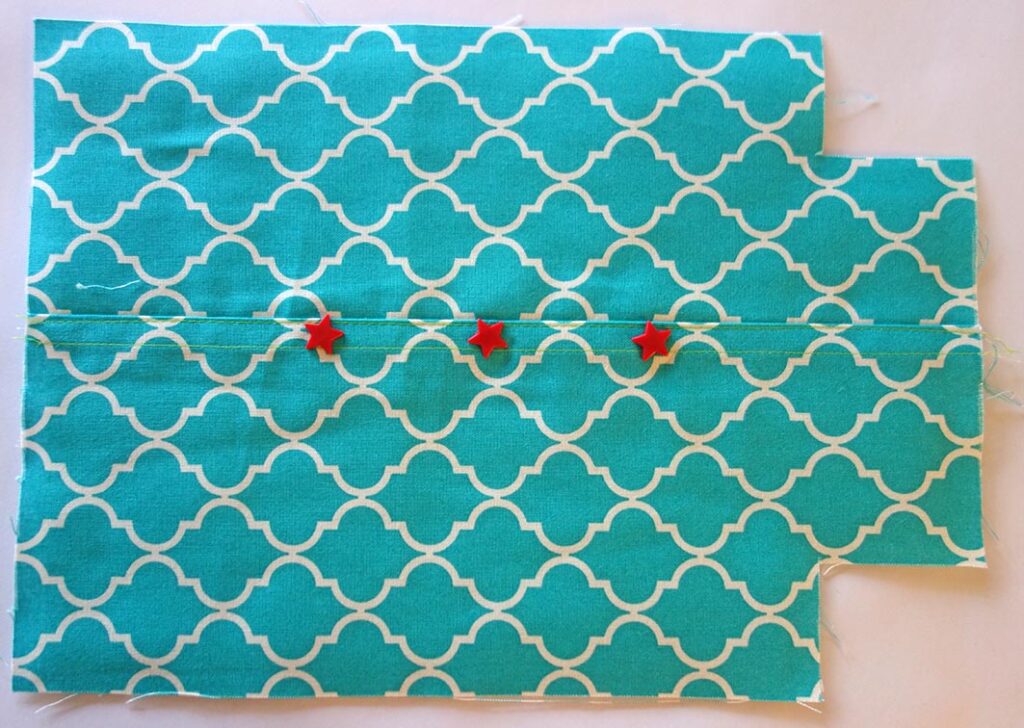
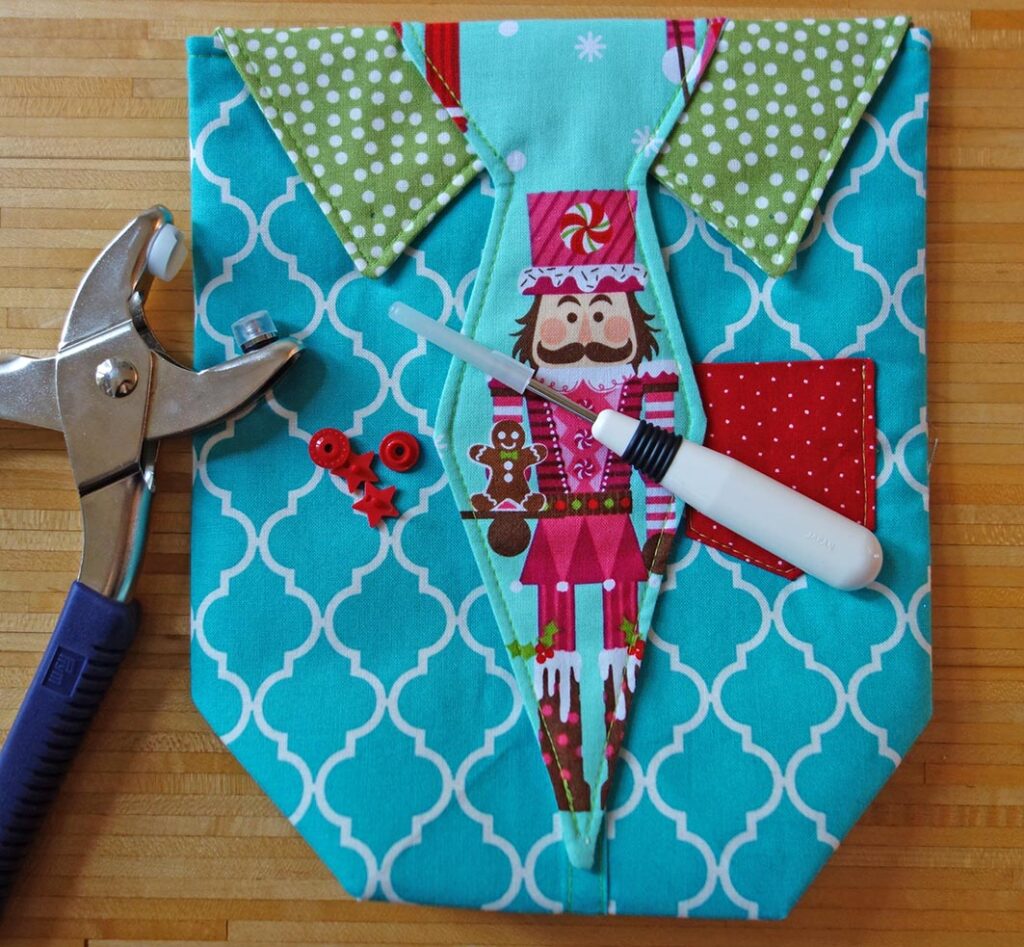
3.Mark points, measured from the bottom edge, 10, 15 and 20 cm in the middle of the button facing and install the snaps.
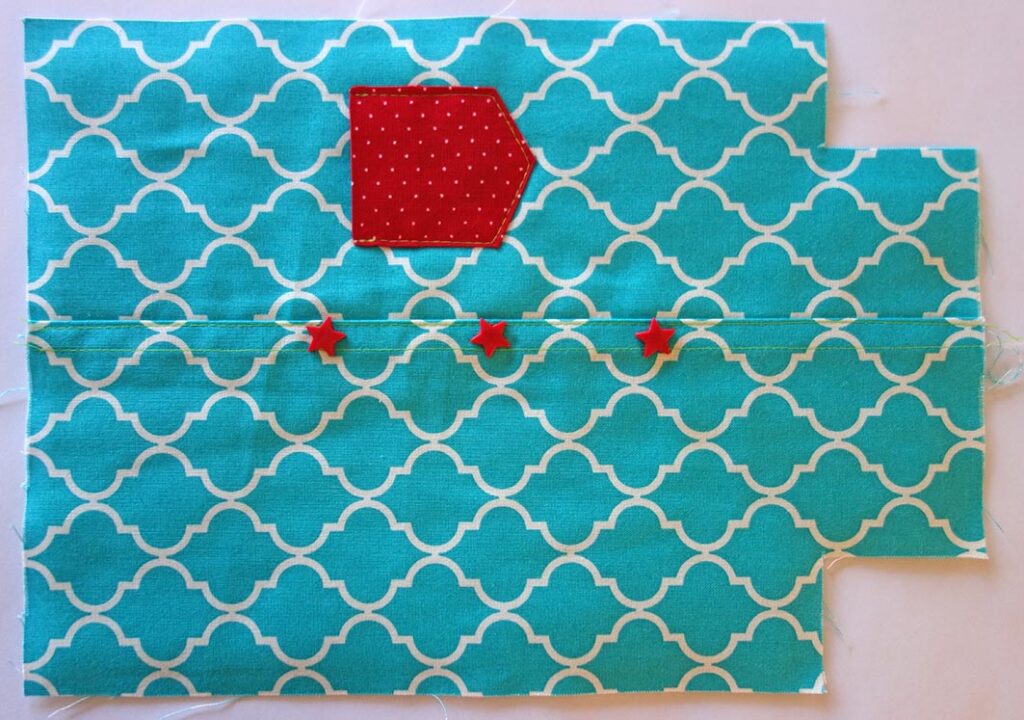
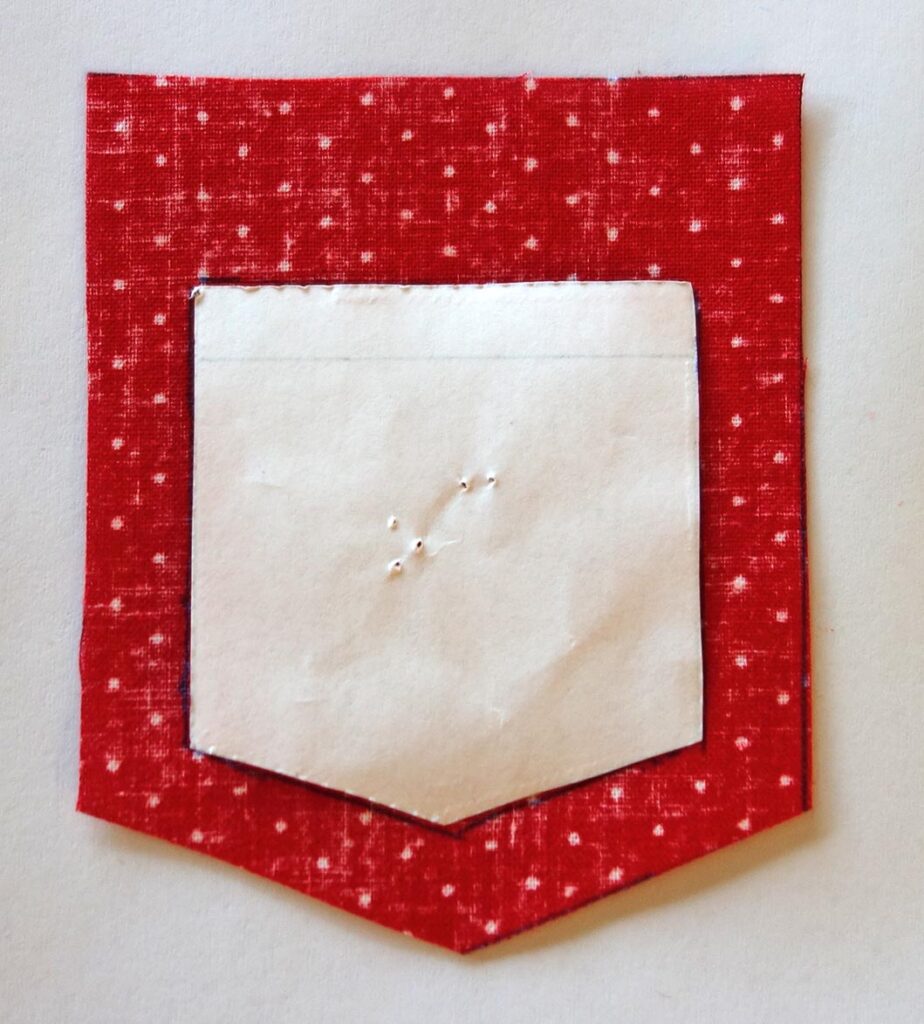
4.Cut the breast pocket by adding 2 cm allowance on the top edge and 1 cm on the remaining sides.
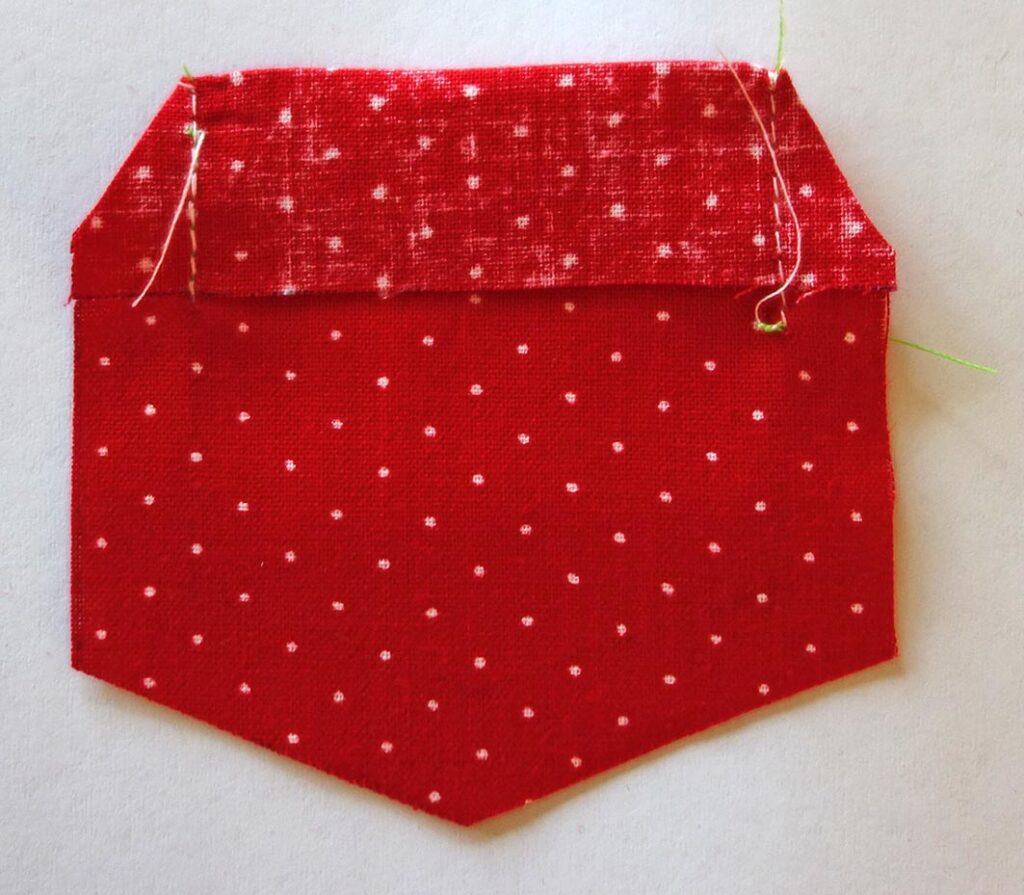
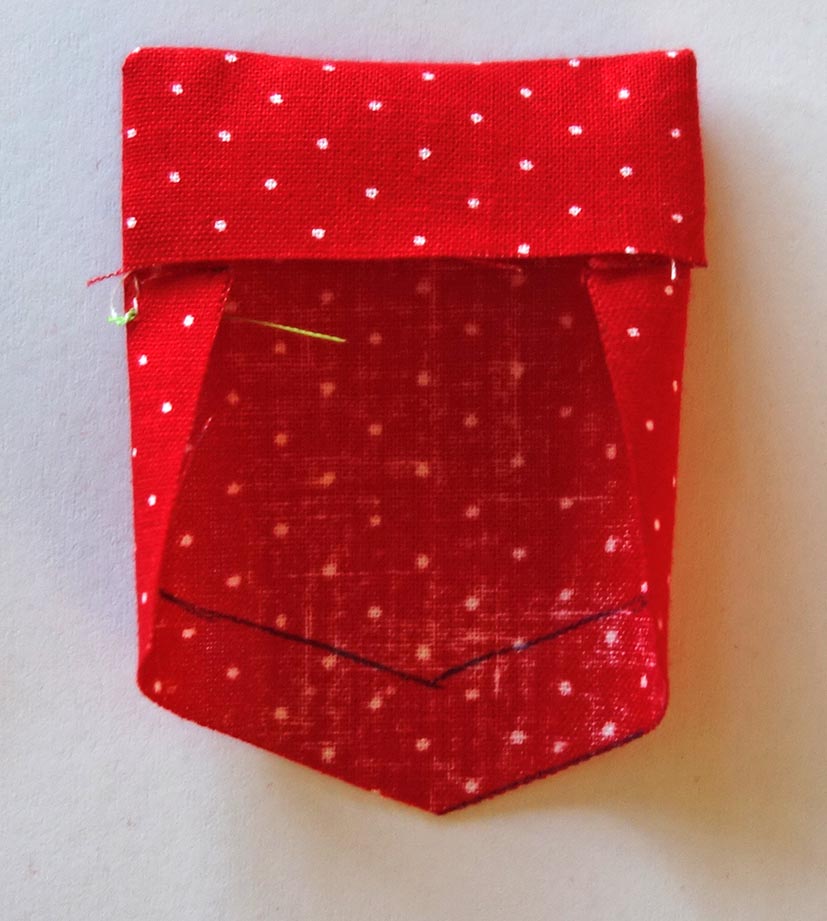
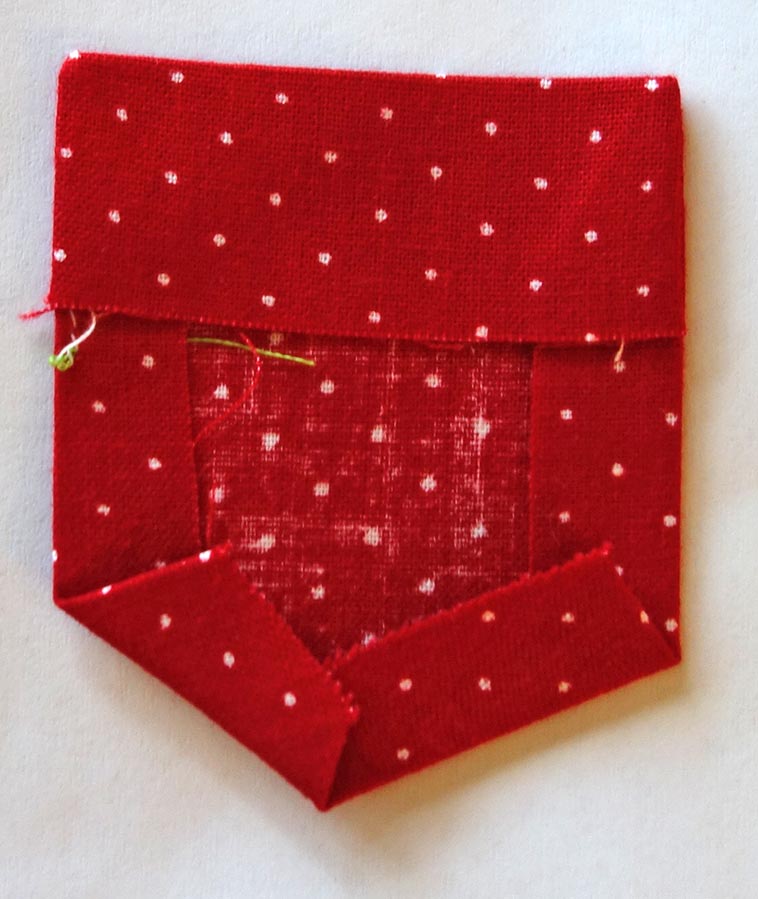
Fold the top edge (2cm) right sides together and sew the fold using a 1 cm allowance. Clip the corners.
Turn the fold to the right side and iron the allowance of the remaining edges onto the left side. Position the pocket onto the front of the bag: about 10 cm from the top edge and 3 cm from the side. Edge- stitch in place. This is very easy using the presser foot No. 10D.
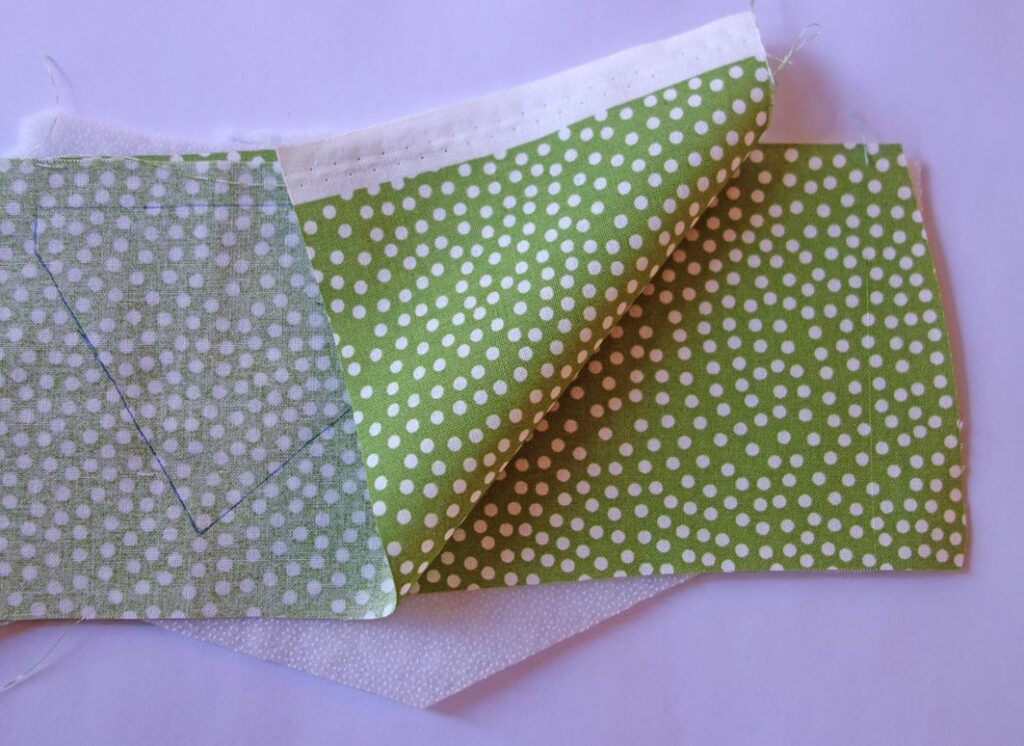
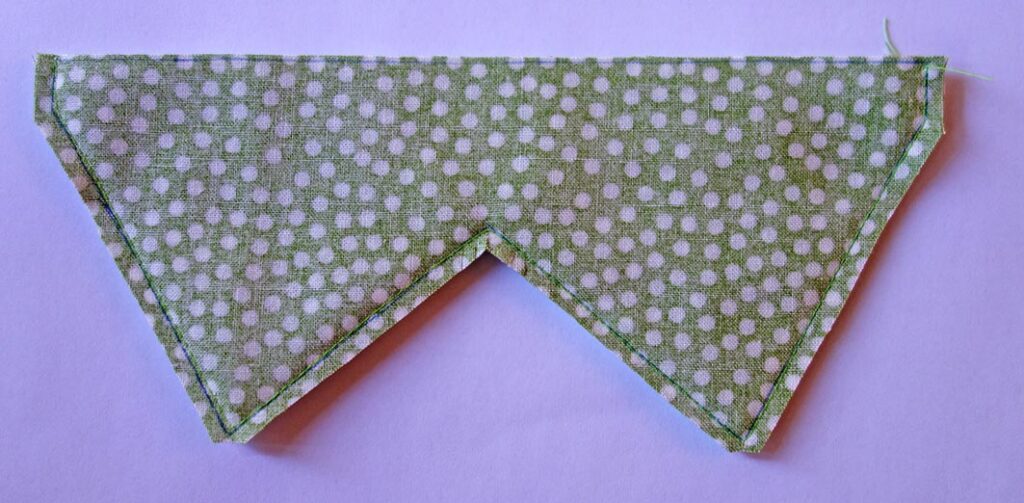
5.The collar and tie are done using the „sew first, then cut“ method. Transfer the collar pattern onto one left side of the collar fabric 3. Make a sandwich as follows: batting, then a piece of fabric face up and finally the piece with the traced pattern face down. Sew the traced lines leaving the straight top edge open. The presser foot No. 10D is a great help here as well.
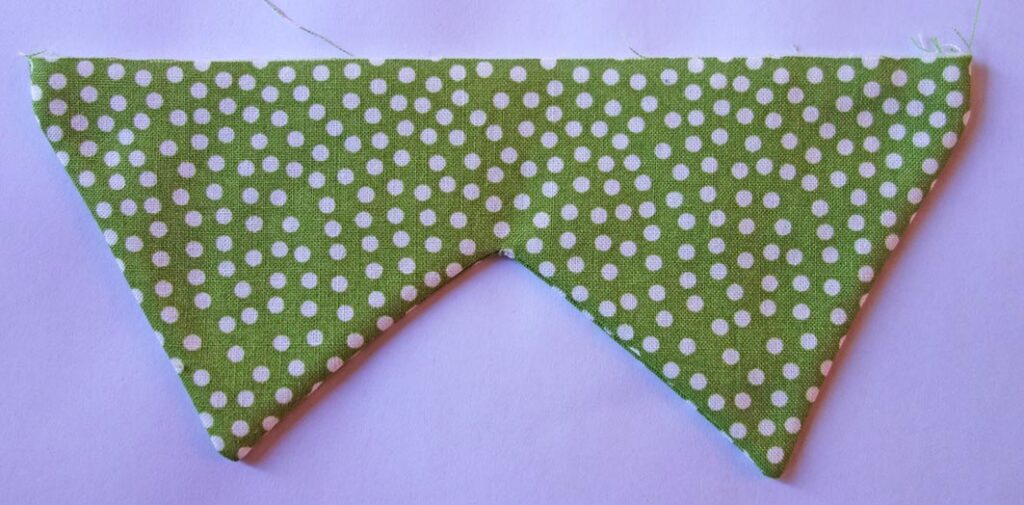
Cut the collar out using a 5 mm allowance and clip the corners. Turn to the right side, iron and top- stitch.
Do the same with the tie.
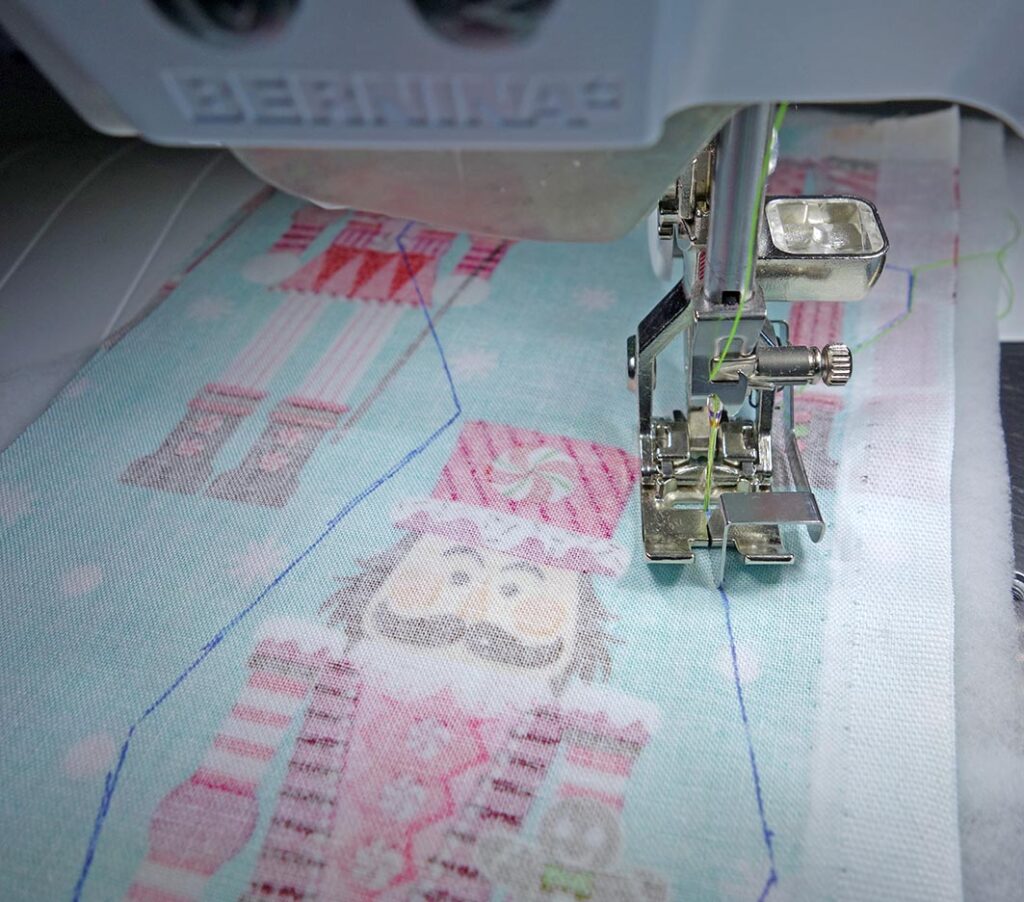
6.Place the tie onto the center of the collar and sew the sides of the tie as seen in the picture. This the closure flap of the gift bag.
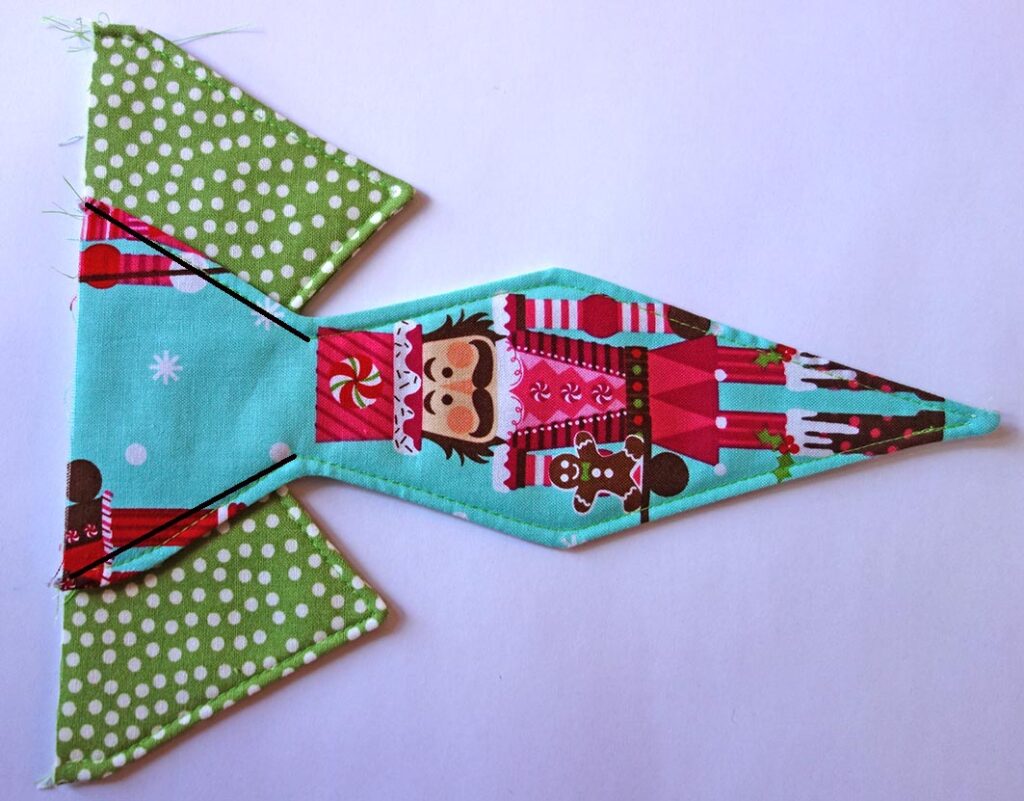
7.Place the closure centered with the right side down onto the back piece of the outer bag and stay stitch. Pin the front and back of the outer bag and sew all around leaving the top edge open.
8. Box the corners by placing the side and bottom seams on one another.
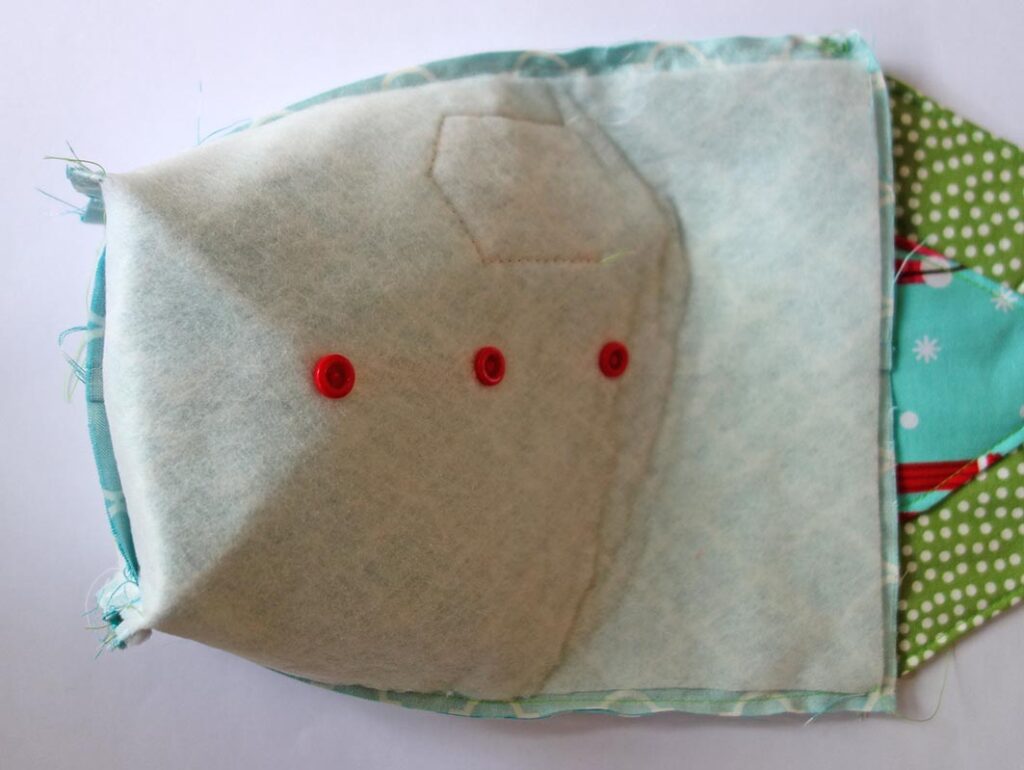
9.Pin the lining pieces together and sew the side seams. Sew the bottom seam leaving an opening for turning- about 7 cm. Box the corner as described above.
10.Slip both bags, right sides together into one another paying attention that the side seams are laying on top of one another. Sew the top edge.
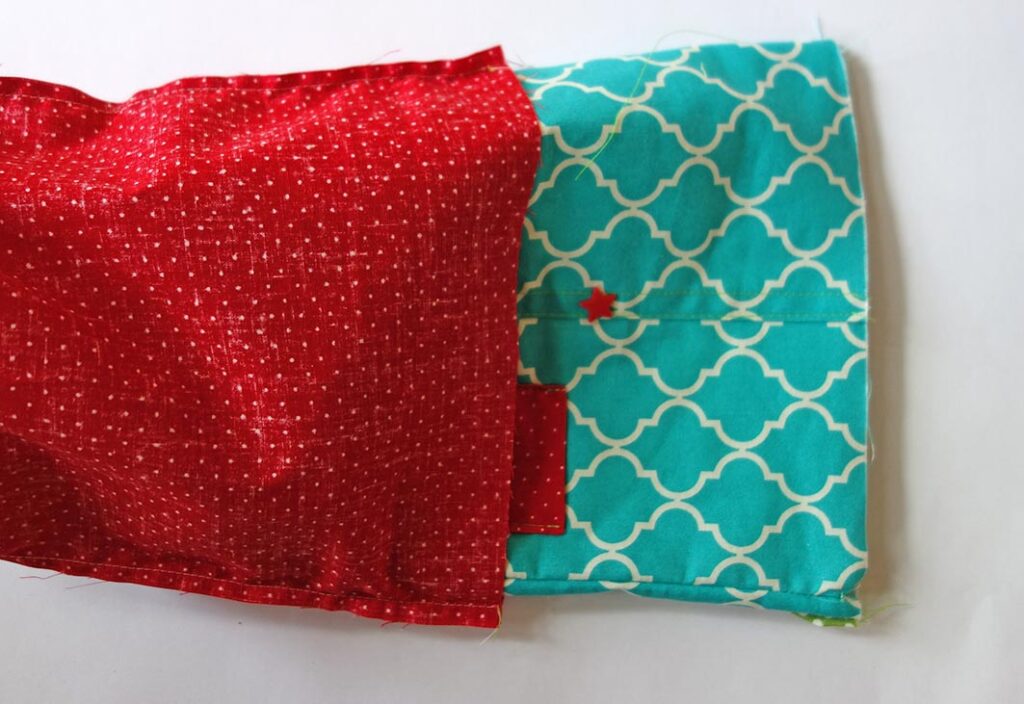
11.Turn the bag to the right side. Close the opening for turning. Iron well. Slip the lining into the outer bag and iron the top edge again. Top stitch the top edge.
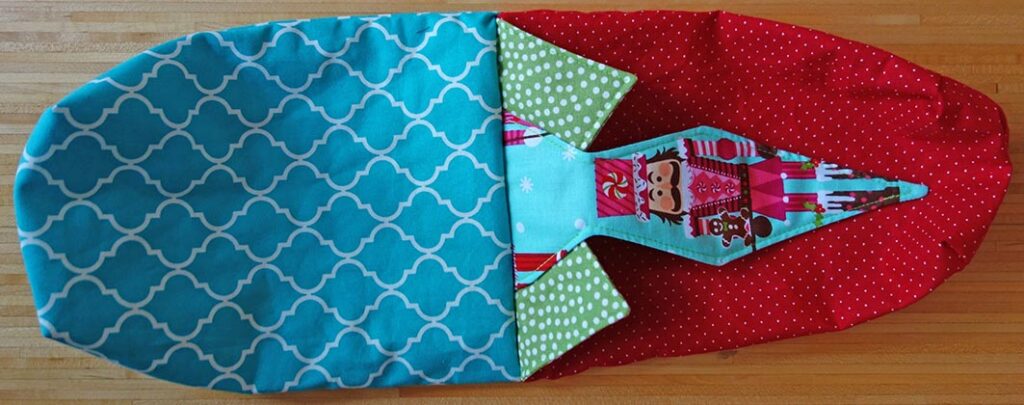
12.Mark the position for the snap buttons and install them.
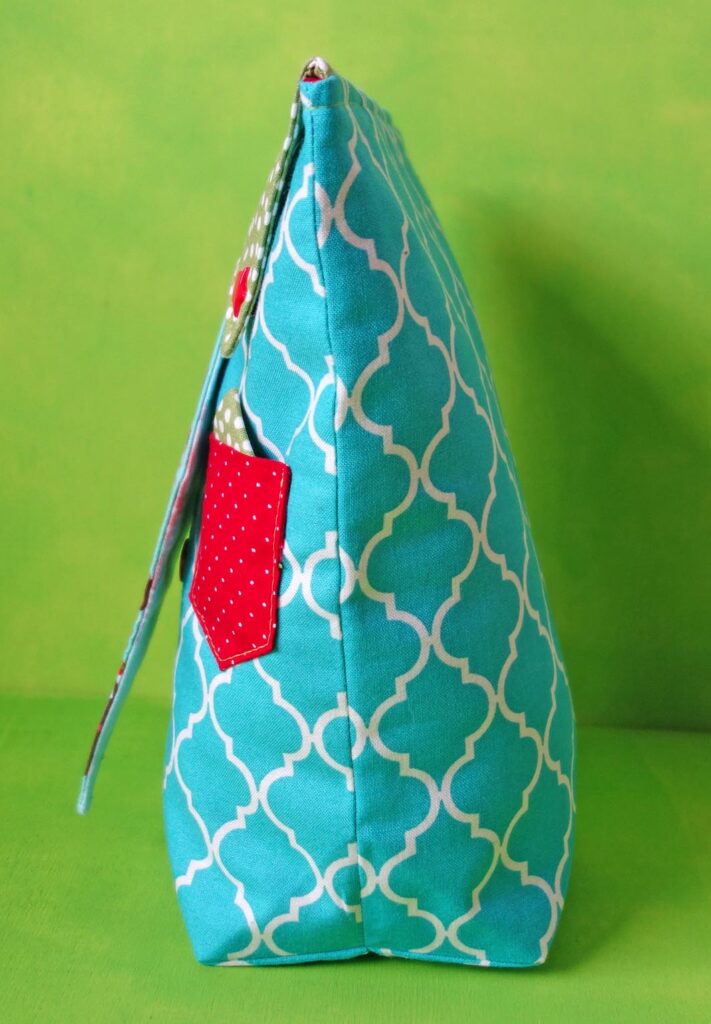
If you like you can fold a small piece of fabric and slip it ito the breast pocket. Otherwise, one could put in a note or a cute label.
I wish you all nice holidays and lots of fun making the bag!
Kasia
 BERNINA Corporate Blog -



Excellent idea Kasia. We often forget that the men like presents nicely wrapped too! Thanks for sharing.