 BERNINA Corporate Blog -
Dear community,
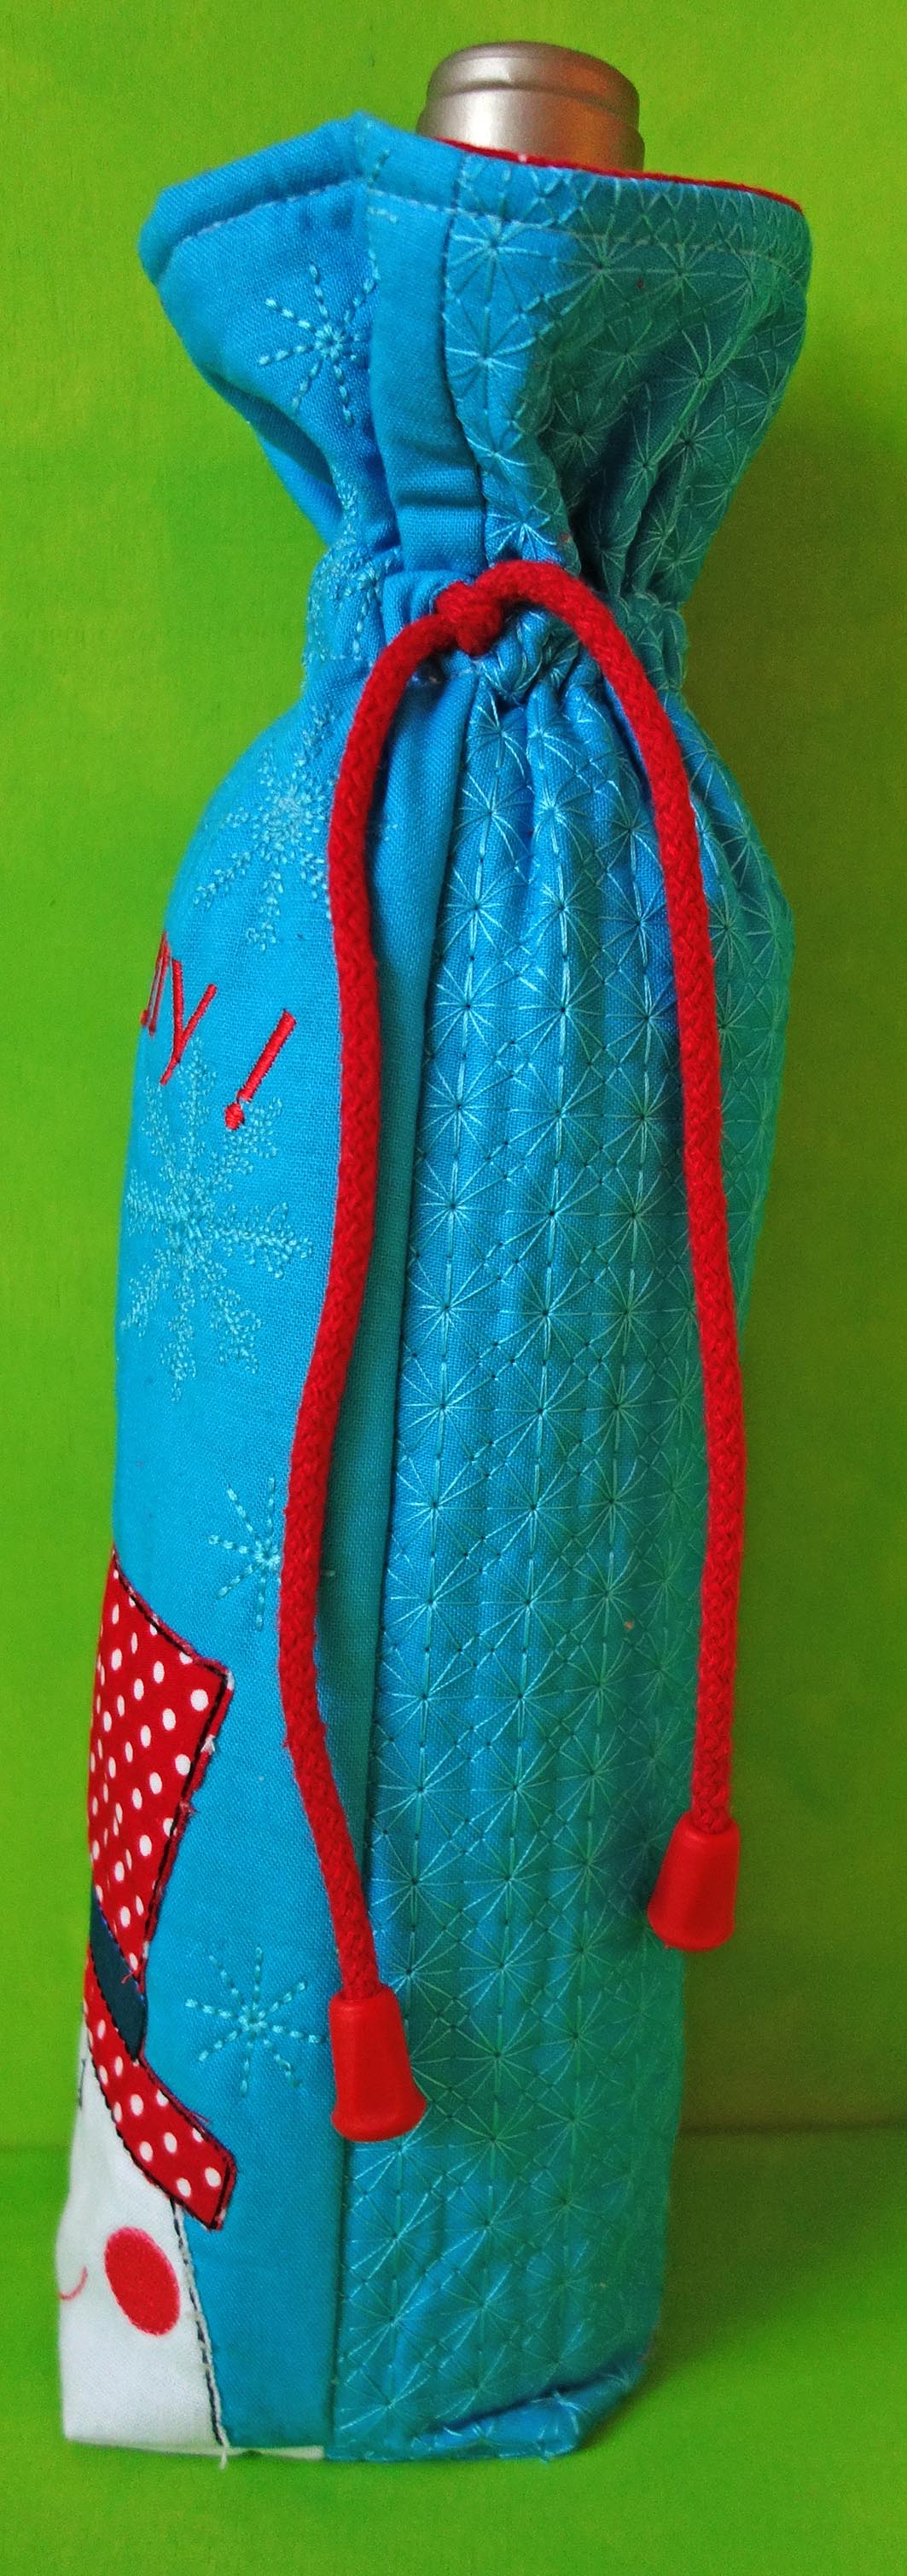
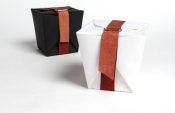
in this blog post you can find easy instructions for sewing a pretty wine bottle bag as gift wrap – perfect for Christmas and New Year’s Eve!
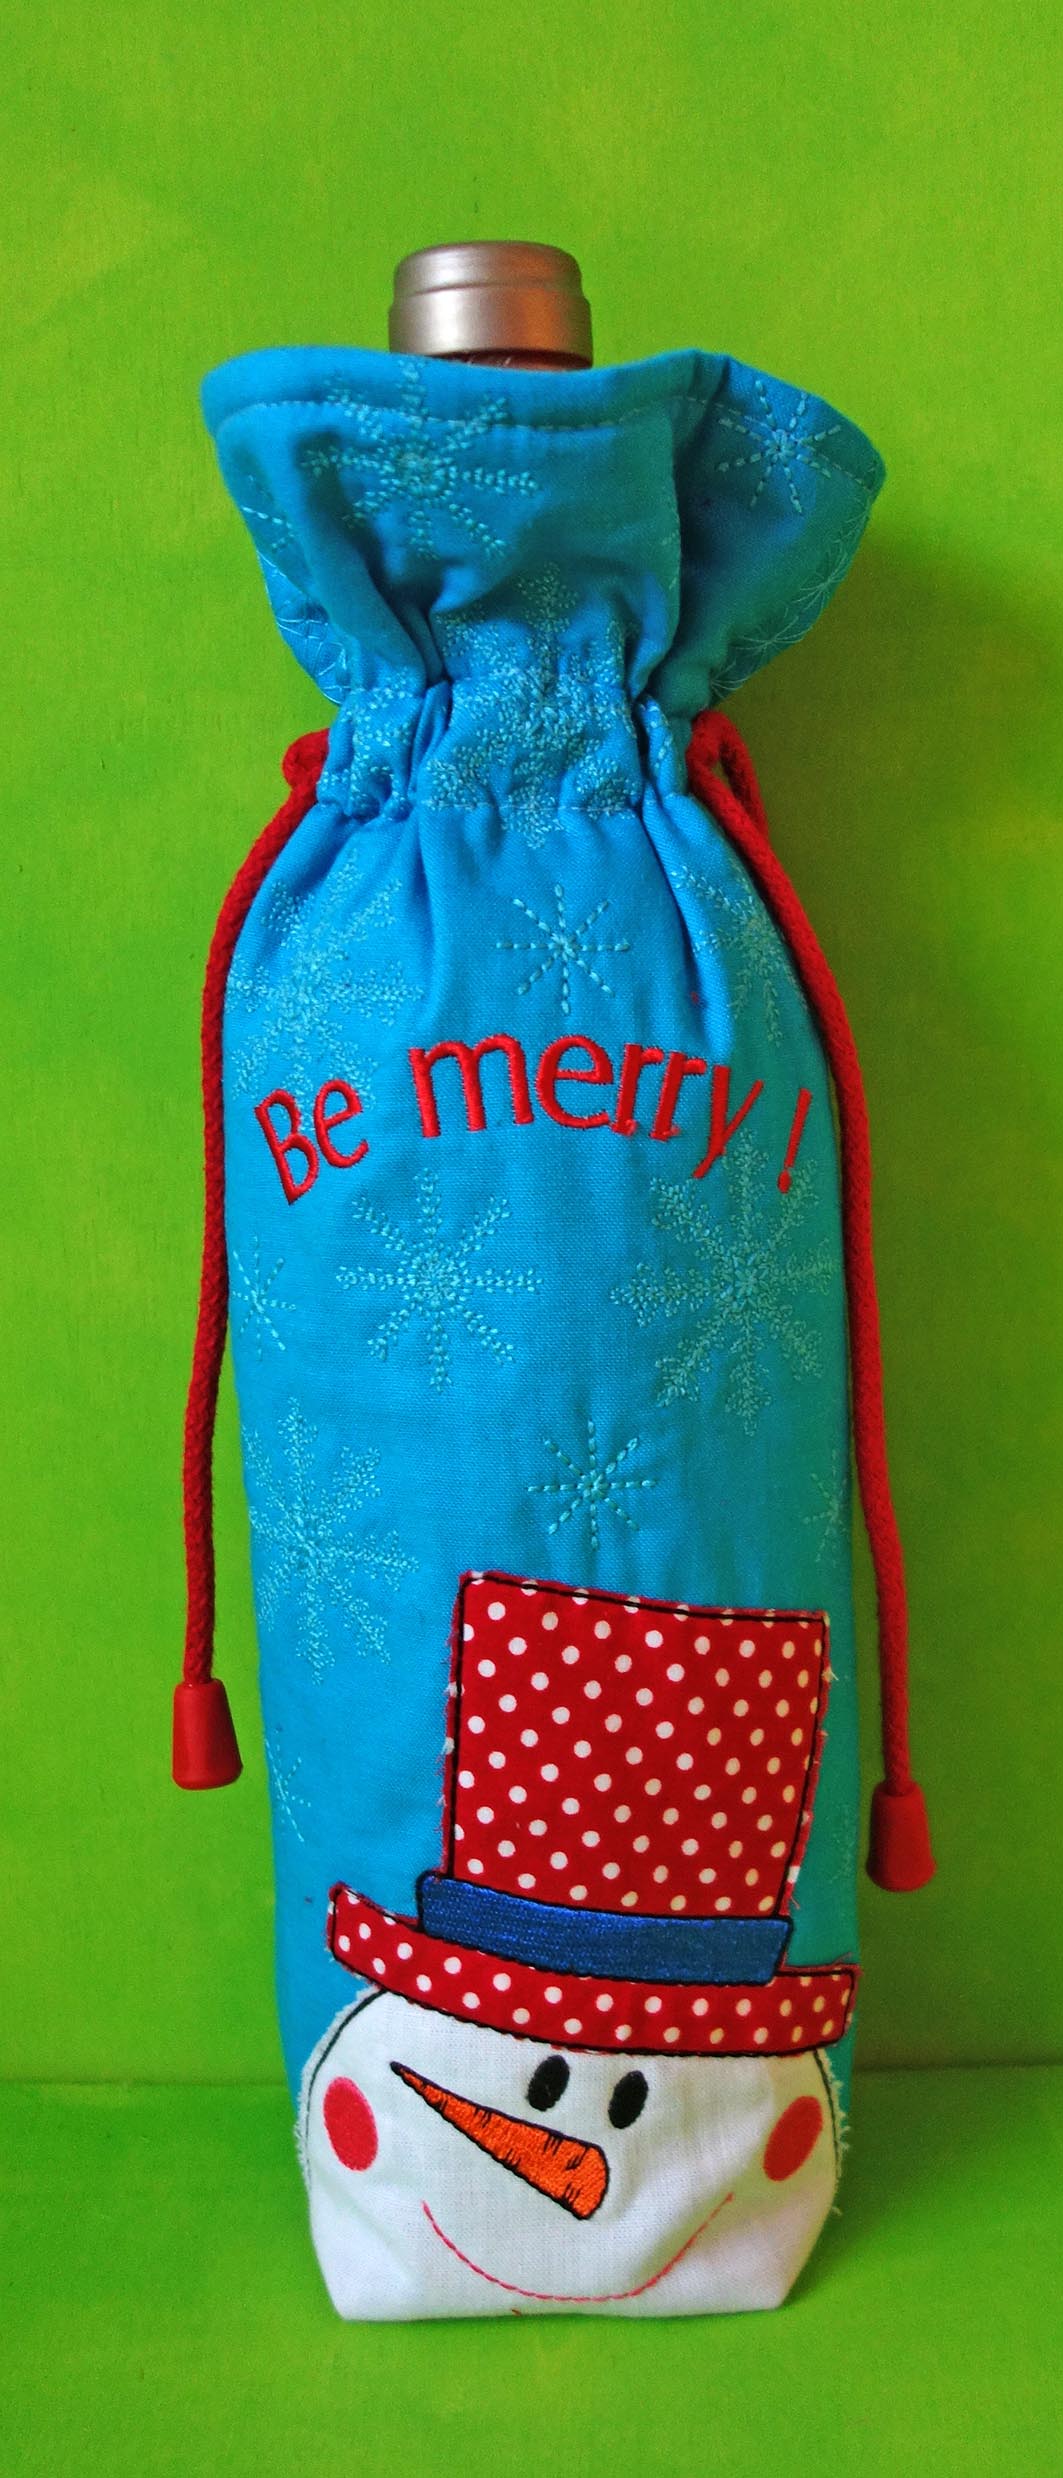
What kind of present you give a man that has everything? Perfume? No, it is too personal of a choice. Wine? Almost everyone likes a wonderful bottle of wine, but so alone with a bow it is a bit too impersonal. Not a problem. Let’s just make a pretty wine bag!
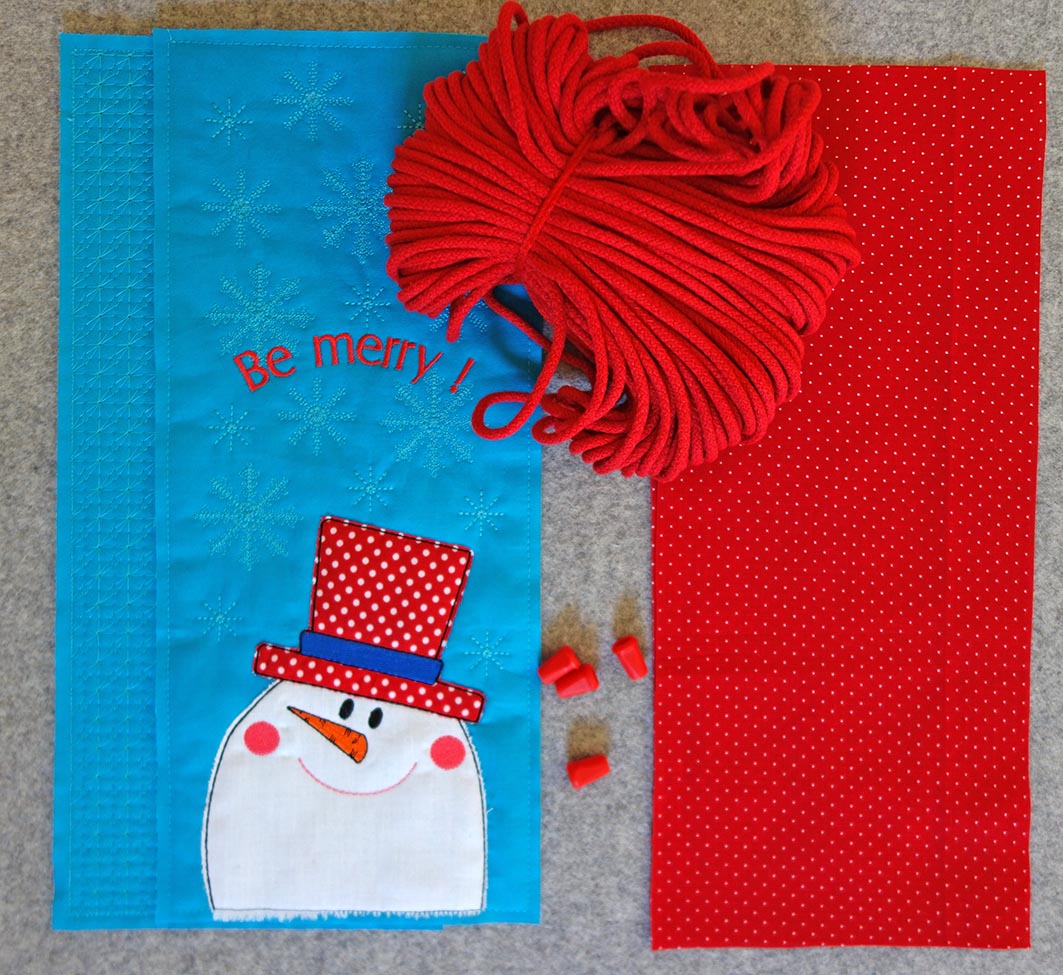
Materials needed:
- Fabric 1 – 35 cm solid woven cotton, turquoise
- Fabric 2 – 35 cm woven cotton, dots red/ white
- Remnant woven cotton in white and polka dots for the appliqué
- Embroidery cut- away stabilizer
- 100 cm cord, red
- 4 cord ends, red
- Embroidery thread, Rayon weight- 40 from Madeira, light blue, dark blue, orange, pink and black
- Bobbin-fill, white and black
- Sewing thread, blue
- Fabric marker
- Textile glue
- Jumbo hoop
- Embroidery file: Stickdatei_ Weinbag
If you do not have the Jumbo Hoop, I have included an embroidery file for the 13 x 18 cm hoop. In this case you have to do without the stars and the pretty stitches on the back of the bag. The cutting measurement for all pieces is 17 x 38 cm.
Embroidering the front:
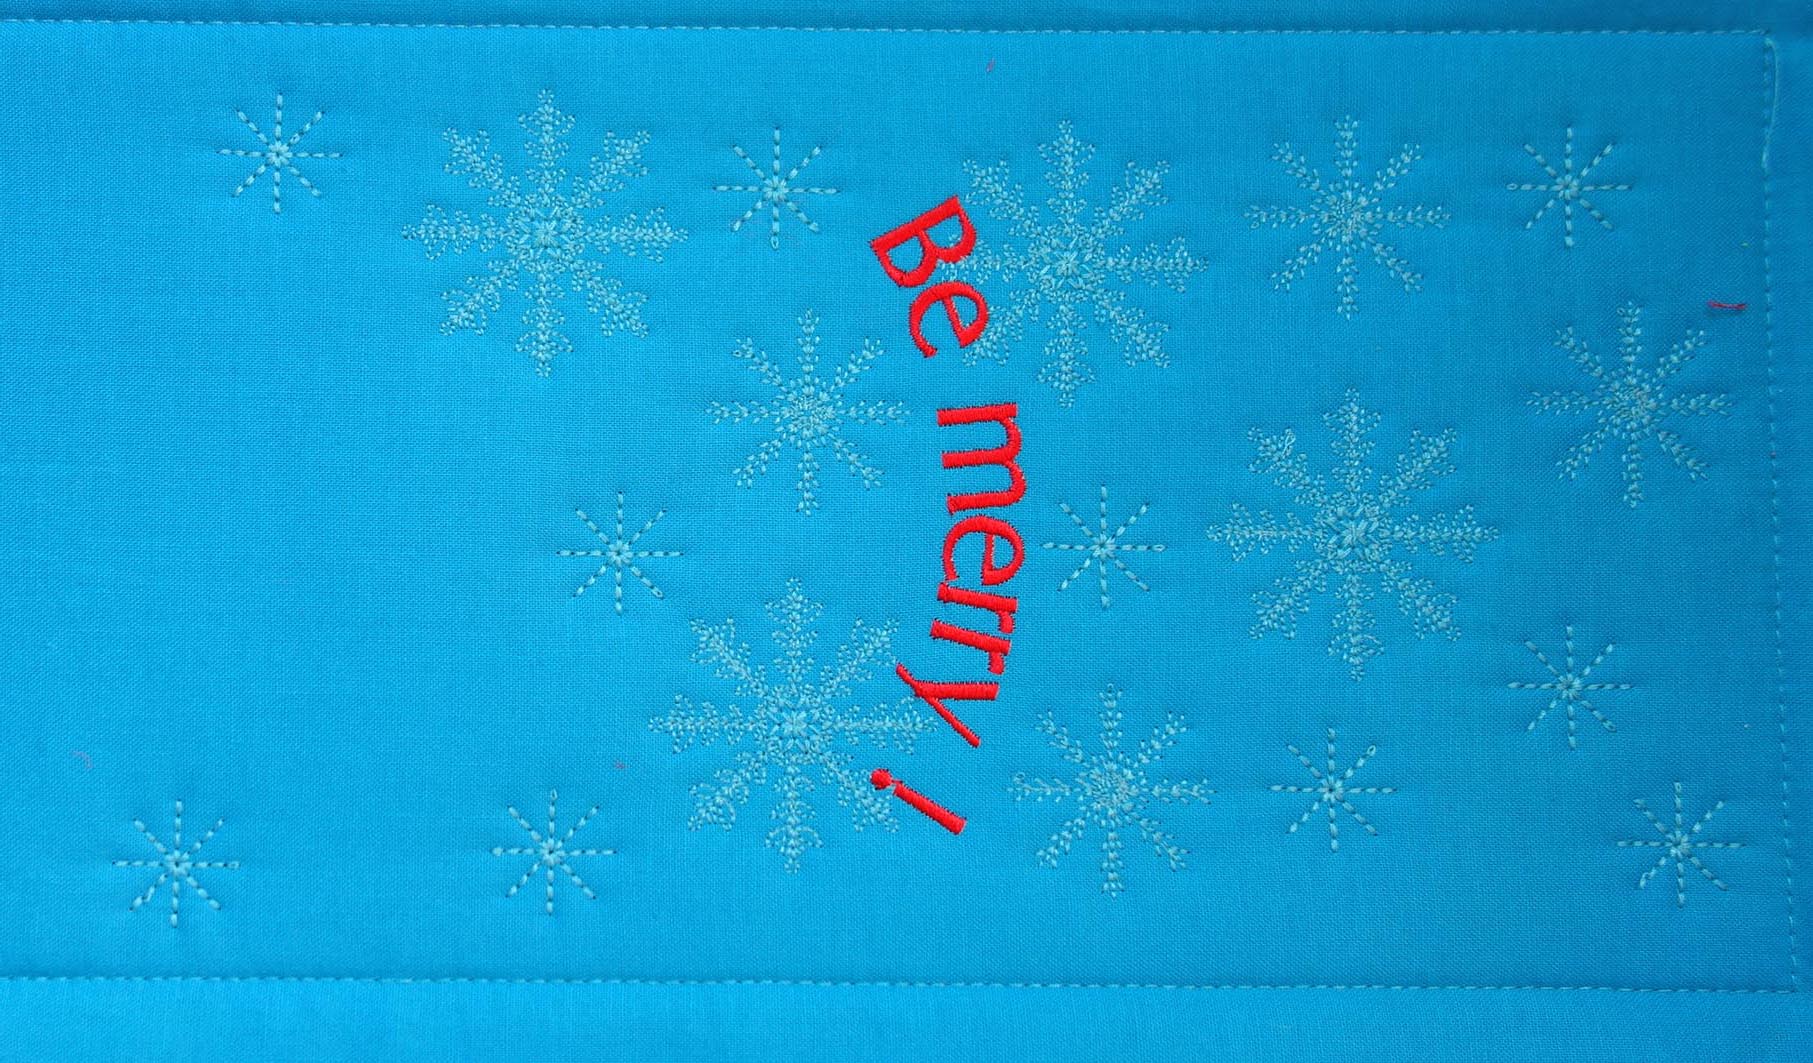
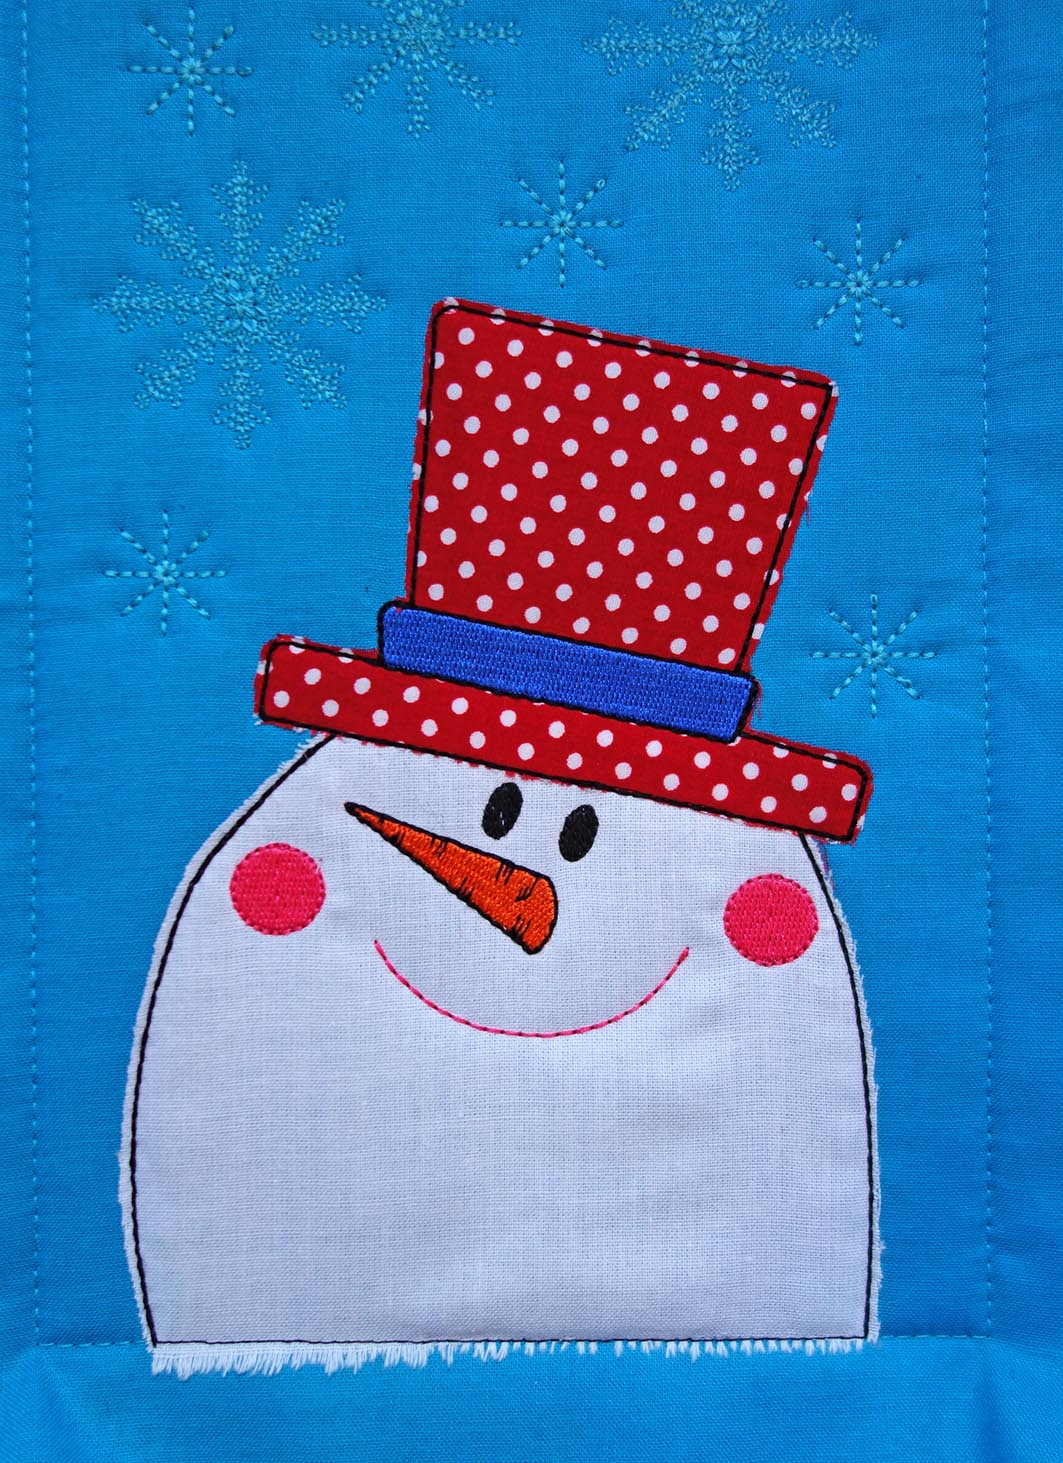
Hoop some stabilizer and sew the first color. That is the placement line for the fabric. Place the fabric over the outline and let the machine sew it onto the stabilizer. The next sequence embroiders the stars. When the machine is done, cut the jump threads away. In the following step, the machine will embroider the text in red.
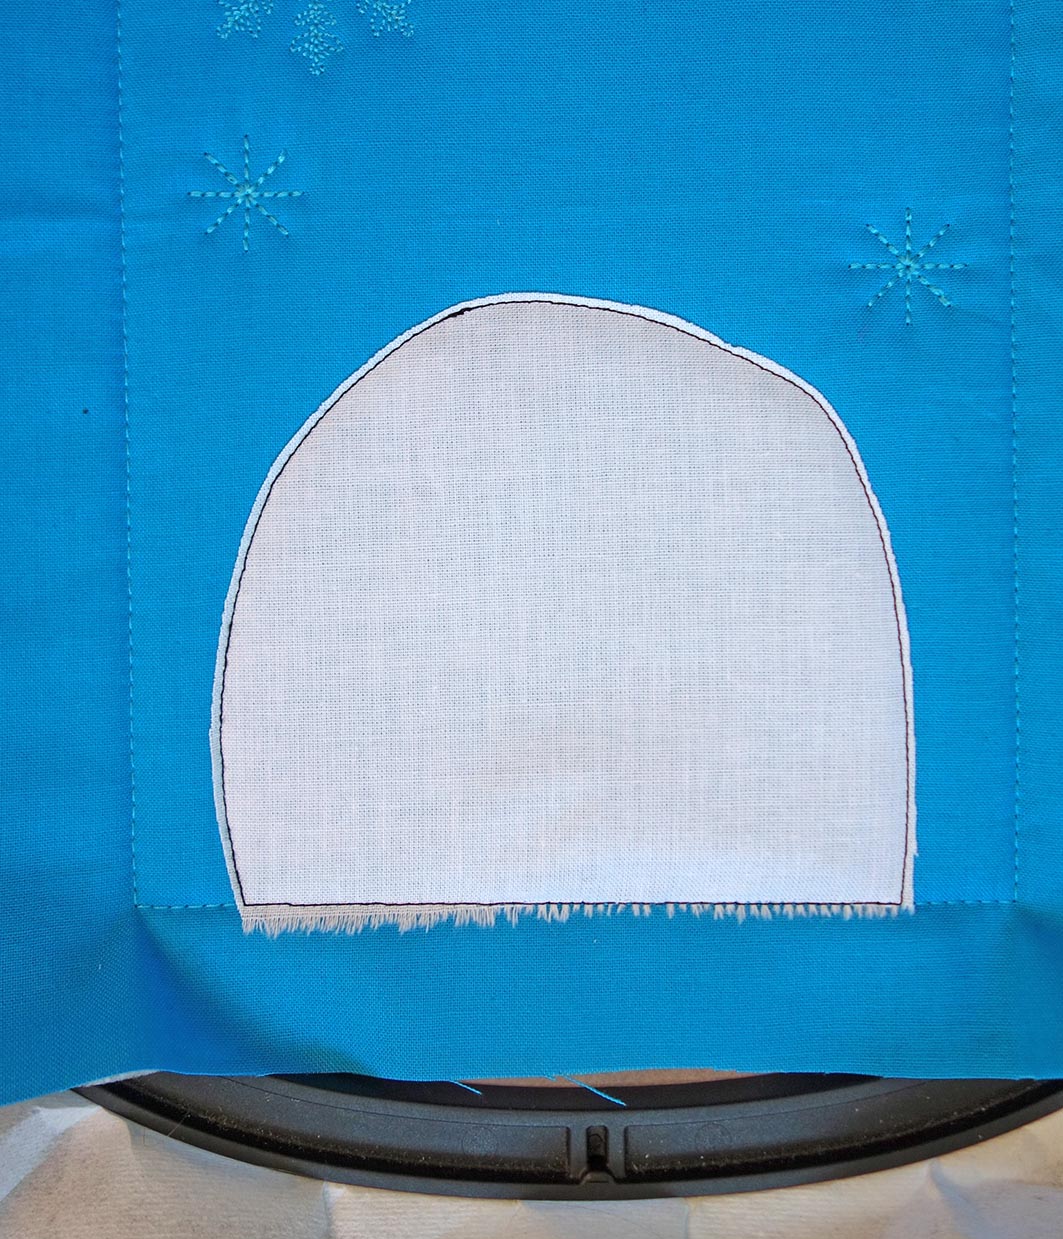
Next, the machine will sew an outline for the first appliqué. Place the white fabric over the outline just sewn and let the machine fixate it onto the rest of the project. This is the face of the snowman. Trim the overlapping edges away using a 2mm allowance.
Repeat the same steps to complete the second raw edge appliqué, the hat.
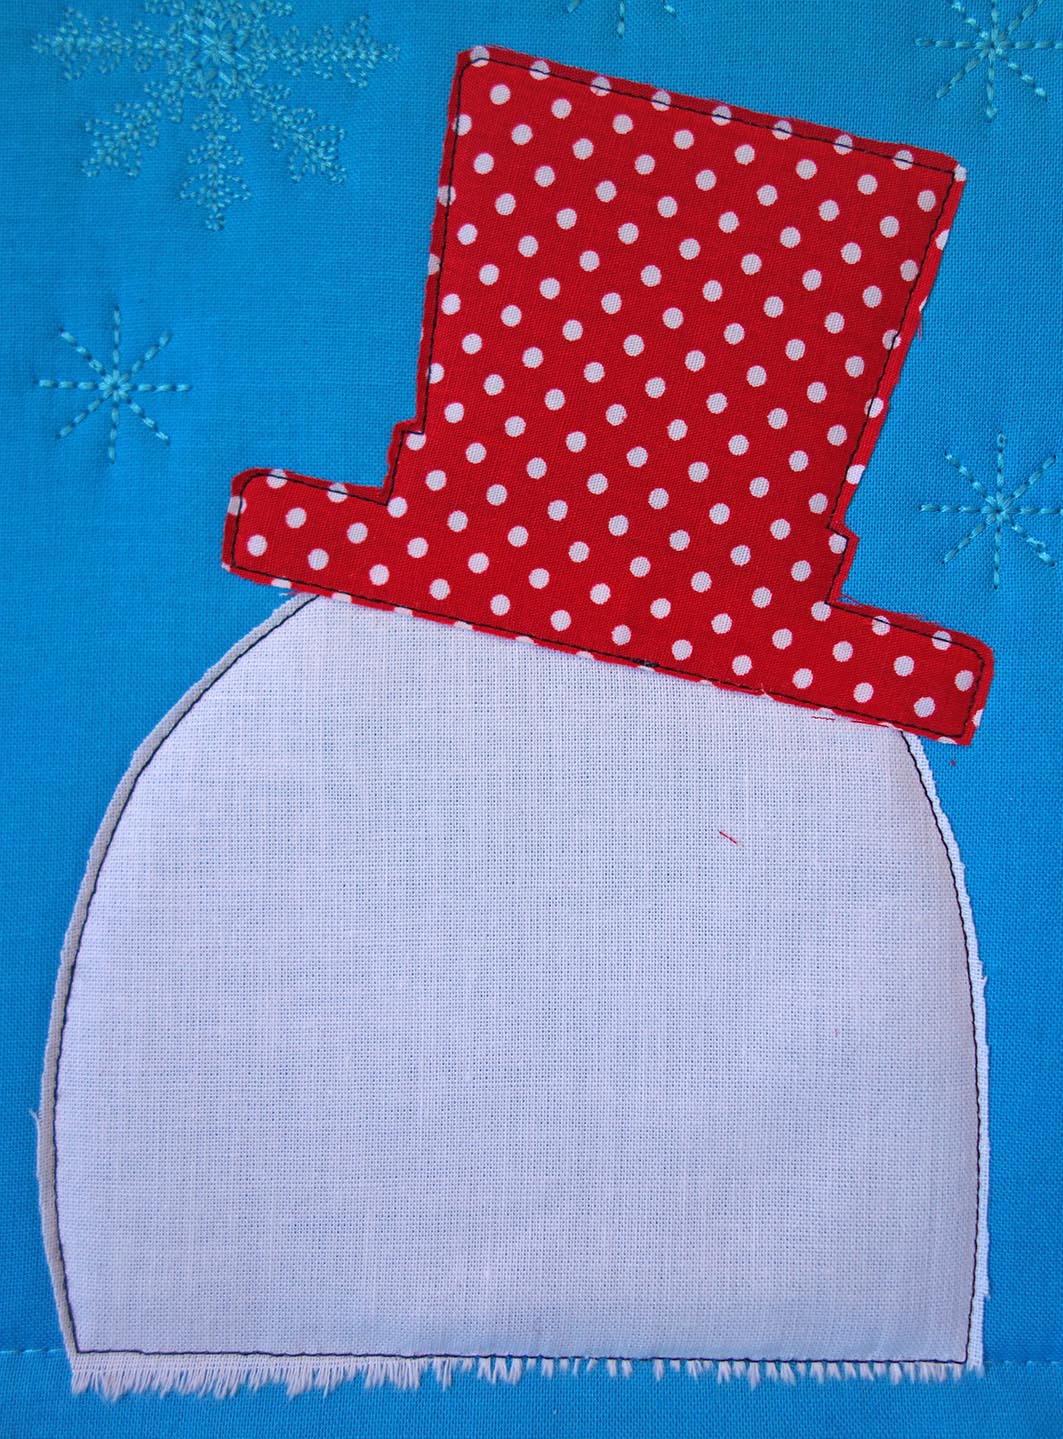
Continue to embroider until all of the details of the embroidery design are done:
- mouth and cheeks in pink
- nose in orange
- hat band in dark blue
- eyes and outline of the raw edge appliqué in black
Remove everything from the hoop and set aside.
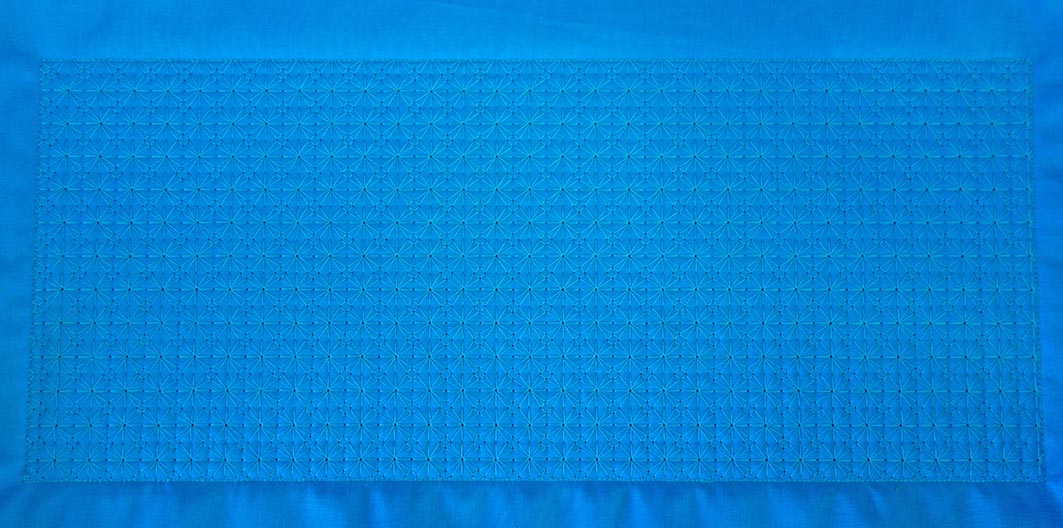
Embroidering the back:
Hoop some stabilizer and sew the first color. That is the placement outline for the fabric. The second color fixates the fabric onto the stabilizer and the third embroiders the pretty decorative stitching.
Cutting:
Cut out both of the embroidered pieces with a 1 cm allowance. Use one of the pieces as a template to cut 2 pieces out of fabric 2- that is the lining.
Construction:
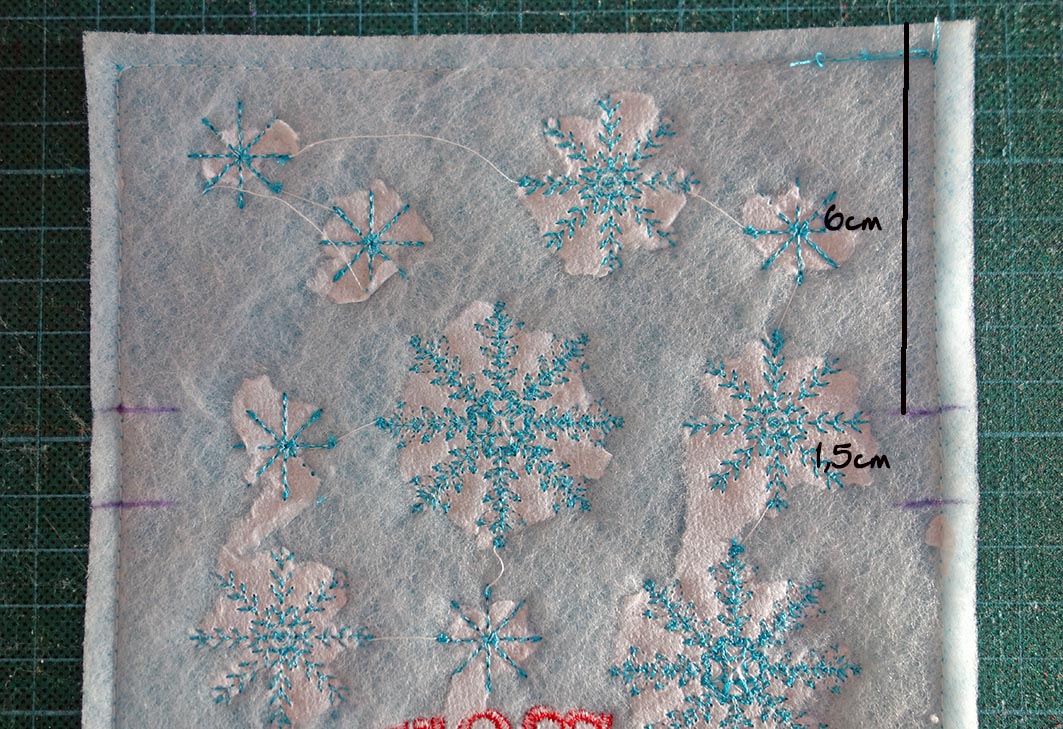
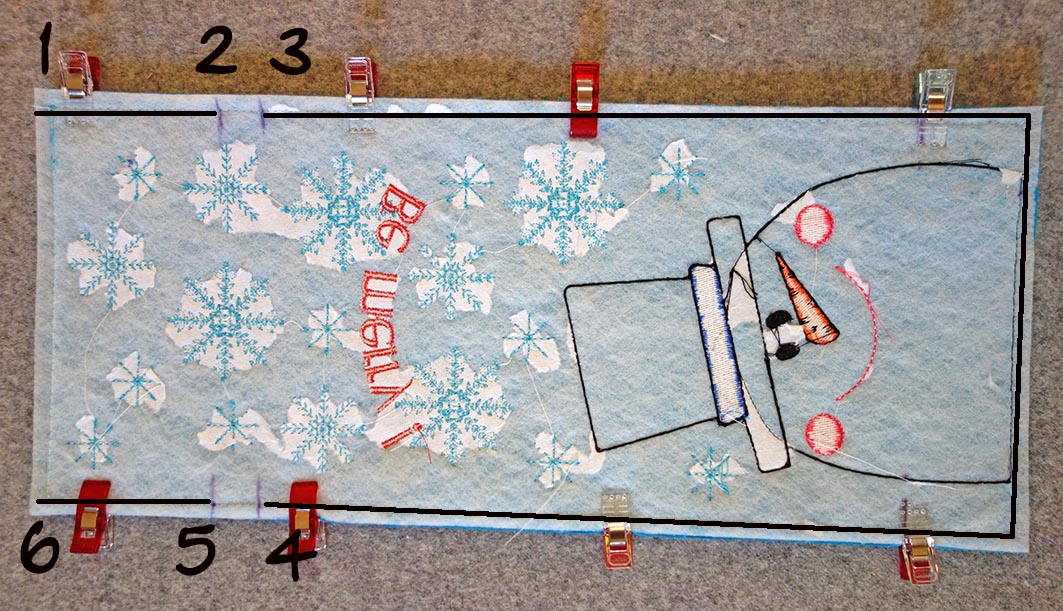
On the left side of one of the outer bag pieces mark the lines as seen in the photo. Those are the holes for the tunnel where the cord will be inserted.
Please do not be confused by the batting and the tear away stabilizer in my picture. I simply did not have any cut away stabilizer on hand as I made the sample here. I recommend that you use a cut away as instructed as the combination of batting and tear away stabilizer make the bag too stiff.
Pin the outer bag pieces right sides together. If you are sewing with the 9mm presser foot No. 1C, 1D or 10 D and have the needle in the middle position, you have a seam allowance of 1 cm. We want to sew here with a 1,2 mm allowance so that the edges of the embroidered rectangular outlines disappear in the seam allowance. To get a 1,2 mm allowance, align the edge of the fabric with the presser foot and move the needle position 2 points to the left.
Sew the outer bag by starting at the upper right corner. Sew to the first mark and secure the stitches. Start at the second mark and sew all around until the bottom left mark. Secure the stitches again and start at the upper left mark and sew to the very top of the left side.
Iron the the seam allowance apart as far as you can and glue them onto the front and back fabric at the point where the opening is.
Box up the bottom corners by 3 cm. To this just place the bottom seam onto the side seam and measure 3 cm from the top of the corner. Cut the overlapping tips away using a 5mm allowance.

Sew the lining pieces on all 3 sides (top stays open) and leave an opening for turning (about 5 cm) on the bottom. Box up the corners as described above. Slip both bags into one another with right sides touching each other. Side seams matching. Sew all around.
Turn the bag to the right side and close the opening for turning. Iron well and work the lining into the outer bag. Iron the top and top stitch. The presser foot No. 10 D is a great help here. Sew all around above and below the little openings in the side seam to create a tunnel for the cord.
Cut the cord in half. Insert one half through one hole and go all around coming out through the same hole. Repeat on the other side. Install the cord- ends.

 I wish you nice holidays and lots of fun making the bag!
Kasia


Cute project. Can it be saved as a pdf file?
Hello Joanne
I suppose that you can just print it to PDF fpr later. Another way is to just save the link to the post, as the posts stay here forever.
happy holidays!
Kasia
Very Merry and Bright Kasia. It looks wonderful!