 BERNINA Corporate Blog -
A tutorial share from BERNINA USA’s WeAllSew blog.
by Faith Jones
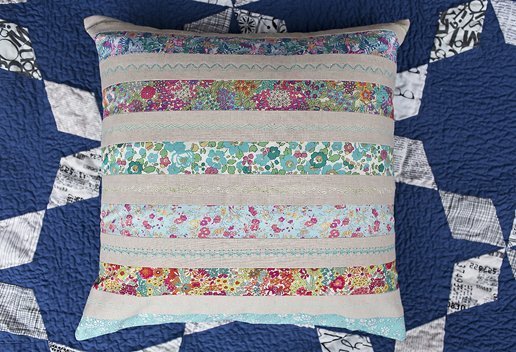
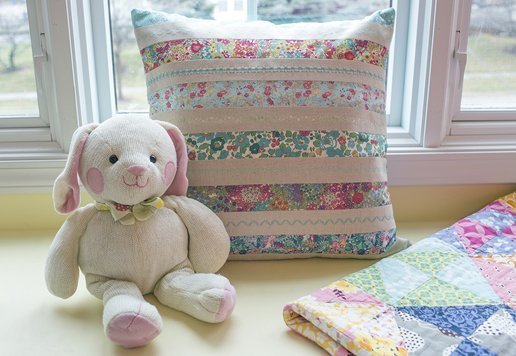
“Nothing refreshes a space like a new pillow. Today I’m sharing a tutorial to make a lovely pillow with really special decorative stitch detailing.”

Supplies
- Cut (6) 2-1/2″ x 19″ strips from various prints
- Cut (6) 2-1/2″ x 19″ strips from neutral
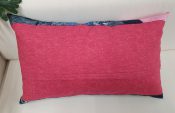
- Cut (1) 19″ x 19″ rectangle from backing fabric
- (1) Invisible zipper for an 18″ pillow
- Accent thread for decorative stitching
- 18″ x 18″ pillow form
- Marking tool (Hera marking tool, disappearing ink pen, etc.)
- 20″ x 20″ square of batting (optional)
- Basting spray or pins (optional)
- BERNINA Foot 35 (optional) : 1/4″ foot (BERNINA Patchwork Foot #37)
- BERNINA Reverse Pattern Foot #1C
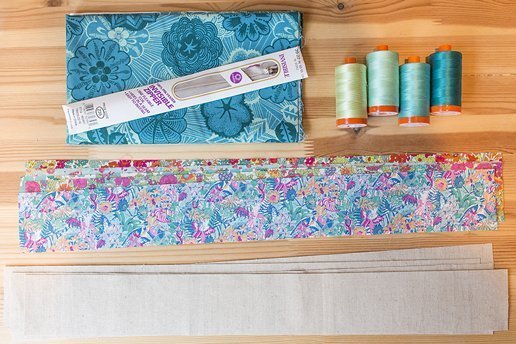
* For my pillow, I used various Liberty of London Tana Lawn prints, Robert Kaufman Essex Linen in Natural and Aurifil Thread 50 weight cotton #2835, #1148, #3320.
Pillow Top Assembly
Note: All seam allowances are 1/2″
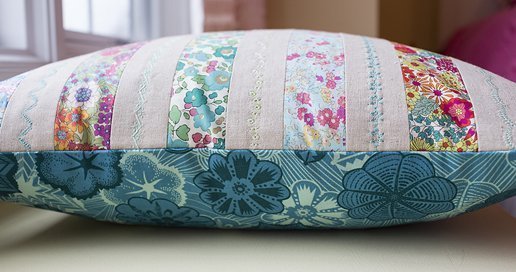
Lay out your (6) print strips and your (6) neutral strips, alternating print/neutral/print/neutral/etc.
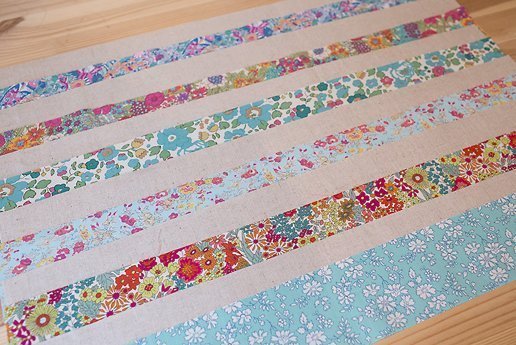
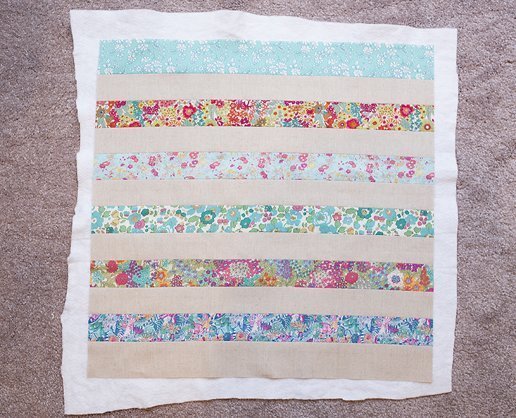
Placing right sizes together, stitch together along the long side of the fabrics. When all 12 strips are sewn together, you should have a 19″ x 19″ square.

Optional – add batting. When making pillows, I really enjoy the extra cushioning a layer of batting provides. I also use down feather pillows at home, and I find that by including a layer of batting, less feathers poke out of the front of the pillow.
If you decide to include a layer of batting in your pillow, take your 19” x 19” square pieced pillow top and pin or spray baste it to your 20″ x 20″
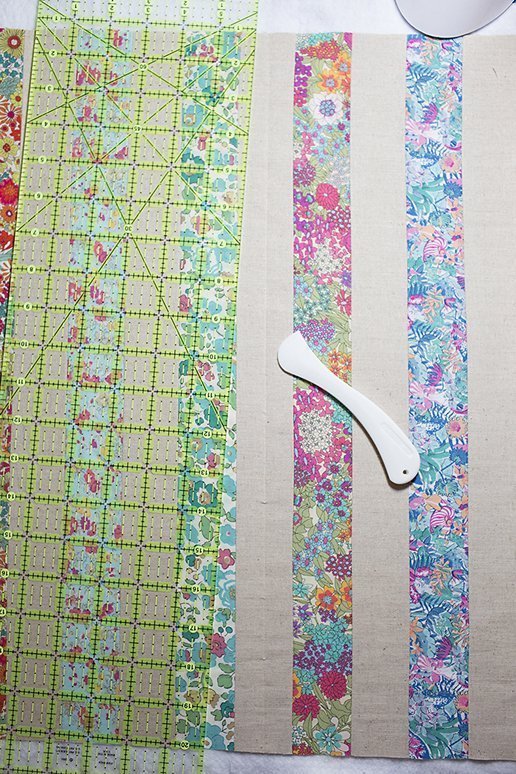
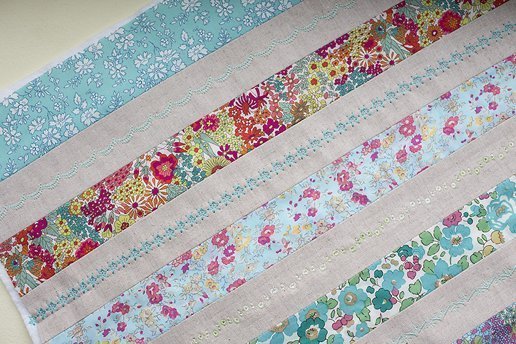
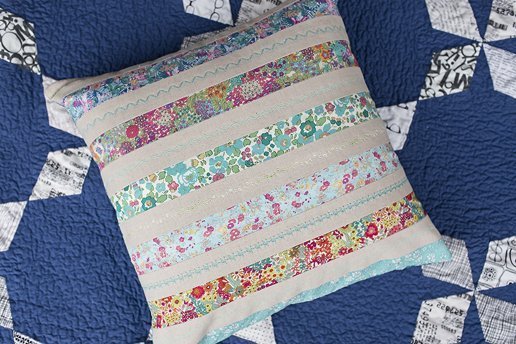
Once your 19″ x 19″ square pillow top is ready, take a marking tool such as a disappearing ink pen or Hera marking tool and mark a line down the center of the neutral fabric strips. The center should be 3/4″ away from the seam line. This line will act as your guide when sewing your decorative stitches.
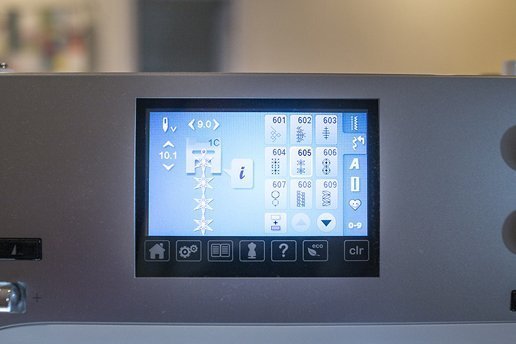
Select your decorative stitches. I am sewing on a BERNINA 750 QE and it has a huge selection of decorative stitches. Although there are digital pictures of them on the sewing machine screen, as well as in the manual, I decided to do some test stitching on a scrap of my neutral fabric. This is a great way to see how everything stitches out on your particular fabric, using your thread, before starting on your finished project.
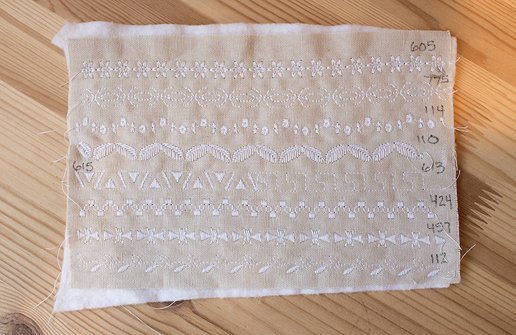
For my pillow, I used decorative stitches #115, #605, #114, #747, #136 and #401 on my BERNINA 750QE.
There are a few things to remember before you start stitching your decorative stitches:
- Change your thread to your accent color.
- Start with a full bobbin.
- Be sure you have the correct needle plate on your machine. If, like me, you switch to a straight stitch plate for piecing, remove that and replace it with the stitch plate that came with your machine.
- Be sure you are using the correct foot for your particular decorative stitch. The BERNINA 750 QE tells you what foot to use on the screen, in my case Reverse Pattern Foot #1C
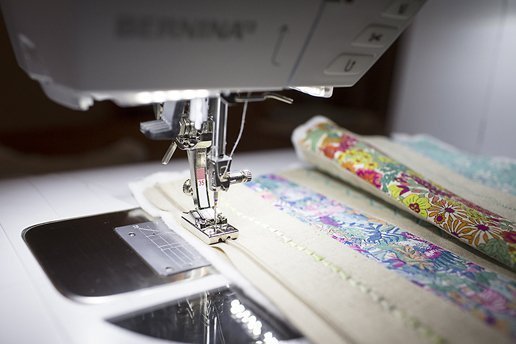
Select your desired decorative stitch and using your marked center line as a guide, stitch down the center of the first neutral fabric strip.
If your machine has an automated stitching start/stop button, this is a great time to use it. On the BERNINA 750 QE, hold down the start/stop button for a couple of seconds and the machine will start stitching without use of the foot pedal.
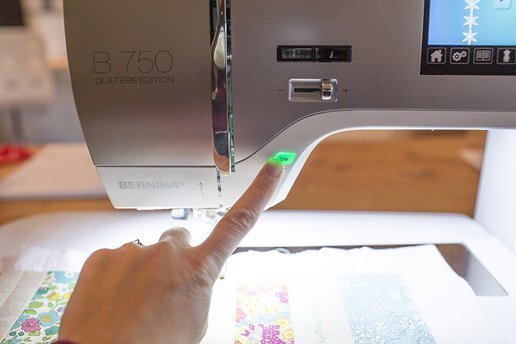
Simply use your hands to guide the fabric and make sure it stays straight, but do not force, push or pull it
Simply press the start/stop button again when you are finished stitching.
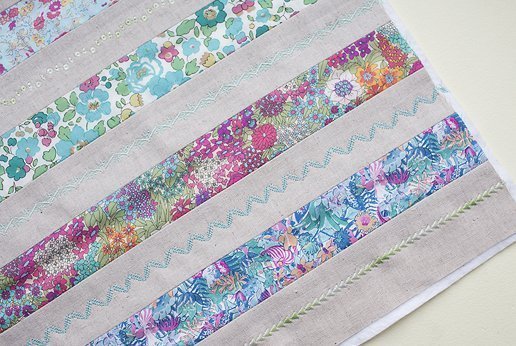
Continue stitching decorative stitches down the center of each neutral fabric strip. For added interest, I used different decorative stitches and coordinating threads for each strip.

After stitching all your decorative stitches, if you optionally added a batting layer, trim so that it is flush with your pillow top.
Pillow Finishing
Once your pillow top is complete, install your invisible zipper. I used BERNINA Foot #35 and this WeAllSew BERNINA video tutorial. If you plan on making a lot of pillows, BERNINA Foot #35 is really a complete dream and makes the invisible zipper installation incredibly simple. It is probably my favorite specialty BERNINA foot.
If you do not have an invisible zipper foot, install your zipper using the manufacturers instructions printed inside the zipper packaging.
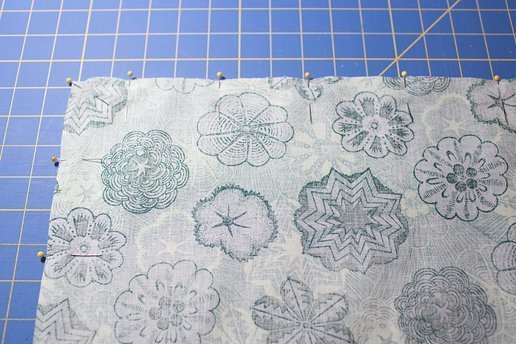
After the zipper is installed, open the zipper at least half way.

Pin your pillow right sides together along the three sides that do not have the zipper installed.
Using the 1/2” seam allowance, stich around the pillow.
Clip the corners to reduce bulk and turn your pillow right side out through the open zipper.
Fill with your favorite 18” x 18” pillow form and enjoy!

0 Responses