 BERNINA Corporate Blog -
As I have been working on my sewing room makeover, I have had to ponder the balance between creative and practical. First and foremost I need my space to be practical. I have more stuff than I care to admit and it needs to be neatly tucked away but should there not be some room left for something purely decorative? As this is the space where I do my creating, shouldn’t the space be creative itself? Anyway, I decided that the answer was yes!
So that leads me to the question of what to do? With all the self-space taken and every available surface used more often than not, that leaves me with the walls. The fact that I rent makes it a little difficult but there is one heavy-duty hook over the spare bed that is crying out for something large.
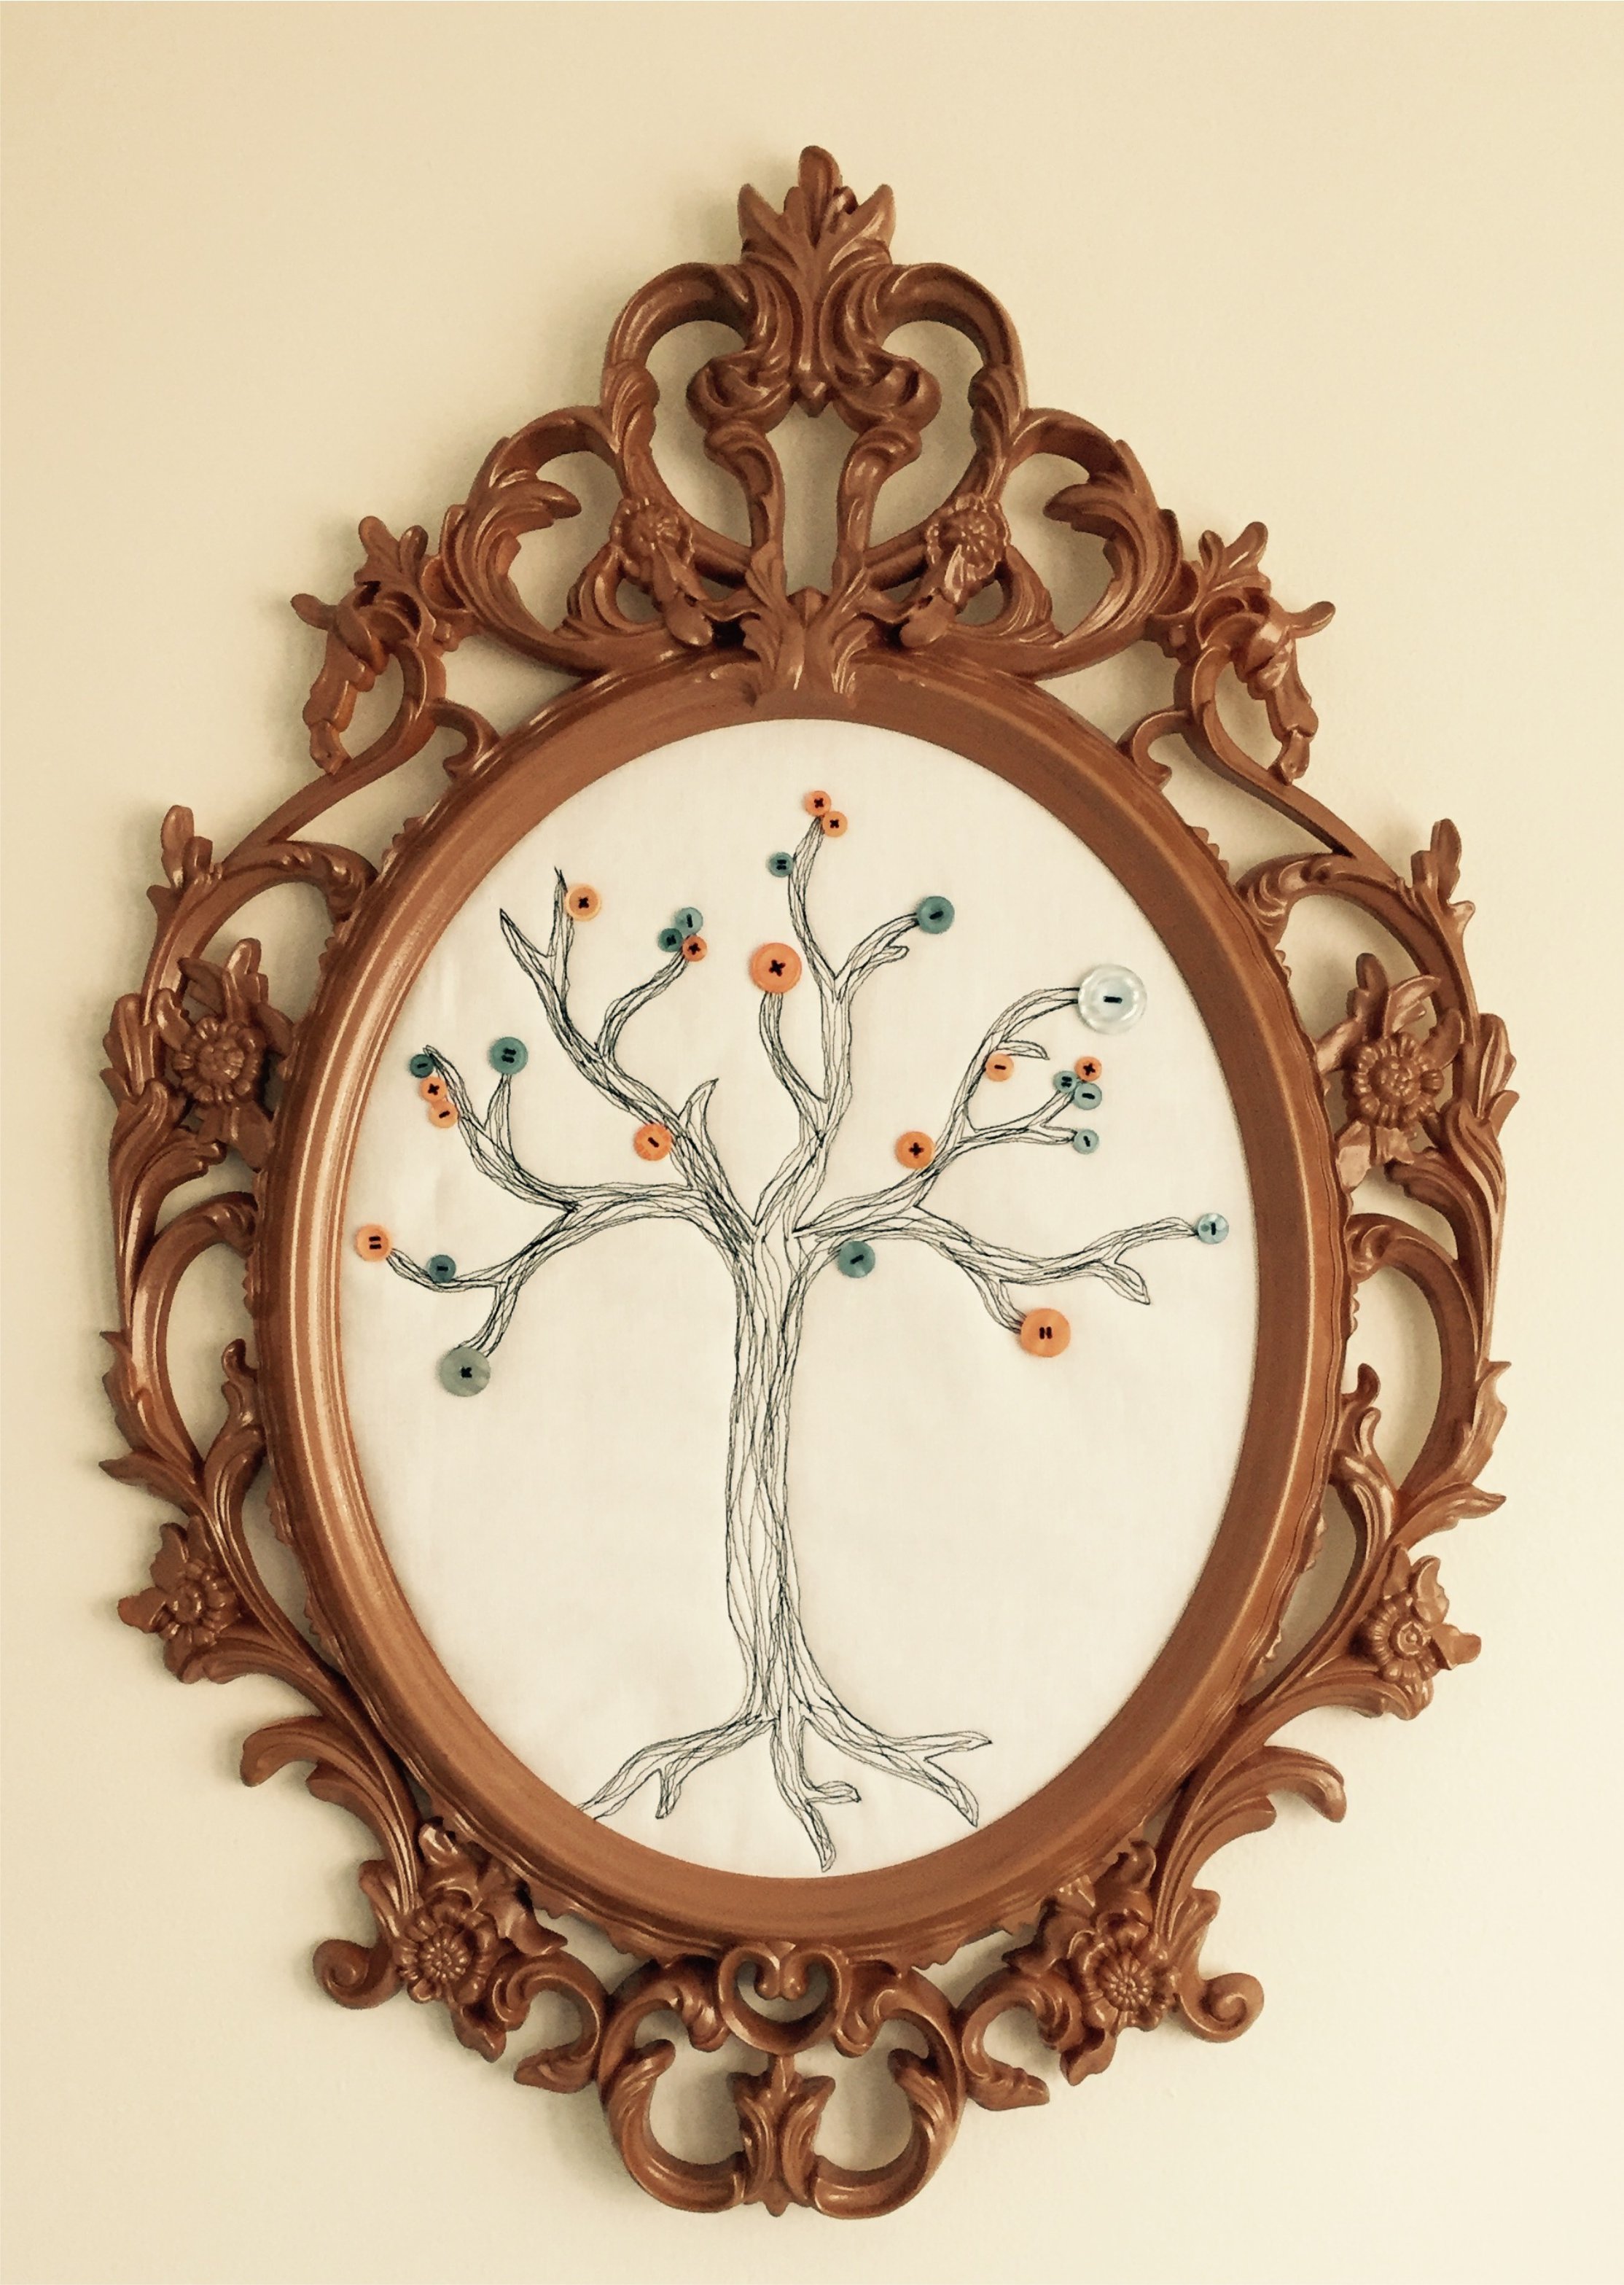
Firstly, I decided on a frame piece after a shopping trip to IKEA where I picked up a large ornate frame that was really cheap. A quick spray paint and it looks a million dollars, even if I do say so myself!
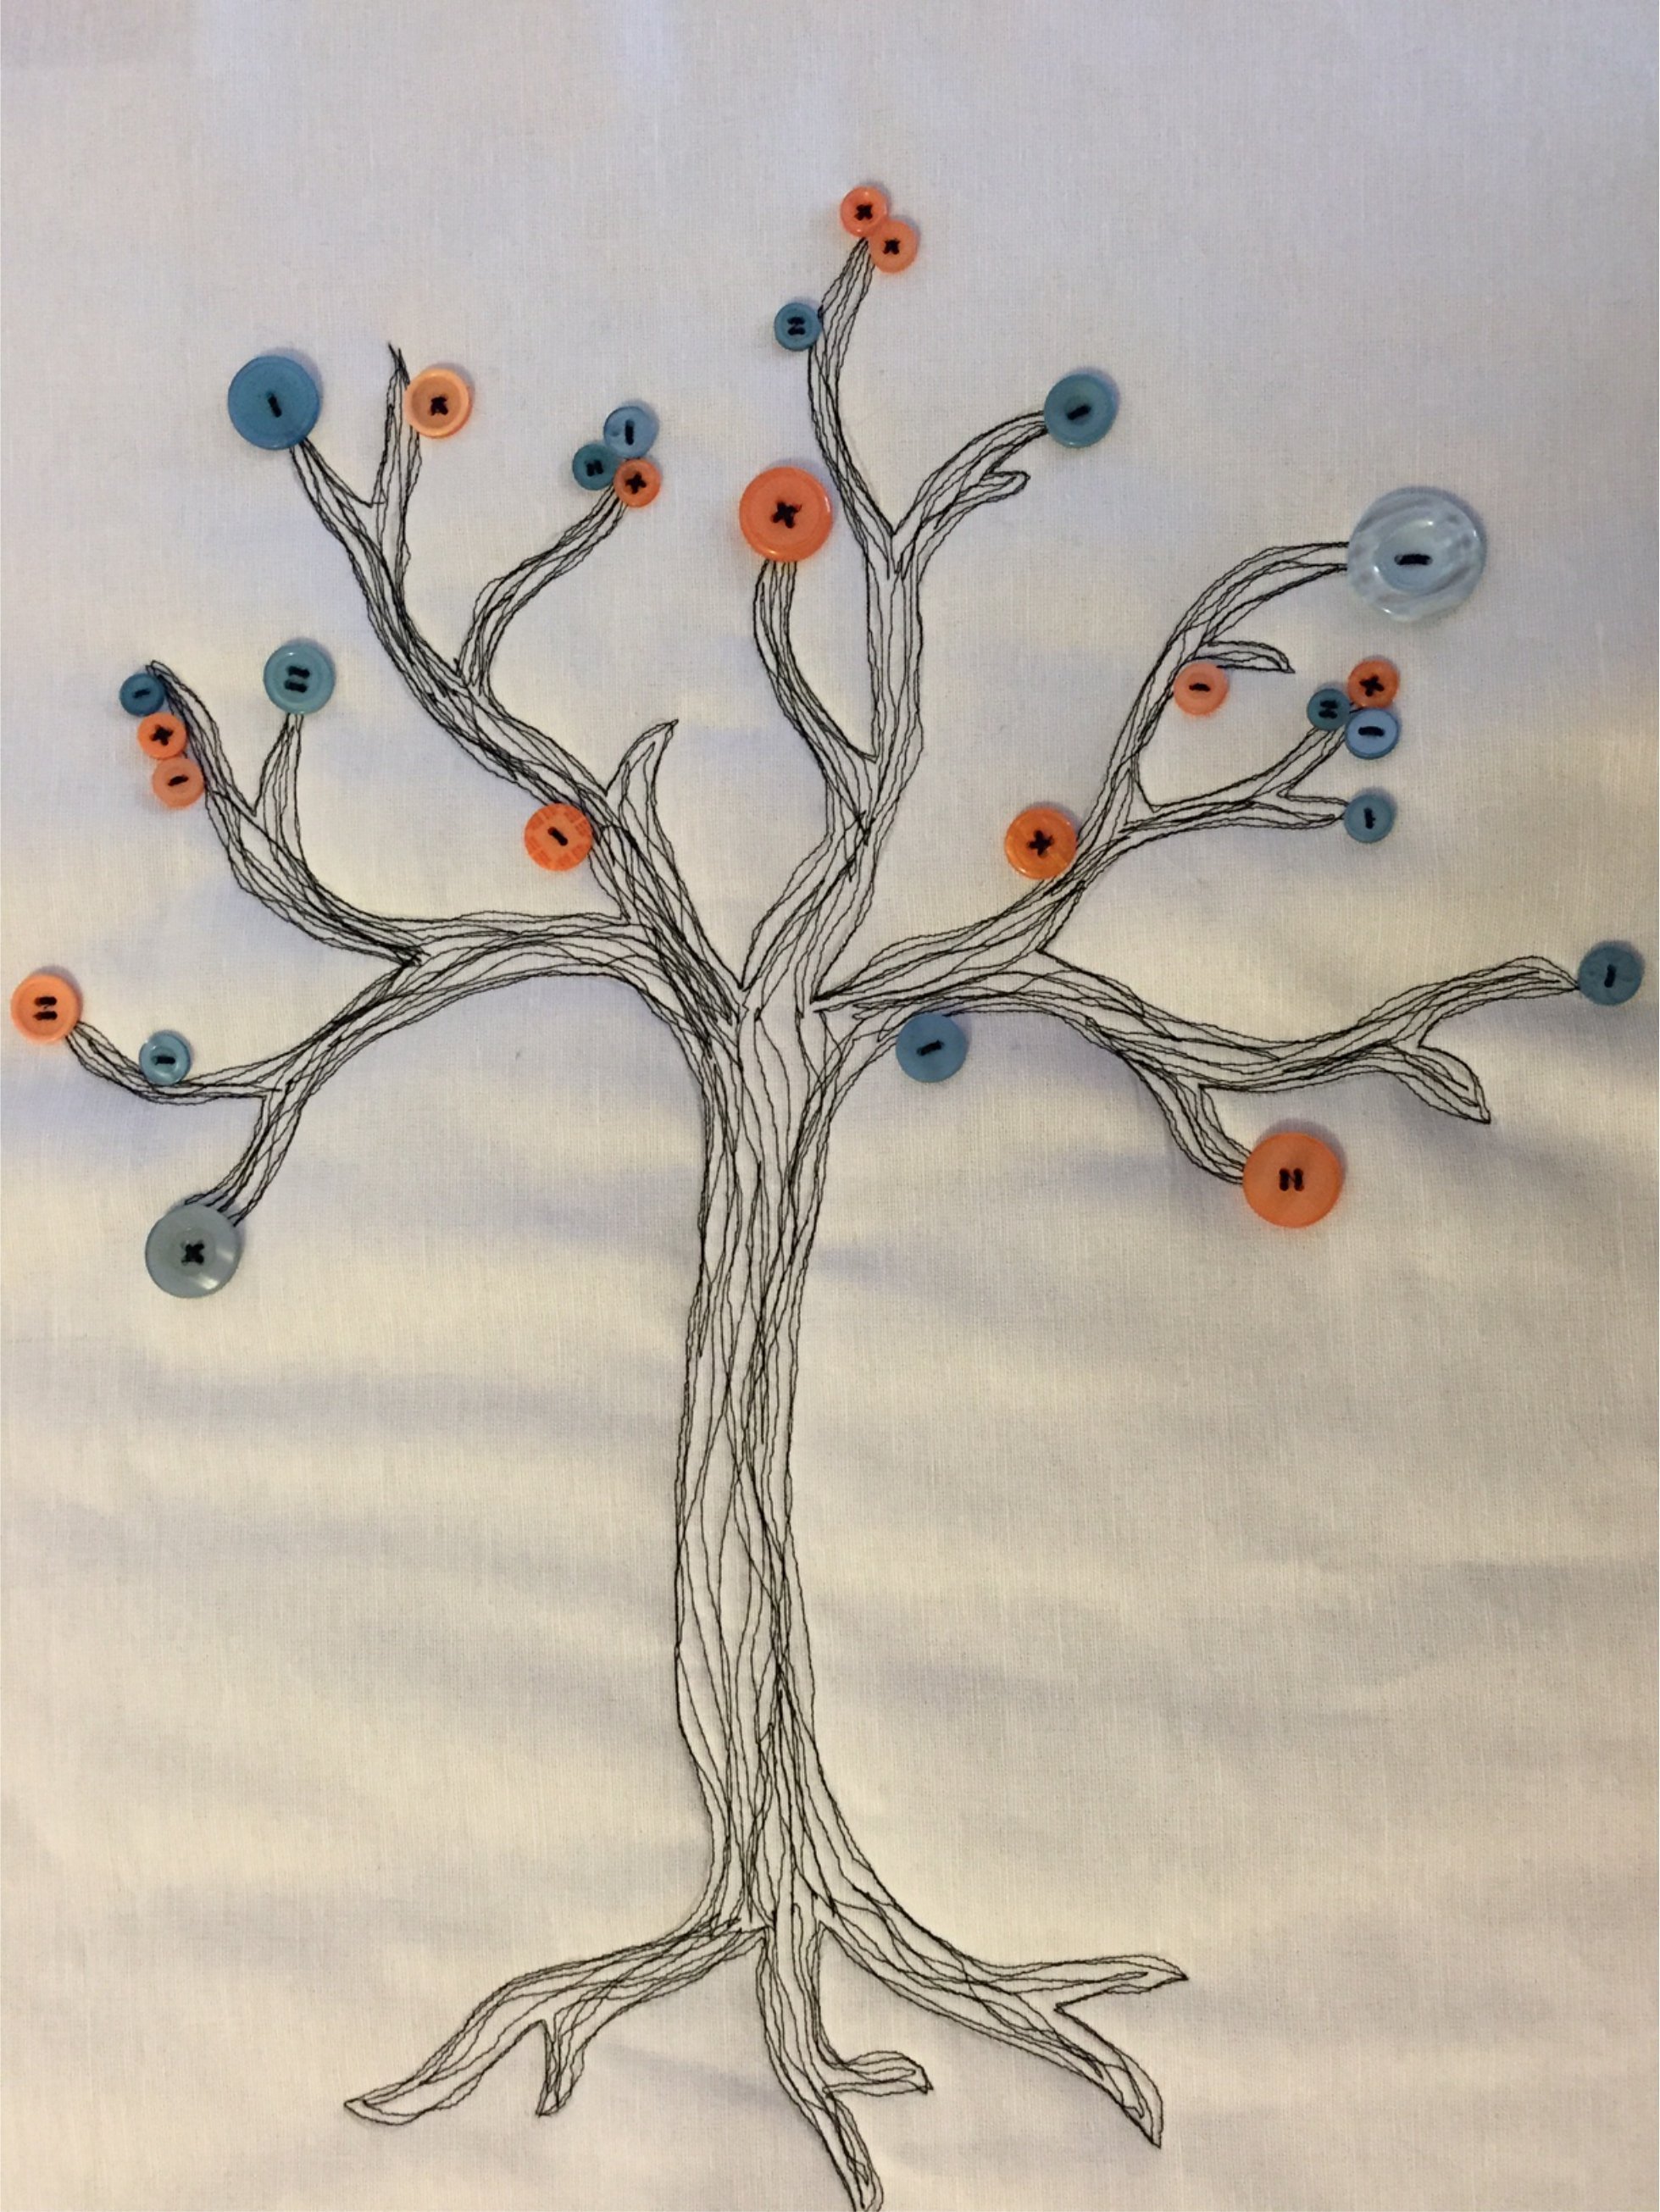
Now comes the fun part, what to put in the frame? After a little bit of experimentation, I decided that free-motion with BSR was the way to go. Now I really don’t consider myself artistic so the first thing I did was find a template of what I wanted (in this case a tree that you can download below).
After tracing out the tree and ironing some wadding on the back, it’s time to get stitching. The thing I love most about the BSR is that it greatly helps us that are uncoordinated. I use BSR 2 with no foot control meaning the machine only stitches when I move the fabric.
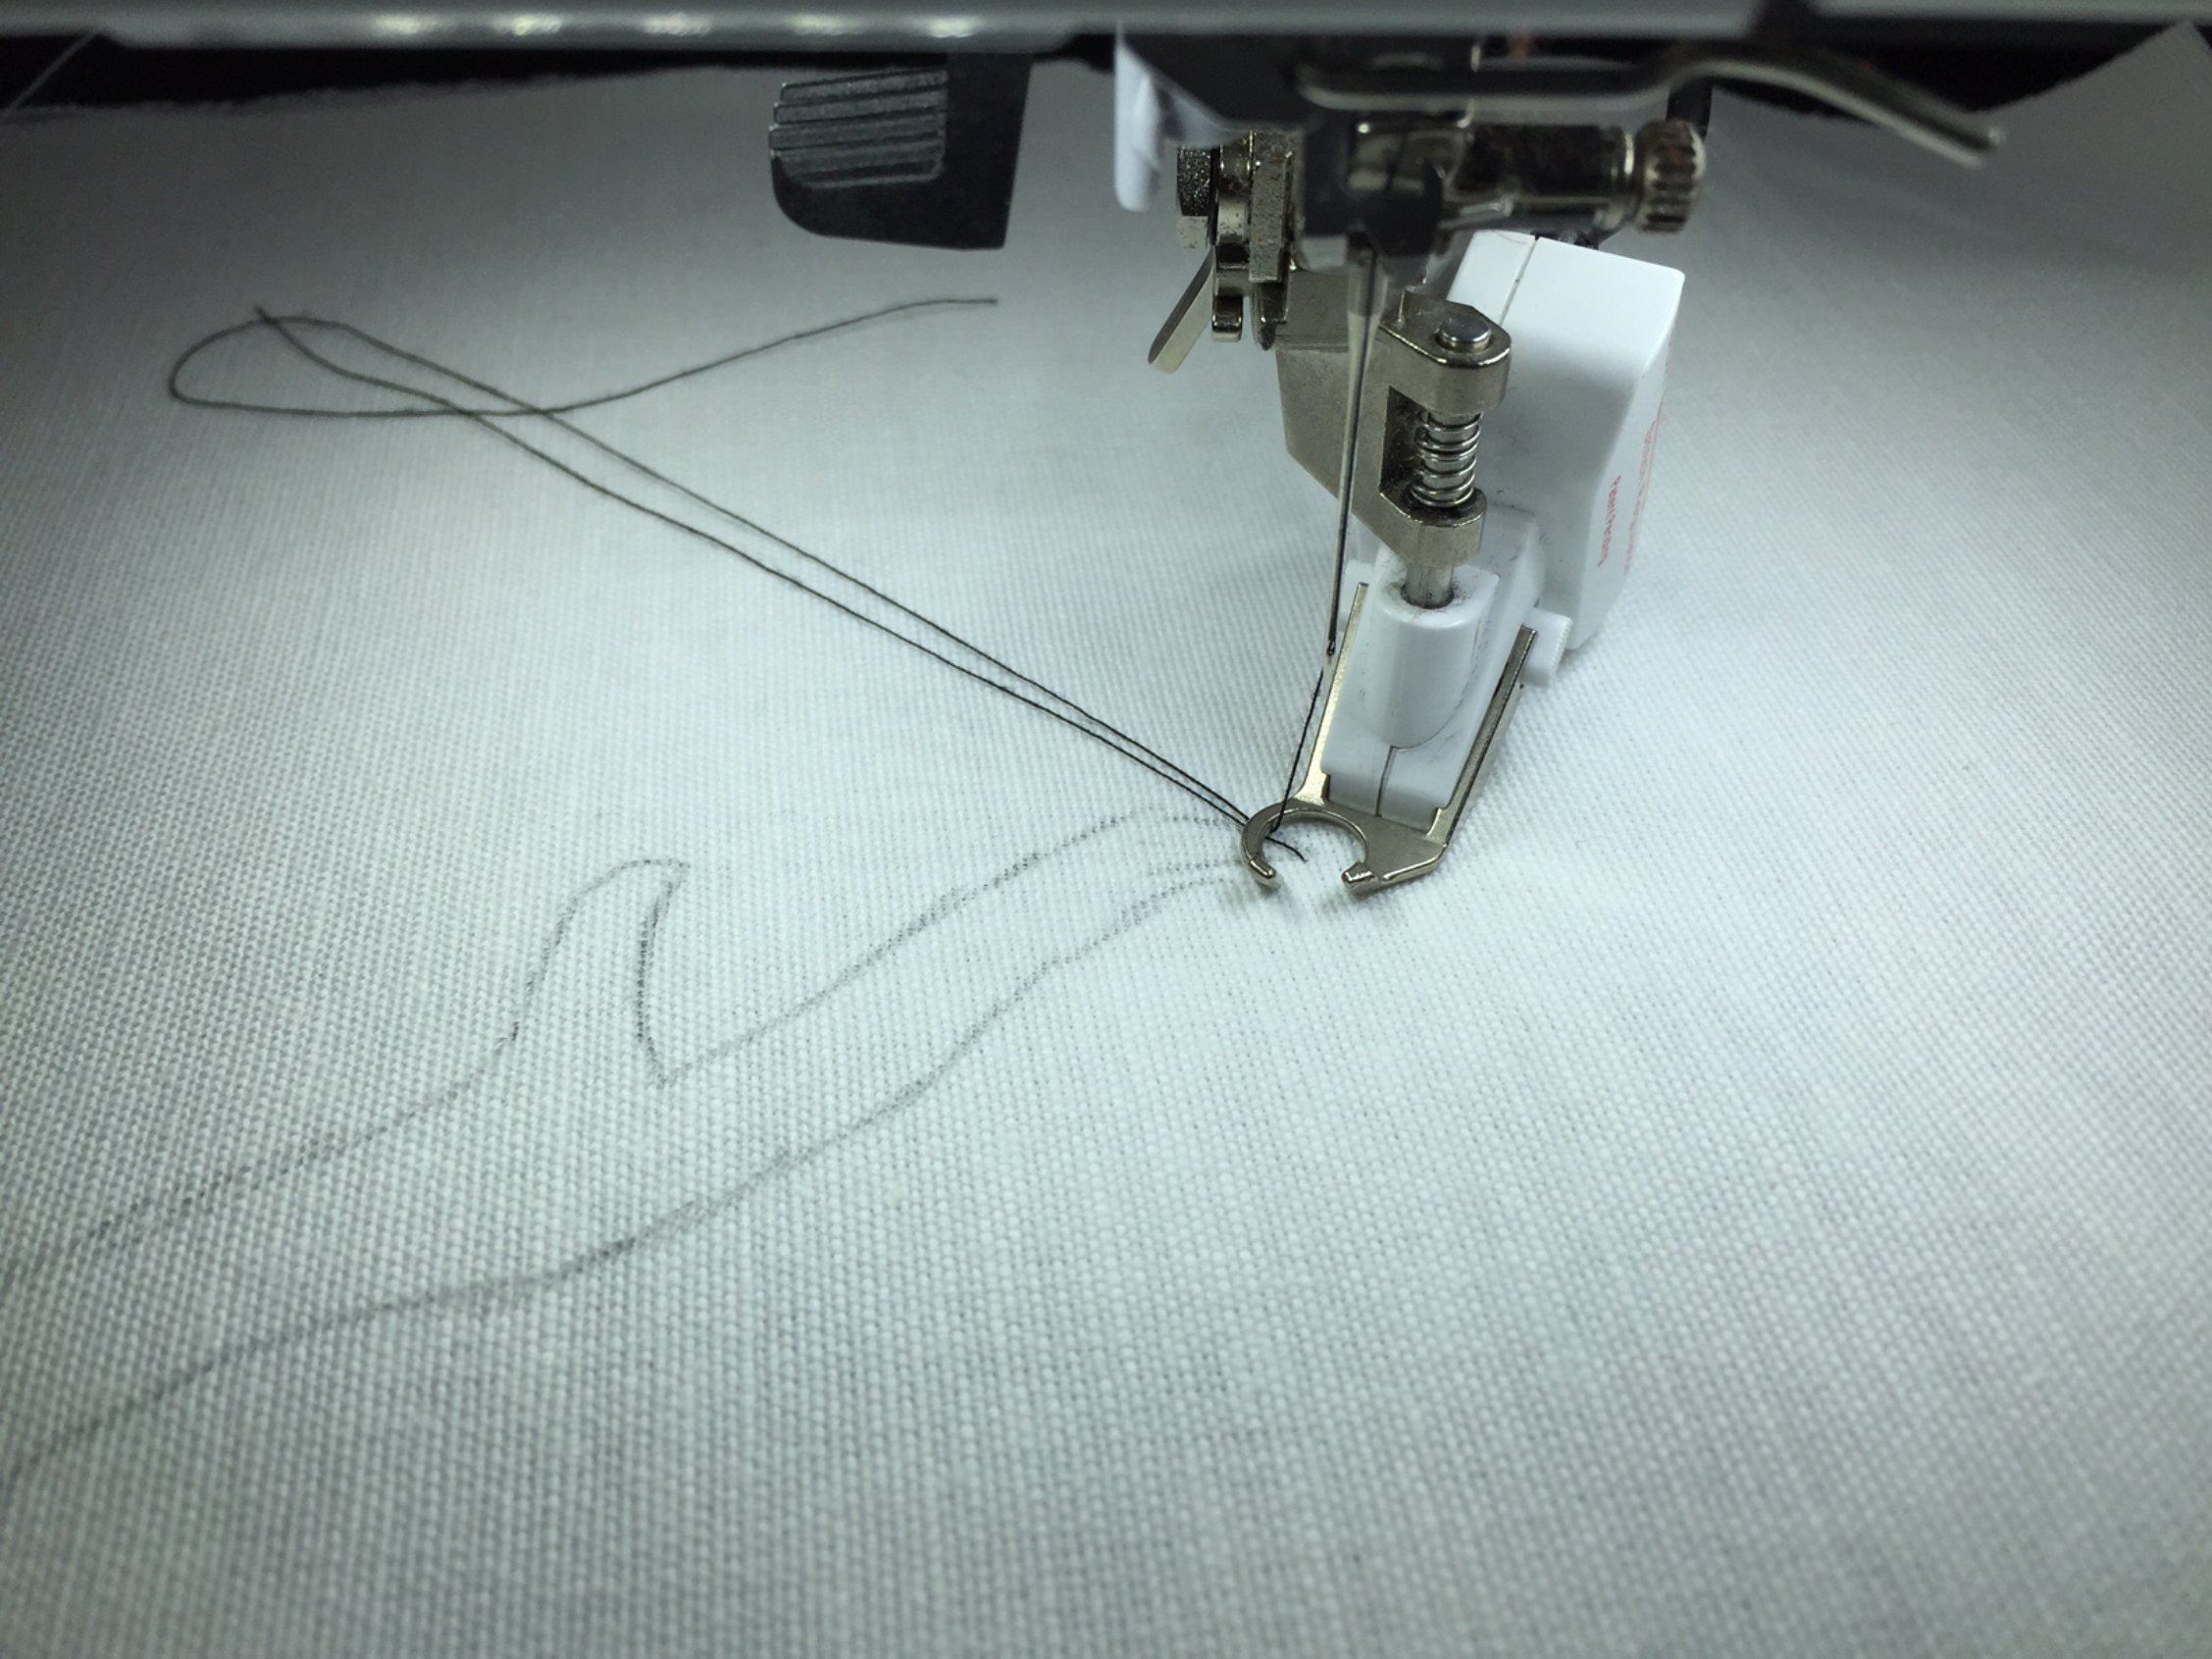
I find the best thing to do is start with the outline but remember don’t stress about staying in the lines. It’s ‘FREE’ motion and isn’t meant to be perfect!
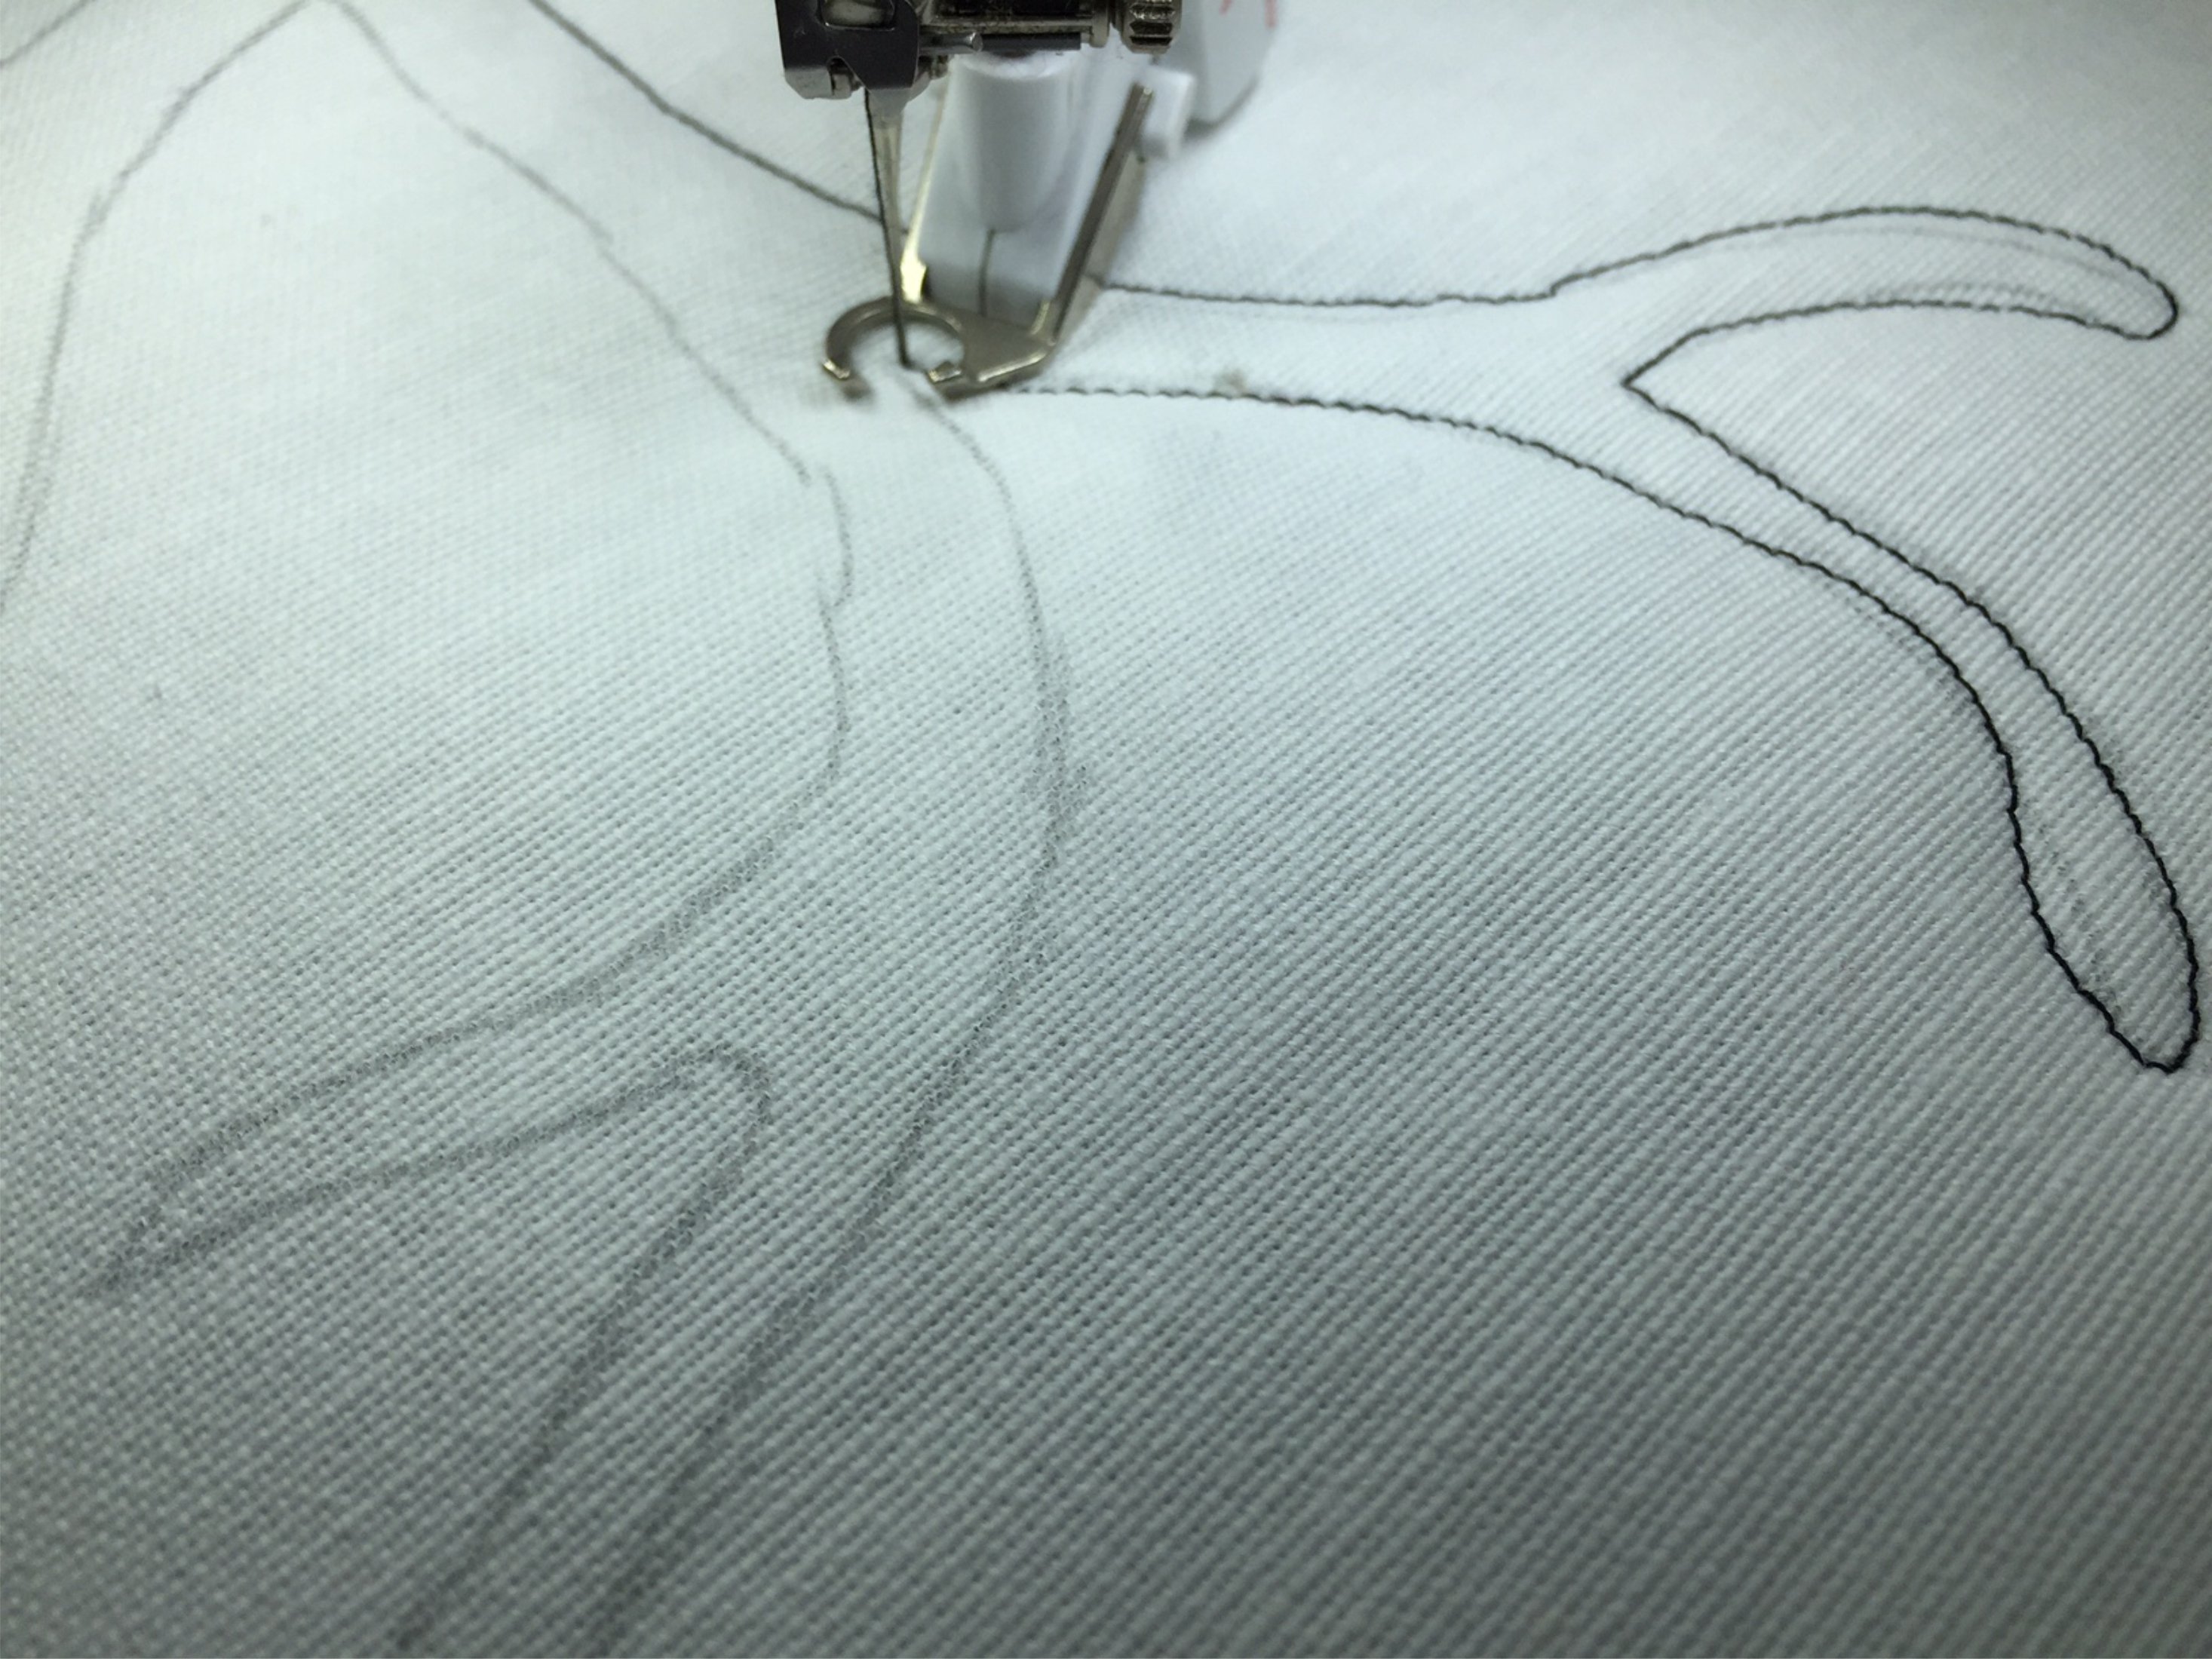
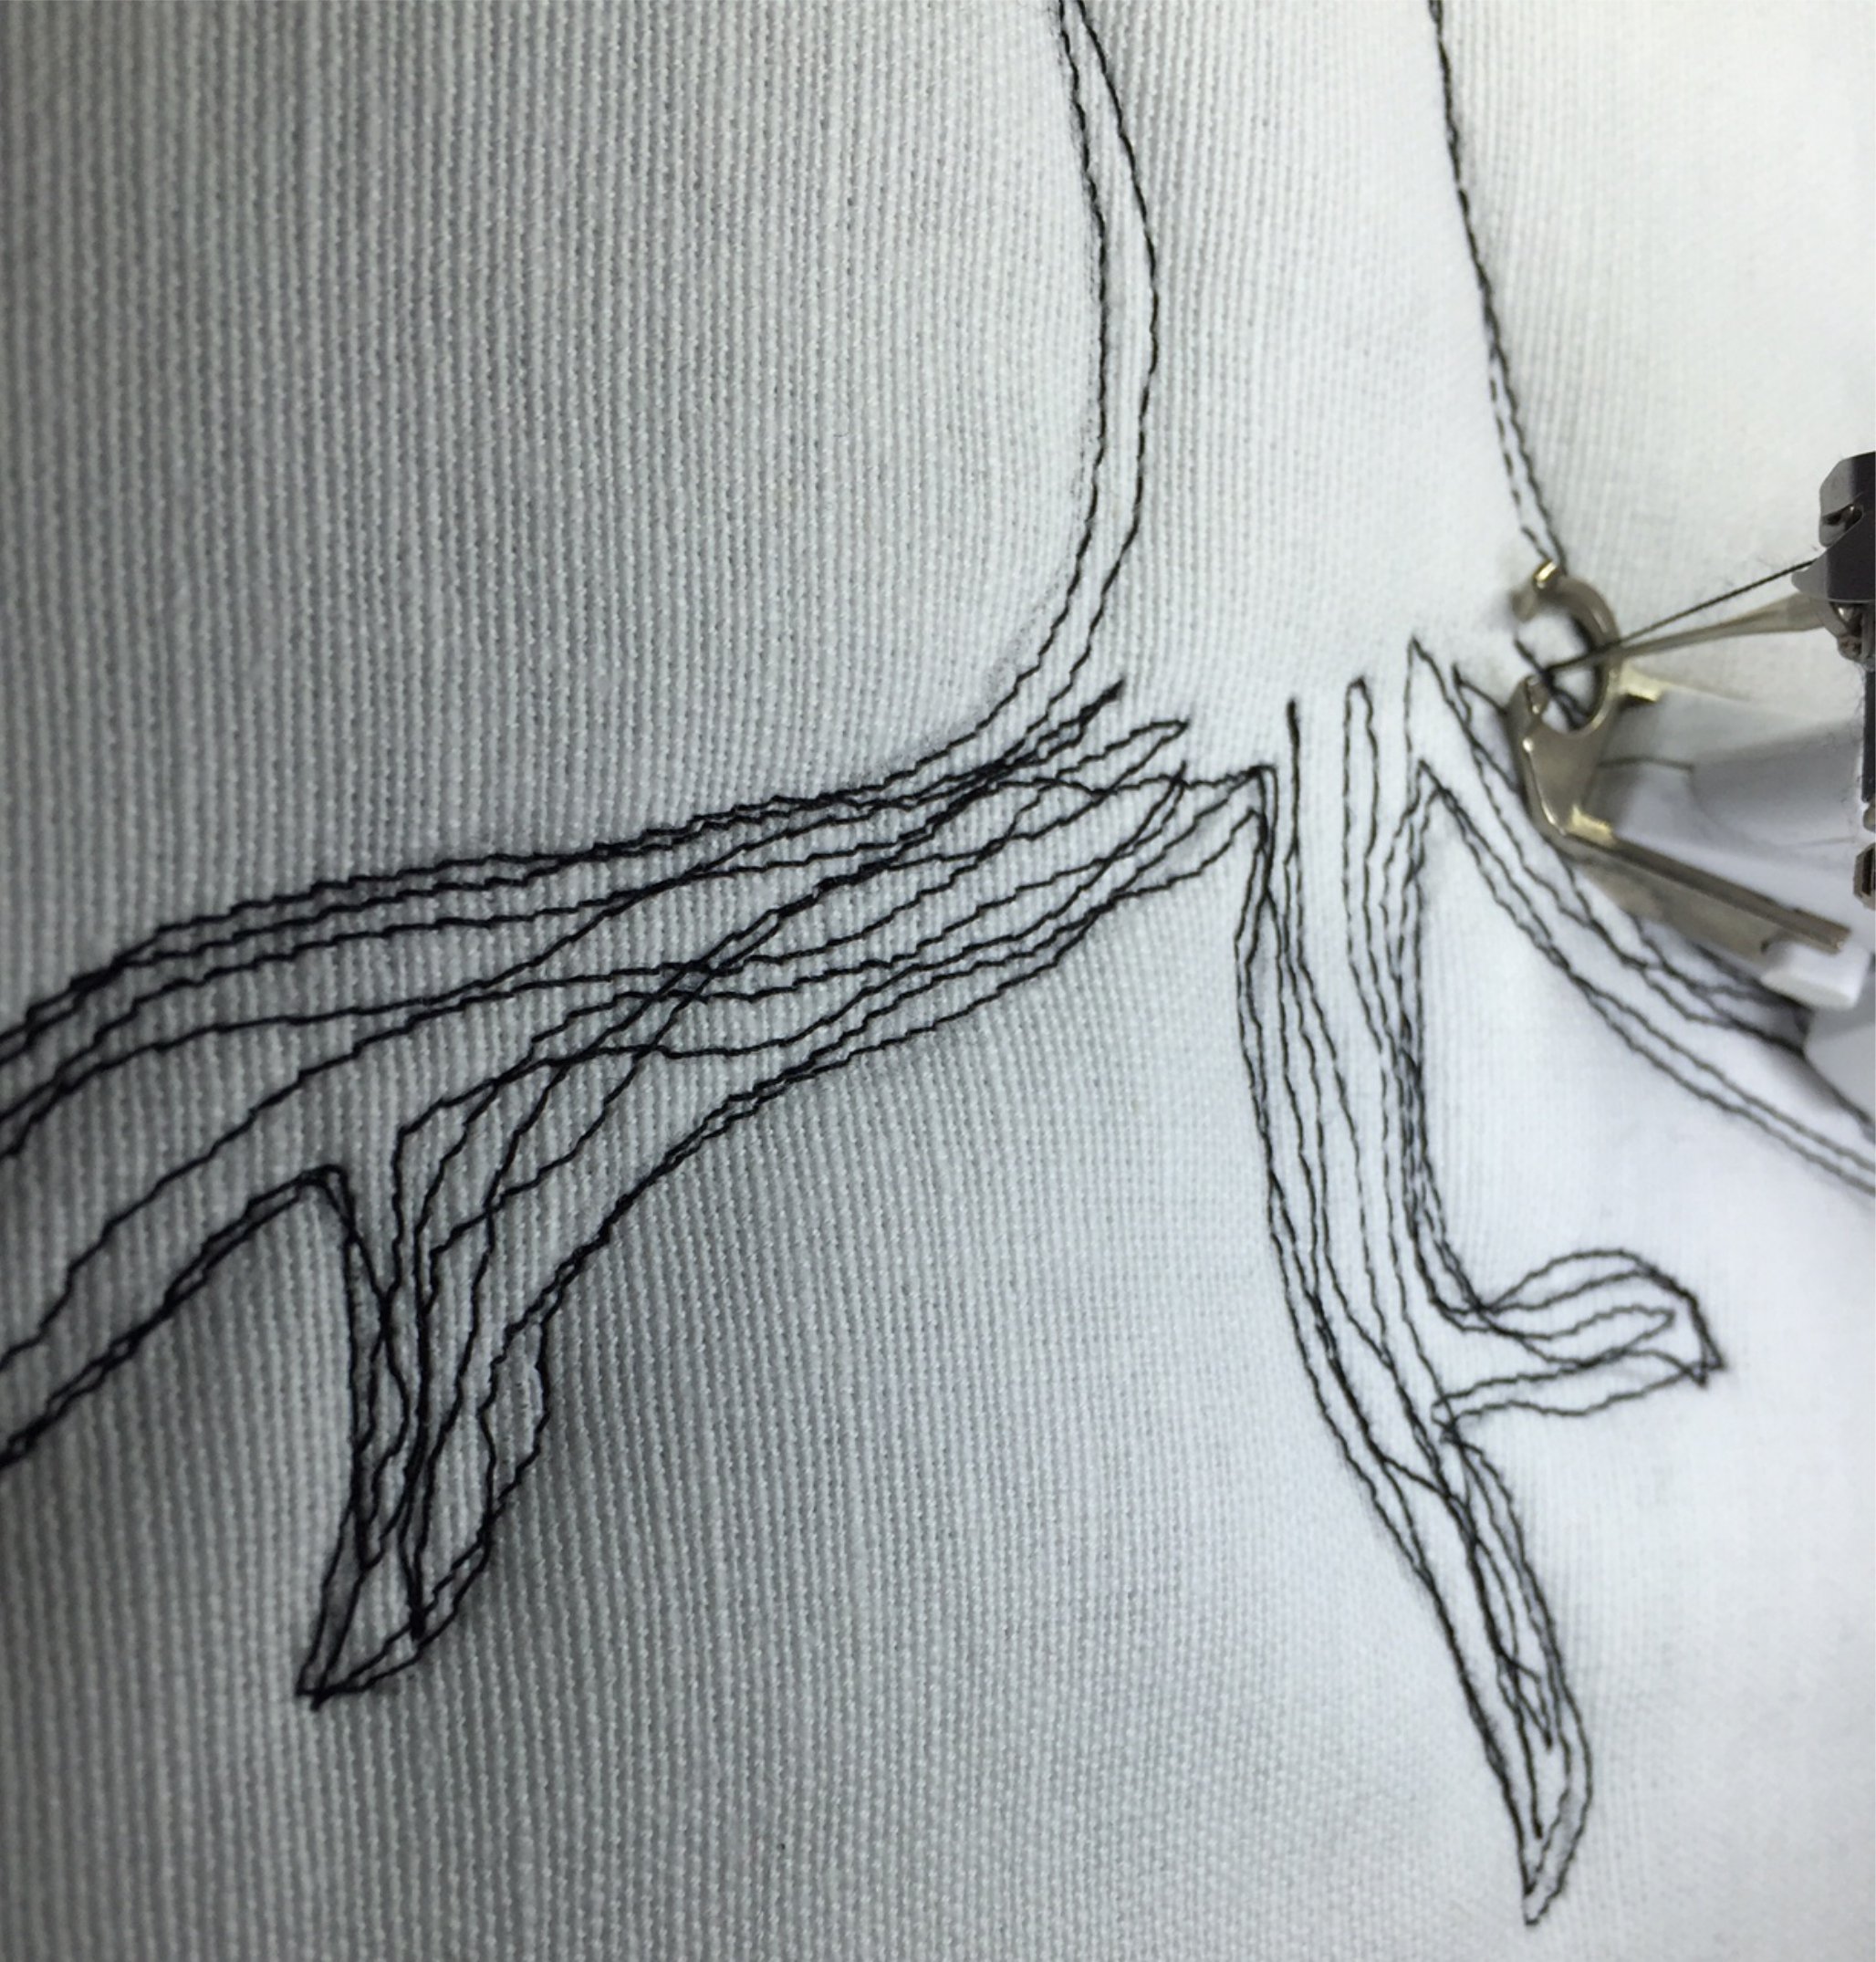
Once the outline is finished, go around it again. Don’t even try to stay on the same line, it adds to the character.
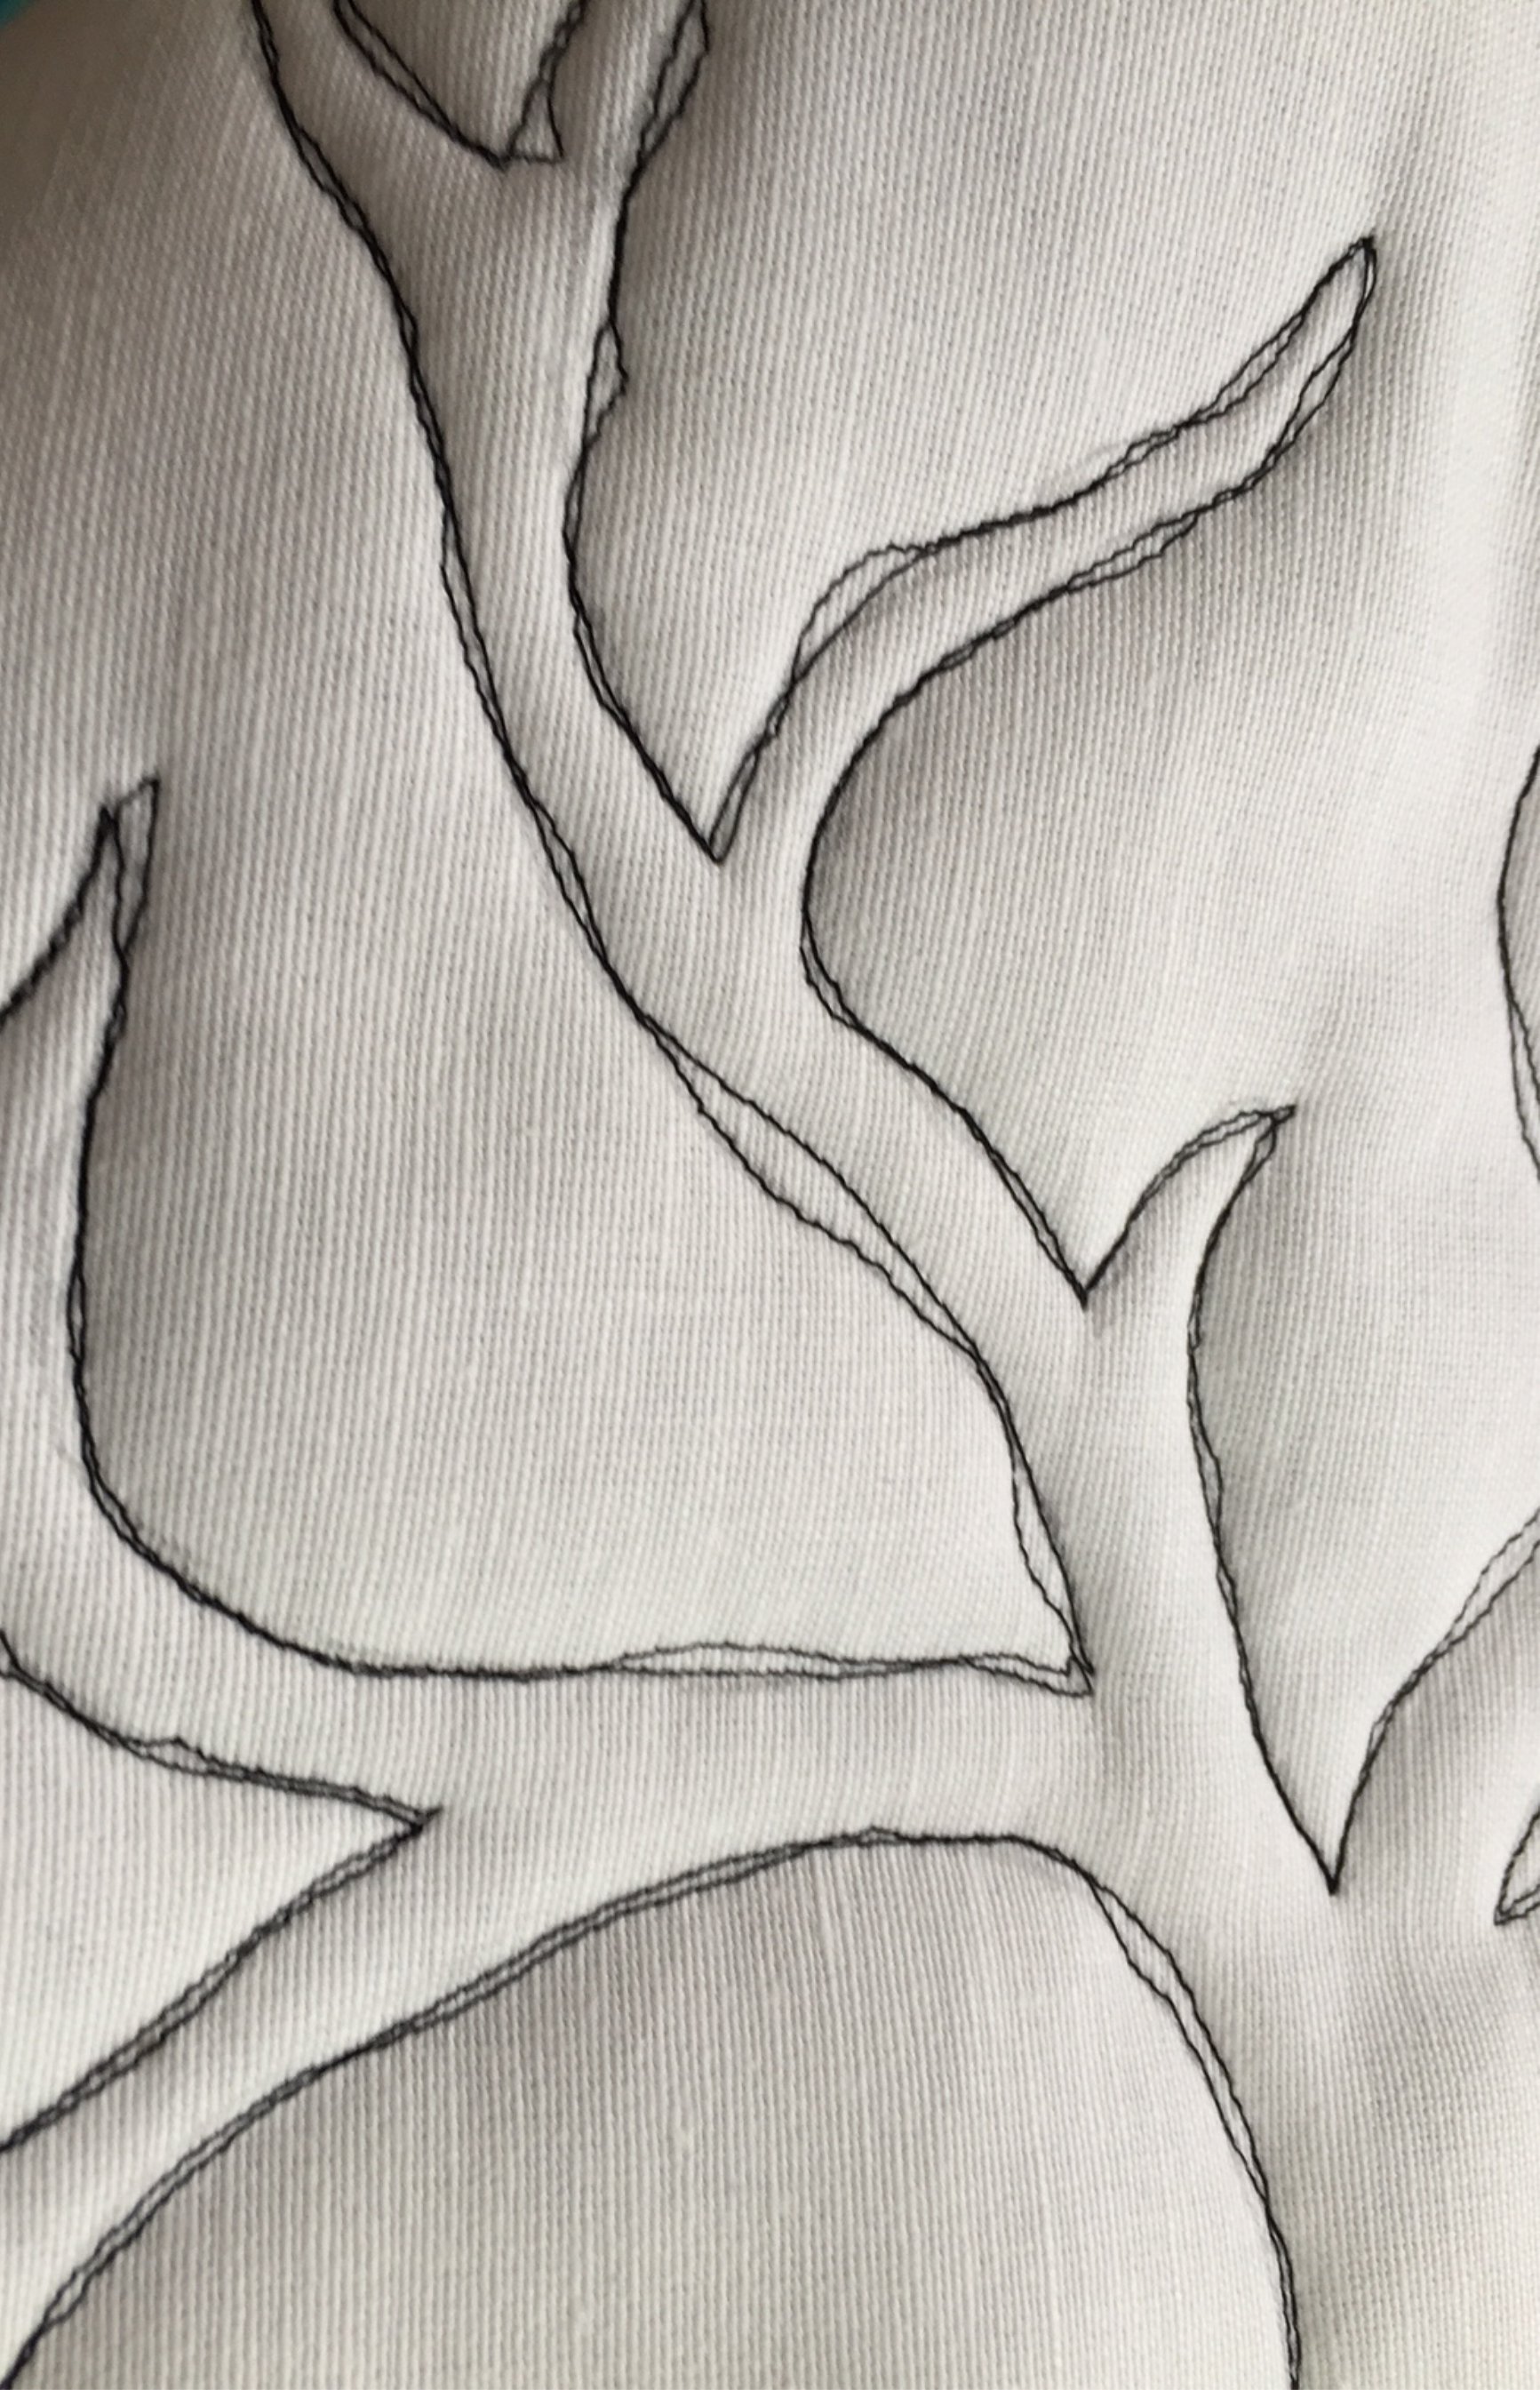
When the outline is complete, it’s onto the middle. Again, this is all about creating character so don’t get too bogged down in the detail. Keep it fun!
So with the tree now completed (very happy with my results I must say), it’s time to contemplate the leaves. I thought for a while about felt and 3d petals and all sorts but in the end buttons won out.
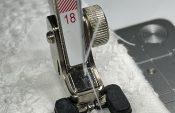
After sorting through a mixed bag and deciding my colour scheme, it’s onto the all-important stitching on. Now I don’t do anything by hand, if possible, so time to break out Foot #18 – the Button Sew on Foot. The foot has two rubber feet and a shank adjuster in the middle and makes sewing on buttons a breeze!

The foot is really easy to use. Simply line the Button Sew on Foot up with the holes in your button. Select the Button Sew On program (or a zig zag with a width of 4mm and length of 0mm). Make sure the needle lines up with the holes and stitch.
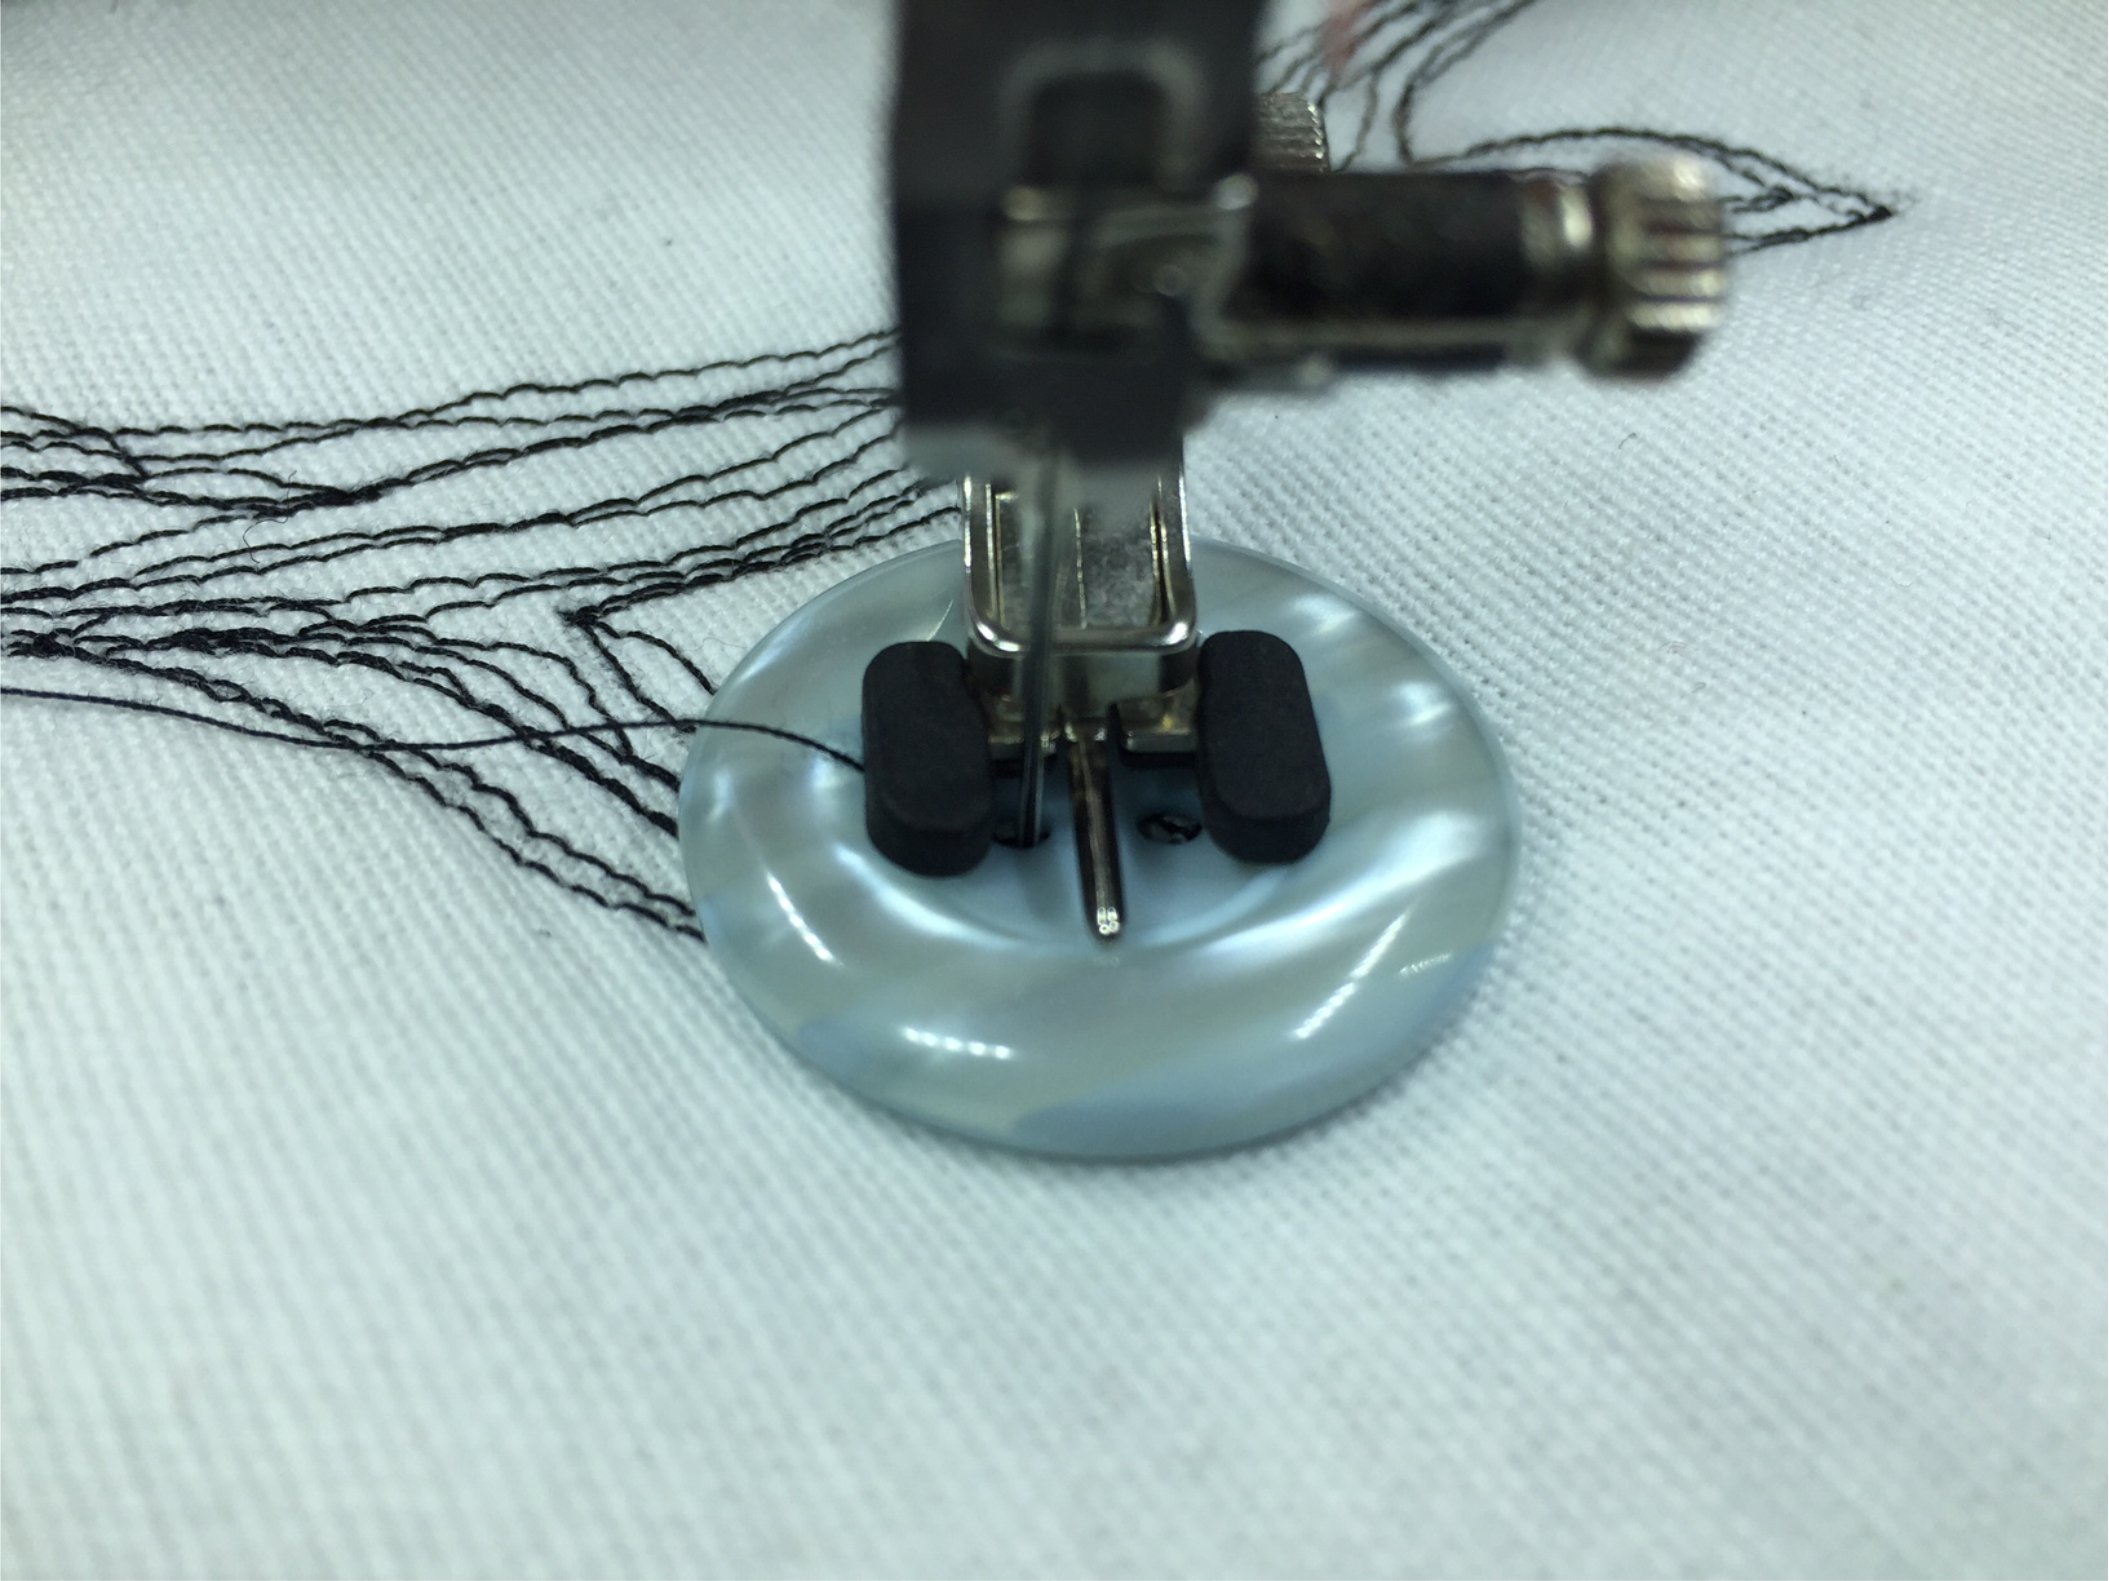
The worst that can happen is you hit the button with the needle, which really isn’t the end of the world. It just means that you need to adjust the width of stitch to suit that button.
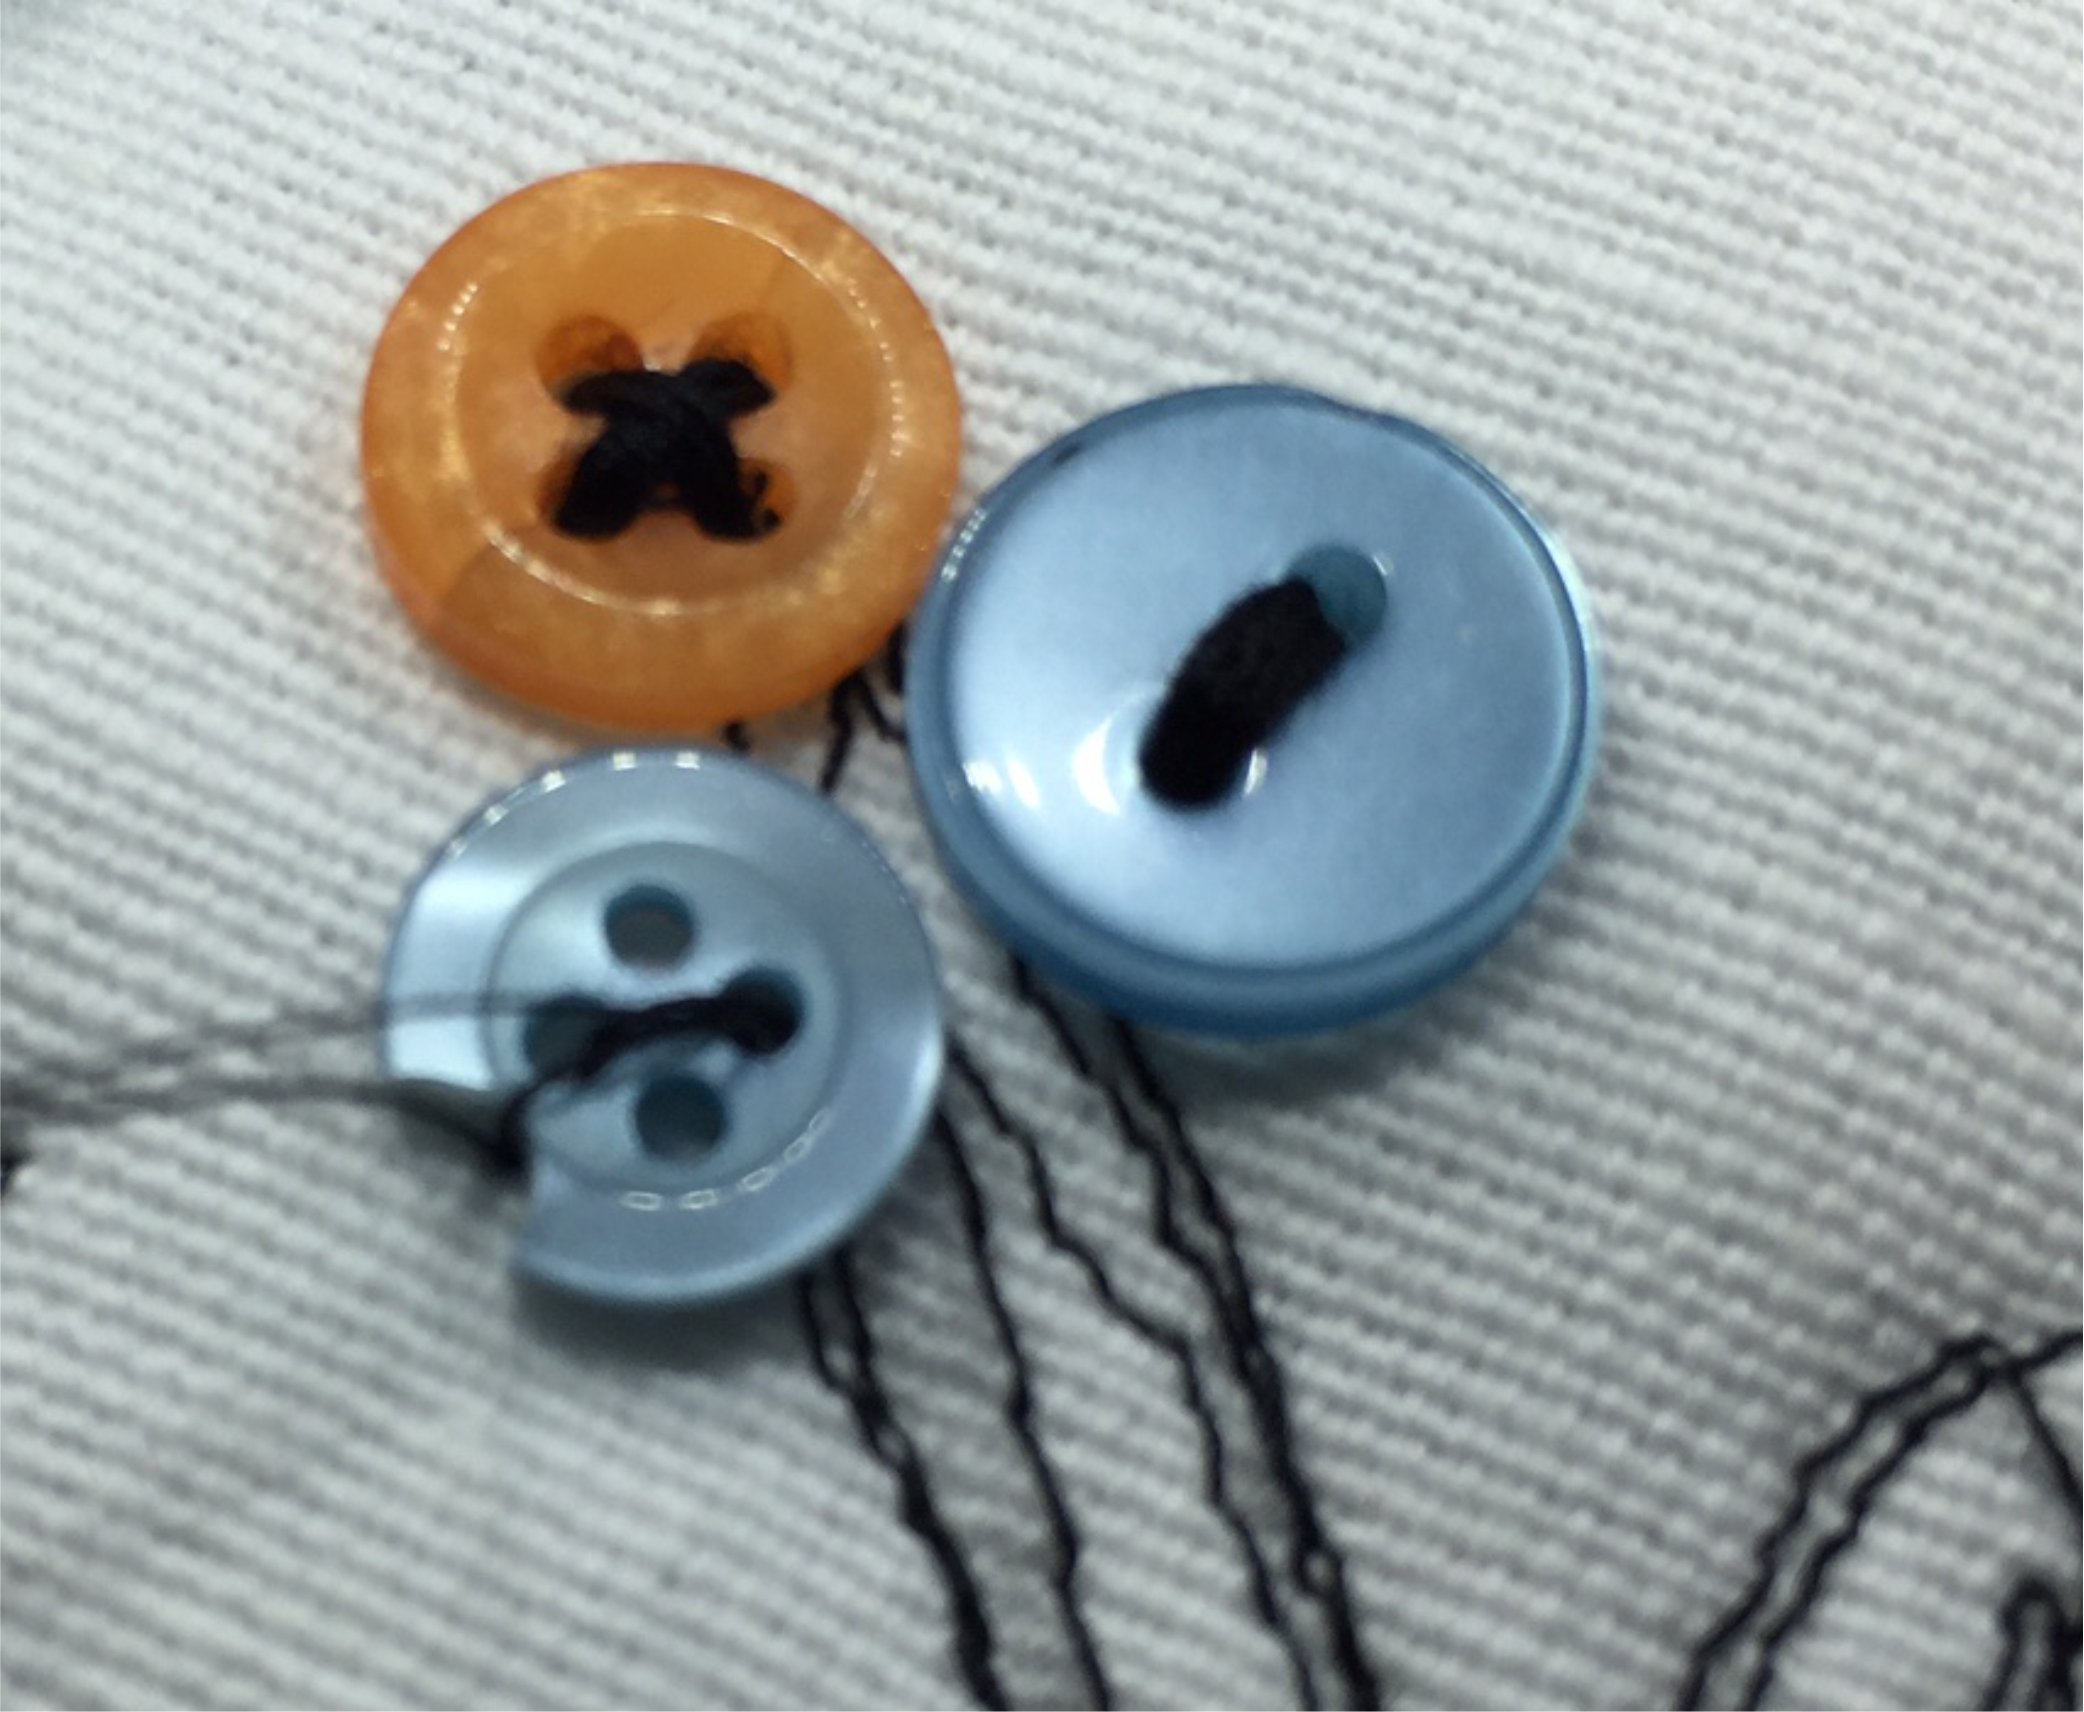
I always try to make these things random. I find perfection a bit boring.
And there you have it, my first attempt to make my sewing room pretty 🙂
Download the Tree Template Here:Small Tree A4 Medium Tree Template A3 Large Tree Template A2
You can follow me at https://www.facebook.com/TheSharedStitch/?ref=hl and I’d love to see your work to!

HiI visit your site. I read your blog. Very nice information. I like.
just love this free motion tree, have been inspired to have a go, will be doing my version soon, I use a Bernina 440 QE and I love it
Great to hear you are giving it a go Hazel!