 BERNINA Corporate Blog -
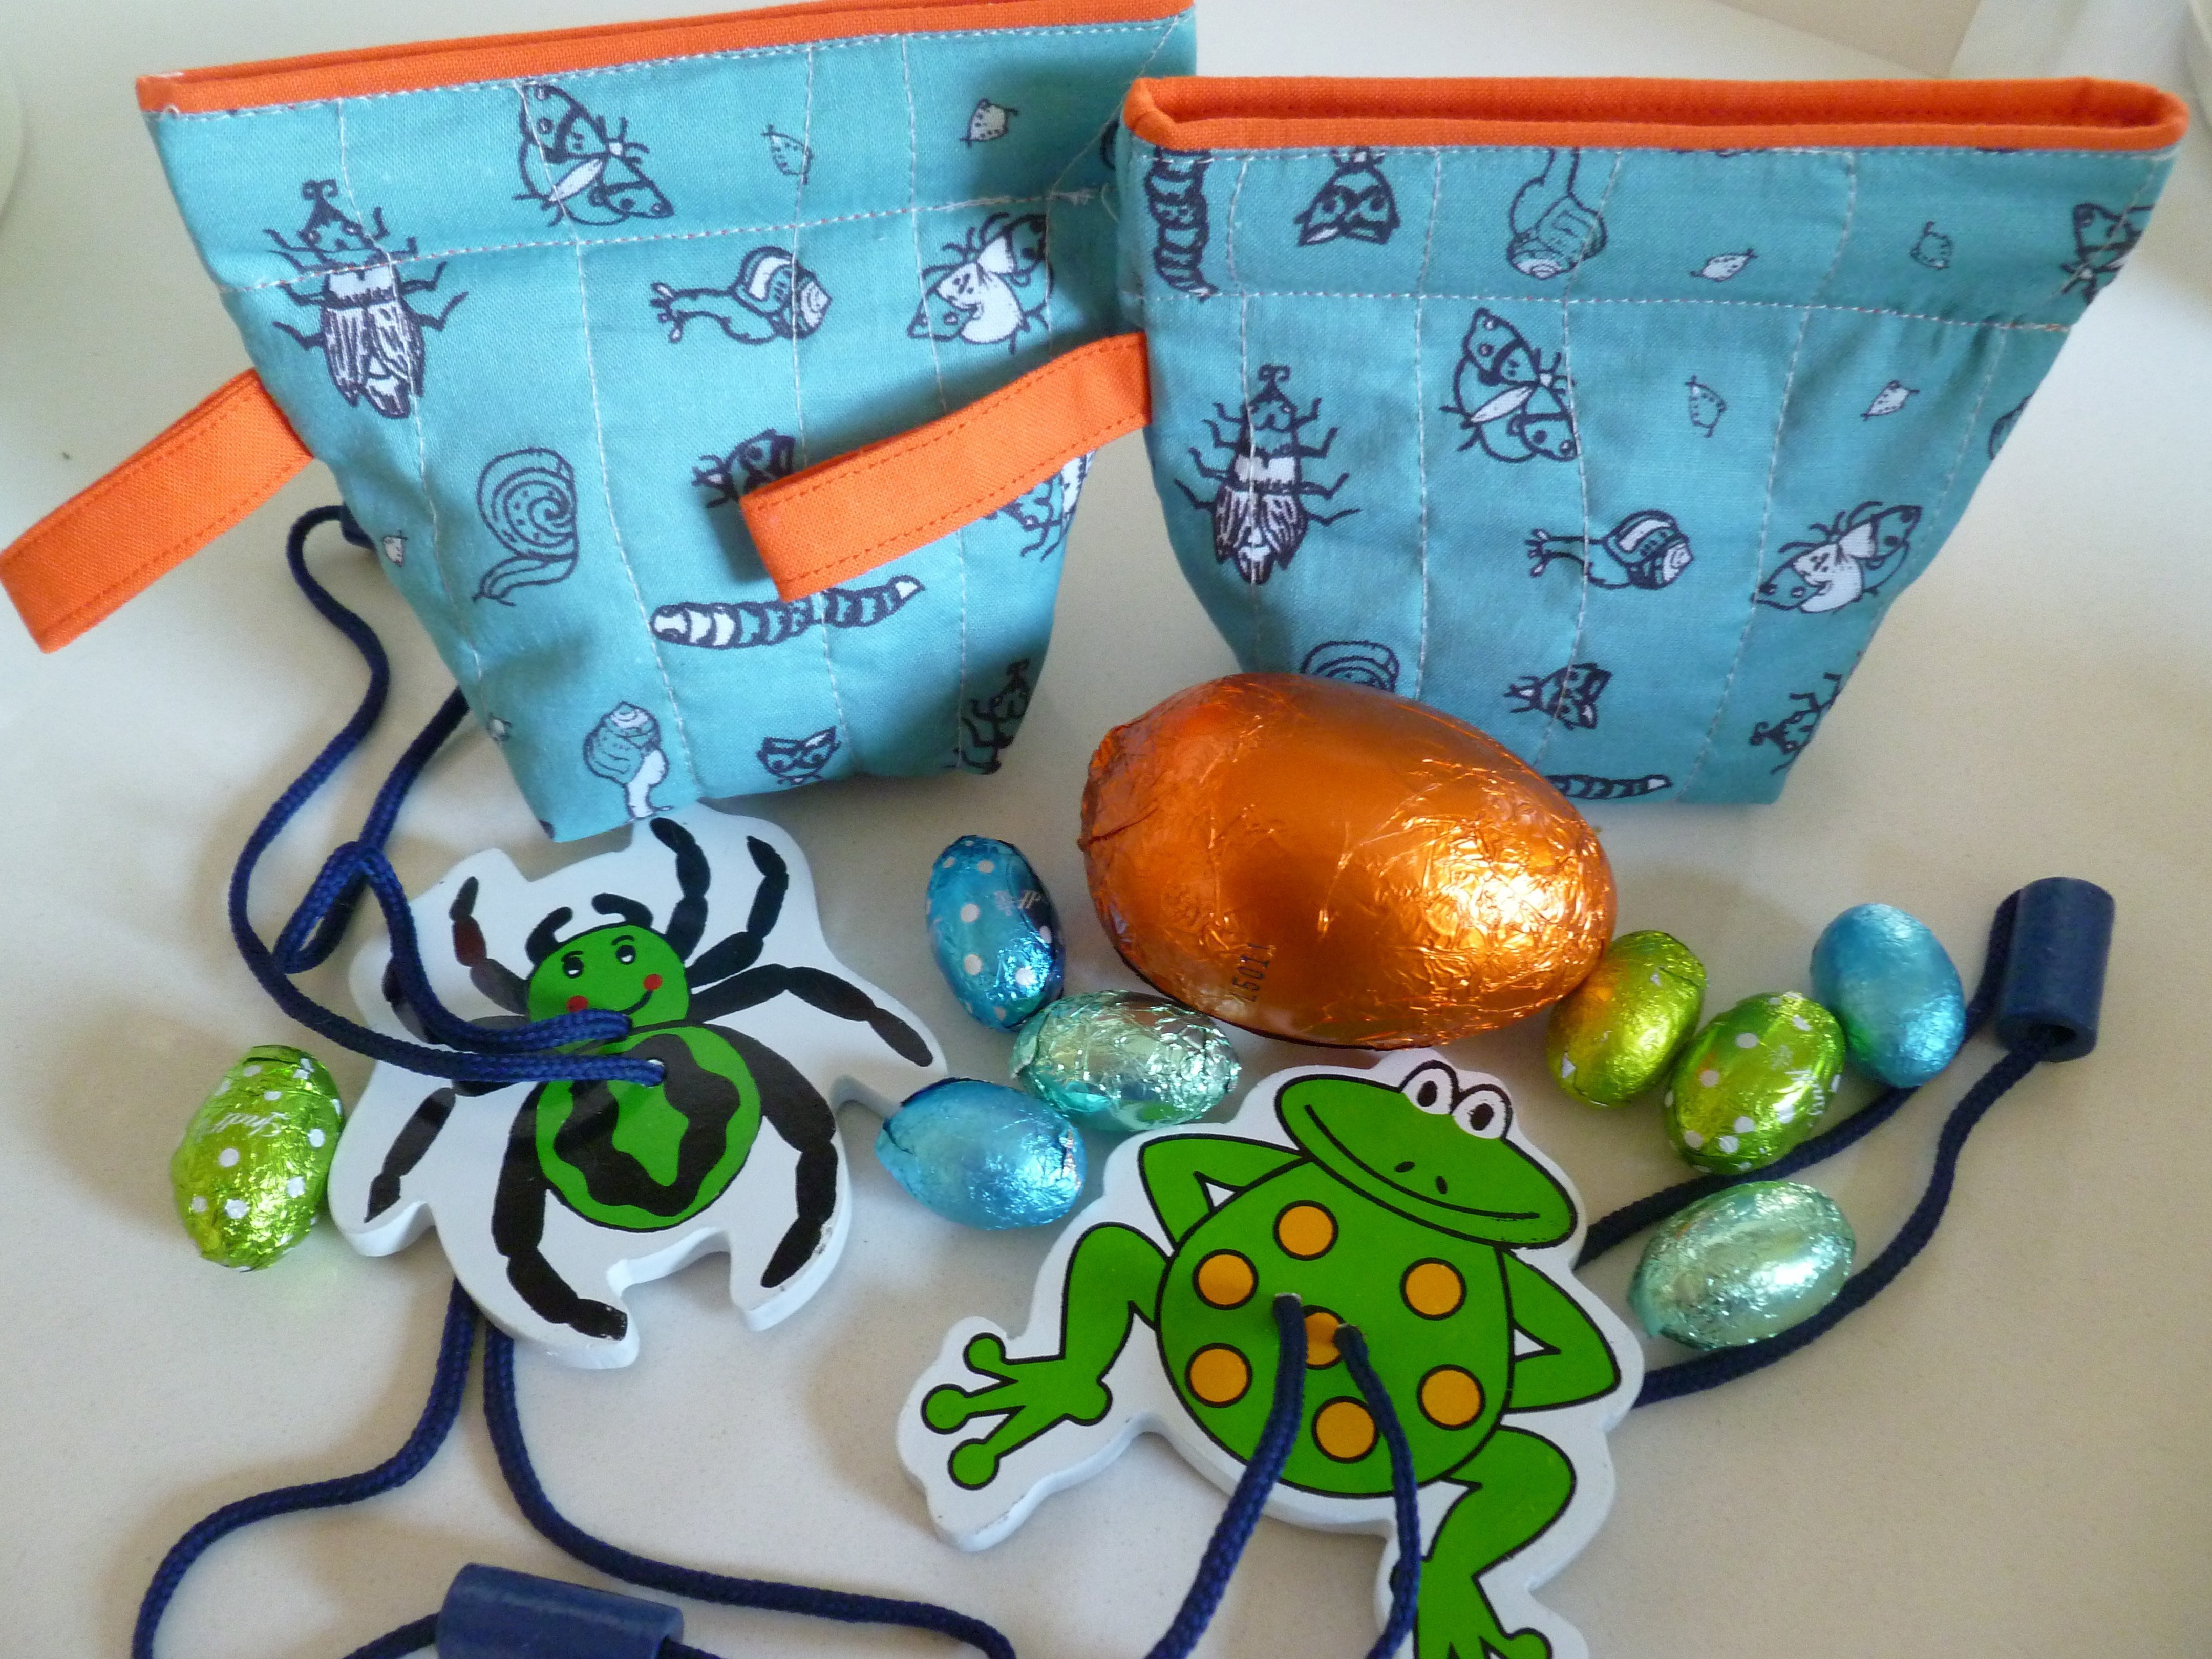
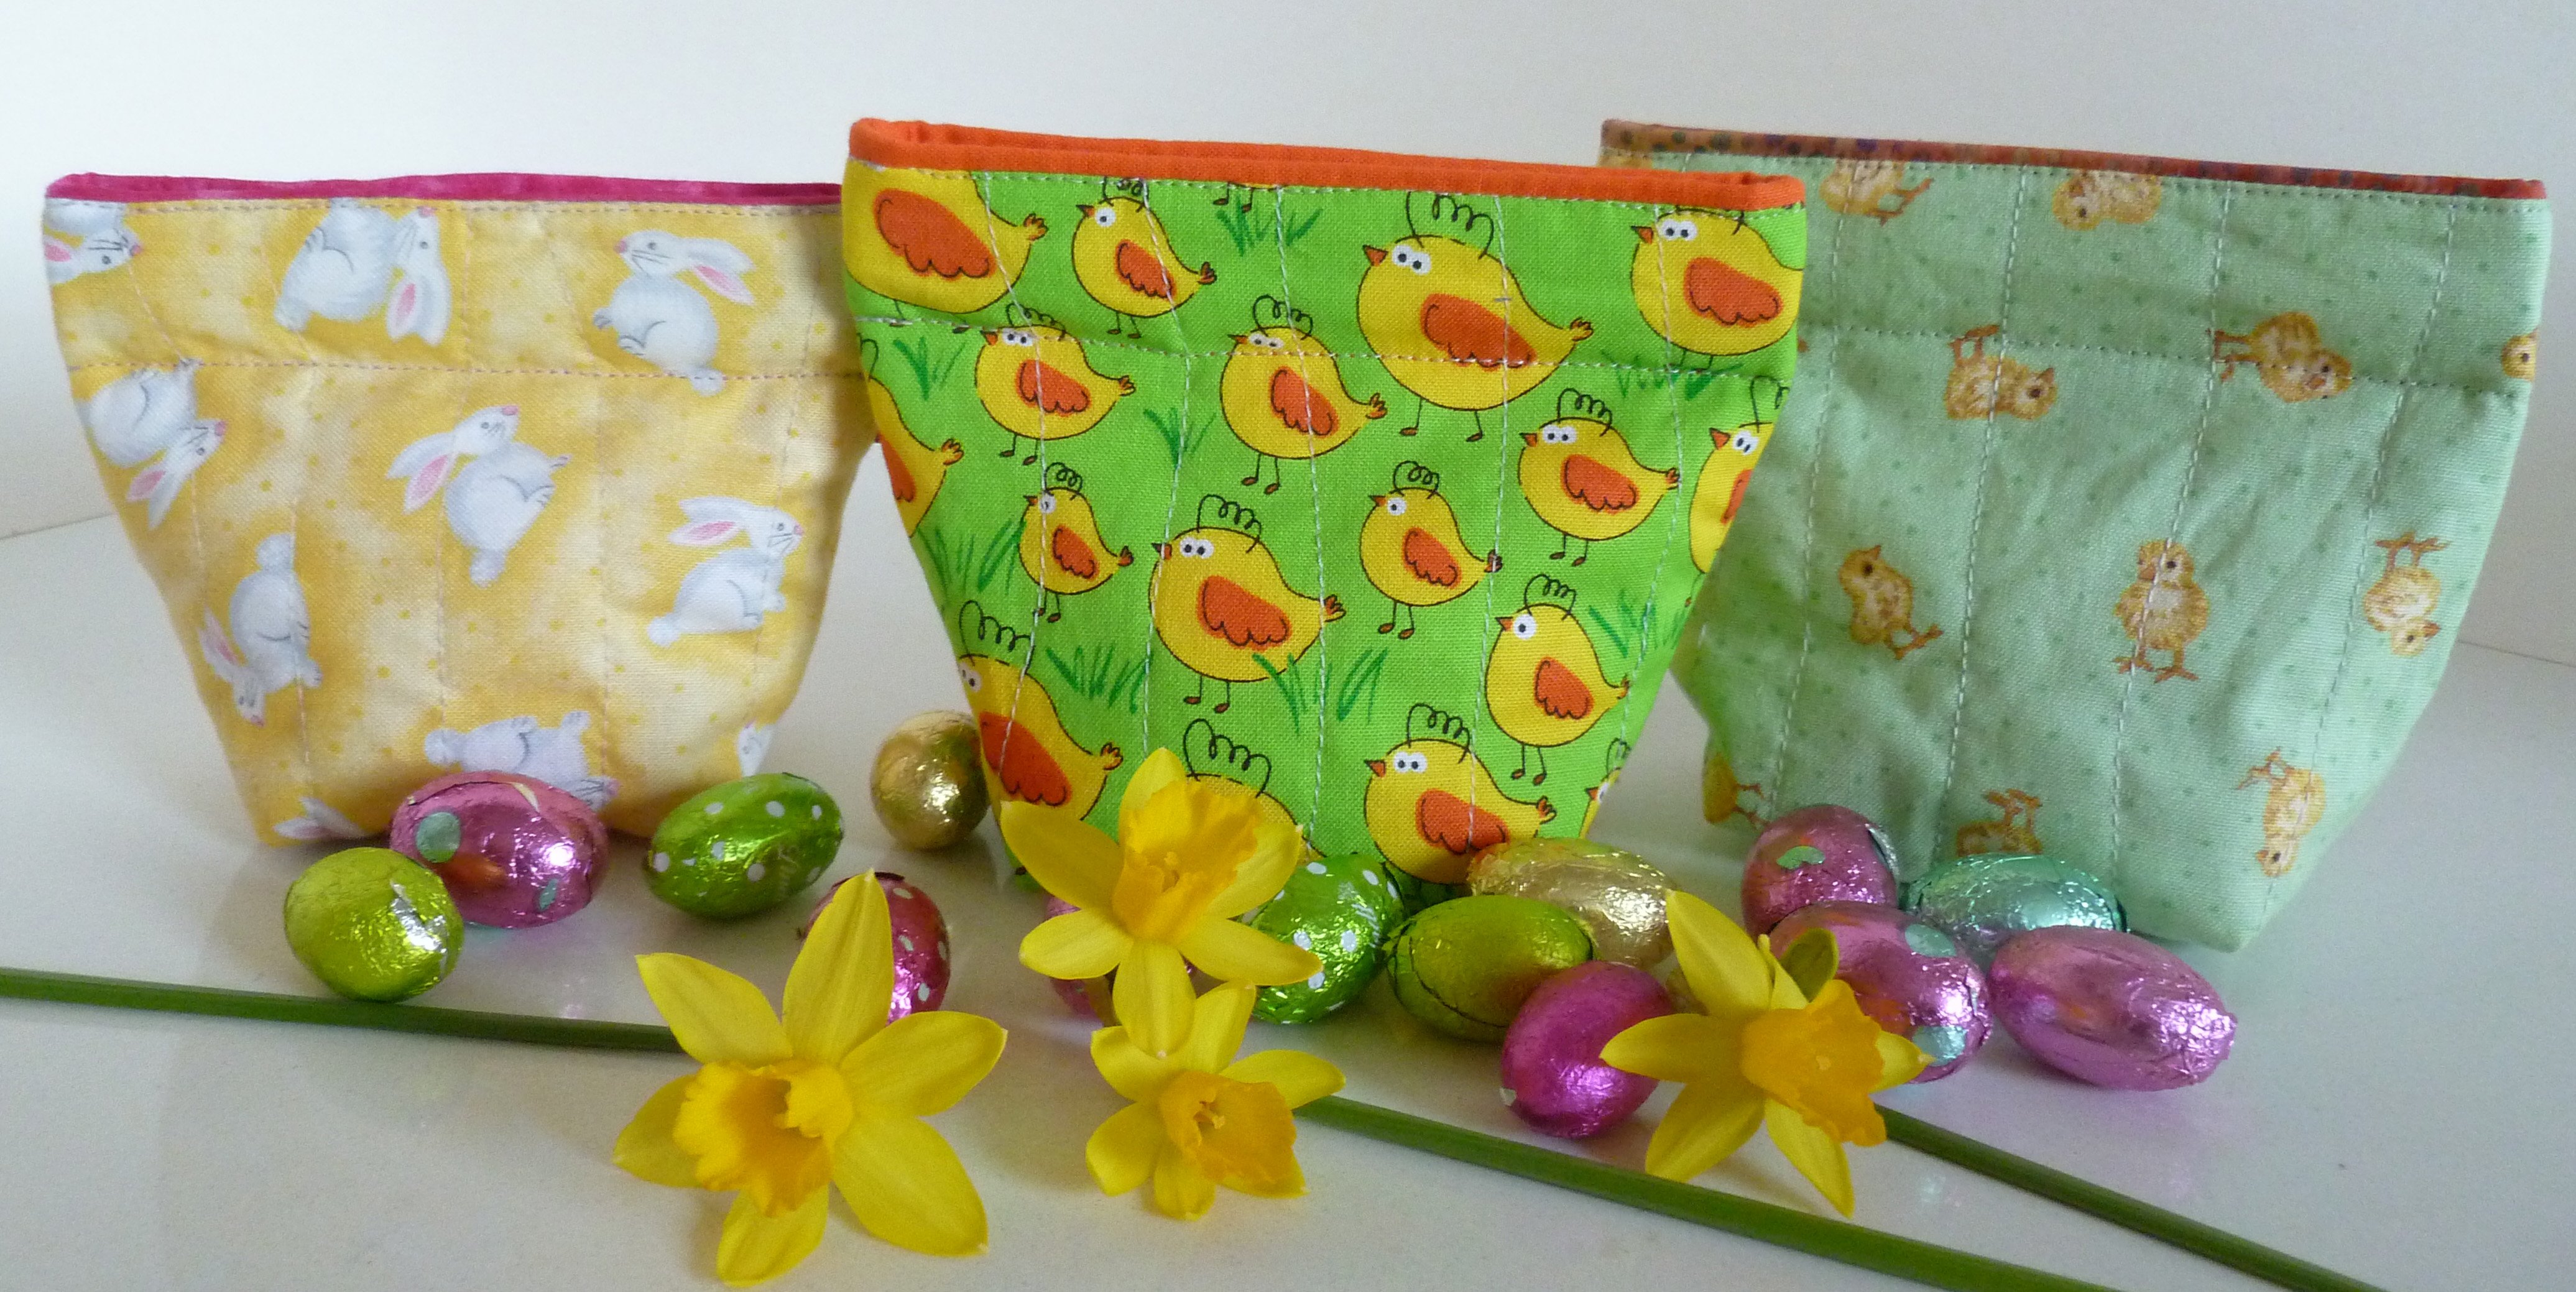
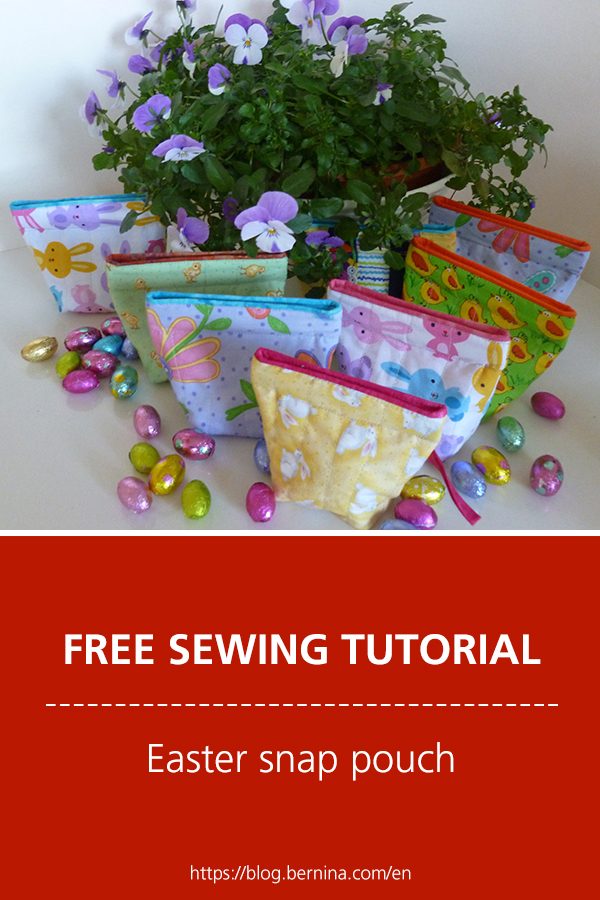
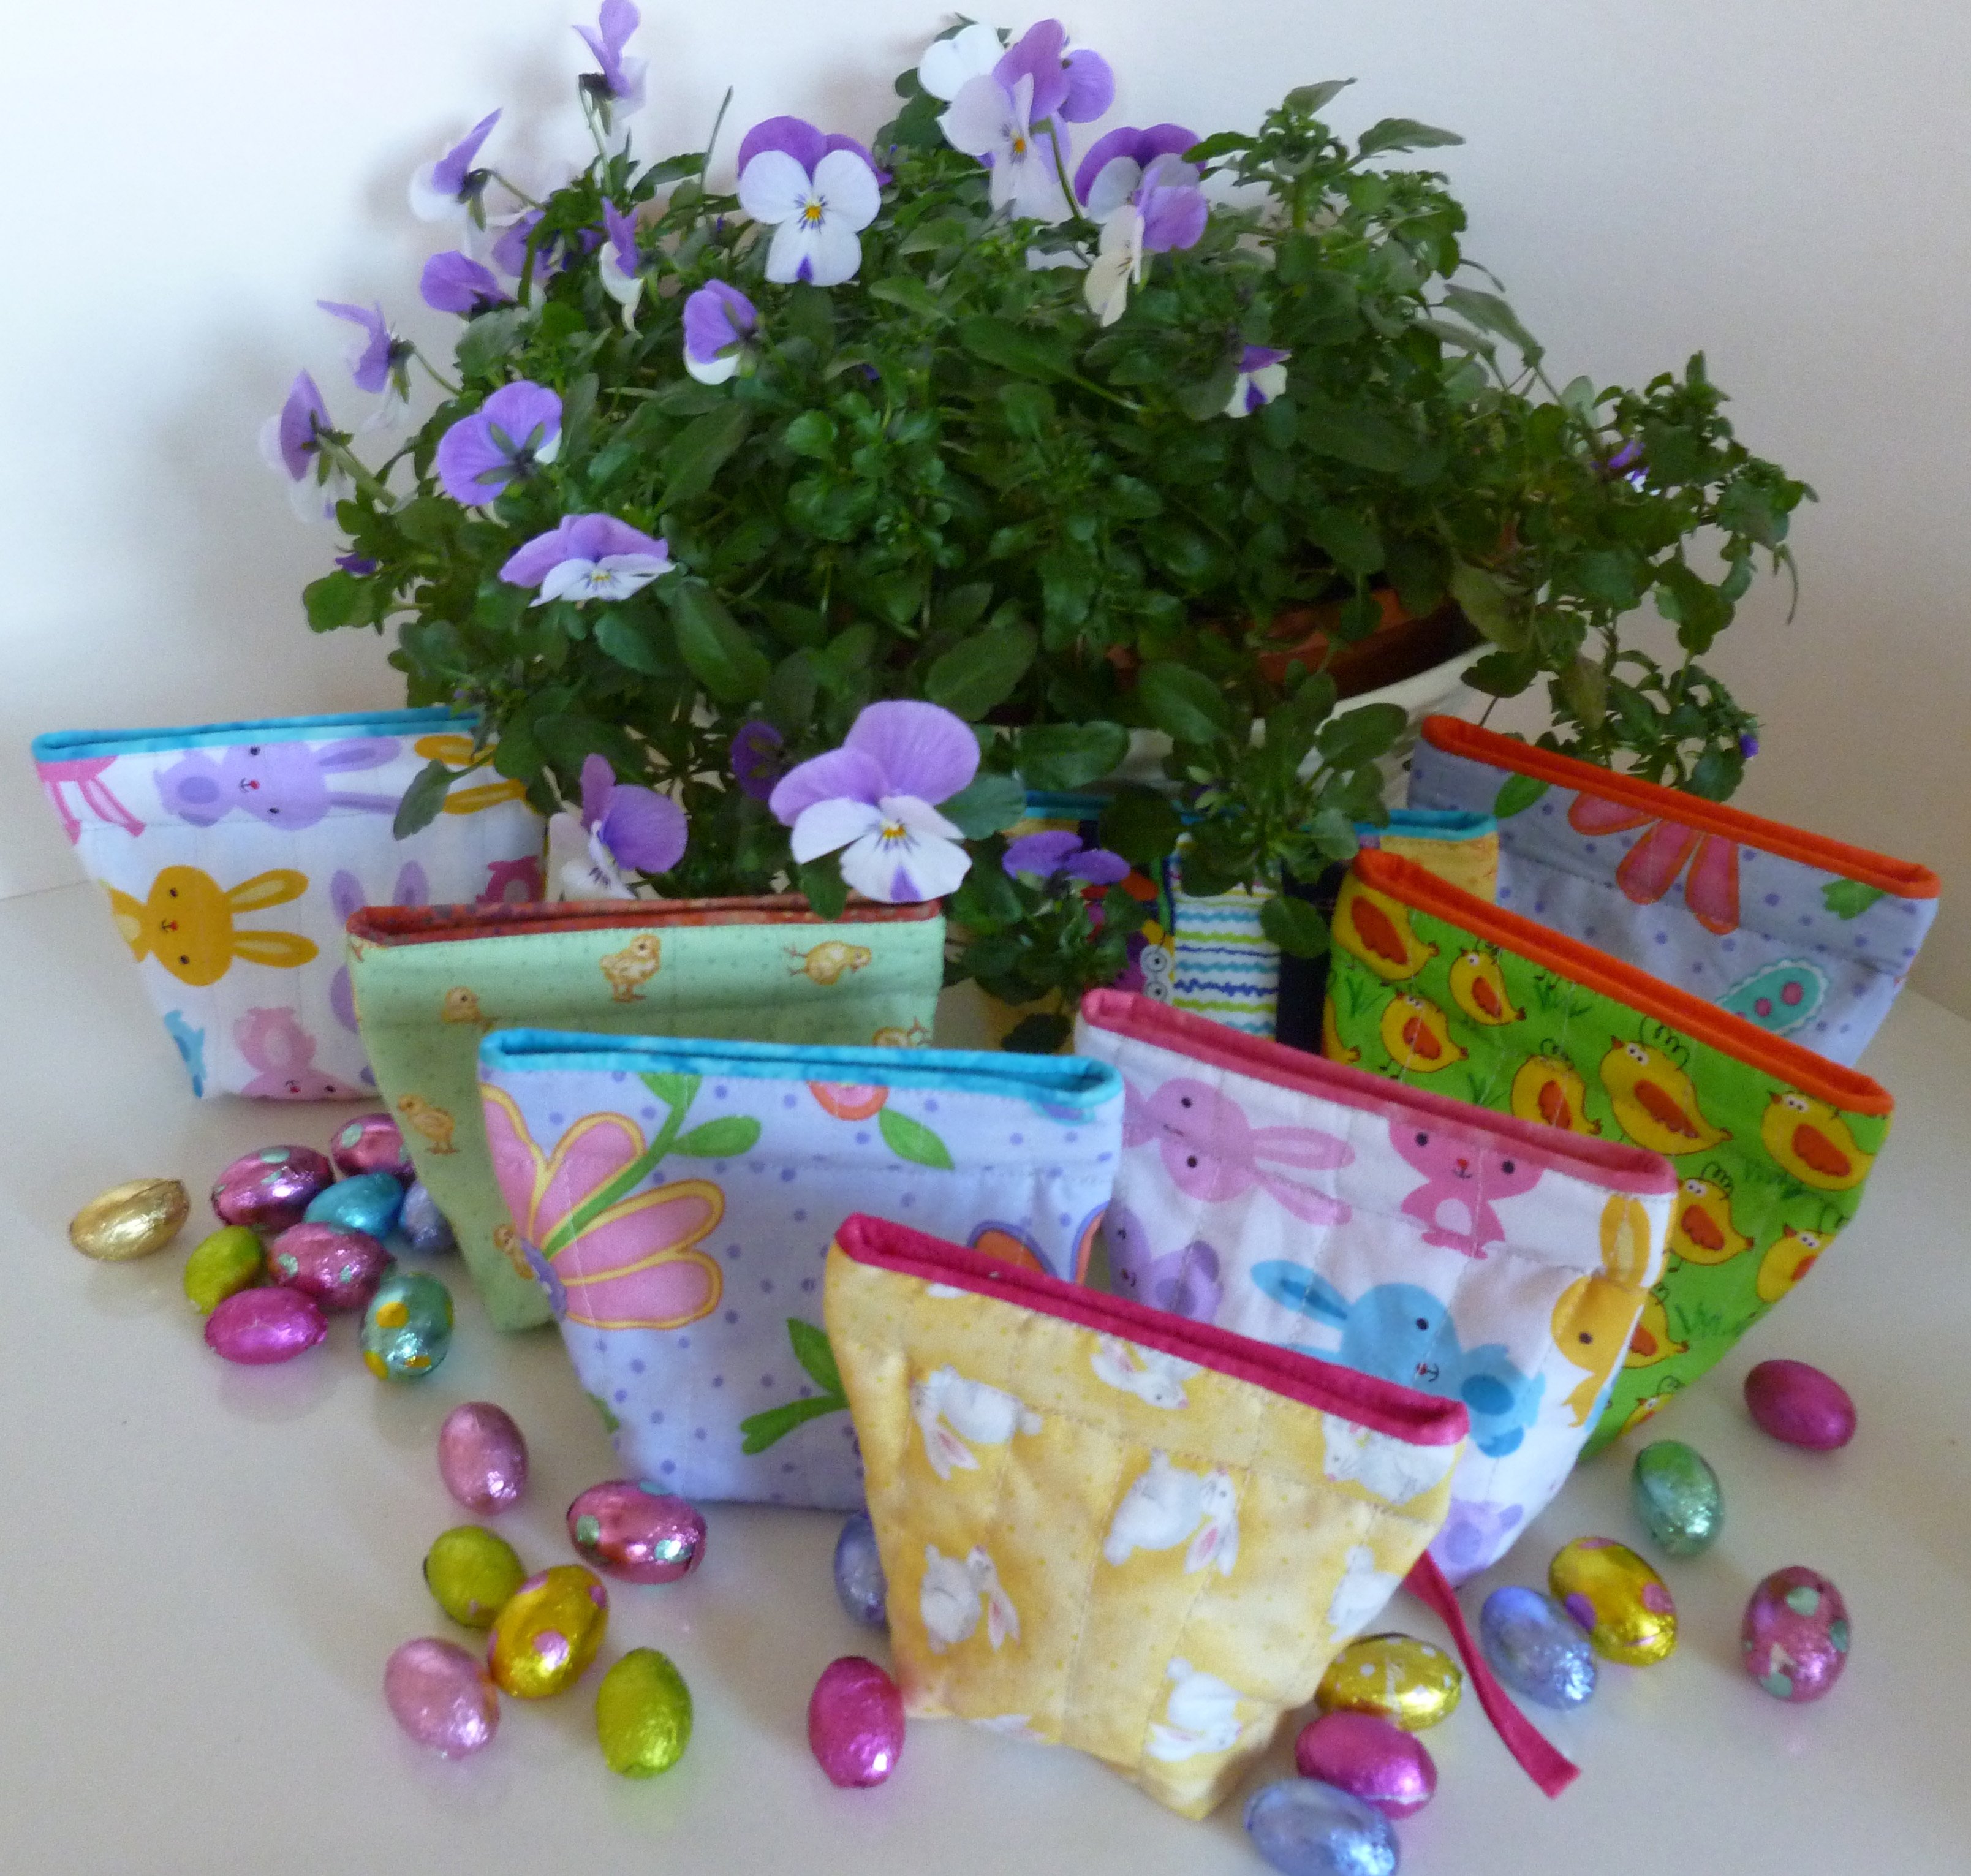 With Spring only a few weeks away I have been making snap pouches for small gifts. Some will feature in our family egg hunt, containing a selection of clues, eggs, activity challenges, seeds to grow and toy mini beasts. I’m adding games and challenges to the hunt this year so it lasts longer.
The snap closure is made from a metal tape-measure. I devised this pattern to give me a simple lined snap purse that had no raw edges inside. I couldn’t find exactly what I wanted on the Internet.
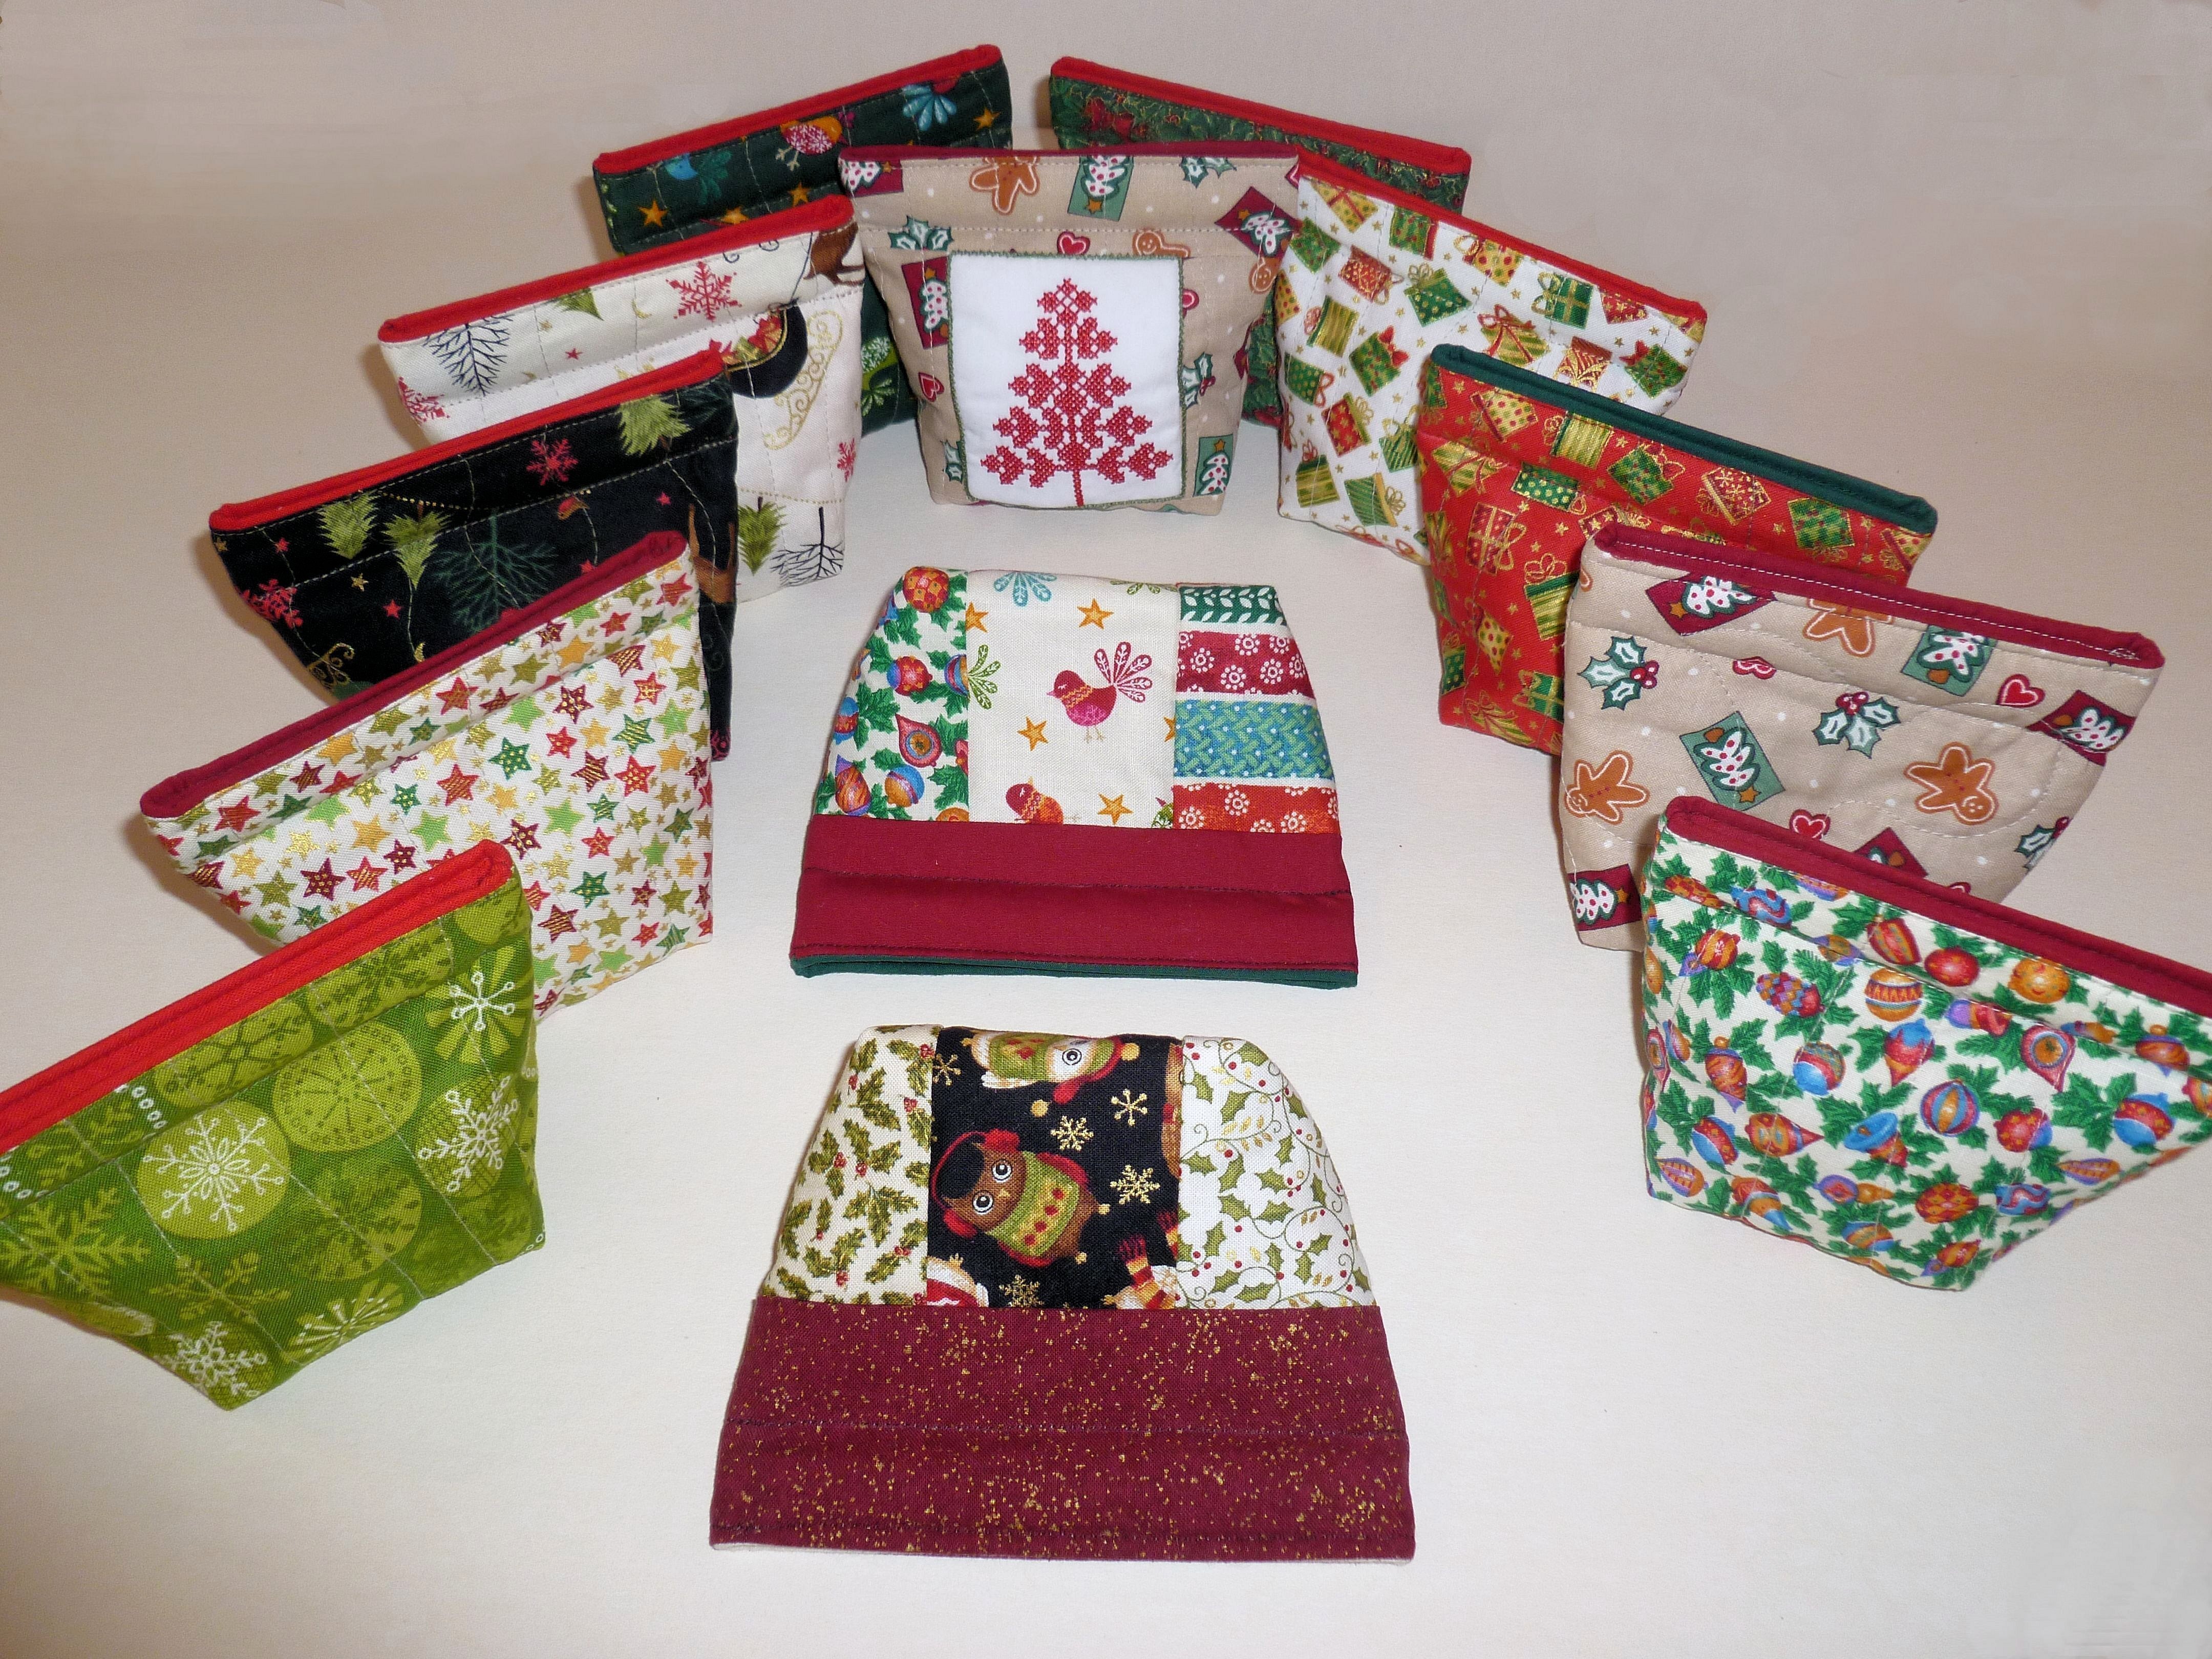
Many of my illustrations show Christmas fabrics because I made several bags in December. They are great little gift pouches for all sorts of goodies and treasures. The pattern could be adapted to fit particular sized items such as spectacles or phones.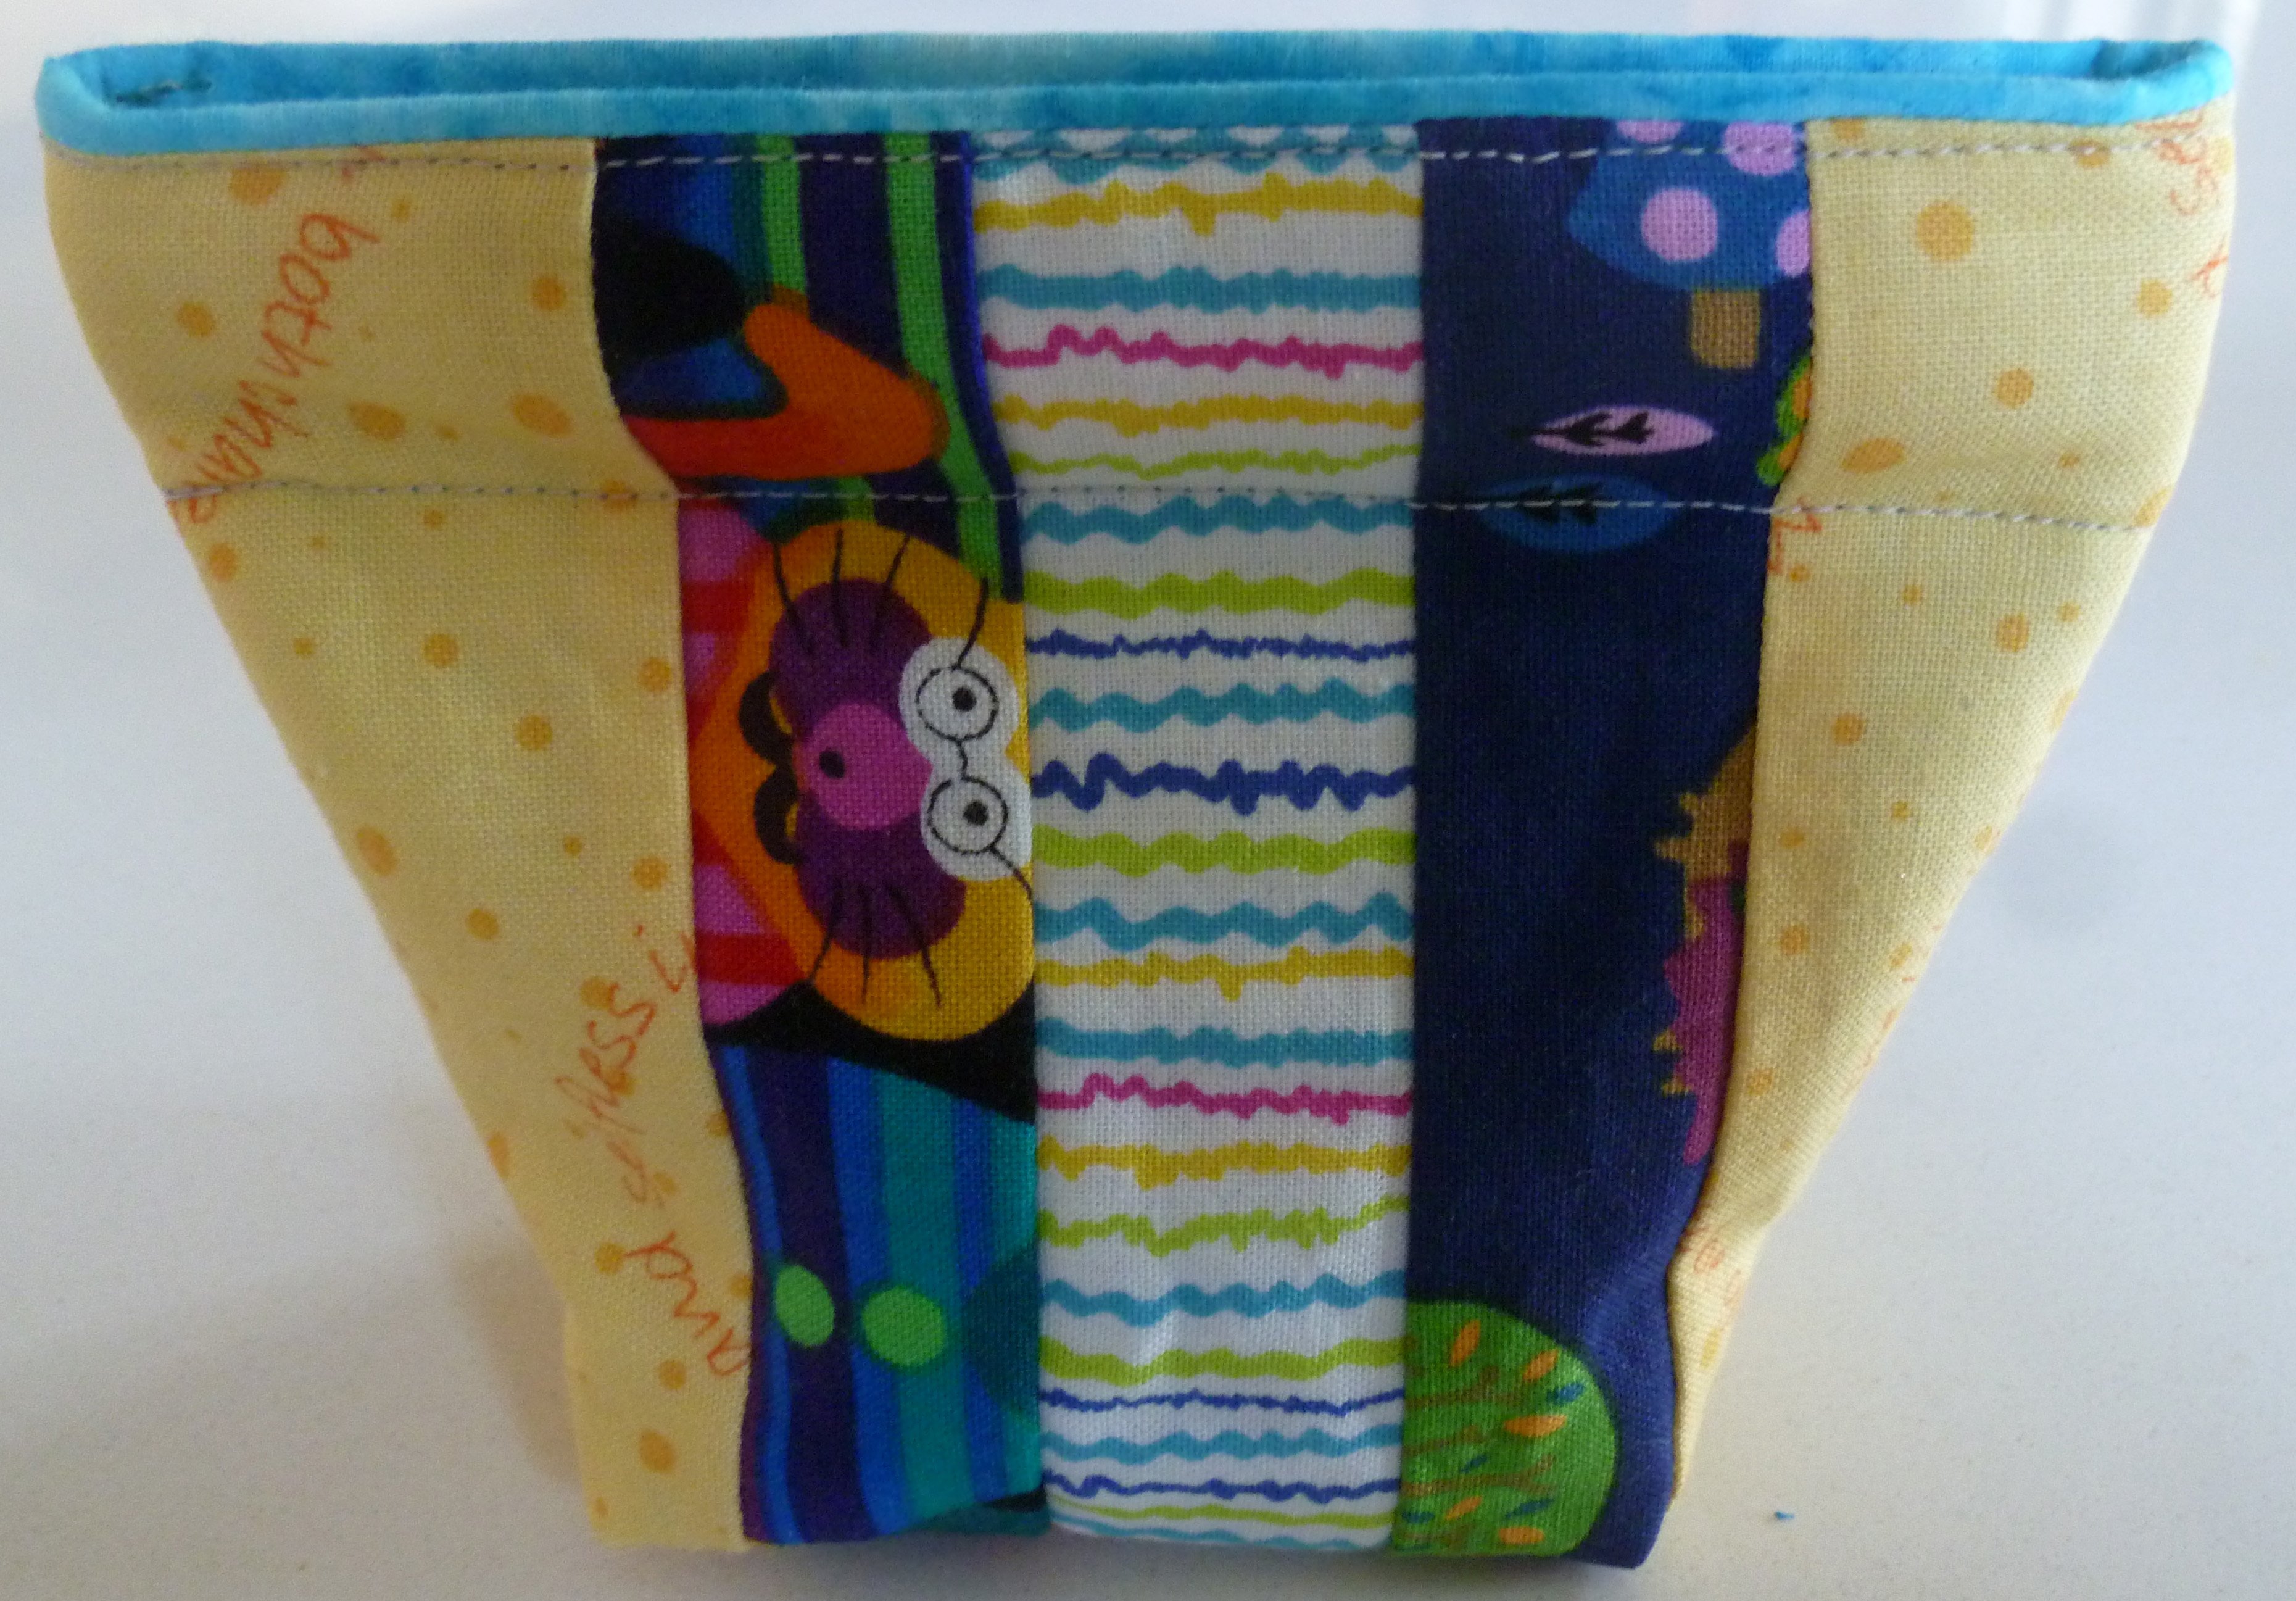
You can make the purse more elaborate by piecing the fabric, adding appliqué, embroidery, quilting, key loops or anything else you can think of. I have found the purse useful for framing small pieces of work or fabric and sample stitch-outs.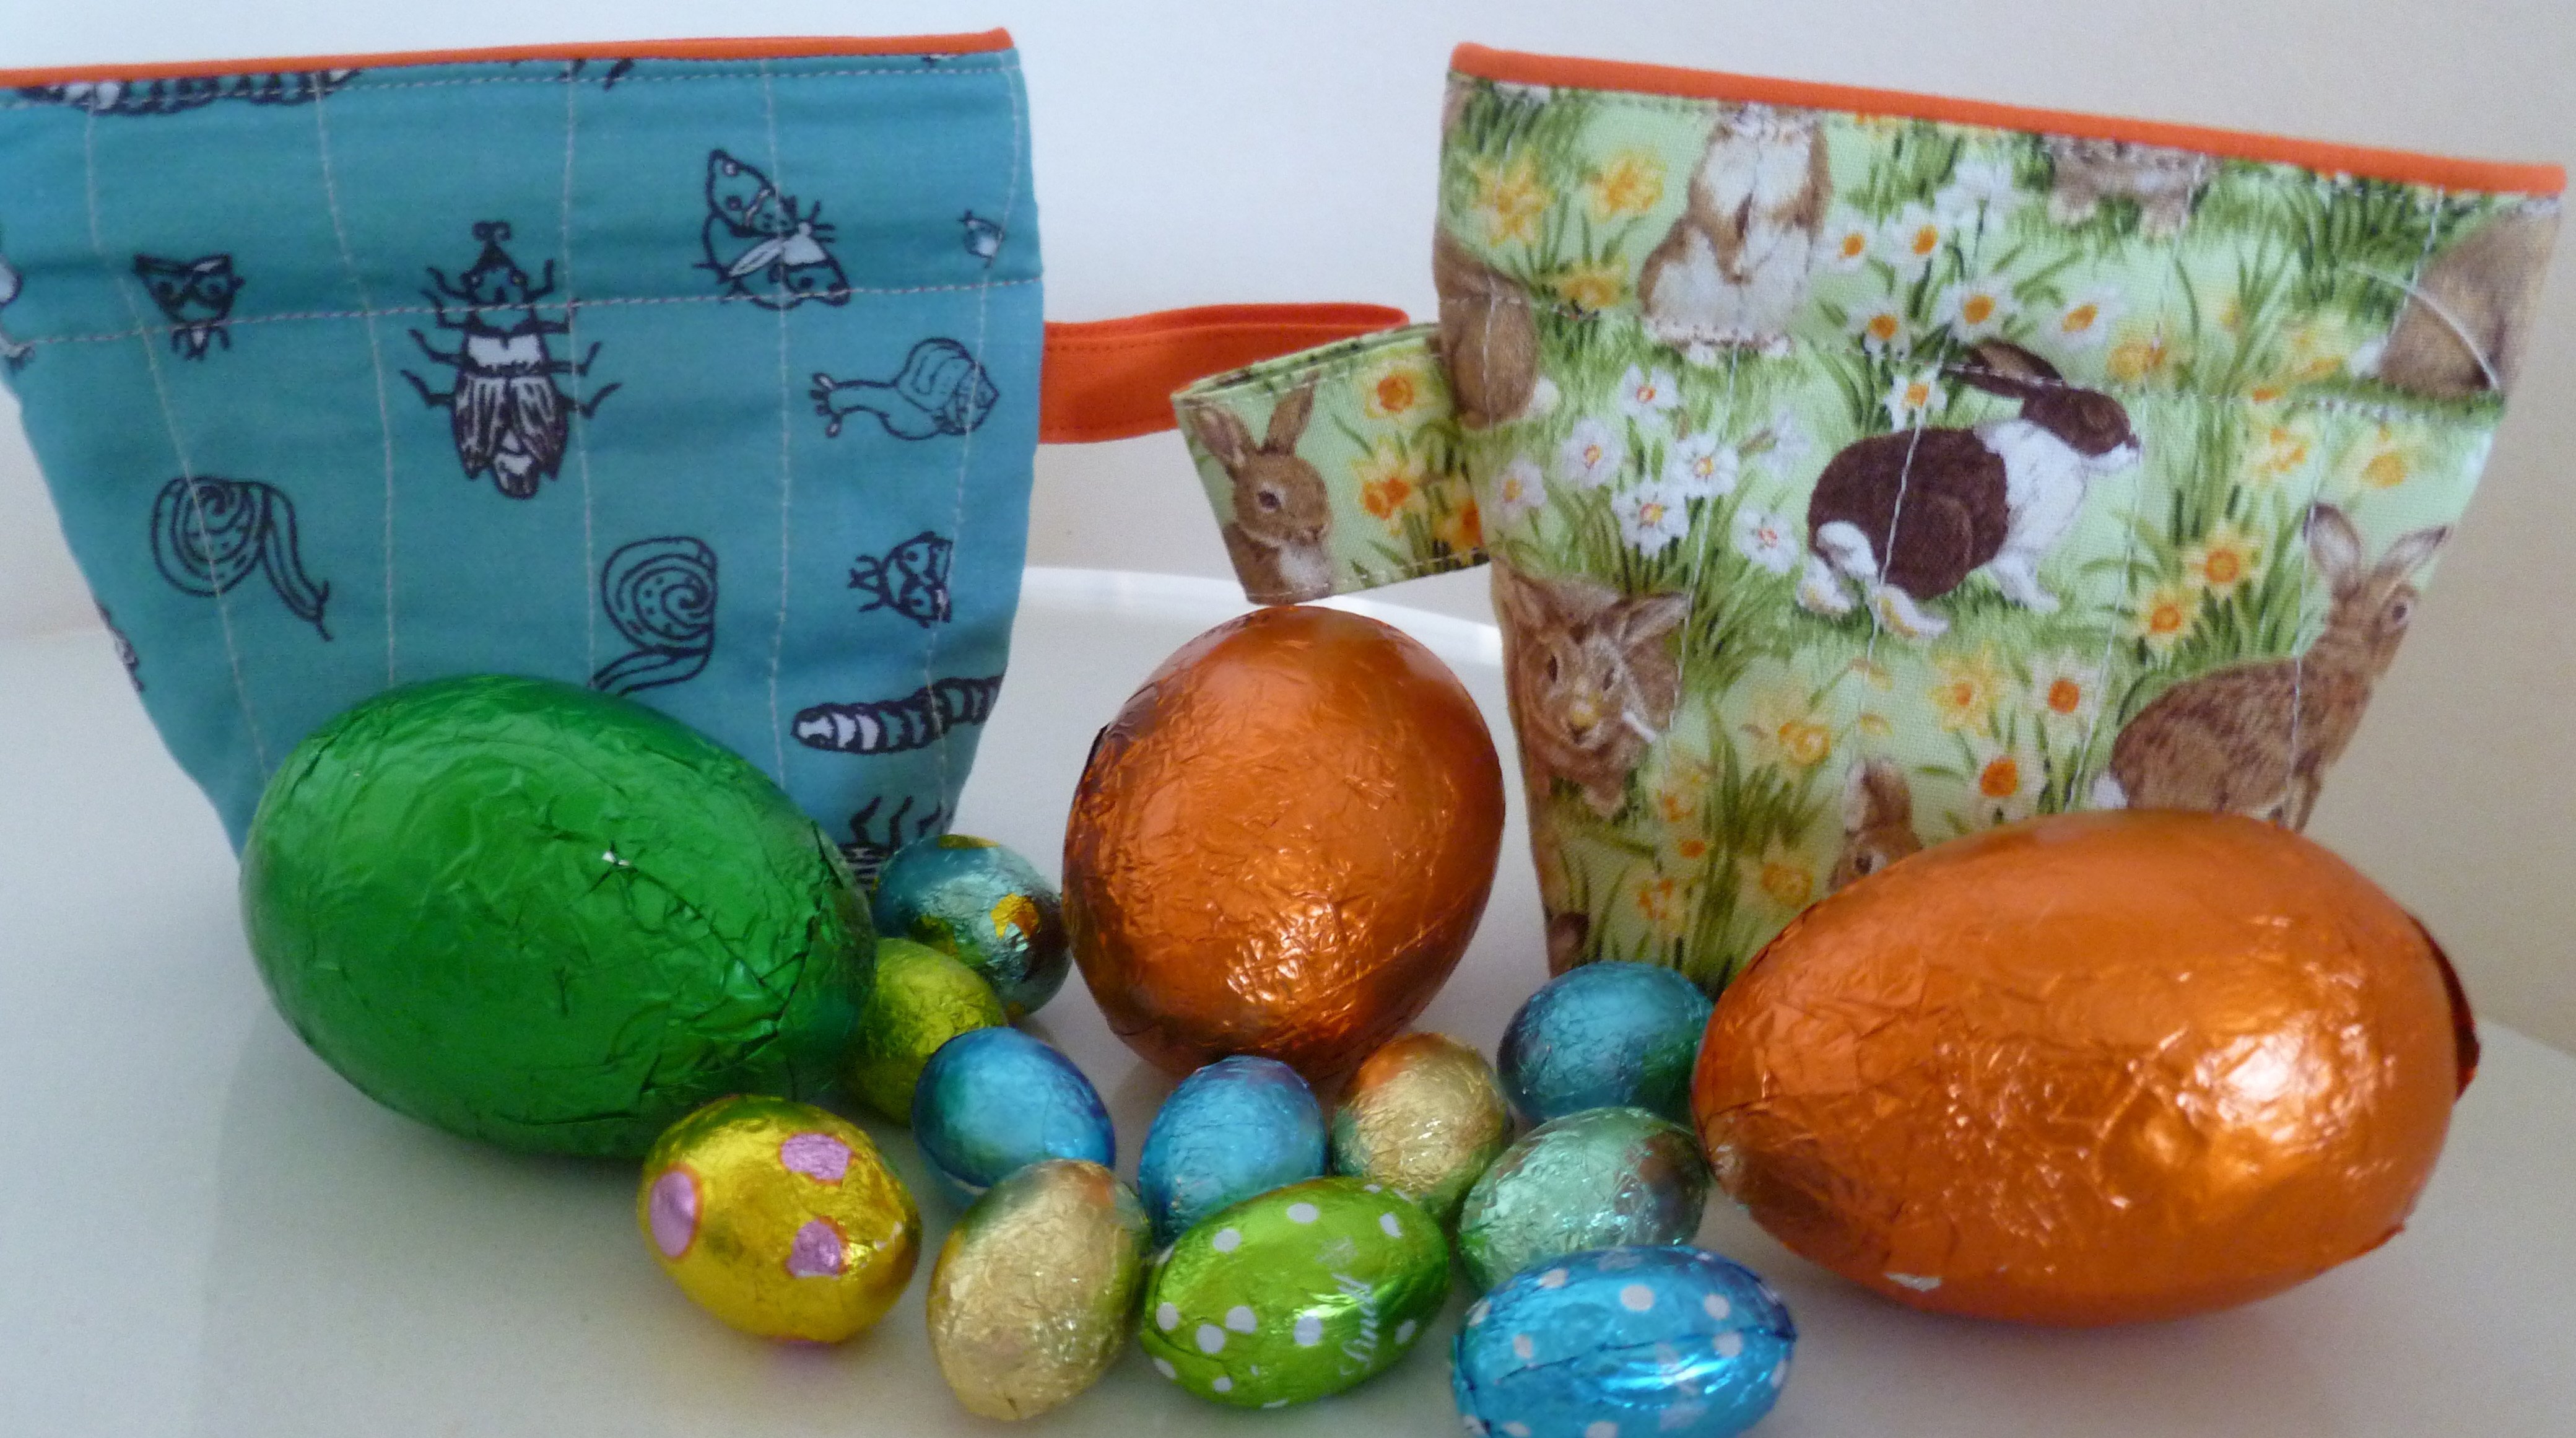
I machine stitched mine but they could just as easily be hand sewn.
Read through carefully before starting, especially the section about tape measures.
For a basic purse cut:
One -5 ½ x 10 ½ inch rectangle material (outer fabric)
One -5 ½ x 10 ½ inch rectangle material (lining)
One -5 ¼ x 10 ¼ inch rectangle thin wadding (Optional. I like Thermore for this but often use scraps.)
Two- 4 5/8 inch lengths metal retracting tape measure
Two – 5 ½ x ¾ inch fusible lightweight interfacing (Optional)
If using directional fabric, cut two 5 ½ inch squares from outer fabric. Sew together with a scant ¼ inch seam so patterns on the fabric are in opposite directions. This seam will be at the base of the purse so make sure any designs face the right way before stitching.
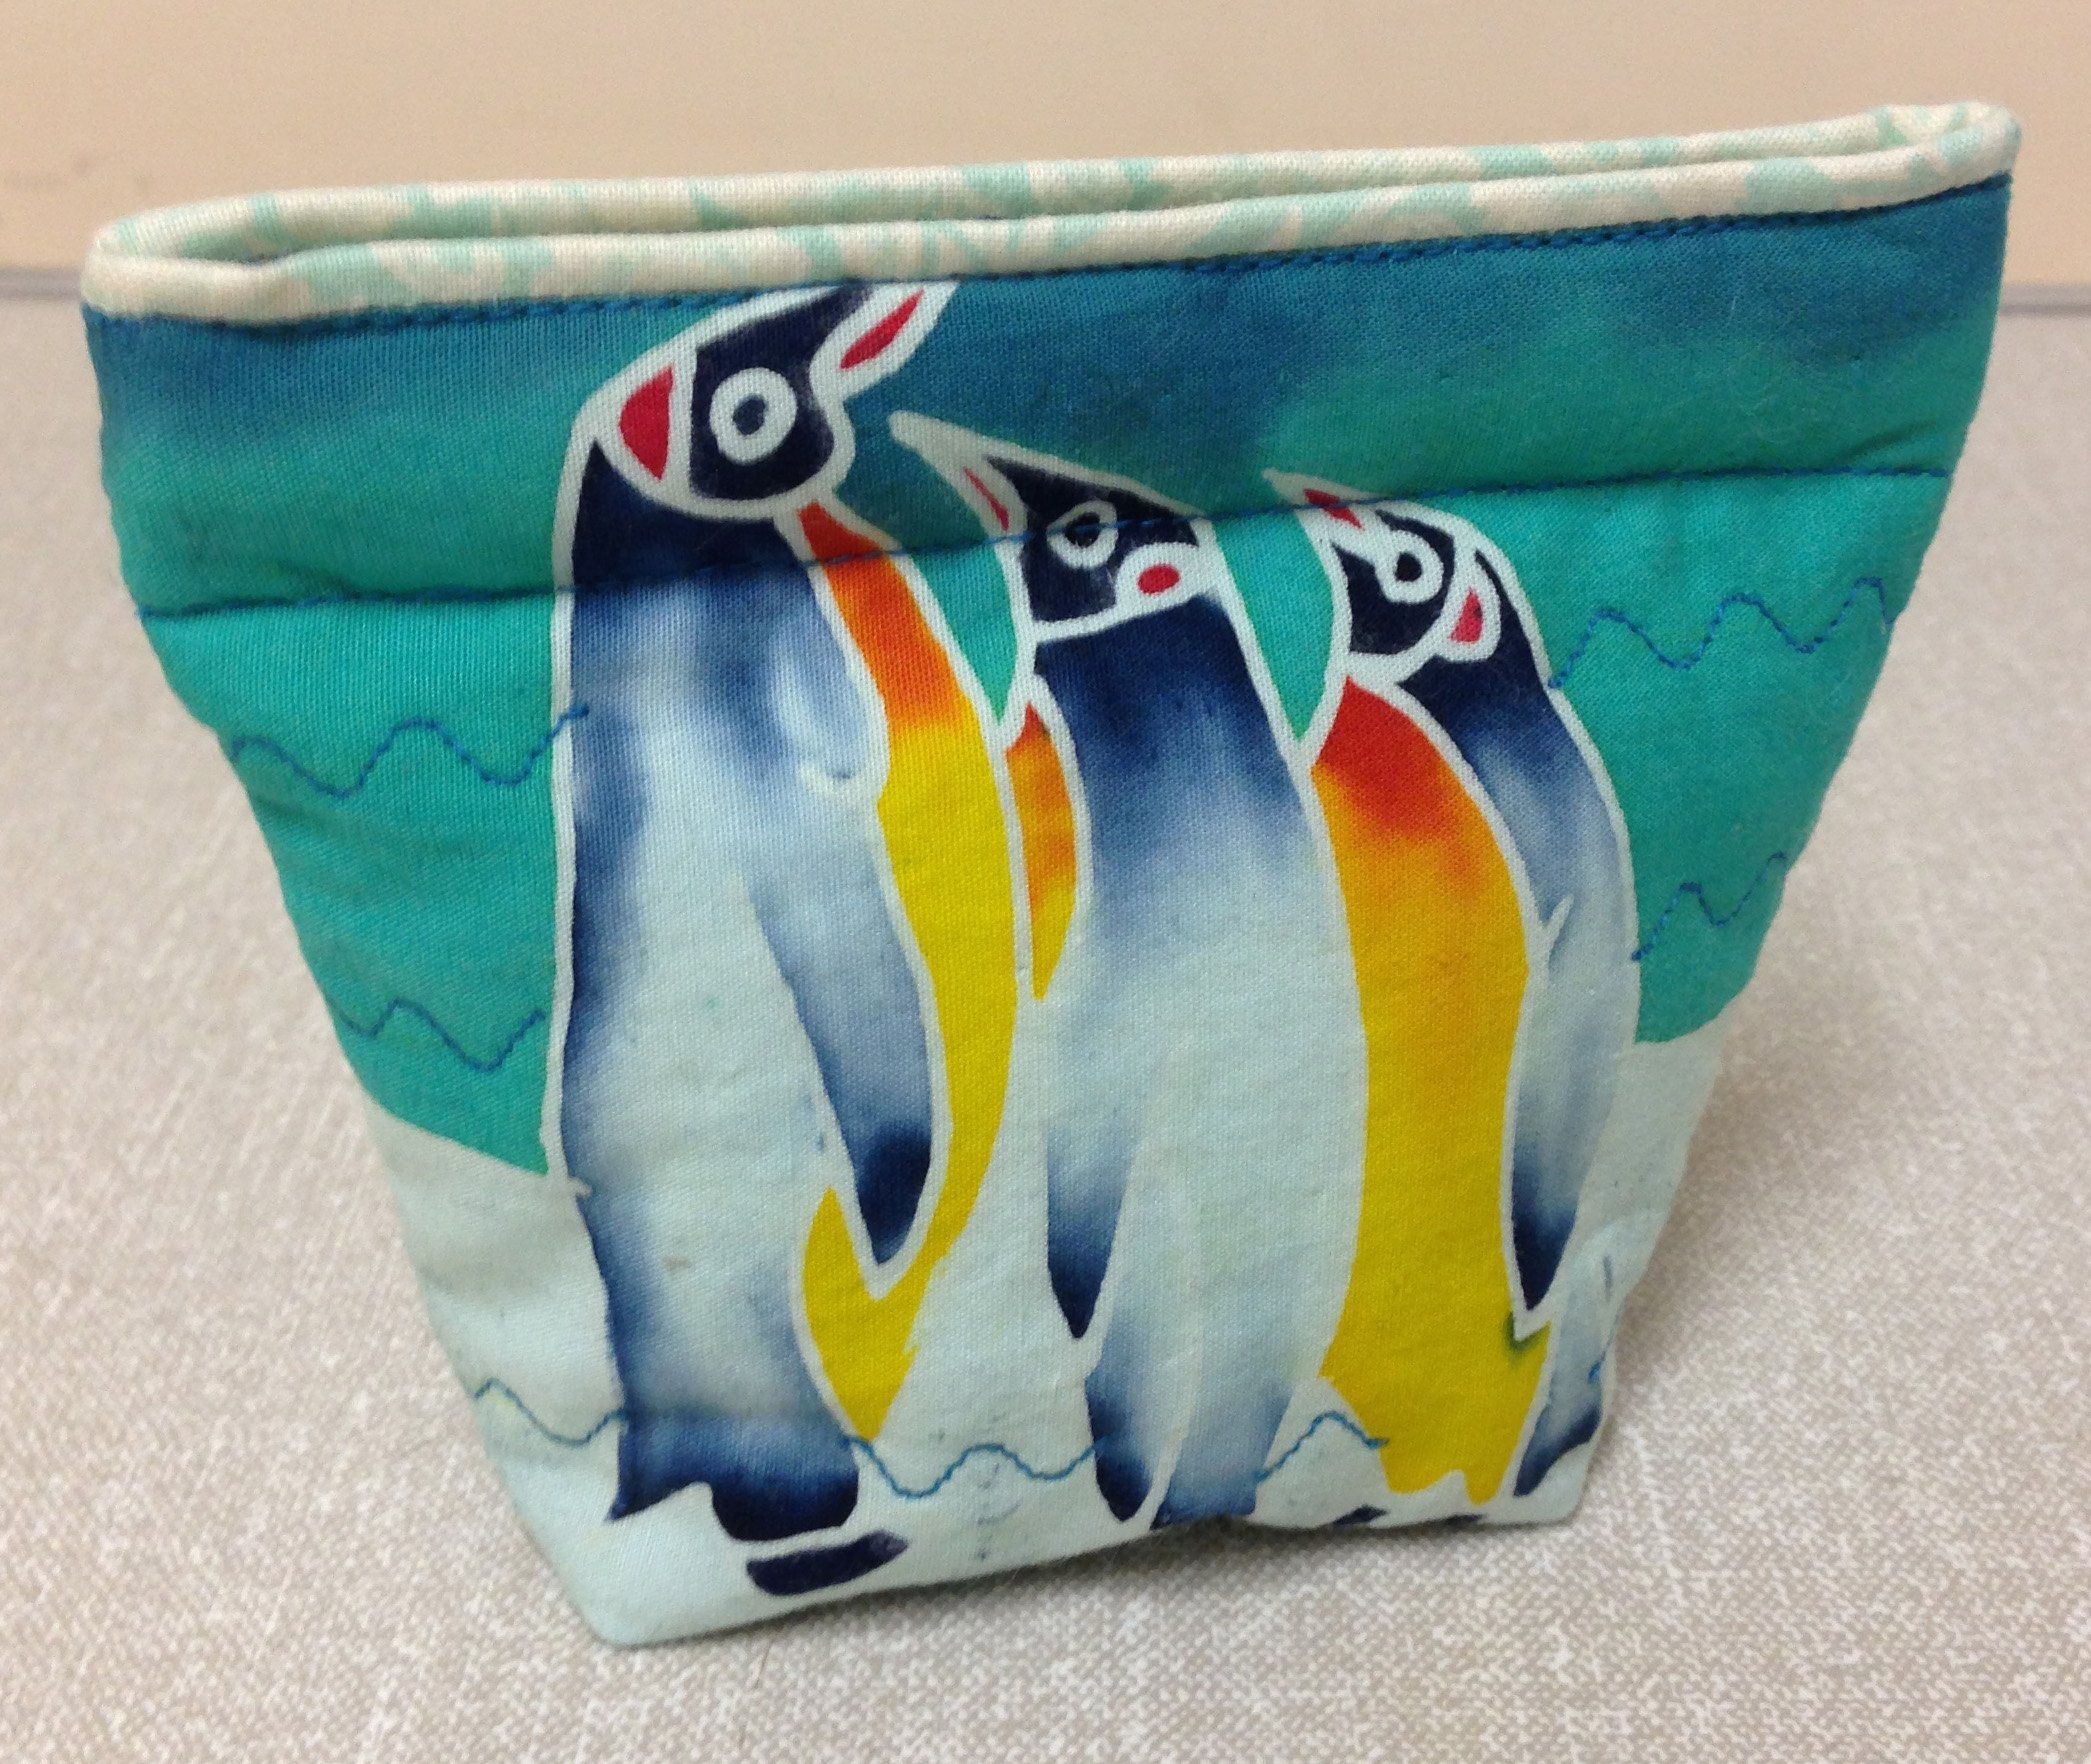
Don’t you just love this penguin pouch made by my pal Chris Griffiths? It is a super use of feature fabric and needed to be seamed at the base. Chris has such a creative eye for great design.
Unless otherwise directed, use a generous ¼ inch seam. I use the outer edge of my Bernina 1 foot (5mm) aligned with the edge of the fabric. This usually takes care of any irregularities and catches any wadding.
PREPARATION
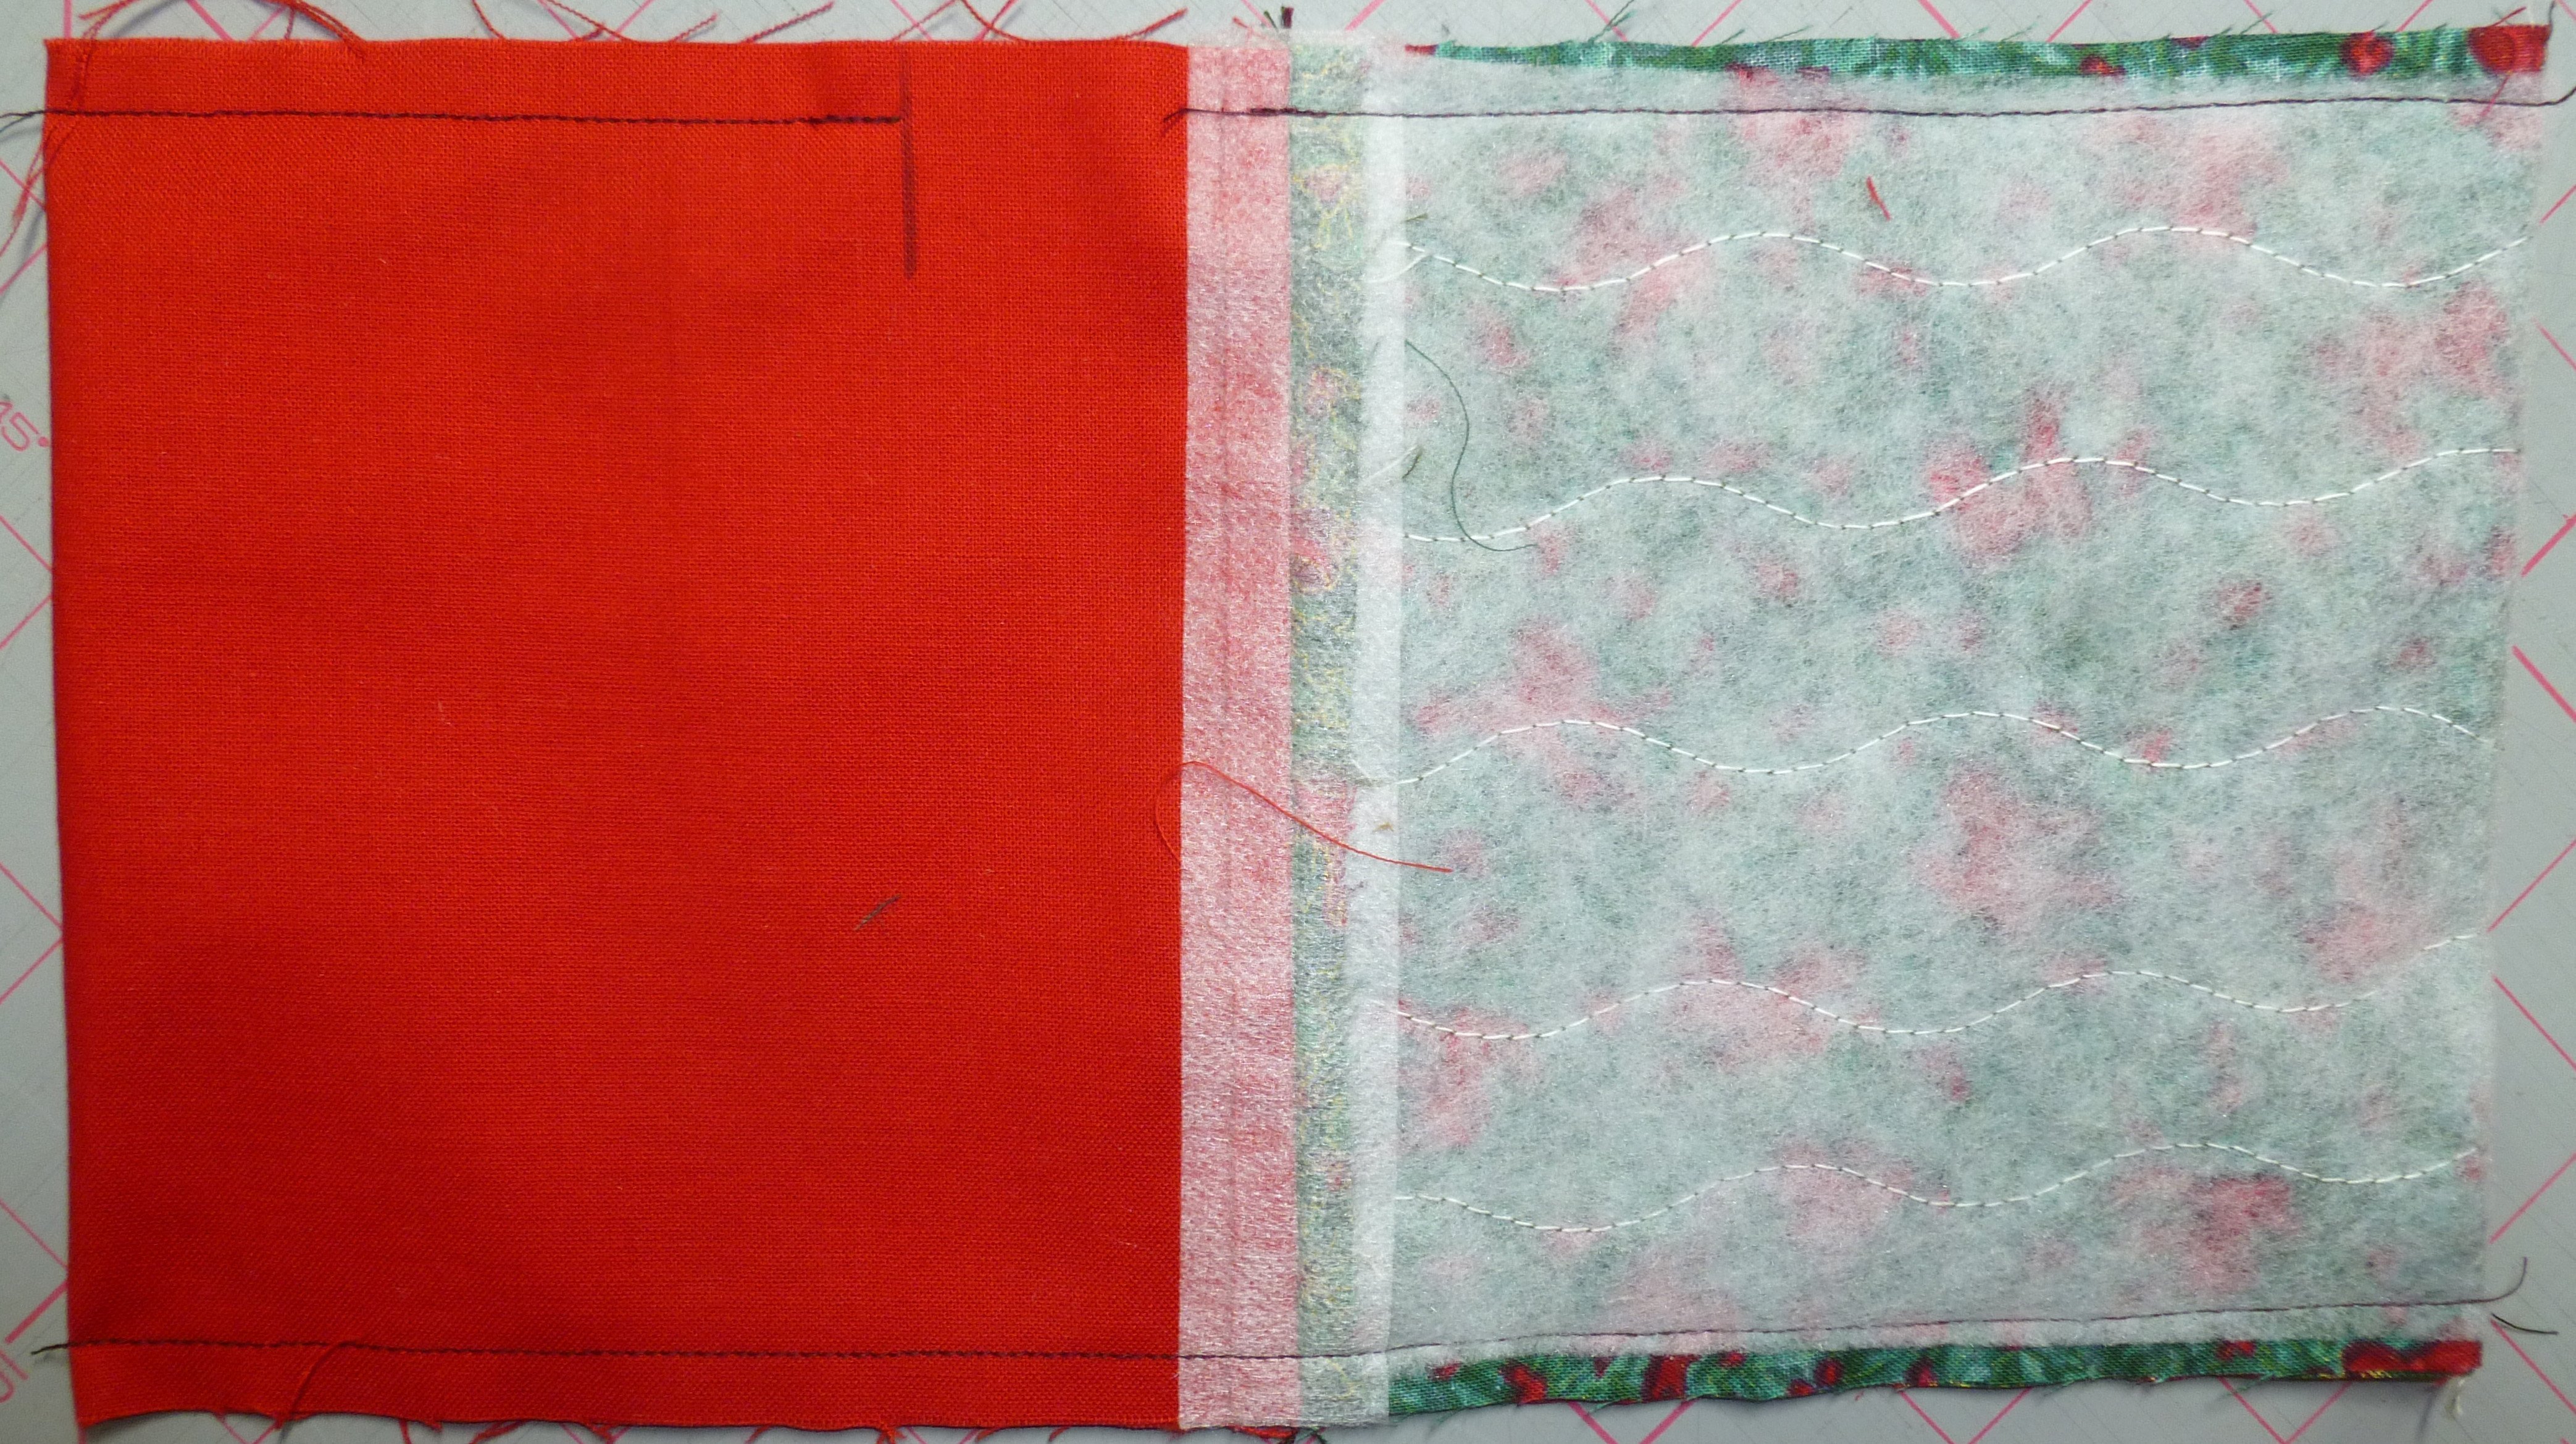
If using wadding, apply to the WS of outer fabric and quilt if desired. For speed I sew 3 or 5 straight or meandering lines with a walking foot.
You could use a machine’s inbuilt stitch patterns. Stitch 4 on my Bernina 780 works well with the width set at 6 and the length at 4. Other approaches include stitching around motifs or using hand stitch. Stitch and flip is another way to quilt and piece strips directly onto the wadding. If you use wadding but omit quilting it’s a good idea to spray baste or use fusible wadding to hold everything in place.
Once quilted, check for any distortion or shrinkage. Trim if necessary to make quilted section and lining the same size.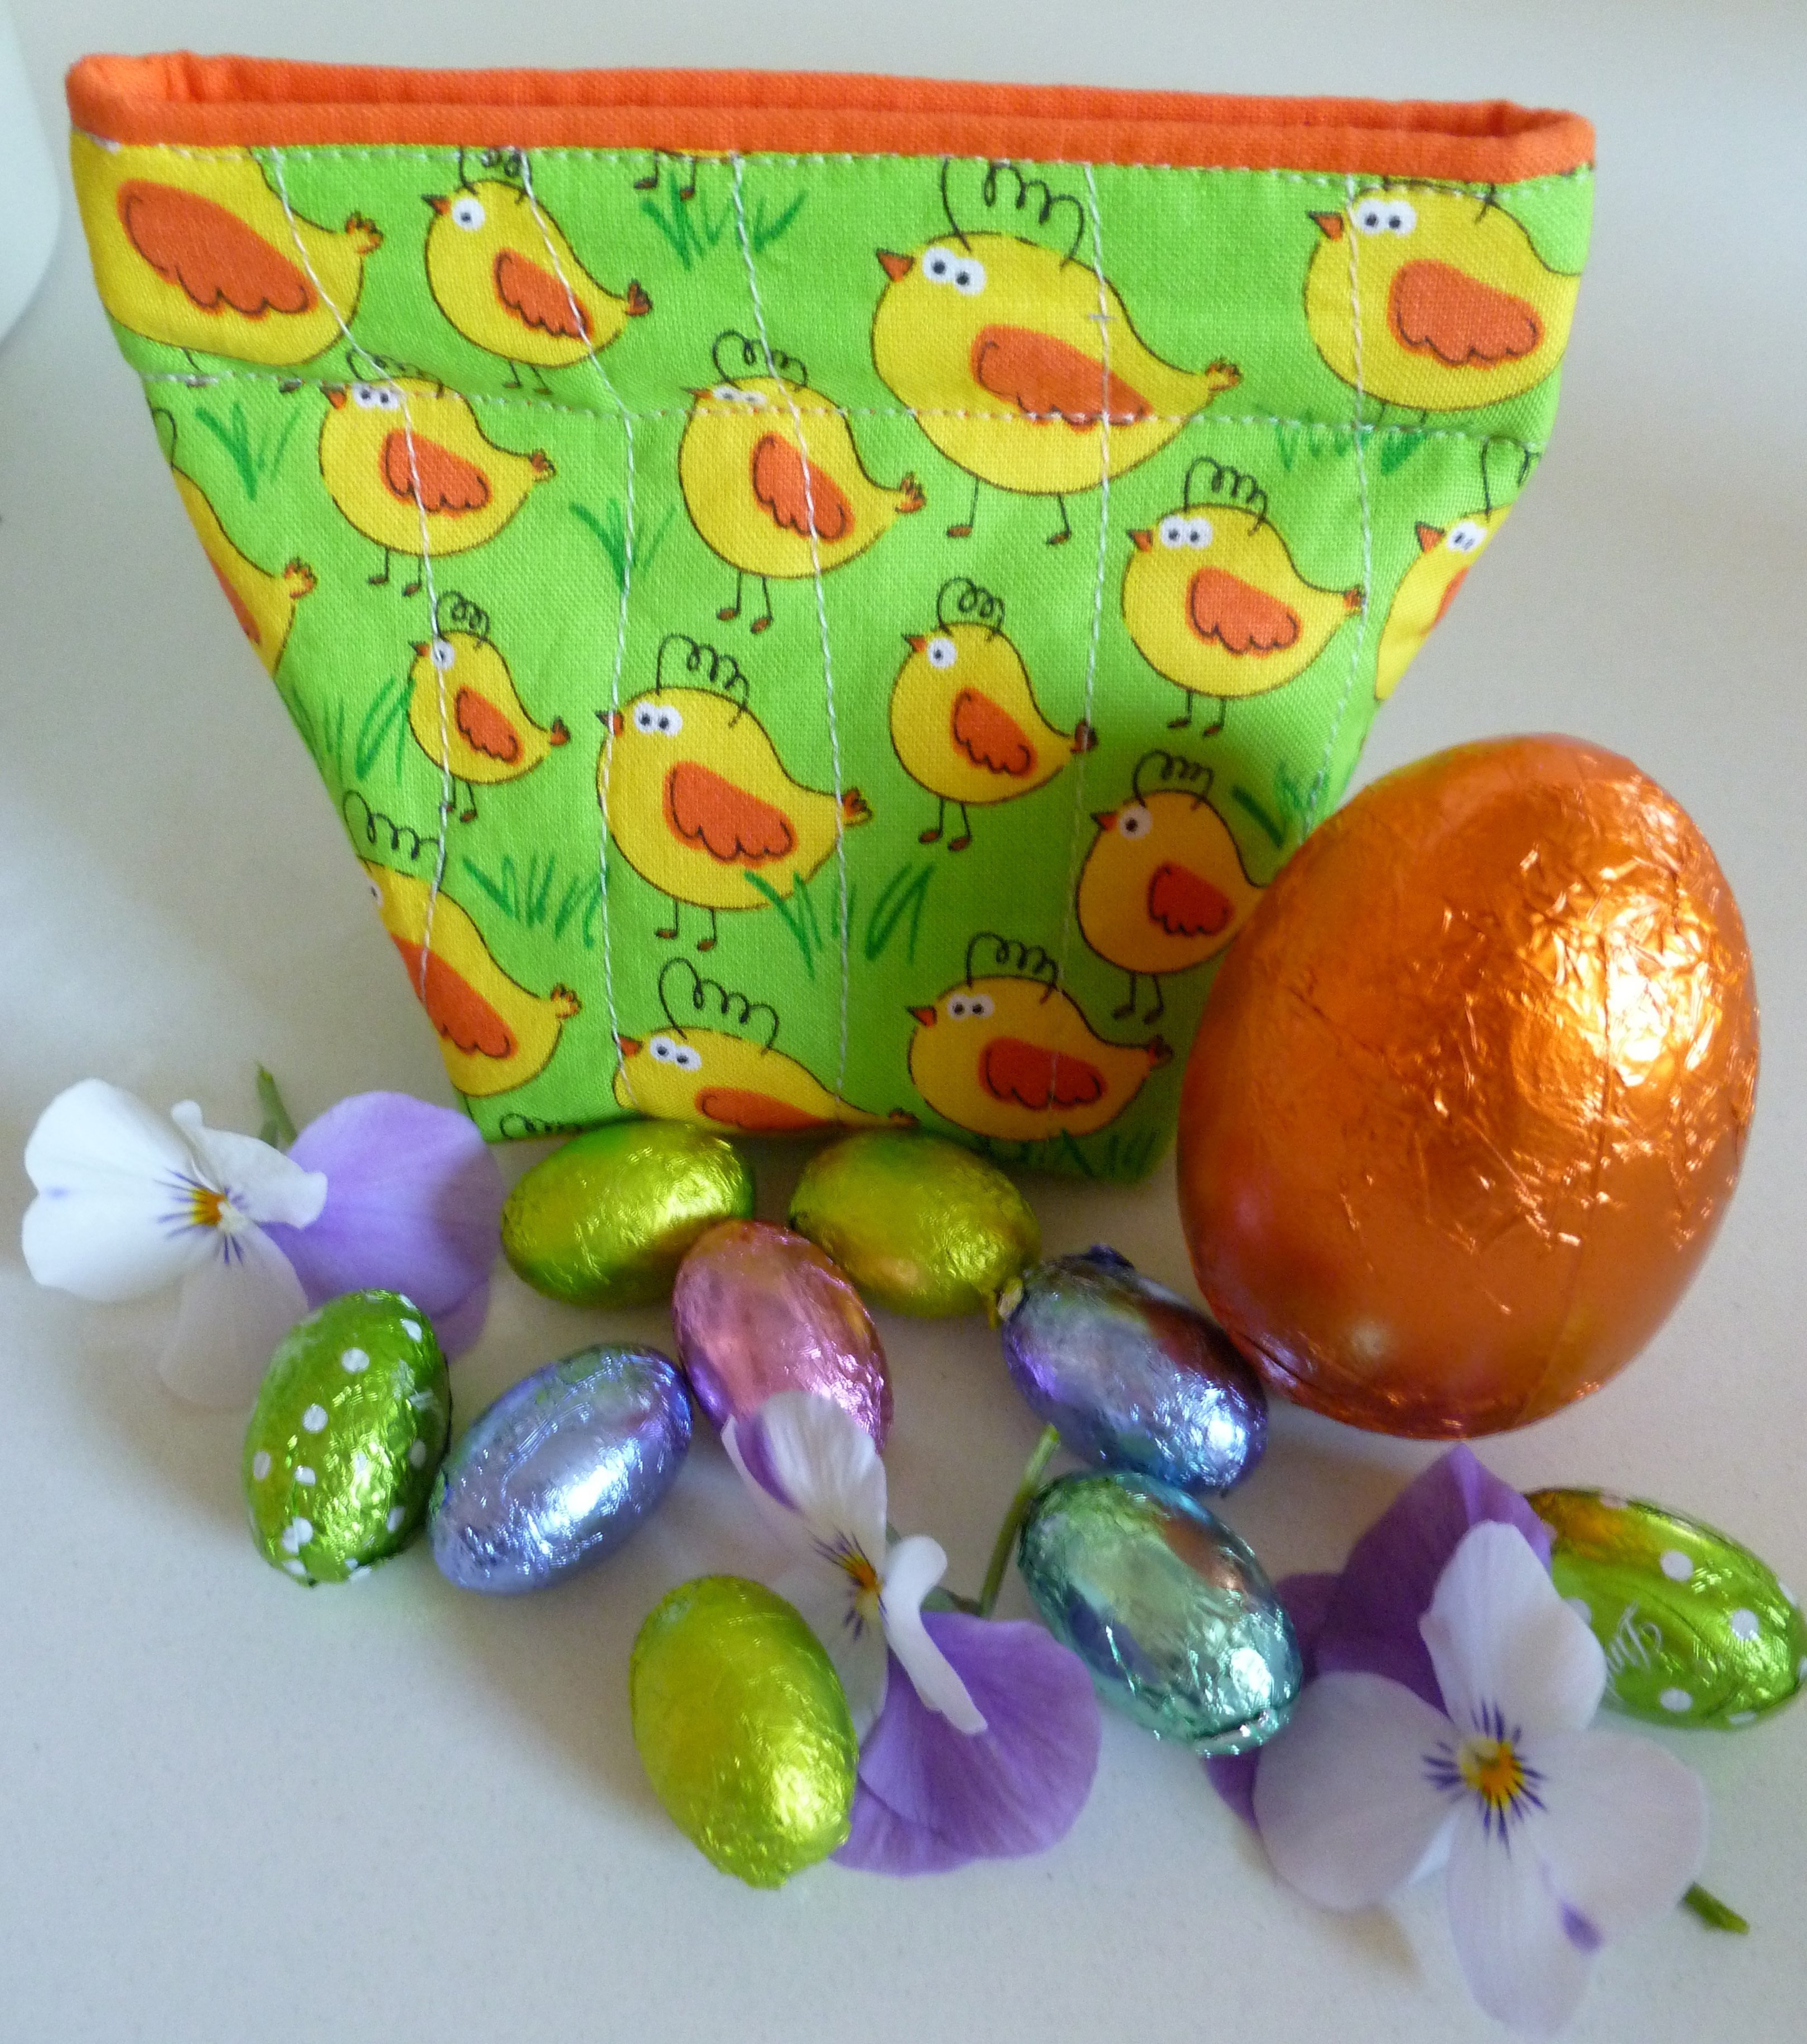
Metal tape measures vary in size. Mine cost £0.99 from Homebase. It was 3m long and 5/8 inch/15mm wide. More robust tapes can be a little stiff to open when used on these closures.
Make sure yours is a lockable one or you will lose the tape into the casing once you cut the end off! I stick the end stopper back on with masking tape when not in use as an extra precaution. All is not lost if you are prepared to unscrew the plastic casing to retrieve any disappearing tape.
The snap closures work best if they are tightly fitting across the purse. You may need to adjust your length slightly if your seams are different to mine.
Avoid using your fabric scissors to cut the metal tape. Use paper scissors instead.
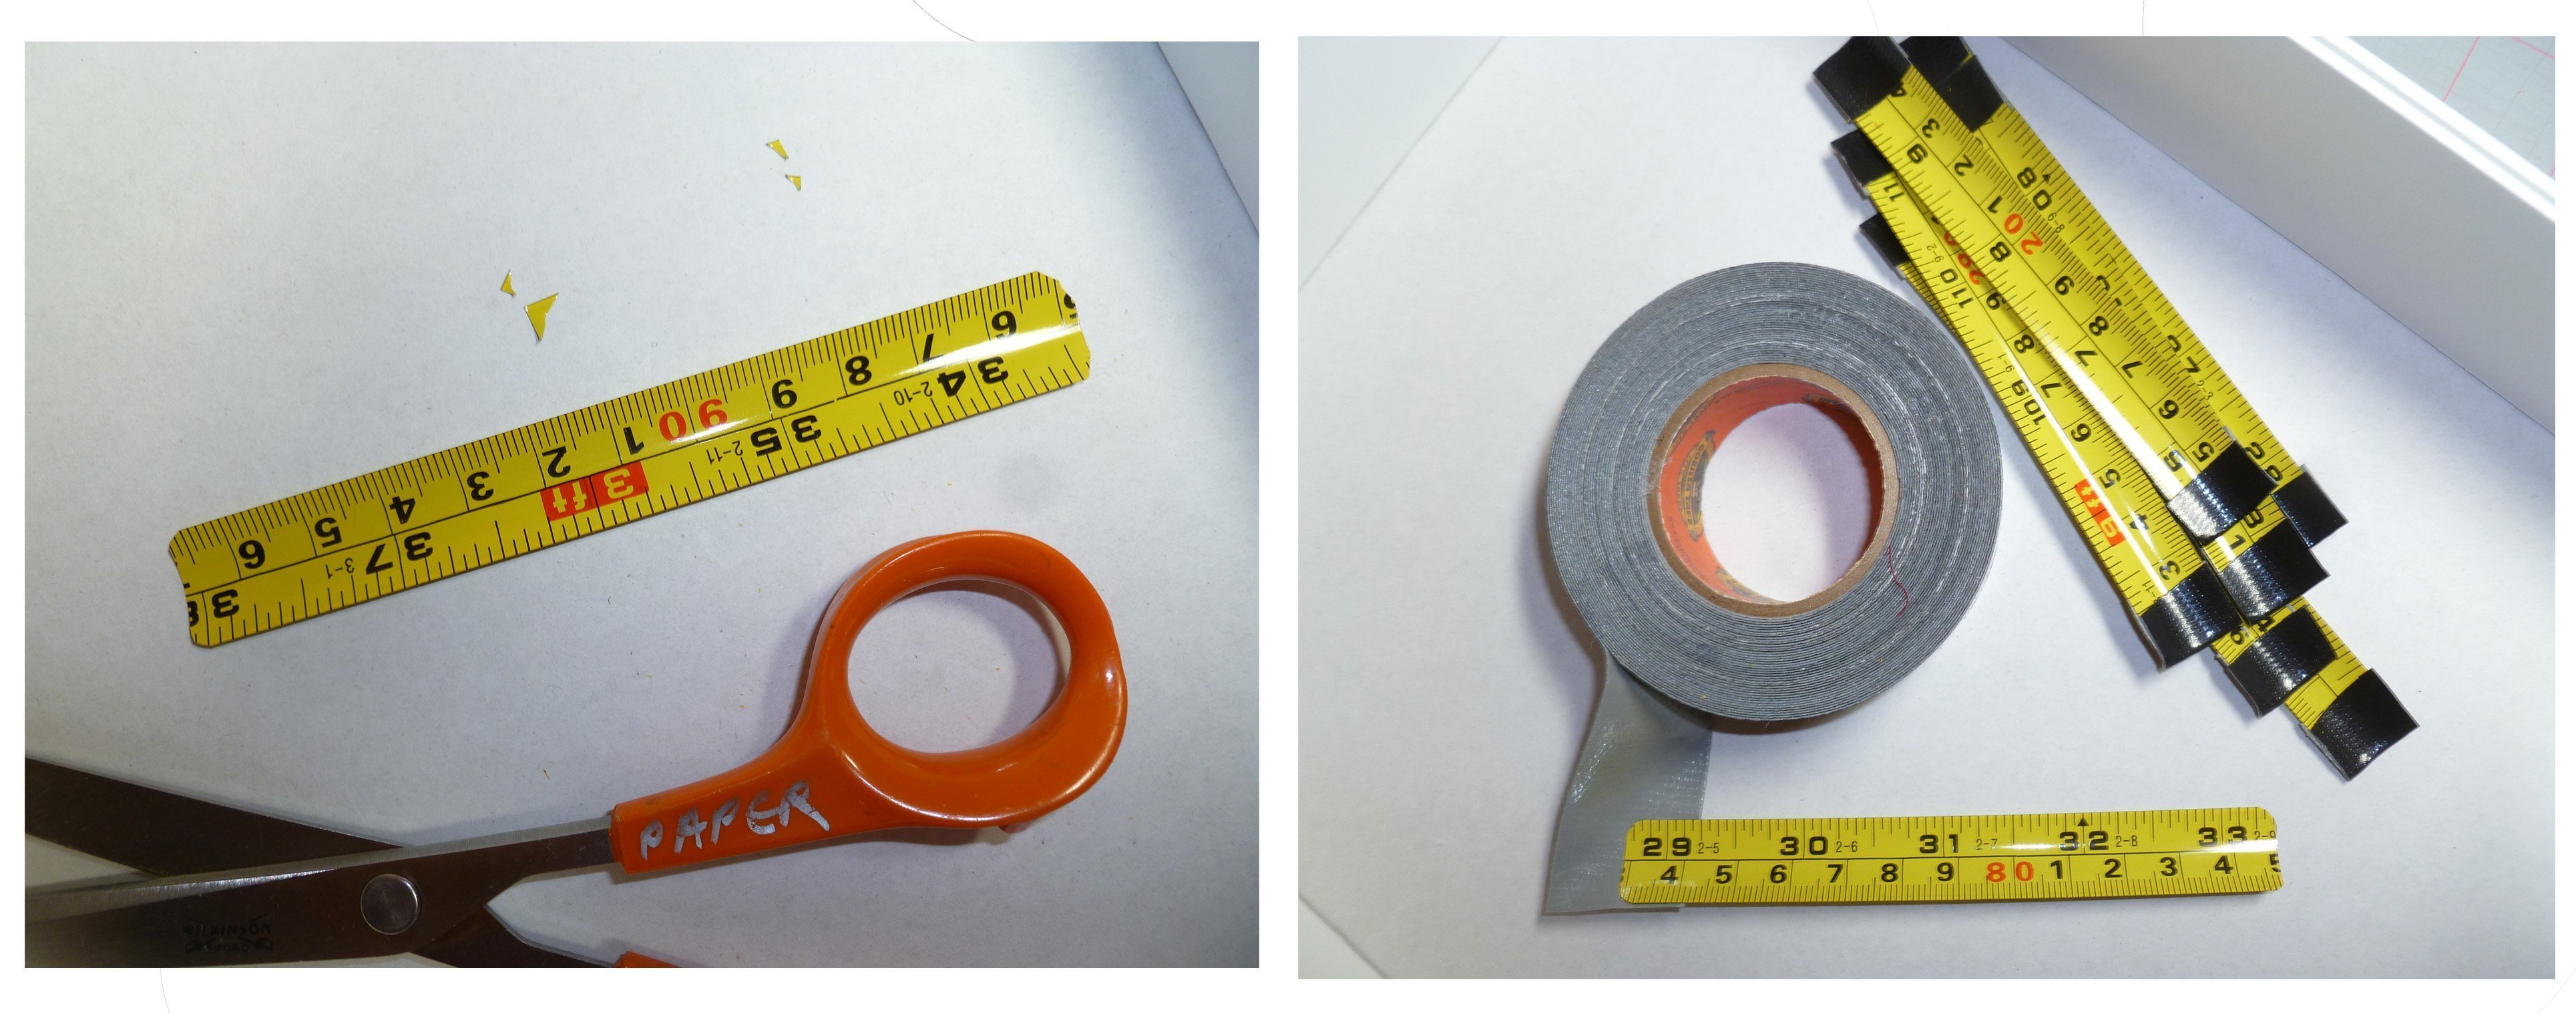
The ends of the cut metal tape are rounded slightly and covered with Gorilla Tape or similar. This protects fabric from the sharp ends.
CAUTION: the snippings from the rounded ends of metal tape are SHARP. I cut them over a box, as they tend to ping off in all directions. Never gather them up with your hands. I use masking take to pick them up before safely binning them.
If your metal tape is wider than mine you will need to make the casing wider on the purse.
- With the outer fabric and lining RS together stitch the short ends together.
- Press seam open. I like to add a strip of the fusible interfacing over the pressed seam at this stage for strength. By trapping lose threads it also makes it easier to slide the metal tape into their casings later on.
- Rearrange the ring of fabric so these seams lay on top of each other exactly, RS together. Pin to hold in place. The lining should lay folded in two on 1 side of the stitched seams, the outer fabric similarly on the other side.
- Stitch along one long side completely.
- The other side needs an opening for turning through and insertion of the metal tape. Leave a good 1½ inches from the central seam-line unstitched on the lining section. Mark with a pin or pen.
- Stitch the remaining seam making sure you backstitch the ends around the opening. If you carry the stitching of the outer fabric section 2-3 stitches over the seam onto the lining side it makes a neater finish when turned through. Press seams open including around the gap.

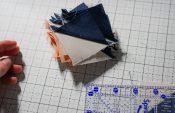
- Box the corners if desired. I do this if I want the purse to stand up. Pull out the corners so the side seams are central and the corner looks like a triangle. Try to match the side seam line with the base of the bag. This is easier on the lining side where finger pressing the base allows you match the resulting crease with the side seam. If you find it tricky on a quilted outer corner try marking a line a long the base before pulling the corner out.
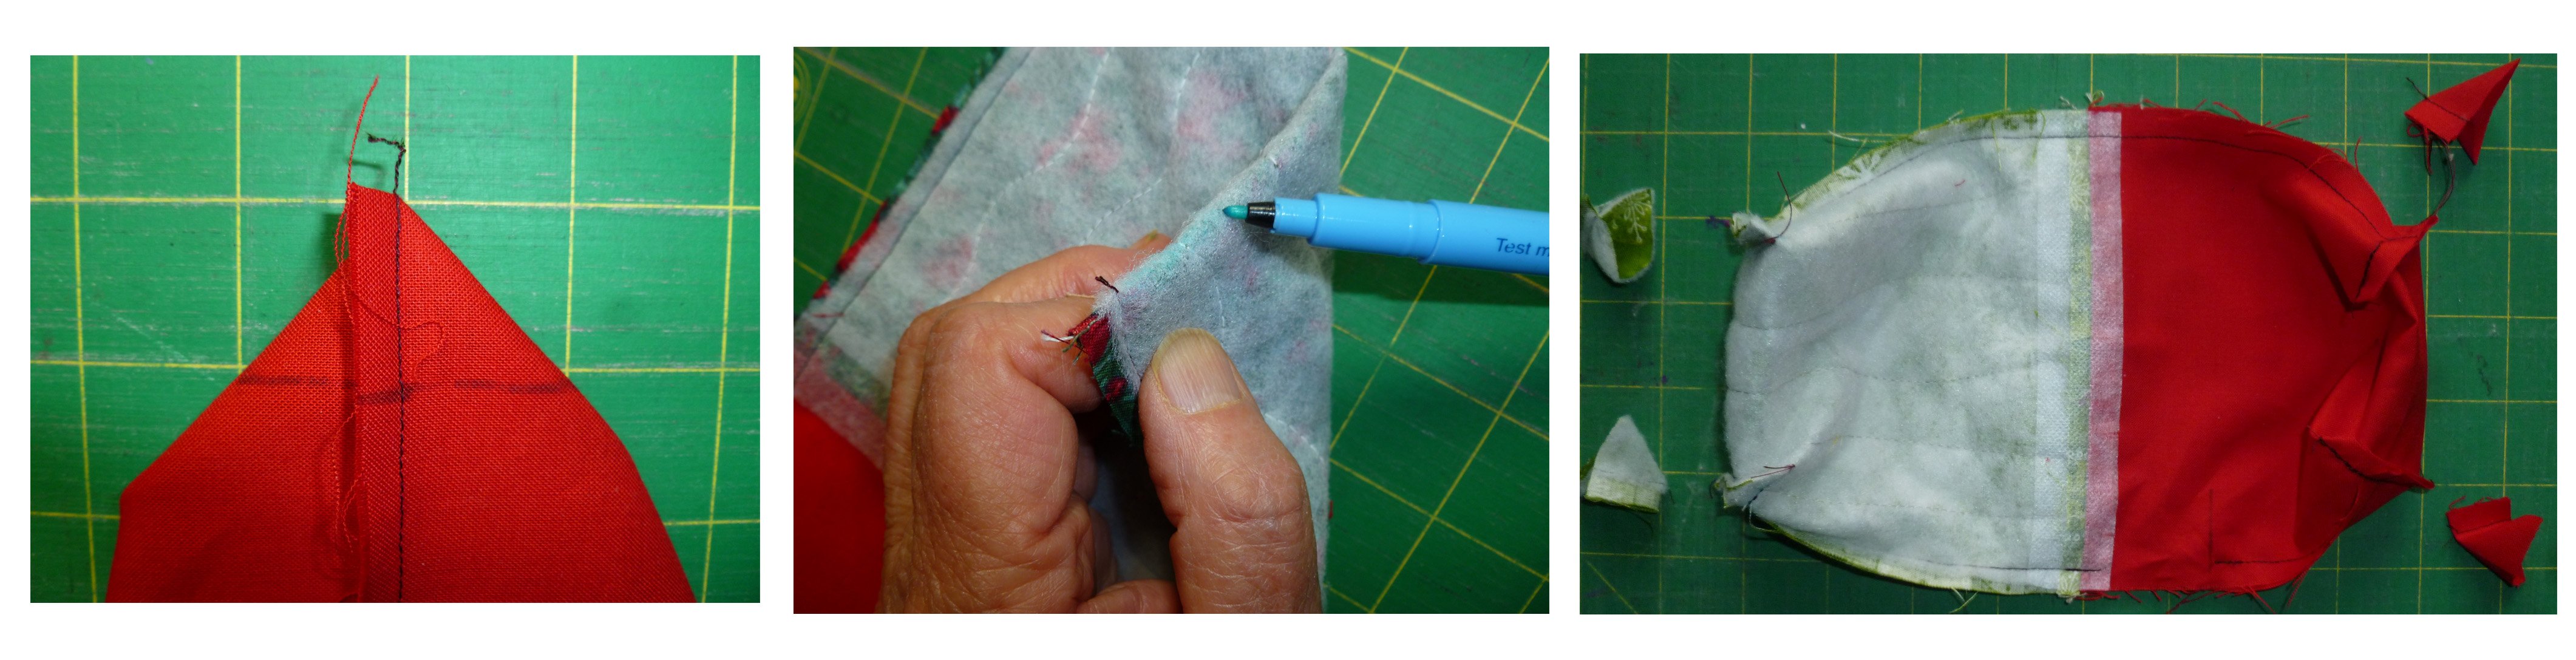
- Mark 1 inch from the point of the triangle shape you have made. My cutting board markings help me align everything up. Pin and stitch. I use a triple stitch for added strength but you could back stitch for a similar effect.
- Repeat the boxing on the other 3 corners of the purse, including the lining.
- Cut off corners ¼ inch from the seam line.
- Turn through to right side using the gap left in the side seam.
- Push lining into the outer bag and press the top edge. Leave a little of the lining showing on the right side of the bag if you like a faux piping effect. Otherwise push the lining right in.
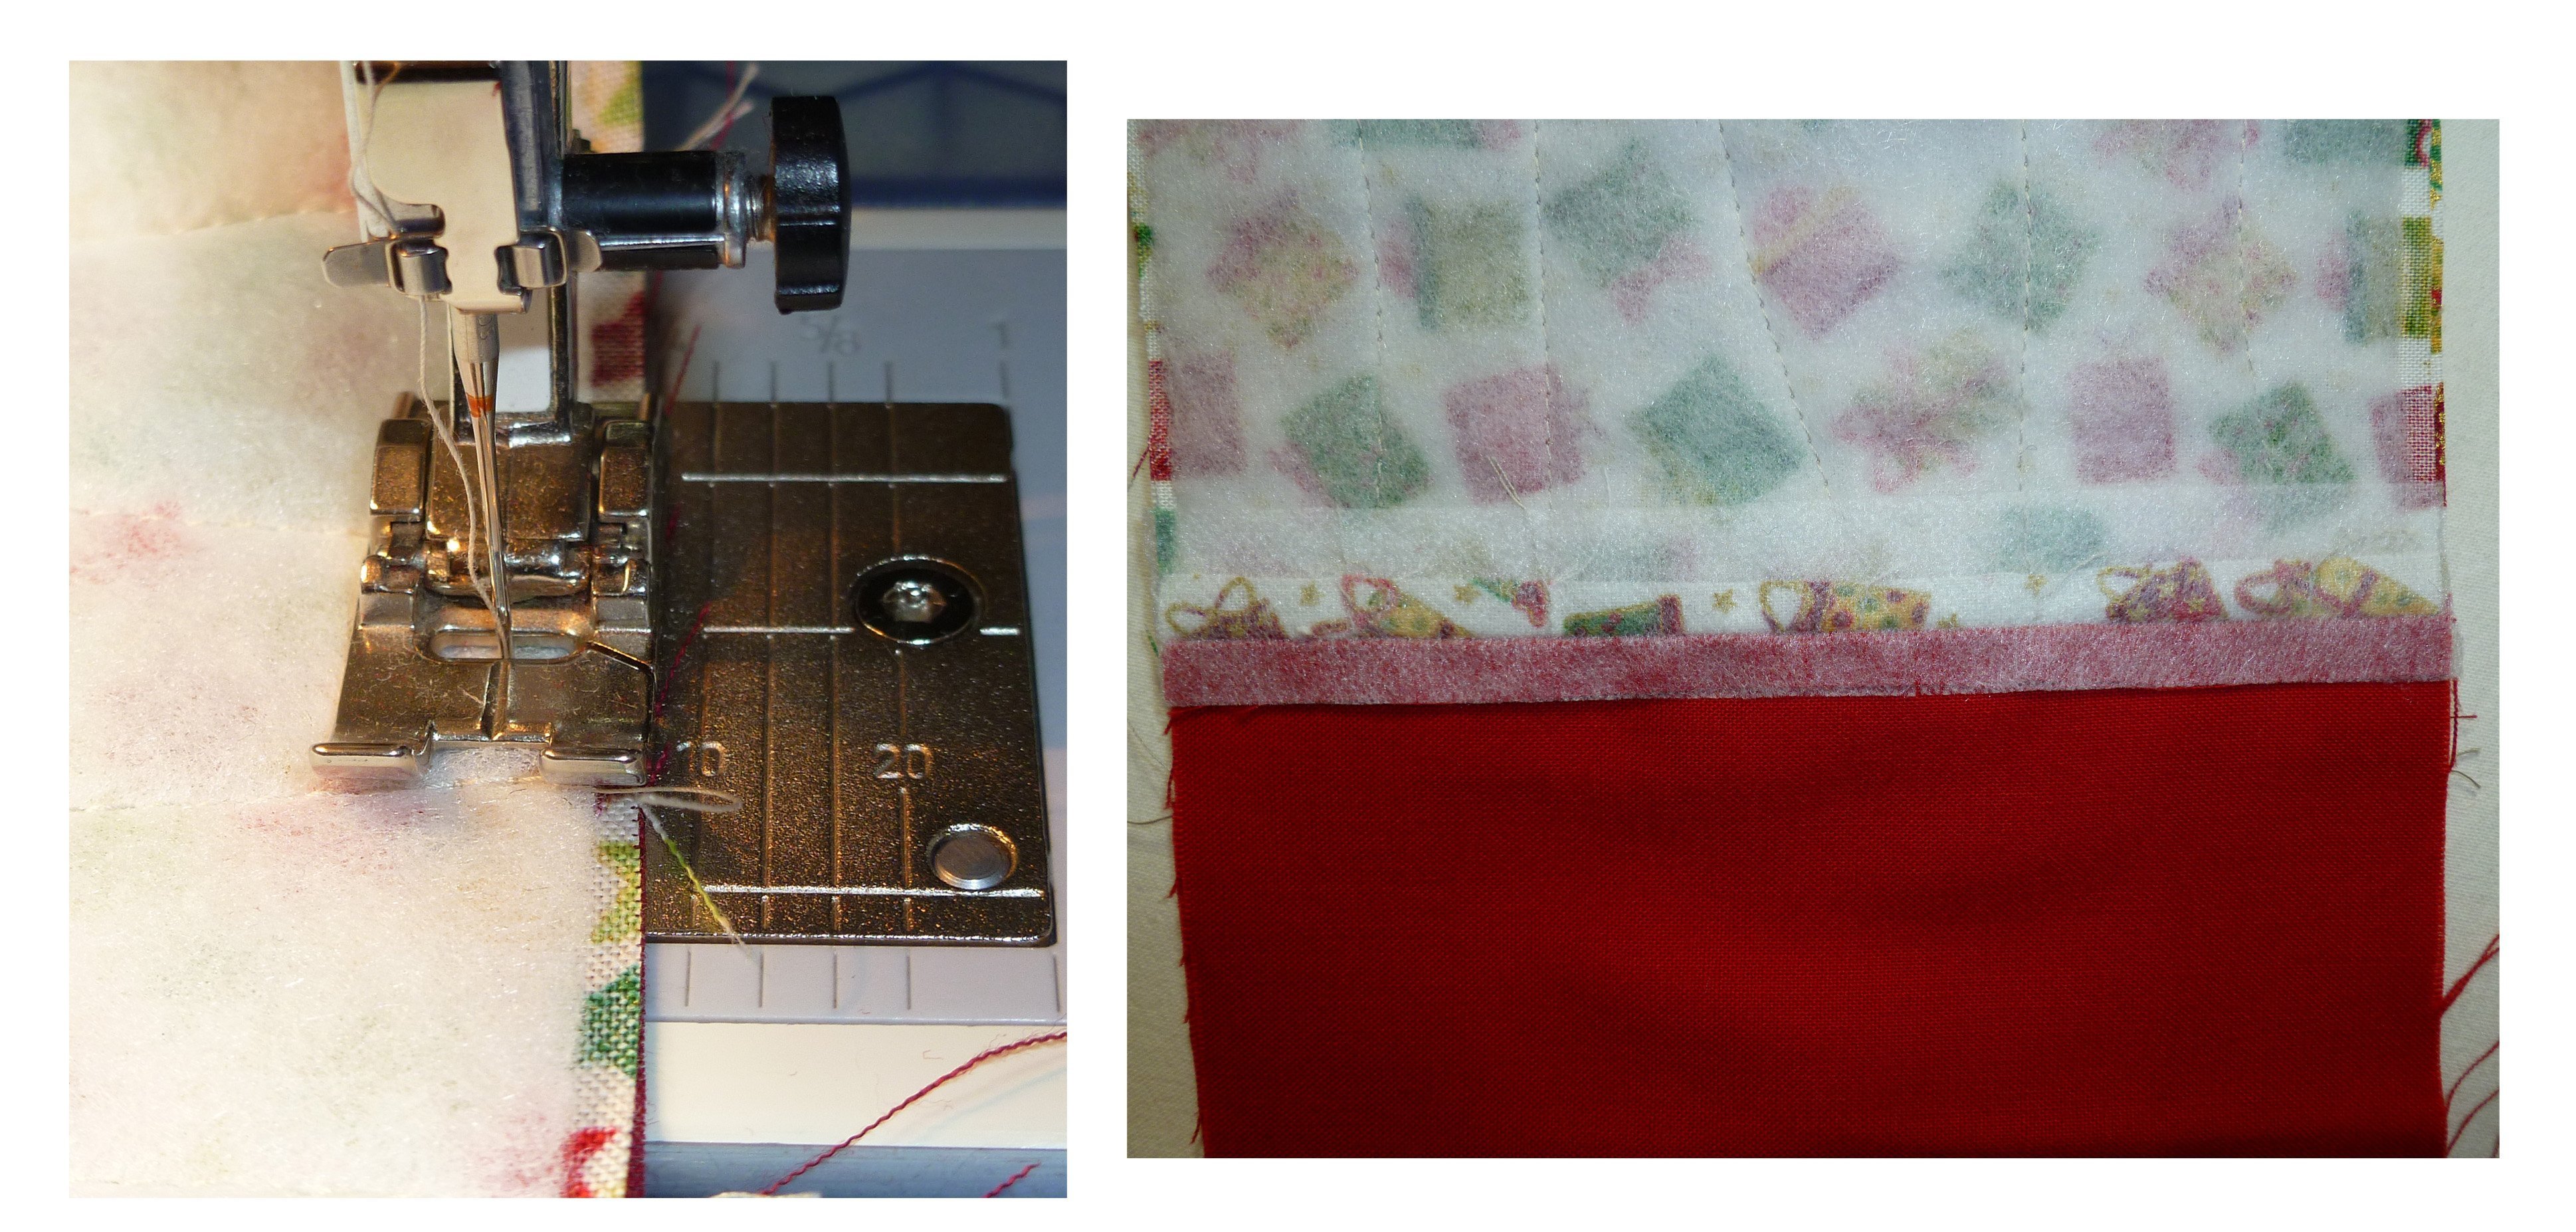
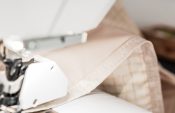
- With the bag inside out, stitch about 1/8 inch from the top edge. I use the inner edge on the toe of my patchwork foot 37 along the fabric edge for this. It’s a good idea to pin/tack the lining gap closed to keep the edges together. If the bag is quite small it can be awkward to machine stitch. Hand stitching looks good too and you could use a decorative thread and stitch to make a feature of it!
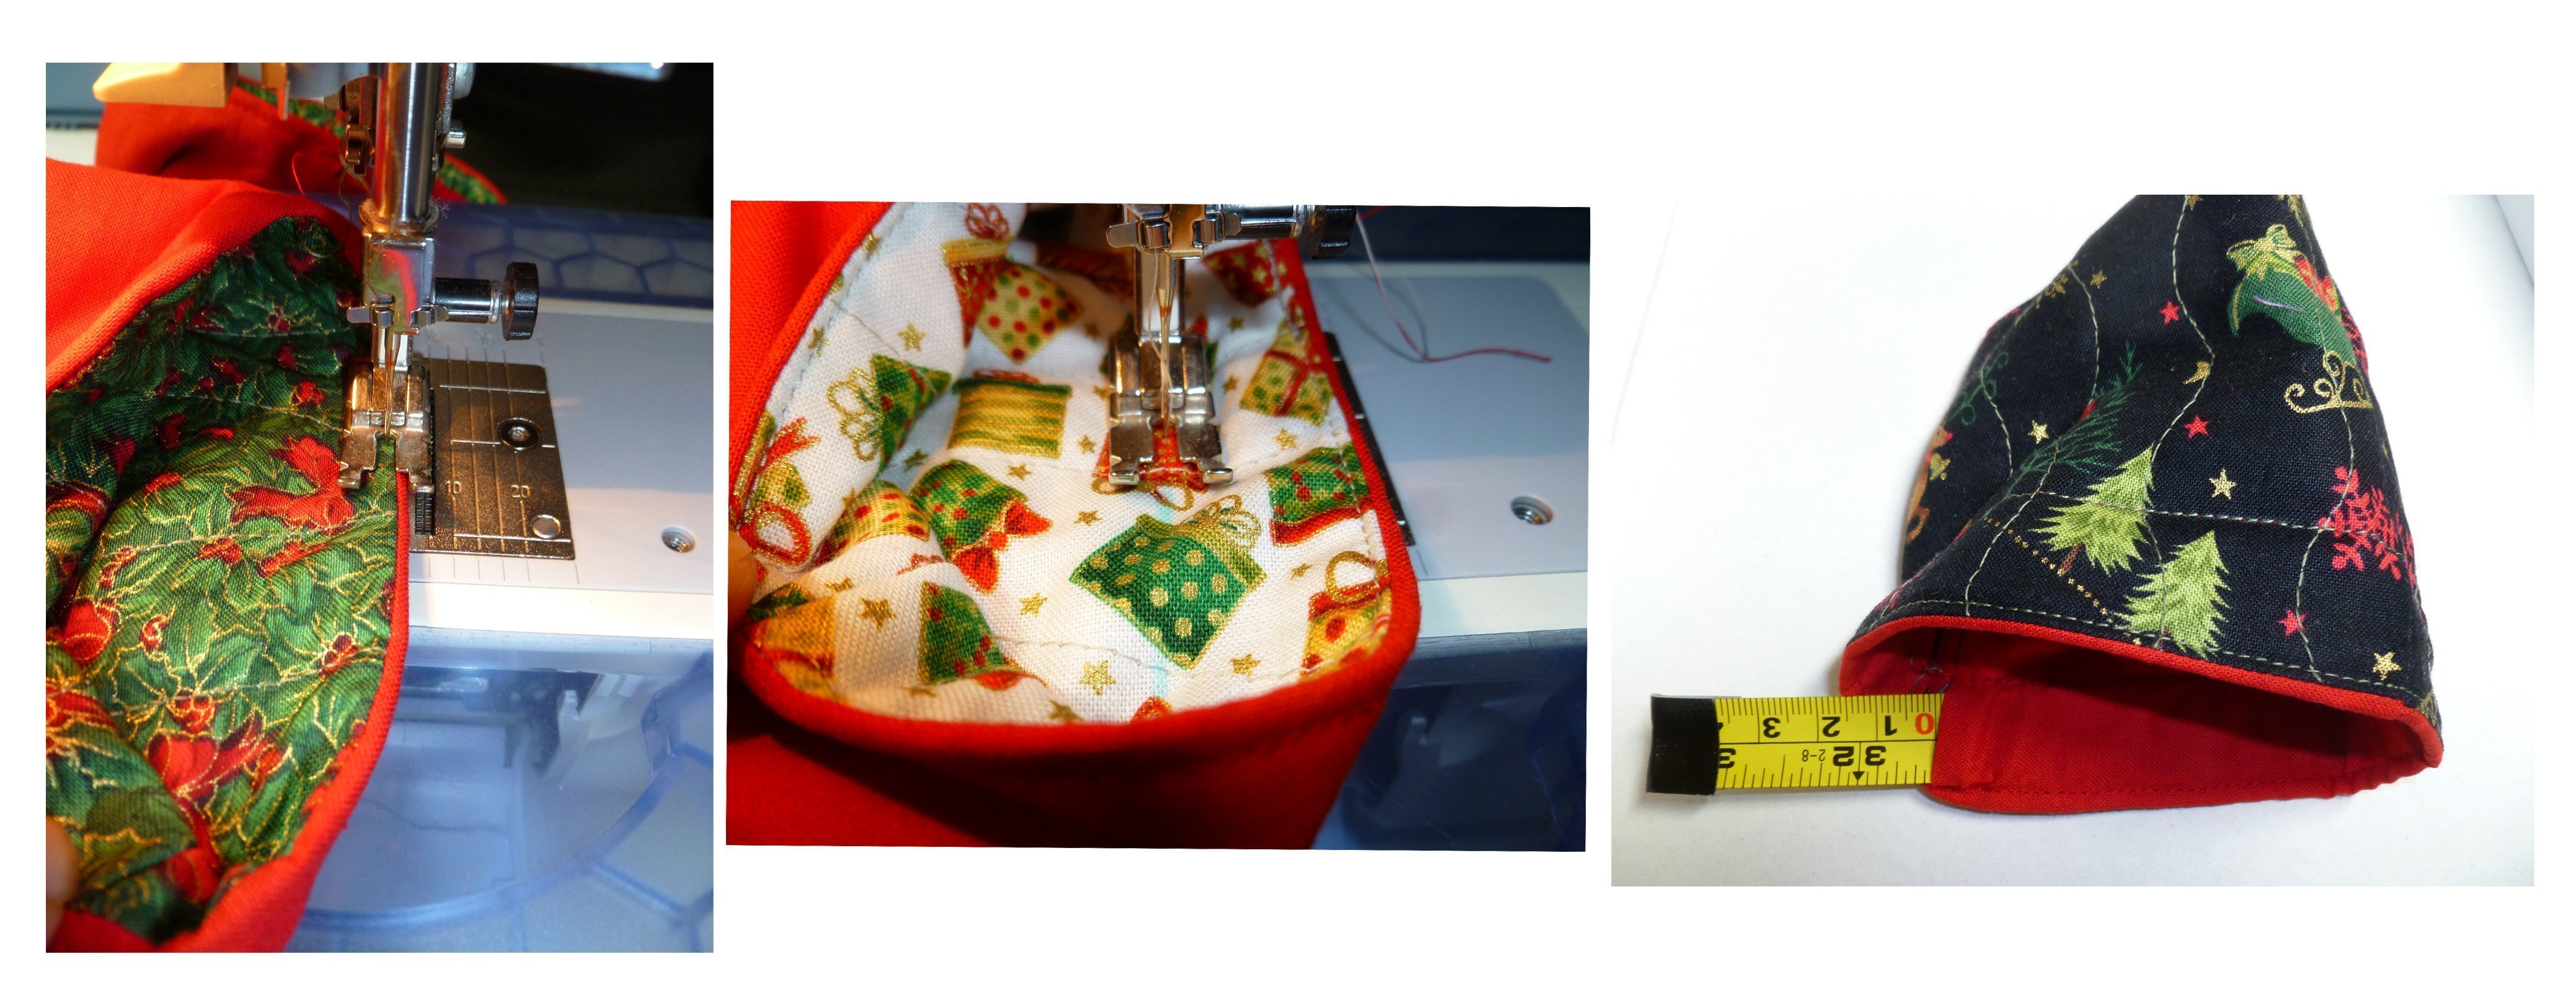
- Stitch again a generous ¾ inches from the last stich line to form a casing for the tape measure. Remember to adjust this if you use a different metal tape. Turn pouch right side out.
- Insert the 2 prepared tapes with the numbered (concave) side facing the lining.
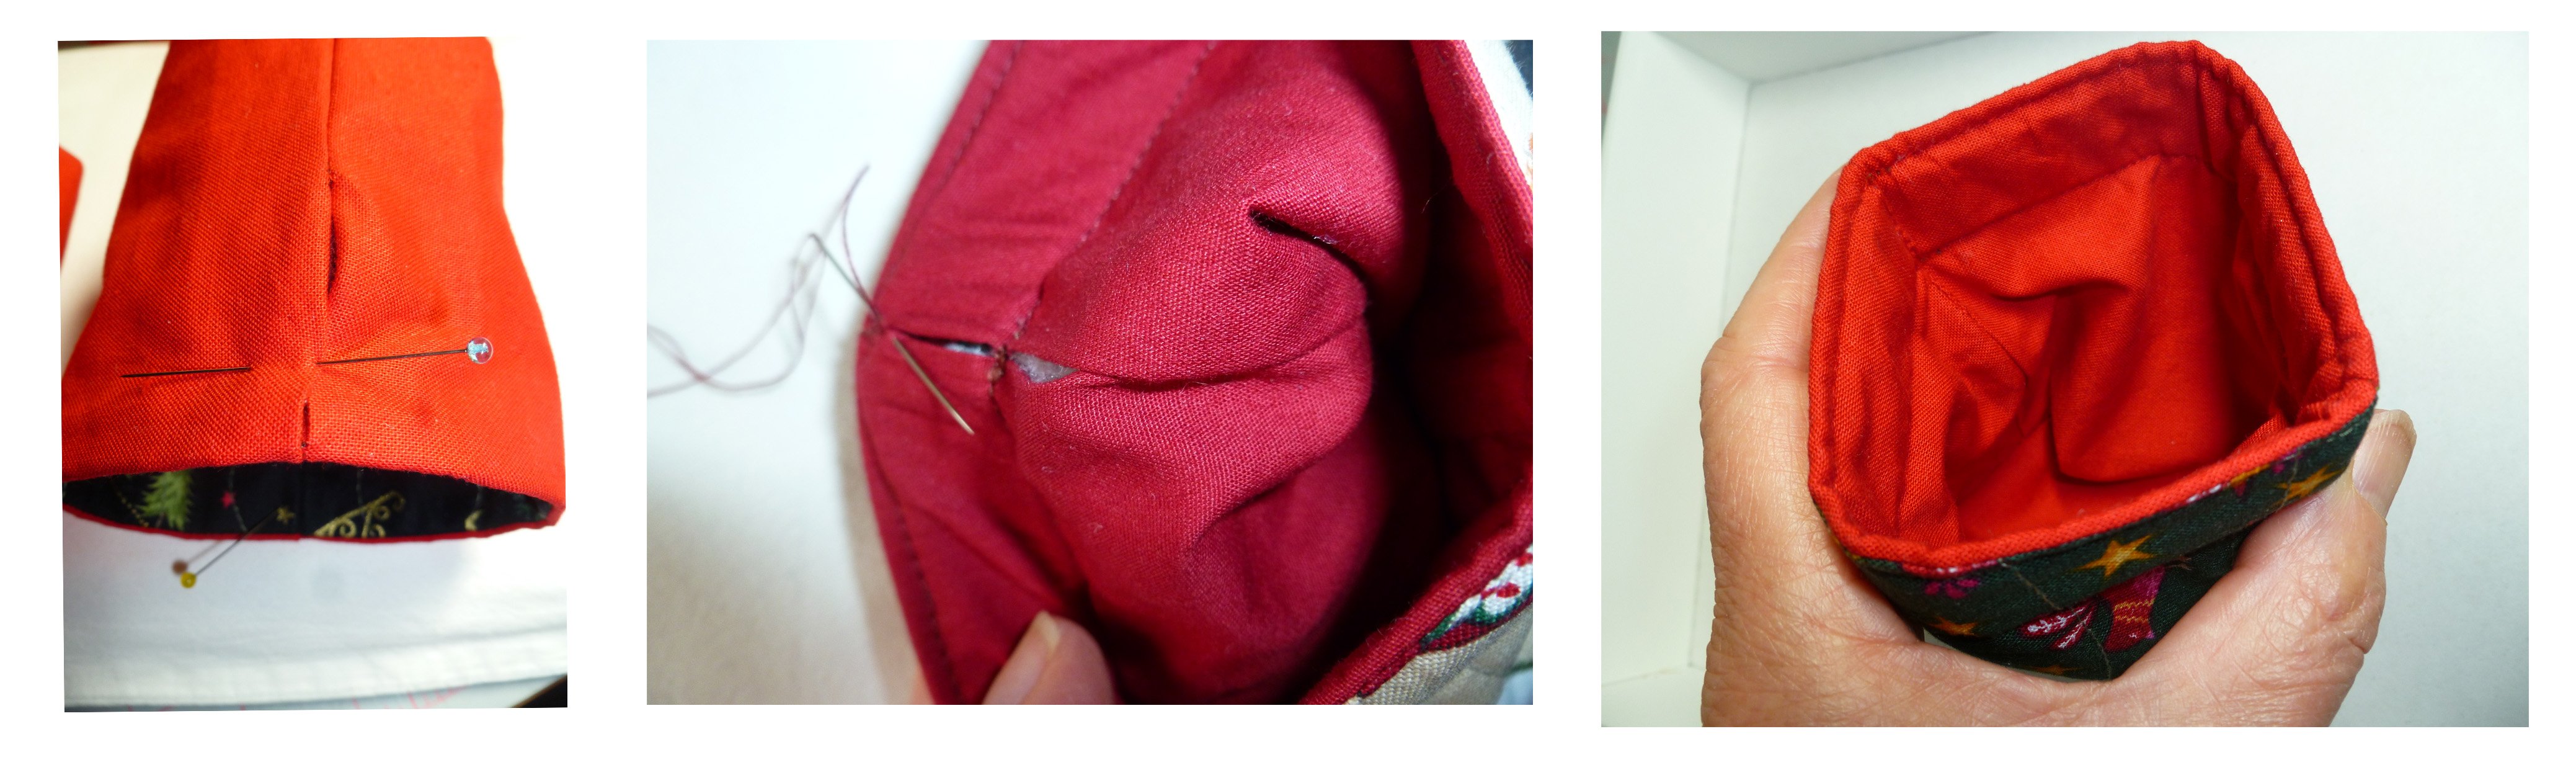
- Slipstitch the opening closed.
- Admire!
How might you adapt this basic pattern to create your own designer pouches for special gifts and surprises?
Have fun. I did!
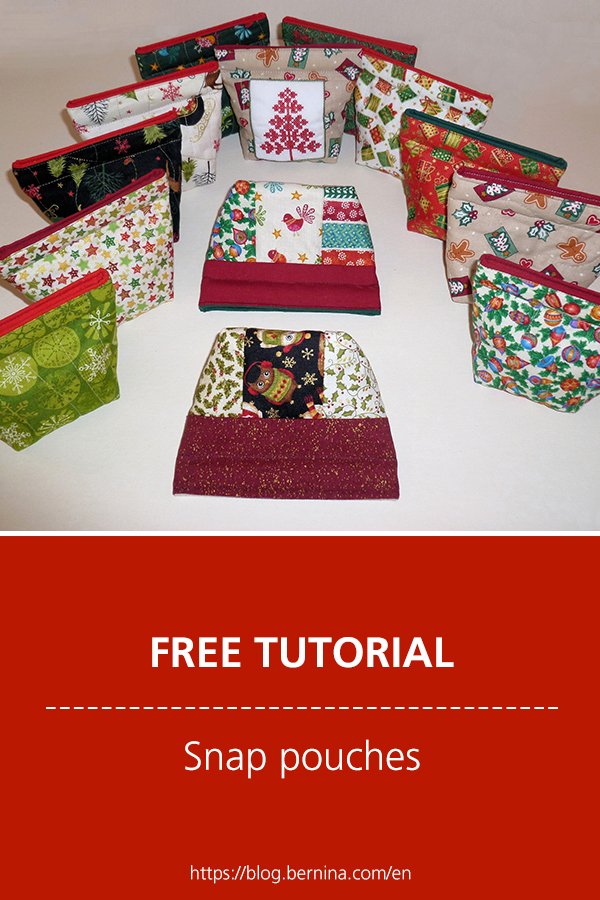
Some Christmas versions from last year:

The red cross-stitch tree was digitised in the Bernina embroidery software.
Lastly, more from Chris. She is using up oddments of fabric for hers.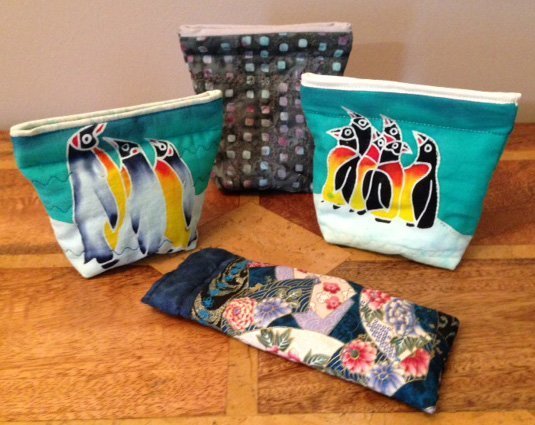


Thank you for the inspiration ! I have had a broken tape measure on my sewing shelf for a long time. Now must be the time to have a go at these pouches which have been on my ‘to do’ list for ages.