 BERNINA Corporate Blog -
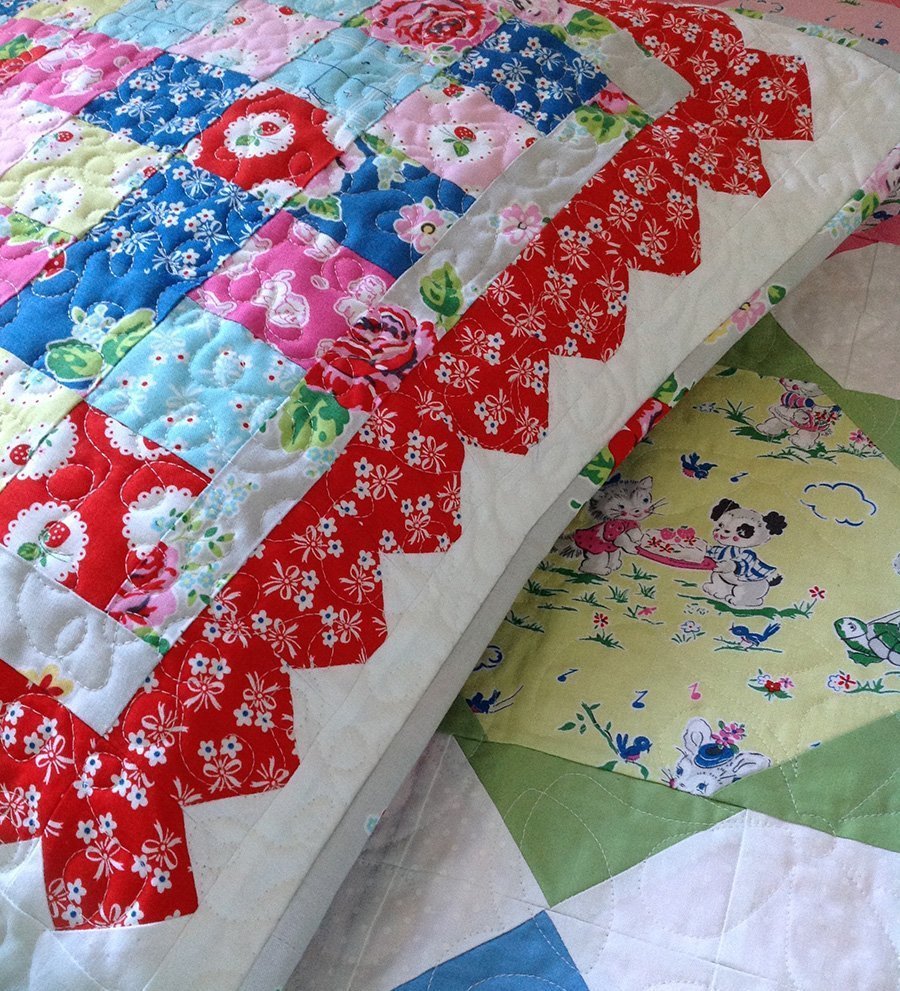
Hi, Sharon here from Lilabelle Lane Creations.
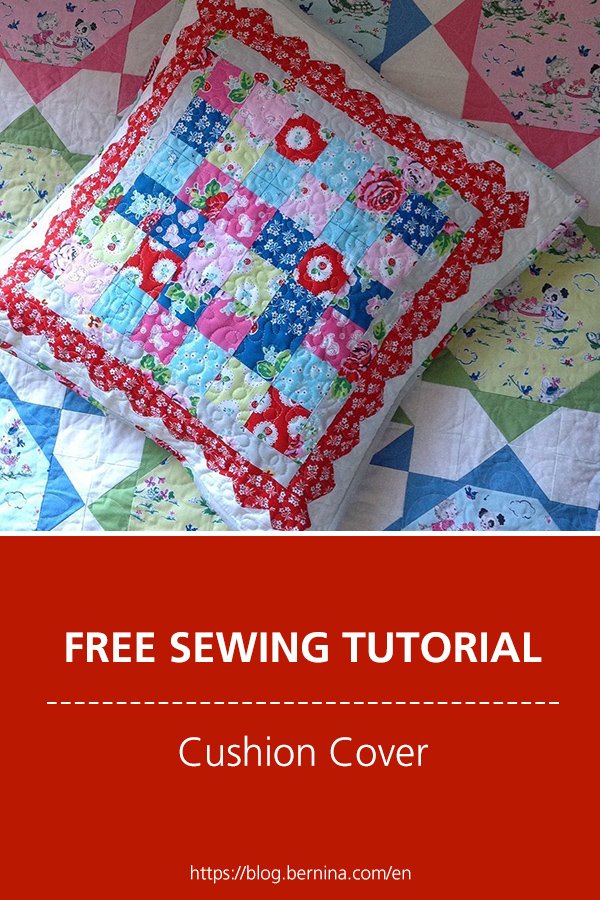
I love spending time in my little studio. I always seem to be playing with multiple projects at a time, and as such I always seem to have little piles of fabric sitting on my cutting table. Some get used straight away, others get put in the scrap buckets and await their later date with my sewing machine and others just sit there tempting and teasing me to play them. Sometimes an idea as to what to do with them comes straight away and others sit there until the time is right. I have had one particular pile of cute scraps sitting on my cutting table just looking at me and they were begging to be used. Now being that we can’t have fabric going to waste, I set to making a cushion and today I would like to share a little tutorial with you. This cushion cover will comfortably fit an 18″/45cm cushion insert.
You could also turn this project into a Mini Quilt for a wall or a Table Topper. The choice is really yours.
Mine is destined for my daughters reading corner in her room. She can never have too many cushions in there.
The fabrics that I am using are “Strawberry biscuit” by Elea Lutz for Riley Blake Designs but this would look lovely in any fabrics that you have on hand or of course a great excuse to go and buy more 🙂
All seam allowances are 1/4″ unless otherwise stated.
RST – Right Sides Together
WOF – Width of Fabric
Cutting Instructions
From your Red Fabrics cut –
Thirty Two 2.5″ squares
From your Scrappy centre fabrics cut –
Thirty six (36) – 2.5″ Squares
From the Grey Border fabric cut –
Two – 1.5″ x 12.5″ rectangles
Two – 1.5″ x 14.5″ rectangles
From your White Fabric cut:-
Four – 1.75″ Squares
Sixty Four (64) – 1.25″ squares
Two – 2″ x 18.5″ rectangles
Two – 2″ x 21.5″ rectangles
From your backing fabric (for a Cushion) cut:-
One 20″ x 15″ rectangle
One 20″ x 12″ rectangle
From your Binding fabric cut:-
Two – 2.5″ x WOF or approximately 84″ of cutting from FQ or scraps.
You will also need a scrap piece of fabric approximately 25″ square for when we quilt our cushion.
(This will be hidden inside our cushion where no one will see it so its a chance to use scraps)
Assembly Instructions:-
Lay out your 36 scrappy 2.5″ squares in a 6 x 6 grid playing with placement until your are happy with your layout. Sew your squares RST making 6 rows of 6. Now join each row, nesting your seams as you go to form your centre square. Gently press.
Attach a 1.5″ x 12.5″ Grey rectangle to each side of your centre square and gently press.
Now attach a 1.5″ x 14.5″ Grey rectangle to the top and bottom and gently press again.
Now to make our Red Scalloped Border.
Take all 64 of your white 1.25″ squares and draw a diagonal line, in pencil on the reverse side from one top corner to the opposite bottom corner.
Now repeat the process for the four 1.75″ squares. Set these four squares to the side for a moment.
Take 28 of your red 2.5″ squares and sew a white 1.25″ square along the drawn line RST to the top left hand corner of your red square. As pictured in the first picture below.
Trim 1/4″ from the drawn line (2nd pic) then finger press so your square now looks like Picture 3. Repeat this for all 28 of the red squares.
Now repeat the process for the right hand side on all 32 of the red squares. (see pictures 3 – 6)
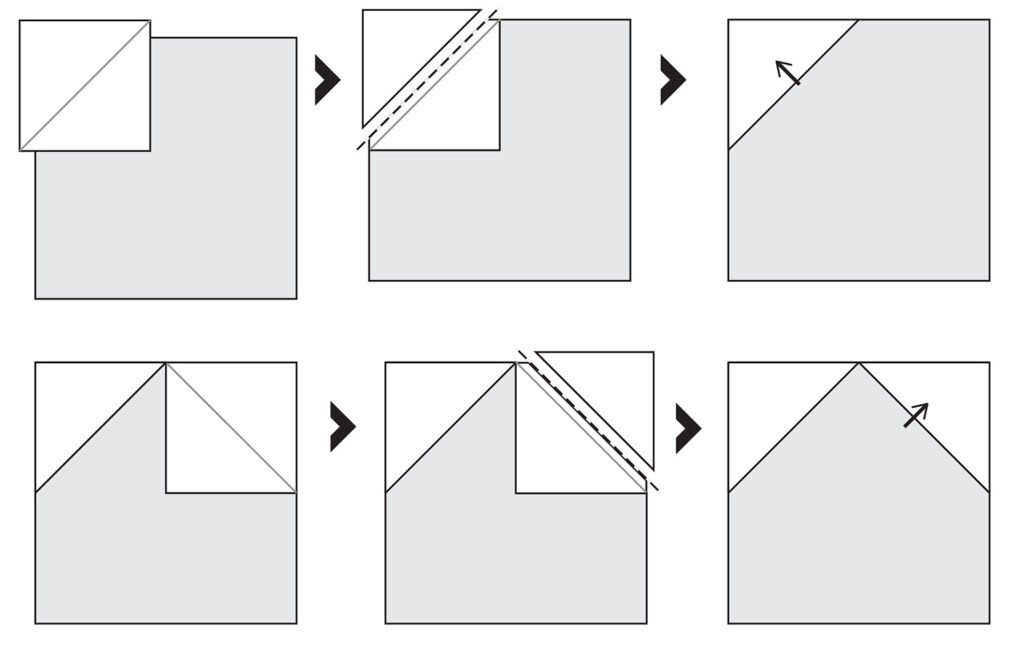
Now take the remaining four of your red squares and squares and sew a white 1.25″ square along the drawn line, RST to the top left hand corner of your red square. As pictured in the first picture below.
Trim 1/4″ from the drawn line (2nd pic) then finger press so your square now looks like Picture 3. Repeat this for these four red squares.
Now we need to repeat this process but we are sewing the square to the opposite side for all four red squares. (see pictures 3 – 6)

Now repeat the same process but this time we are adding the 1 3/4″ square to the top right hand side as pictured in images 7,8 and 9 above. Again trimming and folding back.
Get your pile of 28 and start sewing them together in sections of seven squares as pictured below. Repeat and make 4 units. Press your seams open.
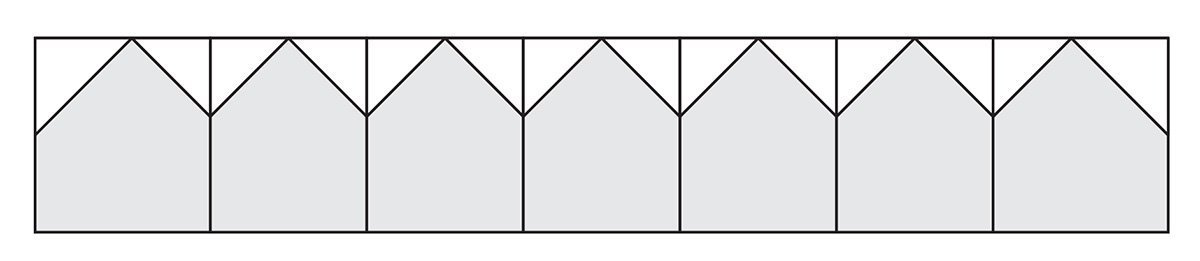 (Unit A)
Add one of the four end blocks to each end of two units as pictured below. Gently Press.
![]() (Unit B)
(Unit B)
Take your two Units A’s and sew one to each side of your panel.
Now take your two Unit B’s and sew on to the top and one to the bottom. Gently press.
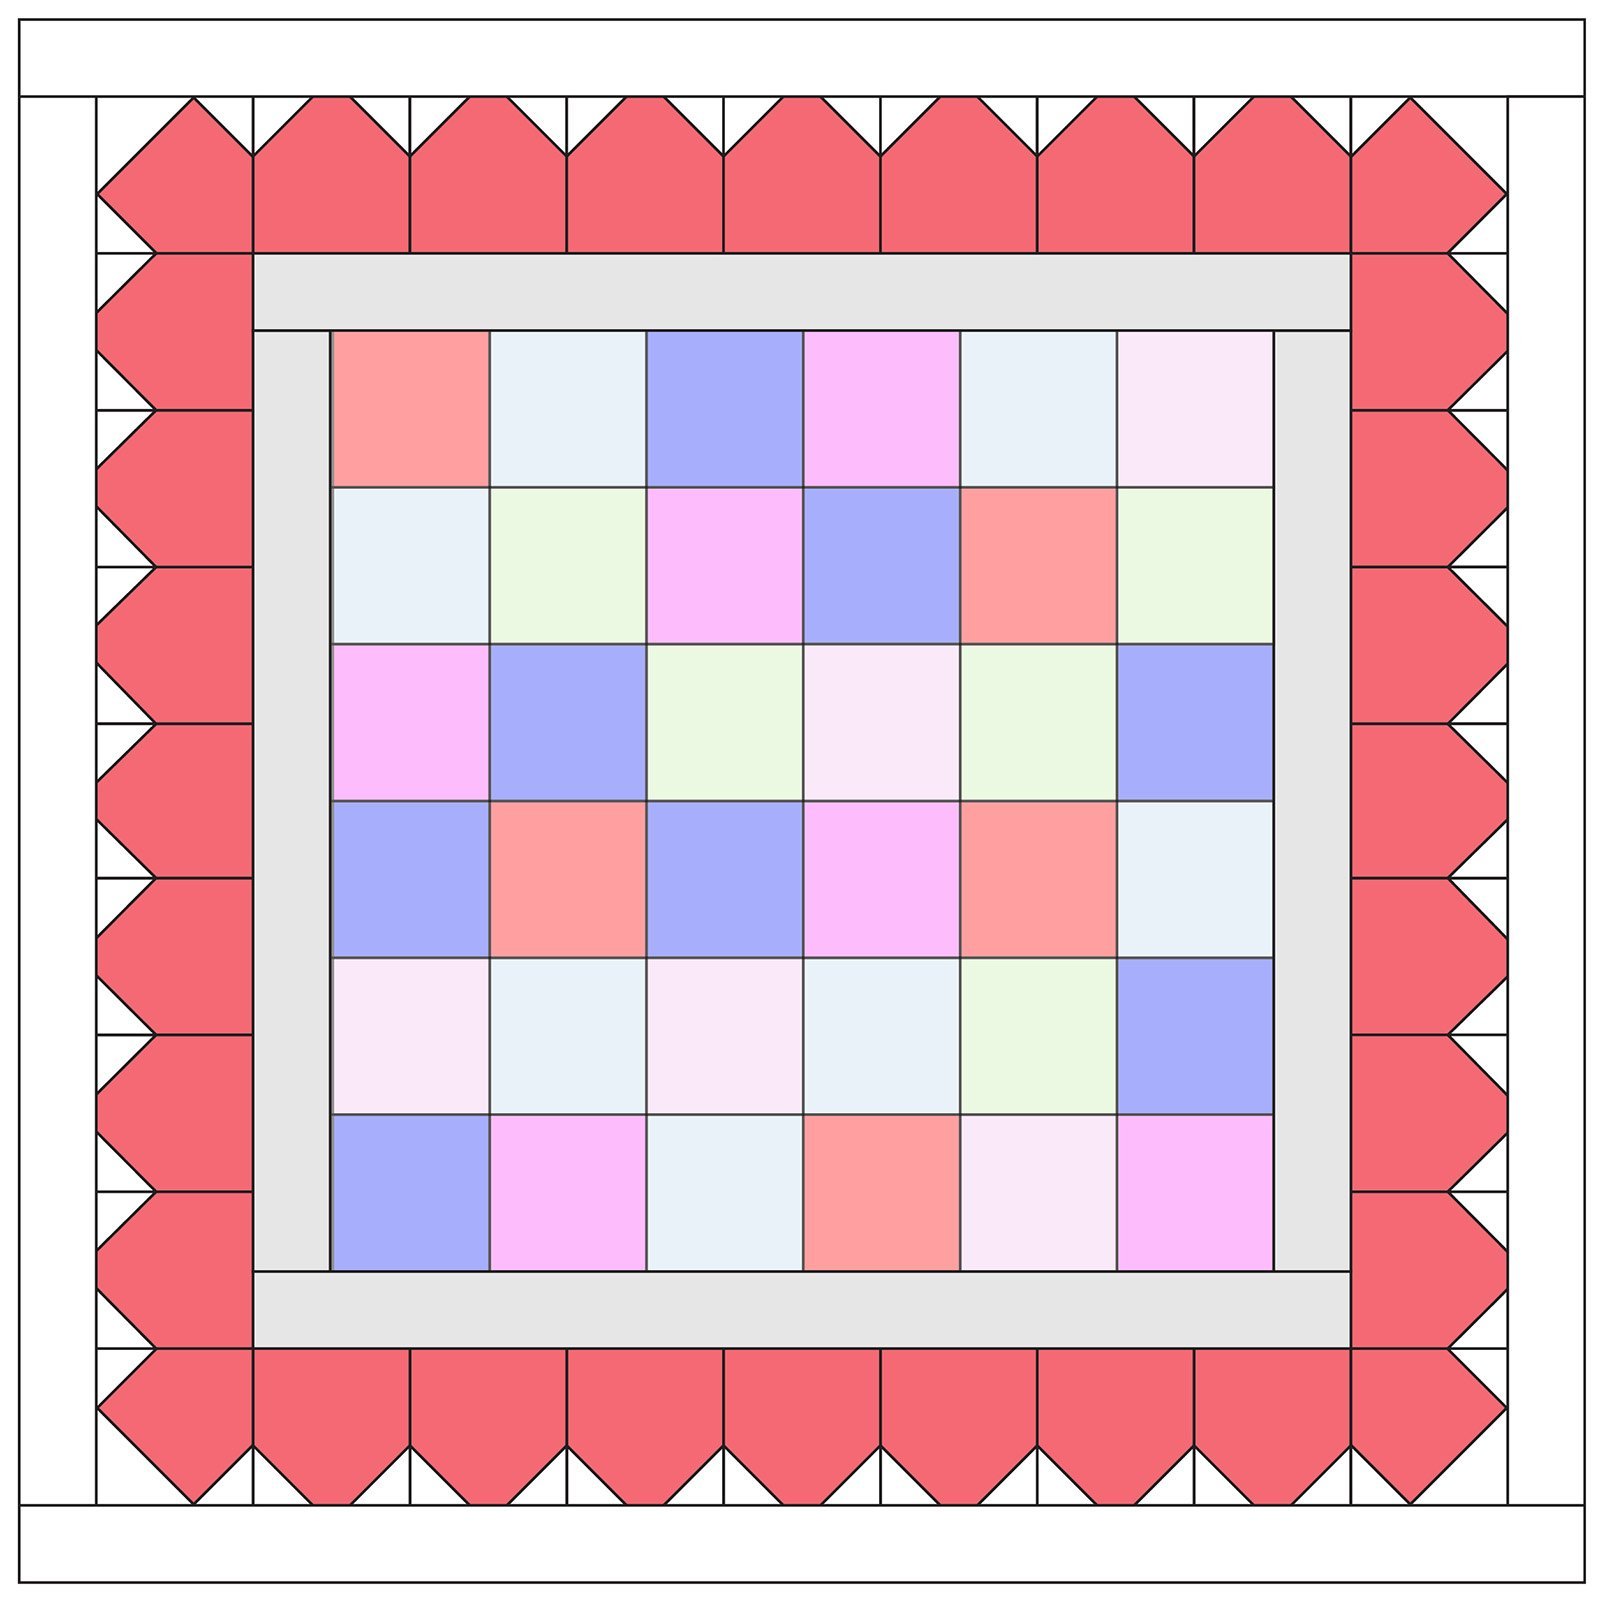
Now its time to add your final borders.
Take your two 2″ x 18.5″ white rectangles and sew one to each side and then take your two 2″ x 21.5″ white rectangles and sew one to the top and one to the bottom. Gently press.
Now make a quilt sandwich and quilt as desired. (I used a large white scrap piece of fabric as my backing as this will be on the inside of your cushion as no one will see it)
.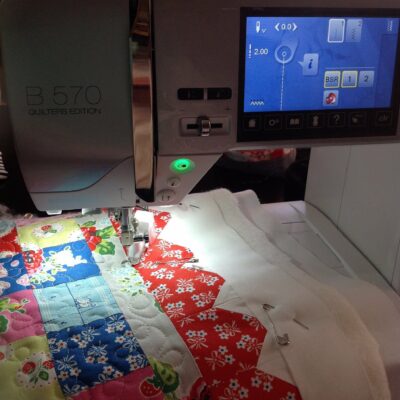
Quilting projects used to be my biggest nightmare but now I have a BSR (Bernina Stitch Regulator) I am actually looking forward to this part of my projects. My Bernina B570 Quilters Addition is truly my favourite toy which also explains why I love to spend so much time in my studio.
OK, once you have quilted your cushion top you can trim it back to 20″ square and we can move onto making our back.
To make our envelope closing back for our cushion cover take your two larger backing pieces and on each piece find the 20″ widths . Now with he help of your iron fold over the 20″ edge half an inch and press. Now repeat and fold over another half and inch and press. Do this for both pieces and then take them back to your sewing machine and stitch the folds into place 1/8″ from the inner edge and then again at 1/4″.
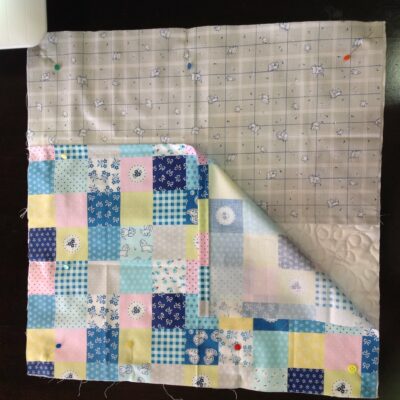
Lay your cushion right side DOWN and lay your two backing pieces on top with the themed edges overlapping on the centre. Now pin in place then take to your machine and sew 1/8″ from the edge, increase your stitches length as we are only tacking in place, all around.
Binding
Make your binding as per your preferred method, or –
Join your strips end to end making one continuous strip.
Press your seams open and then fold in half lengthways, wrong side together and press.
Ensure that your quilt has been squared up and then attach your binding.
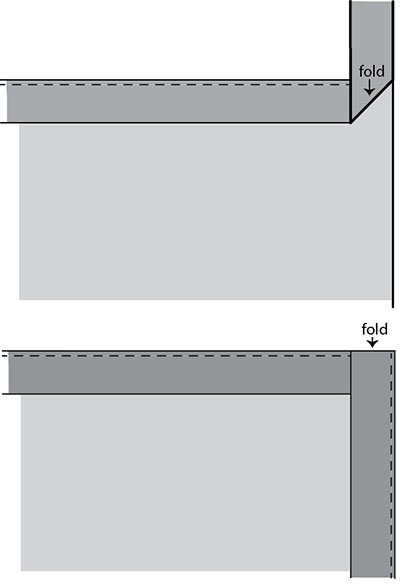
Start at the middle of one edge (I usually start at the bottom) Leave 3” of binding not stitched down. Stitch with the raw edges of the binding to the raw edge of the quilt. Stitch through all the layers. When you approach the corner, stop ¼” from the end. Lift your presser foot and pull the quilt out, but do not cut the threads. Fold the binding strip laying upward and lining up with the raw edge of the quilt.
Hold the fold and lay the binding strip back down in line with the edge of the quilt (See diagrams) continue stitching. You should still be stitching on the raw edge of the binding and the quilt. When you get back to near where you started stop, leave a 3 – 5” gap. Measure your binding, connect your ends and trim. Finger press the seam open and continue to stitch in place. Fold your binding over to the back side of your quilt and hand stitch into place, miter your corners as you go.
Congratulations, you have a new handmade cushion for your home or someone special in your life.
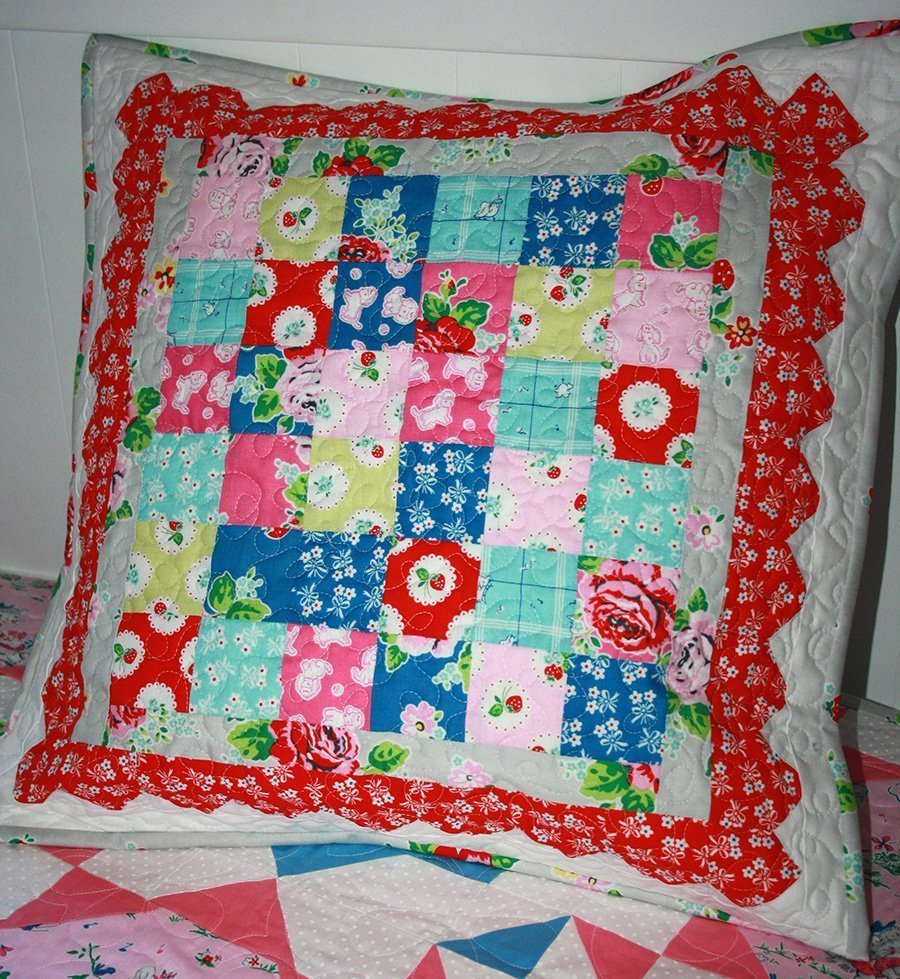


It looks like that when you sewed the final white border to the red sq border, your point is cut off – I’m assuming that’s how it’s supposed to finish to provide a more curved look. Does that mean there is no seam allowance for the point once you creat it with the 2 side flip and sew squares? It’s a very charming pattern. I’m going to try to do this border on a baby quilt.
This is so pretty, Sharon! Pinning it now?