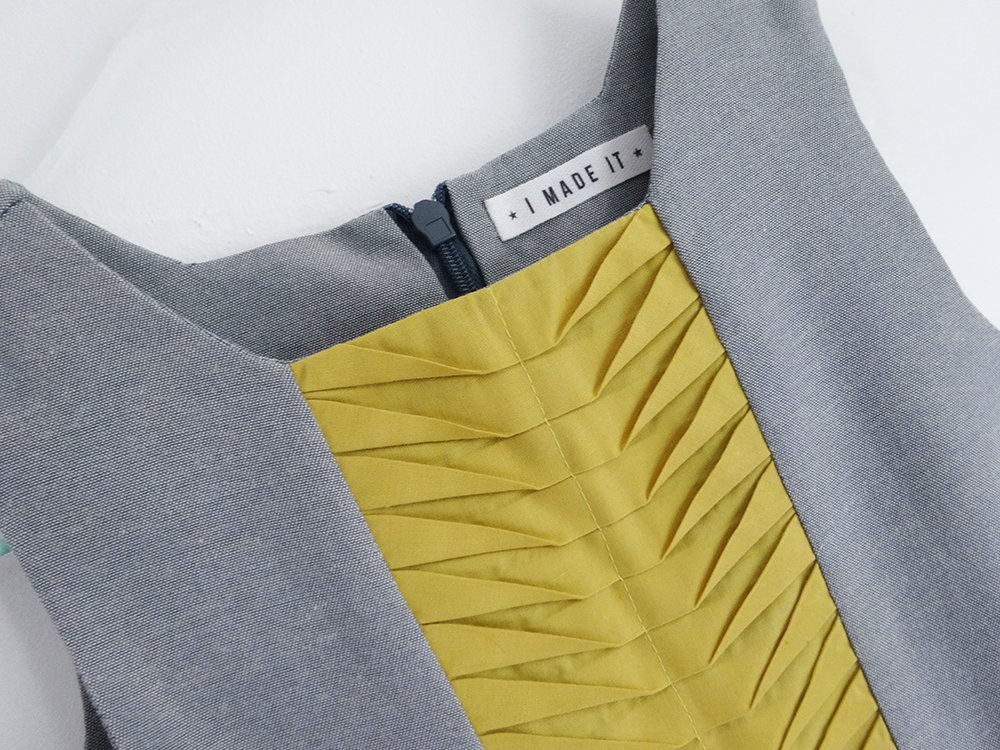
 When I sew for my girls they always moan at me that they don’t know the front from the back. It is also a problem for my husband, I can not tell you how many times the girls have ended up with their clothes on back to front after he has dressed them. Sometimes even upside down but we won’t go into that.
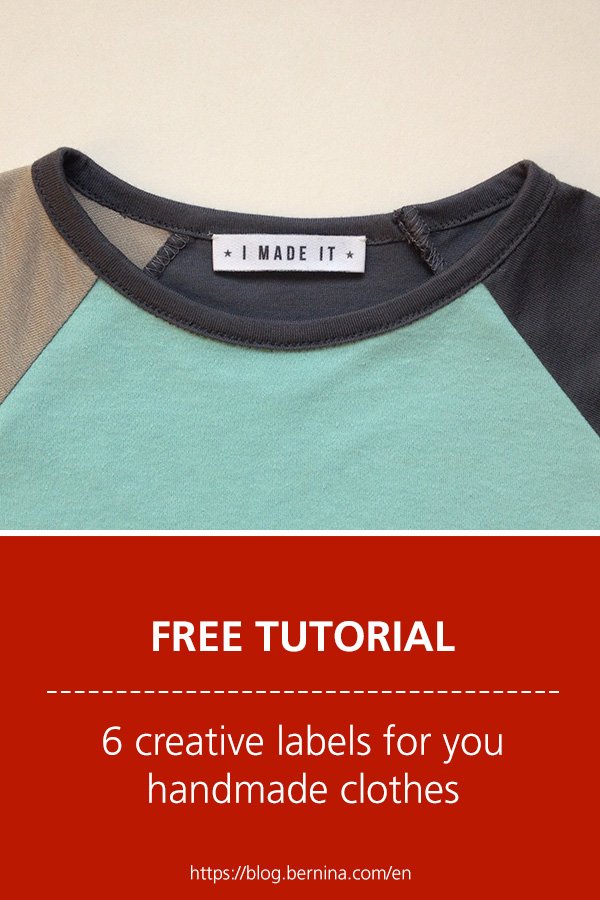
So, to avoid this fiasco I now (most of the time) sew in a label. But what’s the point of sewing in an ordinary label when you can have a bit of fun with it. Here’s 6 ideas that I have used…
1 Transfer paper
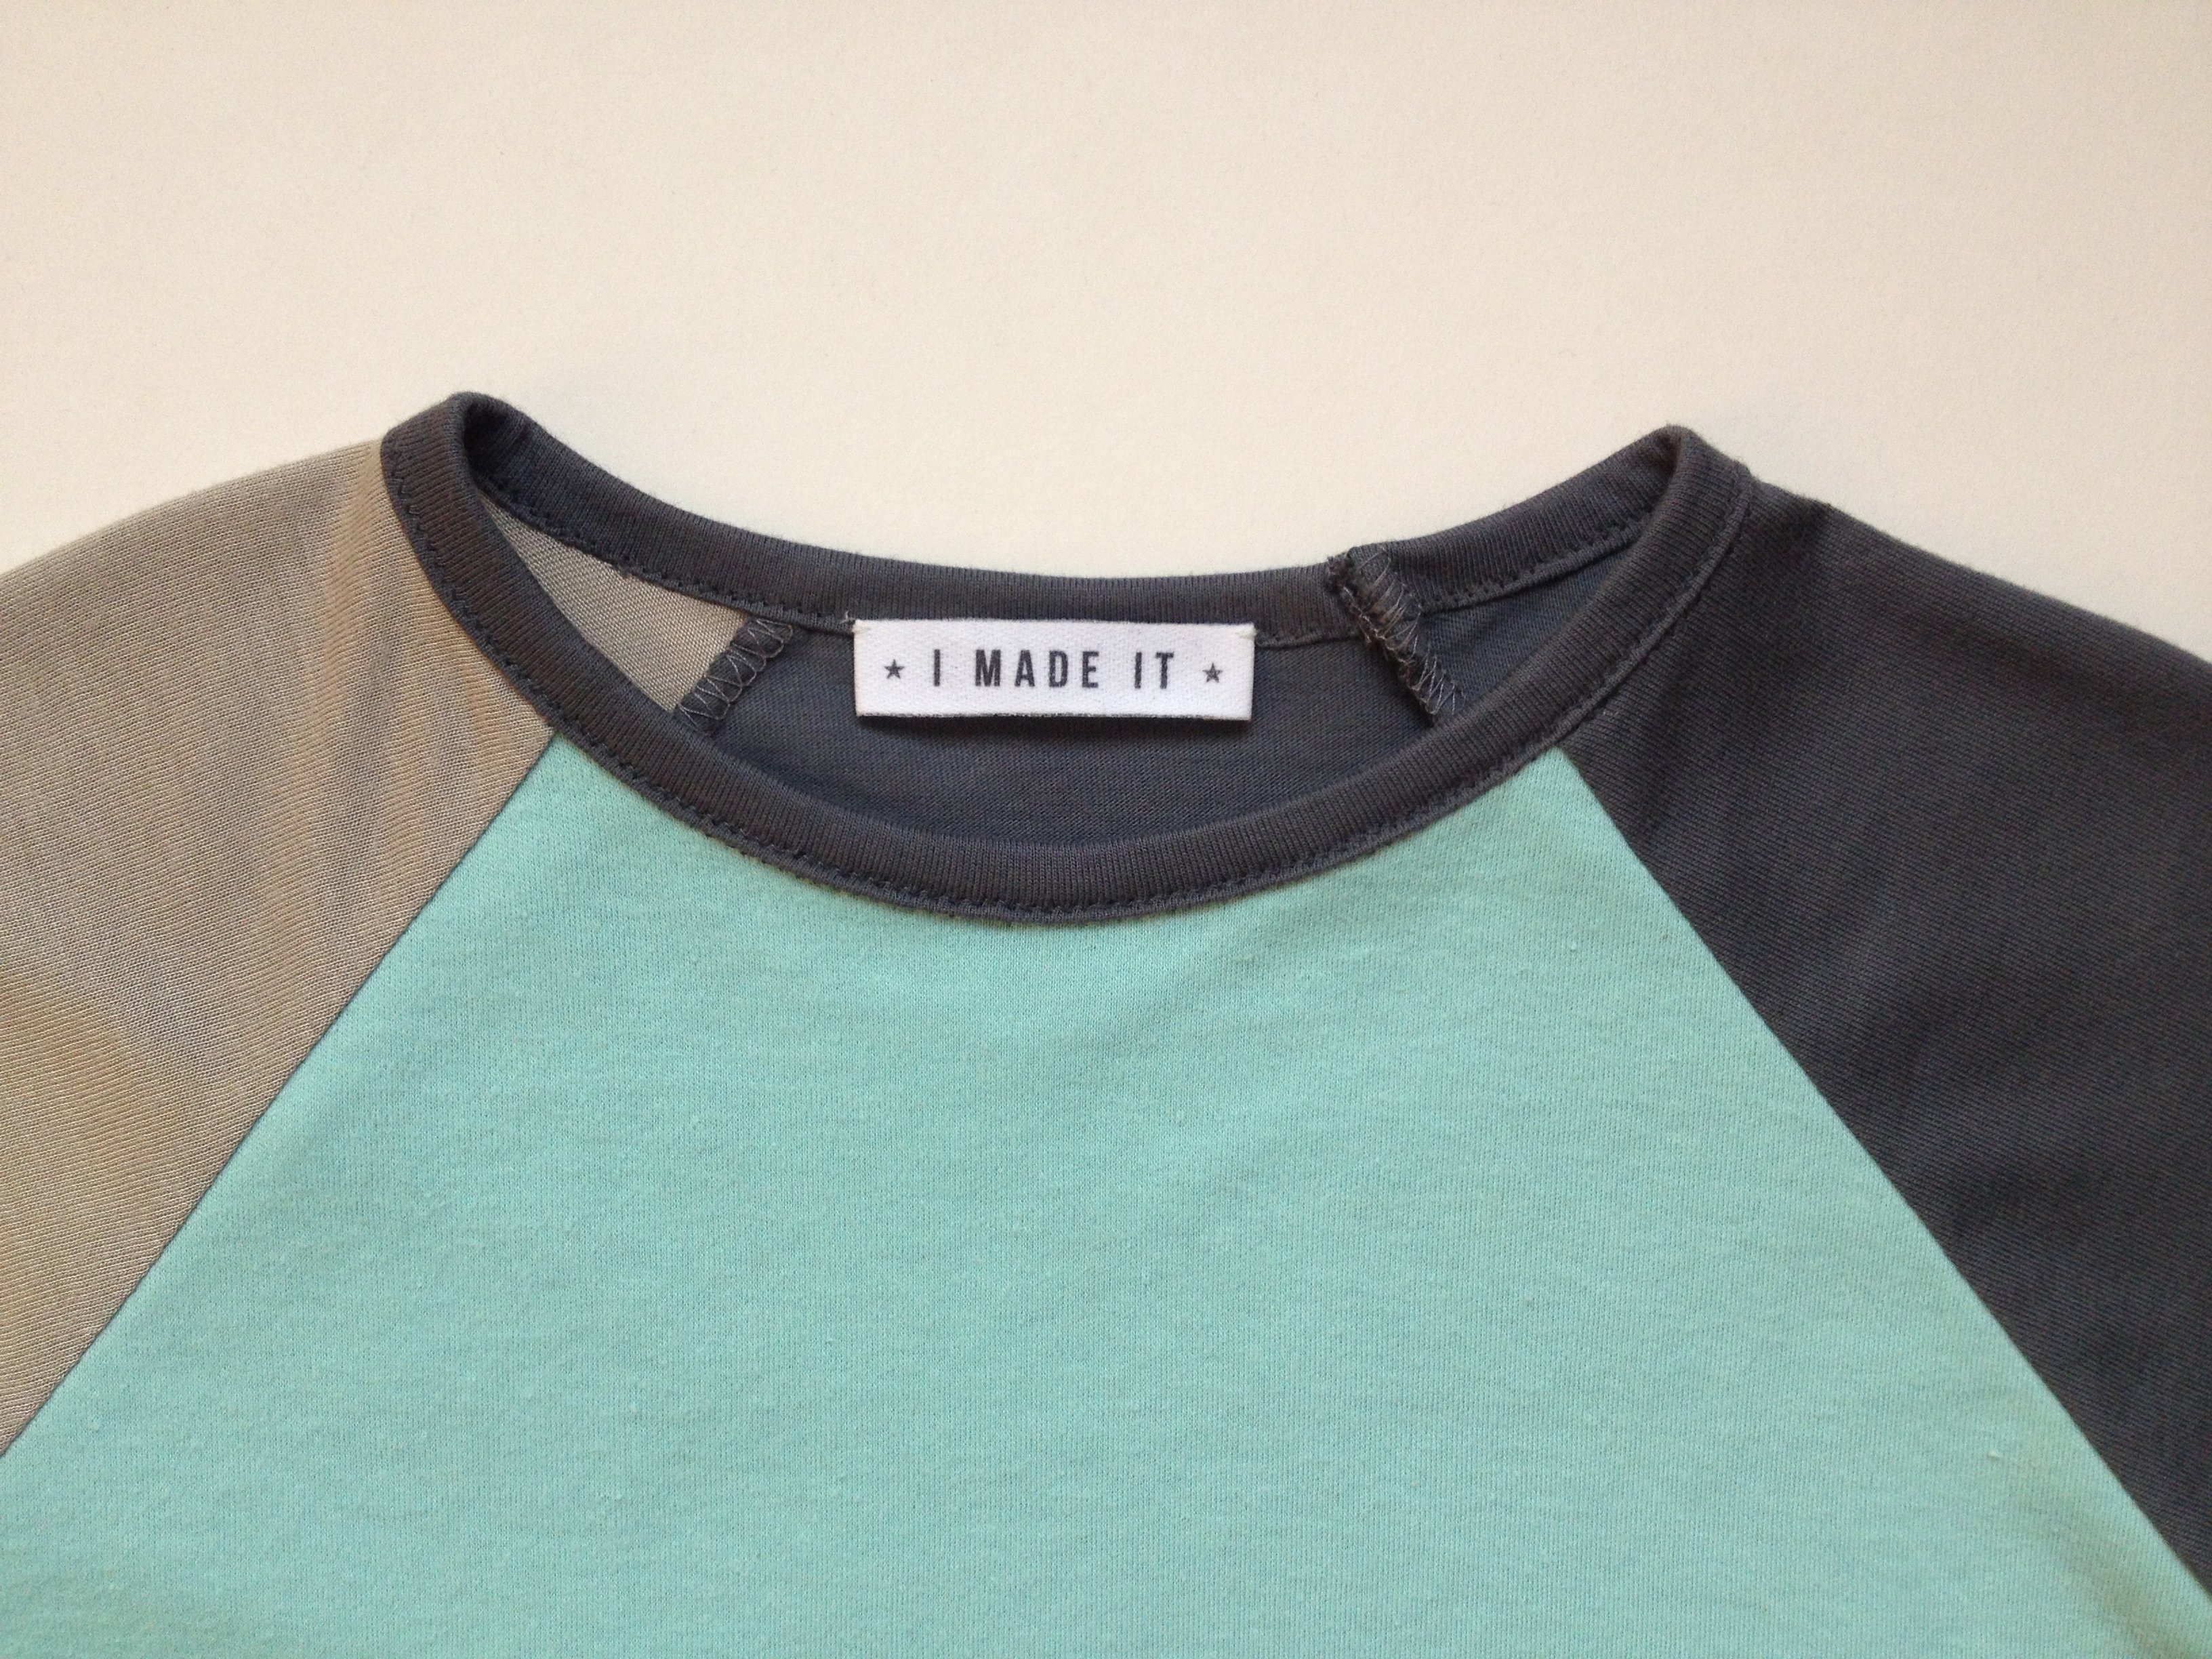
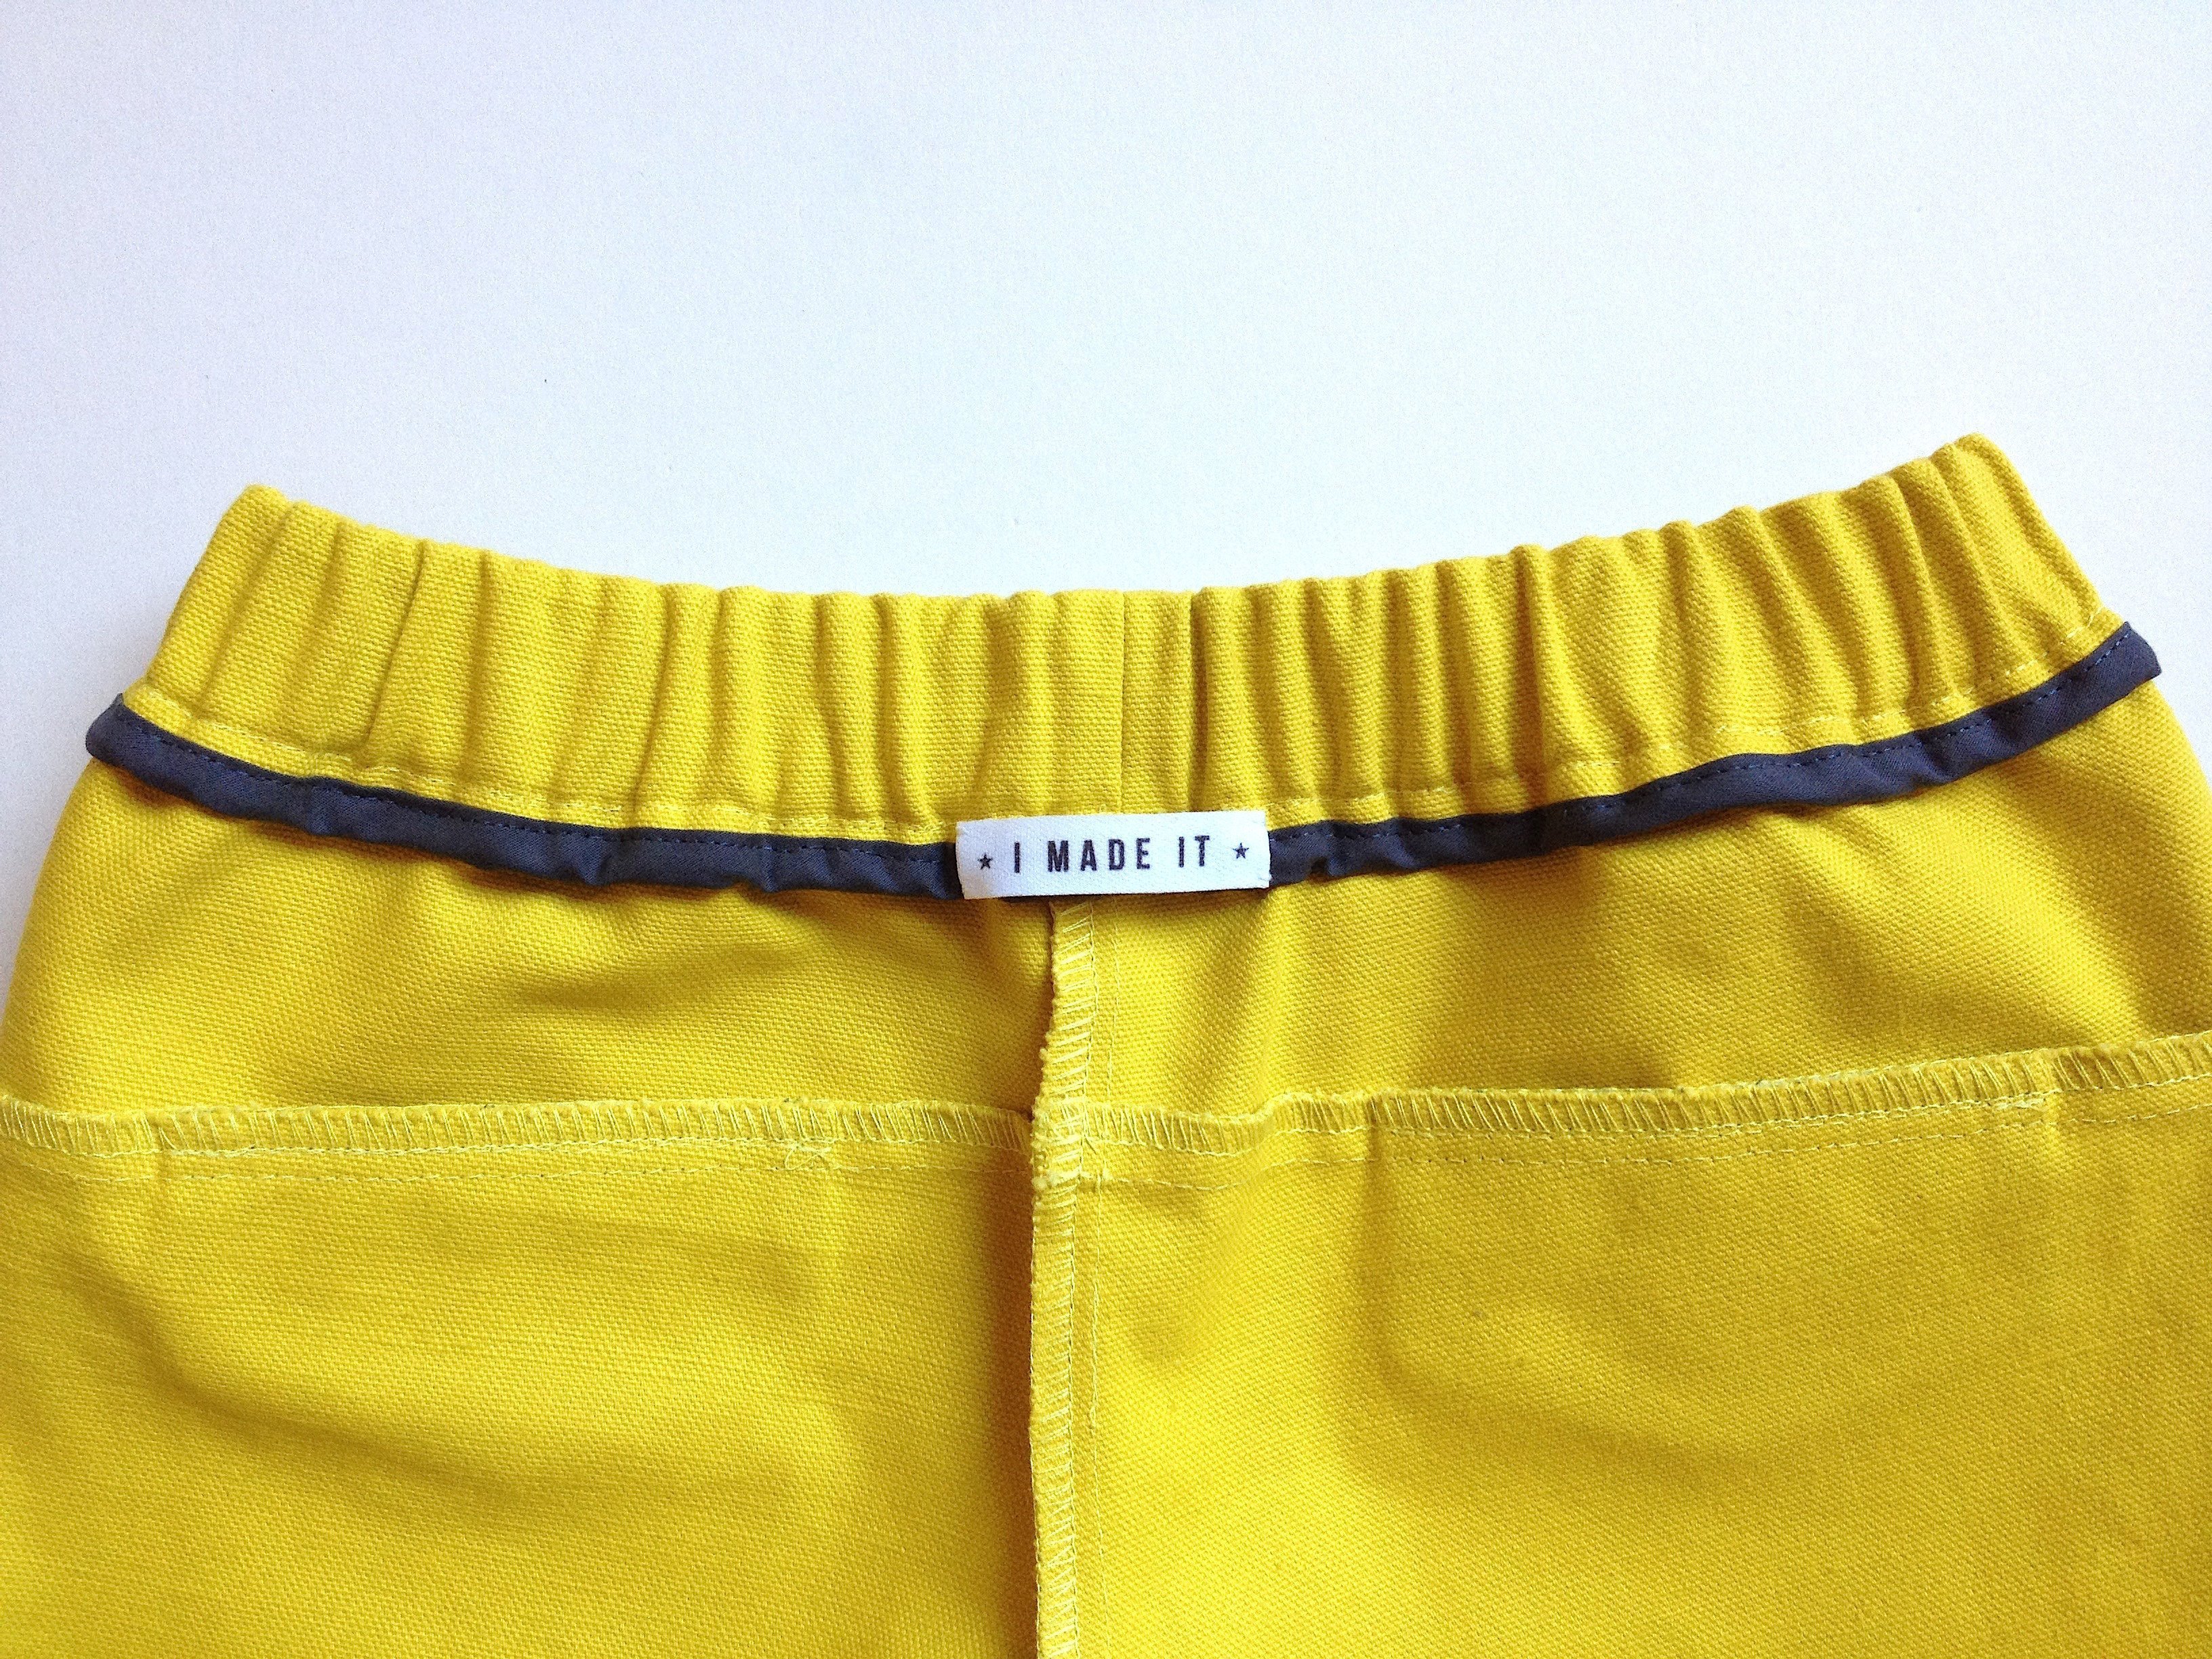
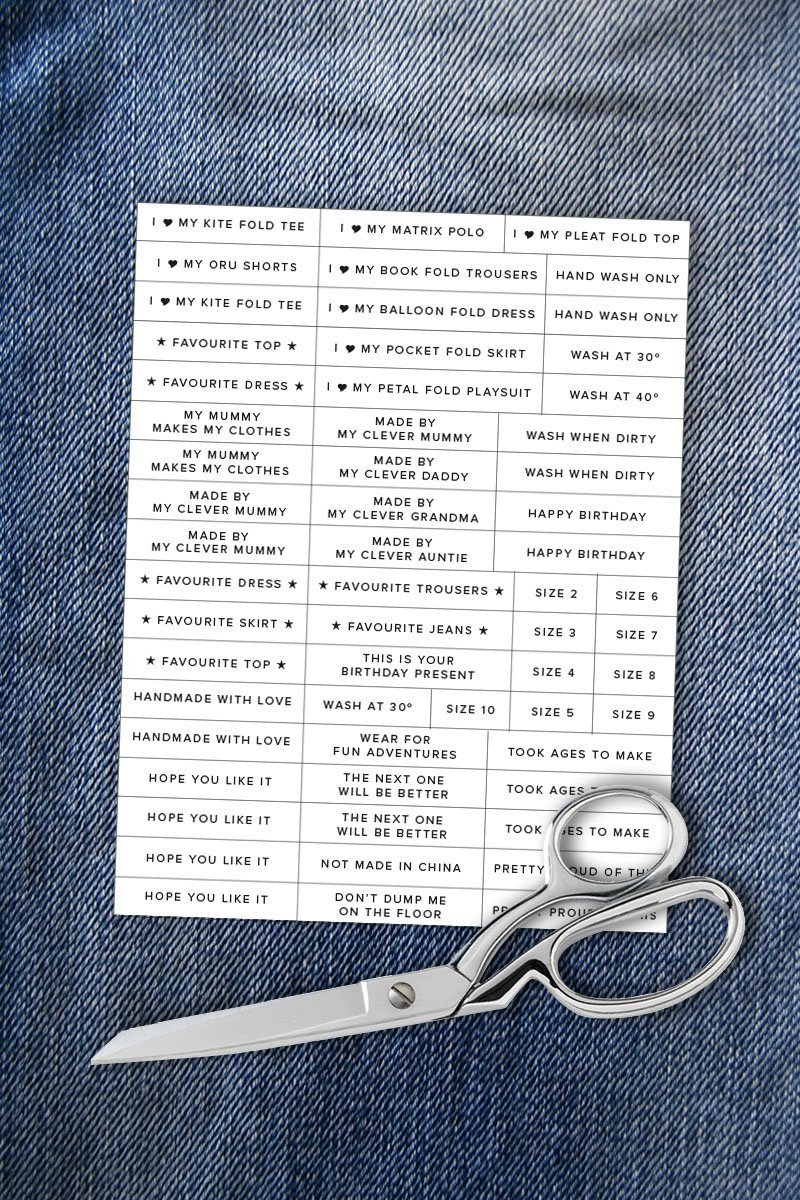
I designed these fun labels for Madeit Patterns, which we use for the garments sewn in our tutorials. We have even written it into the tutorial at which point to sew in the label, it can be really annoying if you leave it to the end when you could have possibly tucked it into a seam.
All you need to do is use transfer paper and iron it on to ribbon or a scrap piece of fabric. But don’t forget if you are using words you need to print it on to the transfer paper in reverse so that it becomes the right way round once ironed in place.
This is a selection I made specifically for the FOLD collection at Madeit Patterns, but there are loads of fun ones that you could use on any of your handmade clothes. So, download the free printable now.
2. The selvage
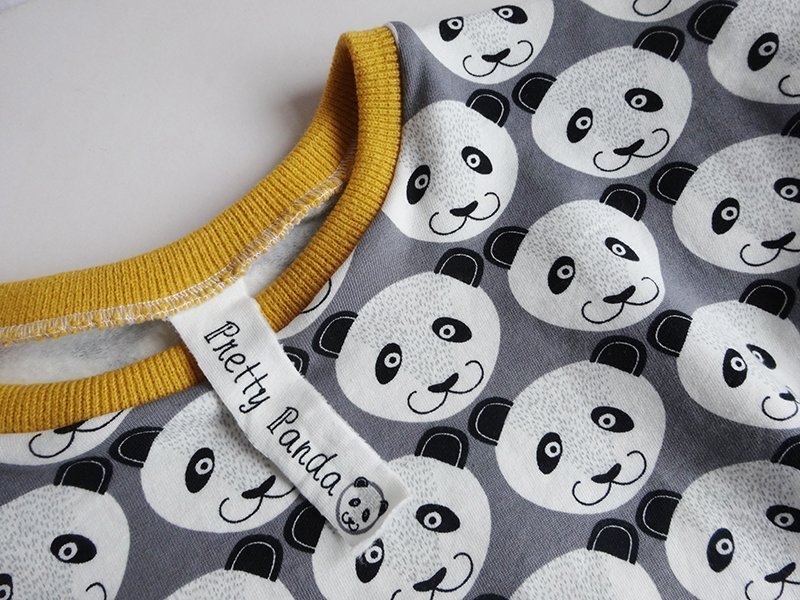
We often ignore what’s printed down the selvage of our fabric. We just cut it off and discard it. But it can be quite interesting or in this case fun. So next time you are cutting out a pattern, pay a little attention to the selvage and see if it would make an interestig label.
3. Coordinated with the garment
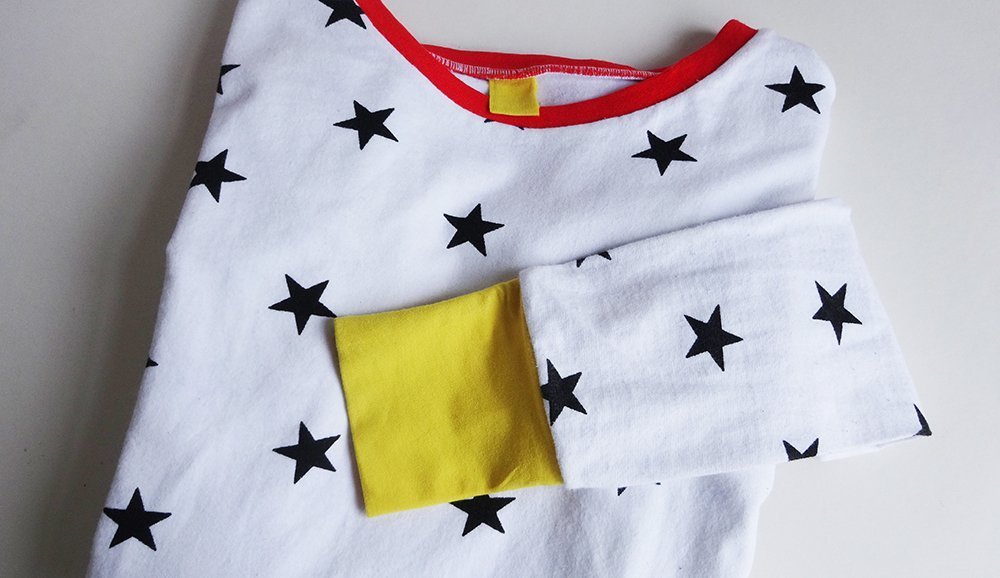
For these pyjamas, I simply used the same yellow jersey that I used for the cuffs. I cut it out and left the edges raw. This simple idea delighted my 8 year old daughter.
4. Fabric scrap
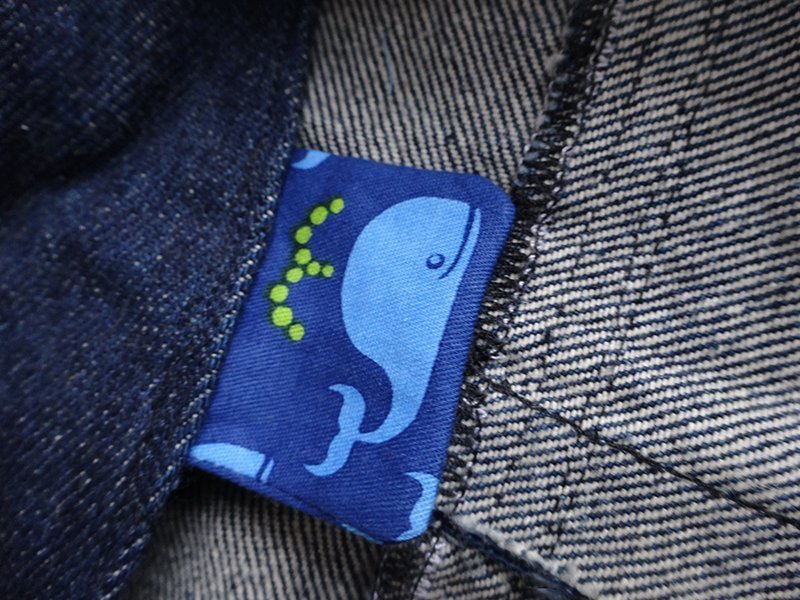
In this case, a cute whale inside a denim playsuit for my 4 year old. But it doesn’t have to be an animal or a character, fabric that has a small scale print like spots, pinstripes or ditsy flowers work well too.
5. Ribbon
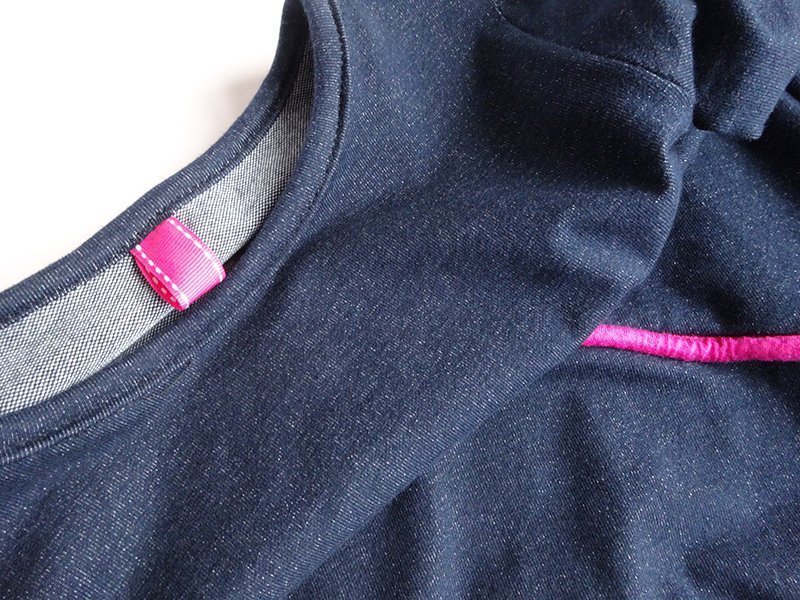
I used grossgrain ribbon upcycled from some giftwrapping for this dress. It coordinated nicely with the piping. There are lots of really lovely ribbons out there in the shops, but chances are you have some tucked away at home already.
6. Bias tape
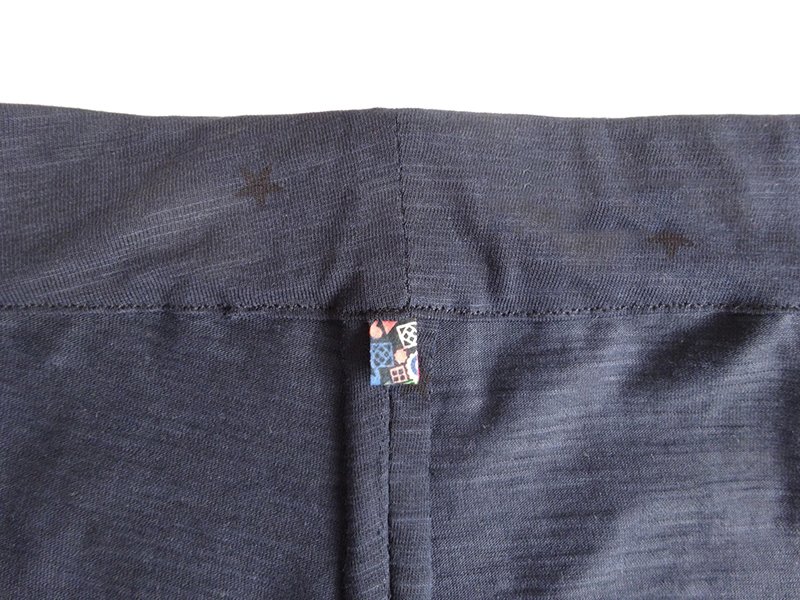
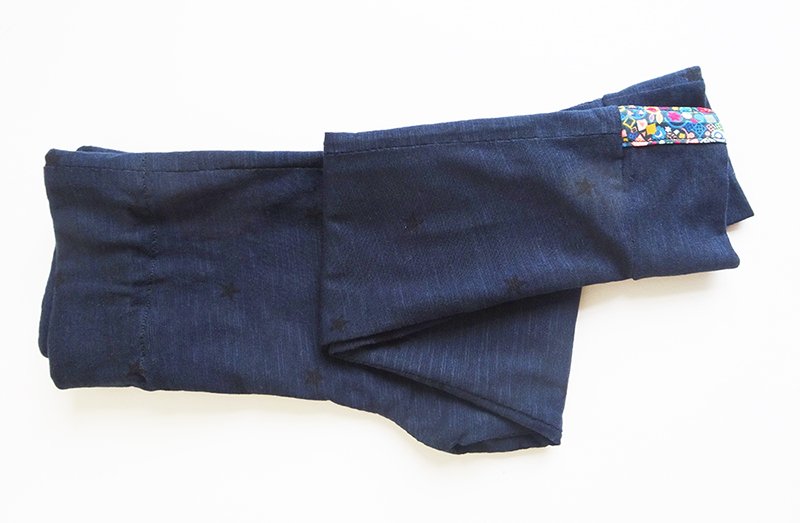
Bias tape comes in an abundance of colours and designs. This one I picked up from La Droguerie in Paris. I used it for the hem band on a pair of leggings and followed it through to the label in the back. Very quick, simple and effective. But avoid those stiff, rough bias tapes that are sold widely. They could irritate the skin, especially for children. In fact I sometimes cut out my labels in ready to wear clothes because the label irritate me or it’s too big.
There are so many creative ways you can label your handmade clothes. Let me know if you have any other cool ideas that I haven’t considered.
 BERNINA Corporate Blog -

Very nice dress. Nice article.
طراحی سایت
و فروشگاه اینترنتی
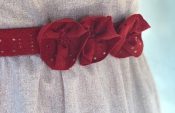
I love the shark tooth front on the dress in this article. Is there a pattern for it?
HI Kathi, thank you, the pattern is the Petal Fold Playsuit by Madeit Patterns. http://www.madeit-patterns.com/product/petal-fold-playsuit/