 BERNINA Corporate Blog -
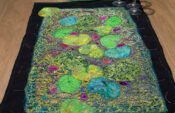
A textile bowl using programmed and free motion stitch.
Bernina B720
Textile bowl on my Bernina B720
Having been operating my Bernina B720 for a couple of months now I am beginning to play with the possibilities she offers me.
I am a free motion textile artist mainly using straight and zig-zag stitch. Now I have my new machine I like to play with what it has to offer and how this can be incorporated into my free motion textile art work.
I am sharing with you a project that you can make or just enjoy the process and it was an experiment for me in combining techniques on water soluble fabrics. This is a pictorial project with instructions.
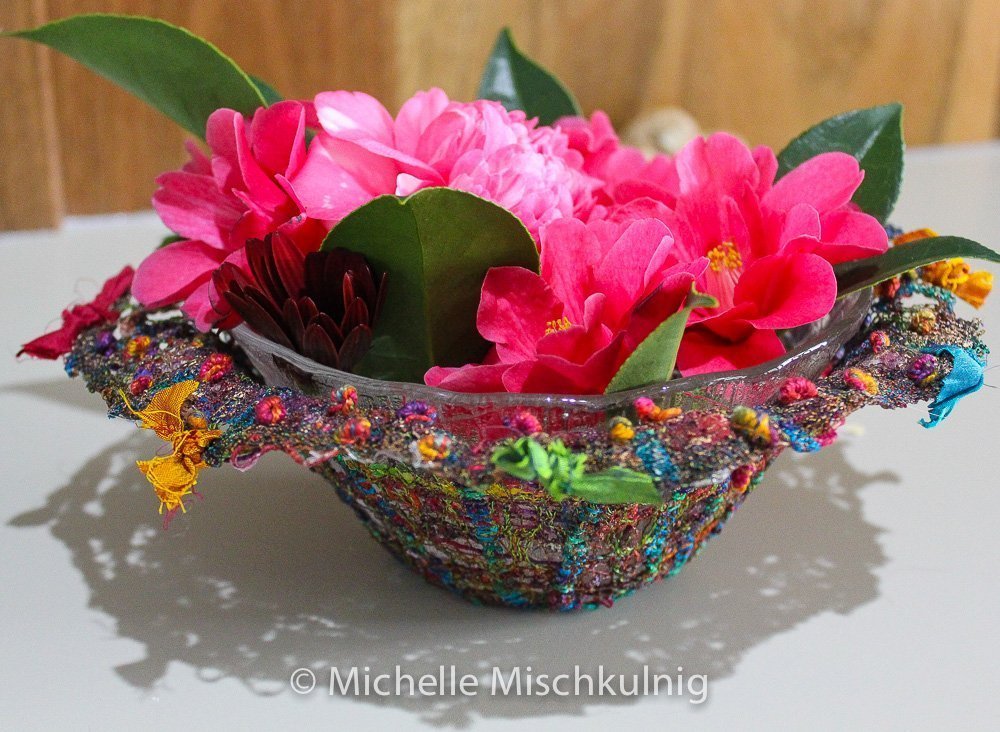
The finished textile bowl has many decorative uses .
Materials
Water soluble fabric
Sticky sided water soluble fabric
yarn, thread, fibres
Rayon machine embroidery threads
Fabric stiffner
Free motion foot uilting foot 29/29C
Straight stitch
stitch patterns 738 and 742
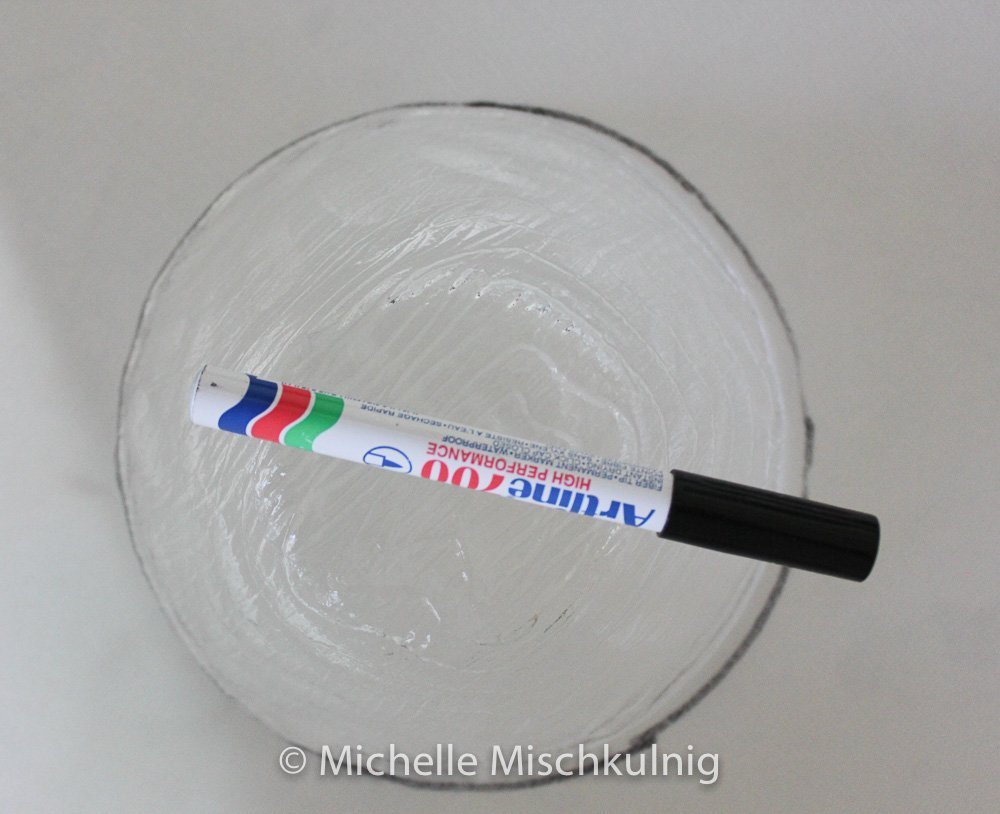
Mark around the size of your bowl directly onto water soluble fabric
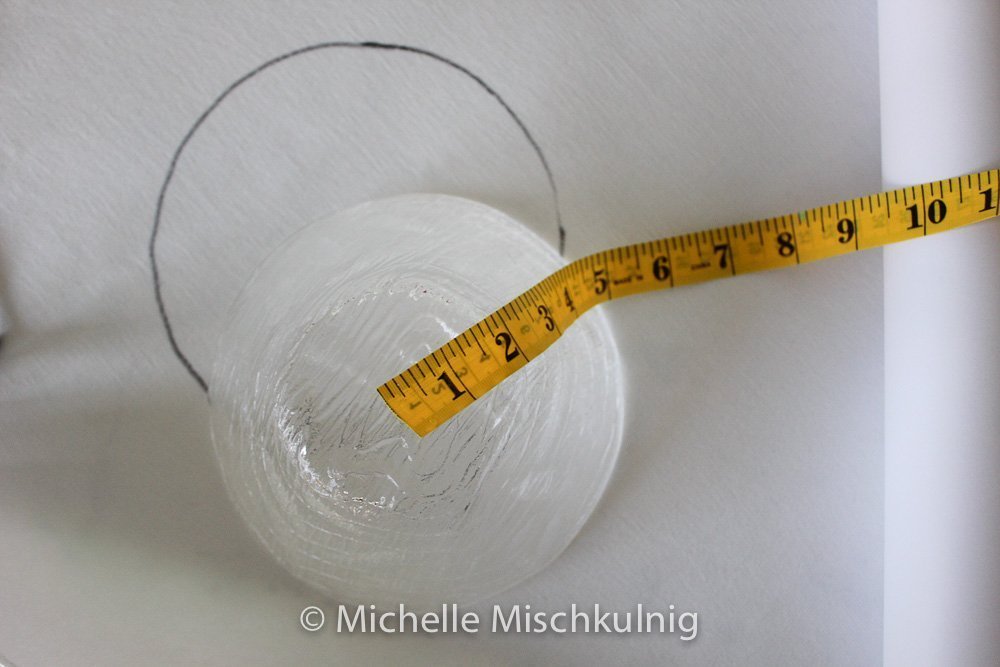
measure from the center of the bowl to the outer edge or lip.then mark this distance form the center of your original circle.
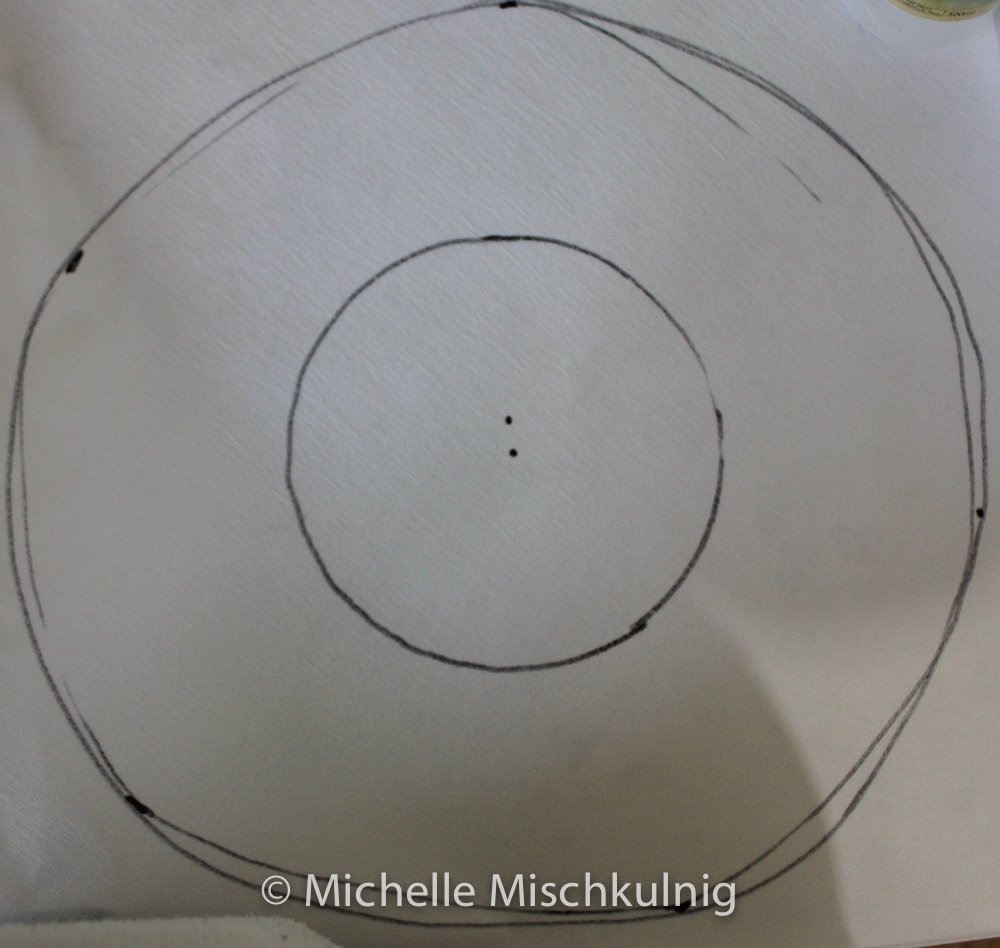
You now have the size of your stitch area .

Lay your decorative fibres and yarns on the surface of the water soluble fabric.Then place a similar sized sticky backed water soluble fabric on the top of to hold all the fibres in place ready for sewing.

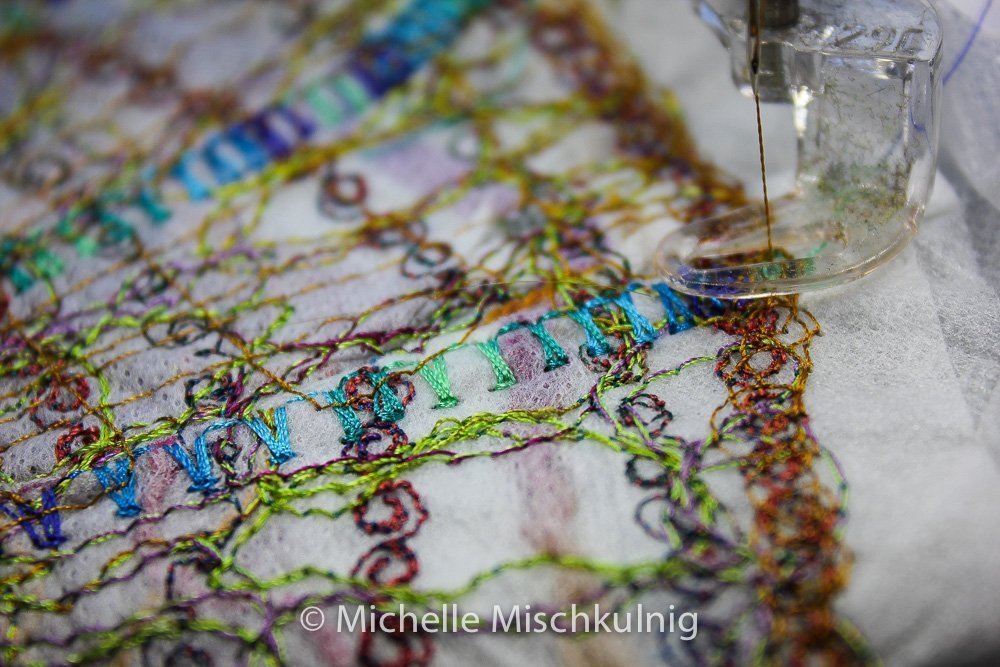
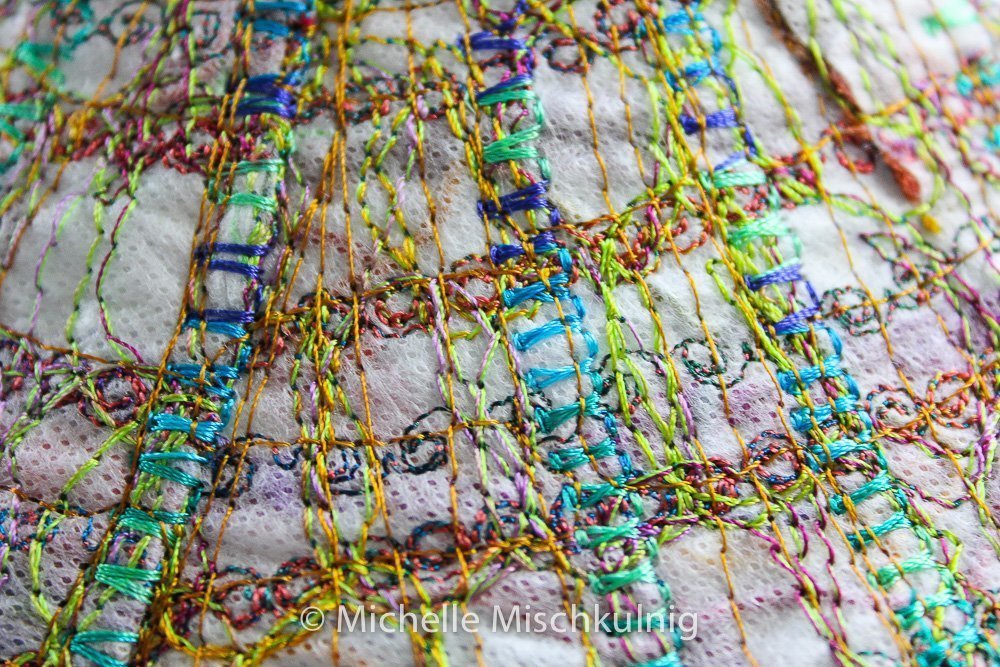
My first layer of stitching I use stitch number 738 it is important when working in this lace technique that your stitches interlock.
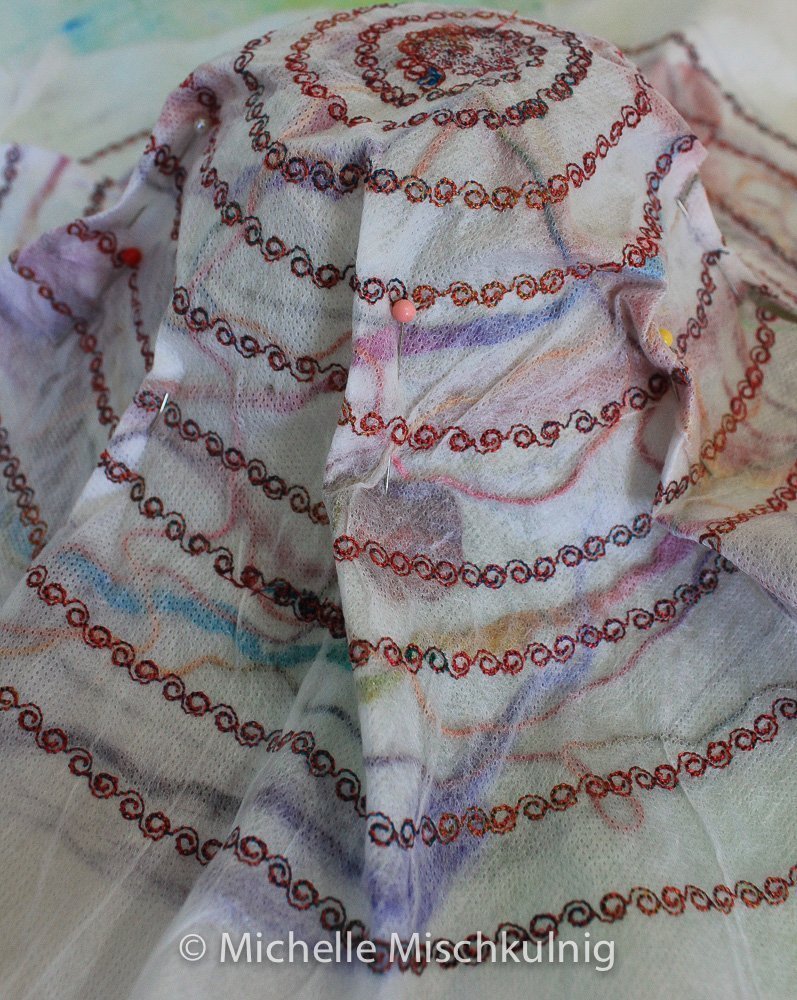
After the first layer of stiching place the circle of water soluble fabric over the original bowl and shape it by making tucks/darts to create the shape of the bowl.
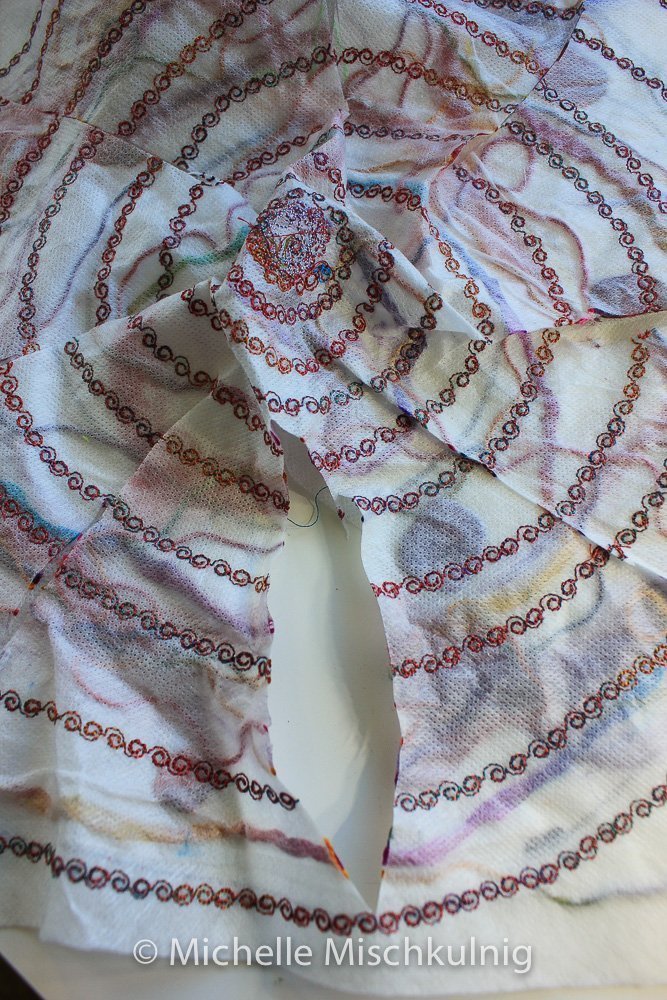
I cut the shaping darts out of the water soluble fabric and place some sticky sided water soluble fabric behind the cut outs bringing the cut edges back togehter again.
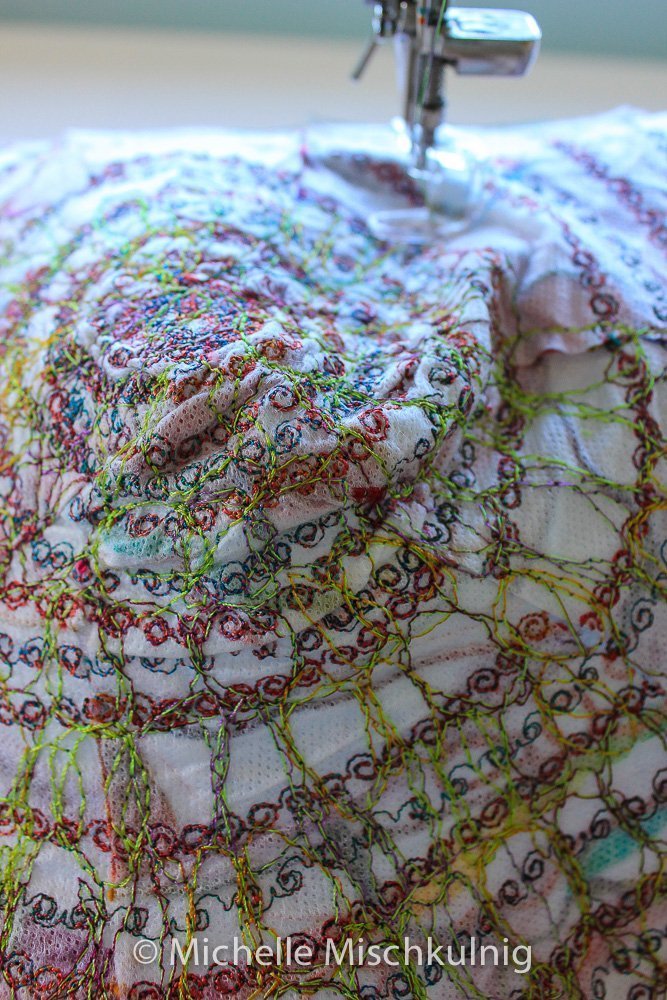
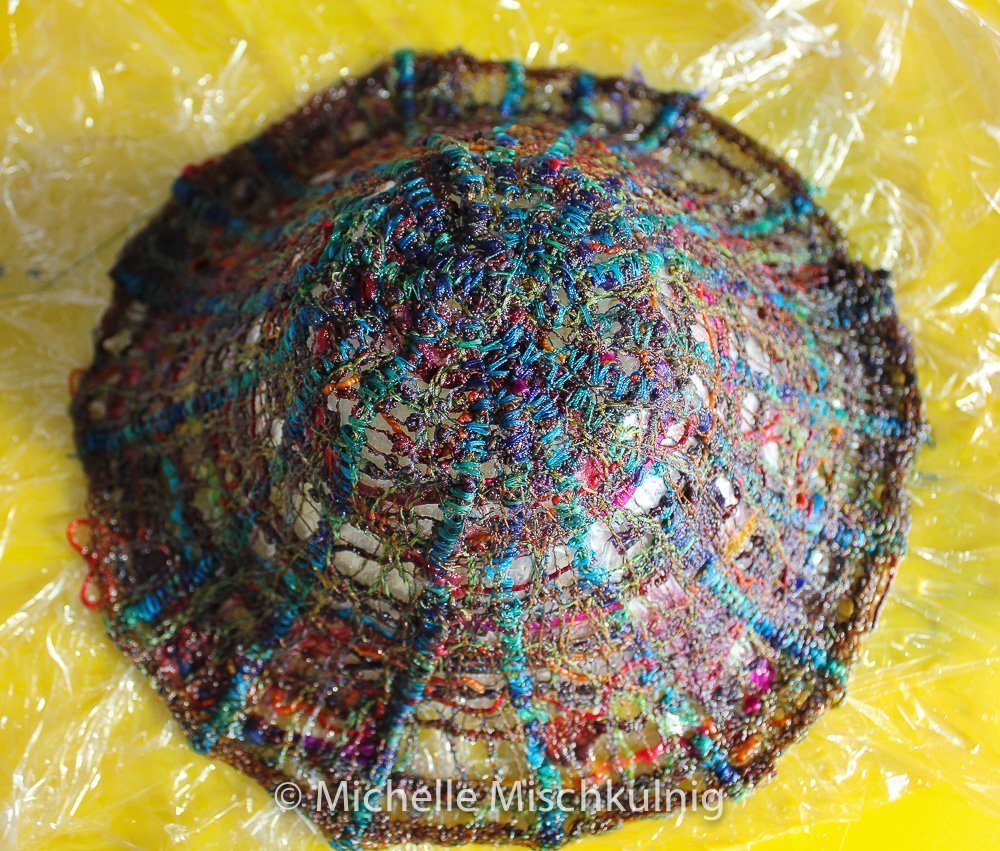
Using my Free motion embroidery foot 29/29C I stitch a circular pattern to interlock all the stitches you can see this pattern in the green thread. I have left the sewing machine set to decorative stitch mode 738 to be used in a free motion technique which gives it a lovely wiggly line.
Again I place the stitched water soluble fabric over the bowl for snug shaping and use darts to hold the shape firm. This time I do not cut the dart shapes.
I secure the edge of the bowl with a circular motion stitching very close together and then run stitch lines through the decorative stitch and body of the bowl 
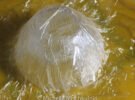
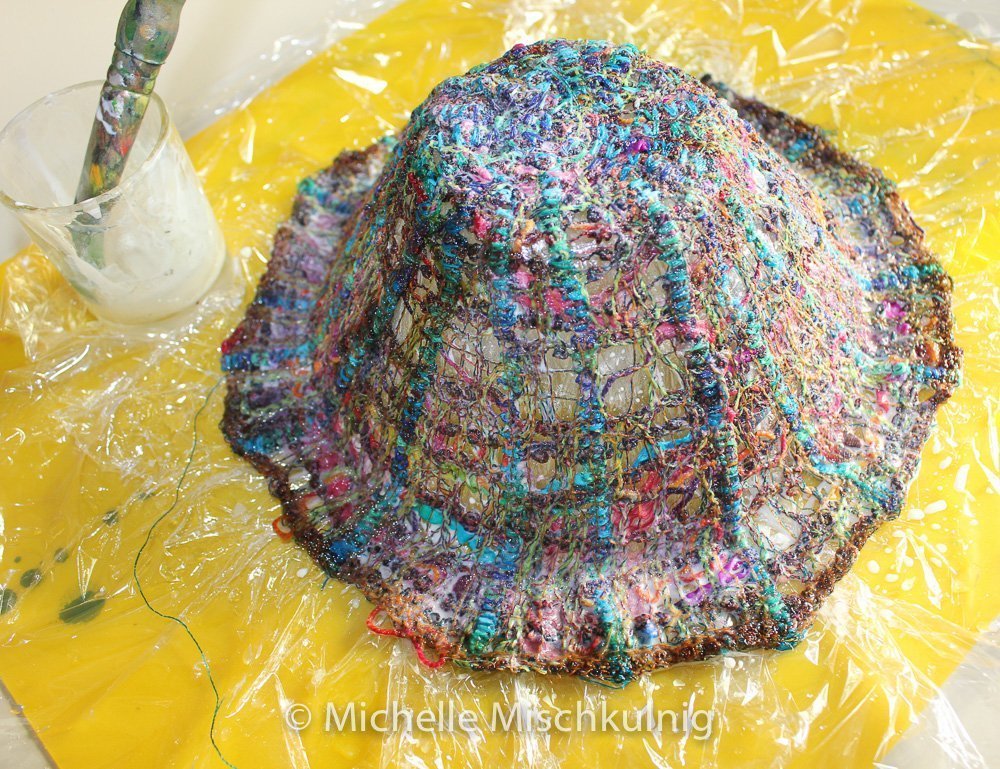
To prepare your bowl for shaping, take the original blow and cover it in plastic kitchen wrap and also your work board. 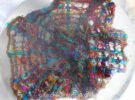
Wash the water soluble fabric in warm water until just about all or all the sticky feel has gone.
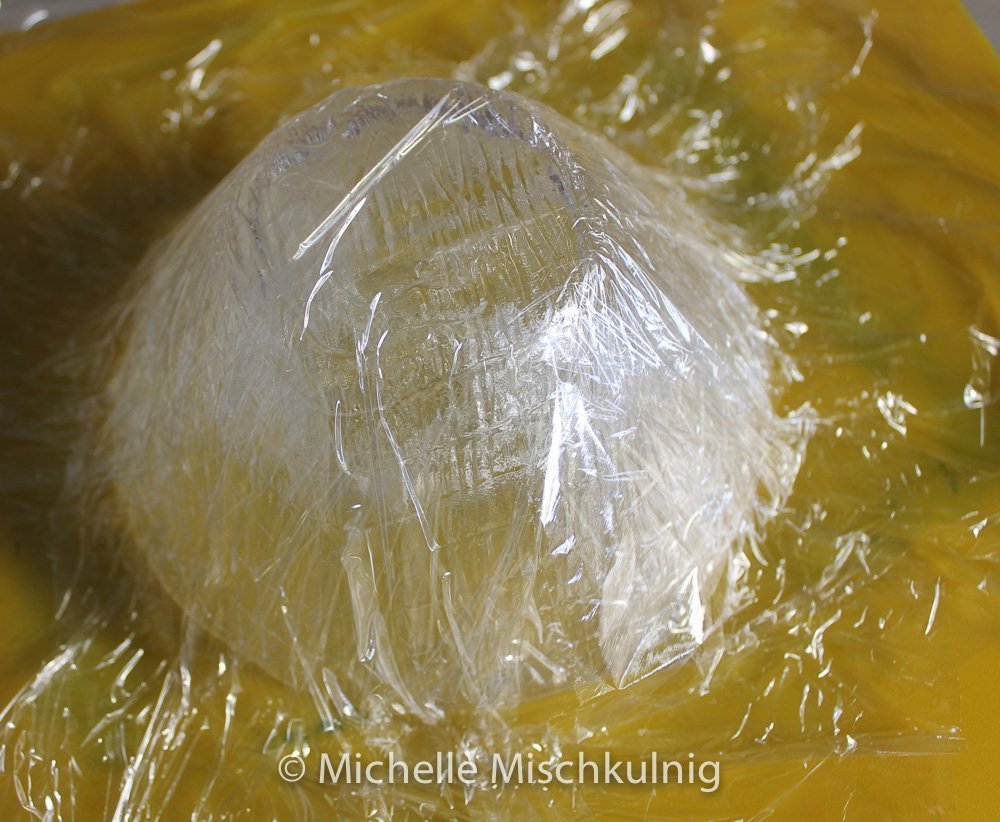
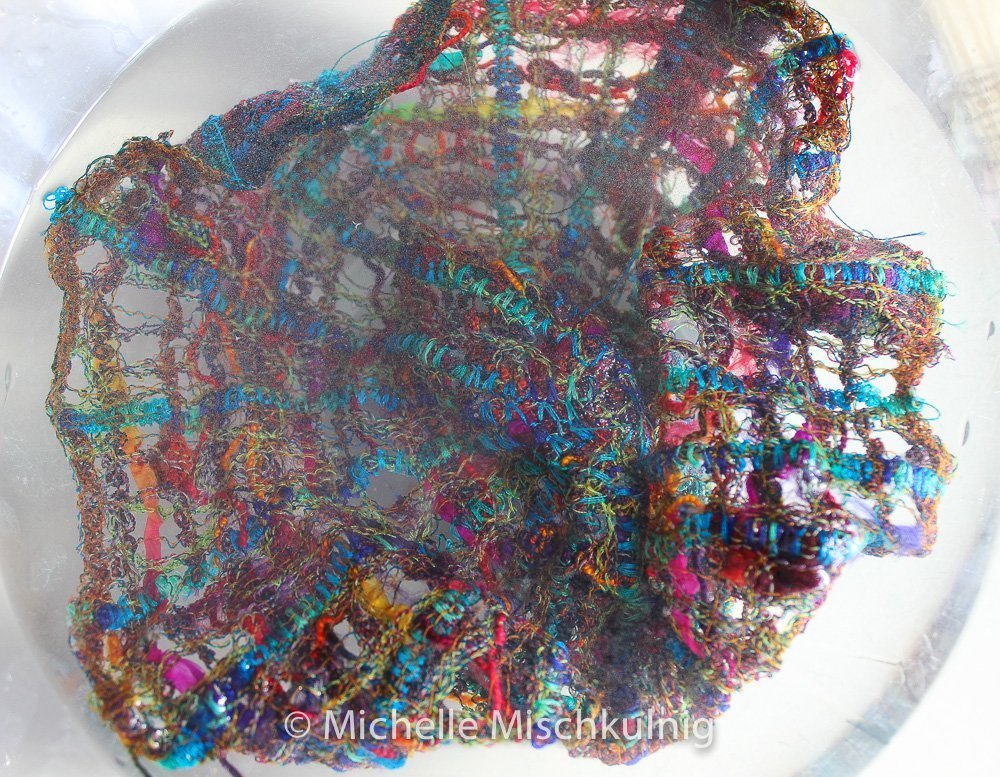
Place the wet lace work over the bowl and shape. 
when satisfied of the shape paste a fabric stiffer over the lace work.I used watered down PVA glue
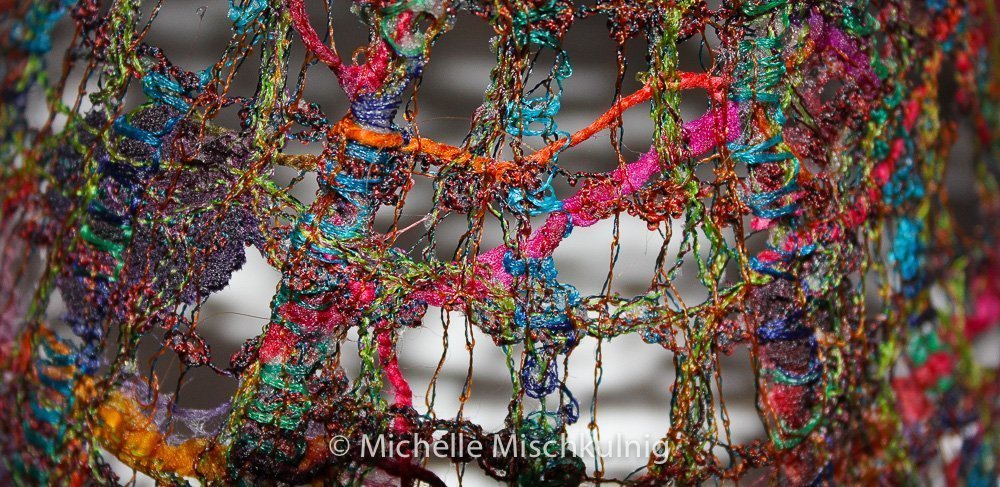
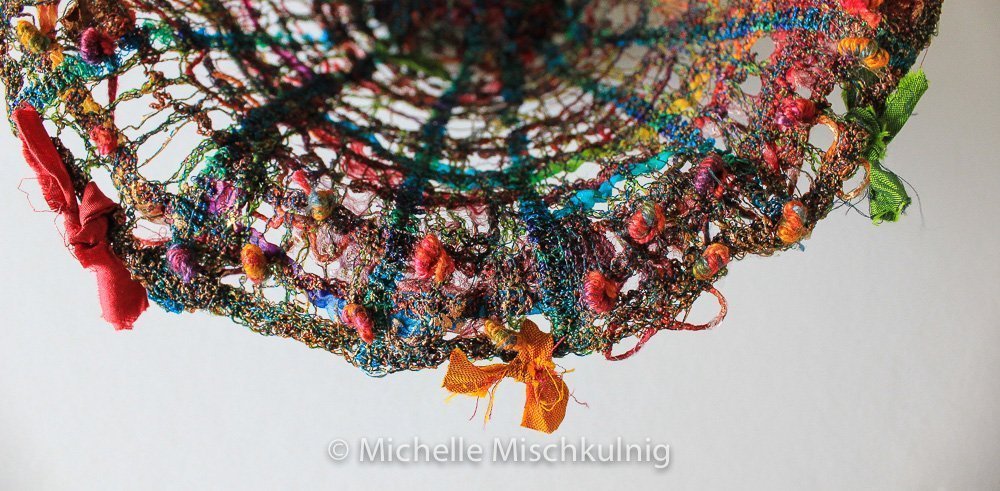
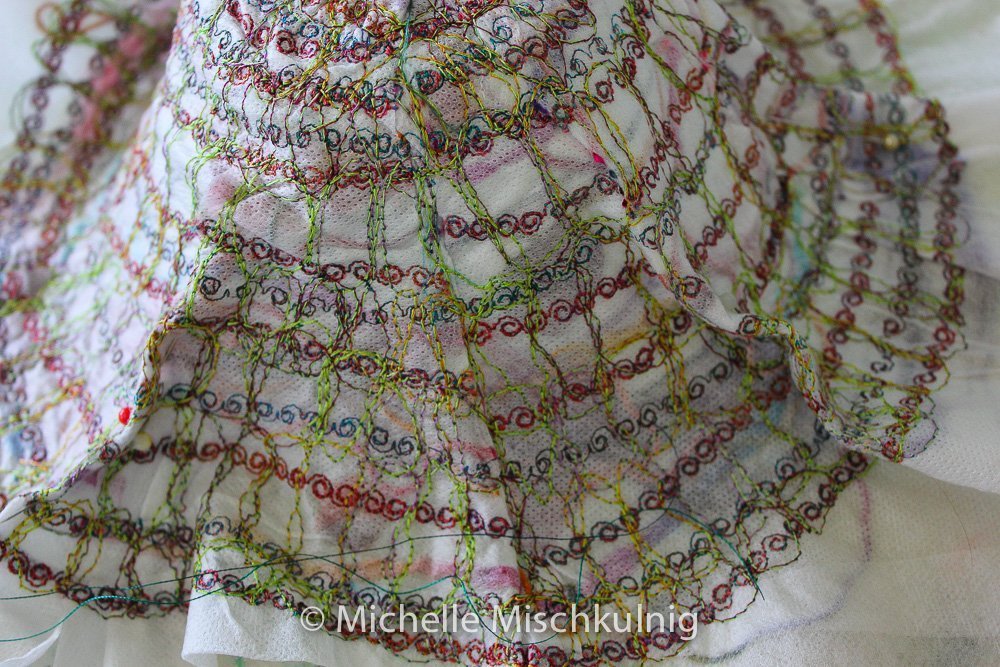
You can see in this closeup the decorative stitches and how they add a wonderful texture to the completed bowl.

Once the bowl was dry and I had played around with a few ideas I added some gold rub to the edge and hand stitched french knots using hand dyed threads and some sari ribbon ties
A textile art bowl to keep or gift
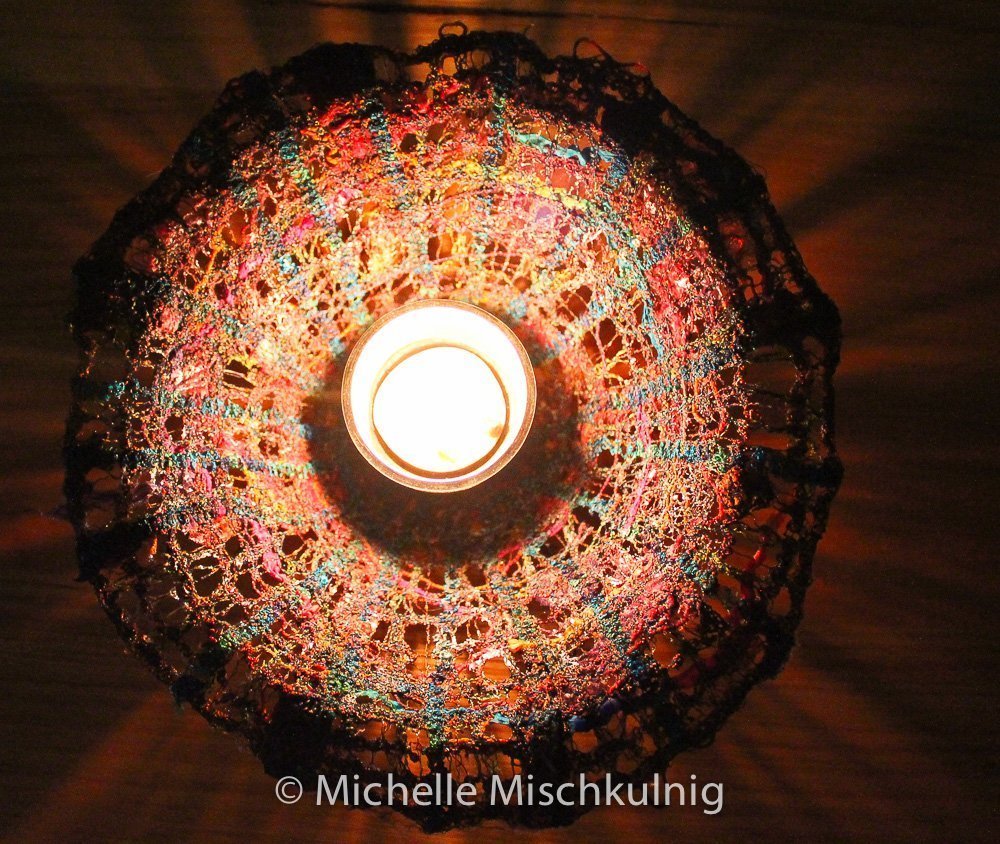
With T light beautiful glow.

The finished textile bowl has many decorative uses .

0 Responses