I wondered what I would do for this challenge when the two pieces of blue fabric arrived. There were so many things that our queen was known for – her love of dogs, the wonderful hats she wore for her public engagements and her horses. These were the three that came to mind immediately.
I was going to make a block that said “Hats, Hounds and Horses” but when I started looking for inspiration, I knew it just had to be a very special horse. The more I looked the more I thought that this was going to be the block for me!
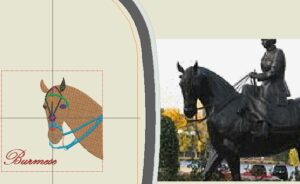
I found photos on the internet which showed the queen on her favourite horse for Trooping the Colour – she was a mare called “Burmese” and had been gifted to the queen from The Royal Canadian Mounted Police – The Mounties! I also found a photo of a statue of the queen riding Burmese. That cemented what I was going to do. I was going to digitize Burmese’s head.
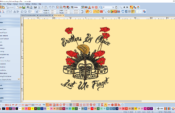
I started off with a photo which I placed in the main window of the Bernina Designer Plus V7 software. I chose to digitize it manually and set about drawing around all the shapes in the photo to make up the sections of the design. At this point the horse was all different colours as I wanted to make sure each section was stitched in the right order. Some parts had to be done first so that other parts could be stitched over them.
The lettering still needed some adjustment though.
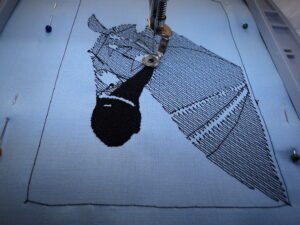
At last, all the different sections were in place, the colours of the final design were inserted and it was time to do a practice run on the computer using the ‘Slow Redraw’ feature in the V7 software. That went well, so the next step was to take the design to the 830 sewing machine.
I made sure there was a good covering of underlay to hold the stitch out in place as well as a basting box around the outside of the design and a few pins as well for extra tension.
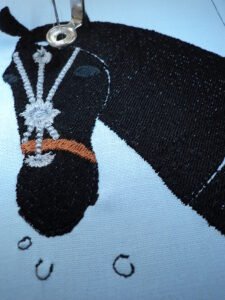
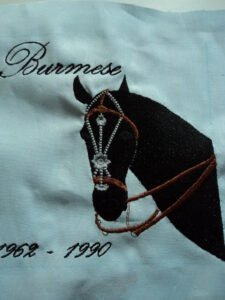
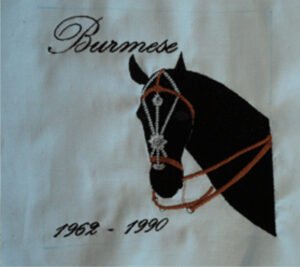
The “holes” in the photo above show the parts where I had removed overlaps to avoid too many stitches on top of each other. You can see the places in the photo below where some of the other colours of thread will fill in the gaps. The lighting from the 830 makes the calico look blue!
All went smoothly when I decided to do my first stitch-out on calico, using a single layer of tearaway stabiliser to make sure that the sections looked good and there were no errors in the stitching. Apart from a little puckering, the design stitched out perfectly as you would expect with such excellent software and a Bernina machine.
Now it was time to put the real fabric to the test, so I stitched out the head again on the practice piece that had been sent to me. I had to stitch it to a piece of waste fabric as it was too small for the Jumbo Hoop and I wanted to avoid doing two hoopings.
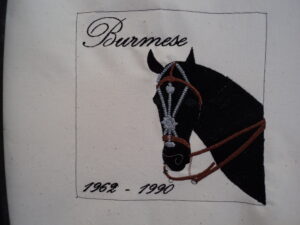
The fabric puckered more than the calico even with two layers of stabiliser, so I decided to do the final piece in the Oval Hoop and move the fabric over for the text to appear in the right place at the top and bottom. This worked much better and the design stitched out with very little stretching of the base fabric, so I was quite pleased with the final piece. The faint blue line is the outer edge of the block.
I do hope that you like this offering for the virtual quilt and who knows, it may even appear in the “real” one.
Jan Allston May 2106
 BERNINA Corporate Blog -

0 Responses