It’s all in the ‘amazing’ details – little and big!!
I’m continually amazed how many feet Bernina have produced that are MUST HAVES!! You just need to know how and where/when to use them! A detailed tutorial for this whole project – including requirement list, will be available shortly on the Bernina Australia website – I will add or edit a link in when it is ready. I have been travelling this beautiful country of ours for almost 4 months now! I am now in Broome, Western Australia, the opposite side of Australia that I usually live in … Queensland !! I am amazed at all the diverse and simply gorgeous sights I’ve already seen – waterfalls, including the amazing HORIZONTAL FALLS! … gorges … long, red dusty roads … sensational sunsets and sunrises … rocky walking tracks … and beautiful beaches. All MUST SEE places! … Oh sorry, right off track I was … I’ve just finished writing my personal blog … now where was I … ?? … oh yes, tutorials and sewing !! 🙂
For this project I used #1, #10, #37, #38 and #50 as I mentioned in Part One. Lucky for those Bernina 570QE owners, #37 comes with the machine here in Australia!! I will highlight a few places where I used them, including a bit of ‘eye candy’ type feet/stitch photos. The third and last blog post for this project will be a good little technique essential for this Accessory Case – stay tuned! I am regularly out of Internet range, enjoying a bit of tech-free life 🙂
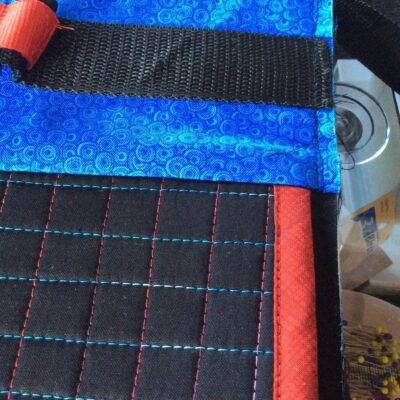
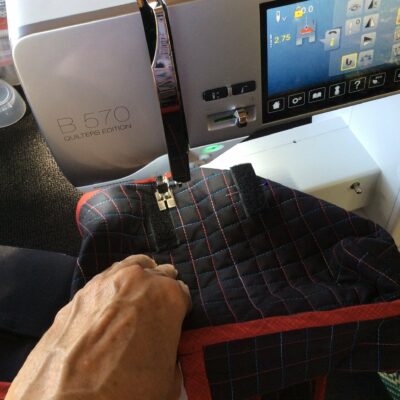
#10 Edgestitching Foot – YOU’RE A STAR!!!
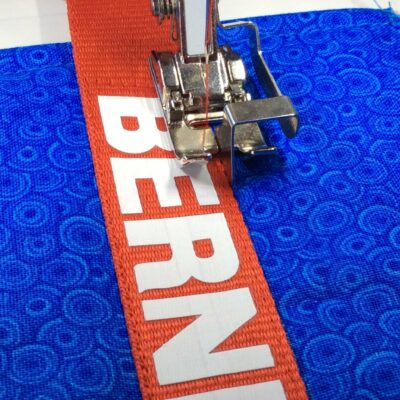
Stitching on some webbing on the handle – change your needle position and perfect edgestitching!
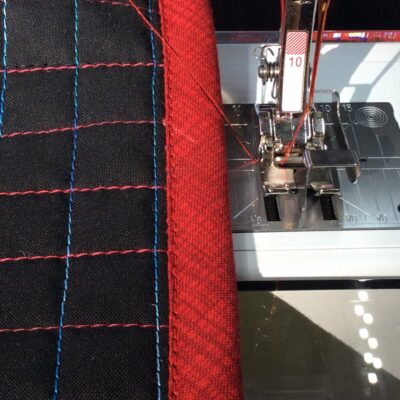
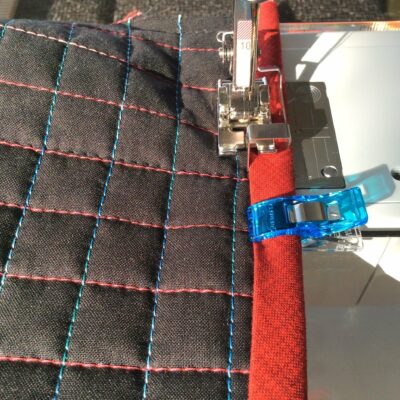
Stitching down binding – change needle position (I used 2 needle positions to the right) … and more perfect edgestitching
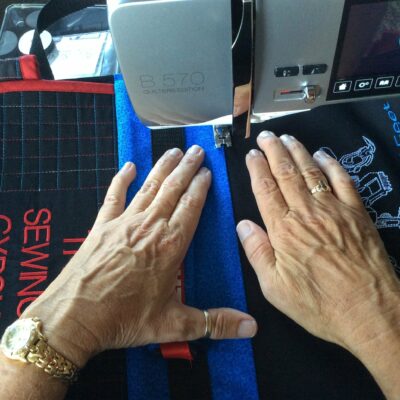
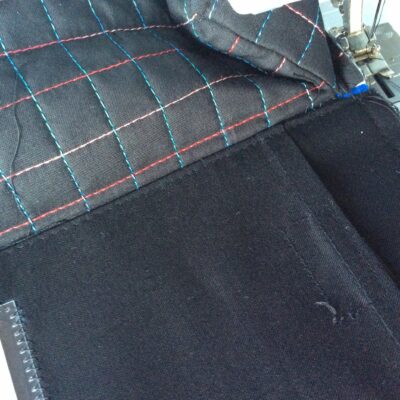
Ditchstitching back and front together – inside and outside lined up (It’s all in the ‘amazing’ details – little and big!!)
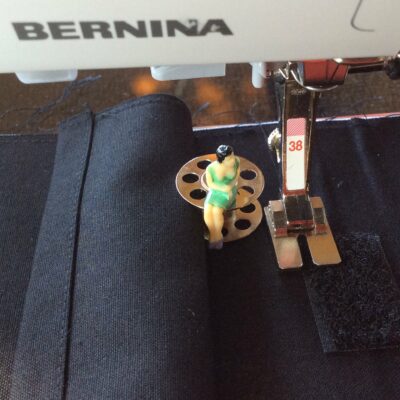
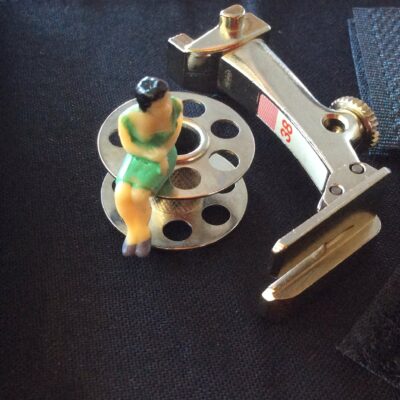
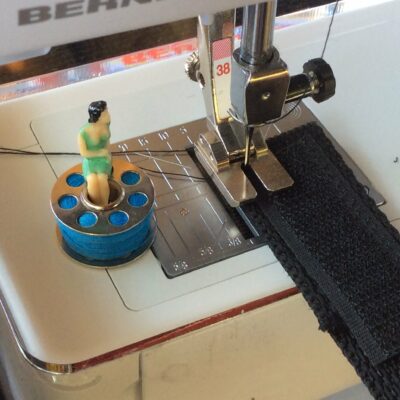
#38 Piping Foot – ANOTHER STAR IN MY BIG BOX OF FEET!
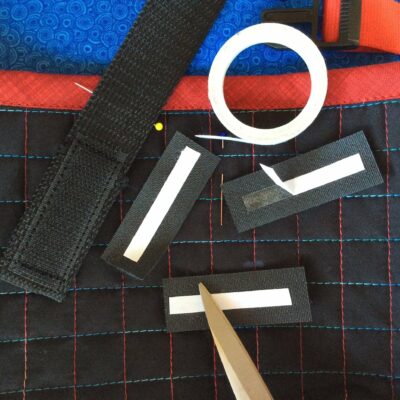
Stitching down Velcro
Foot Fettish – look at the difference between each ‘toe’ of the foot …
Velcro and Webbing Straps – different thicknesses handled fabulously!
Straight Stitch only! – I tell my B570QEE that I have a straight stitch plate on and then I cannot accidently use any other stitch than straight stitch with this foot!! Use the Info icon … love that feature 🙂
Fab Habby – yes I do love my Habby as well – makes the task at hand a lot simpler.
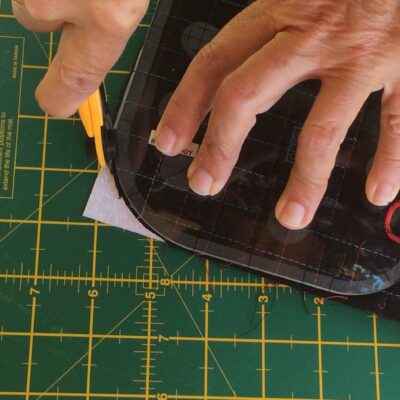
Corner Cutting – a great little ruler I own from ‘Creative Grids’ – four different size arcs can be cut
Washaway Wonder tape – holds the Velcro into place as you stitch … and lots of other little places where a pin or Wonder Clip just gets in the way – you can stitch right over the tape – fabulous!
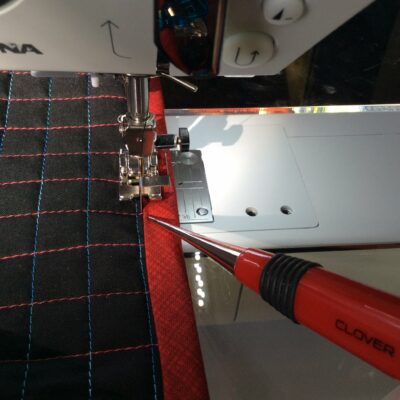
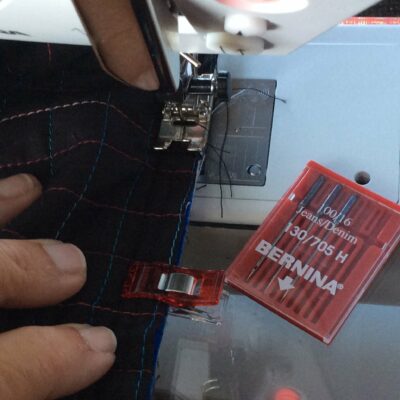
Pins (You can never have enough!!), Needles (I used Size 100 Jeans needles as there were sooo many layers to go through at times), Wonder Clips (when a pin is just not enough!) and my Clover Awl – holds my binding in the correct position and I sew right up to the needle at times – the point is VERY sharp!
Now if you have all these feet in your collection, and some essential habby, you’re ready to start your Accessory Case for your Feet … remember Bernina has fabulous YouTube videos showing how all these feet are used – Thank You Bernina!!
 BERNINA Corporate Blog -

This looks like a great project. I am in the USA and would love to obtain the plastic boxes your “feet” are in. Are they available in the USA? Also are they the same ones pictured in the blog post I found on Pinterest with a date of 23.09.2014.
thank you for your help
donna