A table center piece to bring a whisper of Lilly ponds and Summer days .
Materials
Sticky sided water soluble fabric vilene but the plastic solvy and lots of pins will work.
Variety of green fabrics for the leaves
Backing fabric size and colour your decision.
Silk or soft variegated yarn.
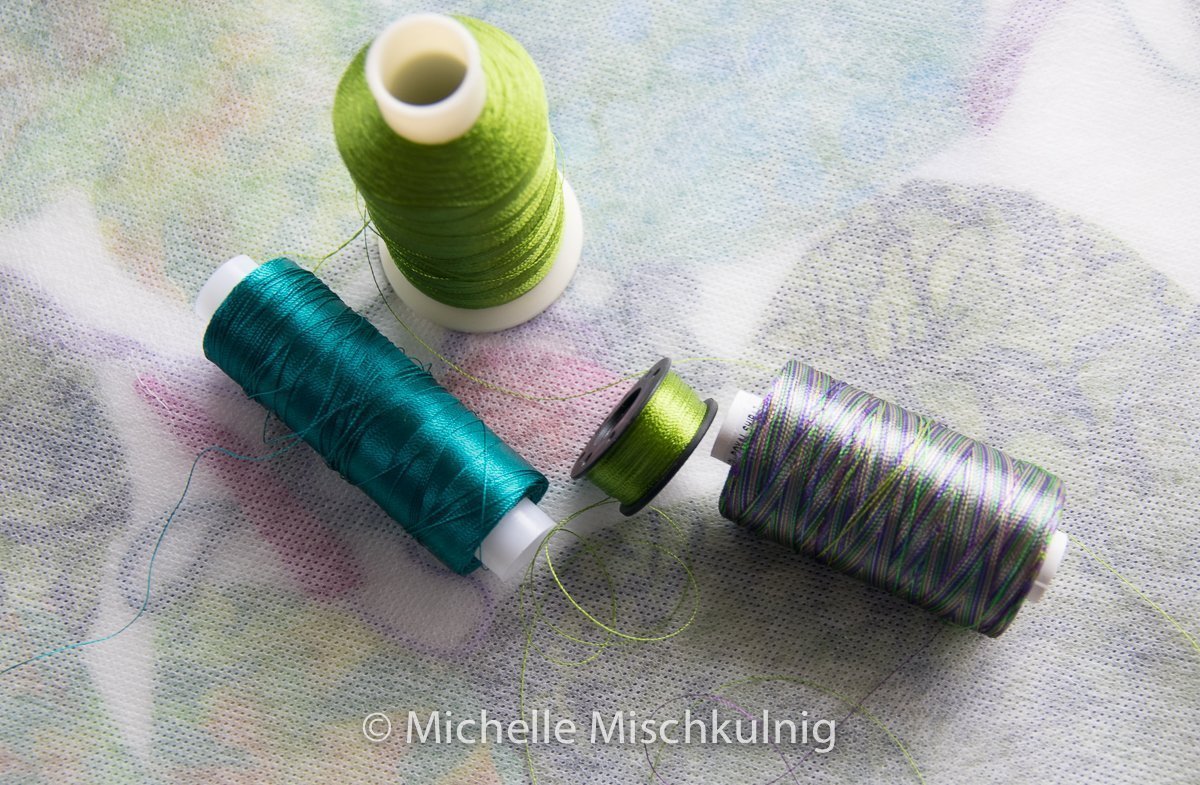
Rayon machine embroidery threads .
Top stitch 80 needles.
Free motion chording foot no 43
Free motion embroidery foot 29c
Silk velvet or such ( I used hand dyed silk velvet )
Variegated hand threads
Spare time 🙂
Lets Start
Measure the size you would like your table piece to be when finished allow approximately 2-3 inch boarder.
Cut 2 pieces of water water soluble vilene to your chosen size.
Peel the paper layer off your water soluble vilene exposing the sticky side.
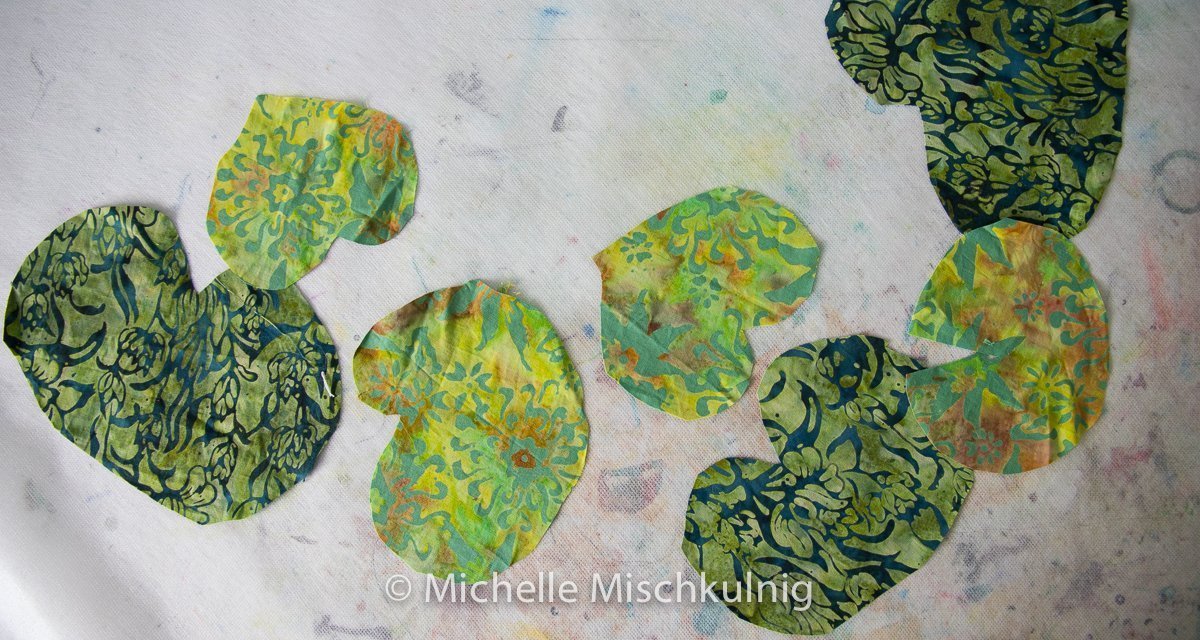
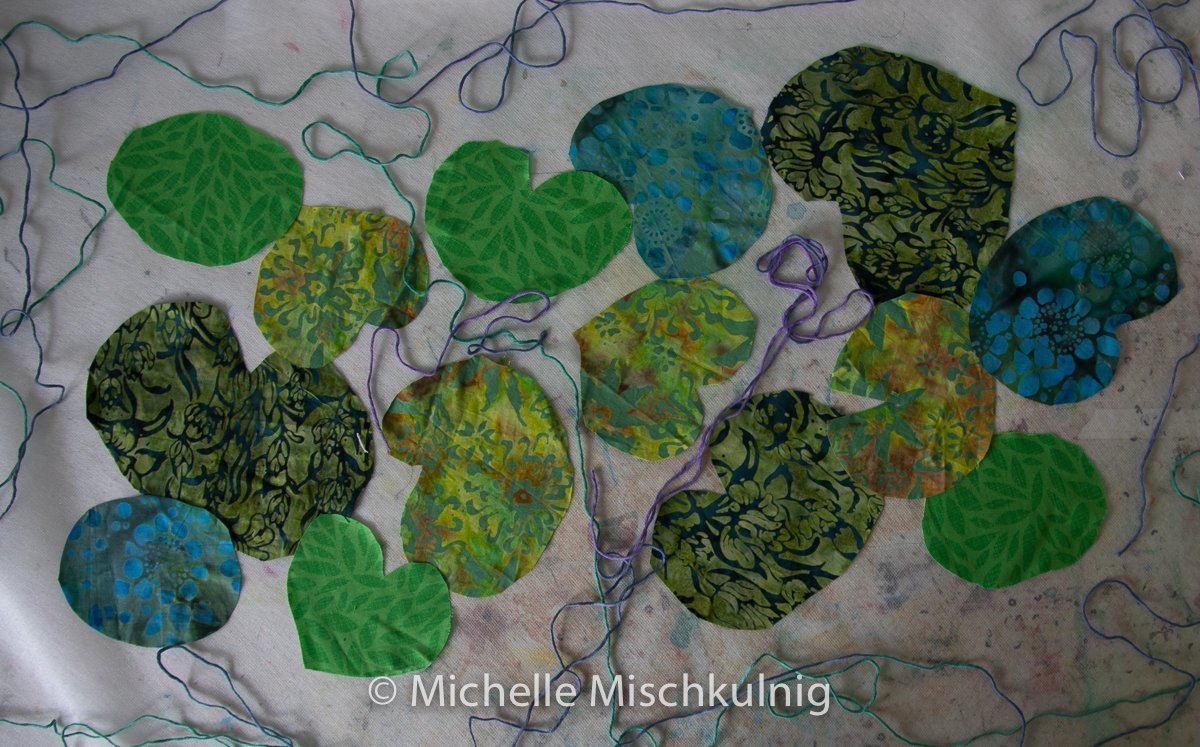
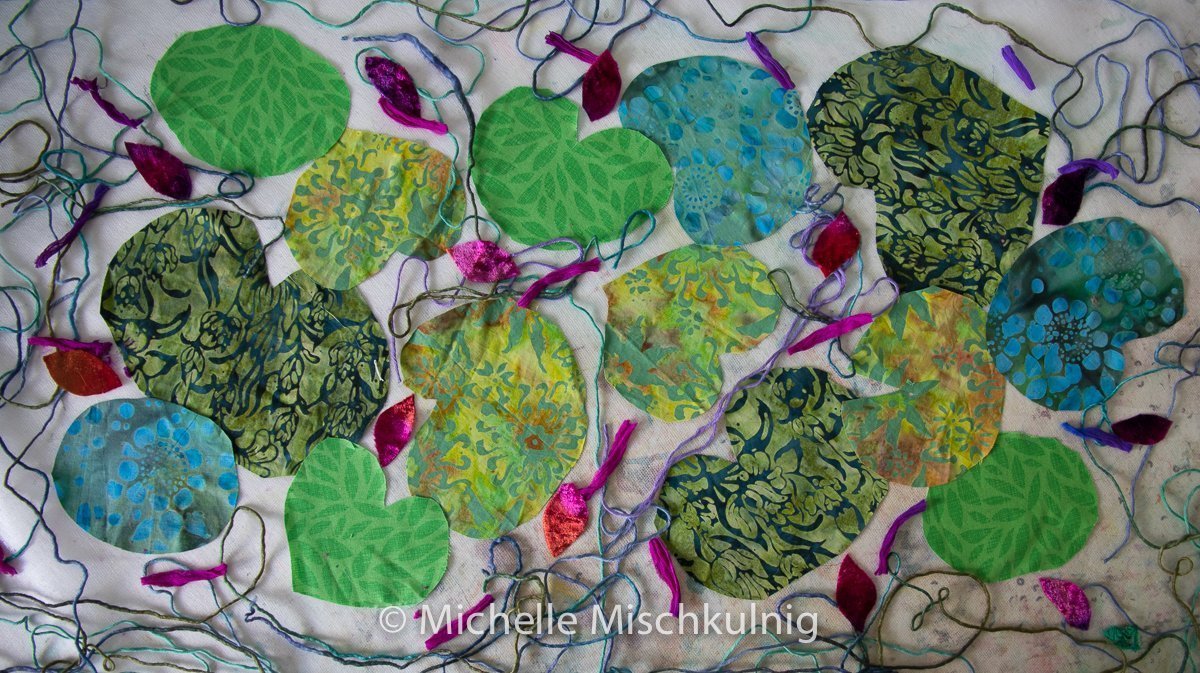
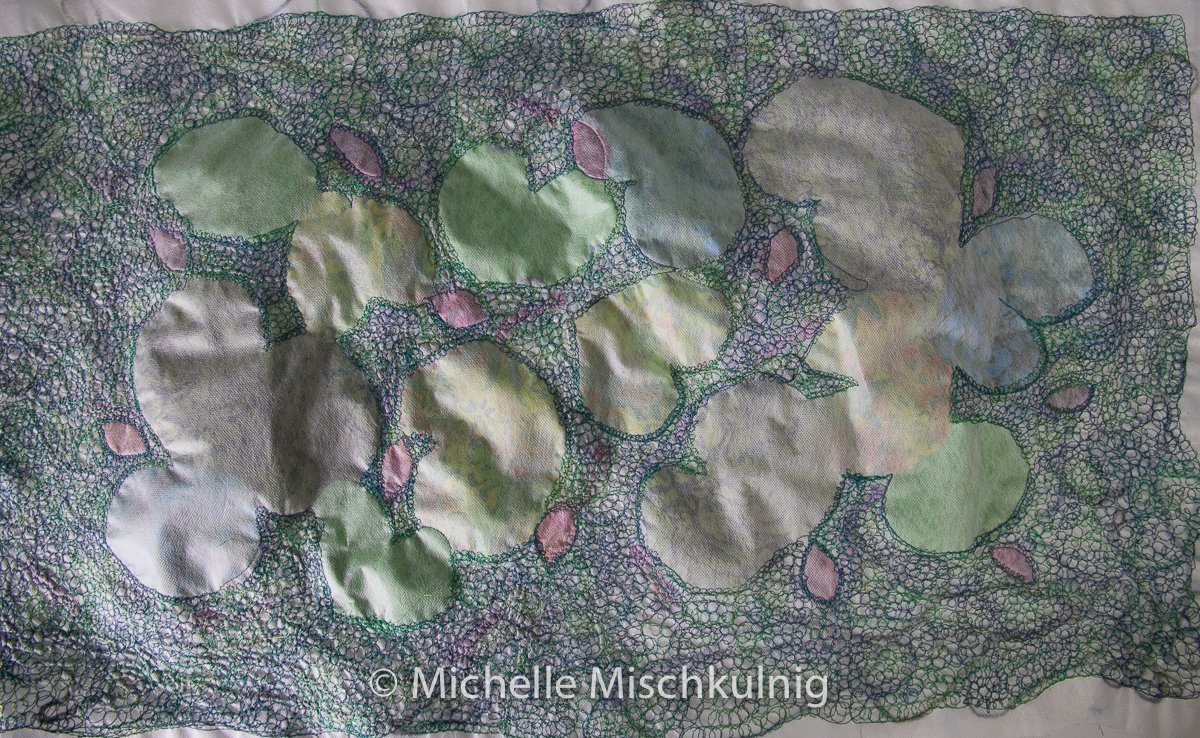
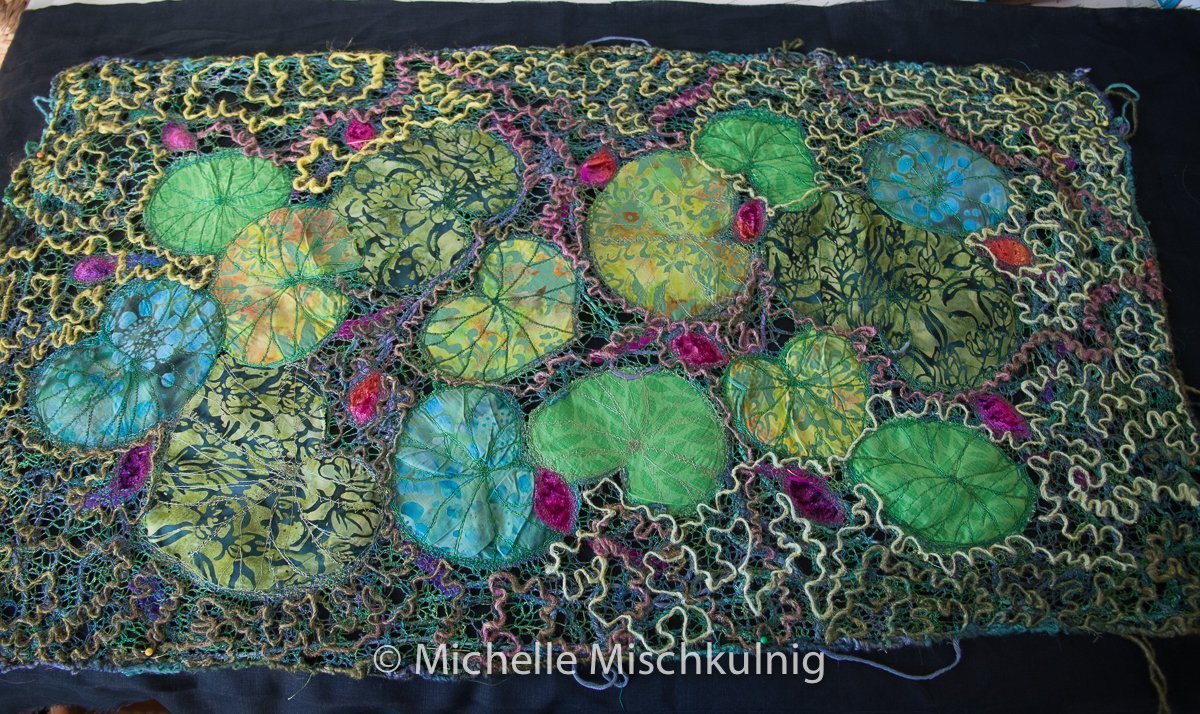
Cut lilly pad/ leaf shapes from your green fabrics and place on the sticky side of w/s/vilene pressing flat.Some leaves can over lap as they would in pond.
Lay the silk yarns ( or equivalent ) in a random and organic manner as you see below surrounding the leaves.
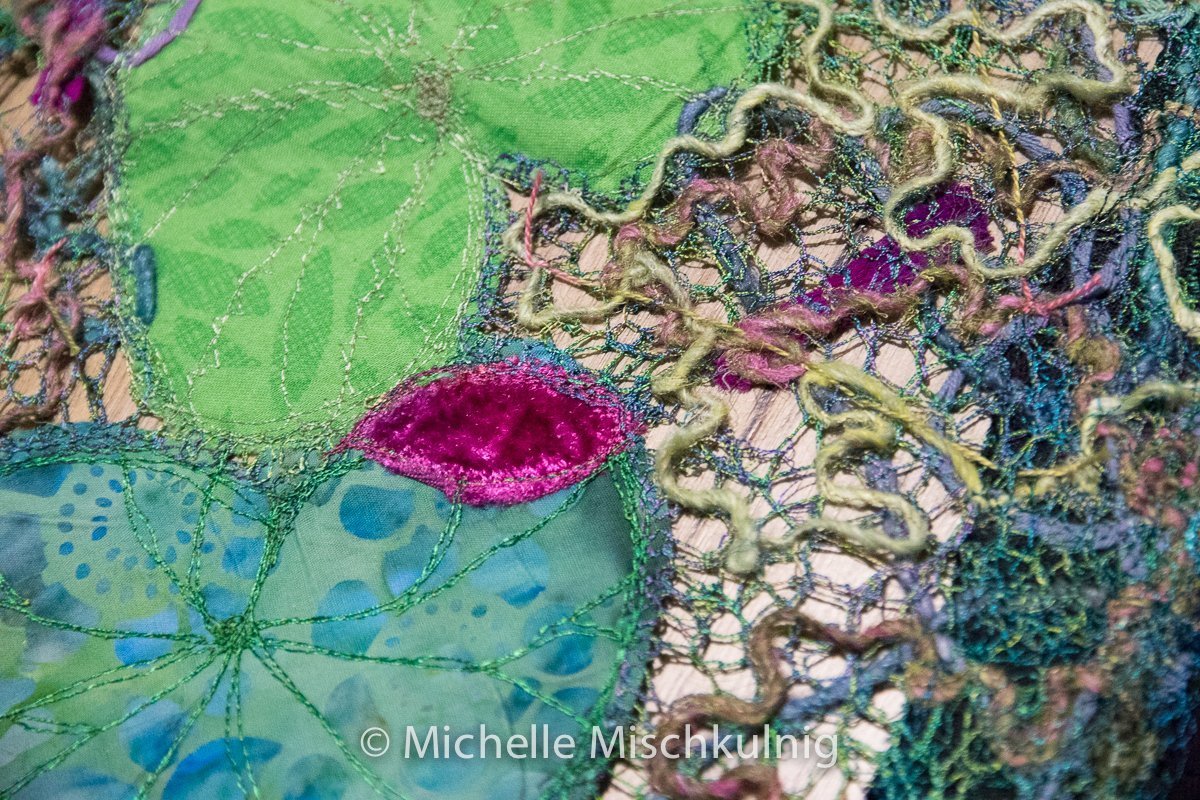
Then add bursts of colour representing buds and movement I have used hand dyed silk velvet and hand dyed silk chiffon ribbon.
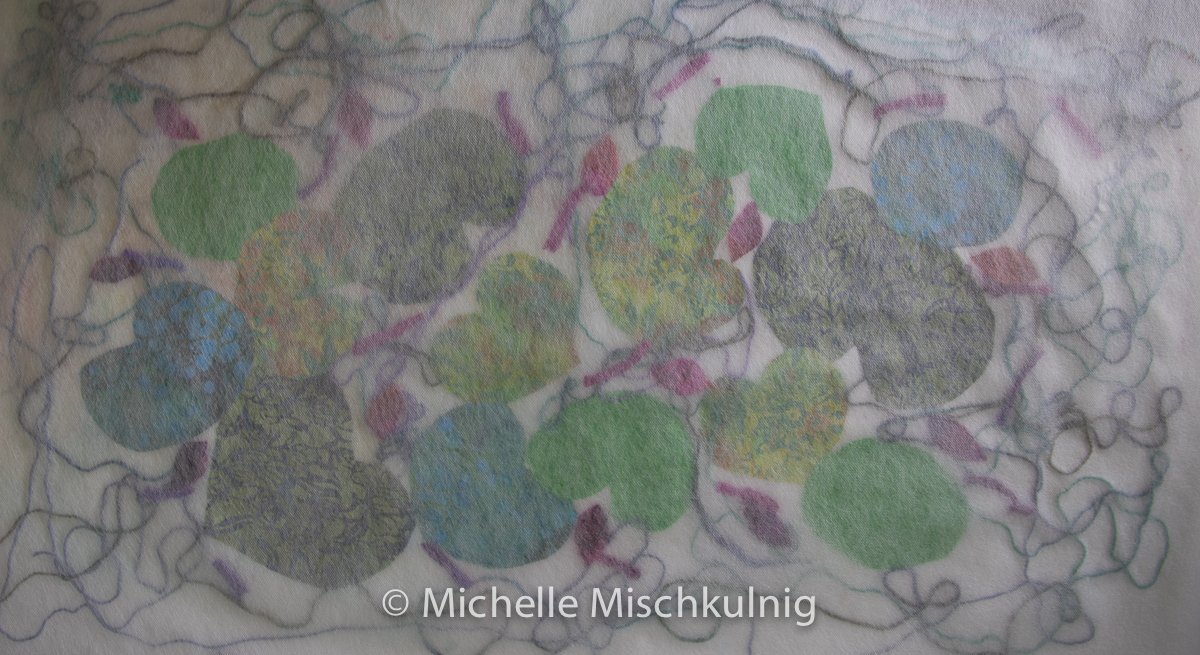
Cover with a second piece of pre cut w/s vilene and press flat so as both side stick together.
Choose your coloured threads for the free motion embroidery I prefer rayon threads on the top and bottom.
I love the big bobbins on my Bernina 720 certainly make a difference in my many hours on the machine.
I use free motion foot no 29C
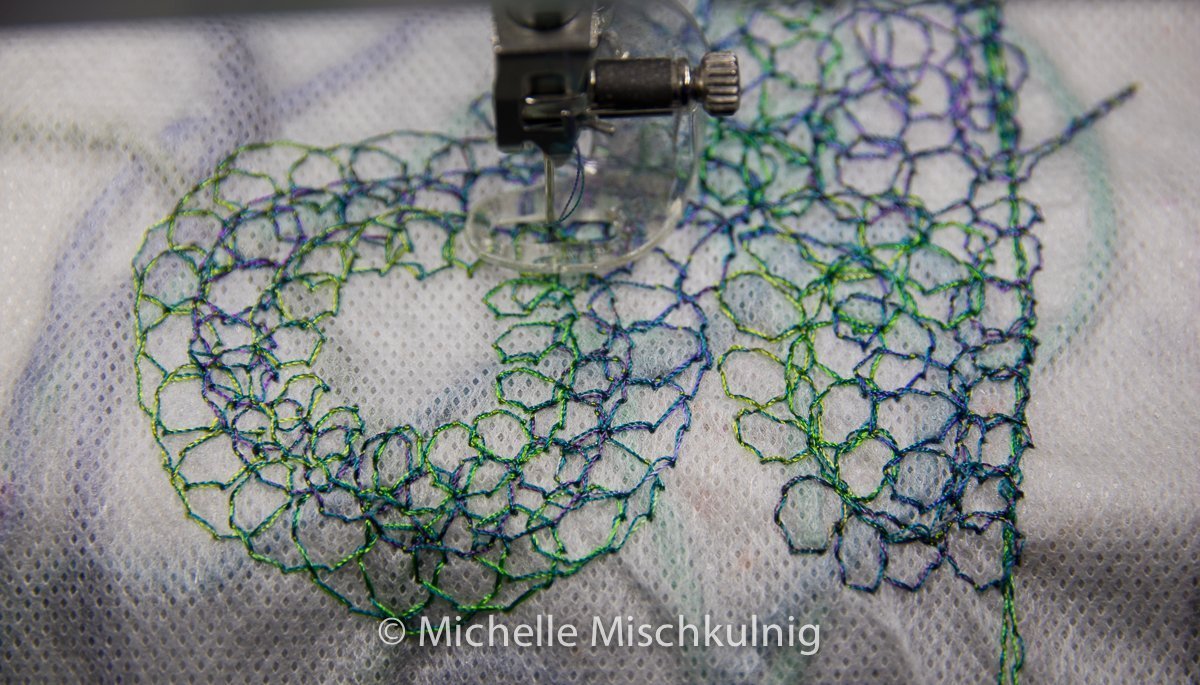
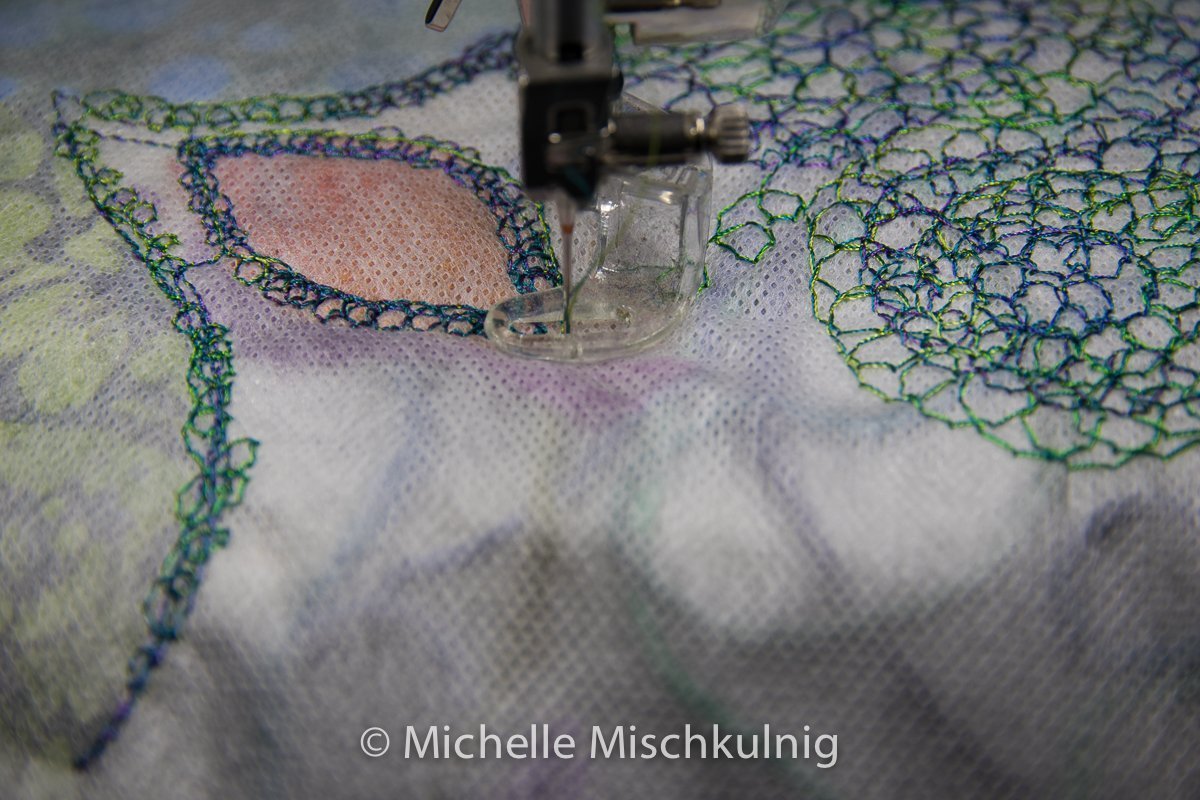
Prepare your machine according to manual for free motion stitching, I am using two threads simultaneously through the needle it is a top stitch size 80 needle.
Make sure all your stitches are connected I use small circular movements to edge the outside of the leaves and buds
Creating these circular movement helps to be sure that all stitches are connected.
The body of my panel is organic in shape this is the way I create you may wish to make your panel a conformed size.
When you have filled the entire background you are ready to detail the leaves.
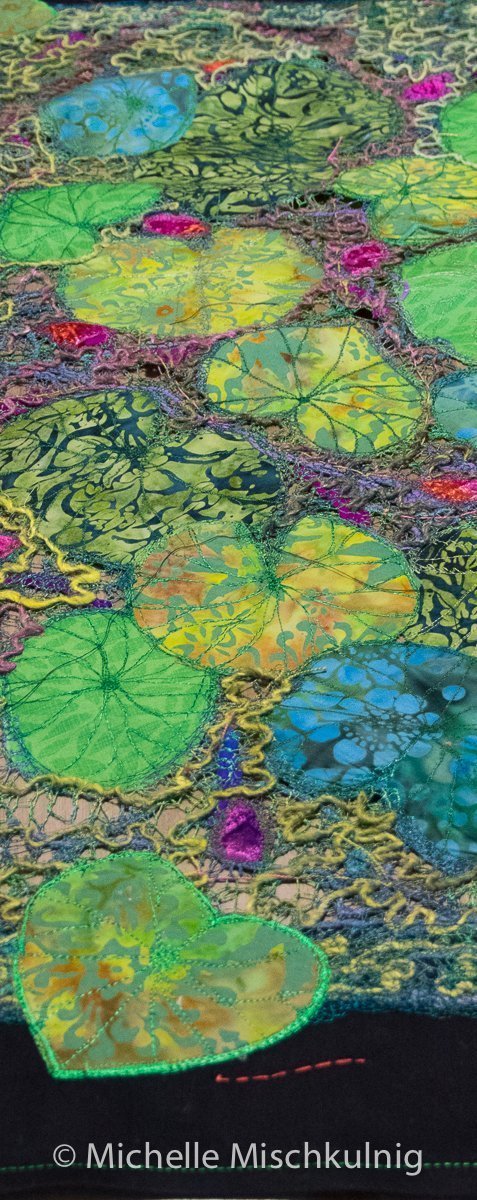
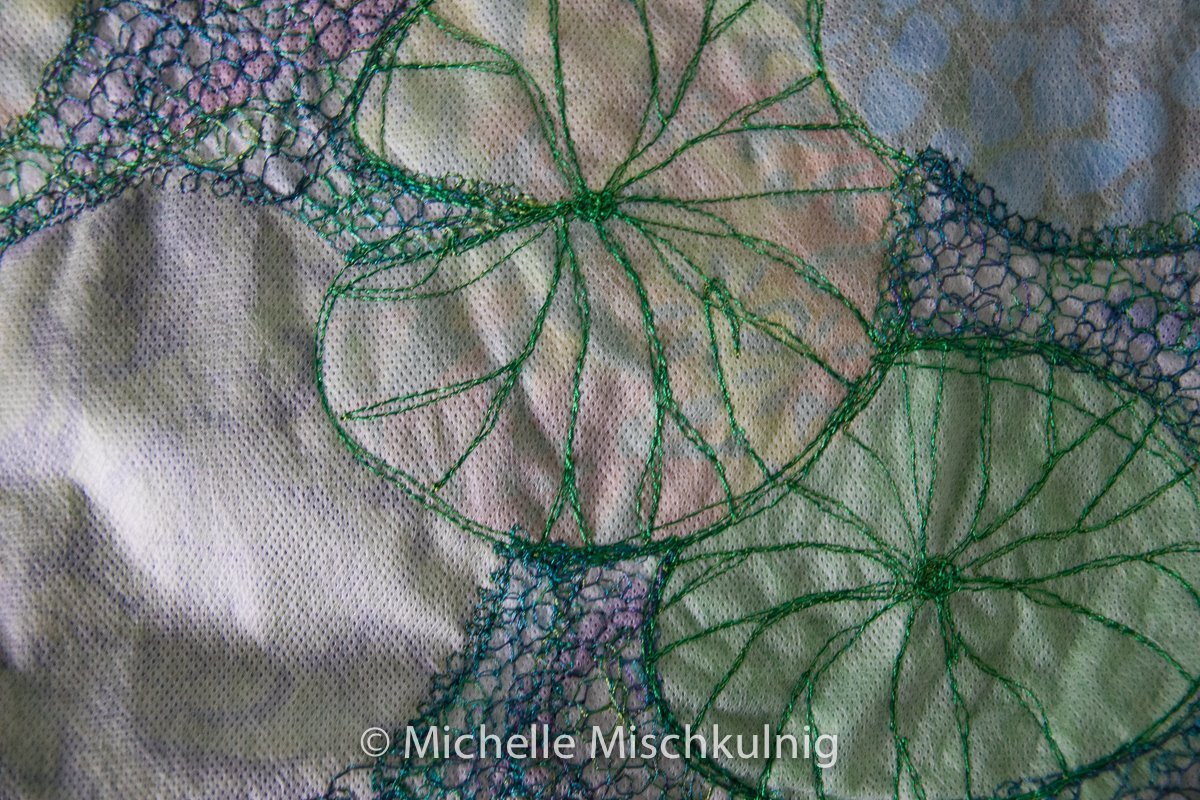
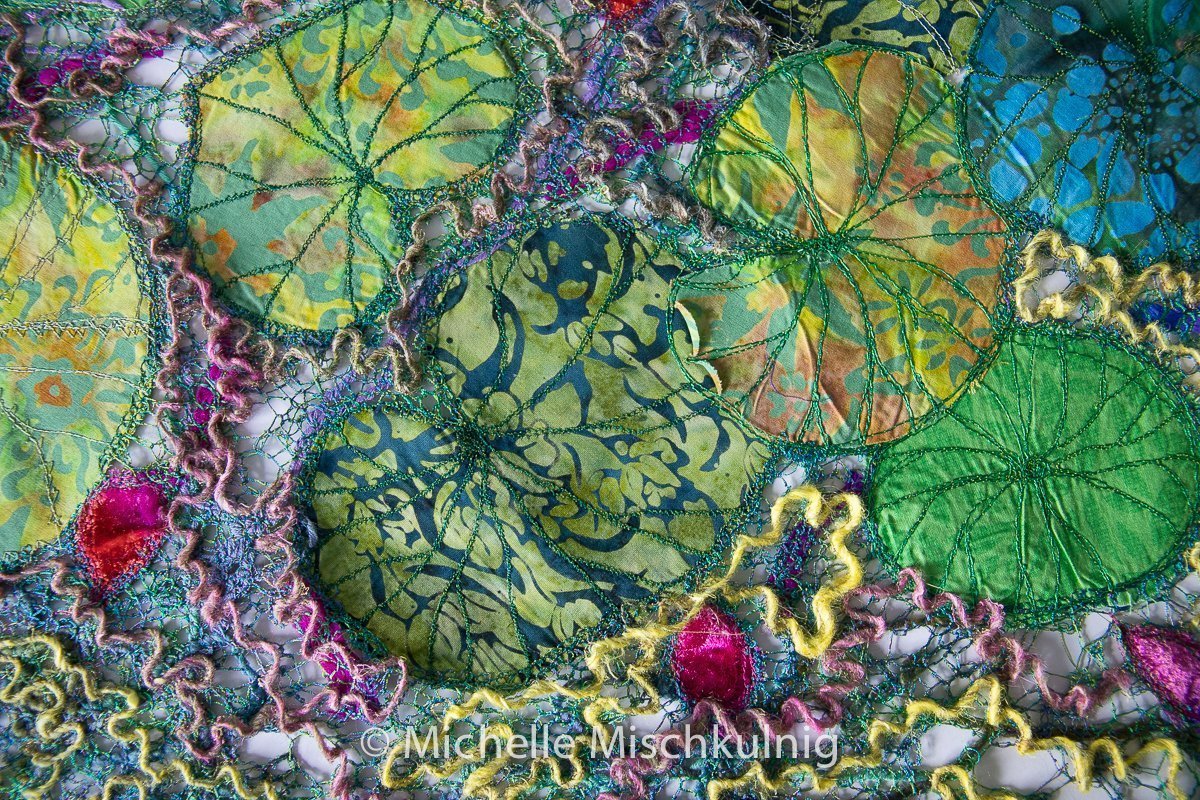
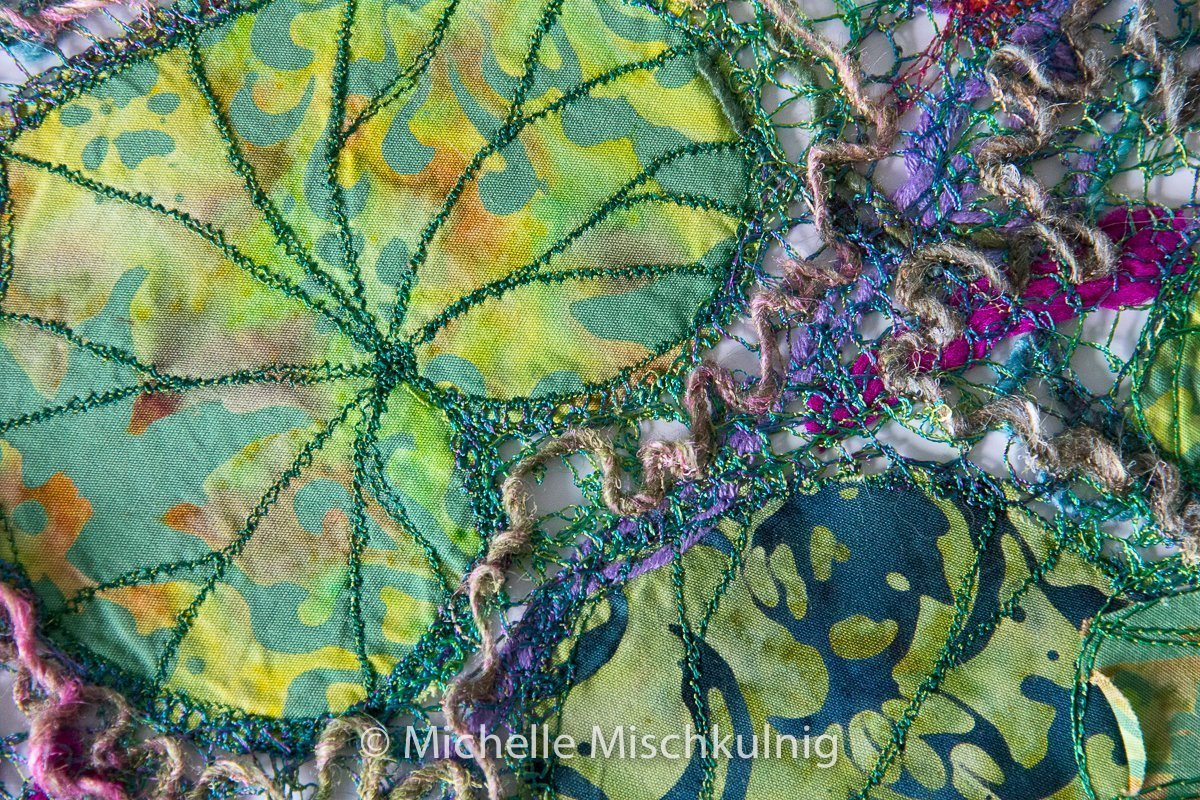
In the details of the leaves I have used both two threads simultaneously and single thread through the needle this creates a interesting surface.
I used 2 different stitch patterns and straight stitch for the detail in the leaves, the stitches are free motion embroidered.
Stitch no 18 and n06
Free motion couching foot no 43
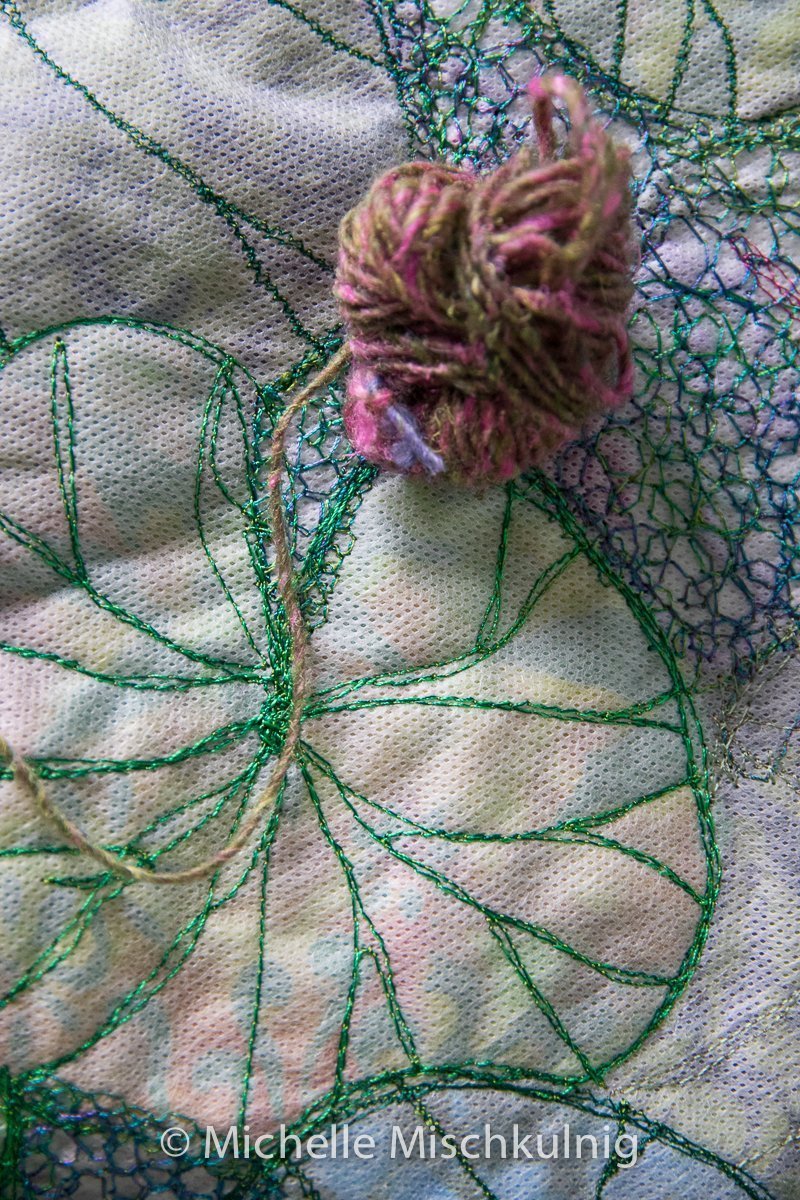
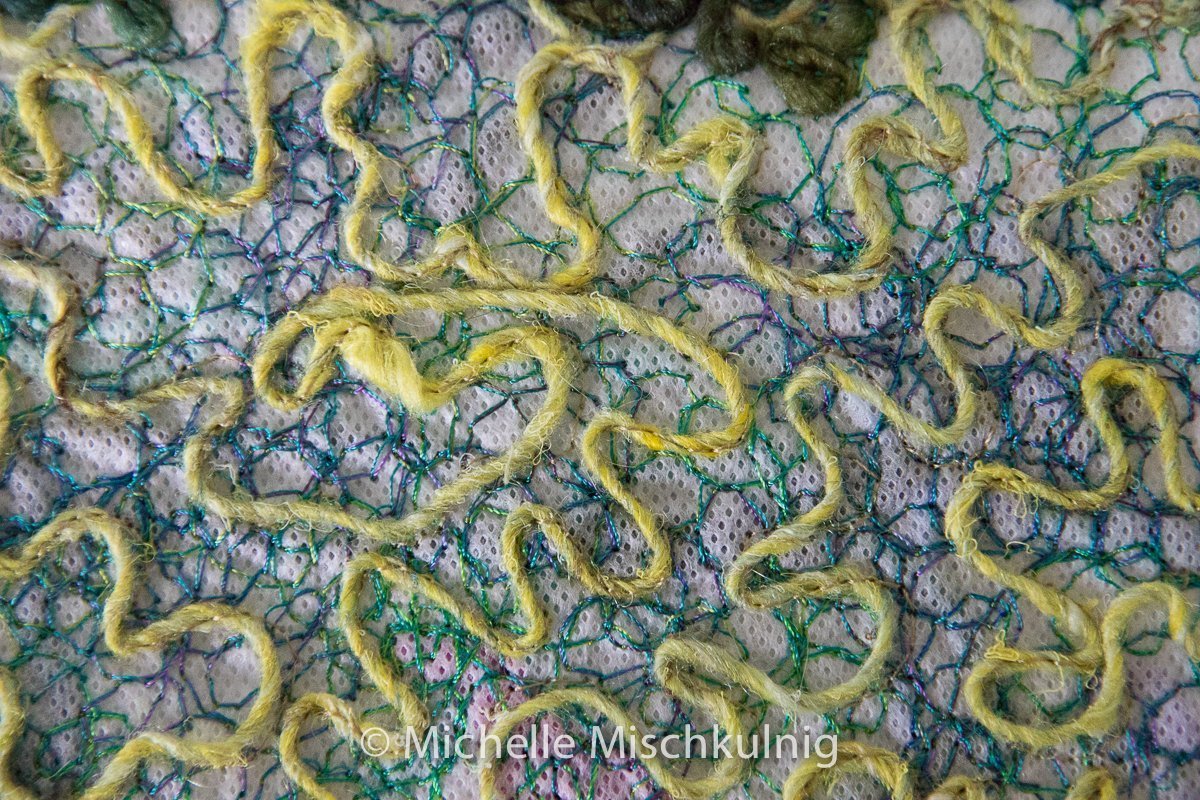
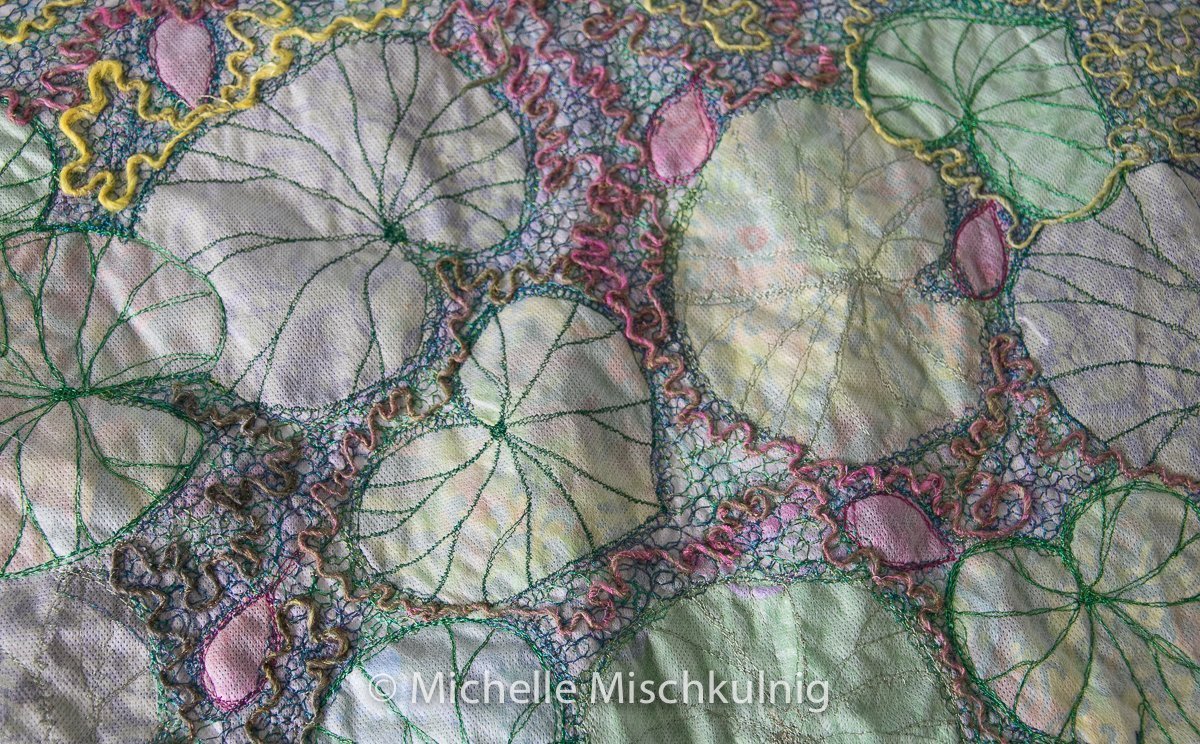
Using free motion couching foot no 43 I add a textural layer to the Lilly pond. This layer is free motion couched organically around leaf and bud shapes. Finally couching around the outside edge of the whole panel.
Ready for the splash and the magic happens.
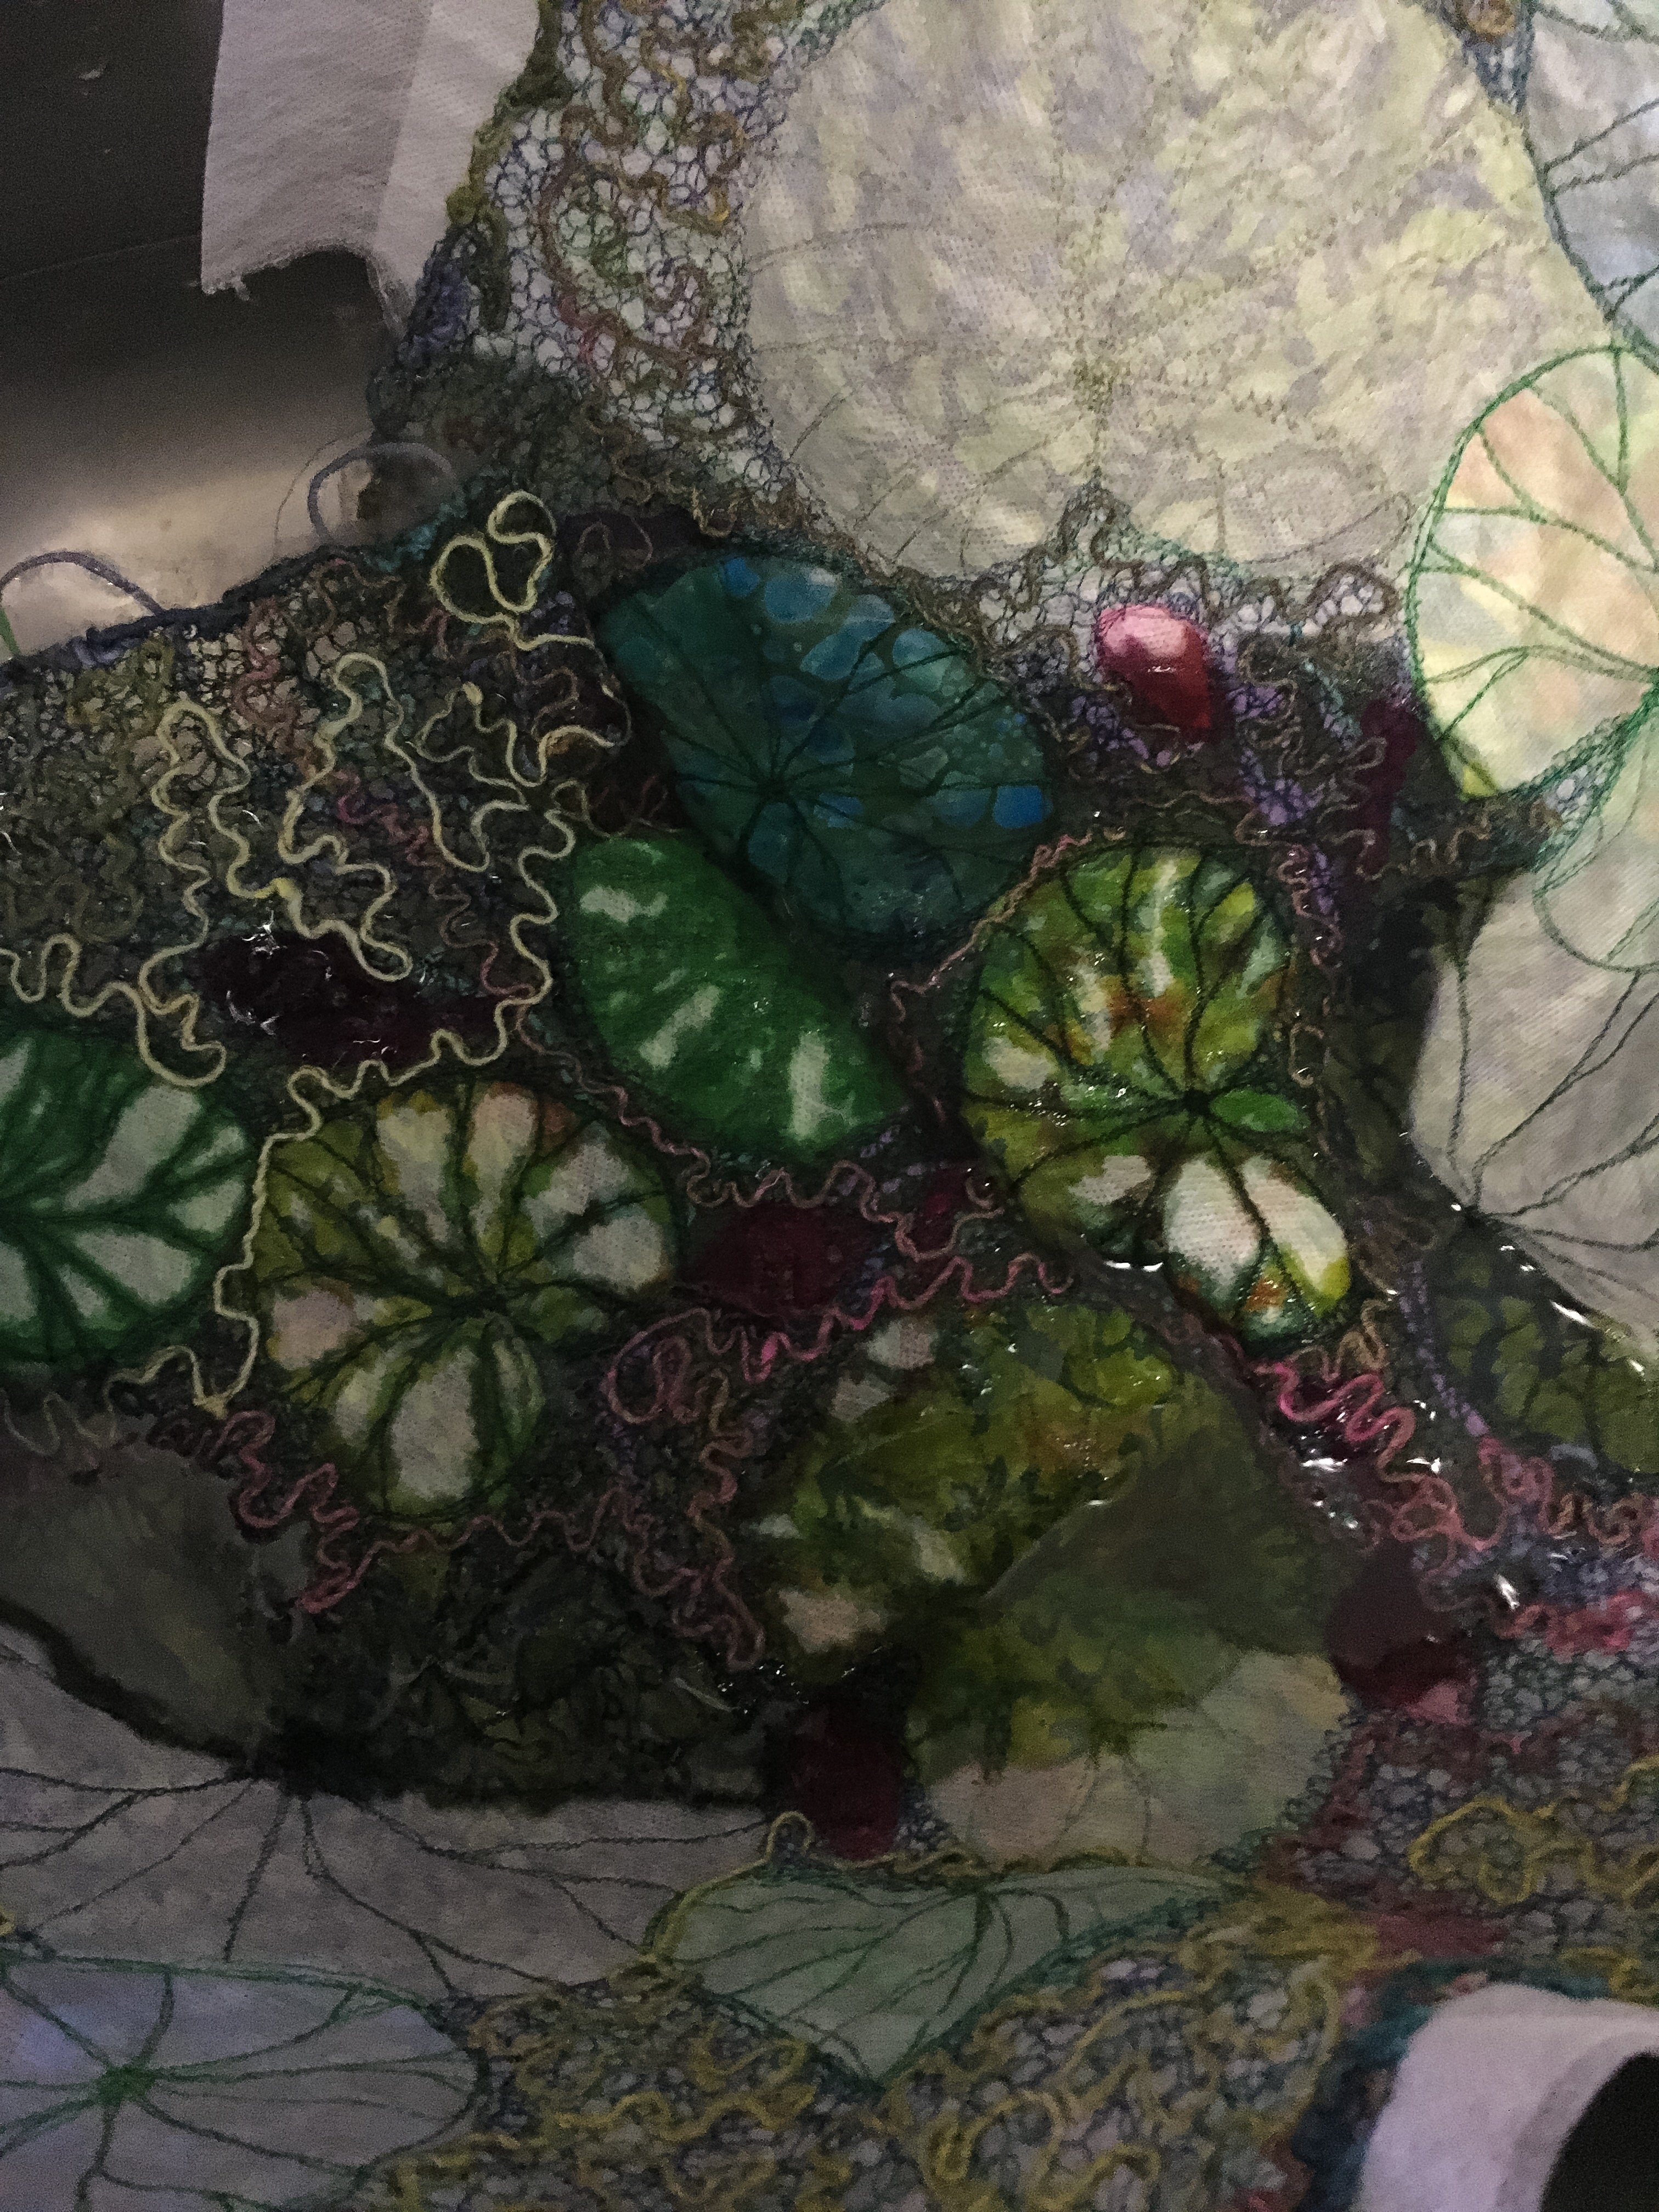
Your panel is now ready to dive head first into the water and delicate detergent it may take 2 washes before all the w/s fabric has dissolved. Dry your panel flat and then press with a cloth protecting your panel.
Close ups of the finished panel
You may find when it is washed it needs a few little repairs where you have not caught down edges or your stitches have not connected, this can be done by hand or back on the machine using w/s fabric .
When you are happy with your lace Lilly pond panel place it on the surface of your pre cut backing fabric. I have used black cotton but it any colour that shows your work up to its best.
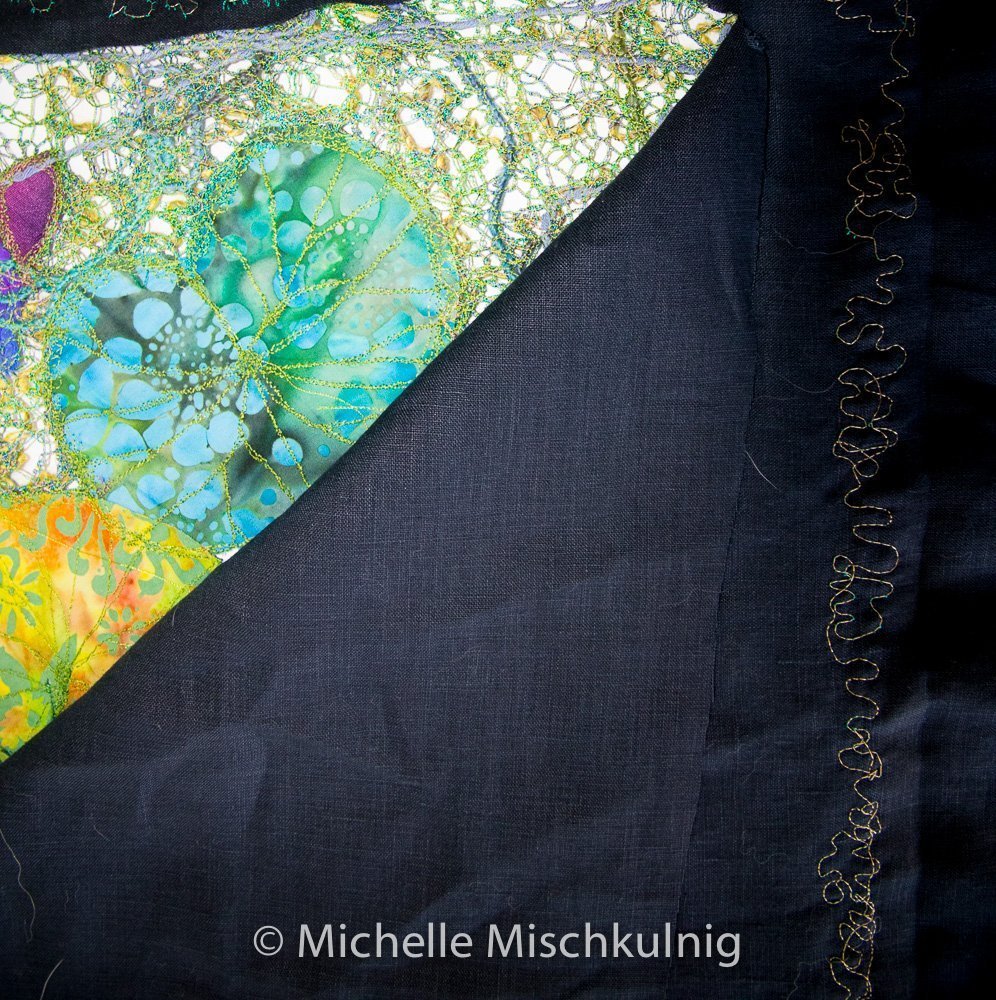
Pin the panel in place and stitch the edged with a free motion stitch to about 2 inches in from the out side edge of the lace work.
When stitching is complete turn over to the back and carefully cut the backing fabric to the inside edge of your panel stitching, this will remove backing fabric from behind the Lilly pond lace work and leave a approx. 2inch organic boarder.Remove the backing panel when you have finished cutting.
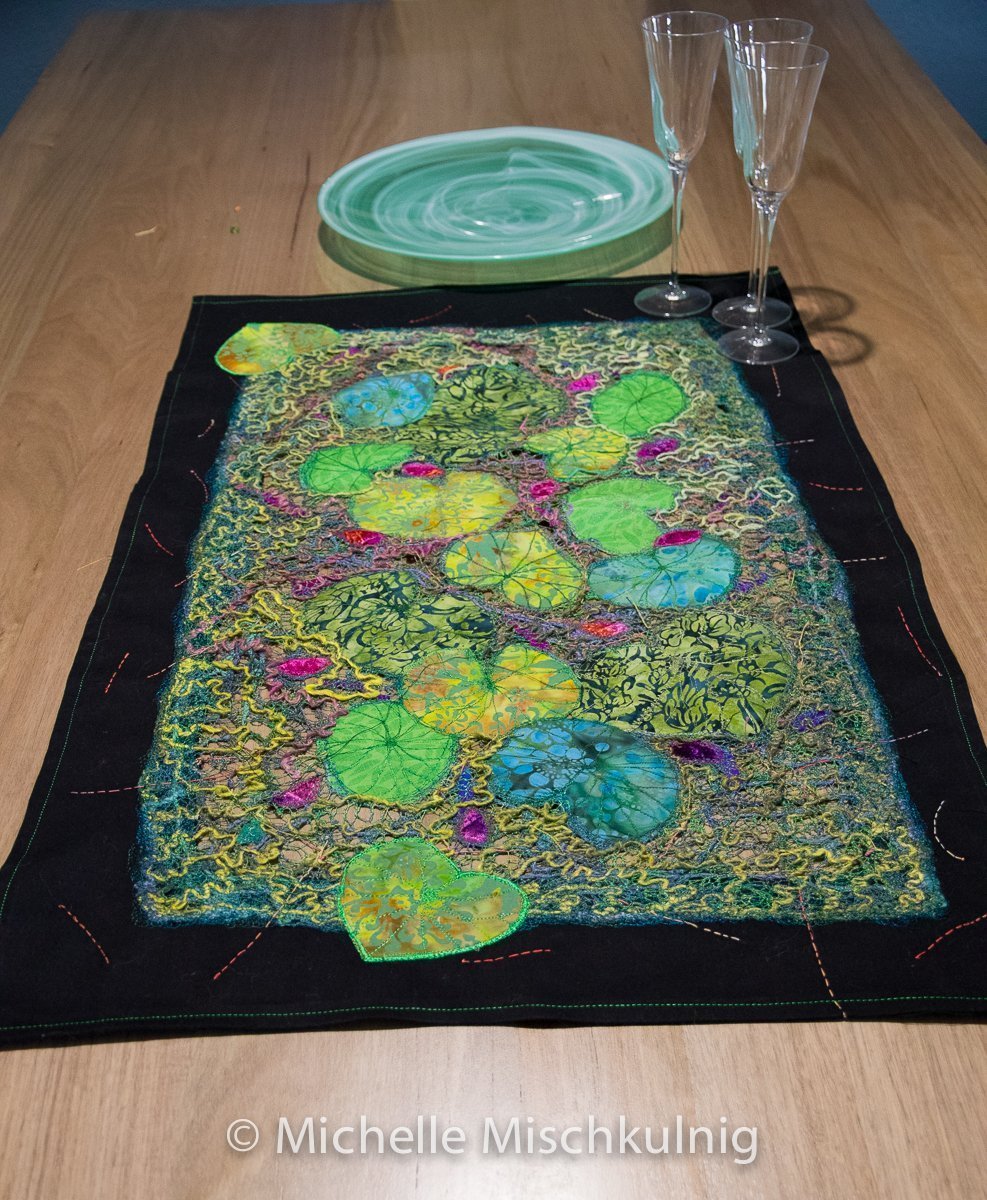
I have added hand stitching both in the panel and around the edge of the black boarder.I also appliquéd 2 more leaves to flow into the border.
Hem all out side edges of your backing fabric with a straight stitch or decorative stitch.
Ta da complete and ready to show off
Appliqué leaves over the boarder, hand stitching and stitched edge.
Please visit http://chelletextiles.com.au to find out more about my art work.
My blog as many projects and play ways on it .http://chelletextiles.com.au/blog/
For teaching http://chelletextiles.com.au/events/
Some of my workshop projects over the next 2 years.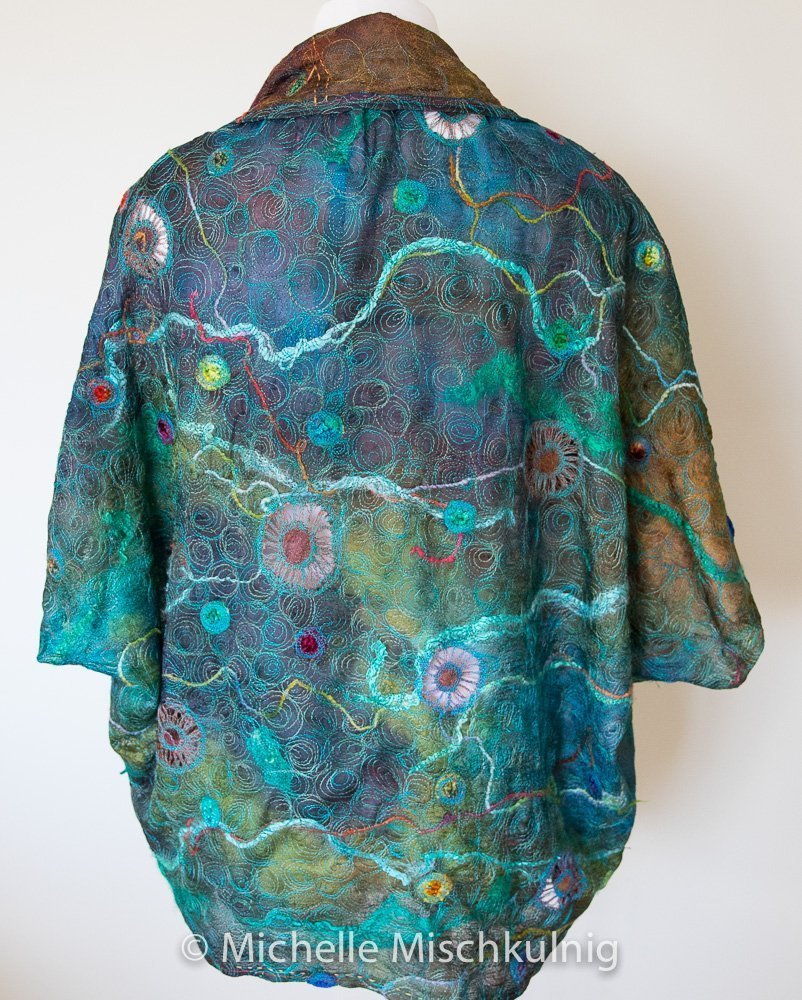
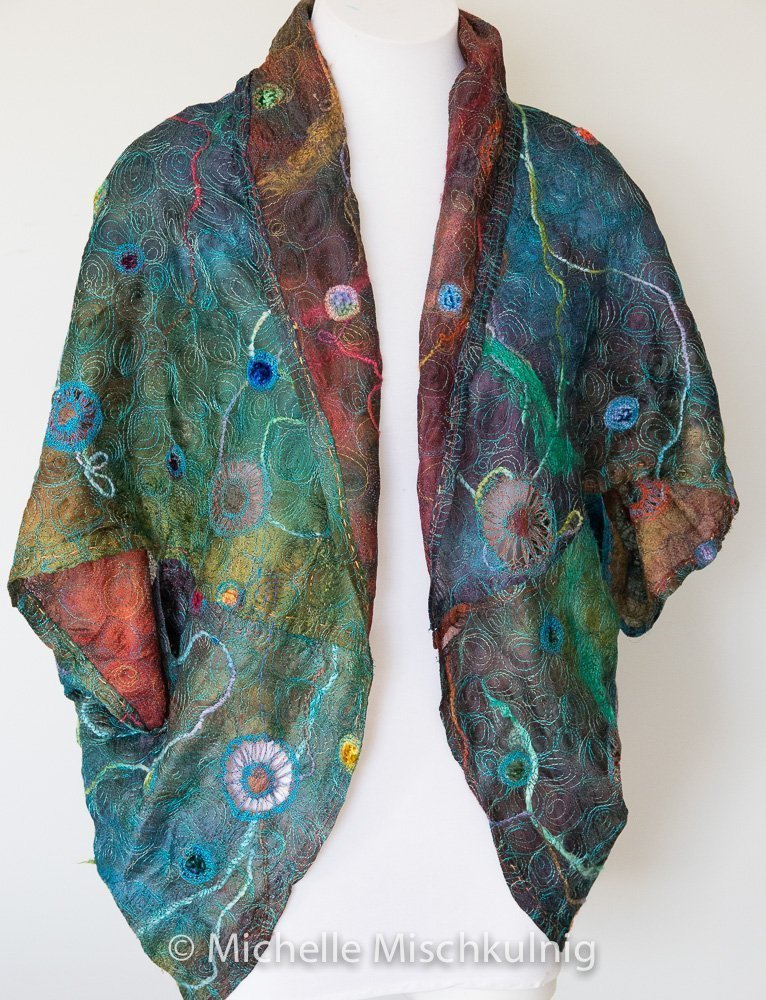
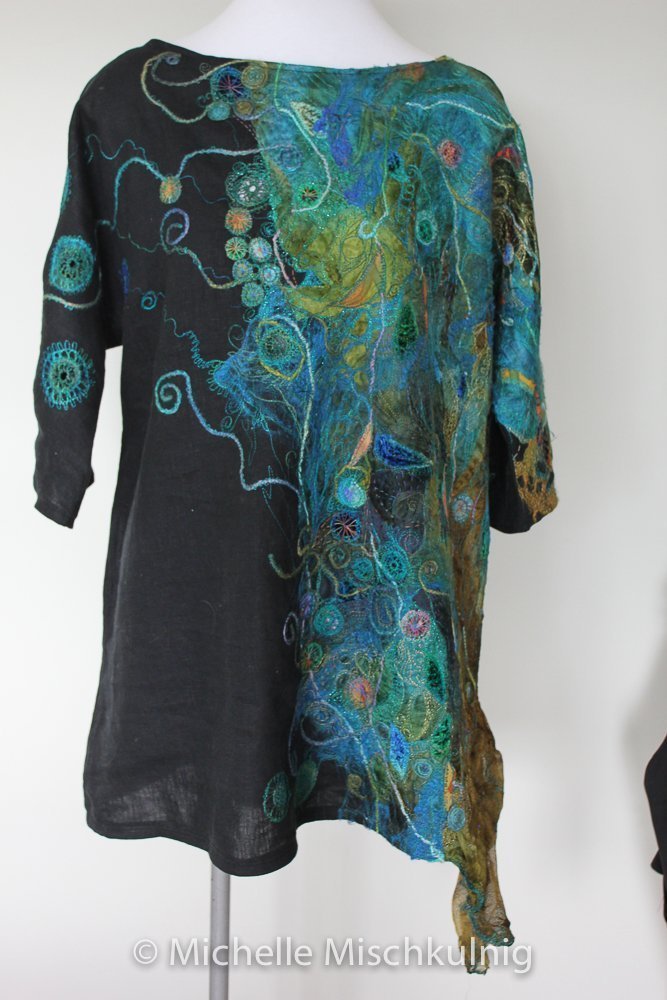
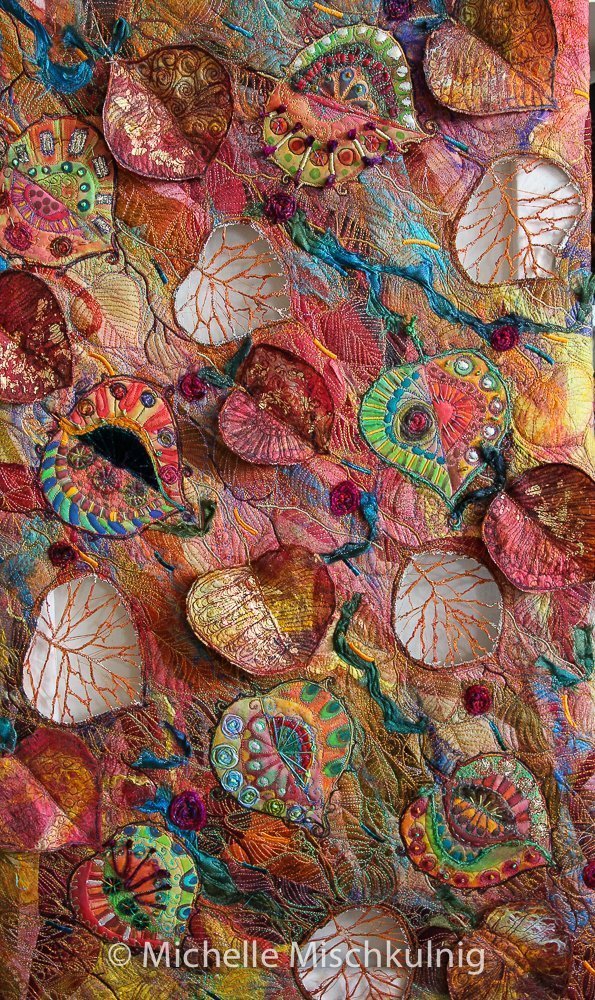
 BERNINA Corporate Blog -




Thank you Tina colour is a wonderful thing and even better drawn
by stitch.
Gorgeous ! Feast to the eyes !