 BERNINA Corporate Blog -
Dear community,
in this blog post you can find detailed instructions for sewing a Santa bag. It’s a very easy bag tutorial.
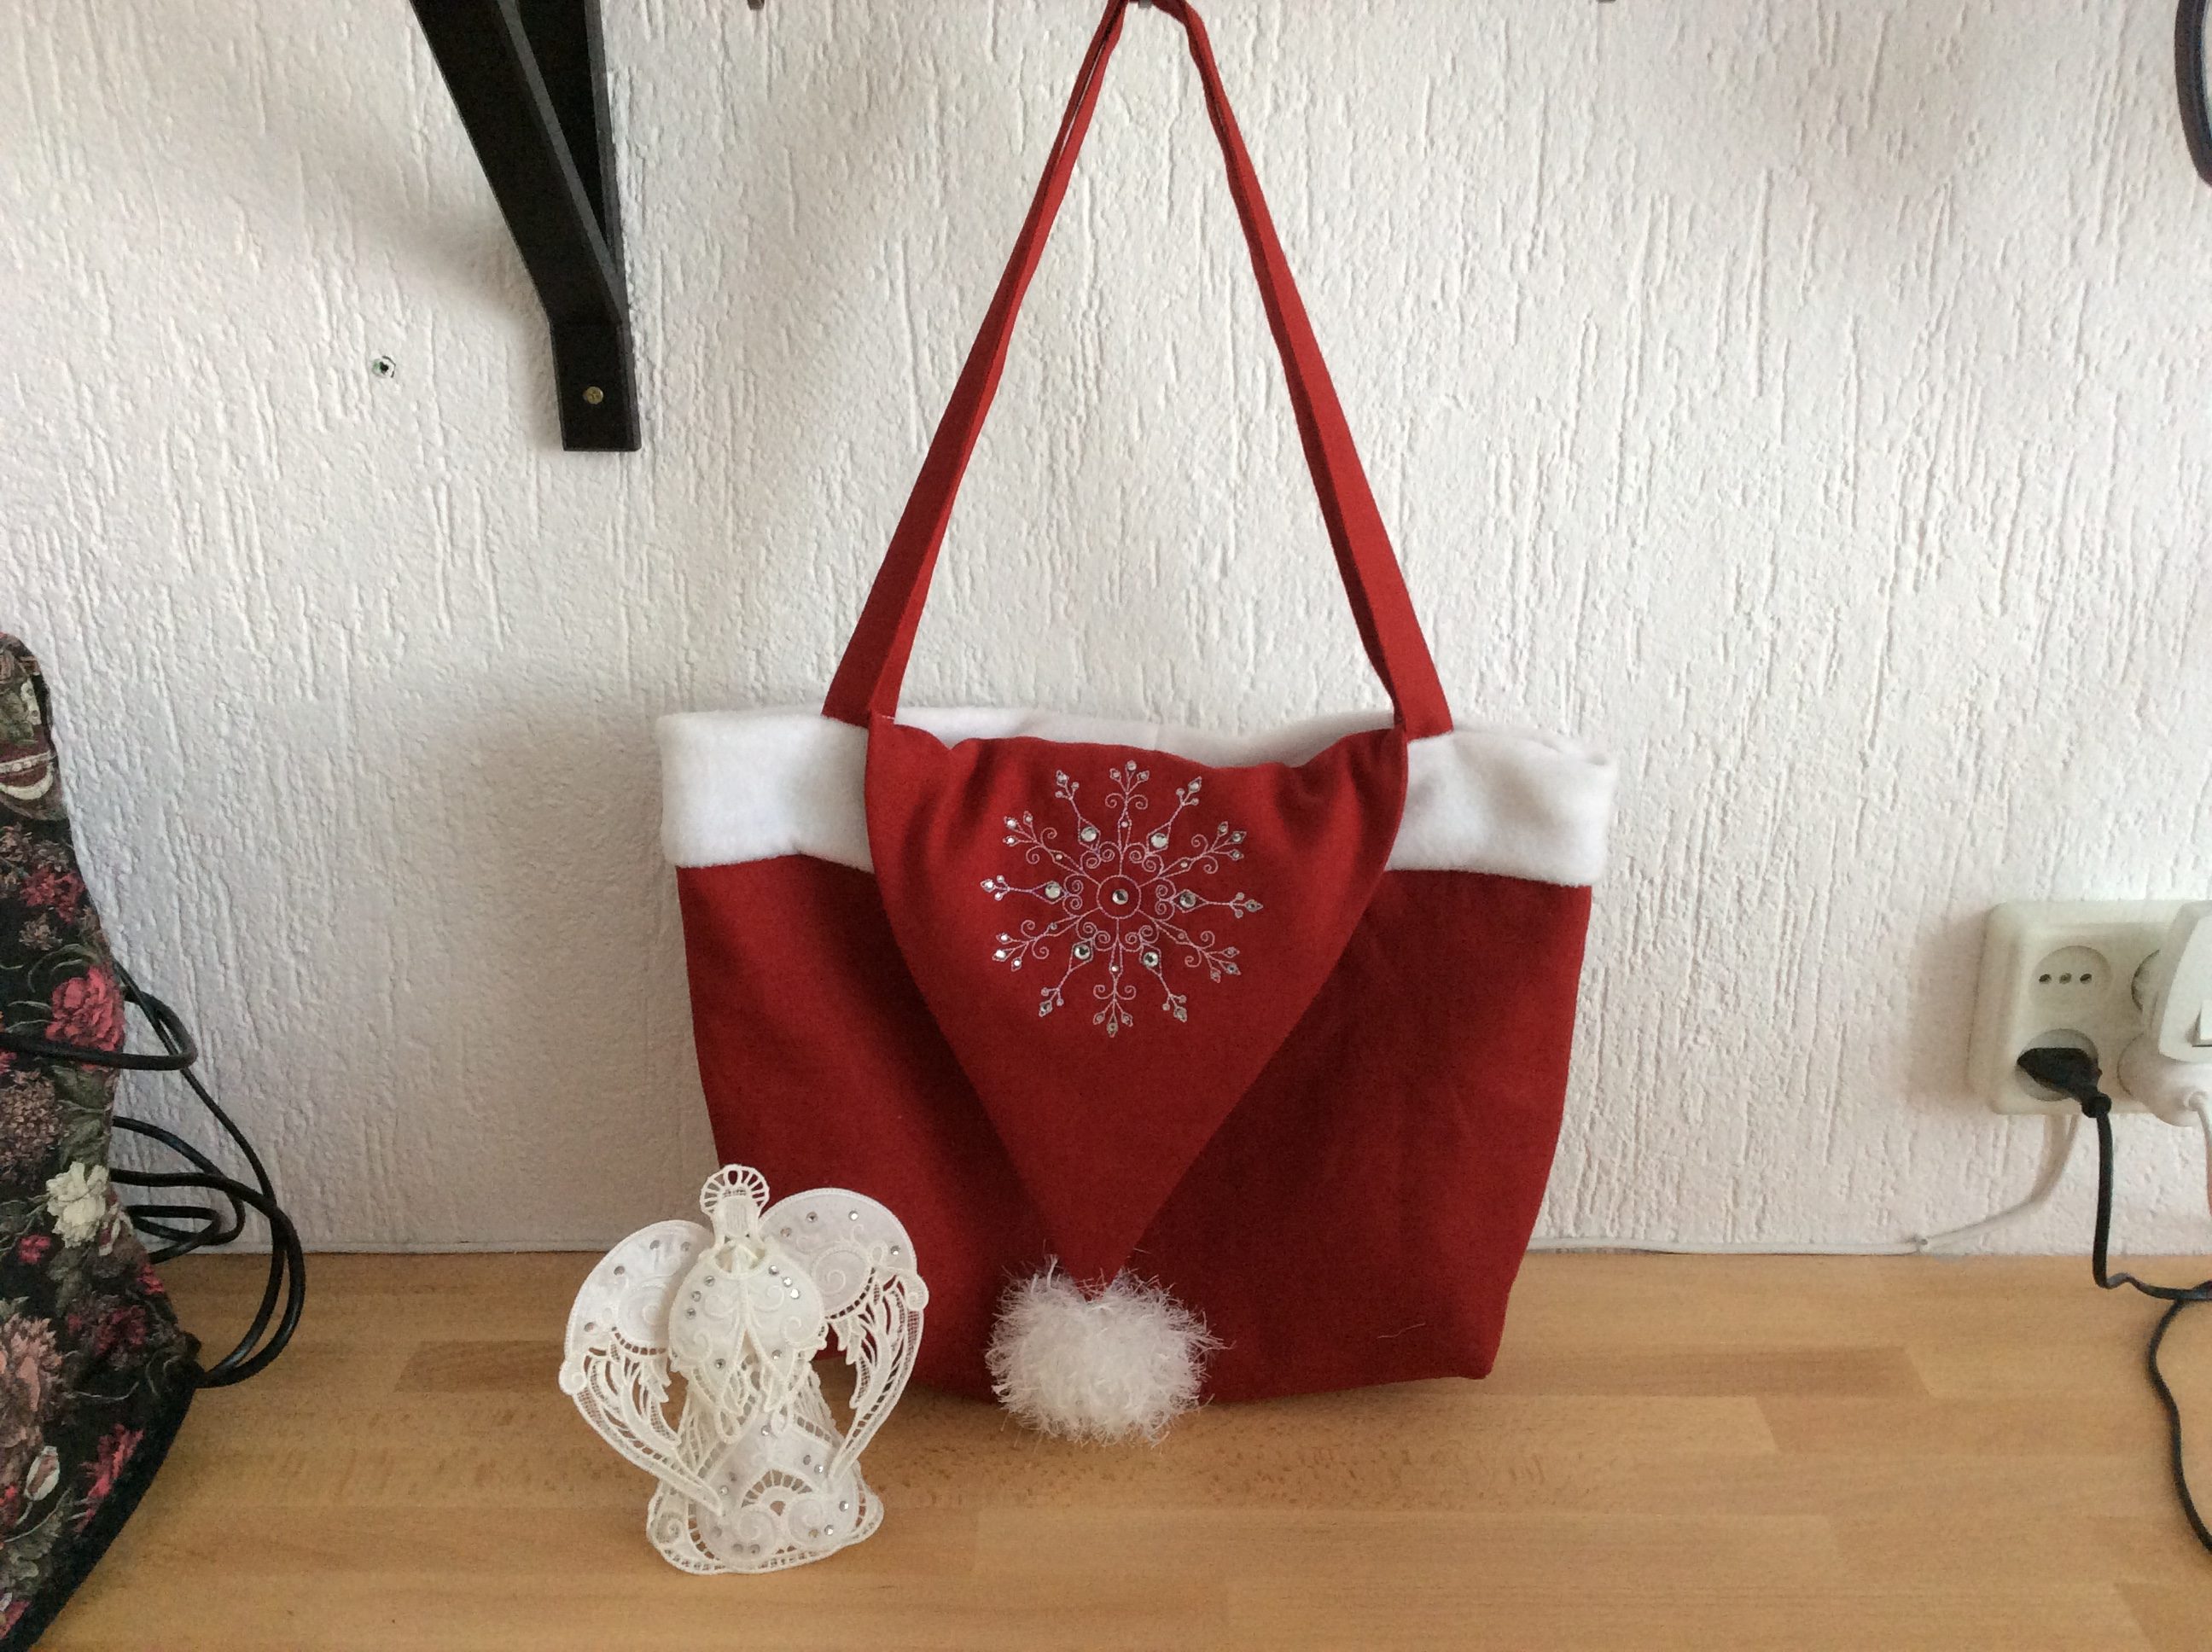
My contribution to the BERNINA Advent Calendar is the Santa bag. It’s a lovely bag for young girls. The bag is suitable for a sleep-over with friends; your pyjamas and toiletries will easily fit inside. Or simply take it to school… you will definitely receive lots of compliments. Using photos, I will explain how to make the bag step by step. You will need red fabric that has no stretch. For example, you can use linen (which is what I used for the outside), velvet or smooth canvas fabric. Choose a matching fabric for the lining of the bag. I used a piece of red cotton poplin that I had lying around. You will also need white fleece, a small piece of quilt batting and a ball of white wool. And, of course, red and white thread.
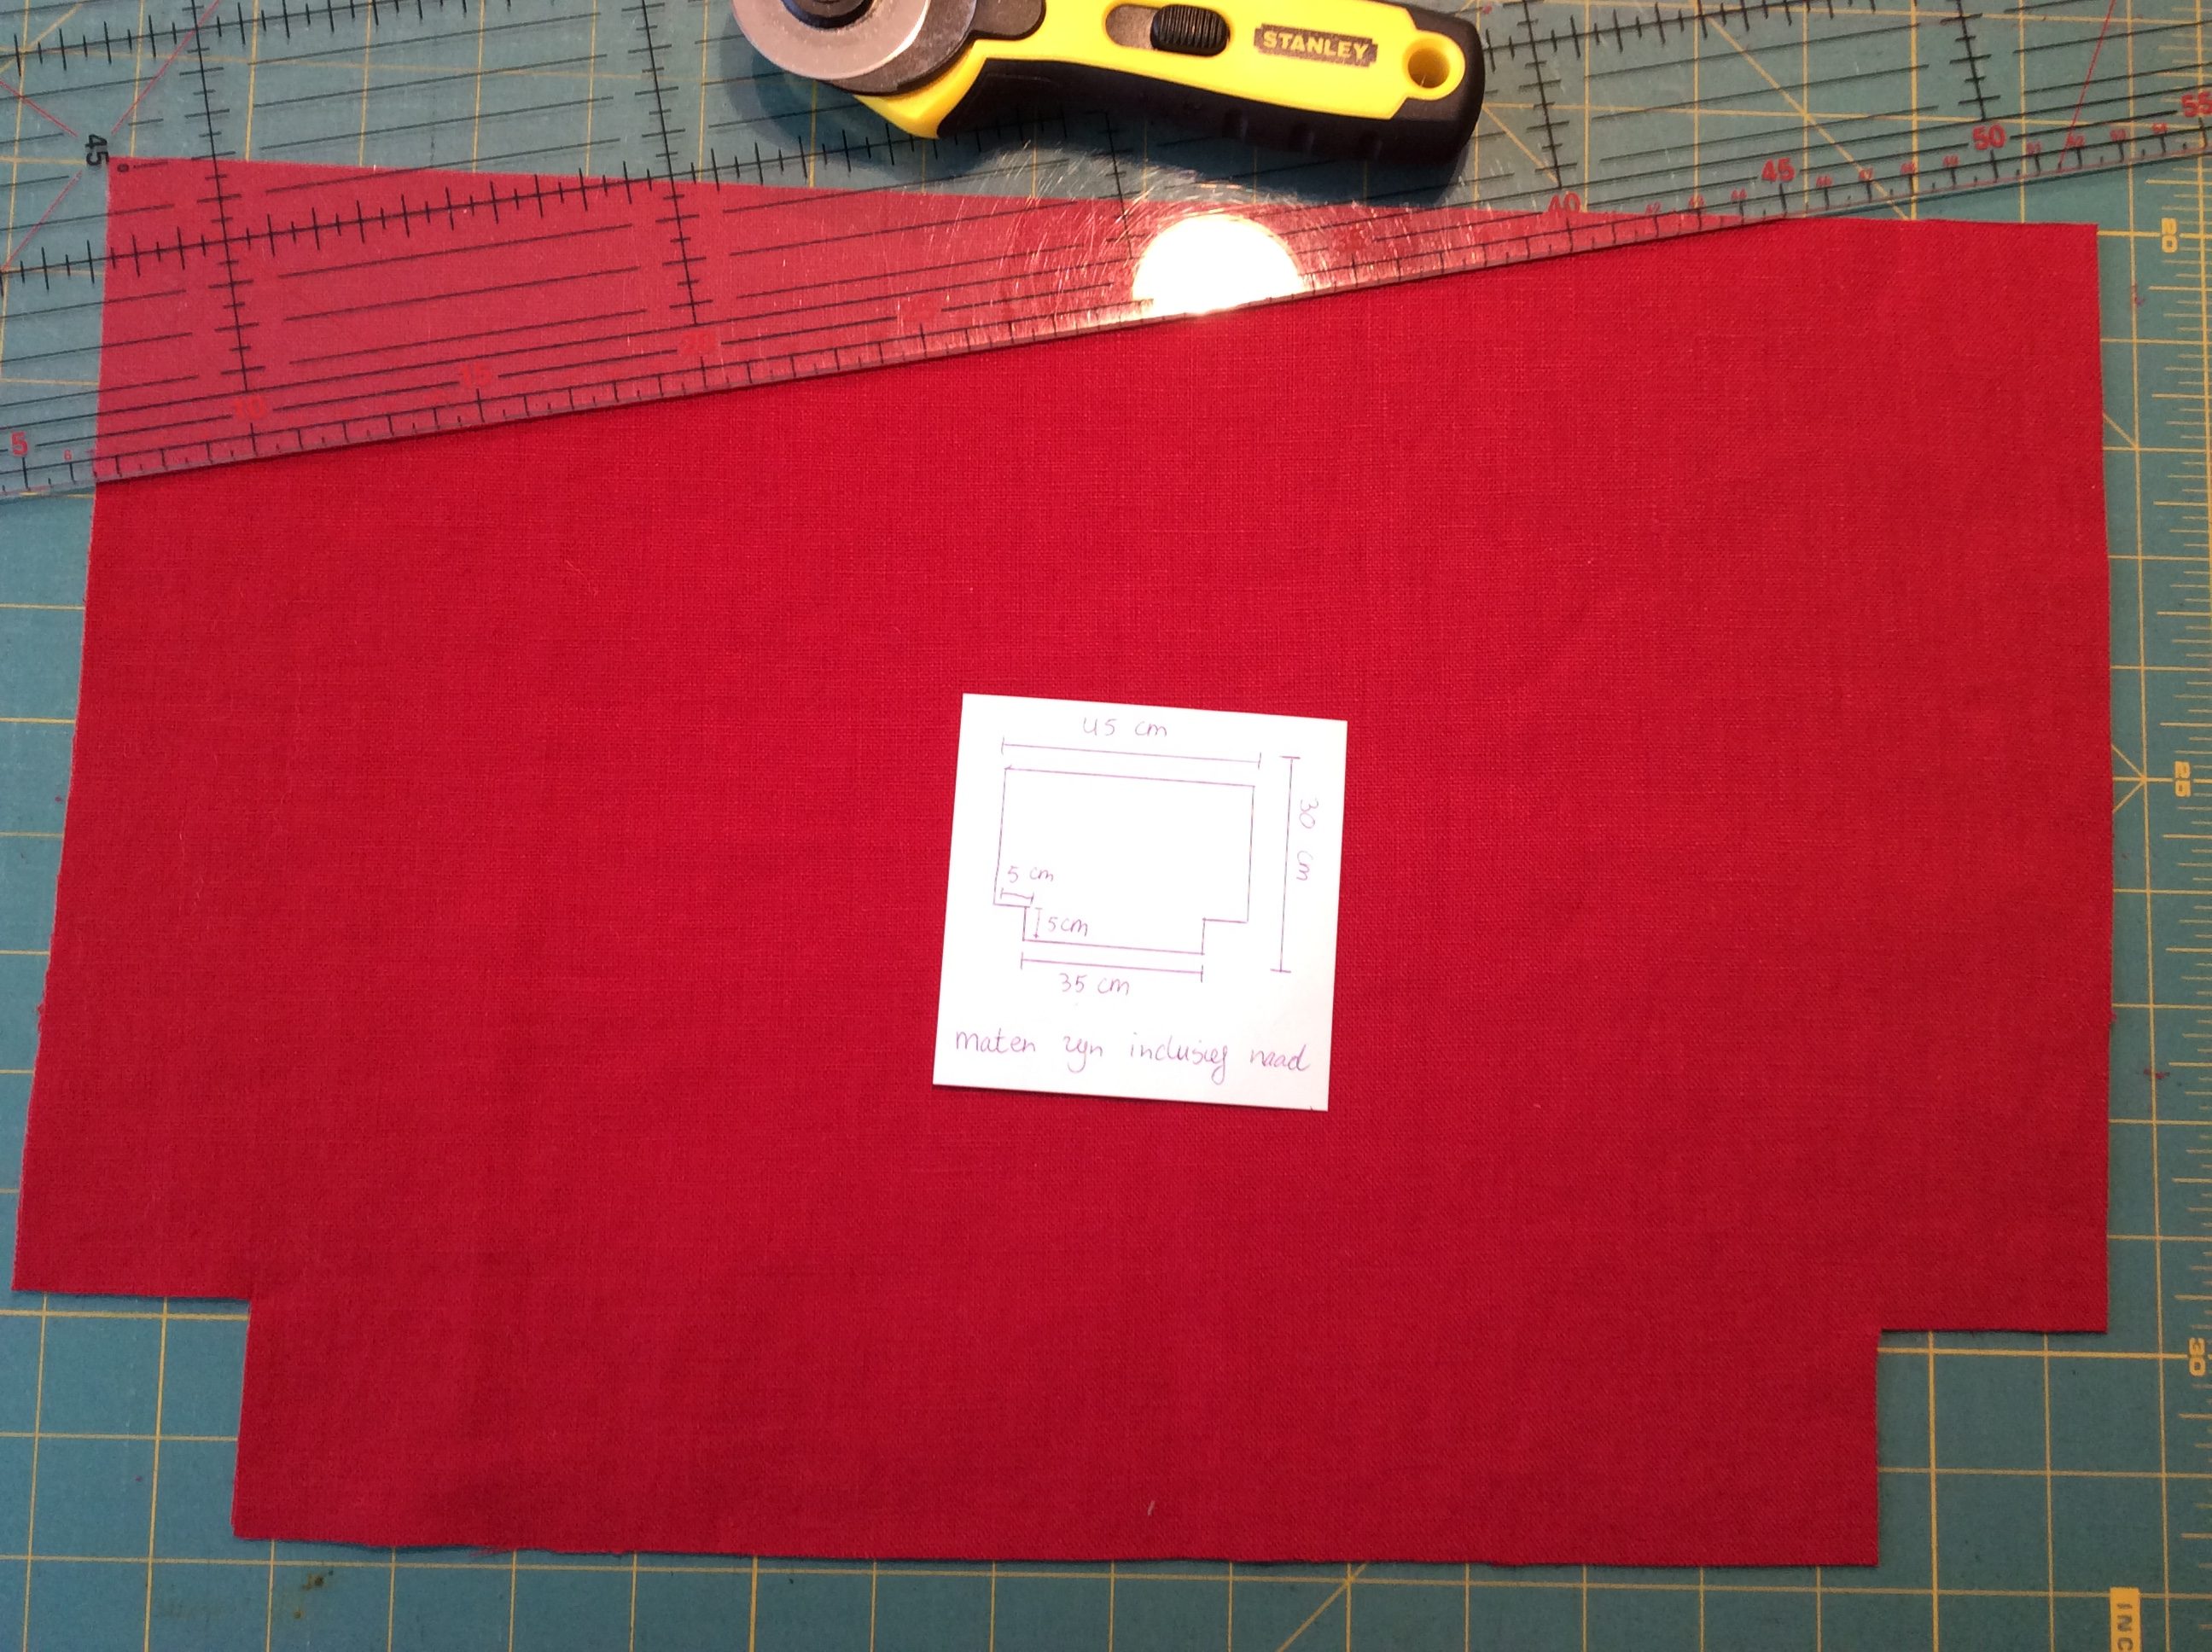
Neatly iron the fabric, then cut the sections in the sizes noted on the white paper, which includes a 1 cm seam allowance, from the red fabric for the outside of the bag. Note: the fabric should be folded double!
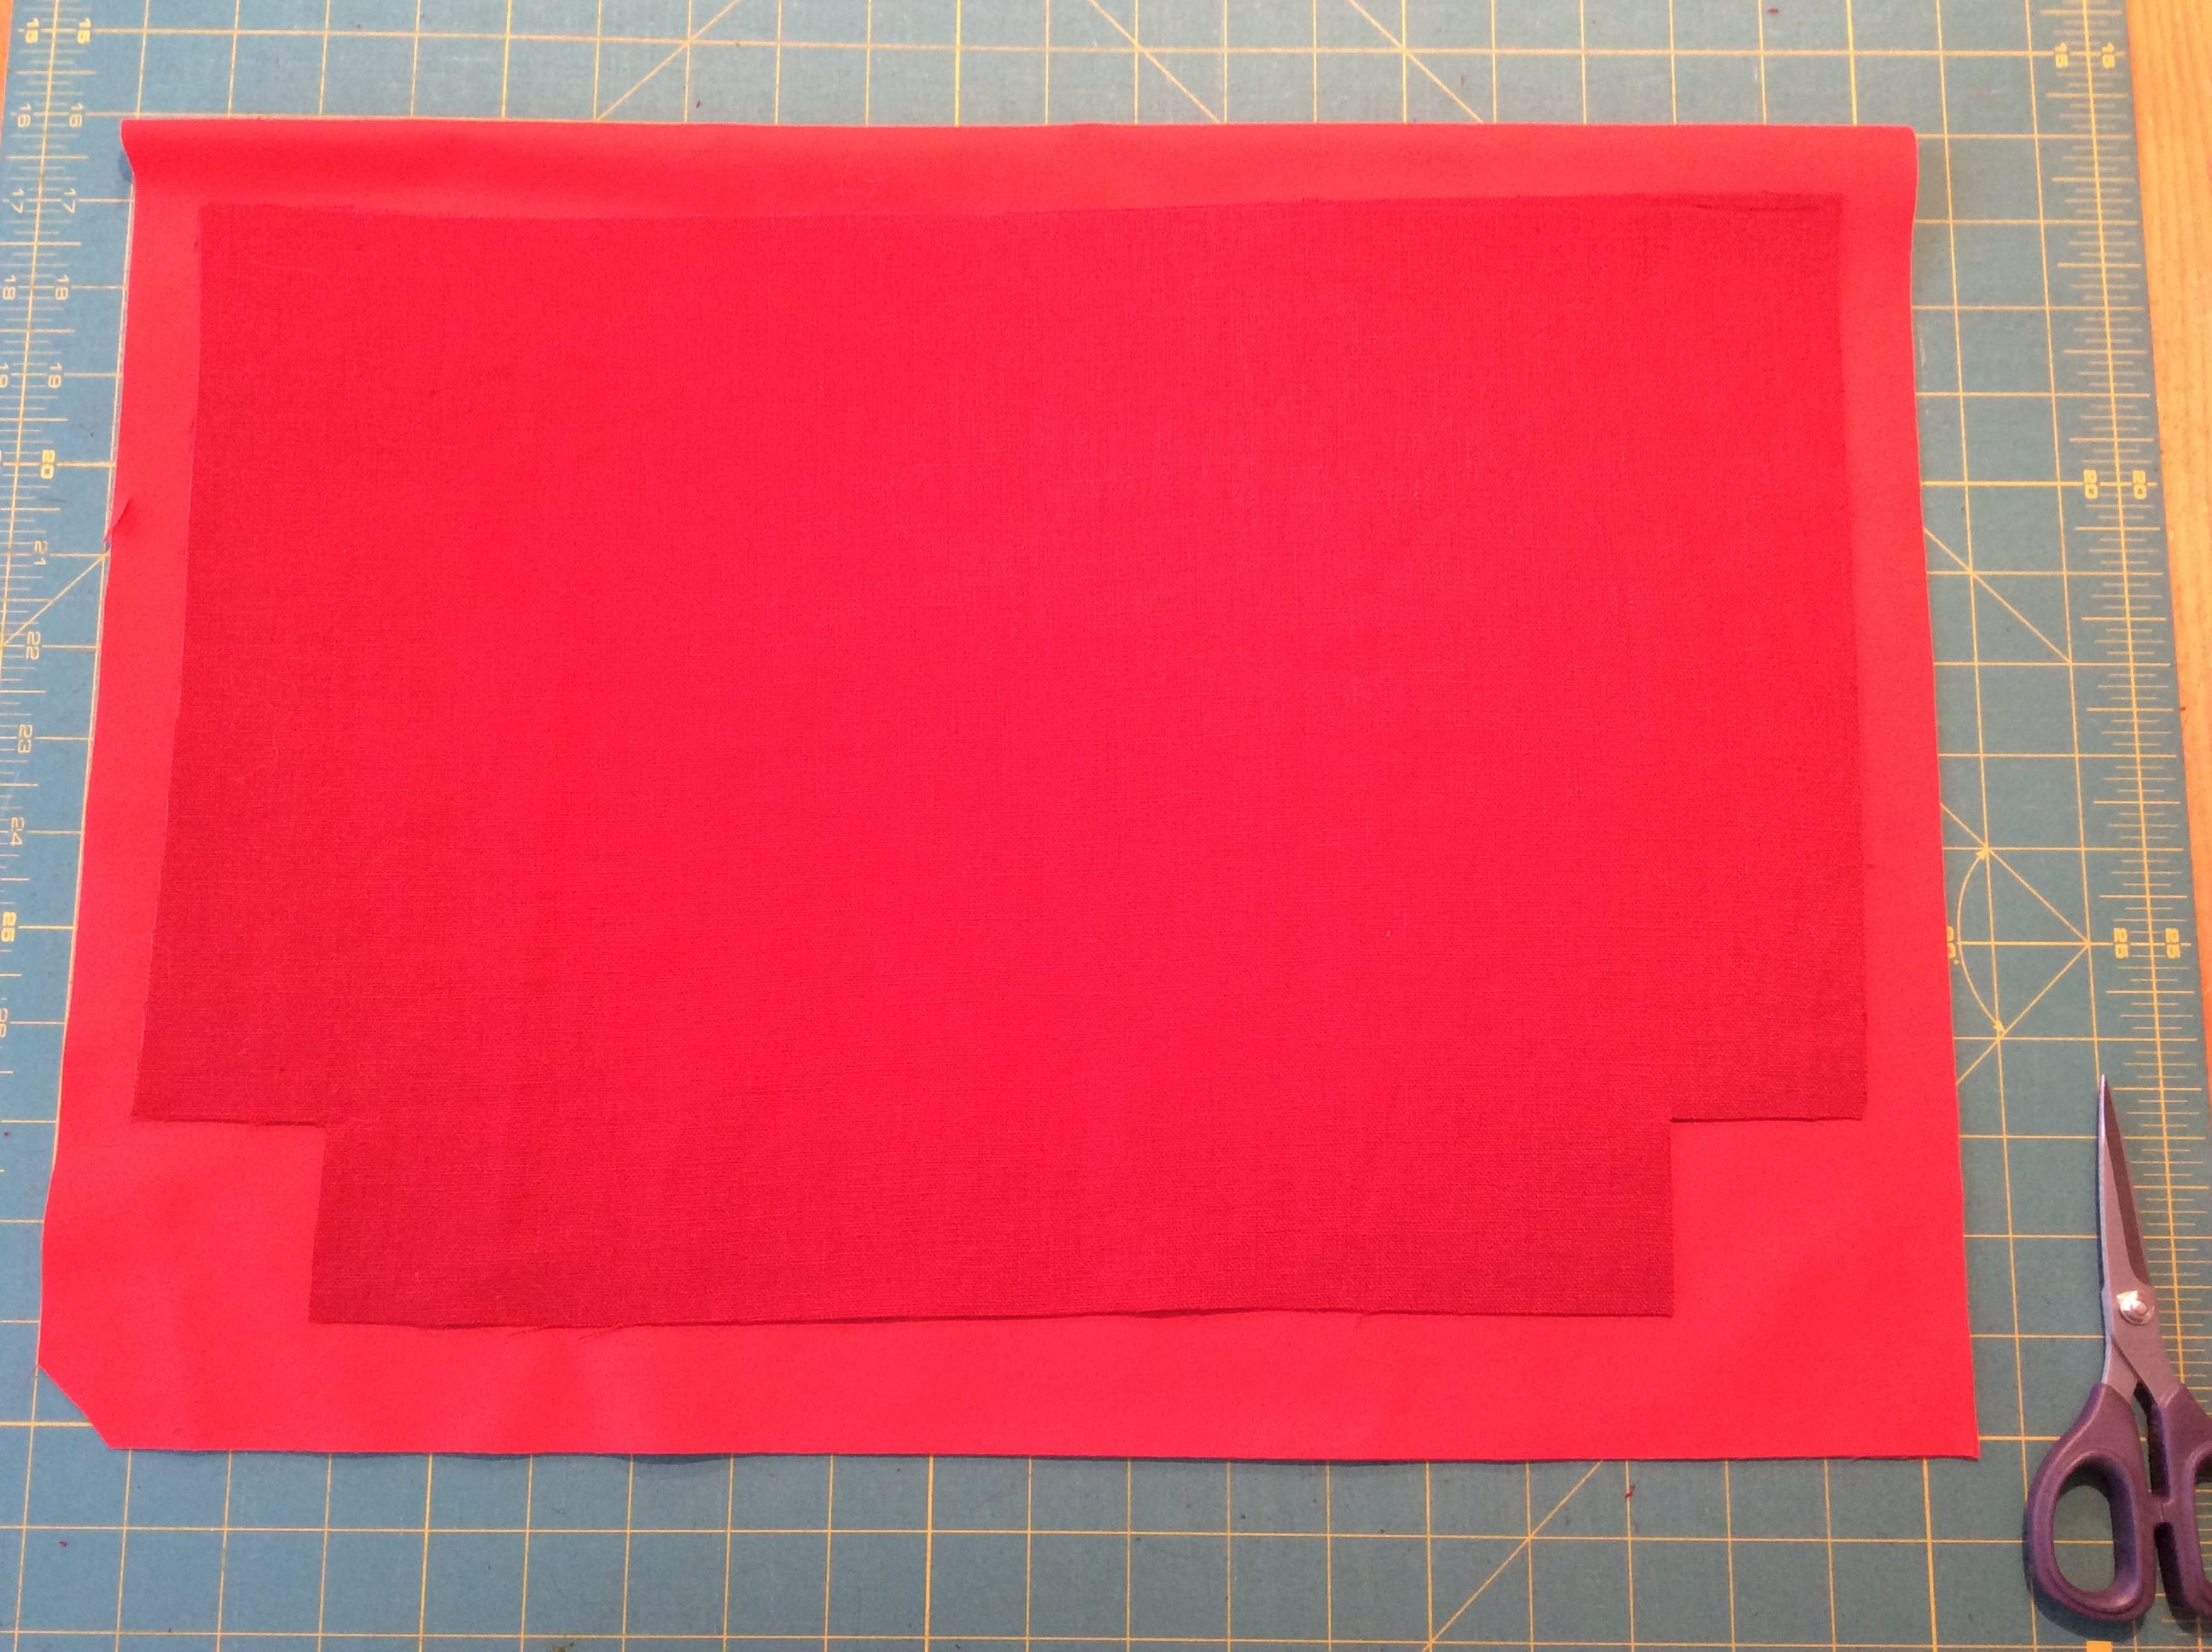
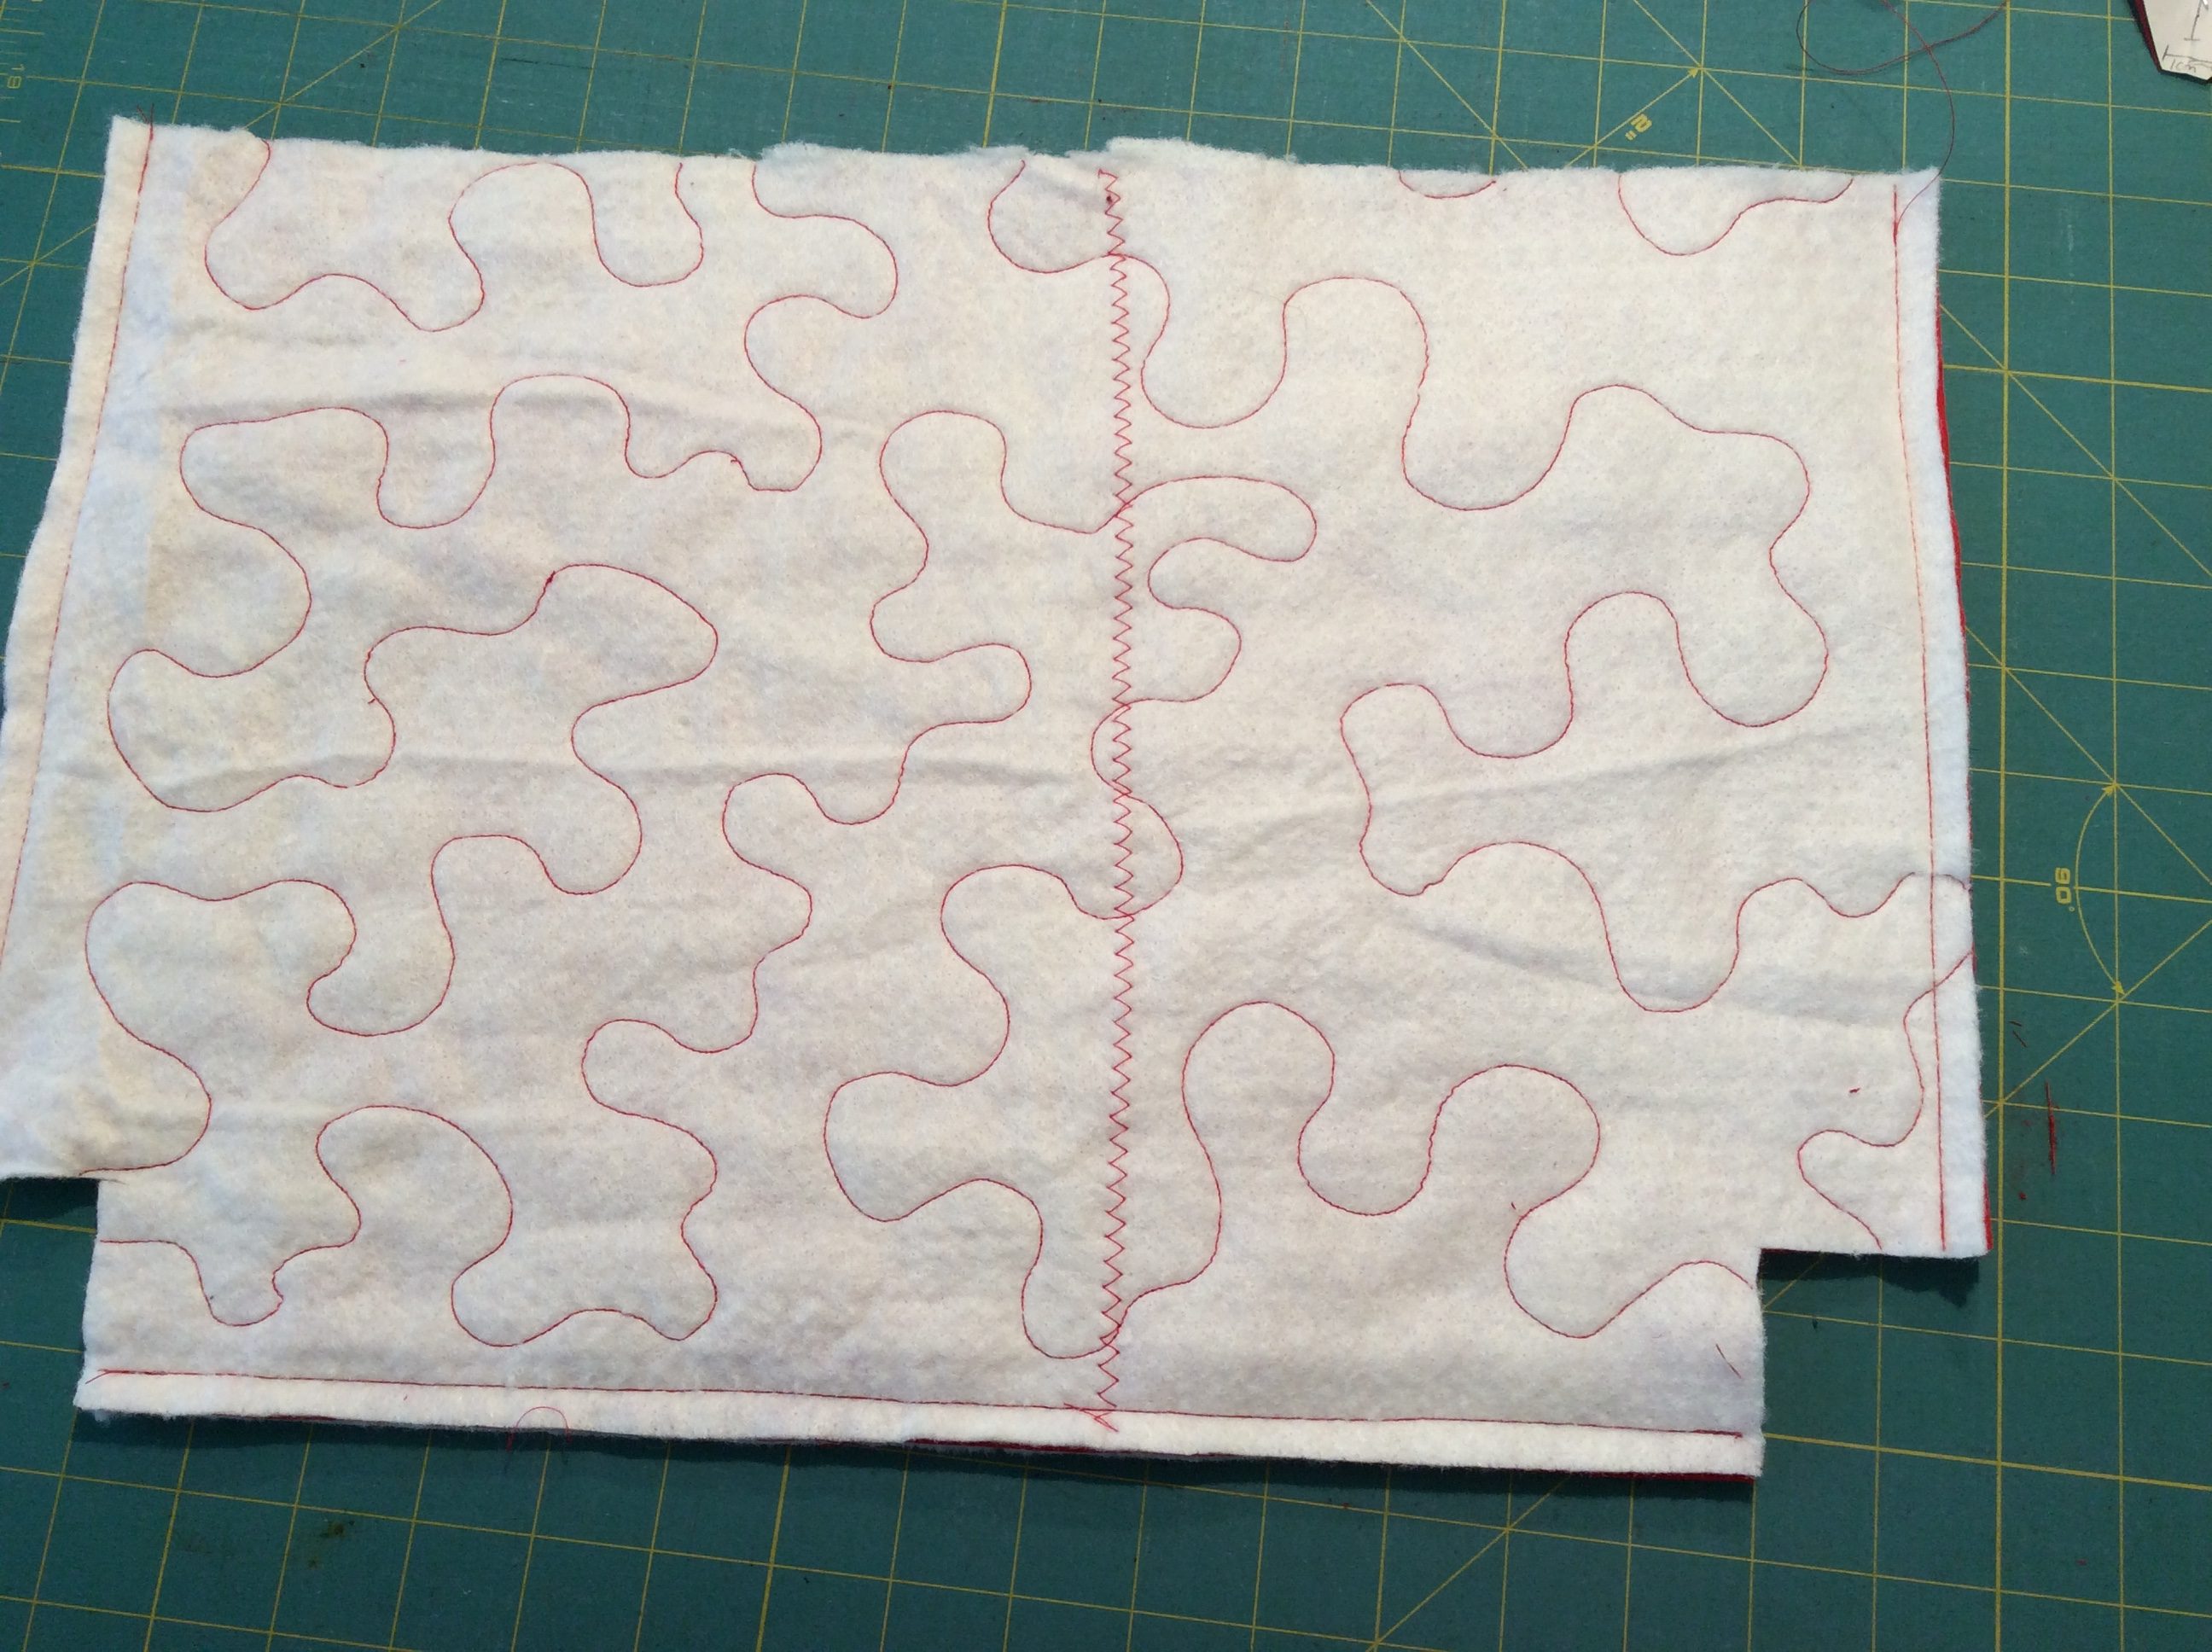
You can see the fabric for the bag lining underneath. This will first be stitched with a beautiful quilt pattern.
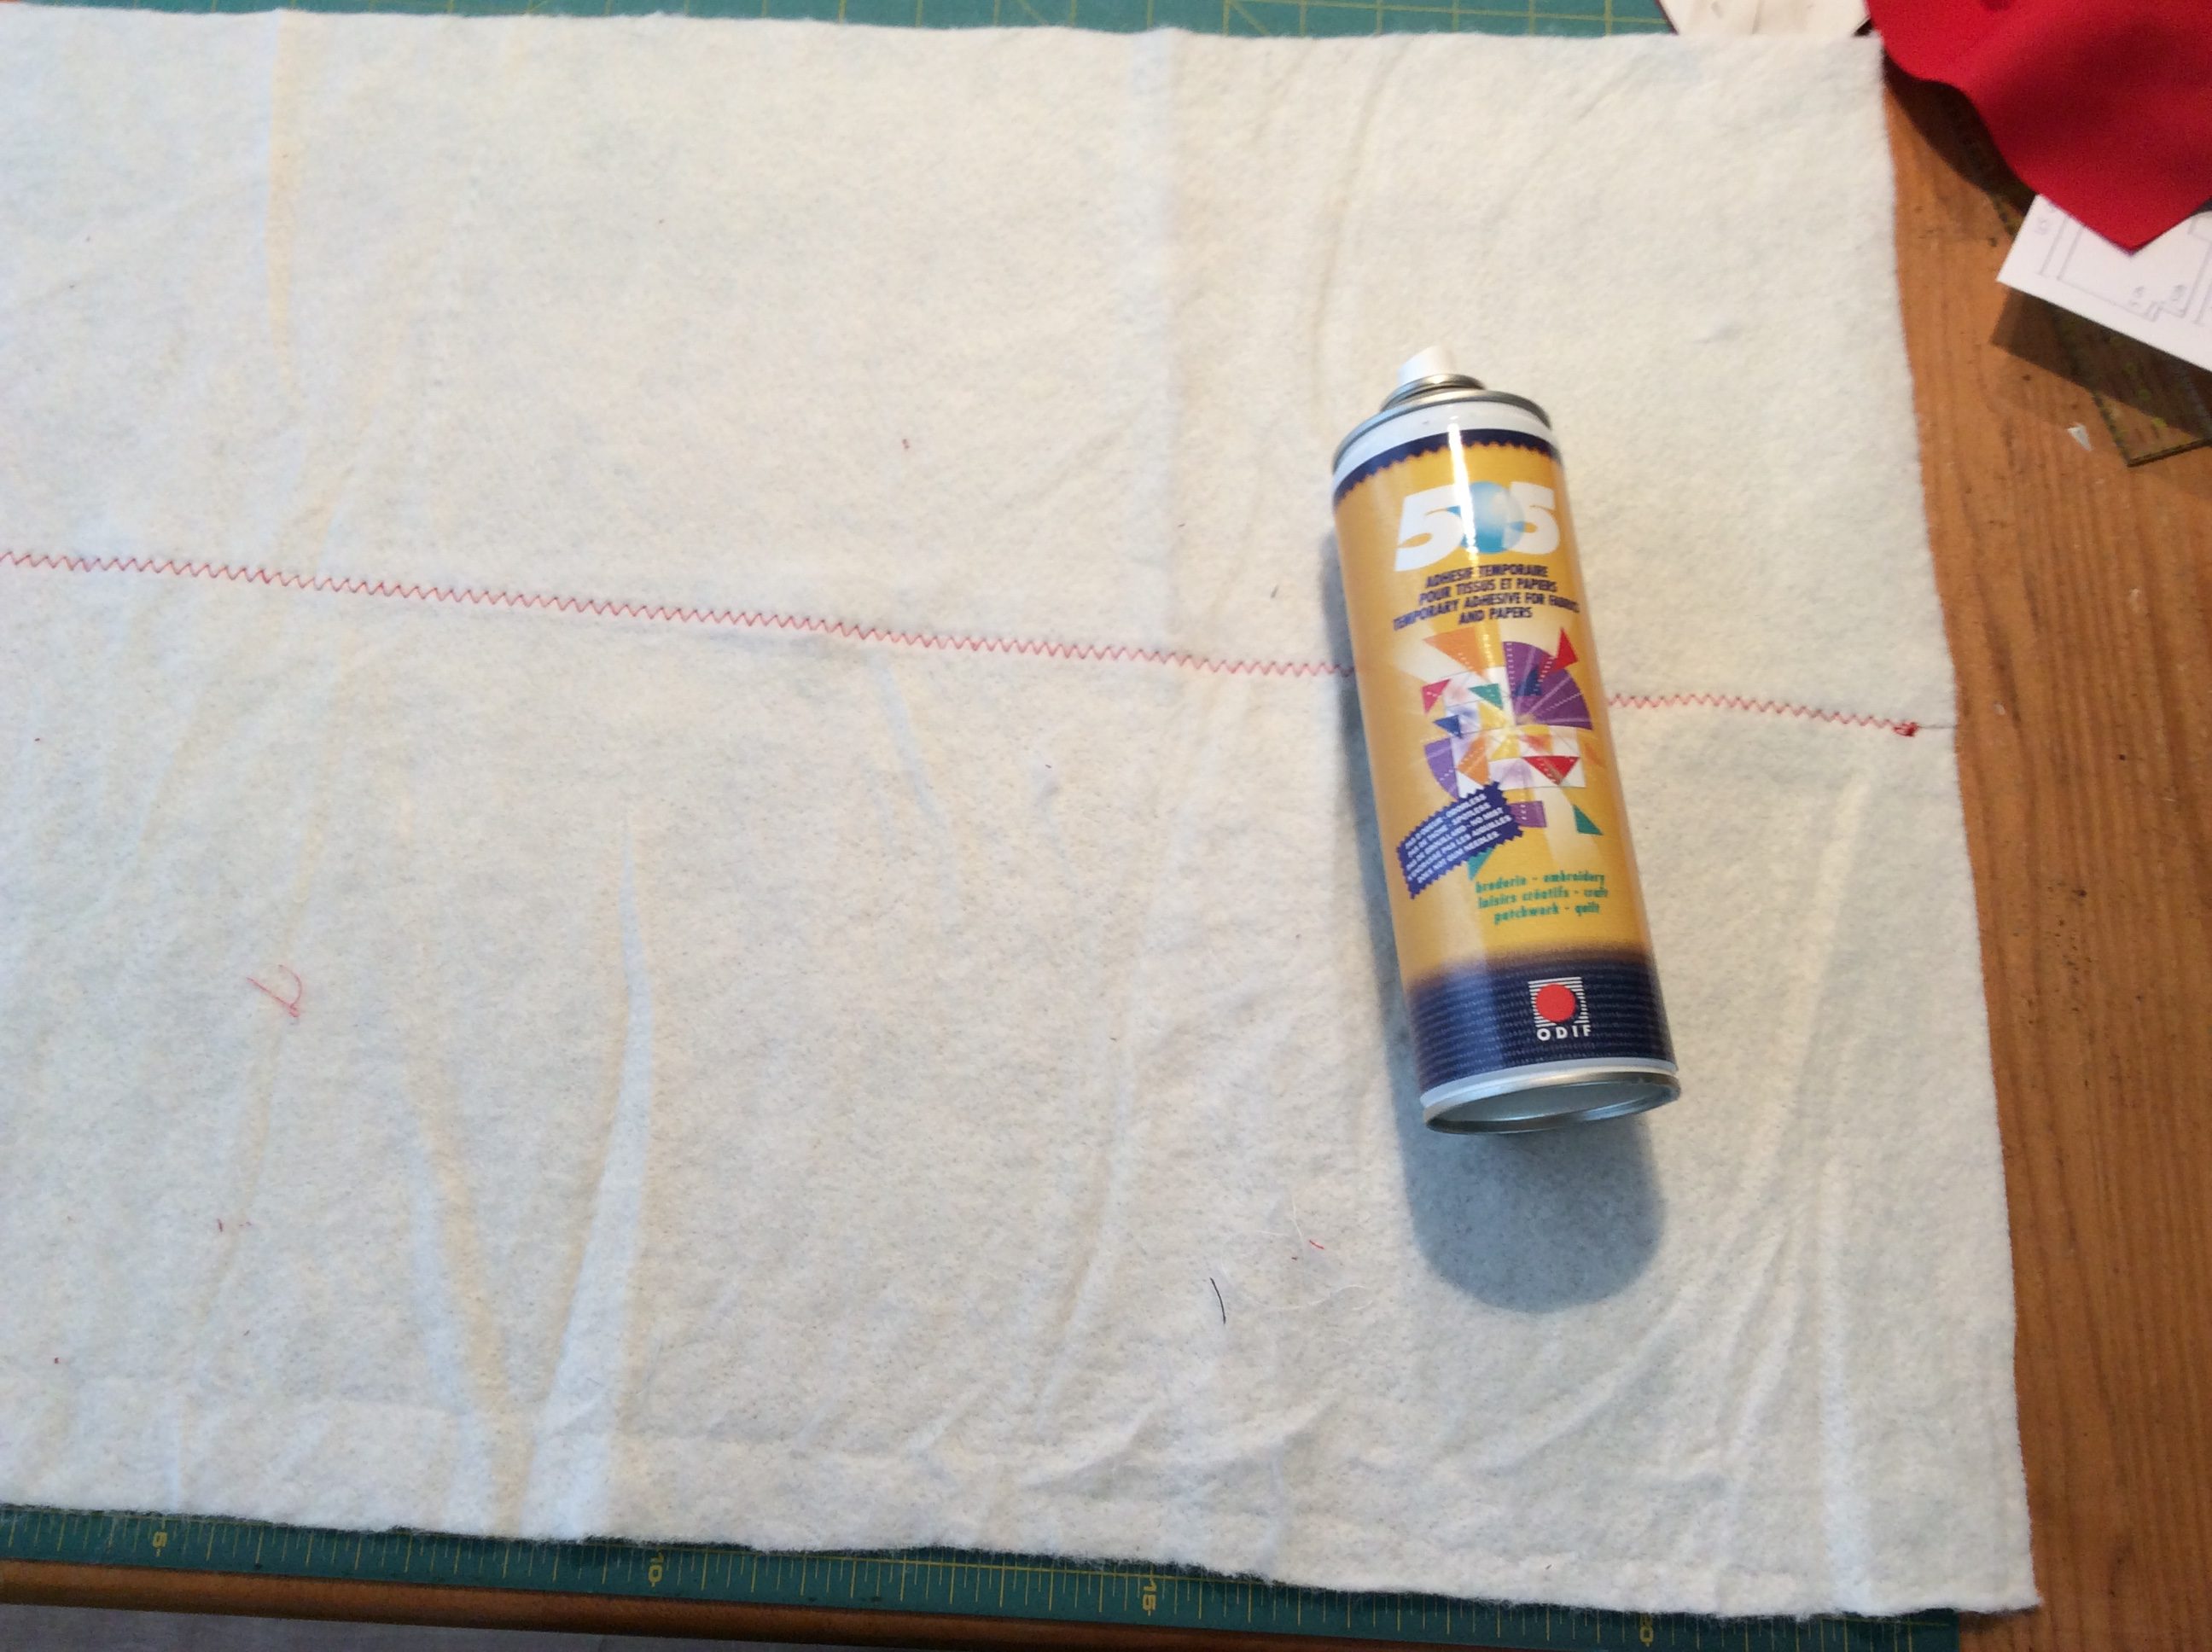
I used 2 pieces of scrap for my quilt batting, which I stitched together with a zigzag stitch. Use some adhesive spray to fix the quilt batting to the fabric for the bag lining. Use it sparingly!

Using the BSR foot, I made a generous meander pattern, which gives the fabric for the bag lining a bit more body. If you don’t have a BSR foot or function on your machine, you can also use a plaid design or panel pattern. After all, the objective is to ensure that the quilt batting and fabric remain fixed to one another.

Cut the quilted fabric in the same size as the fabric for the outside. Note: cut 2 sections, or fold the fabric double!
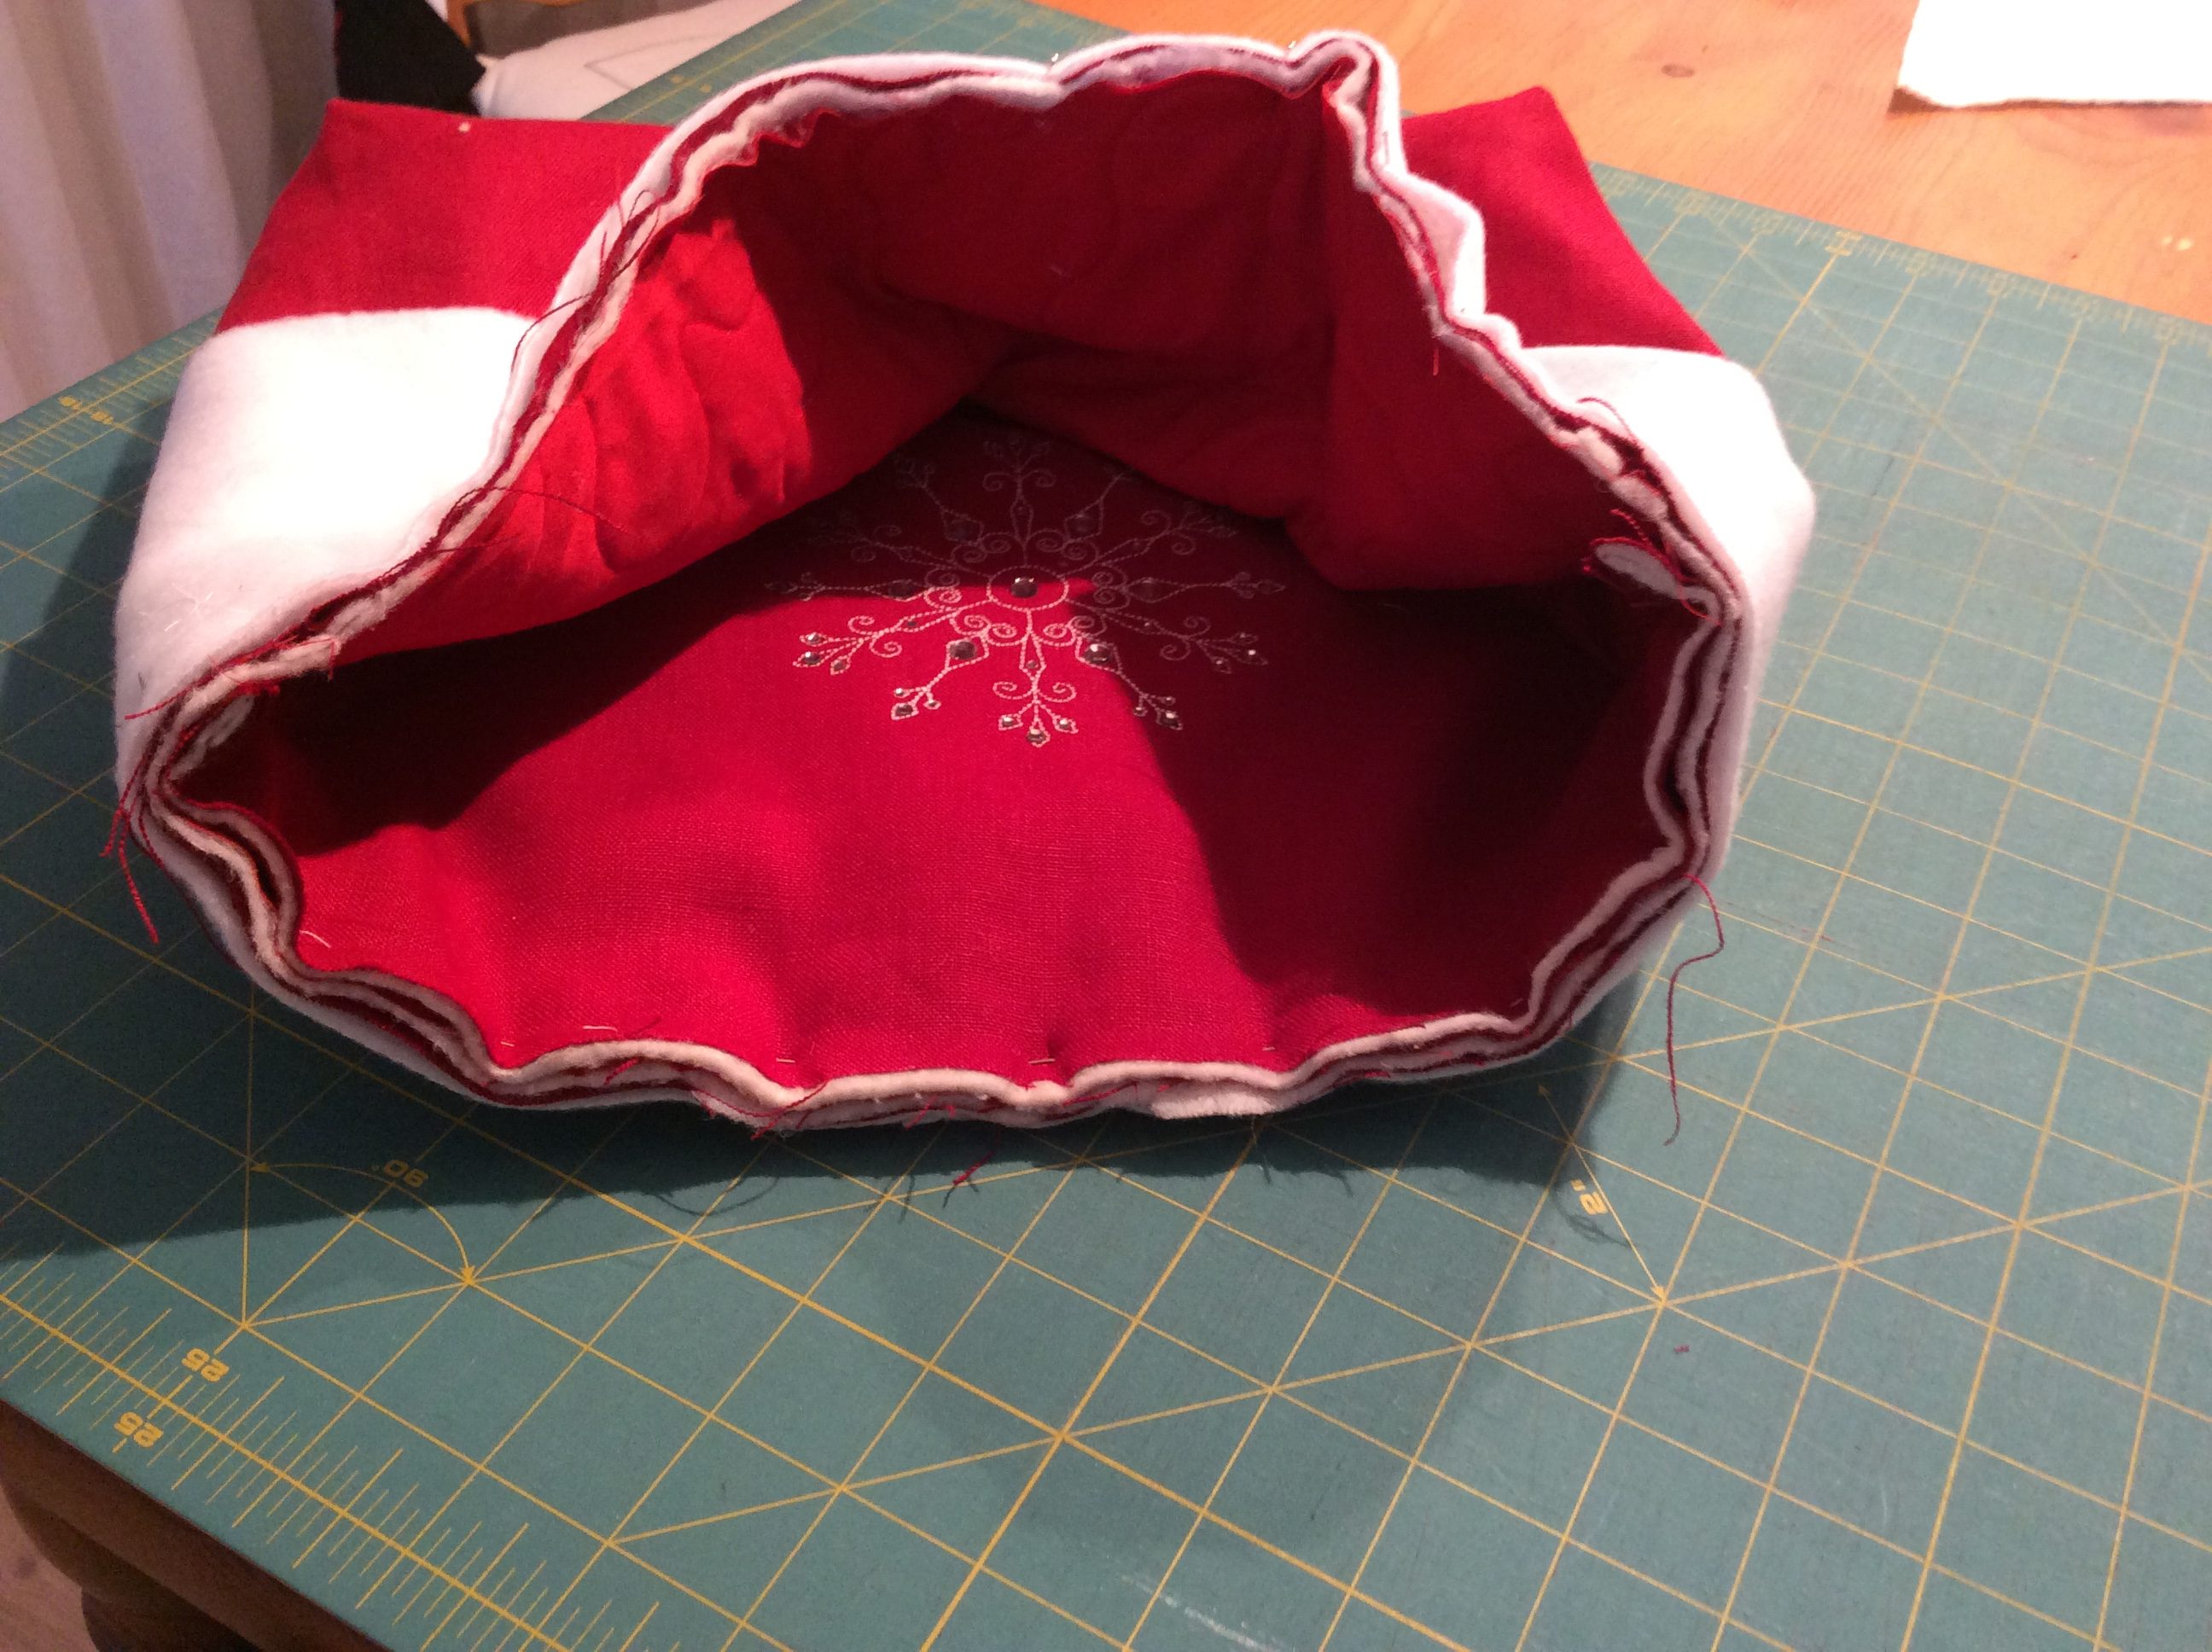
Place the sections for the bag lining on top of one other, with the correct sides together, and stitch along the sides with a 1 cm seam allowance.
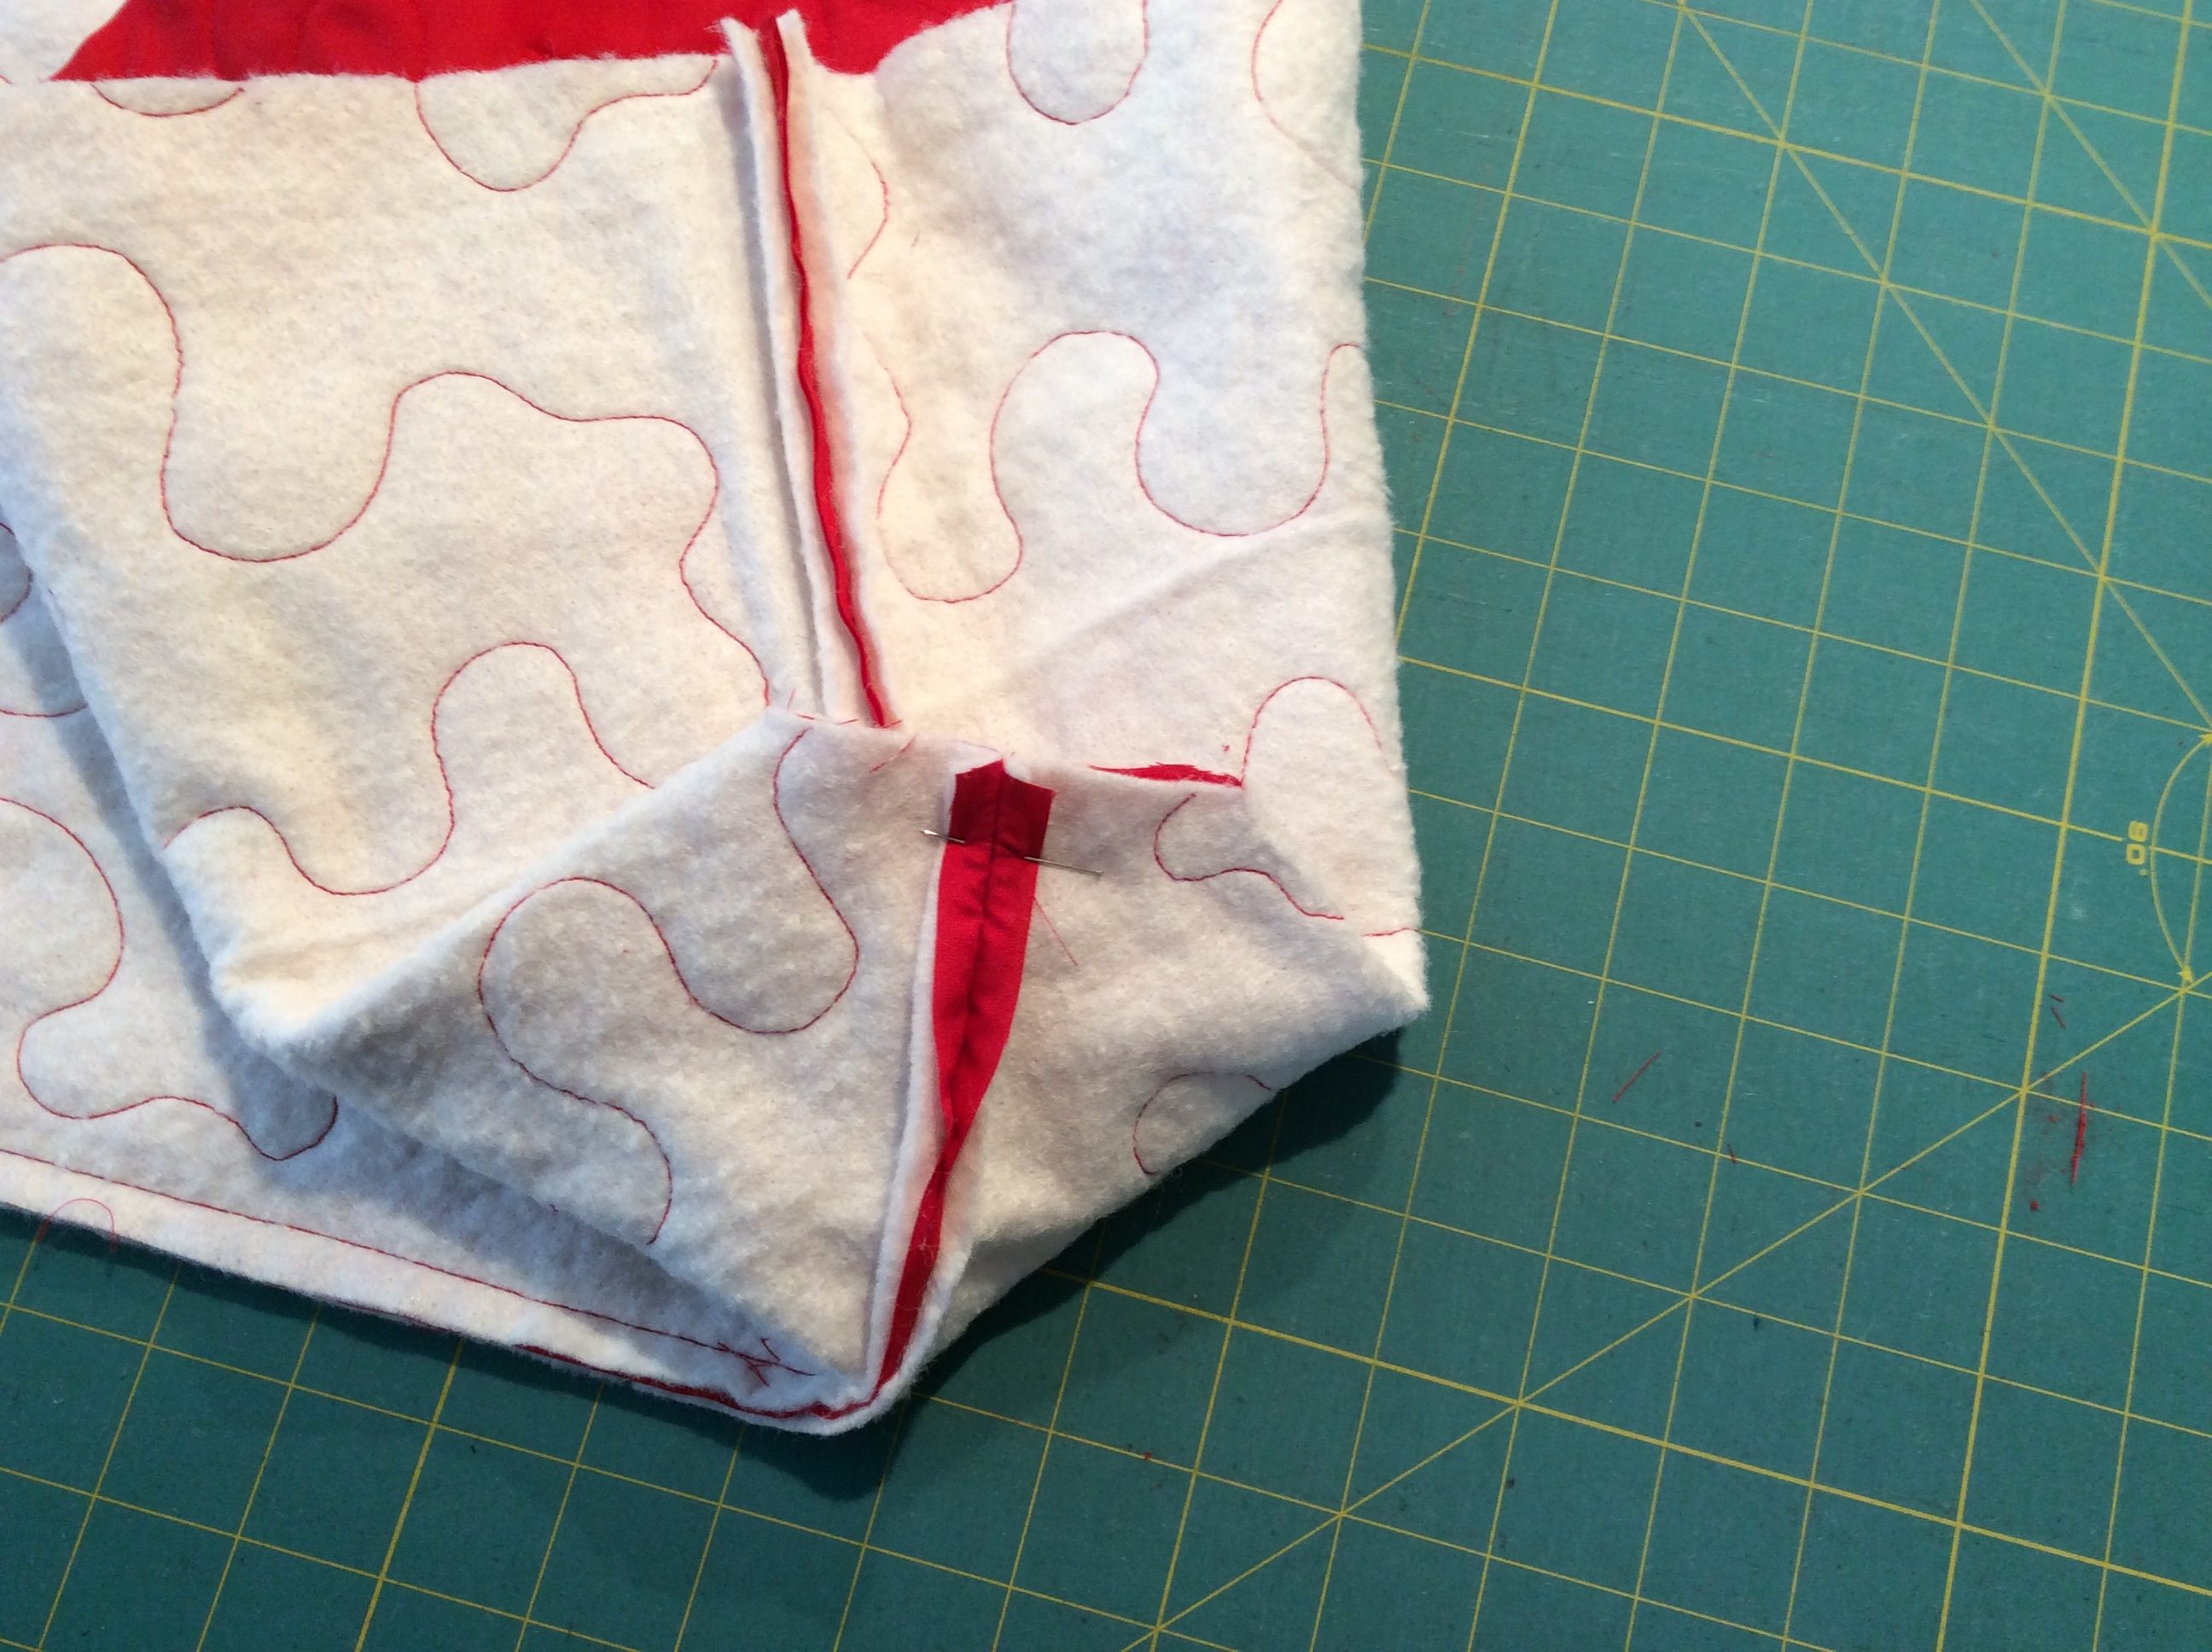
Cut the seams open and place the bottom seam on the side seam, then stitch the seam closed; repeat on the other side.

You will now see the bottom take shape. Do the same to the outside of the bag.
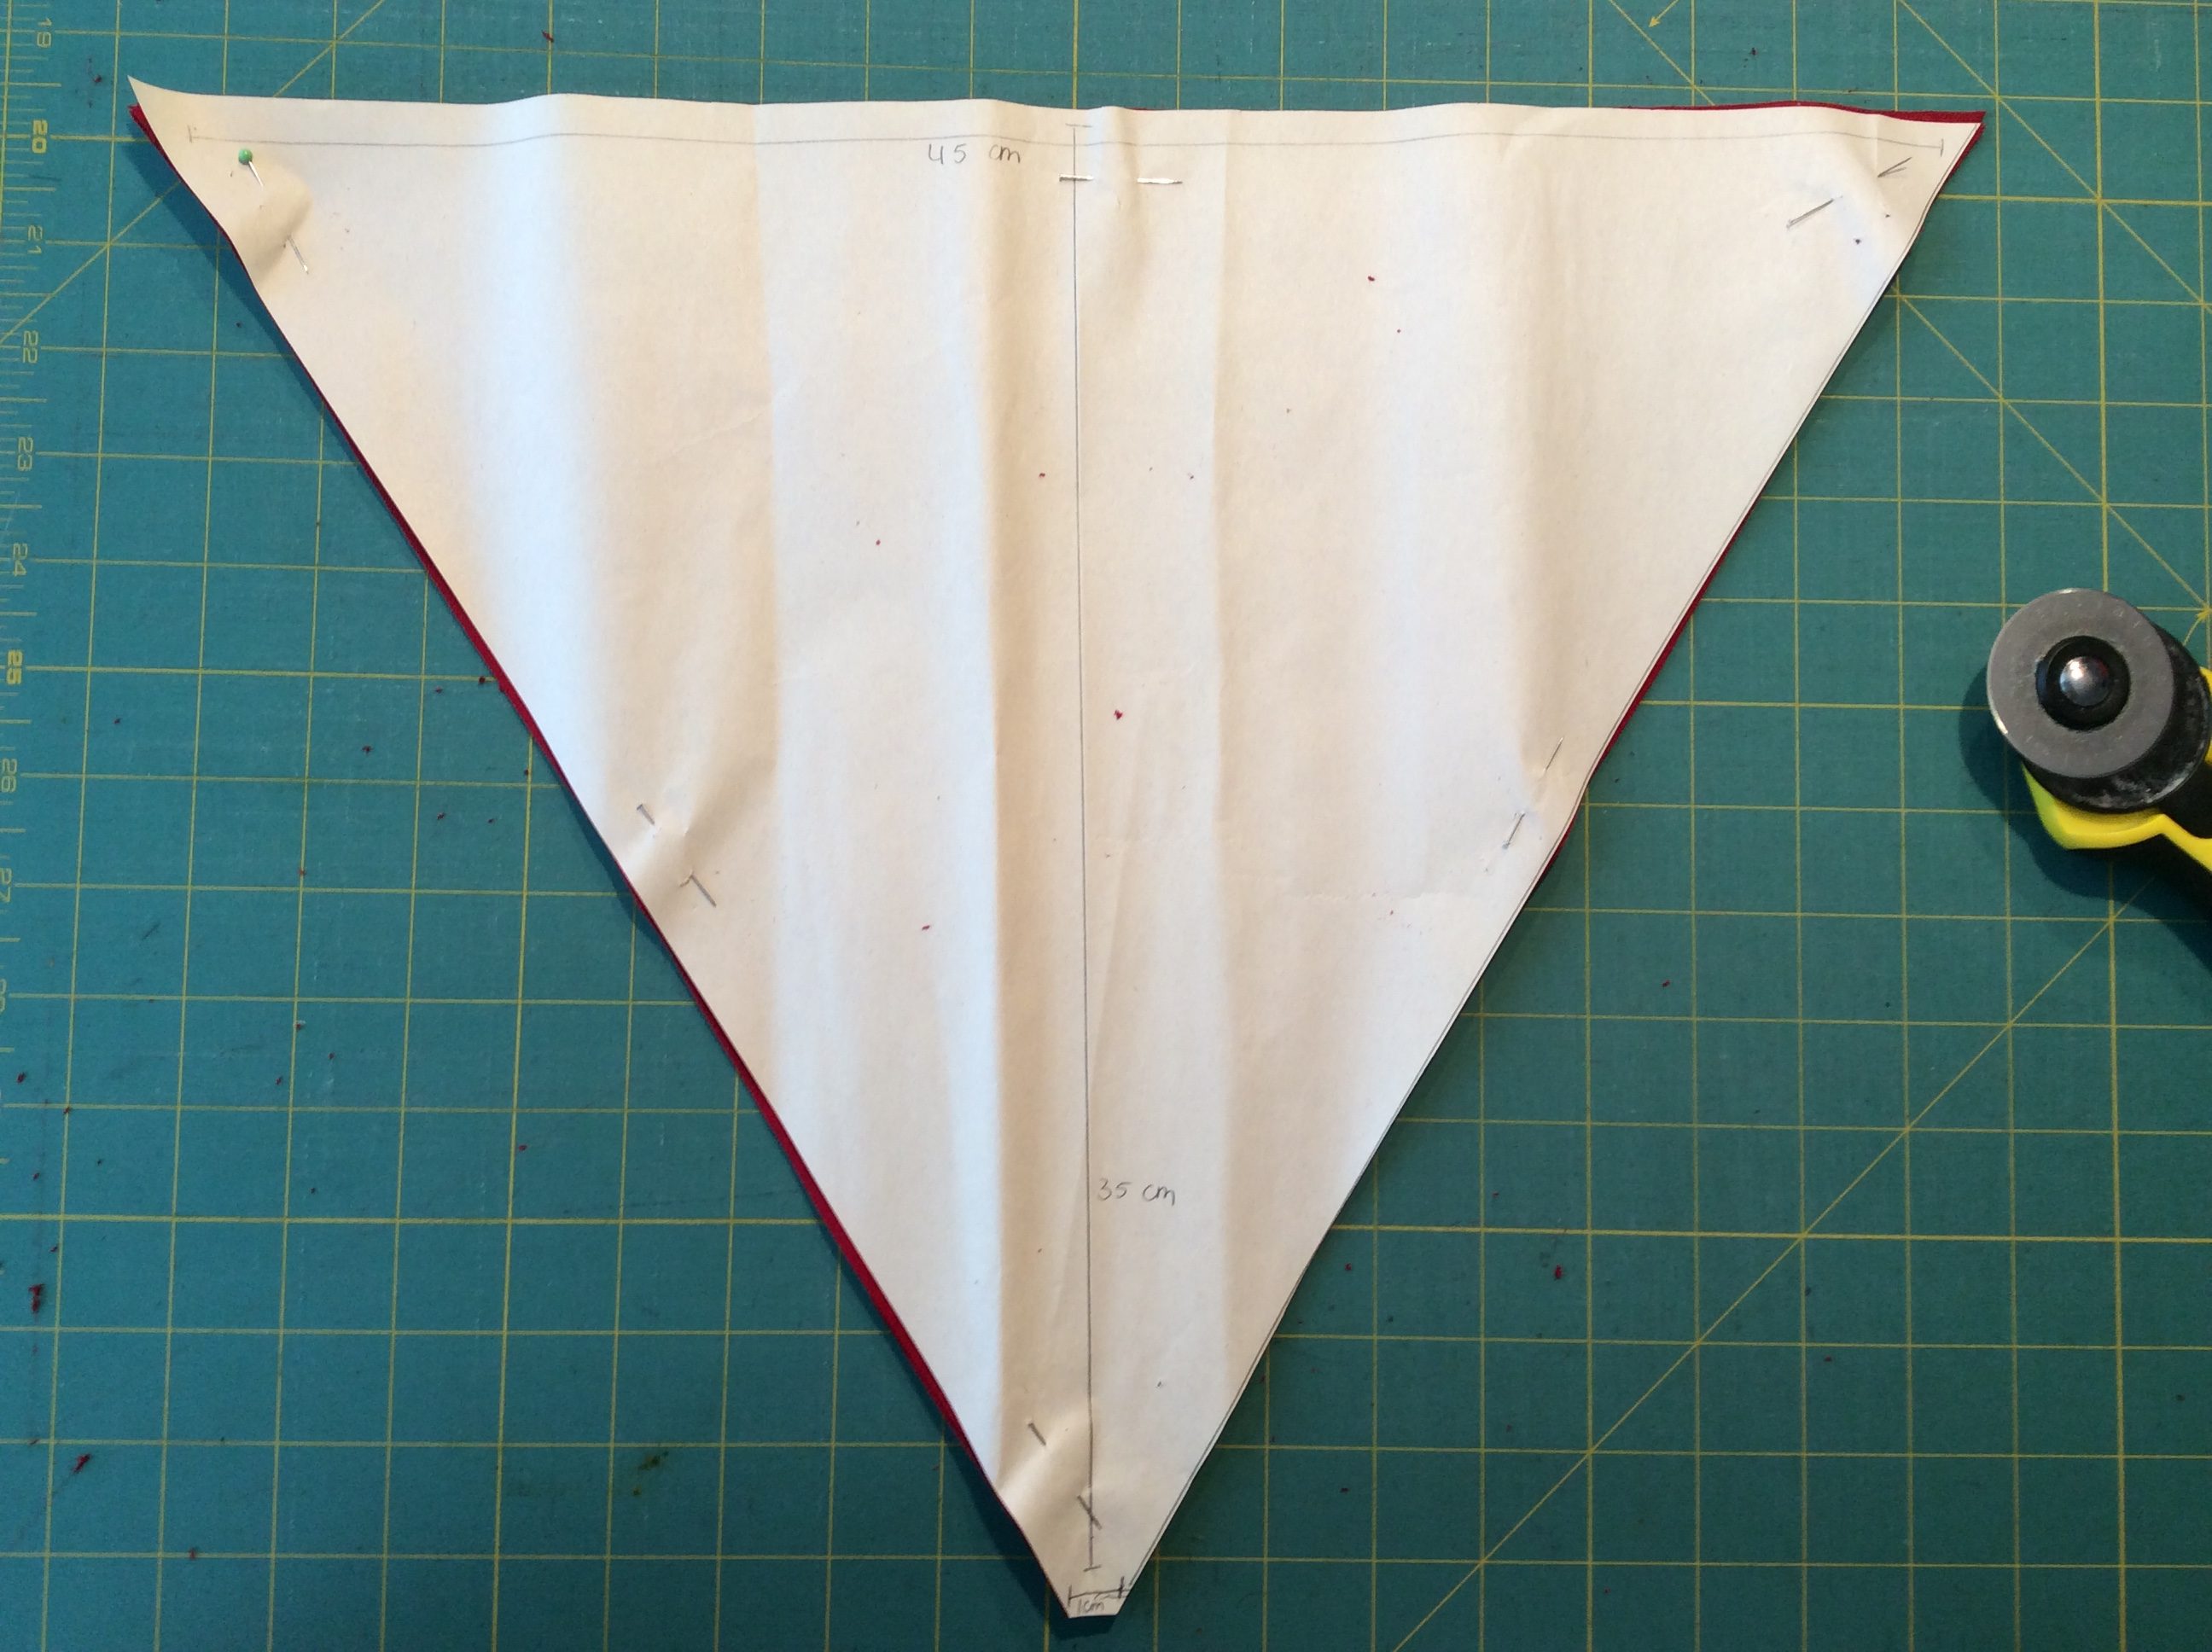
The hat section is made of the same fabric you chose for the outside. I have included the sizes on the drawing. Cut a paper pattern before you start.
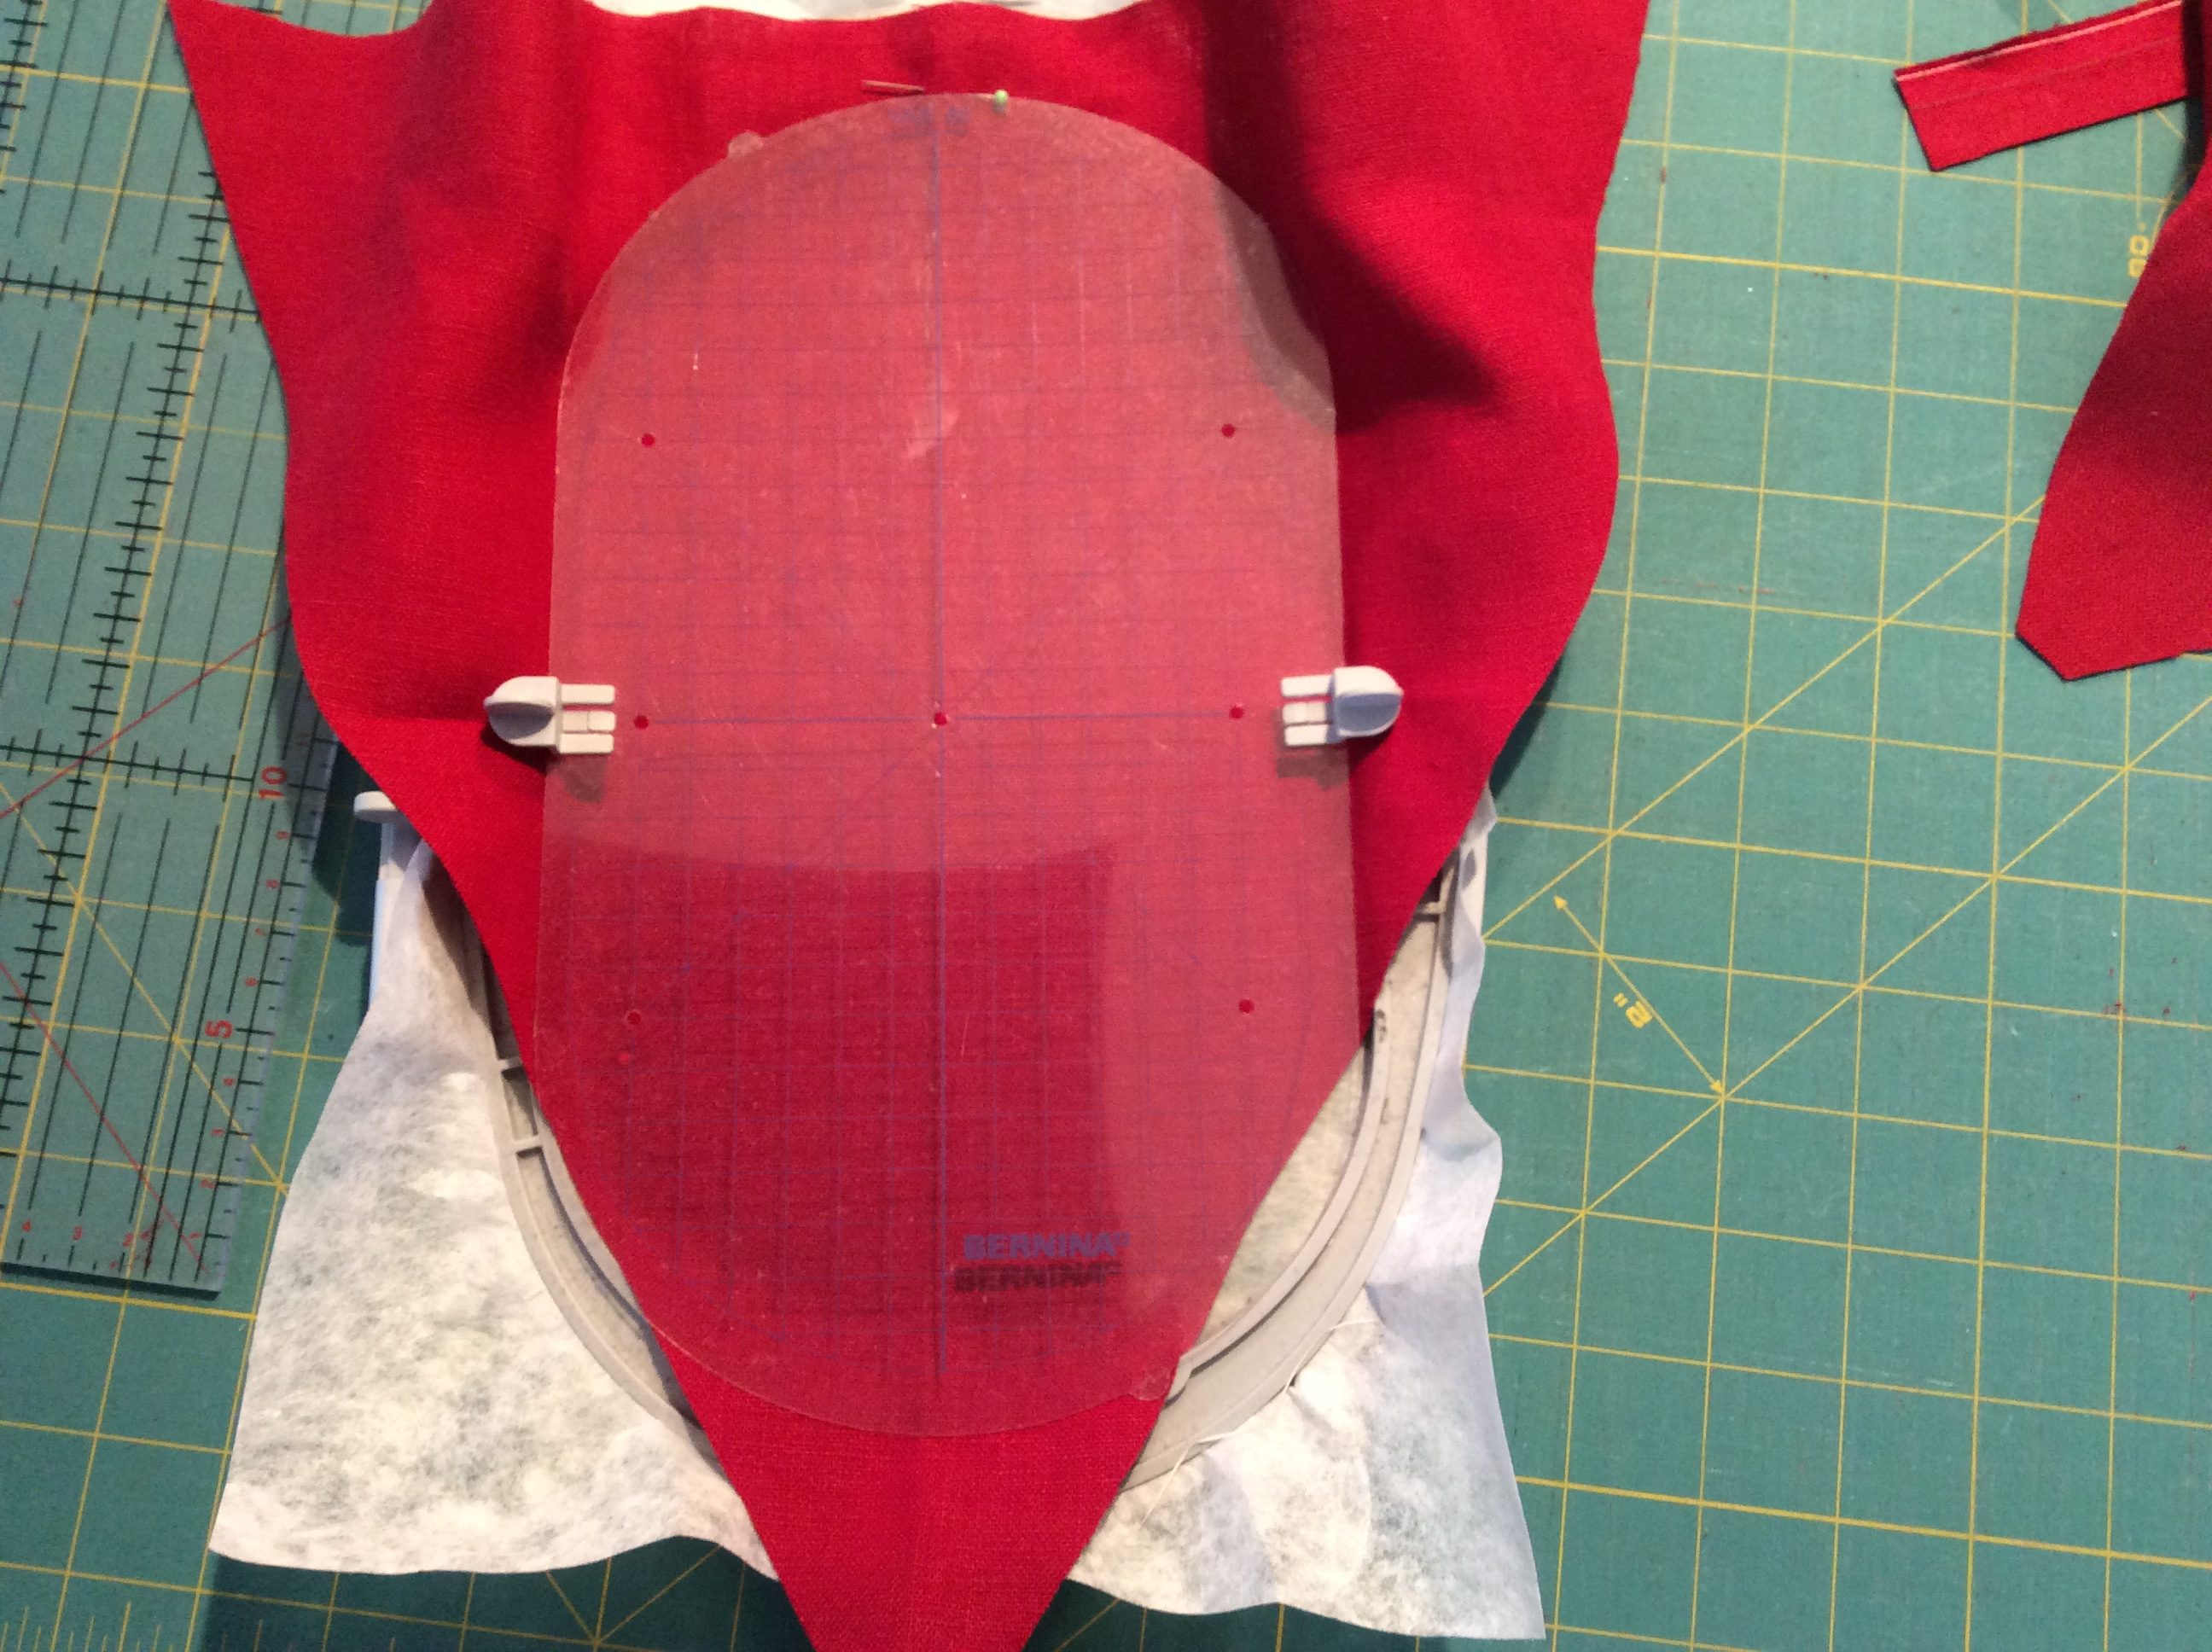
Stretch a piece of “Stik en trek” (removable) membrane in the oval embroidery ring, then stick a piece of the point on the membrane, using adhesive spray.
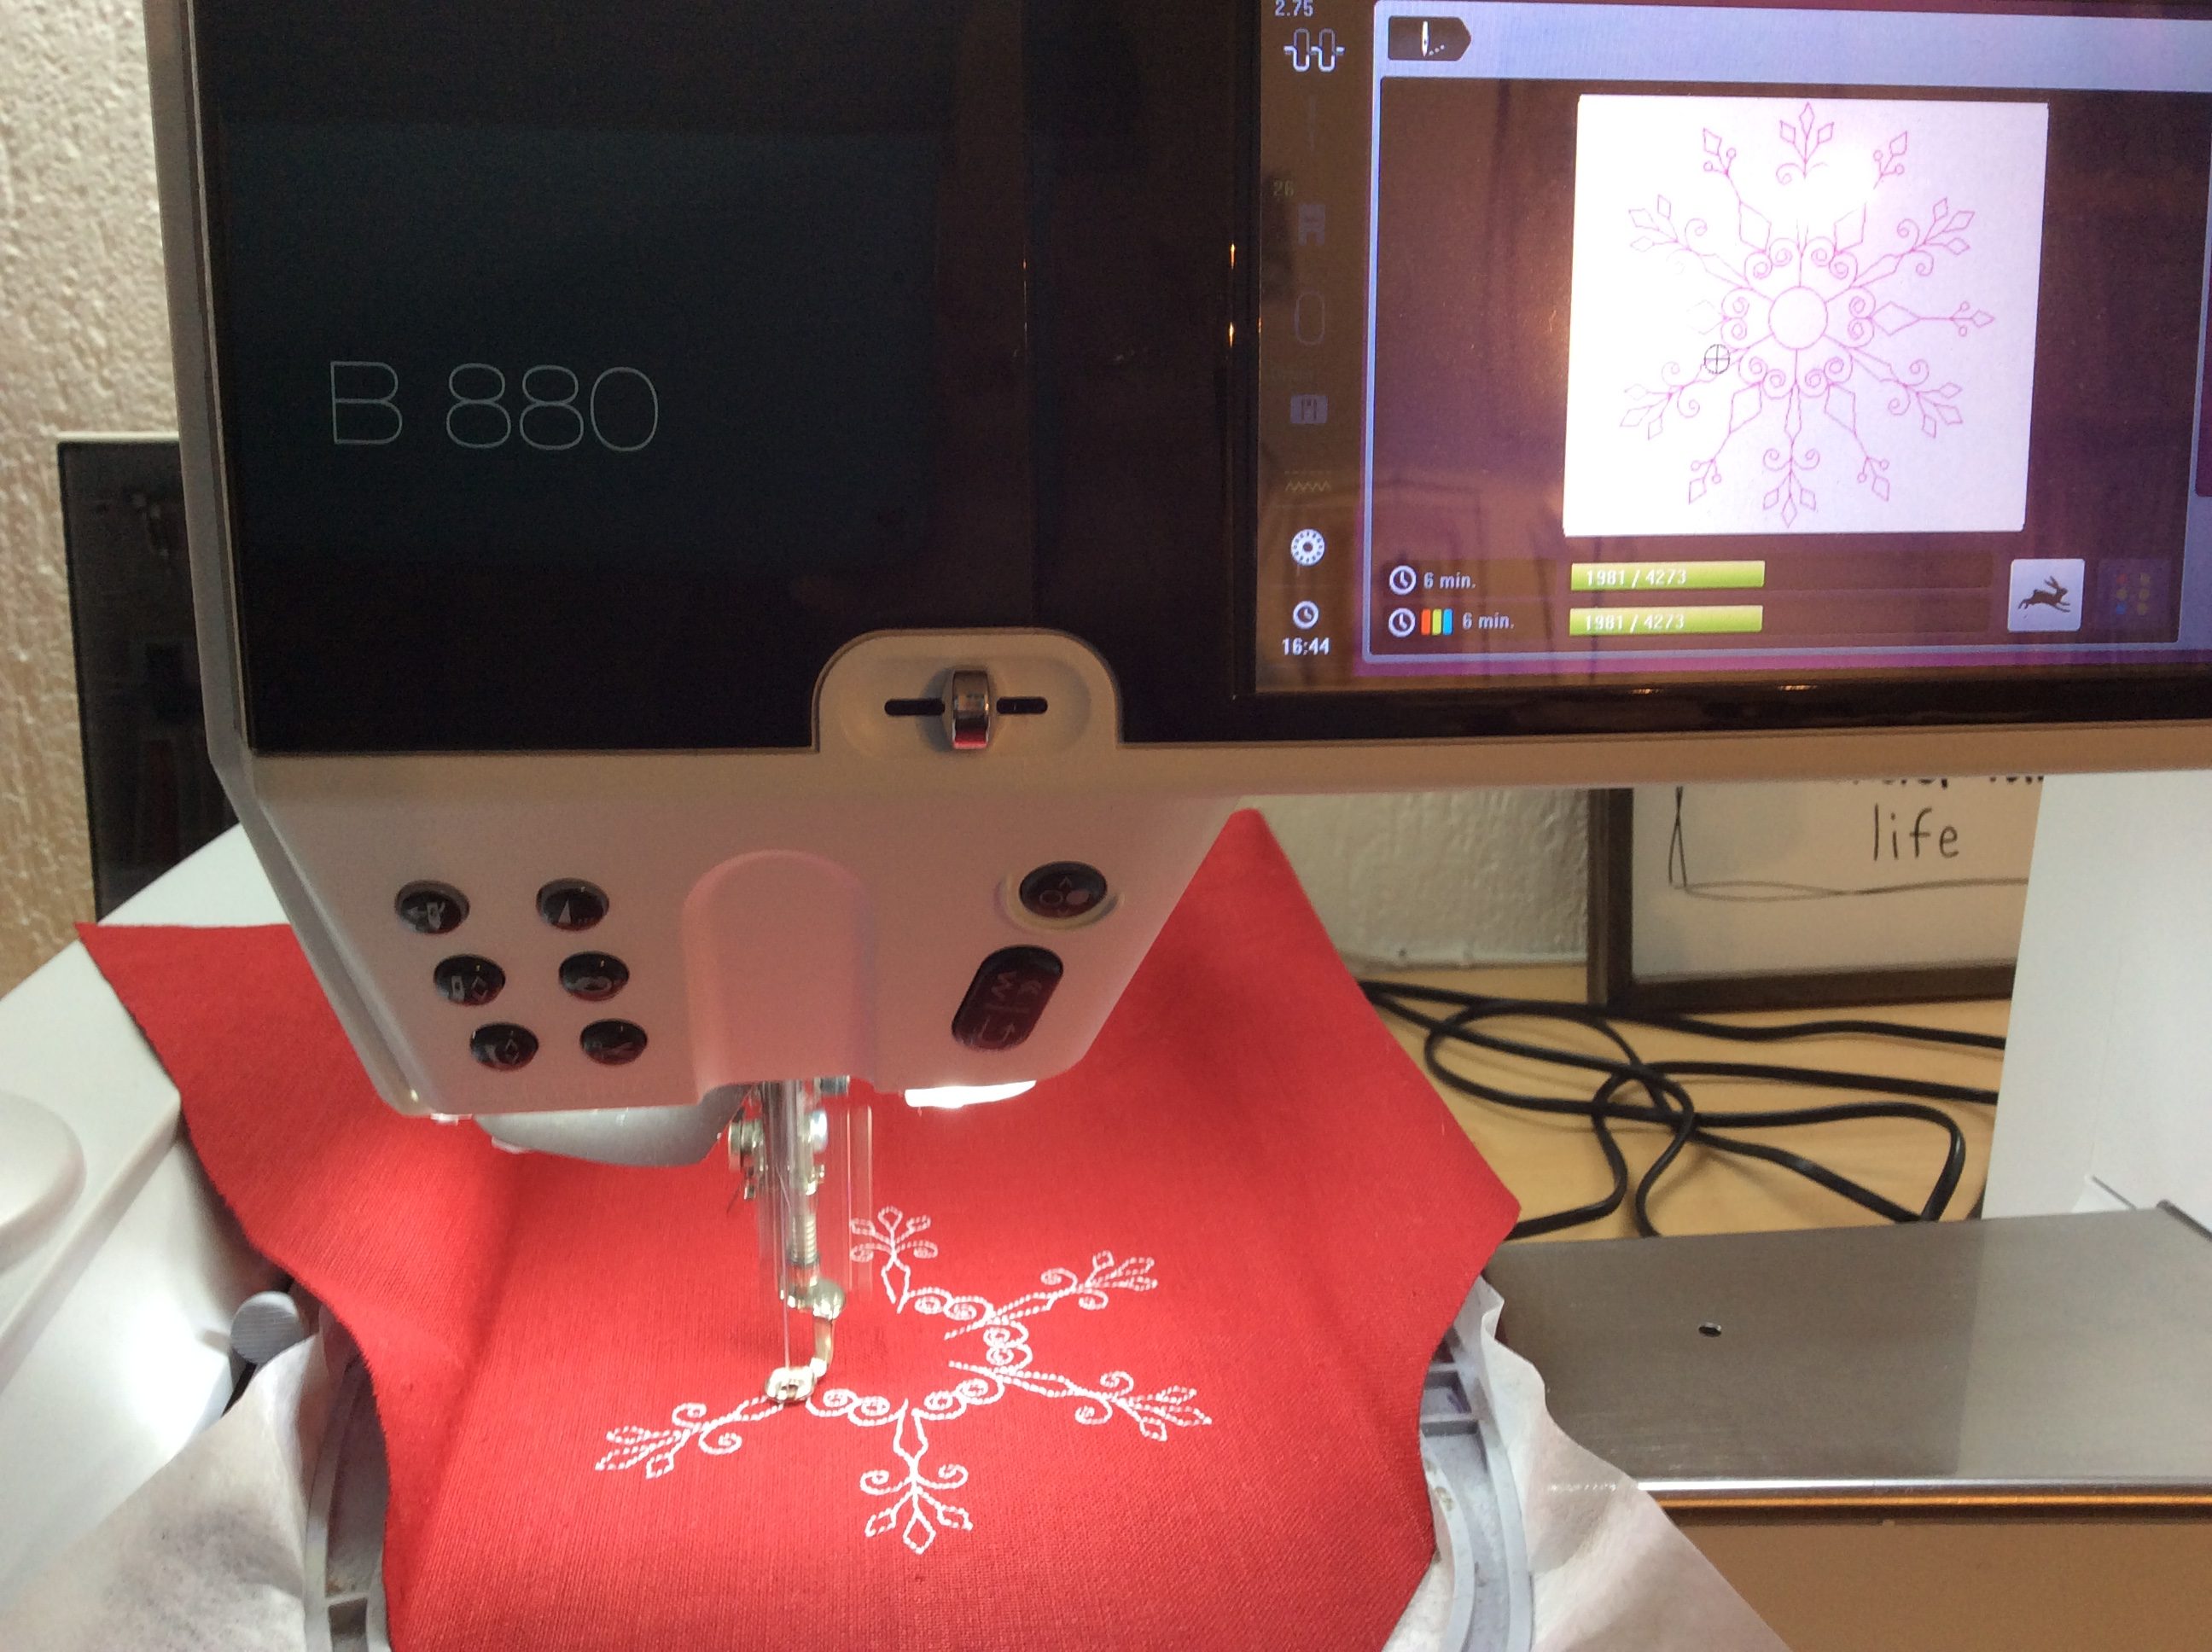
I used a snow-star pattern, which is very Christmassy :-).

To make sure that everything shines and glitters, I used a hotfix applicator to apply beautiful glittering stones to the fabric. You can also use a CrystalWork.
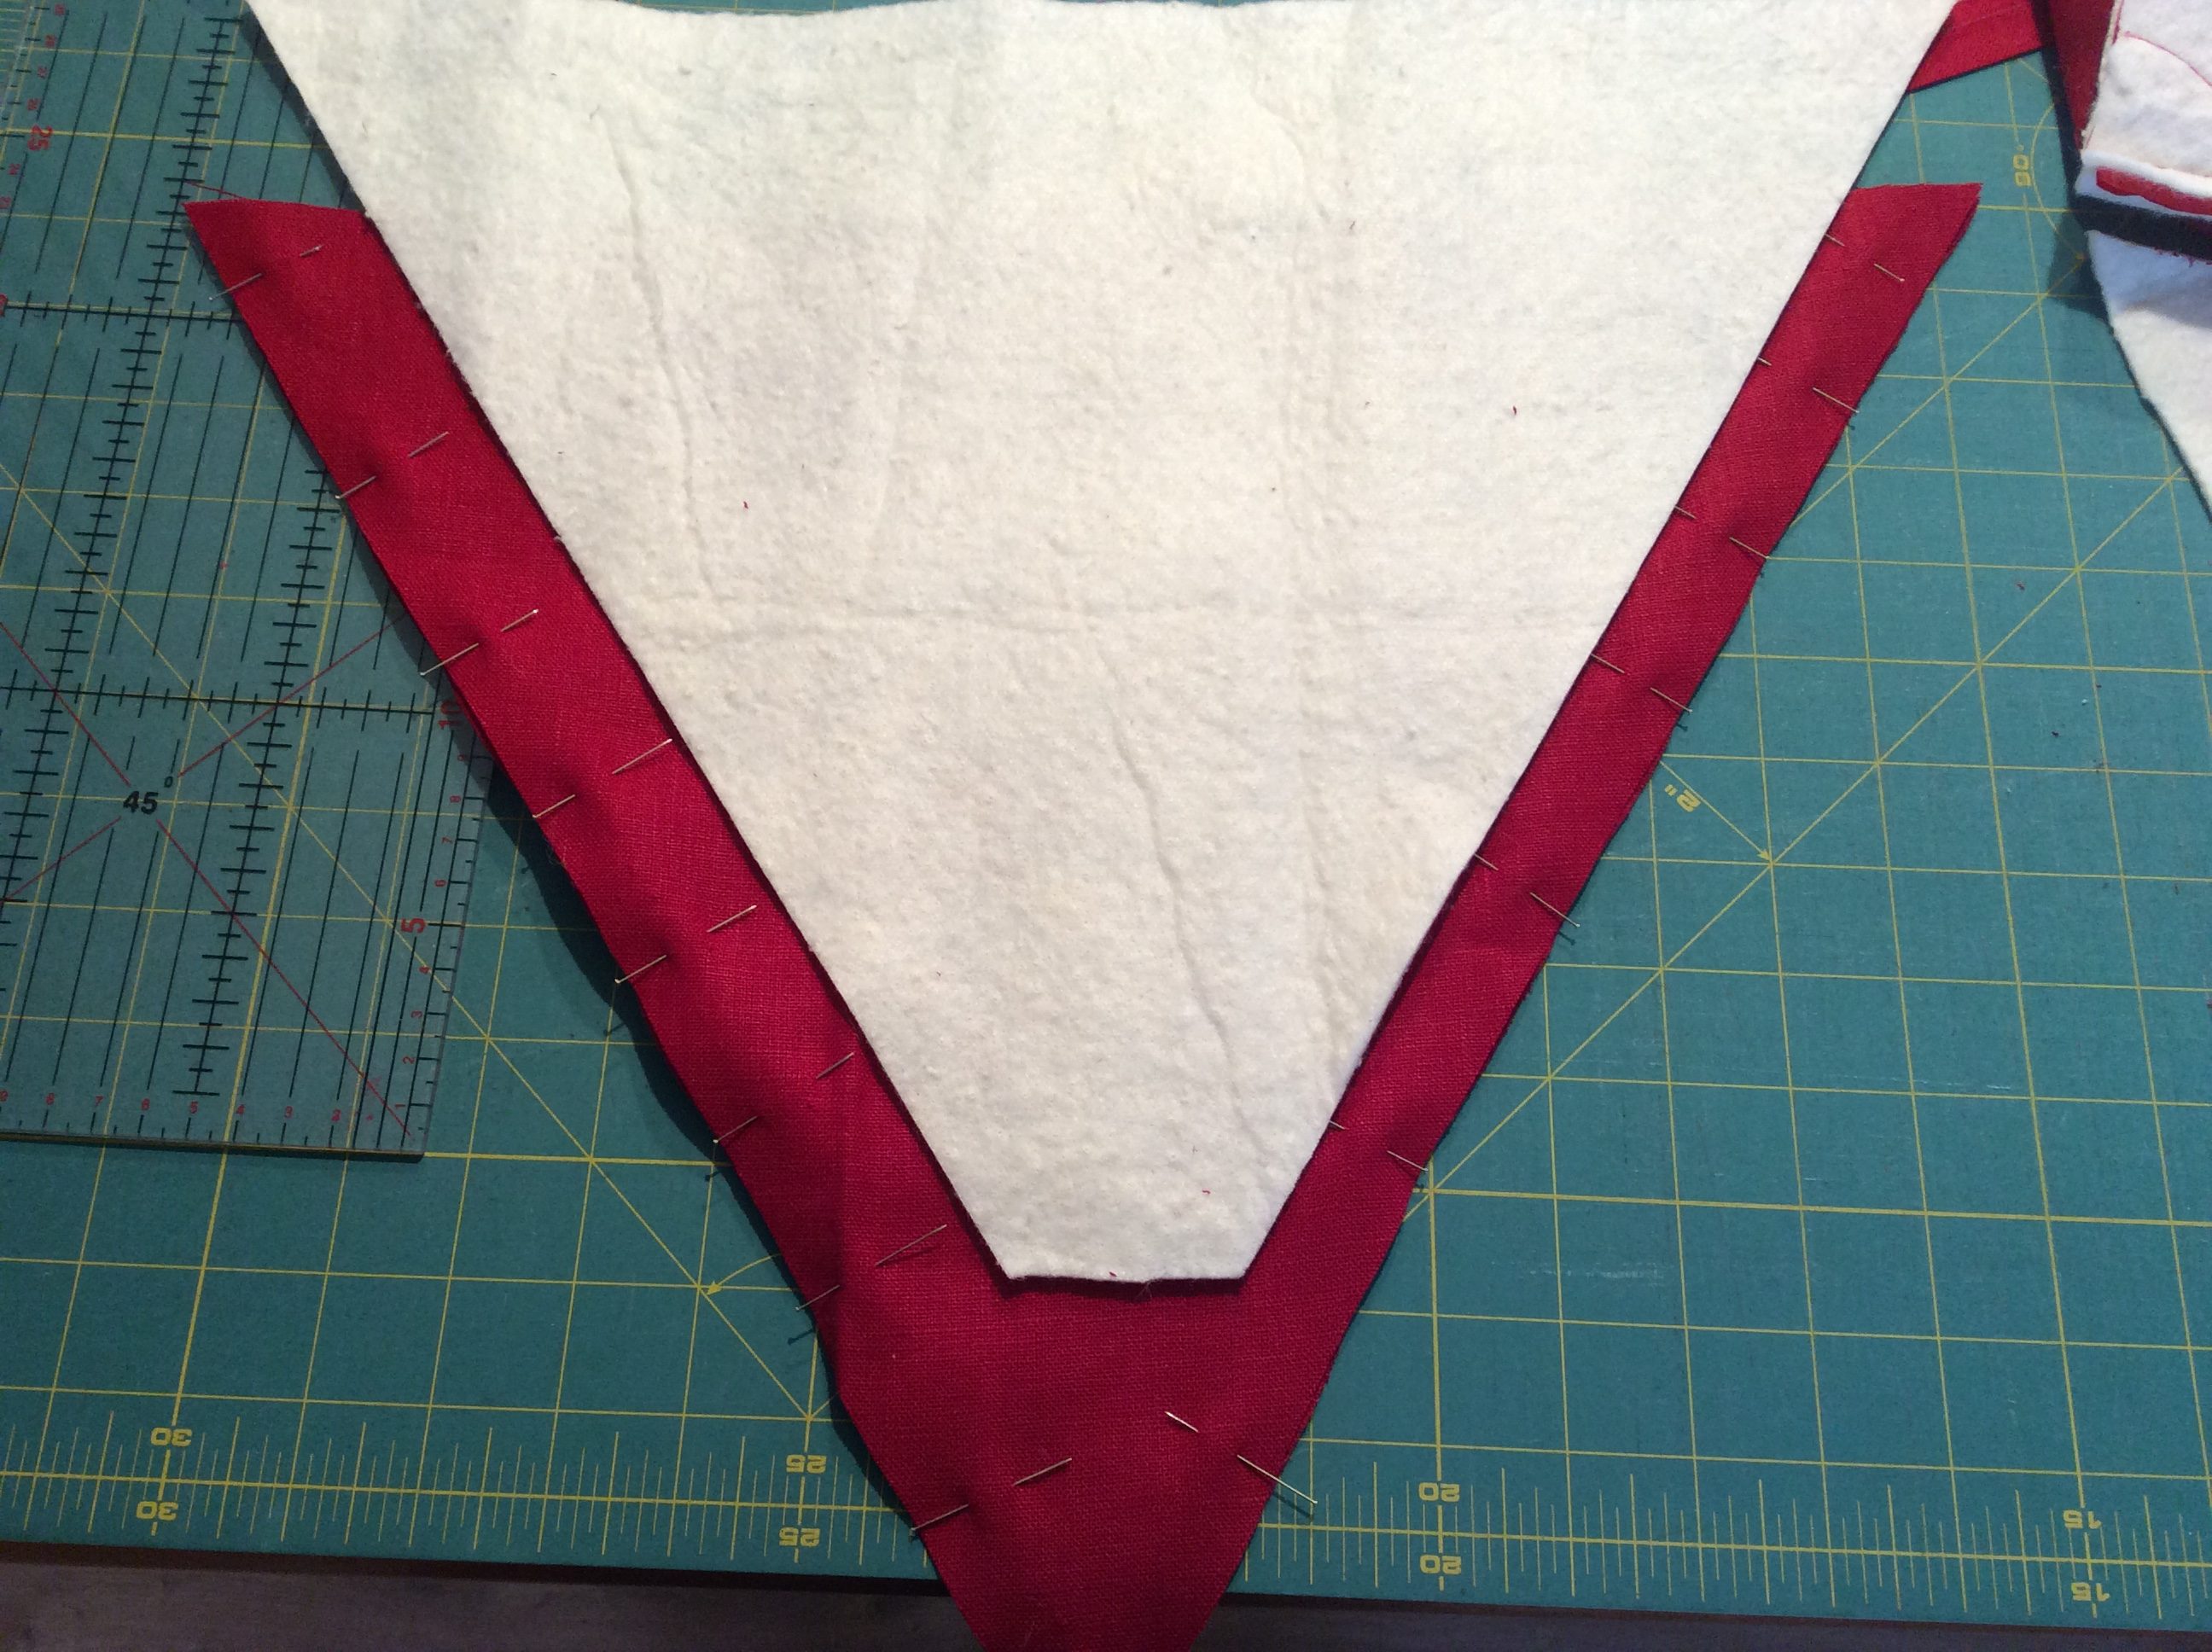
First place the other part of the red fabric on the right side of the embroidered piece, followed by a layer of quilt batting.

Stitch the sections to each other and neaten the seams, as well as the point. I didn’t use the quilt batting all the way to the point, so that it isn’t too thick to turn out.
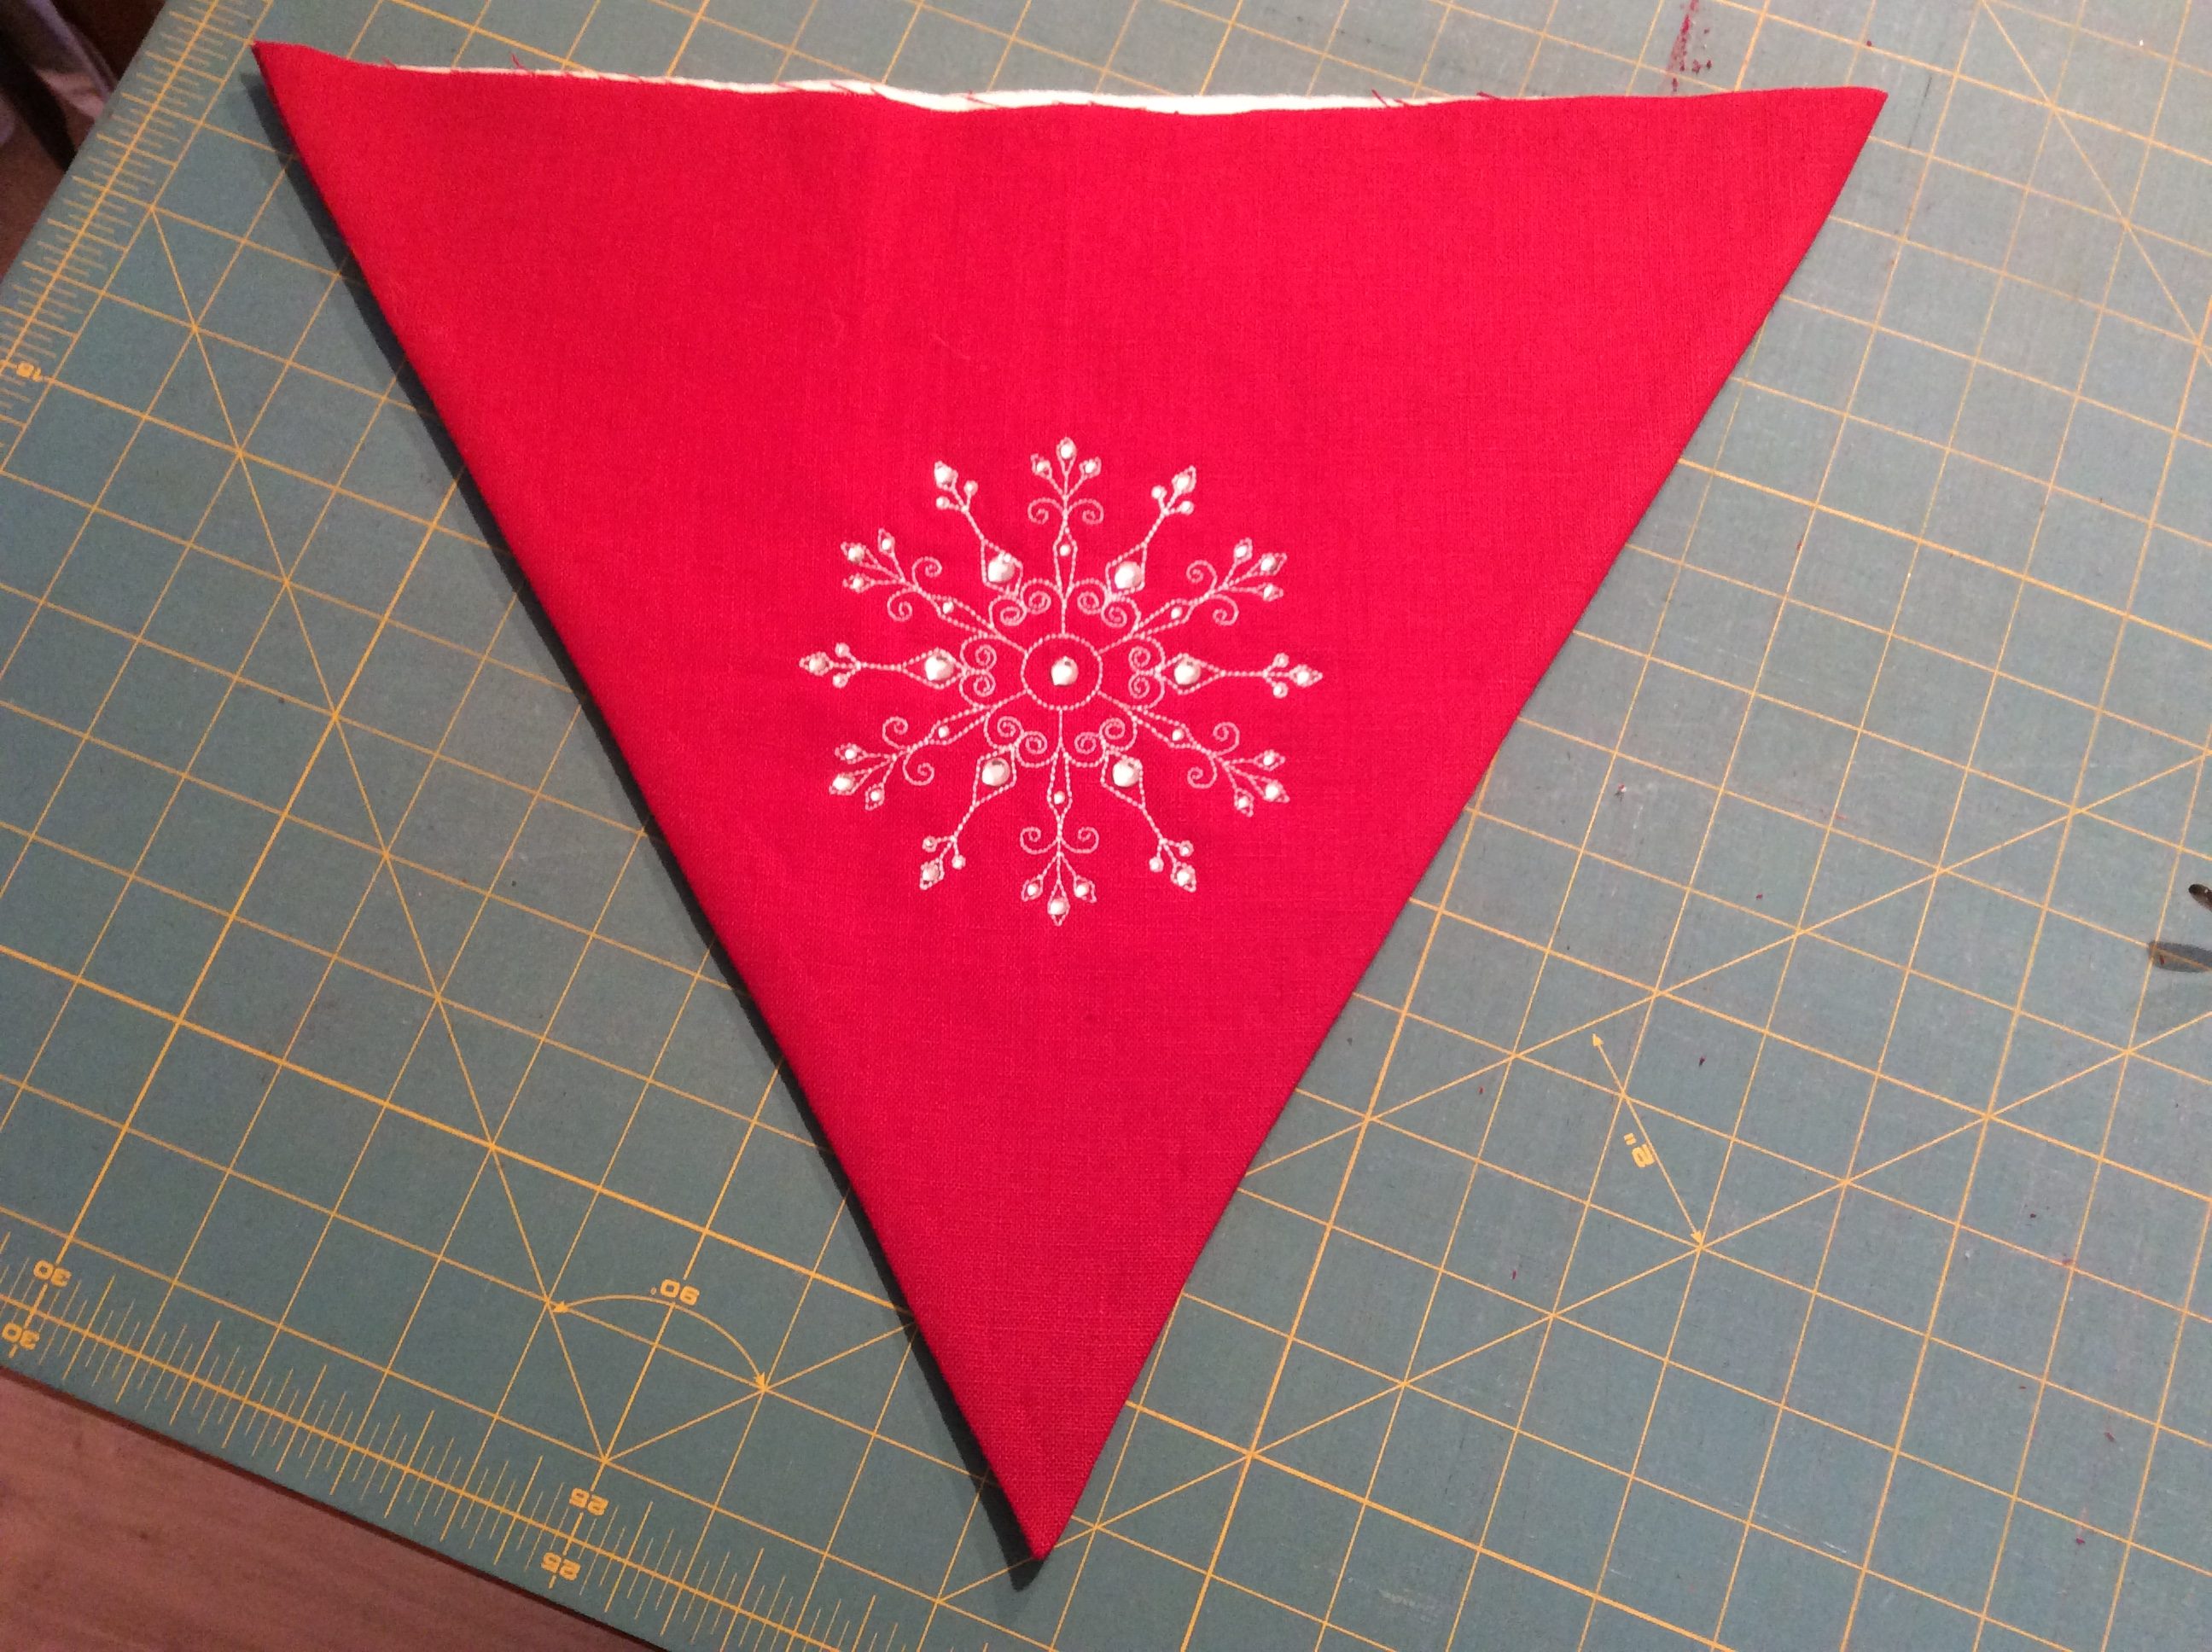
Turn out properly, and carefully iron the seams, making sure they are rolled out completely!
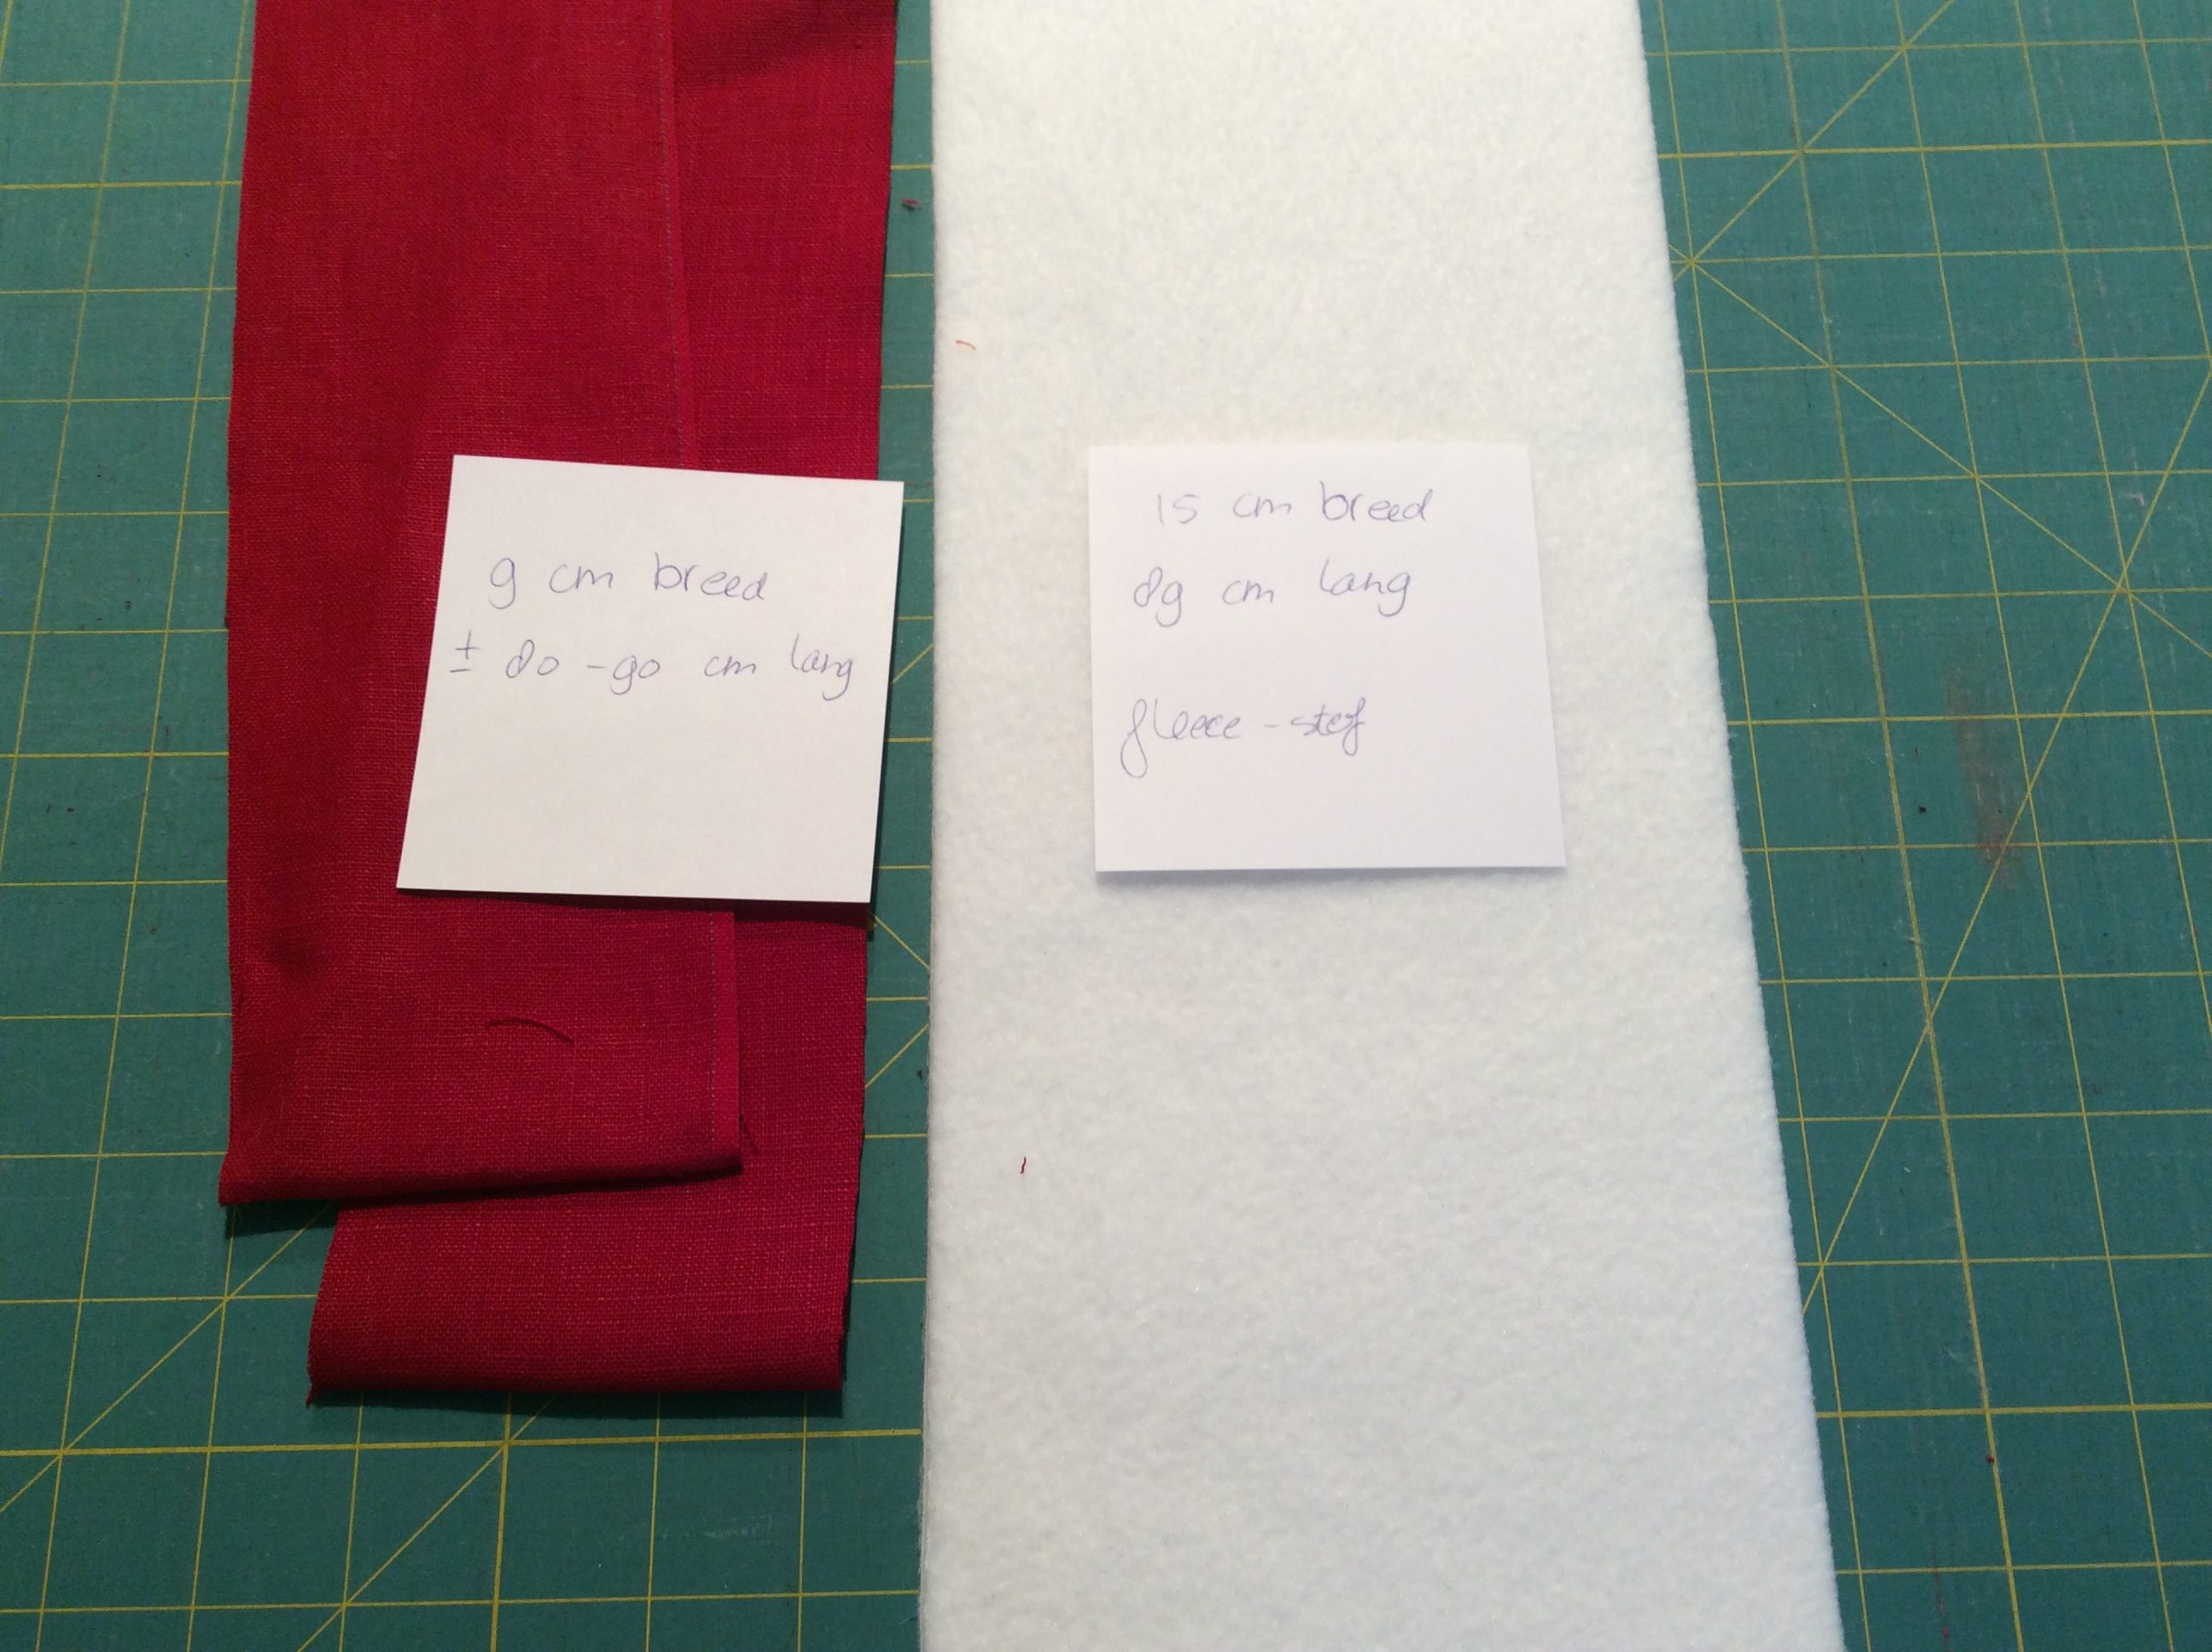
Snip or cut the straps from the red fabric, and a strip from the white fabric. The sizes can be found in the notes.

I ironed the straps double in the length, and then folded them inwards once more. Stitch the open edges together. I used the edgestitch foot #10D and moved the needle 2 steps to the left. I also used the “Integrated Dual Feed” function on my machine.

Slide the bags into each other, with the wrong sides facing one another.
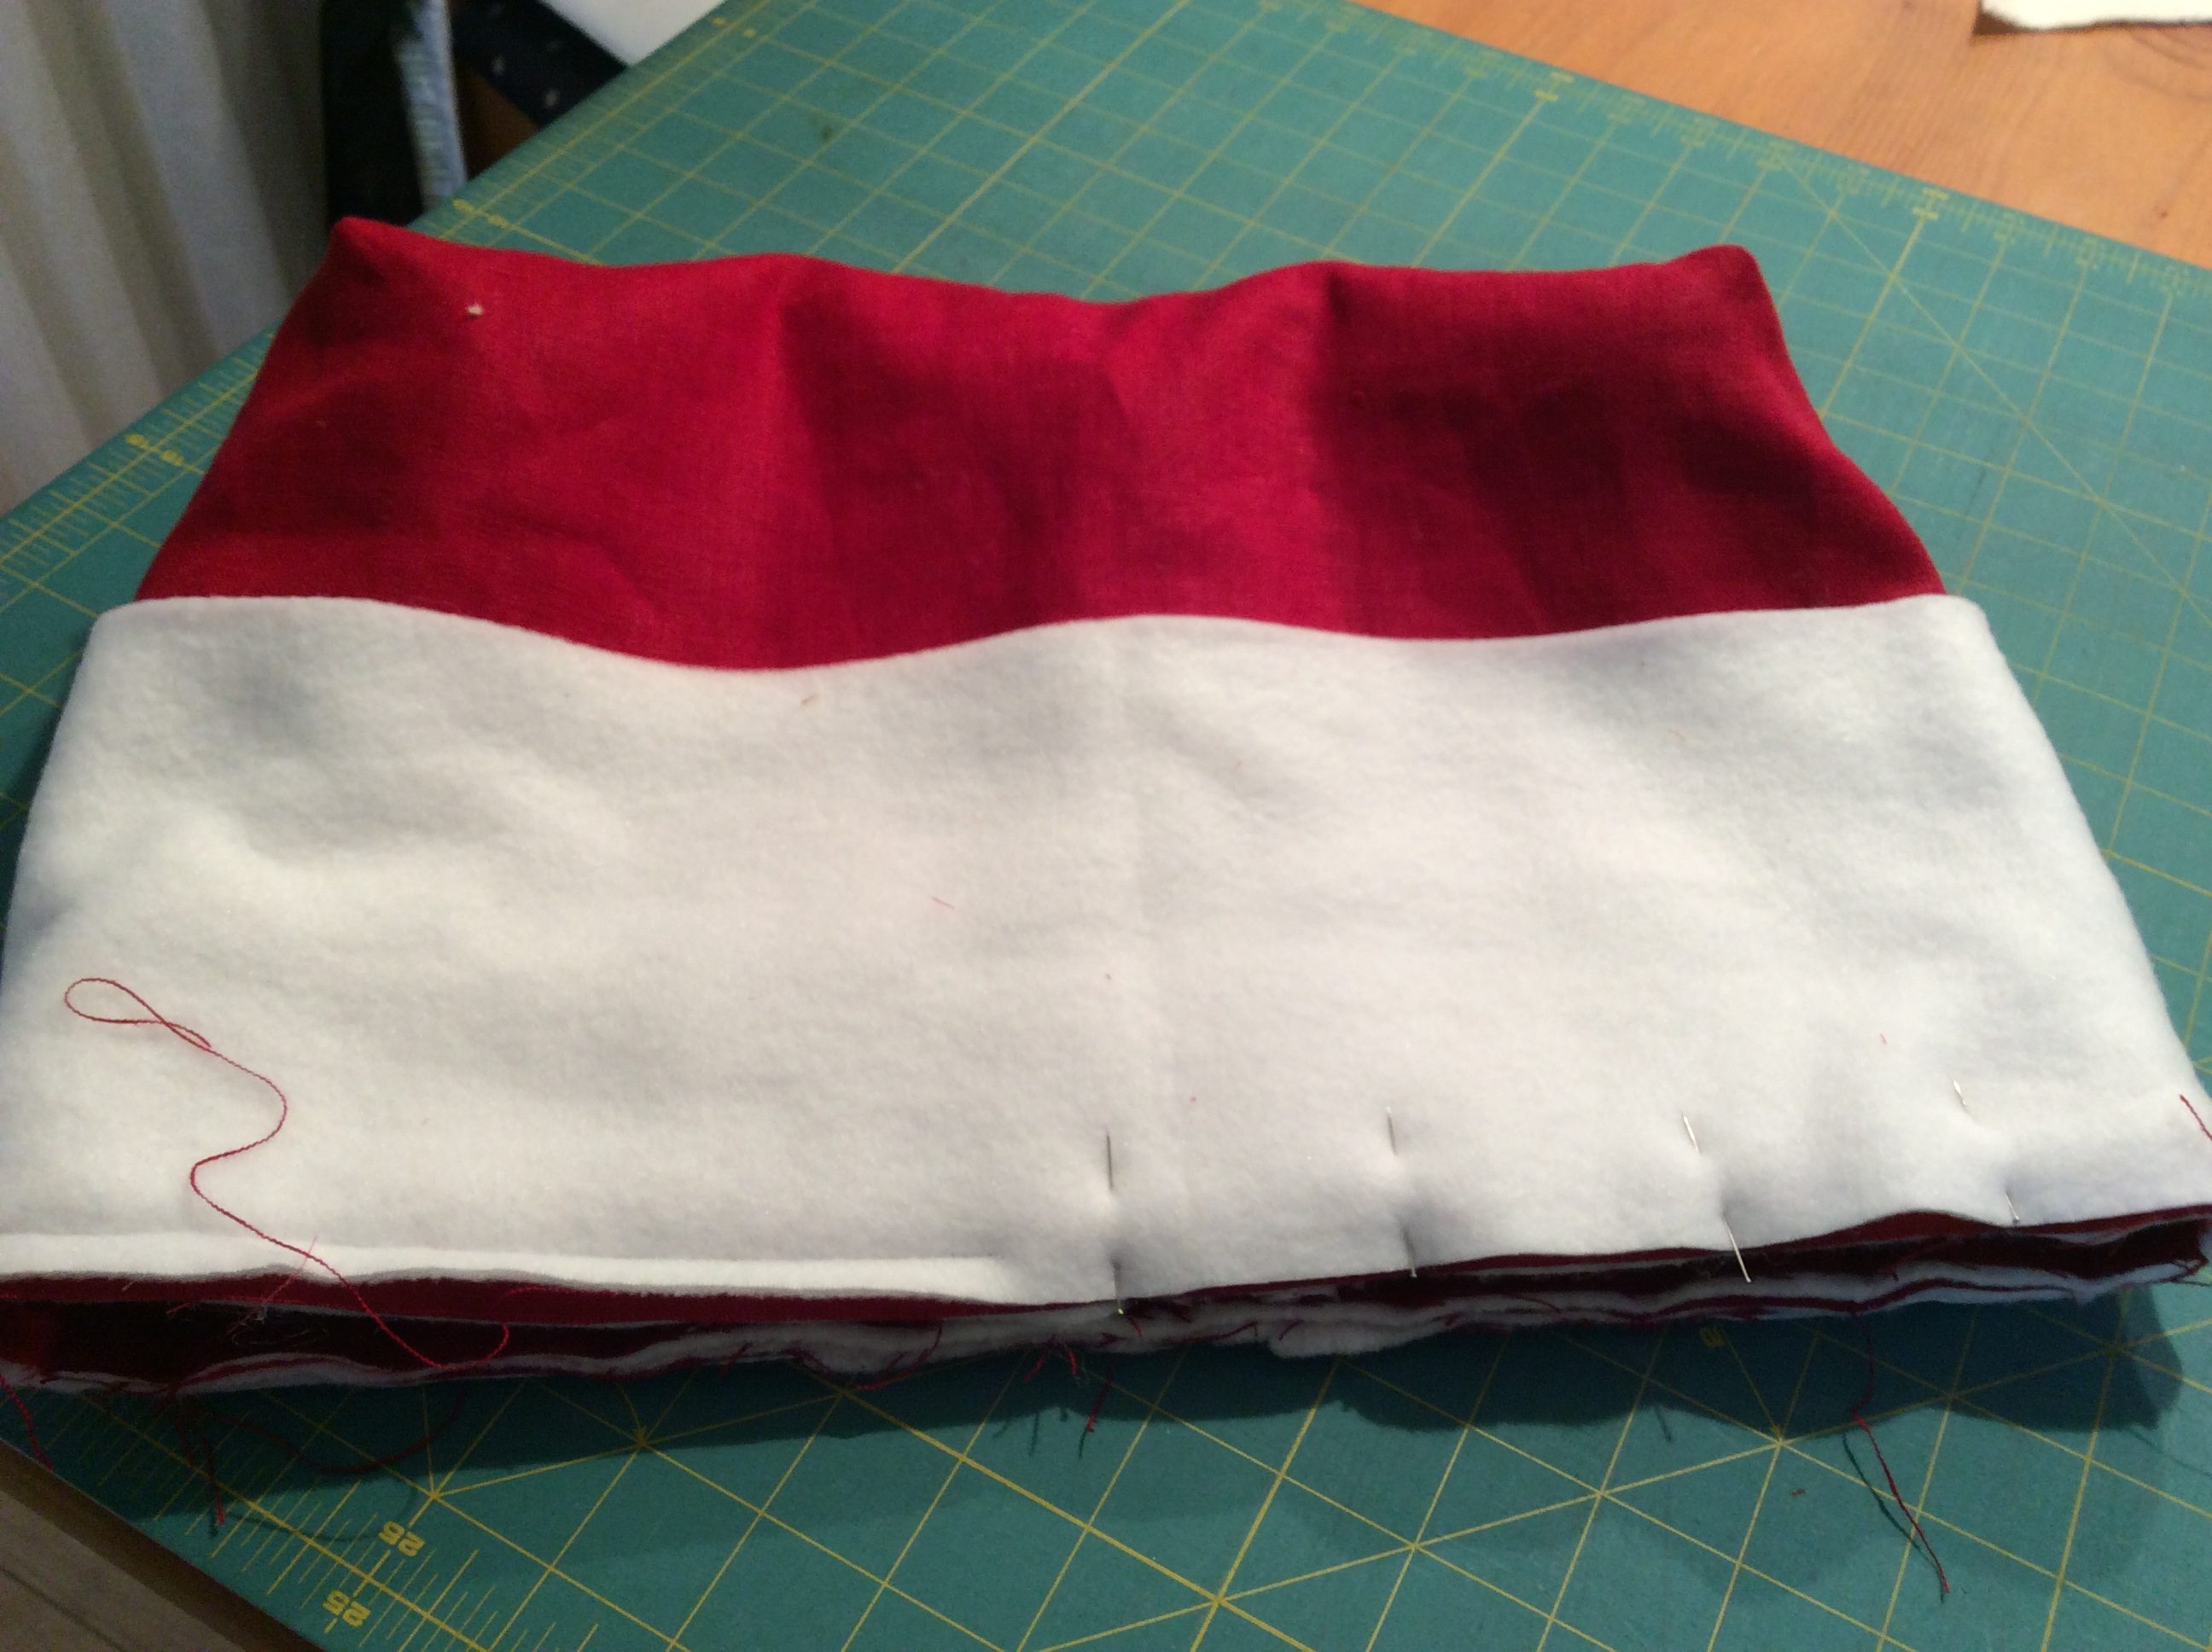
Close the border of the white fleece to form a ring, then place the right side on the right side of the bag, placing the pins across the seam.
Now place the points on the edges, with the open sides, and look carefully at the photo. You have to see the embroidery pattern! Pin it all together.
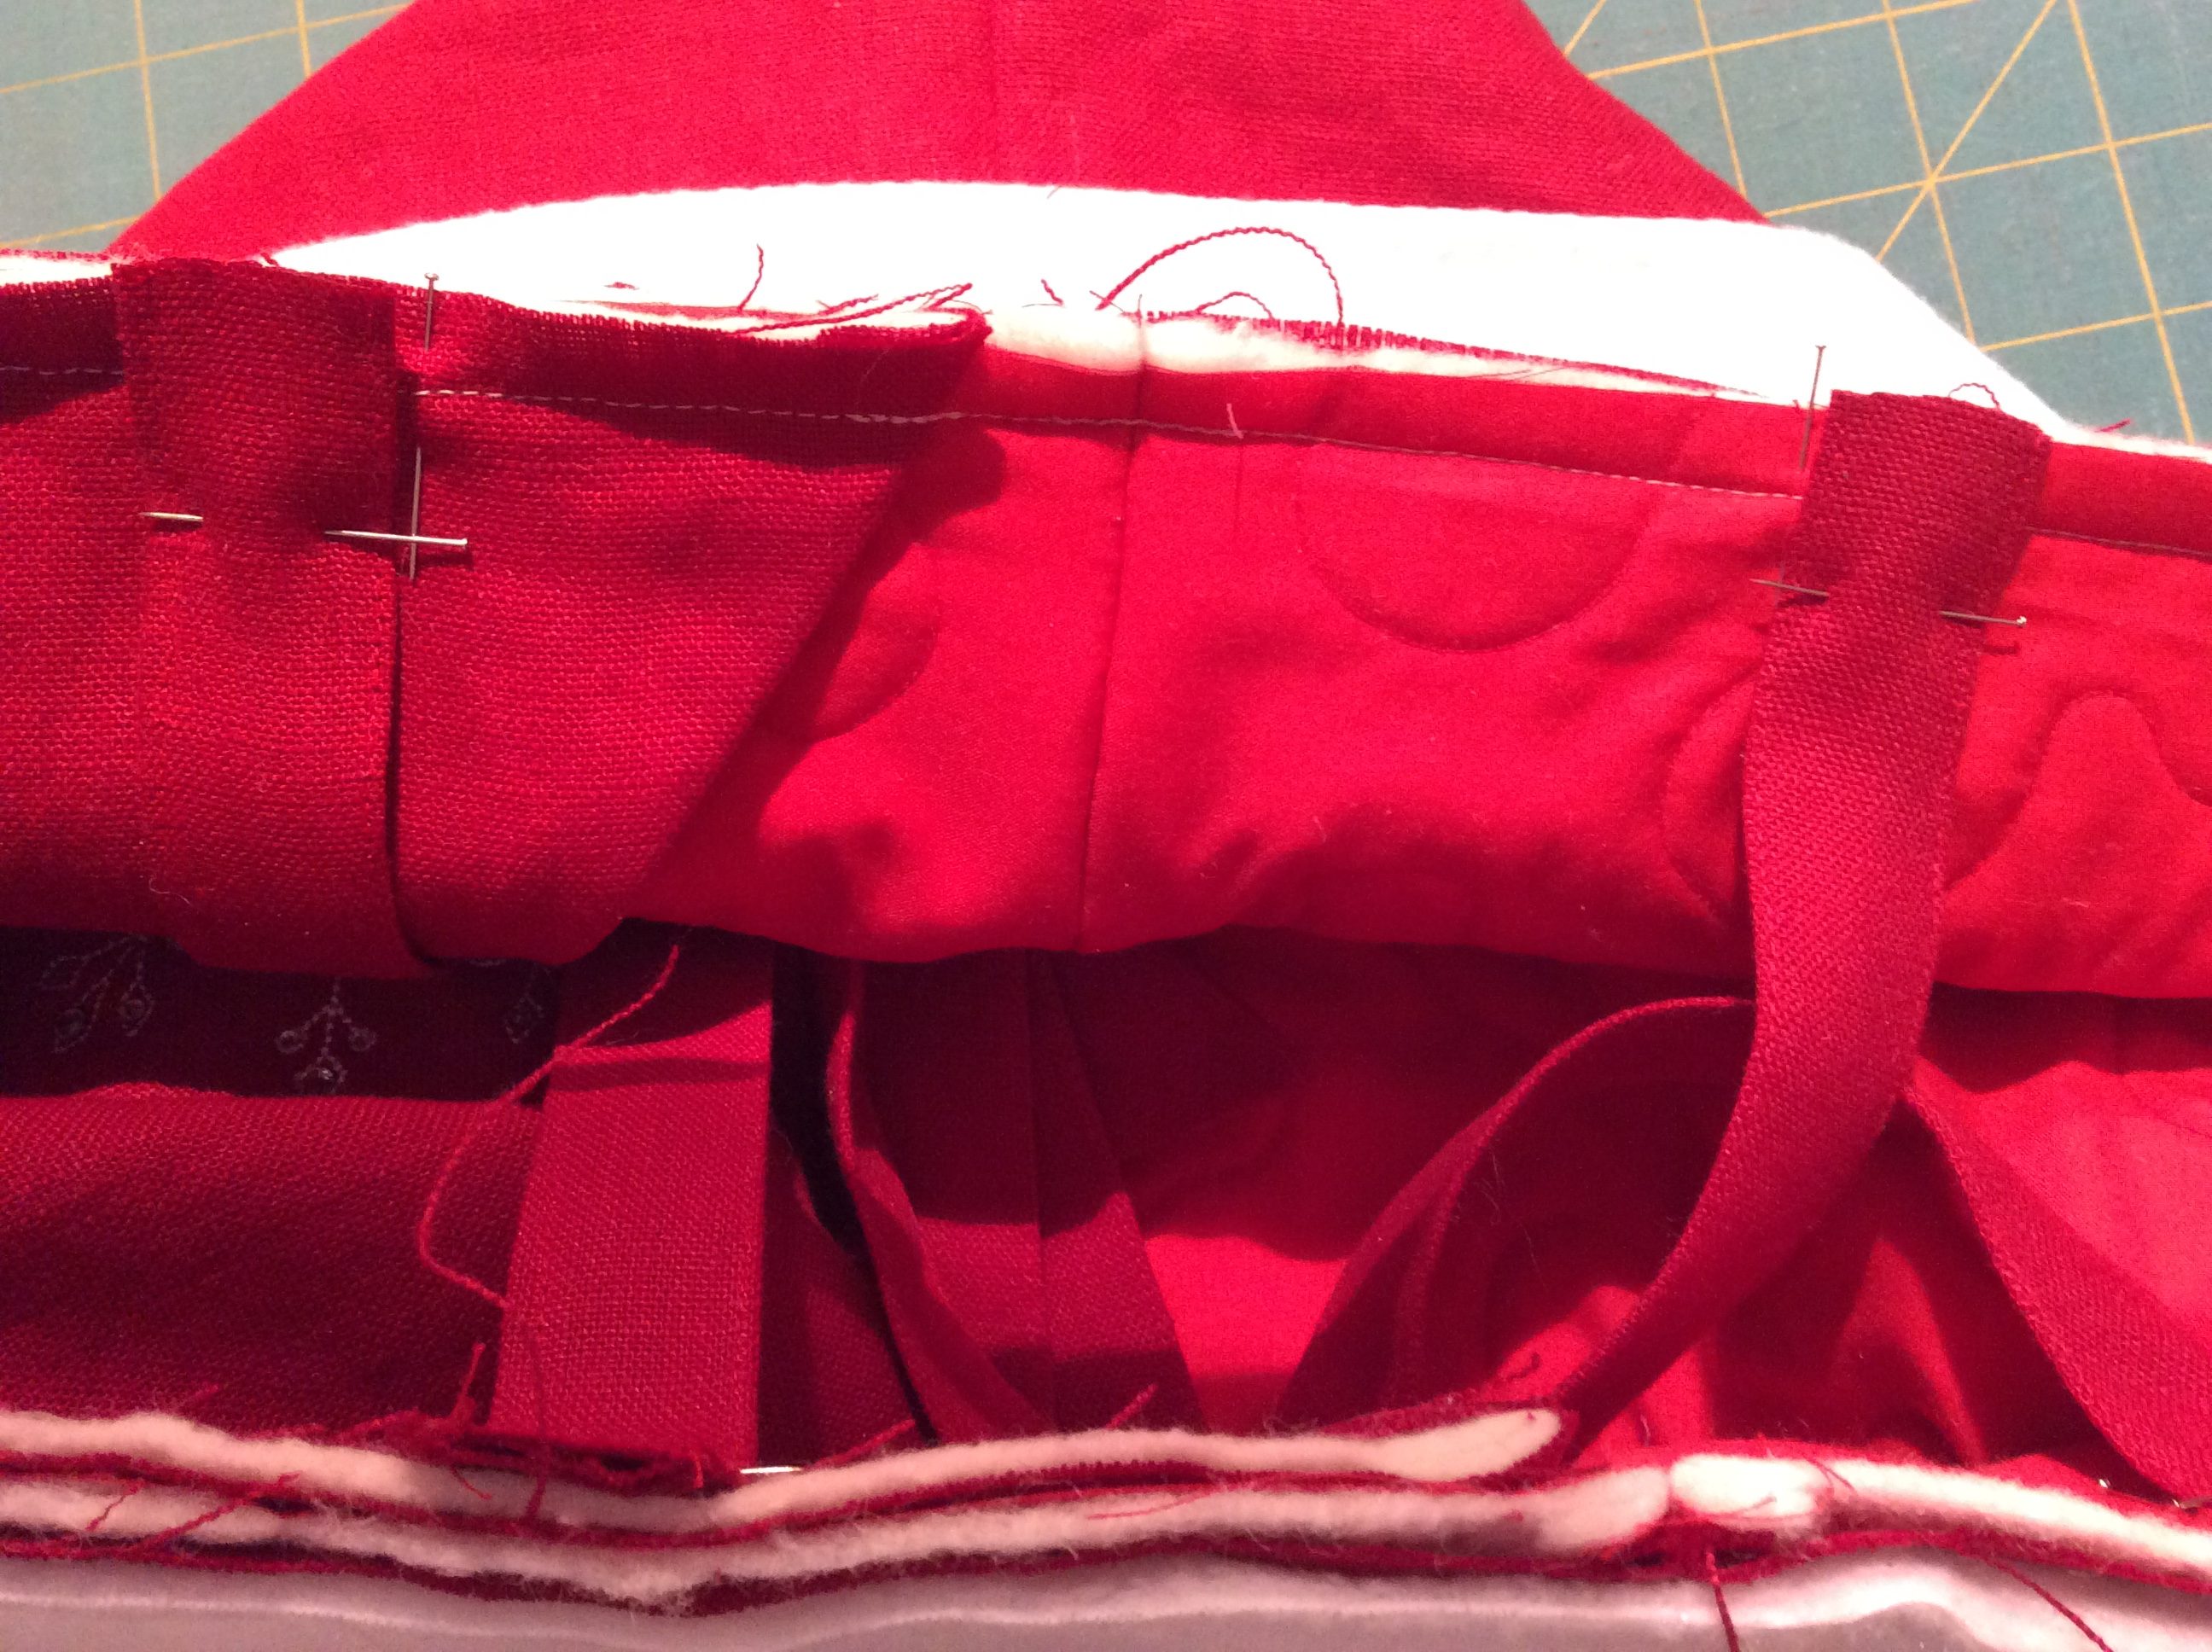
The straps are now also added. I placed them approximately 7 cm from the sides. Pin them together. Stitch the edges together using your sewing machine. Do it slowly! There are quite a few layers of fabric.
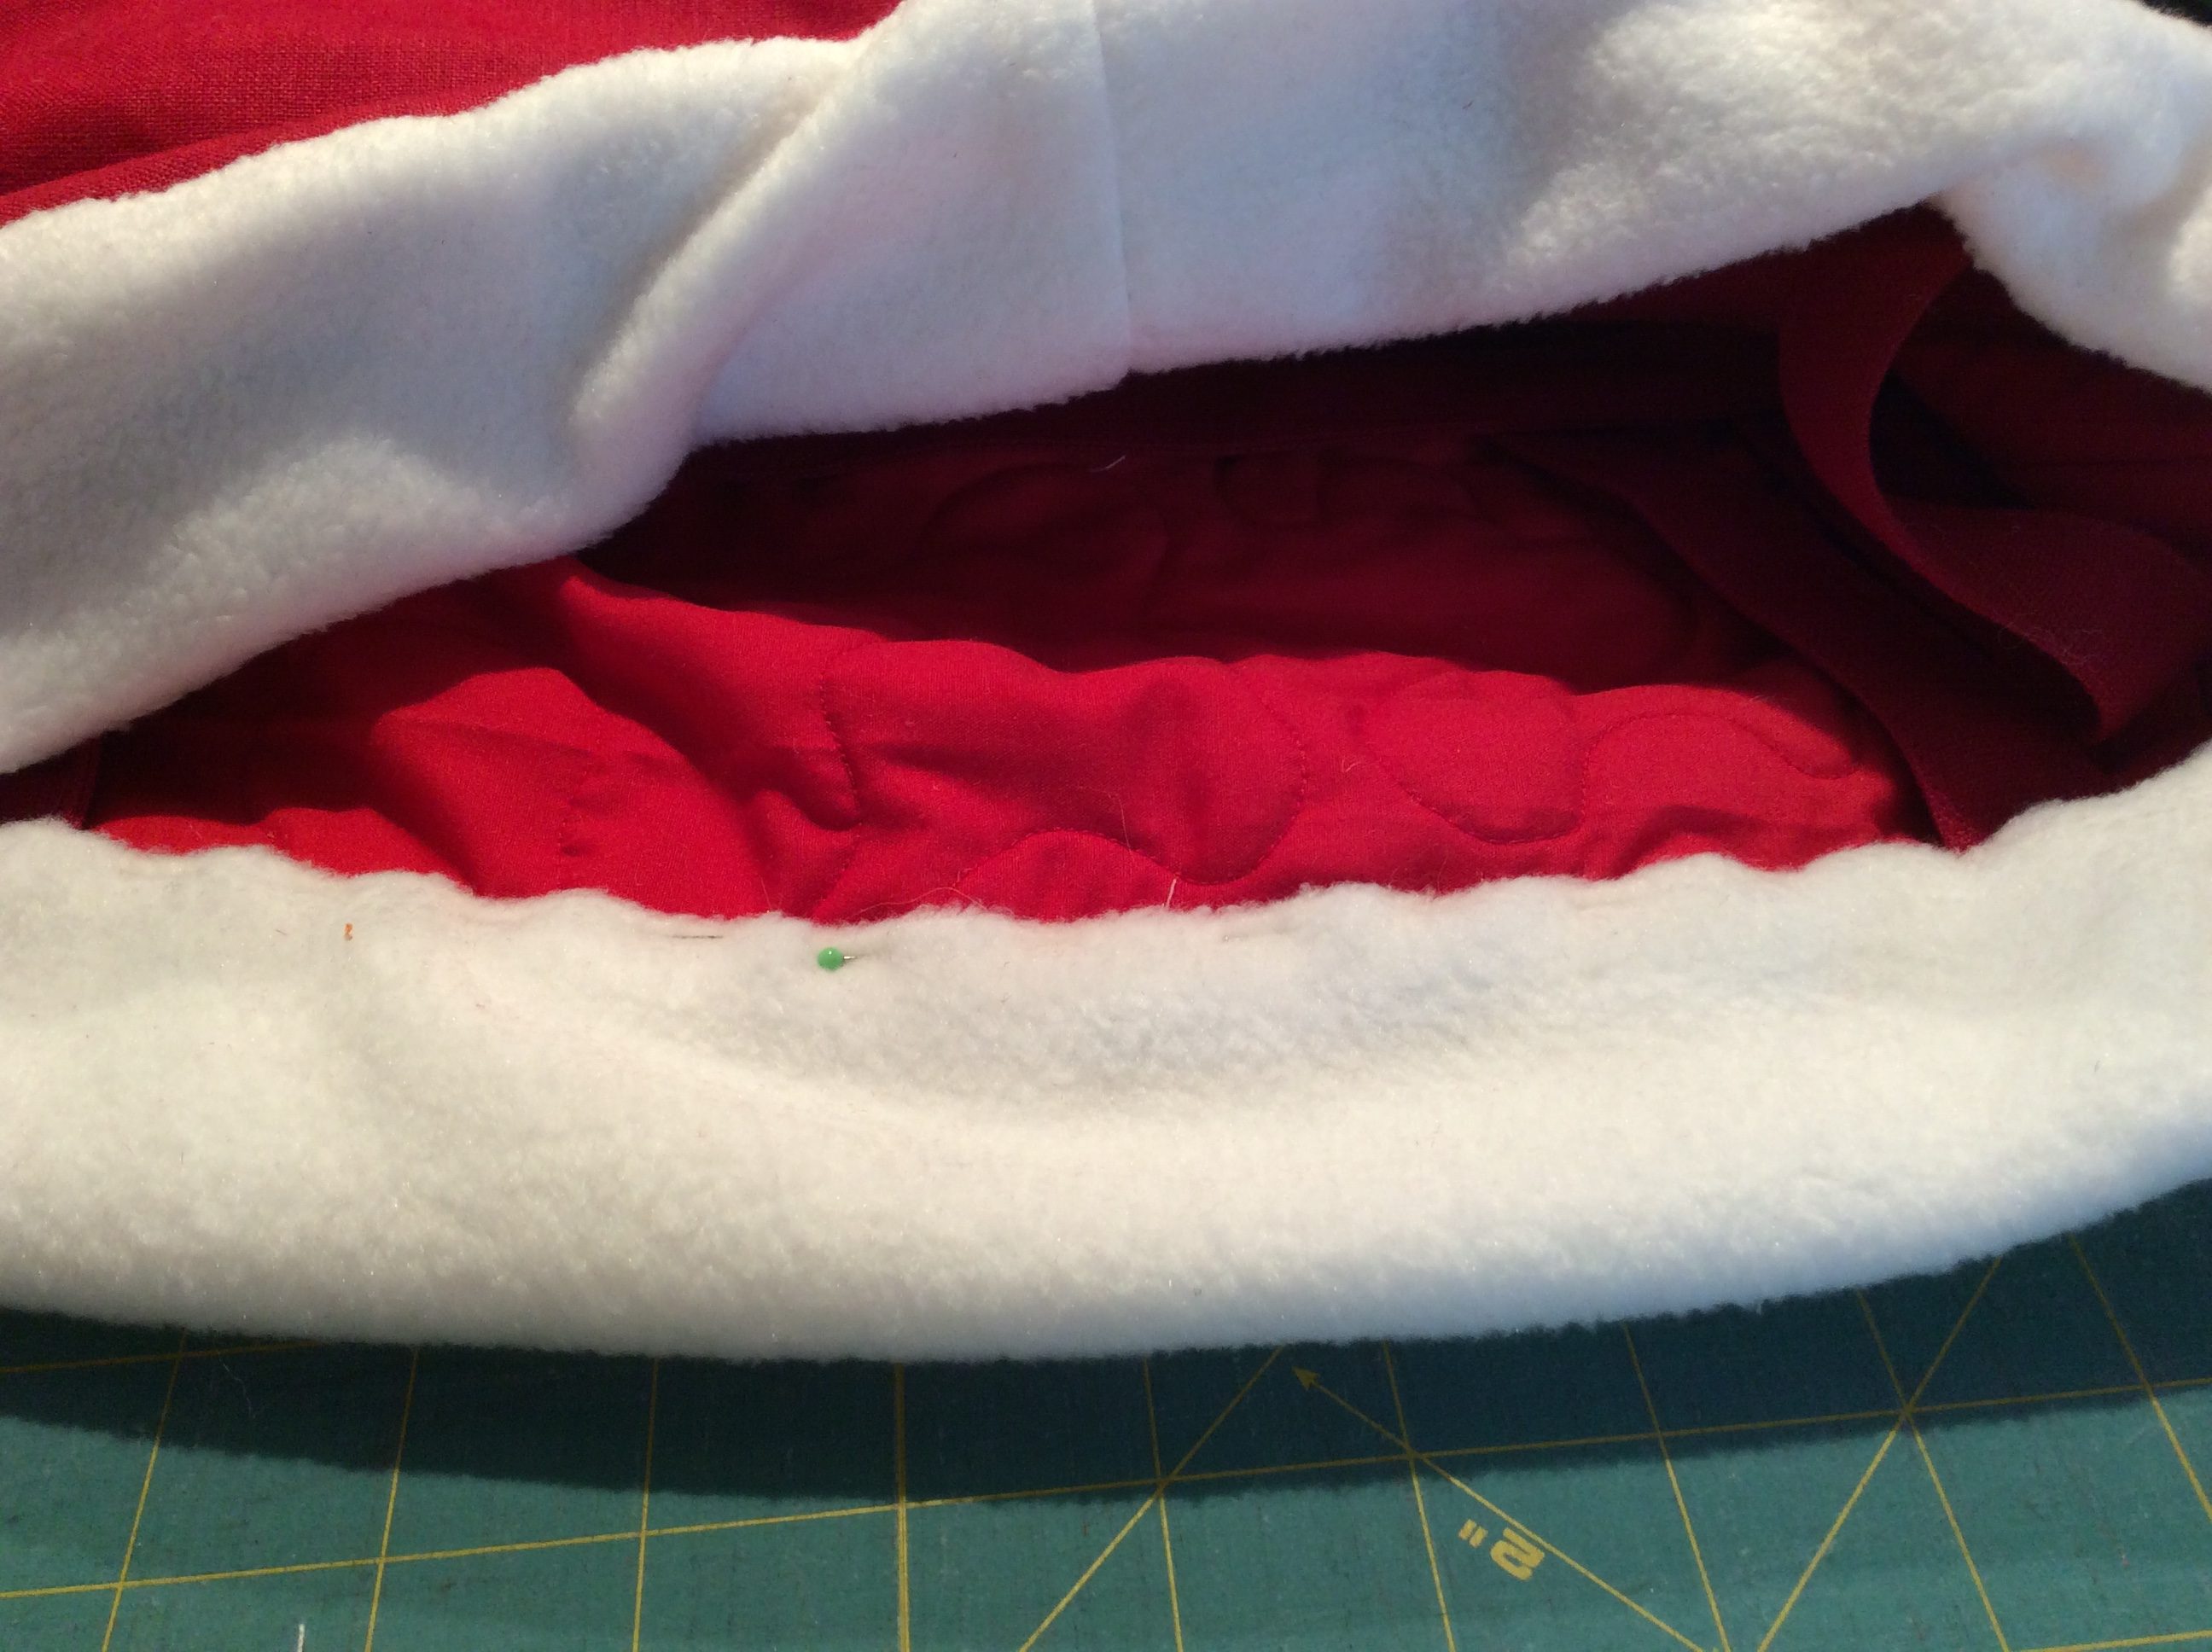
Fold the fleece border inwards, with a folded seam of 1 cm, then neatly finish the edge by hand. Do it invisibly of course! Finally, make a pompom with the white wool, and attach it as neatly as possible to the point. Fold the point over the opening; you can also attach a press-stud to close the bag. I didn’t do that.
And there you go, your Santa bagis finished!
Enjoy the Christmas period with your family and loved ones – this is my wish for you.
Warm regards,
Yvonne Müller.


0 Responses