 BERNINA Corporate Blog -
Dear community,
in this blog post you can find detailed instructions for sewing a tidy system for Junior’s knight collection.
Tidy system for Junior’s knight collection
Putting Junior’s knight collection in order
As a family with two lively boys, we have a lot of knight-related activity in our lives. Books, games, films…there’s something for every age group there. For years, the adult knights have been meeting online on large games platforms and immersing themselves in this fantastic world of heroes. For a long time we managed to avoid having weapons in the house. Yet our younger son picked up a sword and shield as soon as he could walk and he hasn’t put them down since. This year he was given a small crossbow for his birthday, a good decision. The cat is out of bounds. His big brother has taken up archery, and he’s pretty good at it. It was time to organise all the knightly paraphernalia.
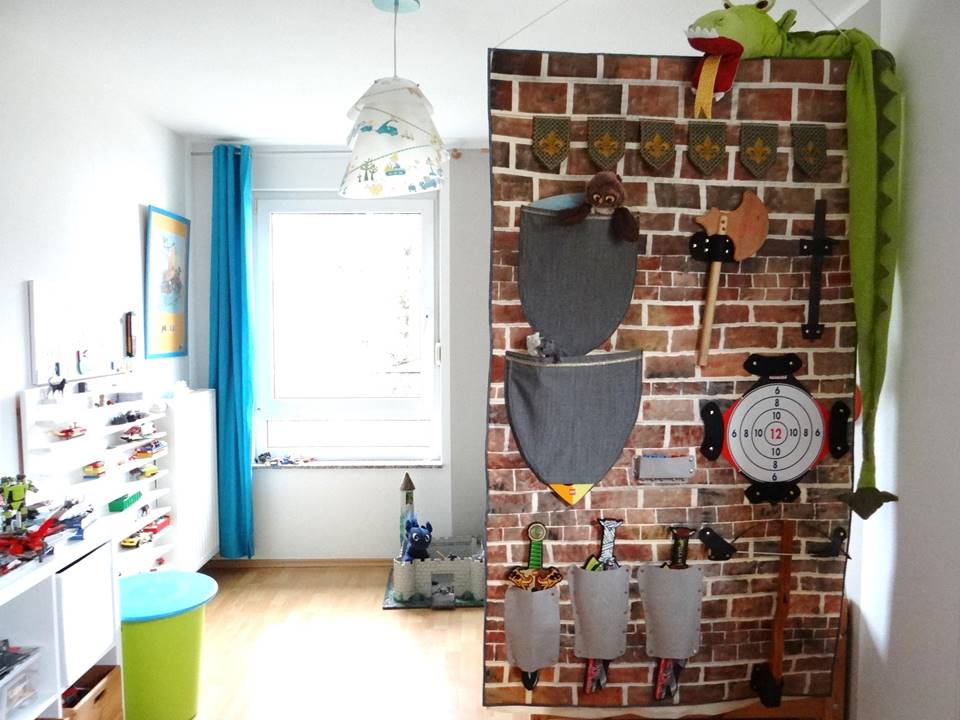
Our Knight’s Wall may give you inspiration. It can be adapted in terms of design, size and execution to suit the size of your child’s room and the number of objects you need to store. There’s no chance of hanging up his knight’s costume here.
First you need to prepare the back wall. This is basically made up of two layers of cotton, with a 5 mm layer of foam padding sewn in between (e.g. Soft & Stable or Style-Vil by Freudenberg). I simply chose to use calico, on which I painted a wall pattern using acrylic paint. My base measured 1.20 m x 2.10 m. Don’t forget to put newspaper under the fabric during painting. Start by creating the masonry joints using adhesive tape in different strengths (masked). Use unattractive Washi tape in various widths for this job. This makes it much more lifelike. Make sure the joints are well laid out.

The wall is made with acrylic paint and Washi tape
The acrylic paints (black, terracotta, olive green, red, bronze, cream) are thinned and then applied using a large sponge. A mixture of dabbing and wiping gives a good colour composition. Leave to dry and then remove the tape. Since the joints formed a rather harsh, clean contrast I toned them down a bit with black textile spray. This gives the wall its typical sooty character, like a castle that has been blackened by the smoke from a blacksmith’s fire. (If you don’t want to paint the wall, you can just look for fabric in a wall print.)

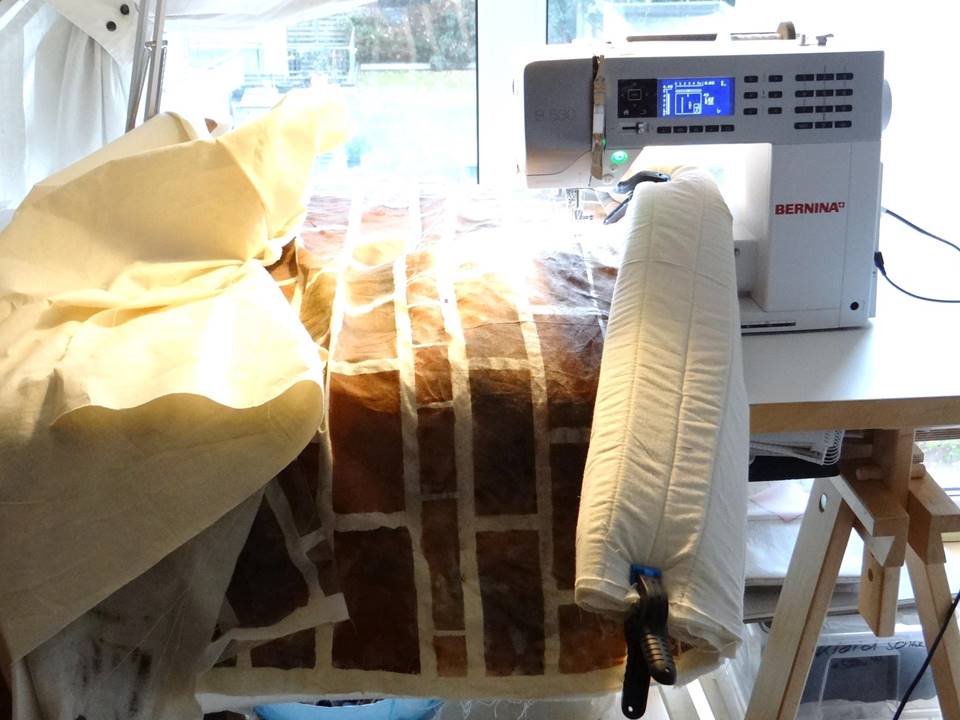
Sewing as a fitness workout
Now it’s time to sew the back, the foam padding and the front together. If you don’t have a Q24 in the corner of the room, you will reach your limit here. I started stitching in the middle with a simple backstitch, and I only sewed the horizontal joints, only the rows. The stiff layers of fabric are easily tamed using spring clips from DIY shops. In order not to turn the whole thing too often (it may be light as a feather but it’s rather unwieldy), it makes sense to set the machine to reverse and to sew every other seam backwards. It actually works best if you stand up to do this.
Spring clips from DIY stores hold the fabric firmly in place.
The finished quilted wall is then straightened along the edges. The painting and sewing make the sides wonderfully bent and crooked. A long ruler, tailor’s chalk, a sharp pair of scissors and a cushion under your knee does the trick. I cut my wall back to 1.20 m x 2.10 m.

Straightening the edges
Once you know how wide your wall is, you can make a hanger to go on the back. Cut a piece from the back fabric (I used calico again).
- Length = wall width minus 3 cm
- Width 26 cm
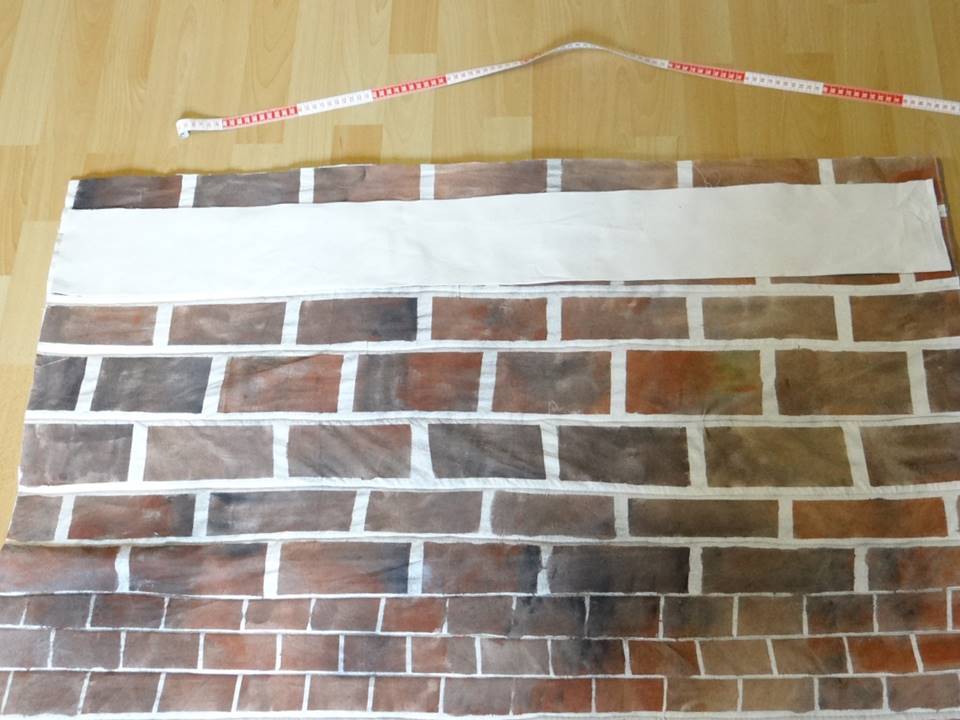
Cutting out a hanger
Iron the fabric along its length, sew the narrow ends together, right sides facing each other, turn inside out and sew along the long, open side. This seam will provide stability when the wall is hung! Fasten it to the top edge on the back of the wall.

Hanger
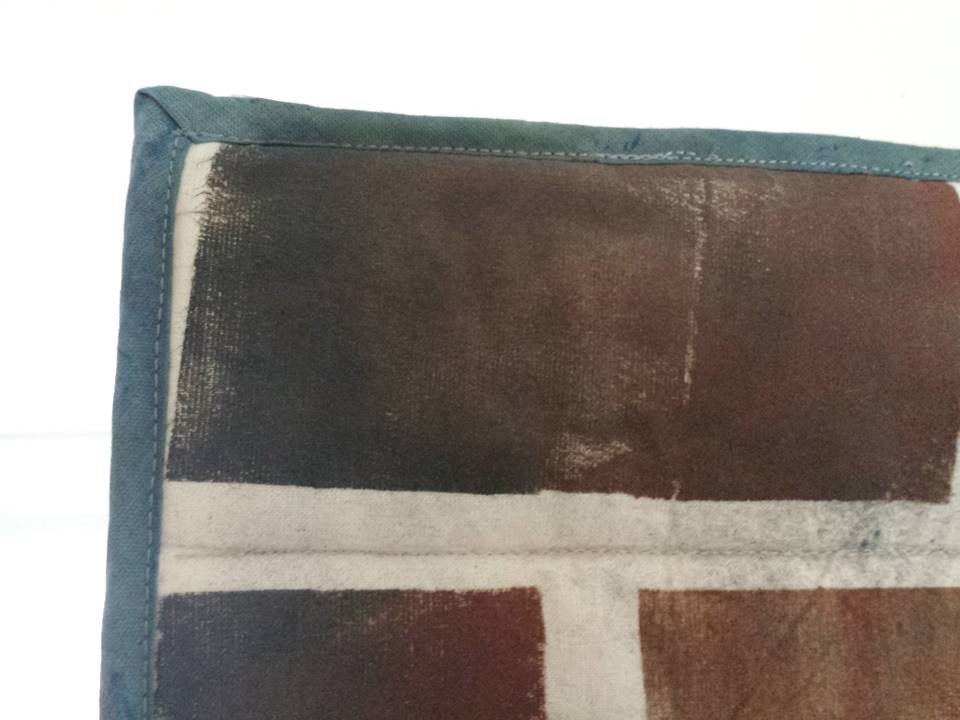
A neat border
Edge the entire wall with bias binding in the colour of your choice. Grete has already shown you how to do this in this tutorial.
(As I only had white bias binding I dipped it briefly in some fabric dye and used dark blue and yellow to create a zinc tone.) If you are working with regular bias binding it first needs to be ironed onto one of the sides and sewn on, otherwise it is too narrow. On the back, sew the strips into the hanger.
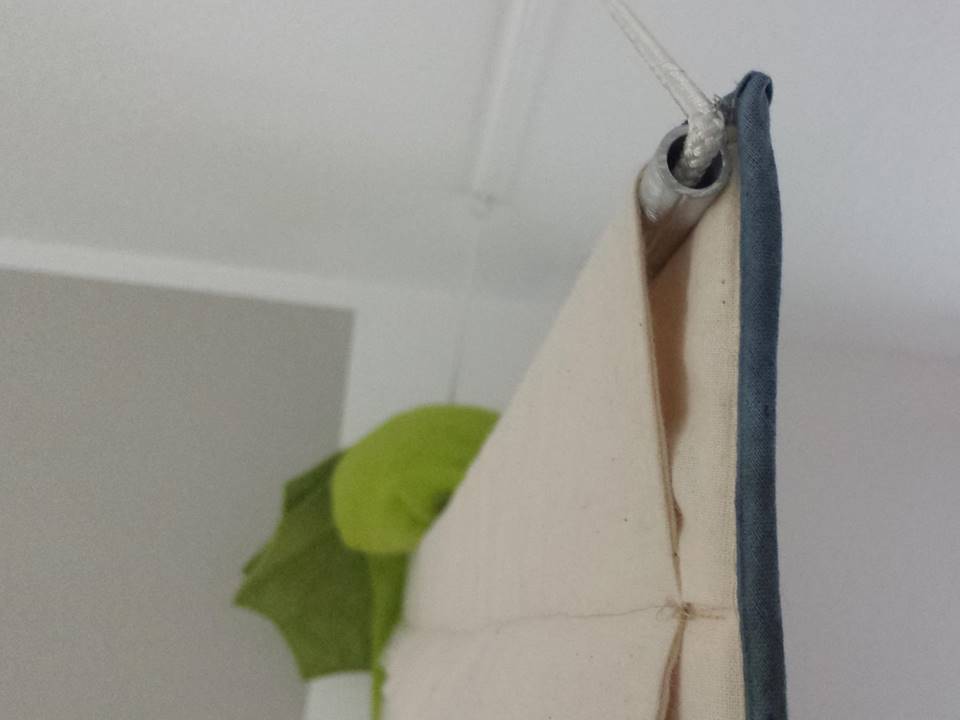
Hanging with a tunnel
The loose side of the hanger on the back is simply sewn into a wall joint. It won’t be visible later on. It has to be stable enough to cope with lively little knights, so a classic hand-sewn hanger will not be strong enough! I usually use a lightweight aluminium tube cut to the correct length, through which I feed a nylon cord. The cord can be shortened or lengthened as required and two hooks in the ceiling are enough to hold it.
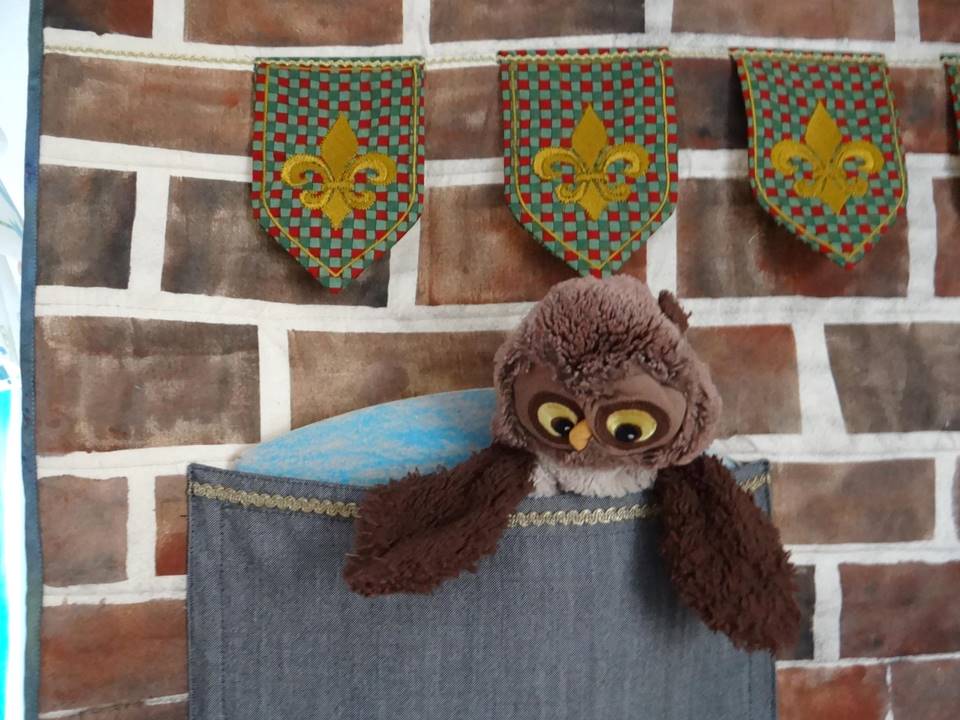
Pennants

Template
The basic wall is ready and can now be designed as you want it. I used my embroidery machine to conjure up a few pennants. But a sewing machine will also do the job. Place the template on the fabric and cut it out double thickness. On one side you can then appliqué, paint, plot, embroider or spray a motif. In my case I used the French lily. Dragons, coats of arms – anything is possible! Sew the two pieces of fabric together (i.e. sew front and back sides together, right sides facing each other, trim the seam allowances, turn inside out and iron). A felt pennant can simply be cut out.

Speedy little pennants
Place the open edge of the pennant along one of the wall joints and sew it on – the motif is underneath, the tip of the pennant is pointing to the top of the wall. Fold the pennant down and stitch it down with some gold braid or other ribbon.
When the wall is ready, you can arrange things such as swords, shields etc. on it, preferably with your young knight. A home-made, beautiful, small metal sword was placed high up out of reach of small visitors, which will save our furniture from destruction! Foam rubber swords are lower down for easy access – after all, they are needed for our nightly goodnight-story battle between the brothers. An ammunition chest is always handy.
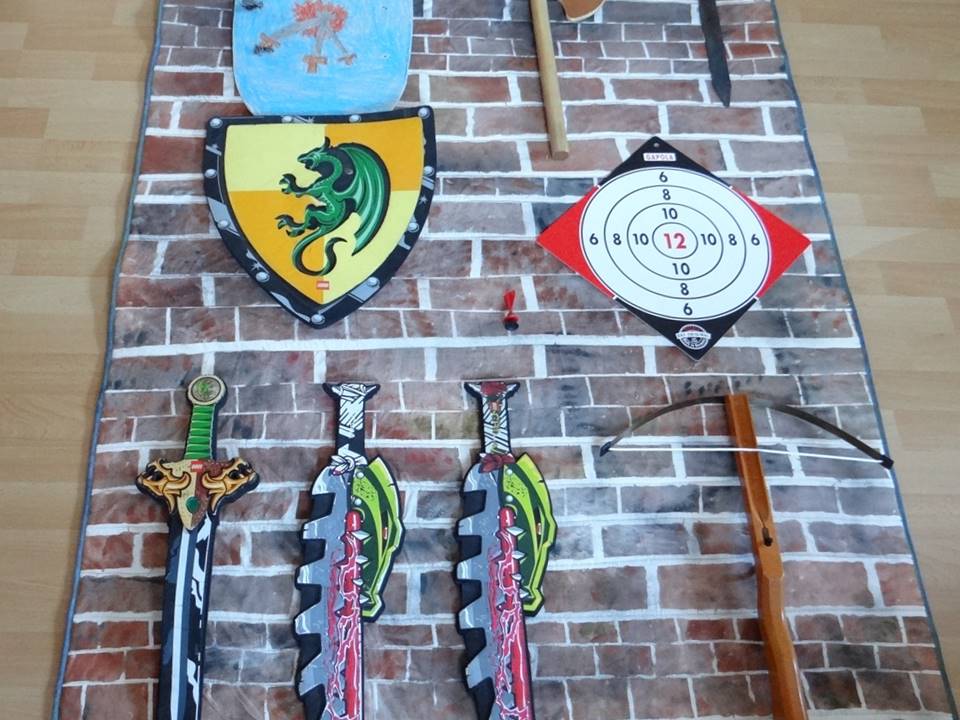
Lay-out
Individual templates need to be created using plastic film to make the brackets that will later hold the weapons. Place the plastic film (e.g. from DIY stores) on each object, pin in place, draw the outline with a marker pen and cut out the shape.
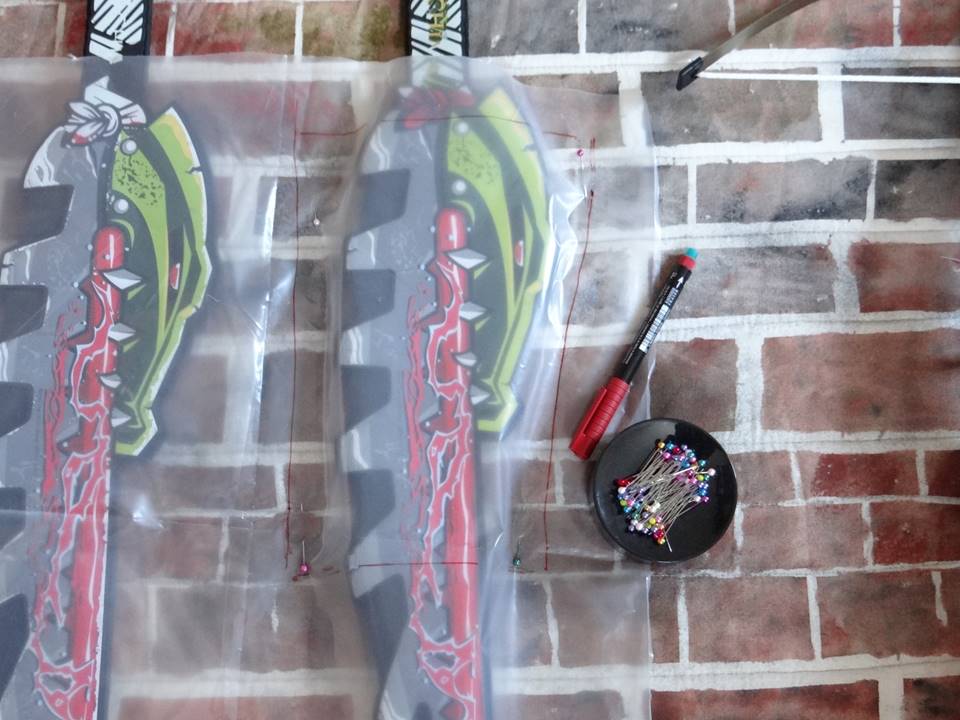
Use the film to mark out the brackets
Pin the film templates firmly in place so that nothing can fall out of them when the wall is hanging. Mark the position of the brackets on the wall using chalk.
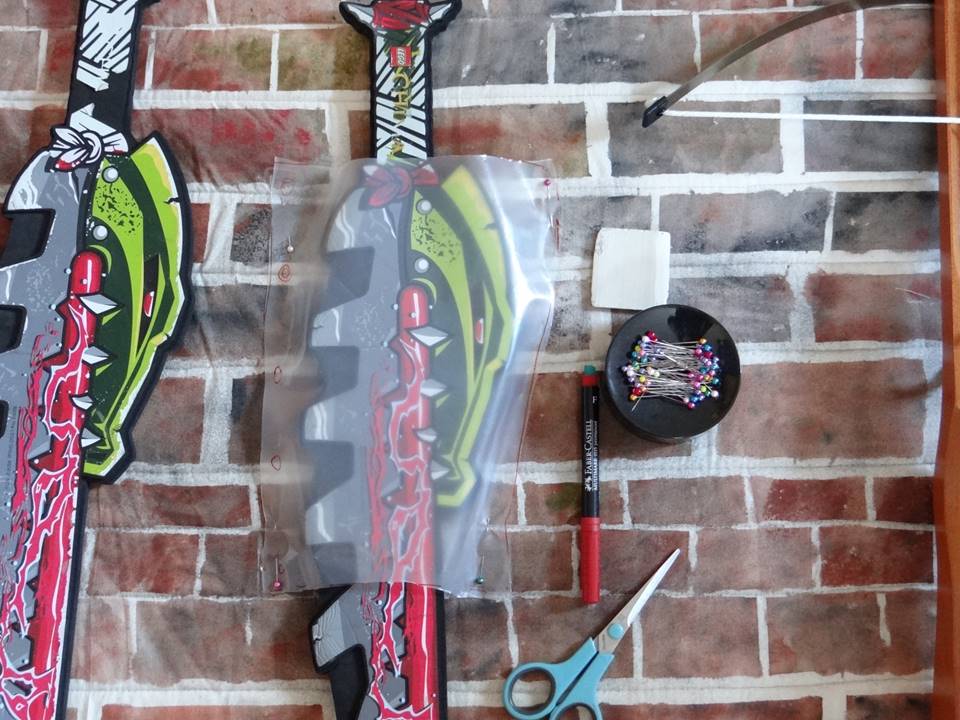
Mark the brackets on the wall
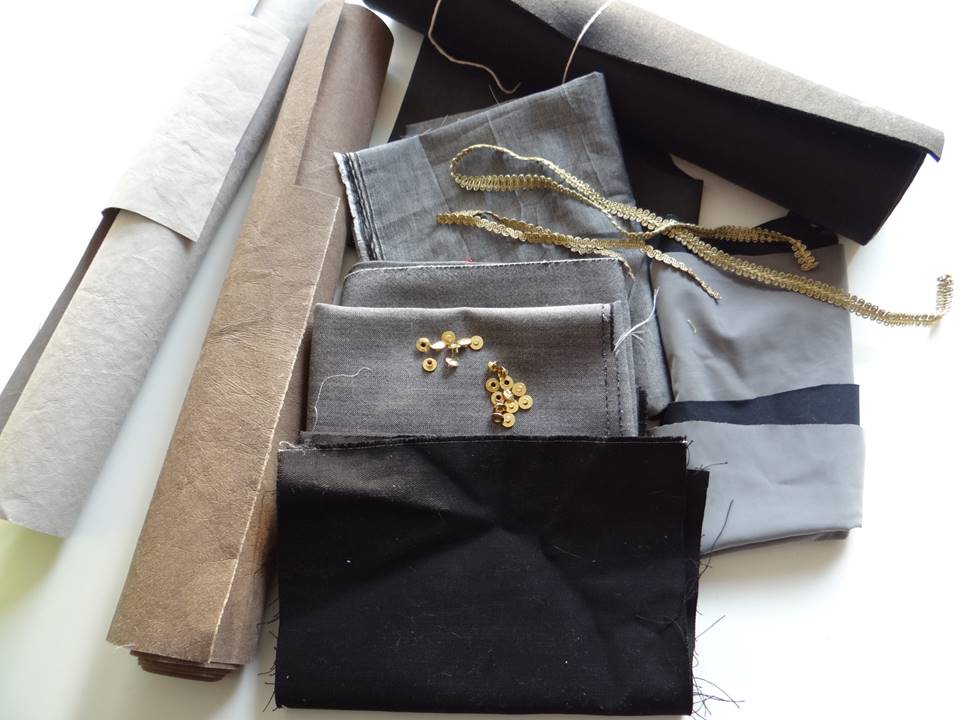
Material for the brackets
You can choose what material you use for the brackets: grey, black, metallic fabric remnants, felt or SnapPap. Use gold or silver braid for the decorations and fabric screws (or bookbinder screws). They should look like solid knightly handiwork.
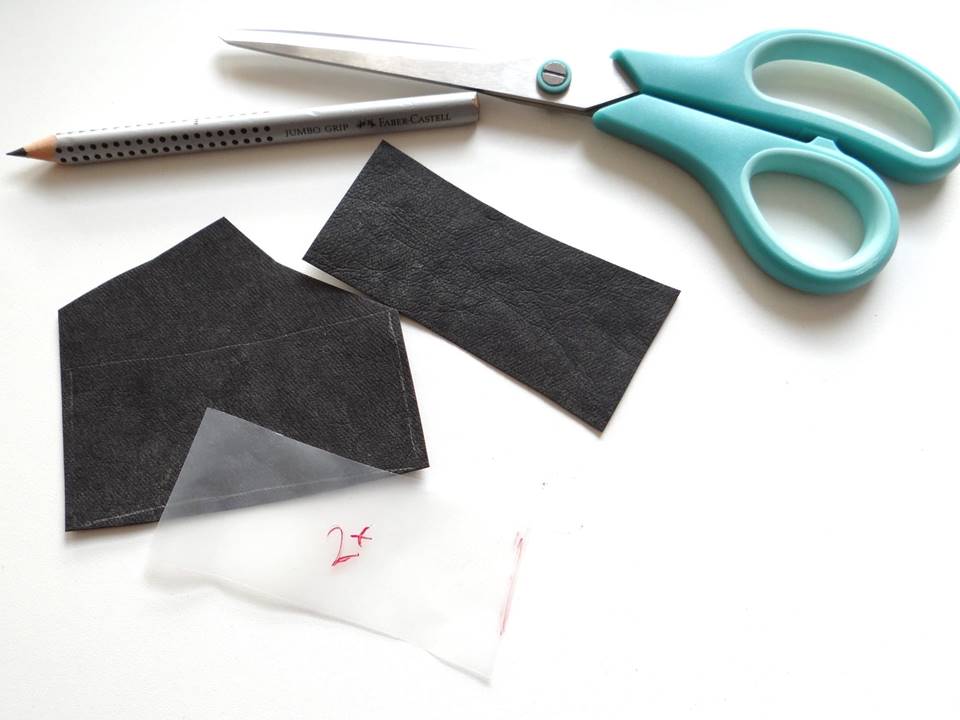
Tracing the templates
Trace the templates onto the material and cut the pieces out. SnapPap and felt do not need any seam allowances. For fabrics like the one I have used for the shield bracket, you naturally need to include seam allowances so that you can create a clean finished edge.
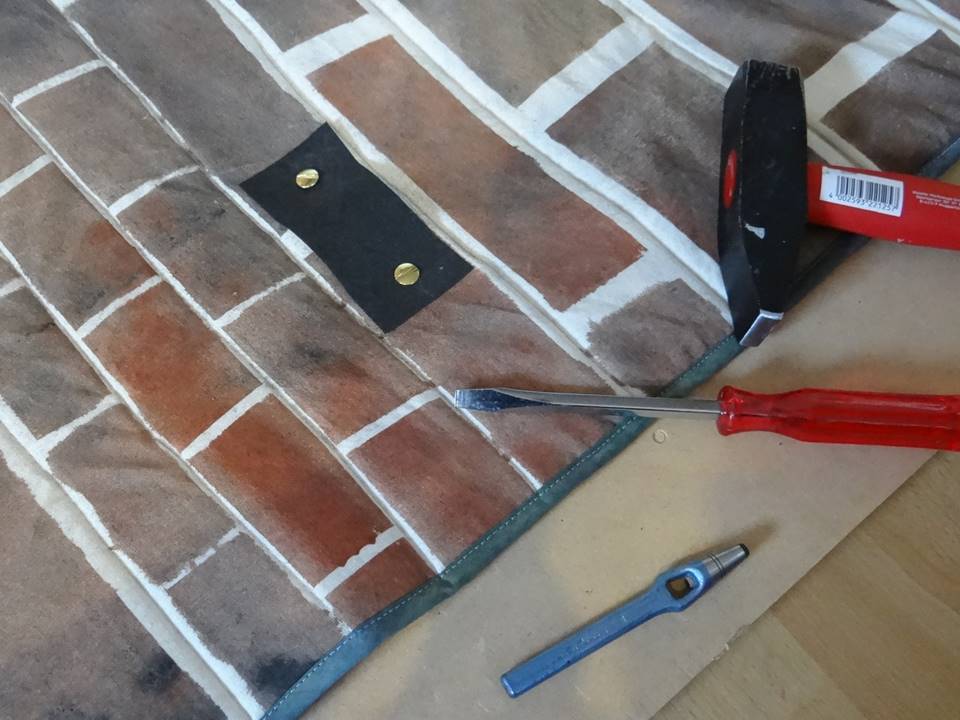
Fastening the brackets to the wall
Arrange the brackets on the wall, put a board underneath and piece by piece use a hole punch and a hammer to create holes through all the layers, insert the screws and tighten. When you get to the middle of the wall you’ll be wishing you had two or three extra arms. Be careful not to make the holes in the cross seams of the wall.
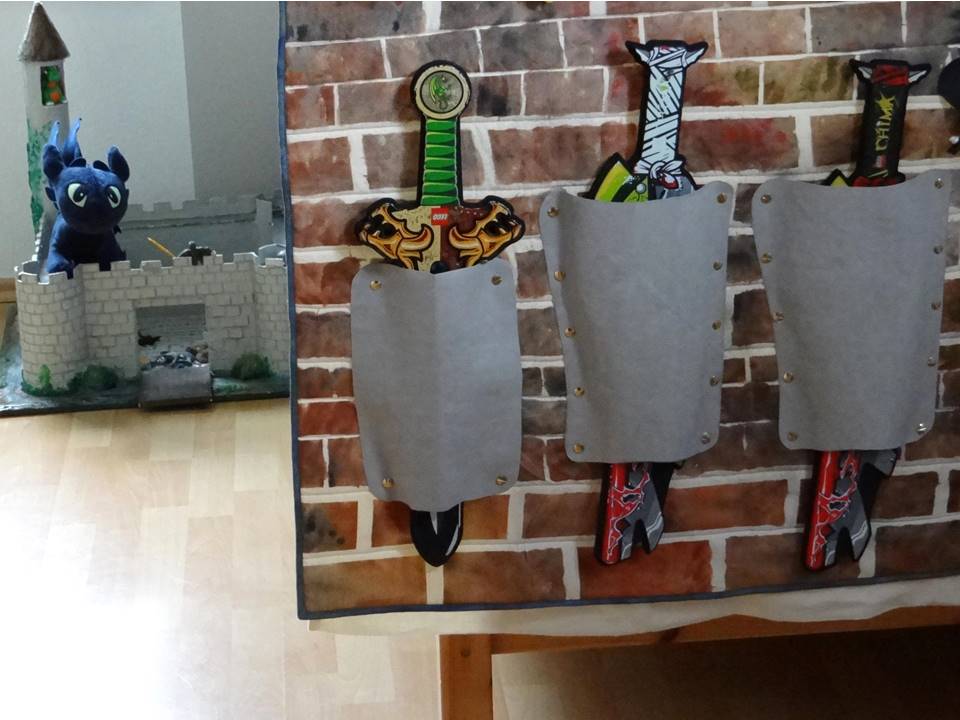
Hanging up the shields
Like the pennants, the holders for the shields are sewn double, turned inside out and sewn up on the sewing machine.
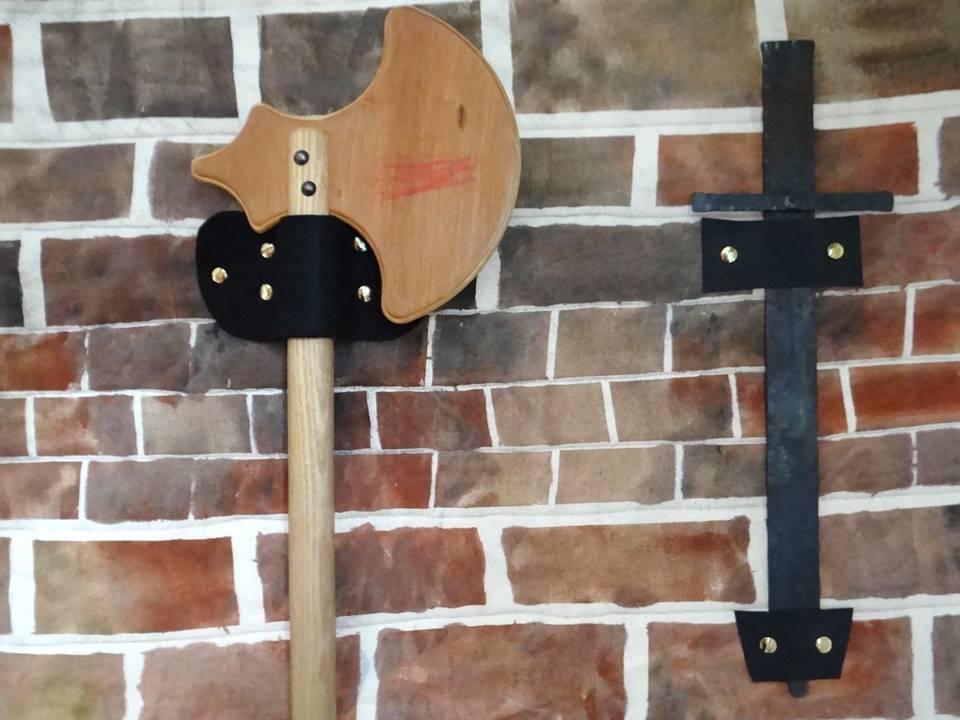
Detail of battle axe and favourite sword
Detail of foam rubber sword
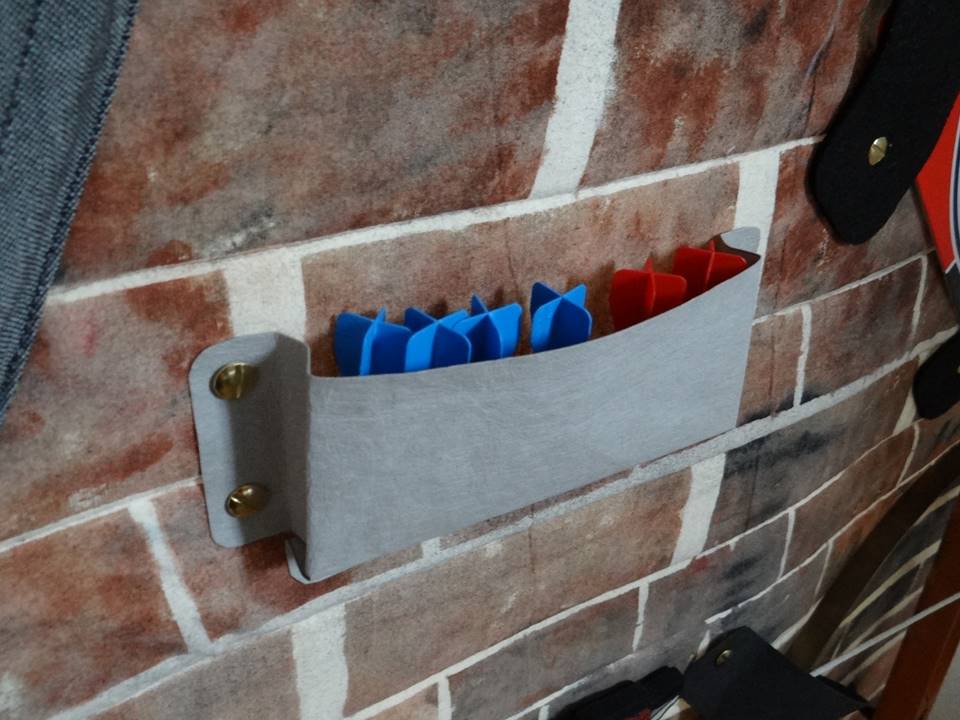
Ammunition chest
Sewing for children is the motto of this year’s Bernina Advent Calendar. And I’m delighted to have the opportunity to share this project with you. I’m sure I wouldn’t have thought of it if I hadn’t been prompted. I hope that it provides inspiration for you to help your own little knights bring a bit of order to their rooms. A project that mother and son can tackle together when swords and shields are back on the wish list.
Wishing you a wonderful Advent and a relaxed run-up to Christmas, Sandra


0 Responses