Hello all,
Let’s continue with our 3D Poinsettia Tutorial! Here’s last week’s article with part 1 of the tutorial: 3D Poinsettia Tutorial, Part I In this first part of the tutorial, I showed you how to digitize the Poinsettia on your PC with the new BERNINA Embroidery Software 8.
In part 2 of the tutorial I would like to to show you how to embroider and combine the different parts of the design.
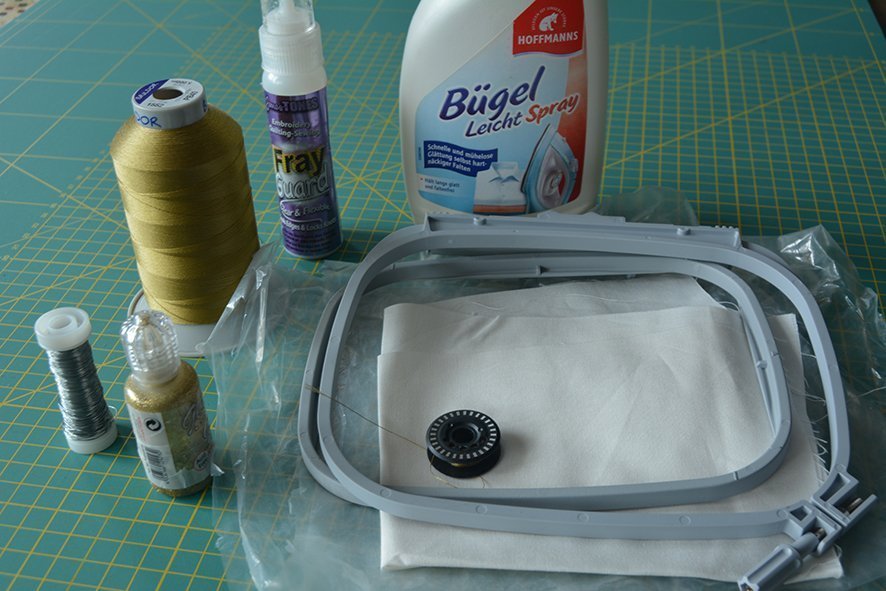
For this, you will need:
- approximately half a yard of your favorite colored cotton (for example white, red or bright pink, alternatively you can use thin felt)
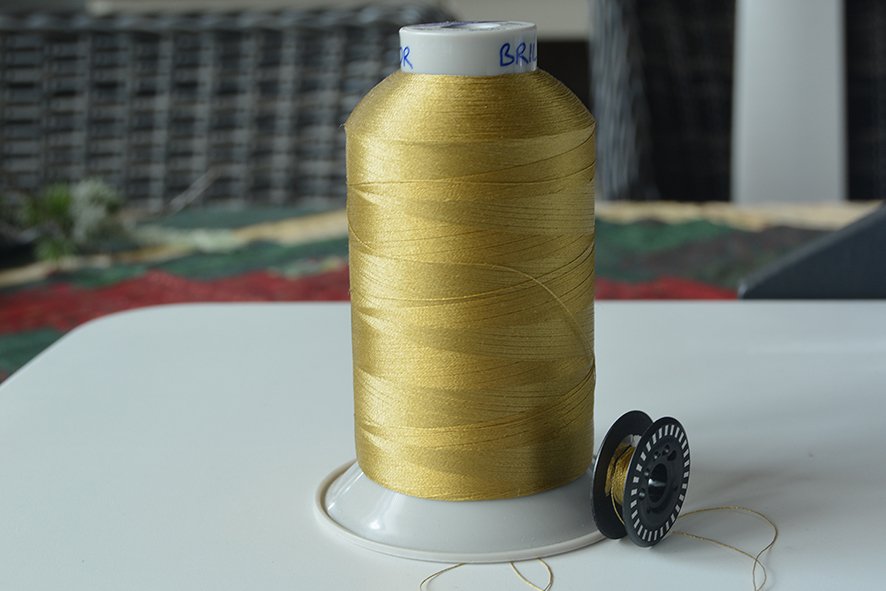
- embroidery yarn in matching colours ( I used Brildor, colour 1552)
- wash-away stabilizer silver wire with copper core, ø 0,30 mm, 50 m
- Fray check
- 1 bottle of metallic glitter glue
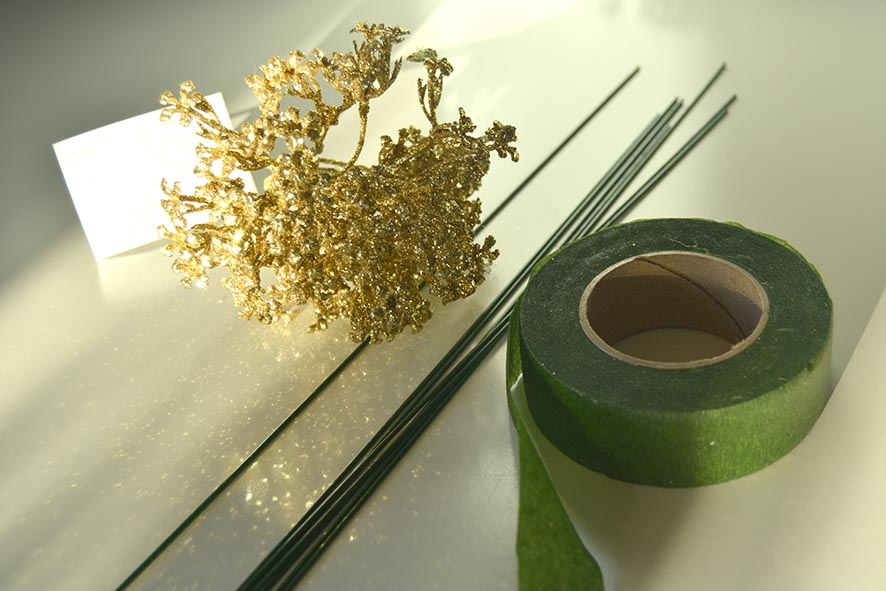
- dark green florist tape
- green hobby wire, 10 inches
- Material for the flower pistill
- and other decor materials for the arrangement: bowl, dry foam brick, pine branches, candle holder
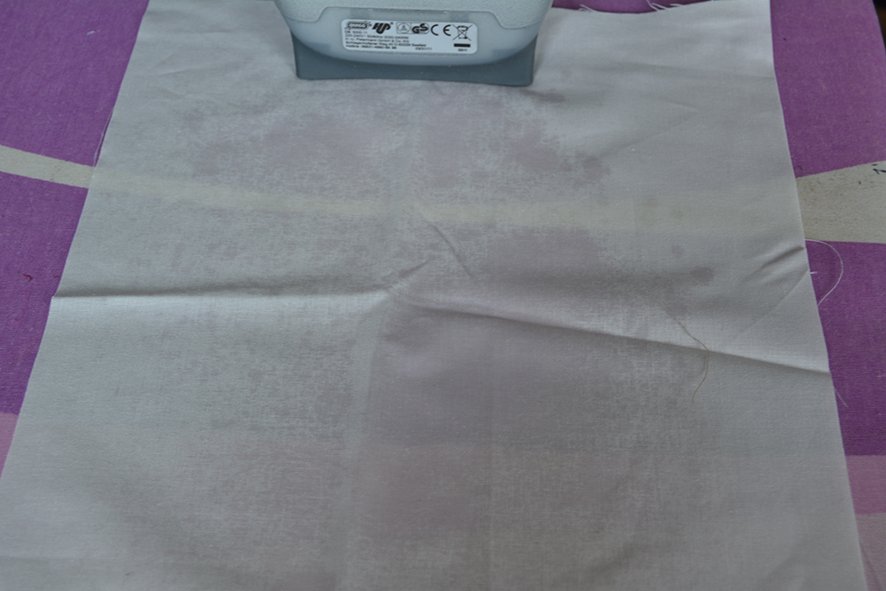
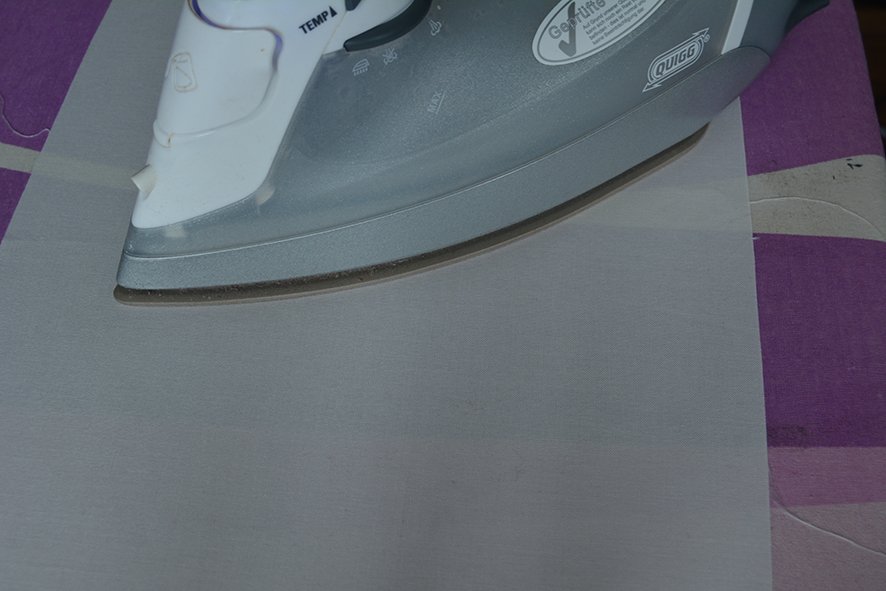
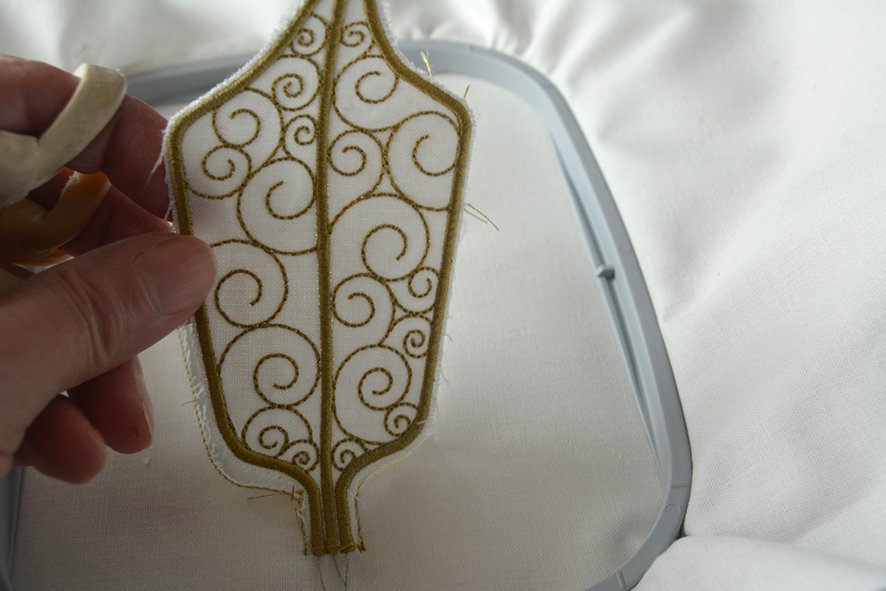
First, embroider the individual leaves. Export the digitized leaves onto a USB stick and load it on your sewing machine. Strengthen the cotton with stirrup, so the fabric can be easily cut out.
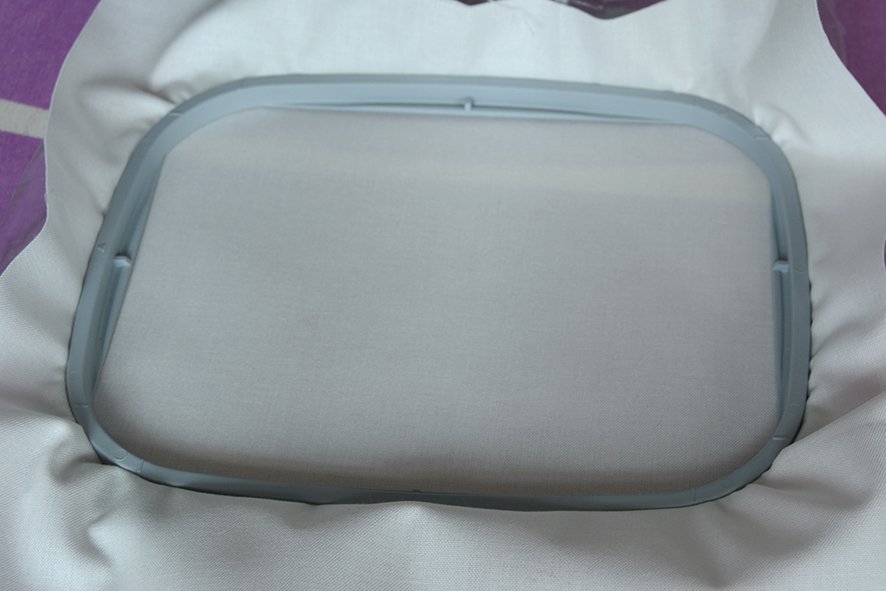
Hoop it together with the water-soluble stabilizer:
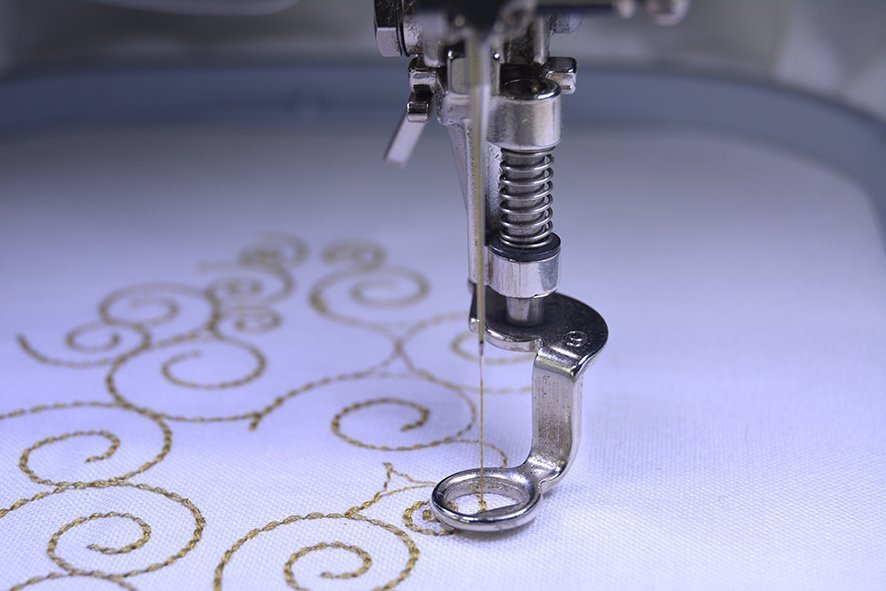
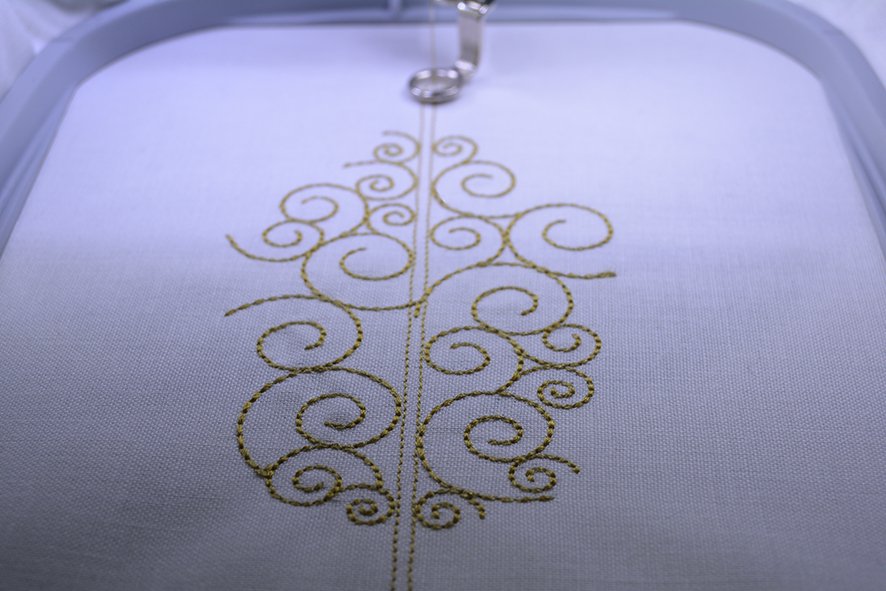
The motif is embroidered with a gold-colored embroidery thread. For upper thread and bobbin, I took Brildor embroidery thread. This makes the back looks chic.
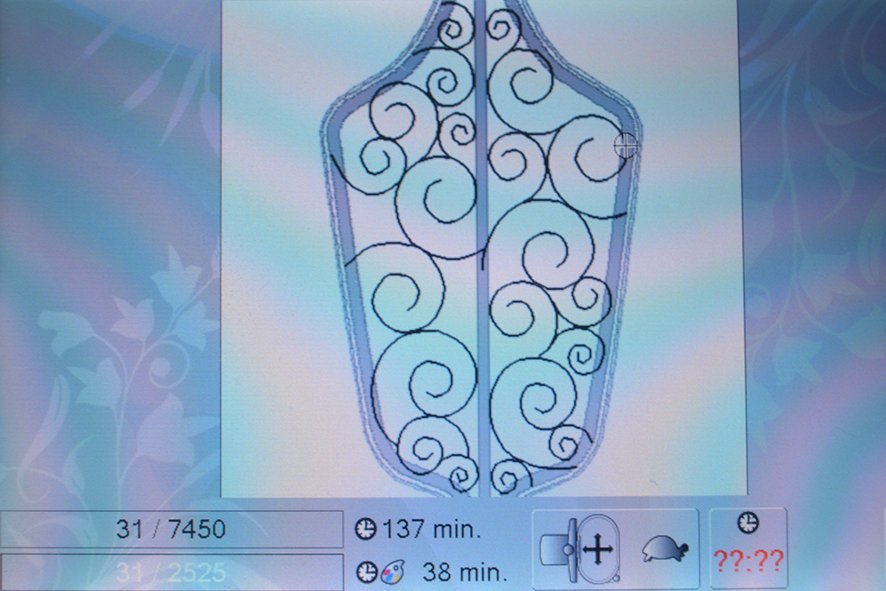
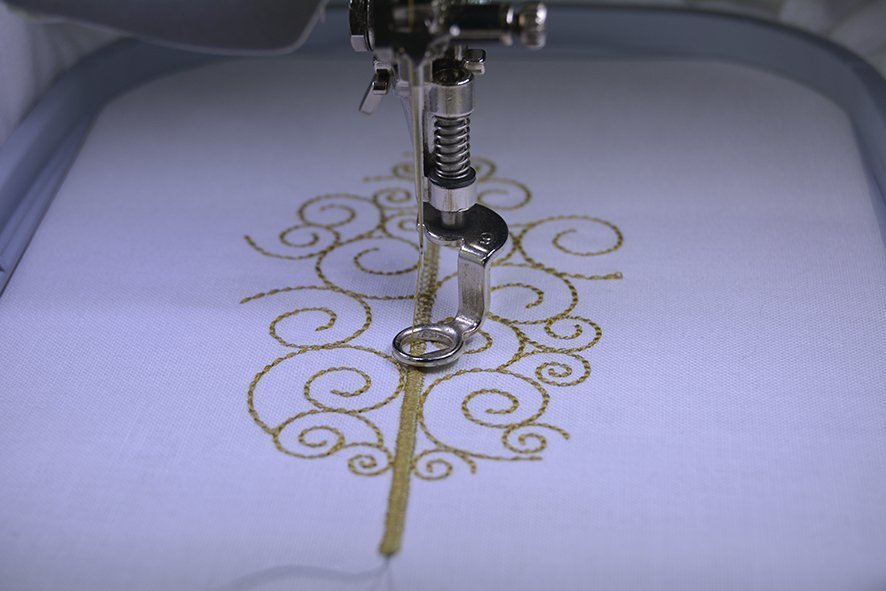
First, the squiggles are embroidered …
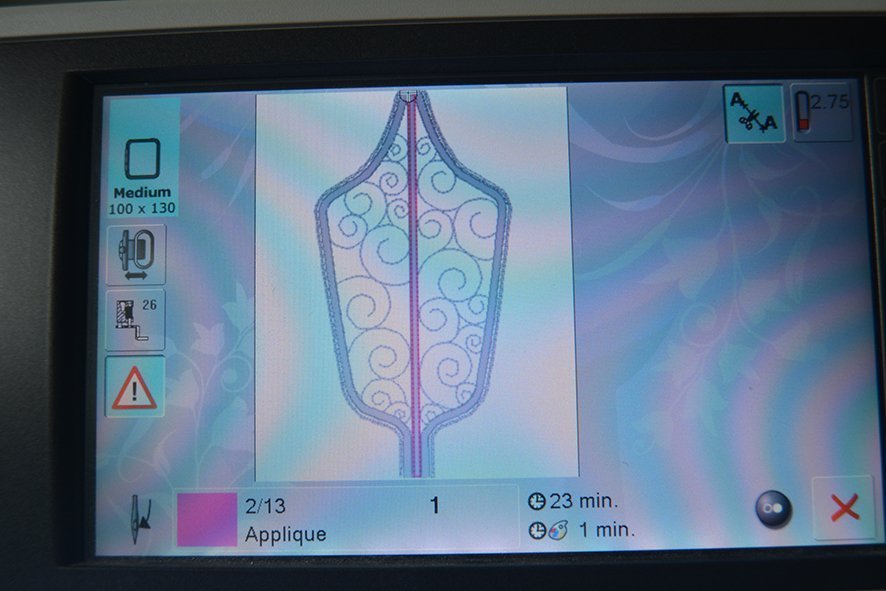
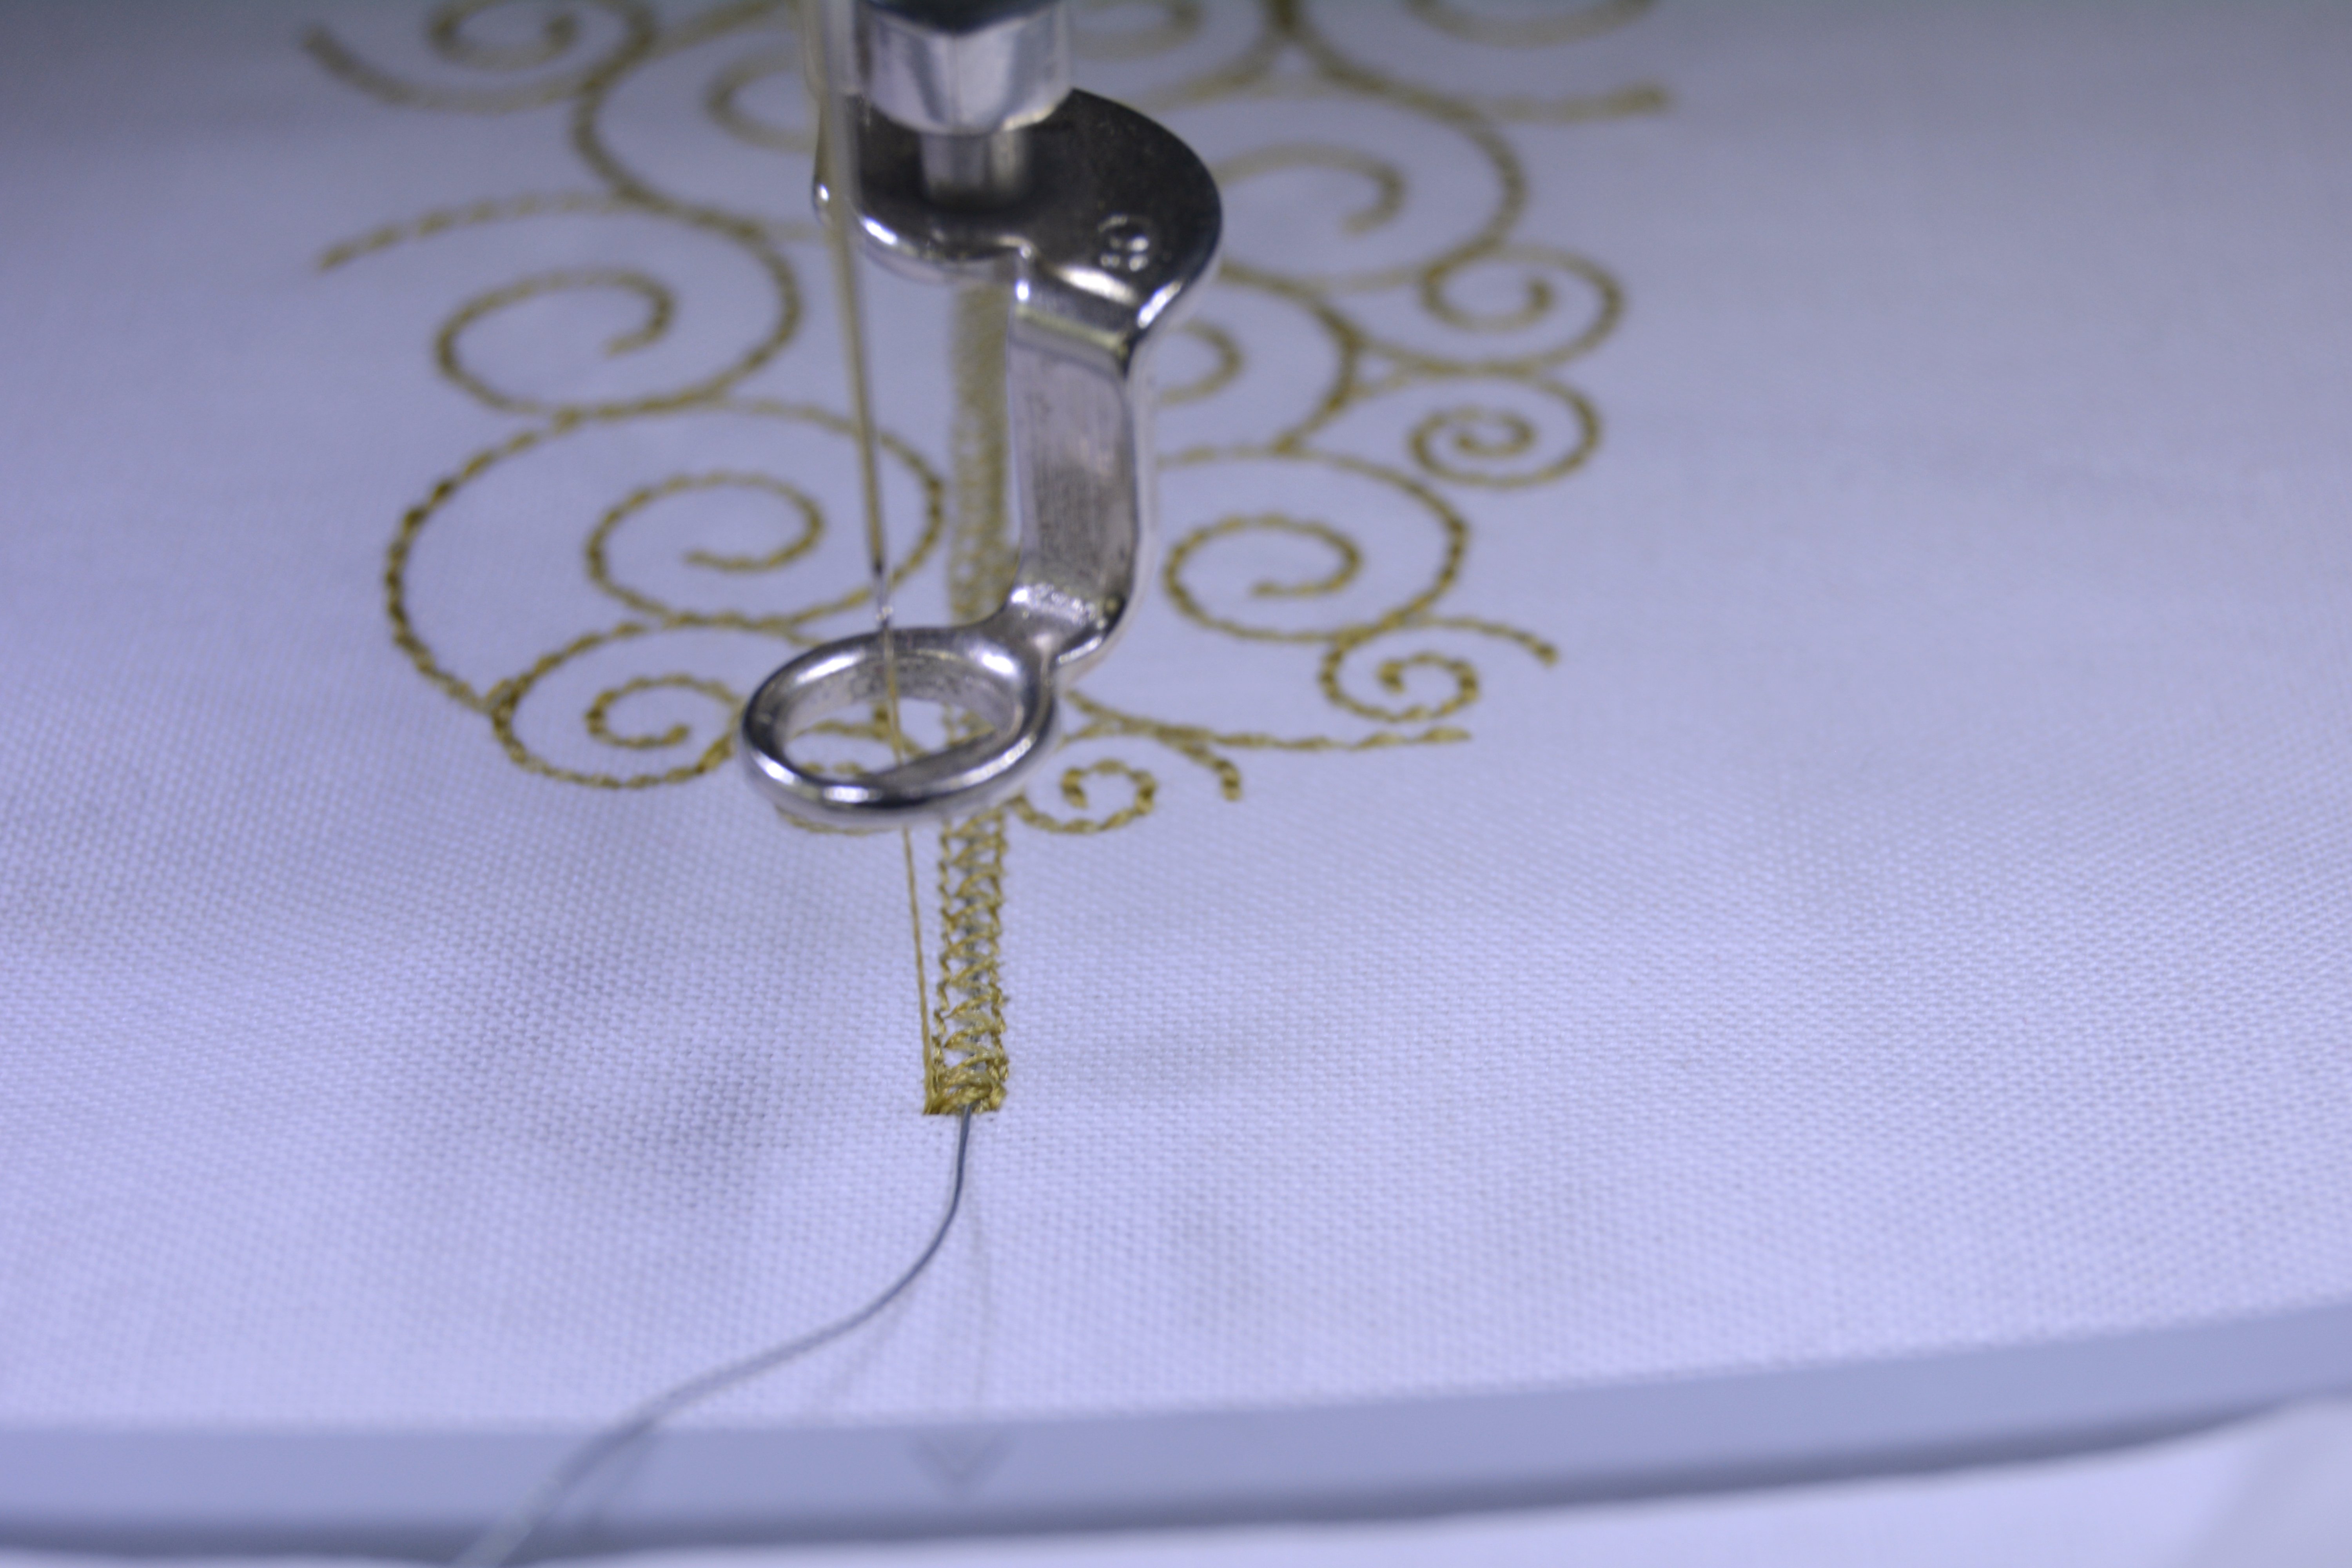
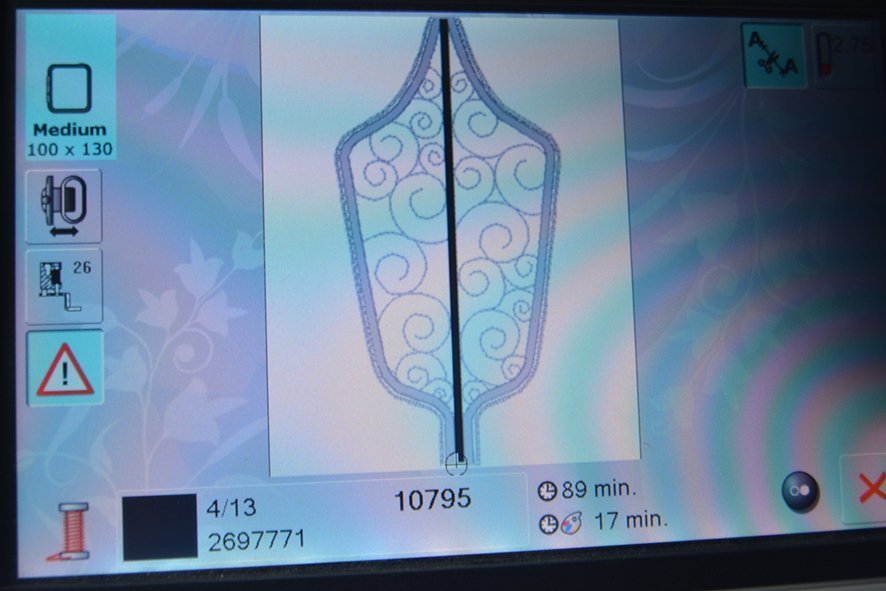
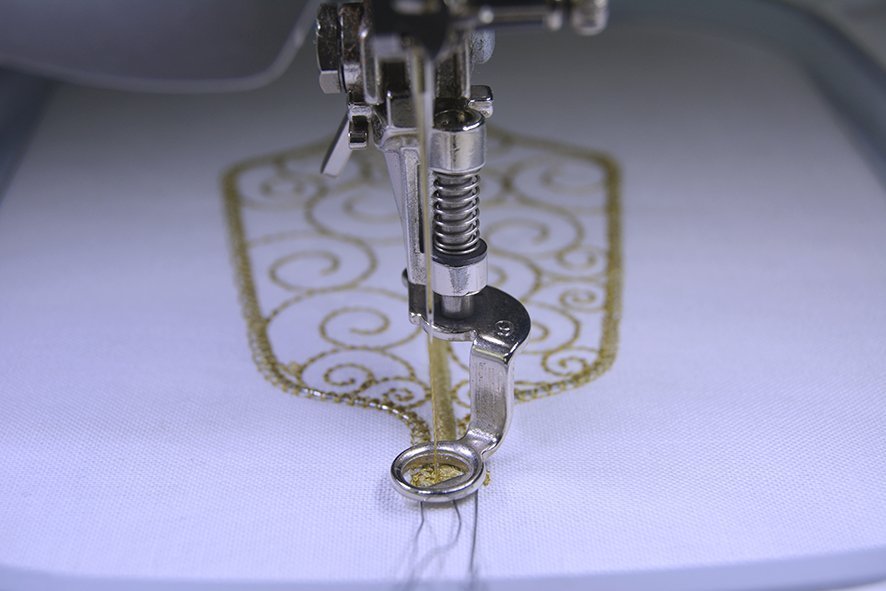
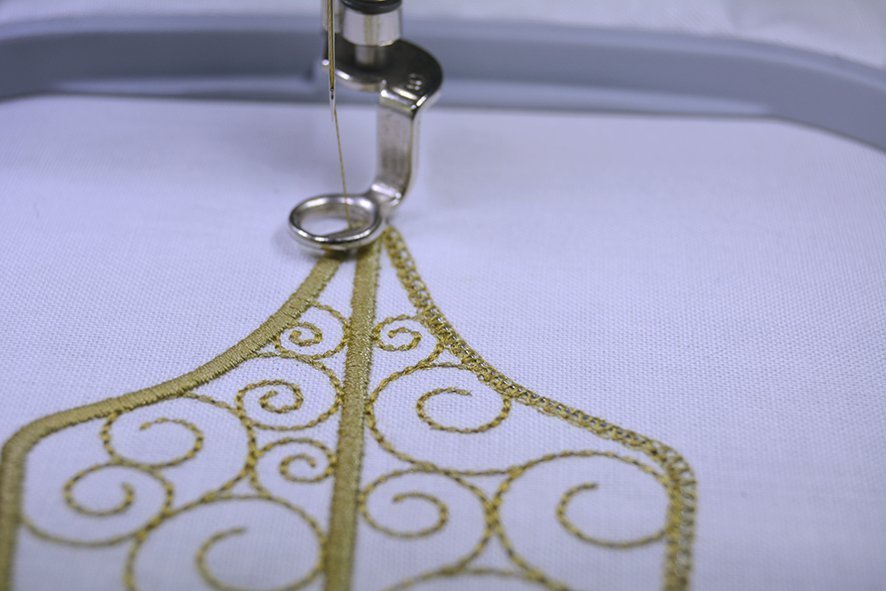
… then the center line is embroidered, beginning with the positioning lines
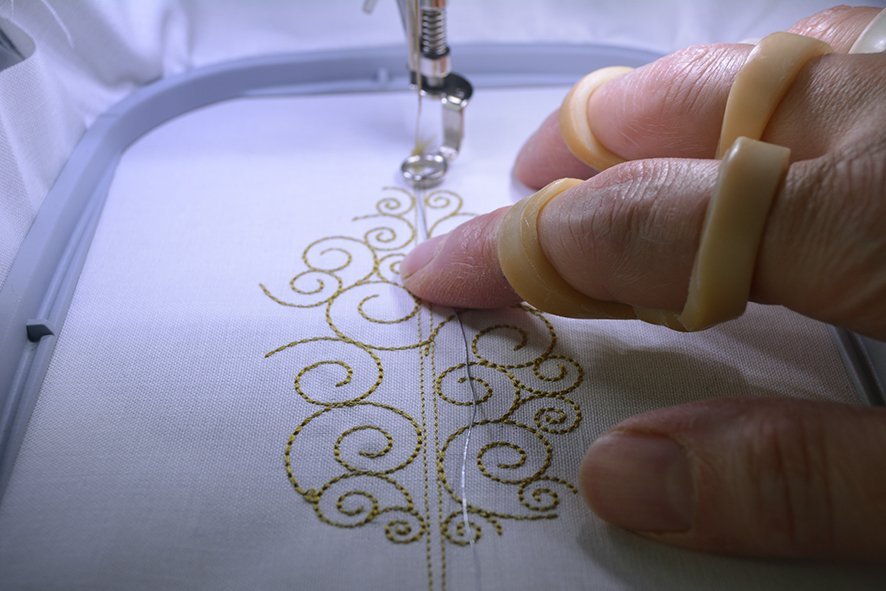
Before positioning the wire between the lines, please take a look at the BERNINA movie „How to stitch out a StumpWork design“
Set the speed of your machine to minimum
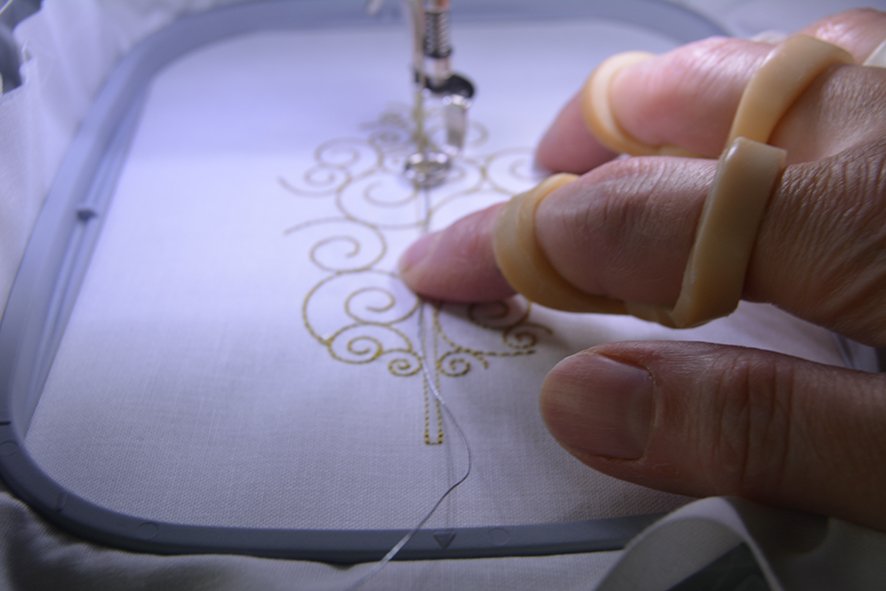
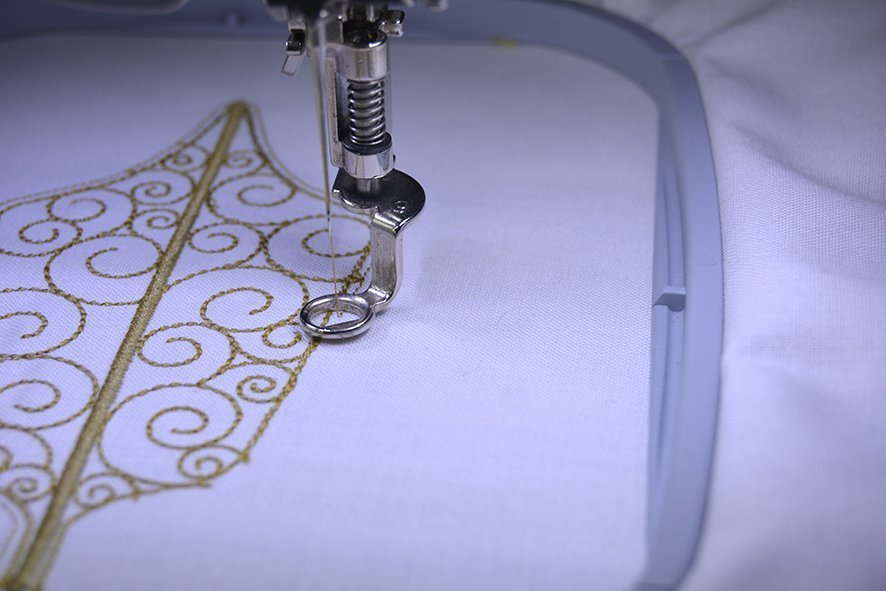
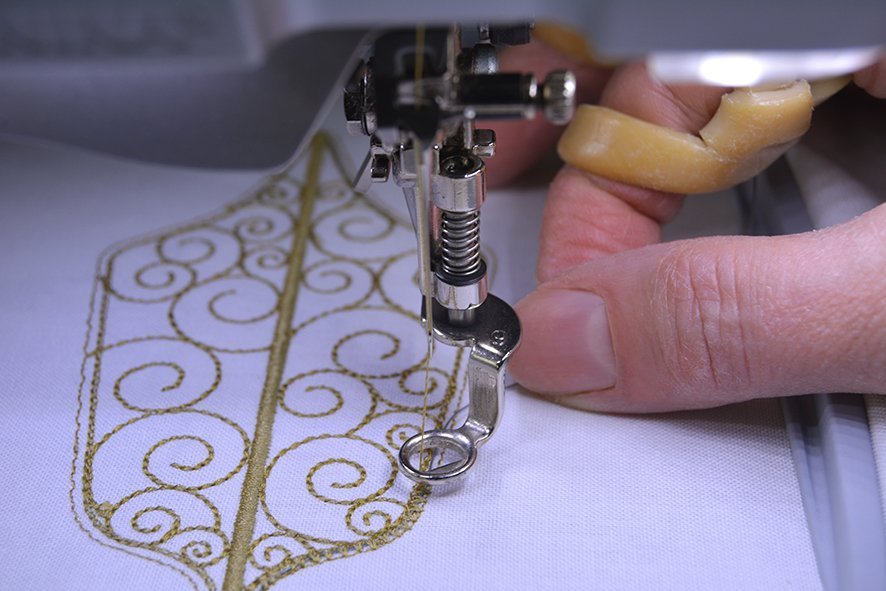
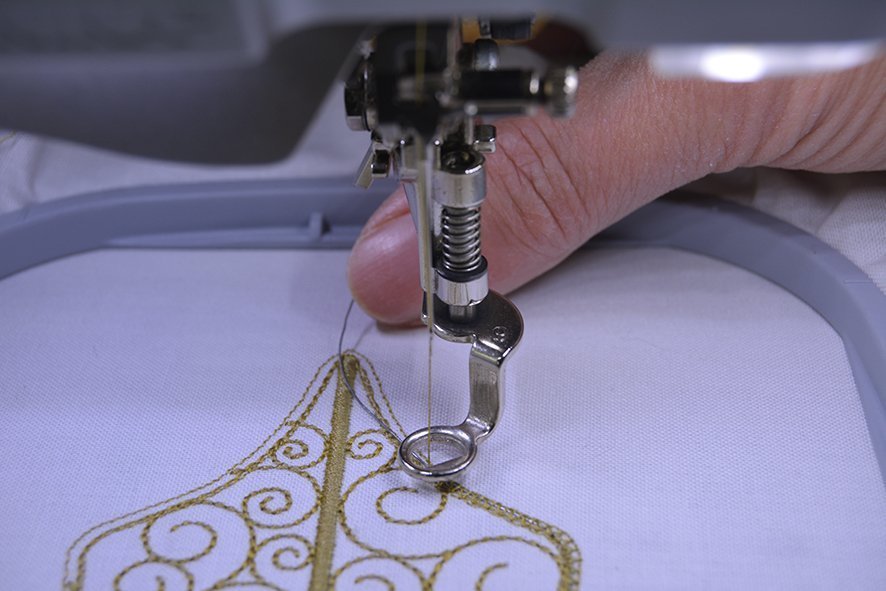
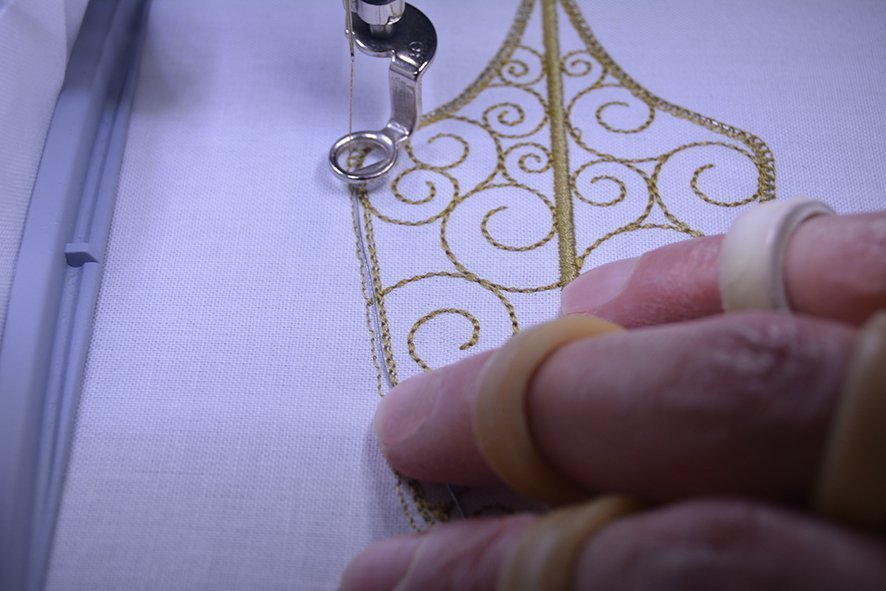
Then cut off a sufficiently long piece of wire. Please cut off generously. Place the piece of wire between the two embroidered help lines. Subsequently, control the insertion of the wire with the foot control. Since the wire is not straight, adjust the position again and again. When inserting the wire, please take your time. Speed is not the most important part here, accuracy and skill are.
After that, you can embroider the satin cover stitch at a higher speed.
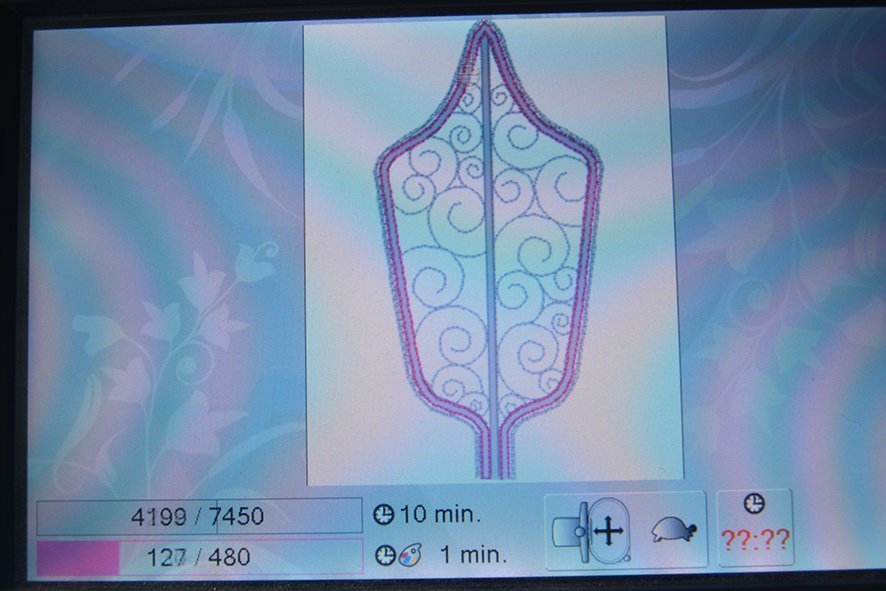
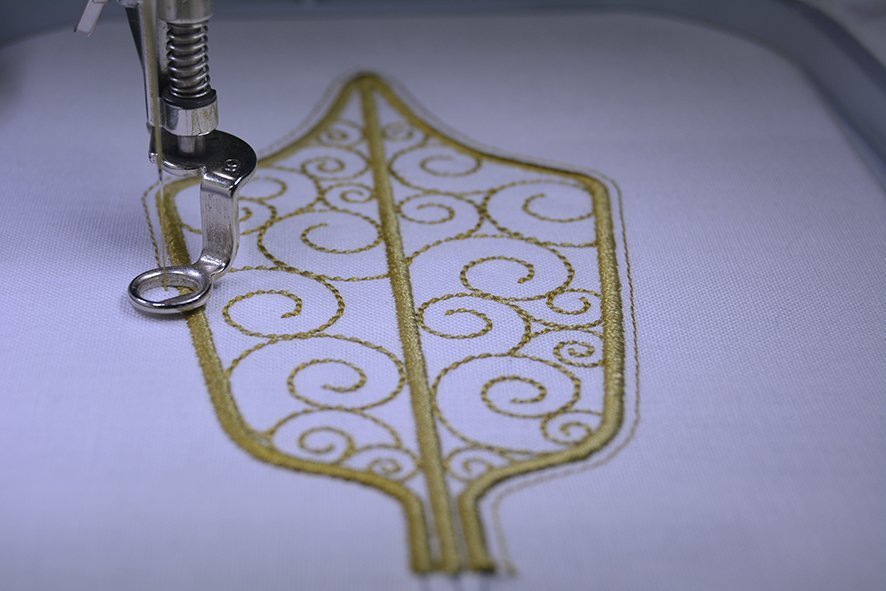
Embroider the leaf outline and the positioning lines with a stabilizing stitch
Here again, you will need a long piece of wire to attach. Control the speed with the foot control and lead the wire slowly around the curves.
After that, you can embroider the satin cover stitch at higher speed.
Before cutting, the machine embroiders a stabilizing outline
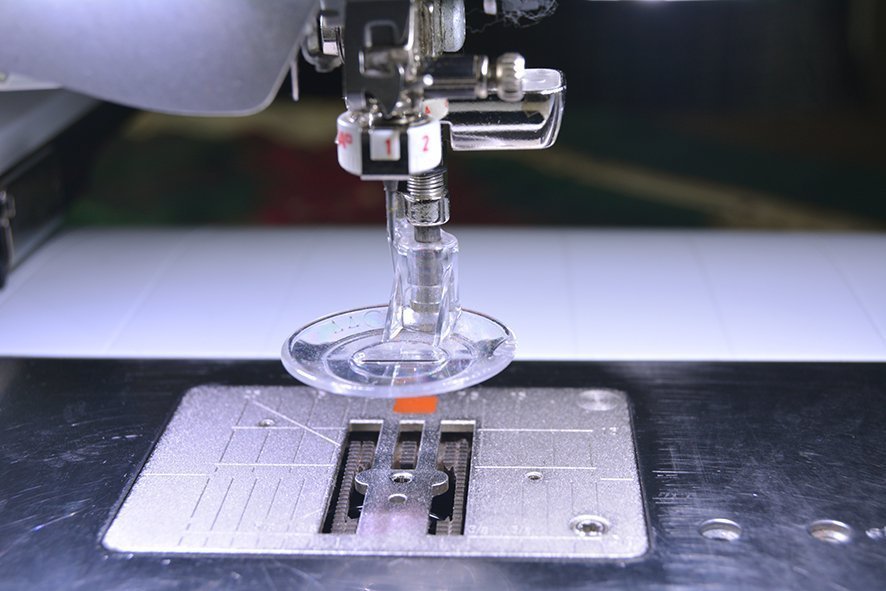
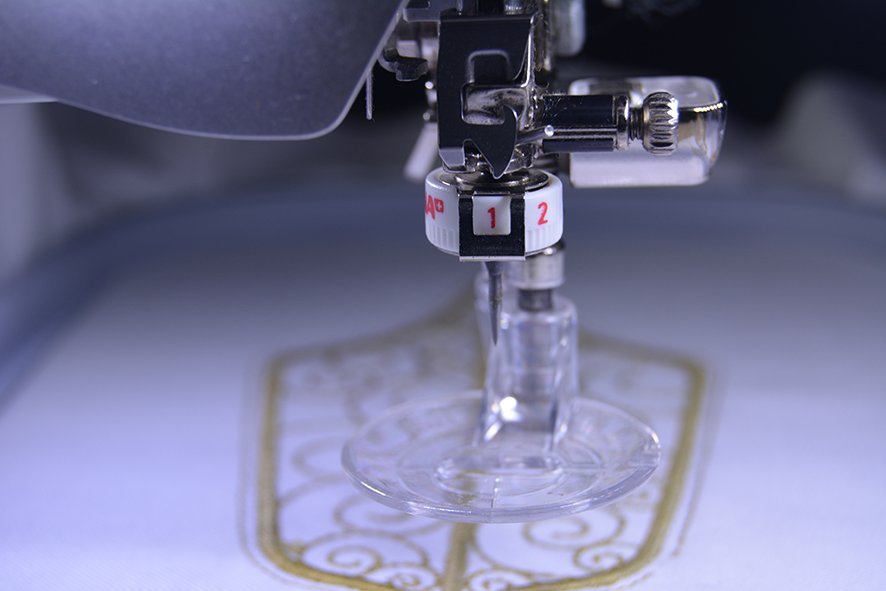
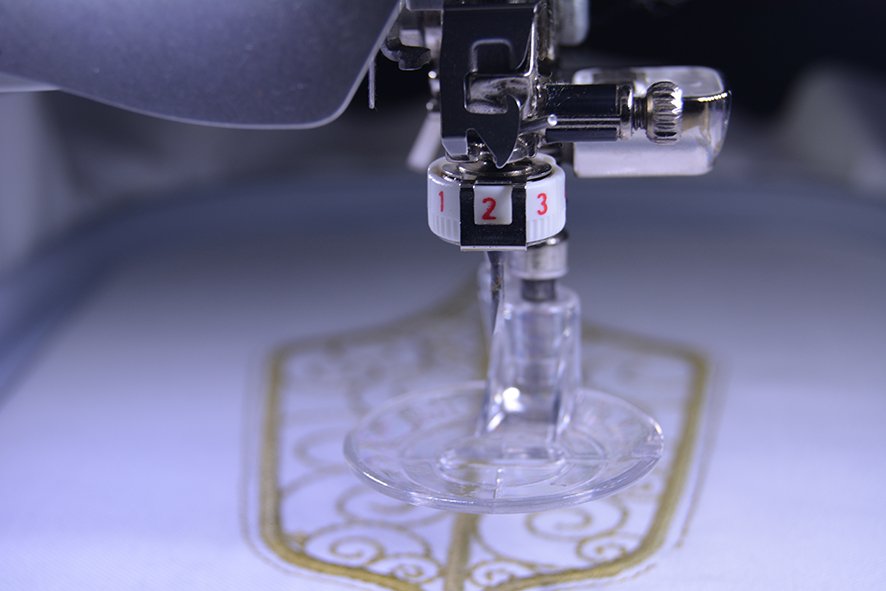
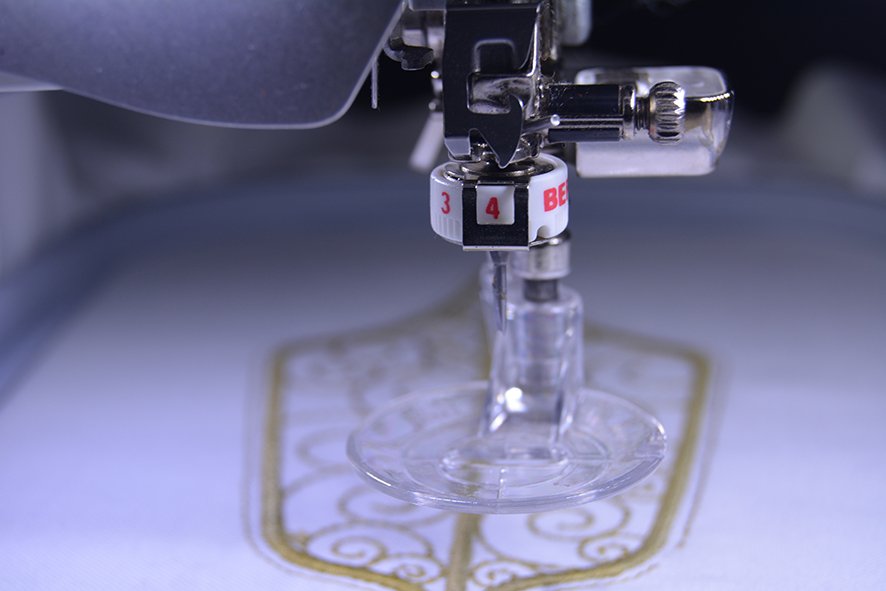
Prepare the embroidery machine for cutting. Remove the bobbin, insert the CutWork tool and foot 44c, replace the needle plate
Be sure to start with position 1
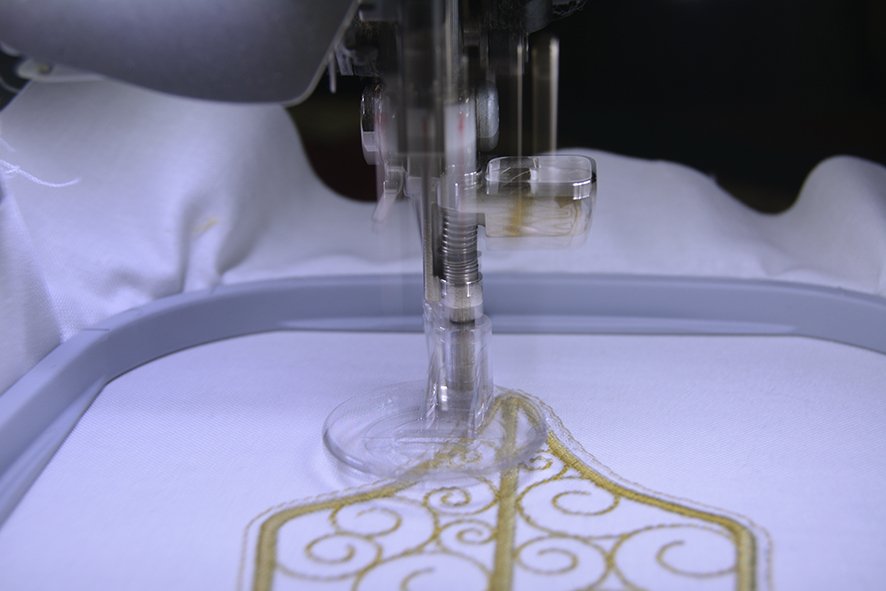
Cut out the shape with the CutWork Tool
Move the CutWork Tool to the appropriate positions
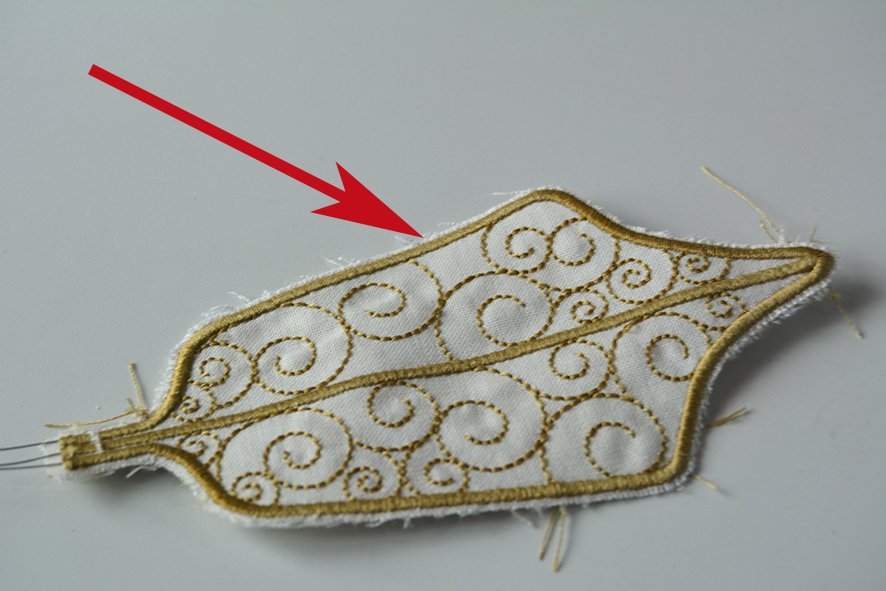
The leaf is now cut out except for a small connecting line. It is possible that a few fringes remain hanging. Cut them with a small pair of scissors.
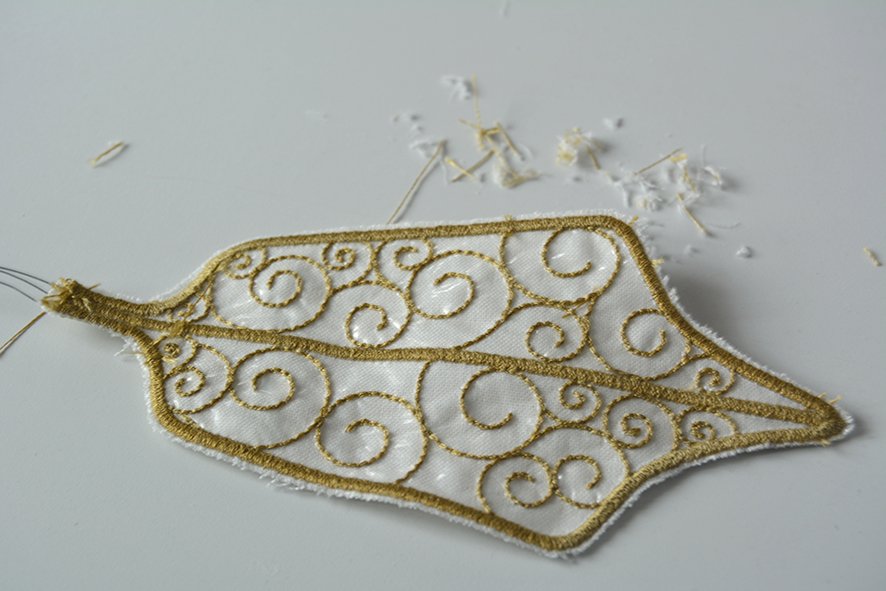
It is now time to make smaller corrections. Cut all the fringes and trim the outline a bit.
Apply Fray Check on the outline of the leaf, spread it with the fingers at the edge. This prevents further fraying.
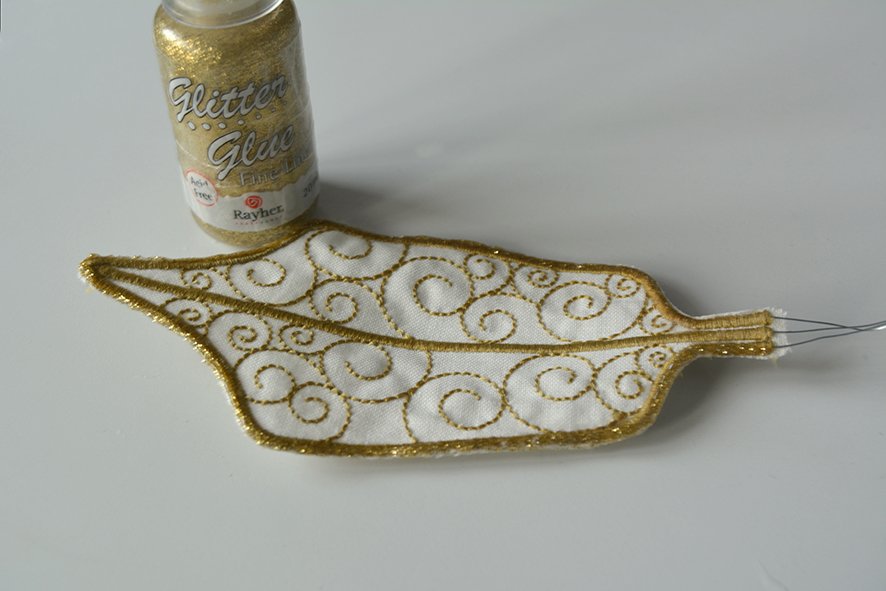
Then apply a glitter glue to the contour.
Let this dry well and then remove the water-soluble stabilizer. When everything has dried, the leaves are ready for further processing. For our Poinsettia, 6x large leaves, 5x medium and 3x small leaves are required.
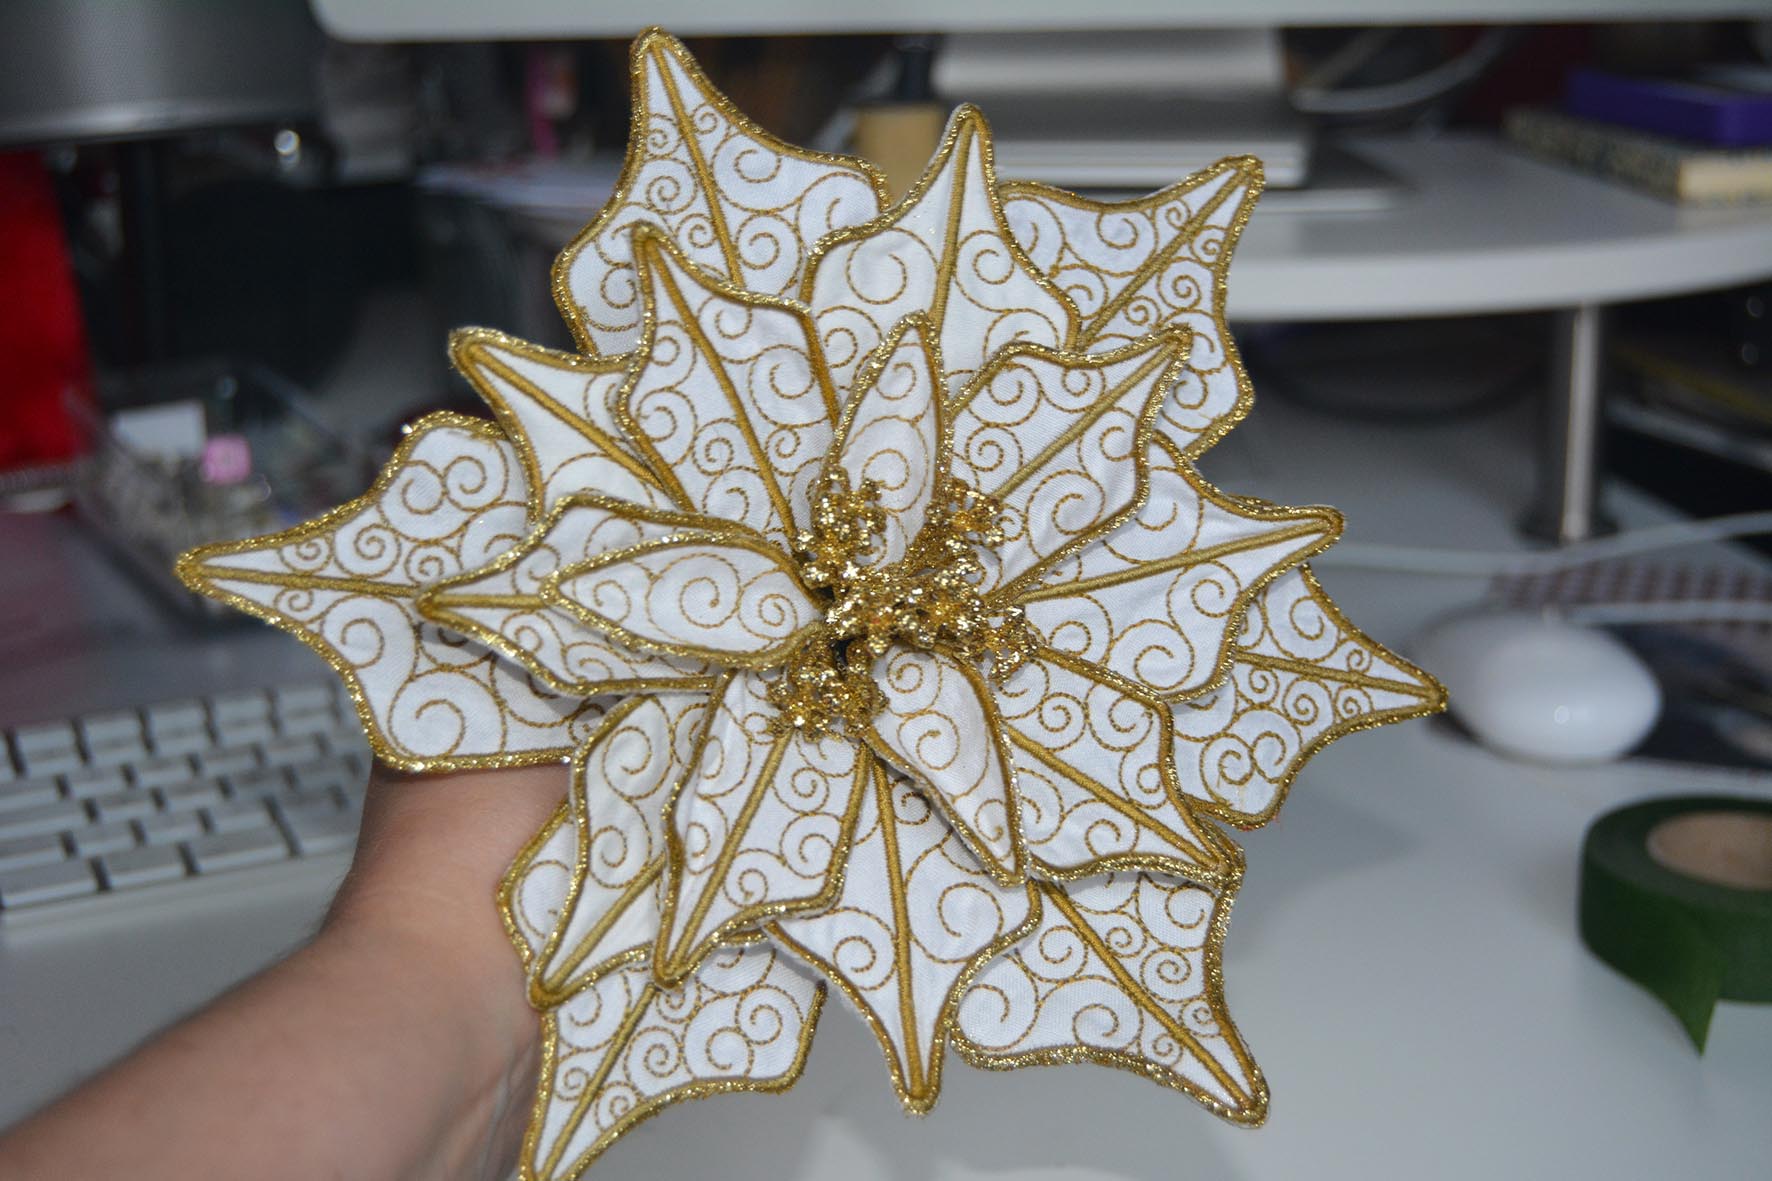
After having embroidered all sheets, you can put the Poinsettia together.
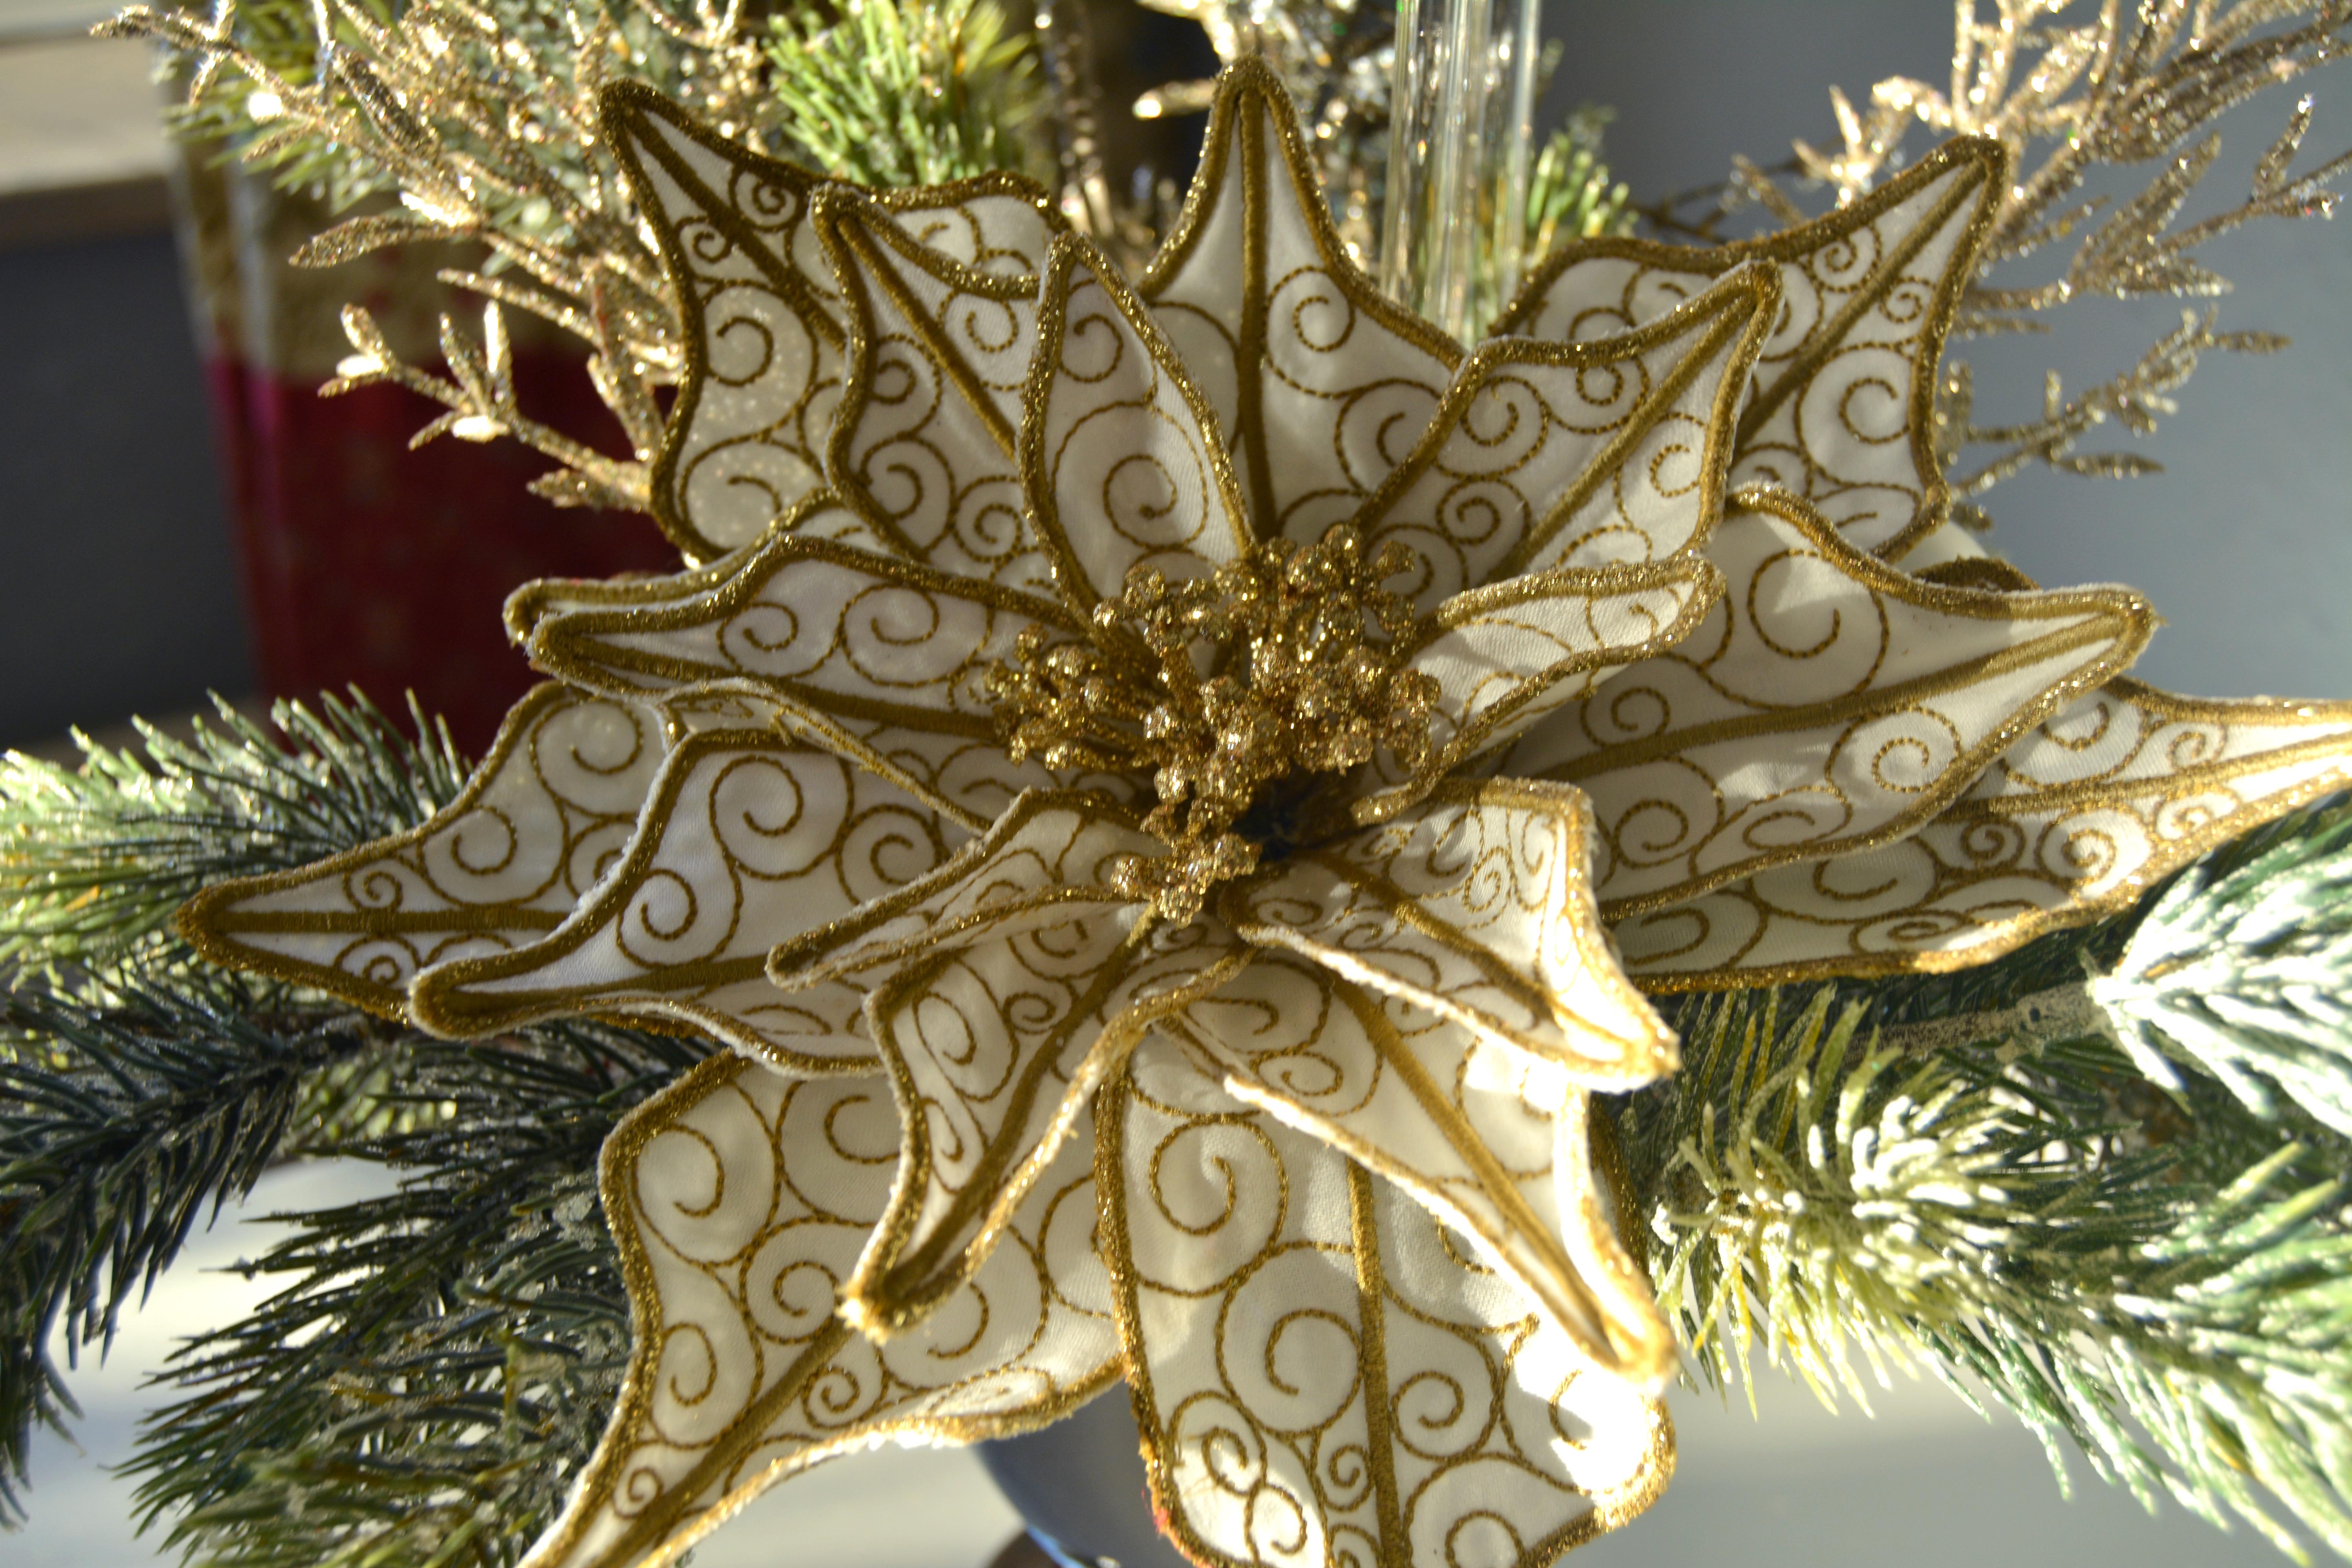
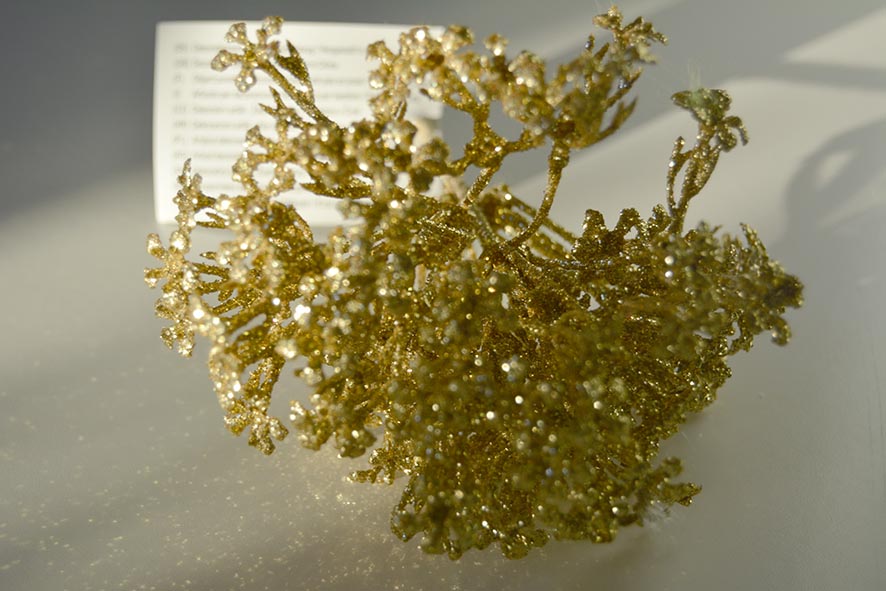
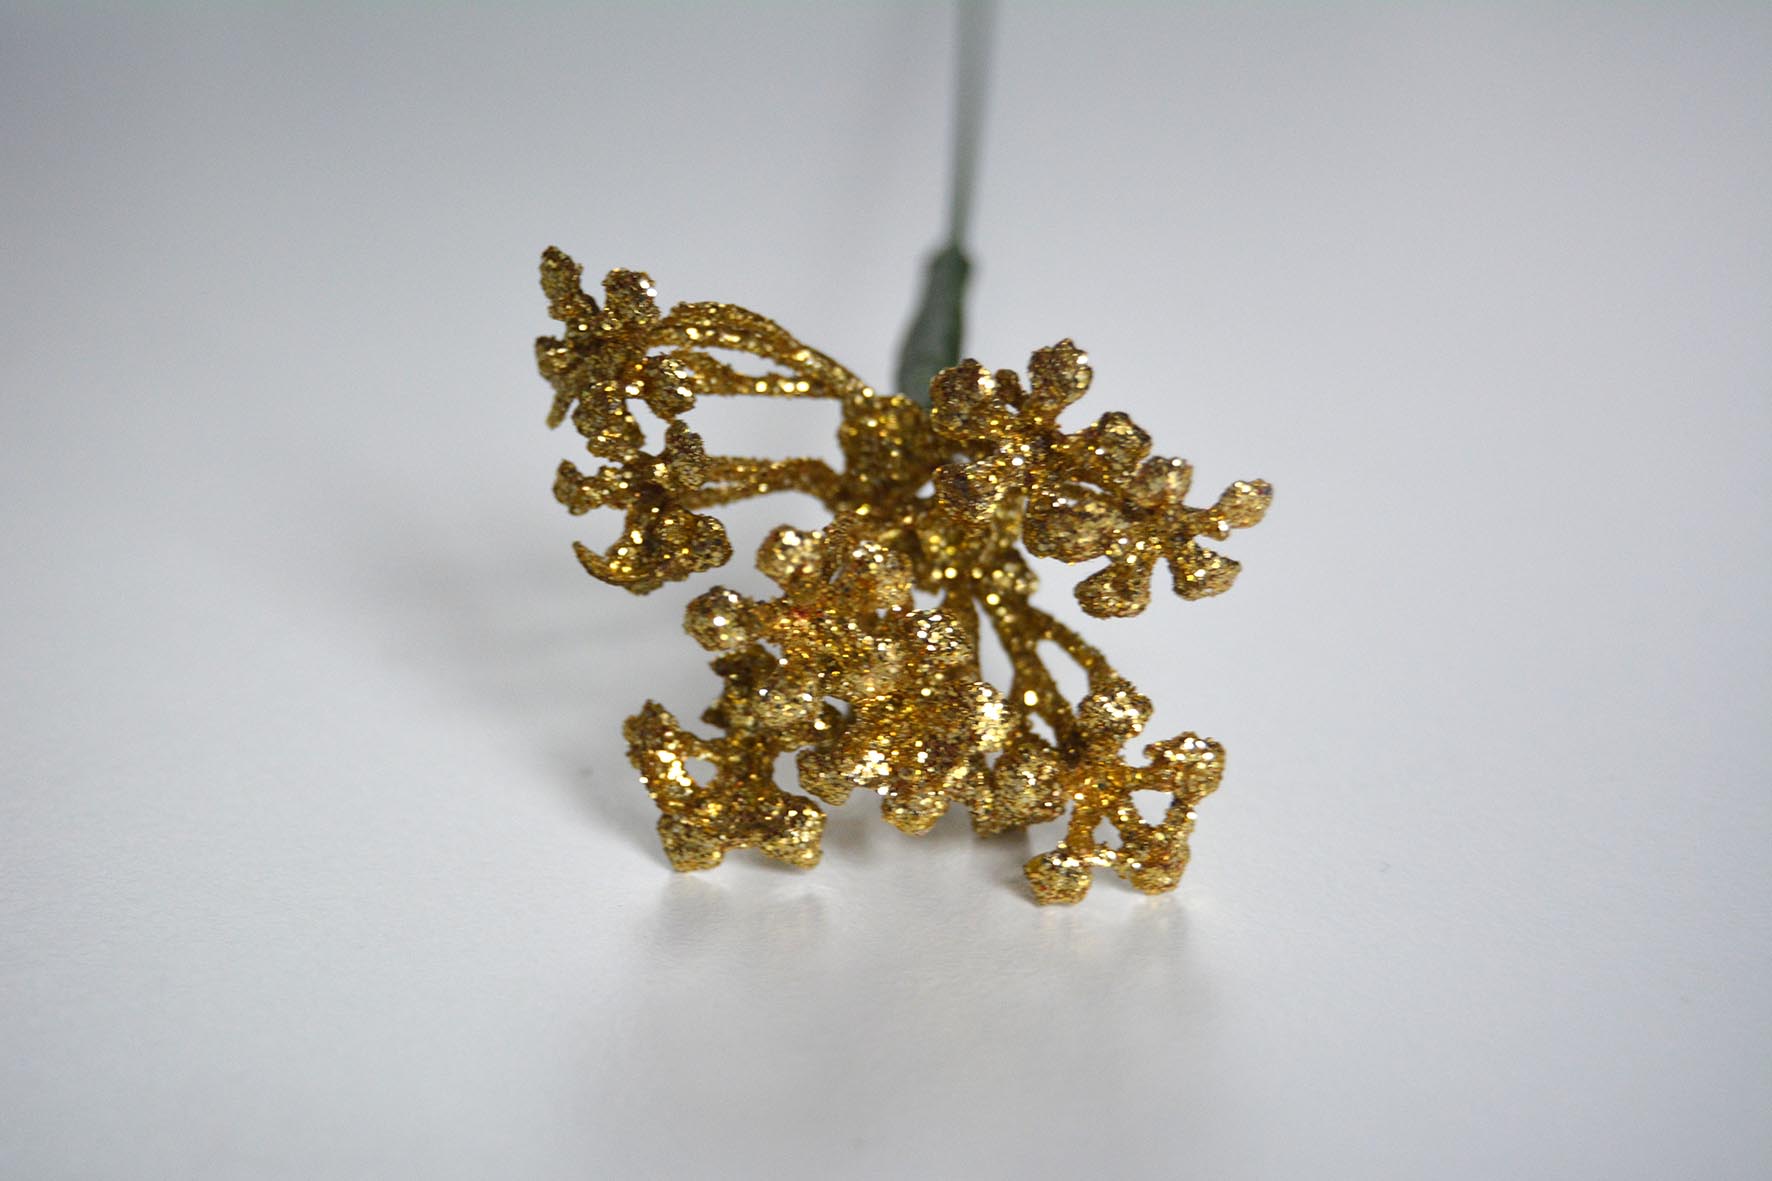
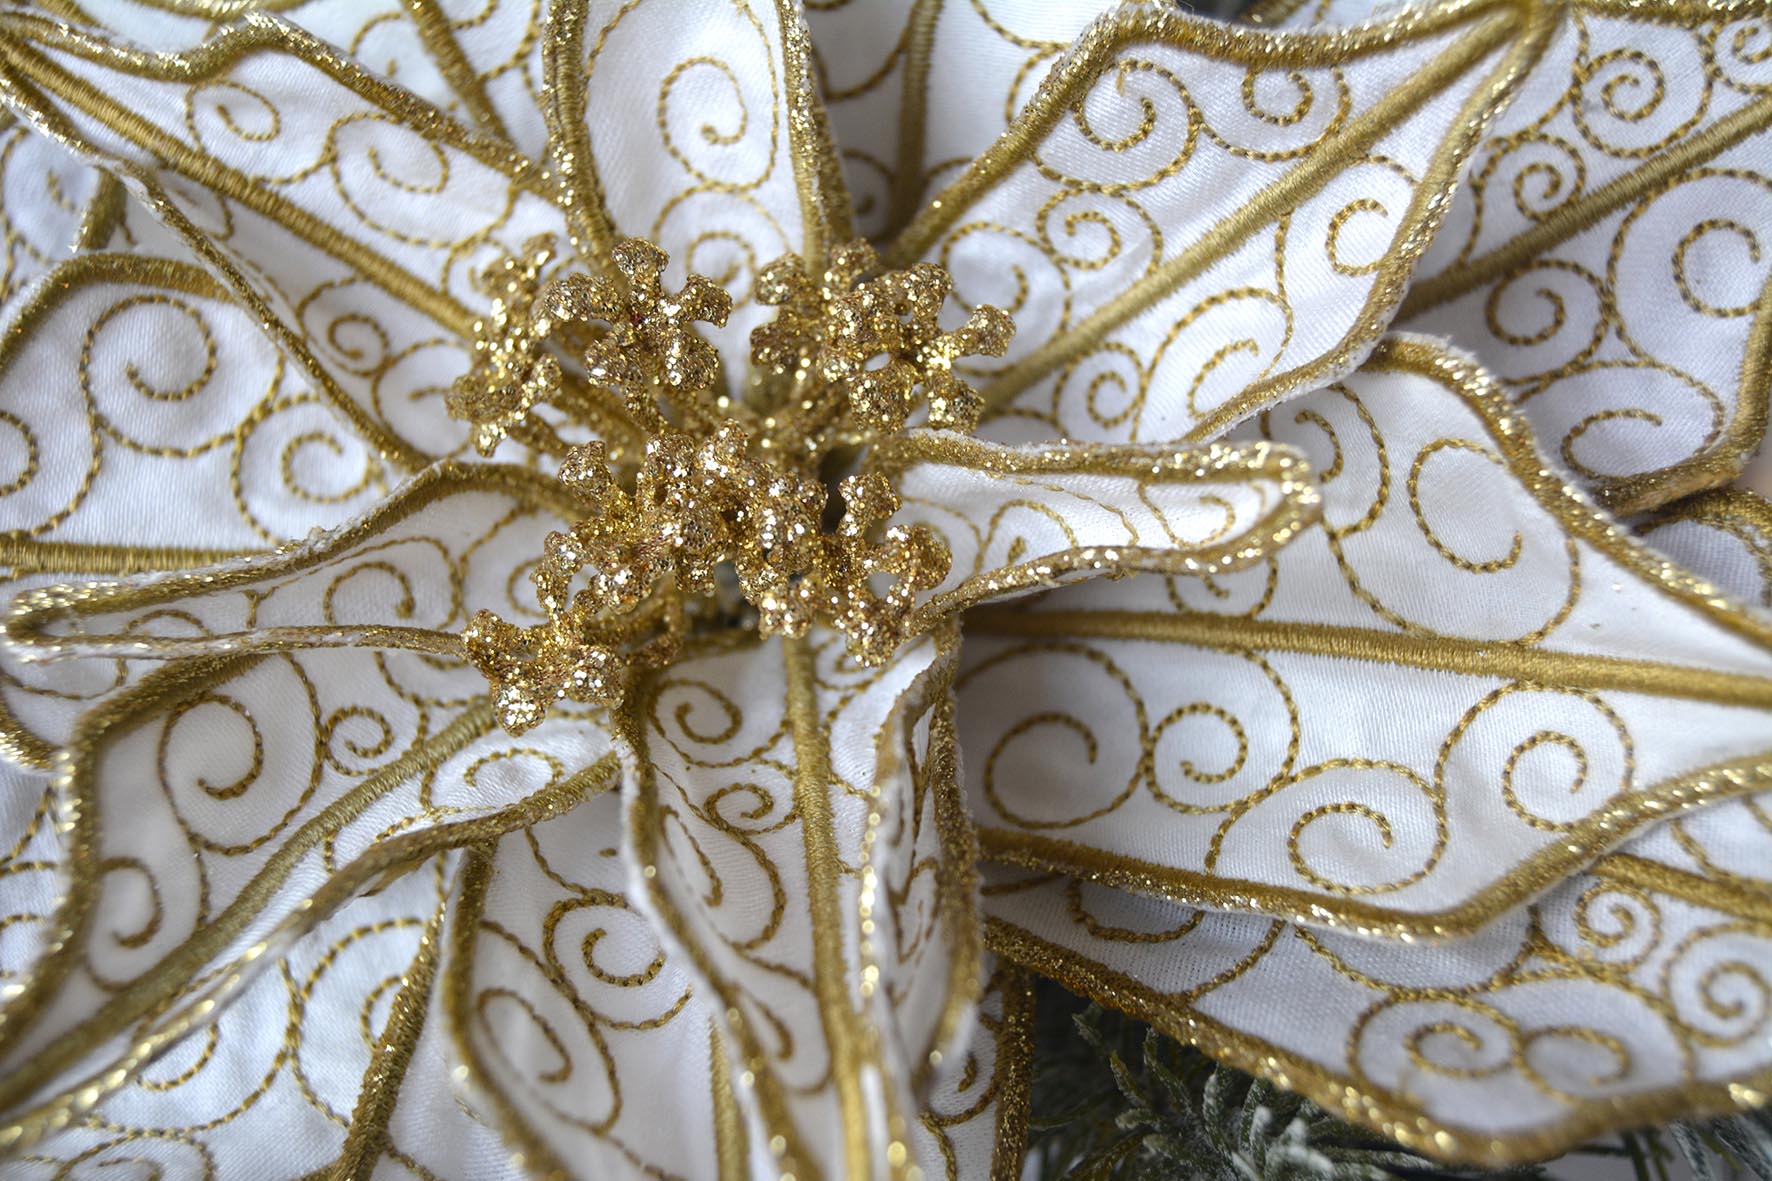
As for the material for the pistill of the flower: I recommend browsing through florist departments of garden centers or furniture houses. There you can find adequate materials. I have found these golden blossoms. Just search for articles and materials that ressemble a flower pistill.
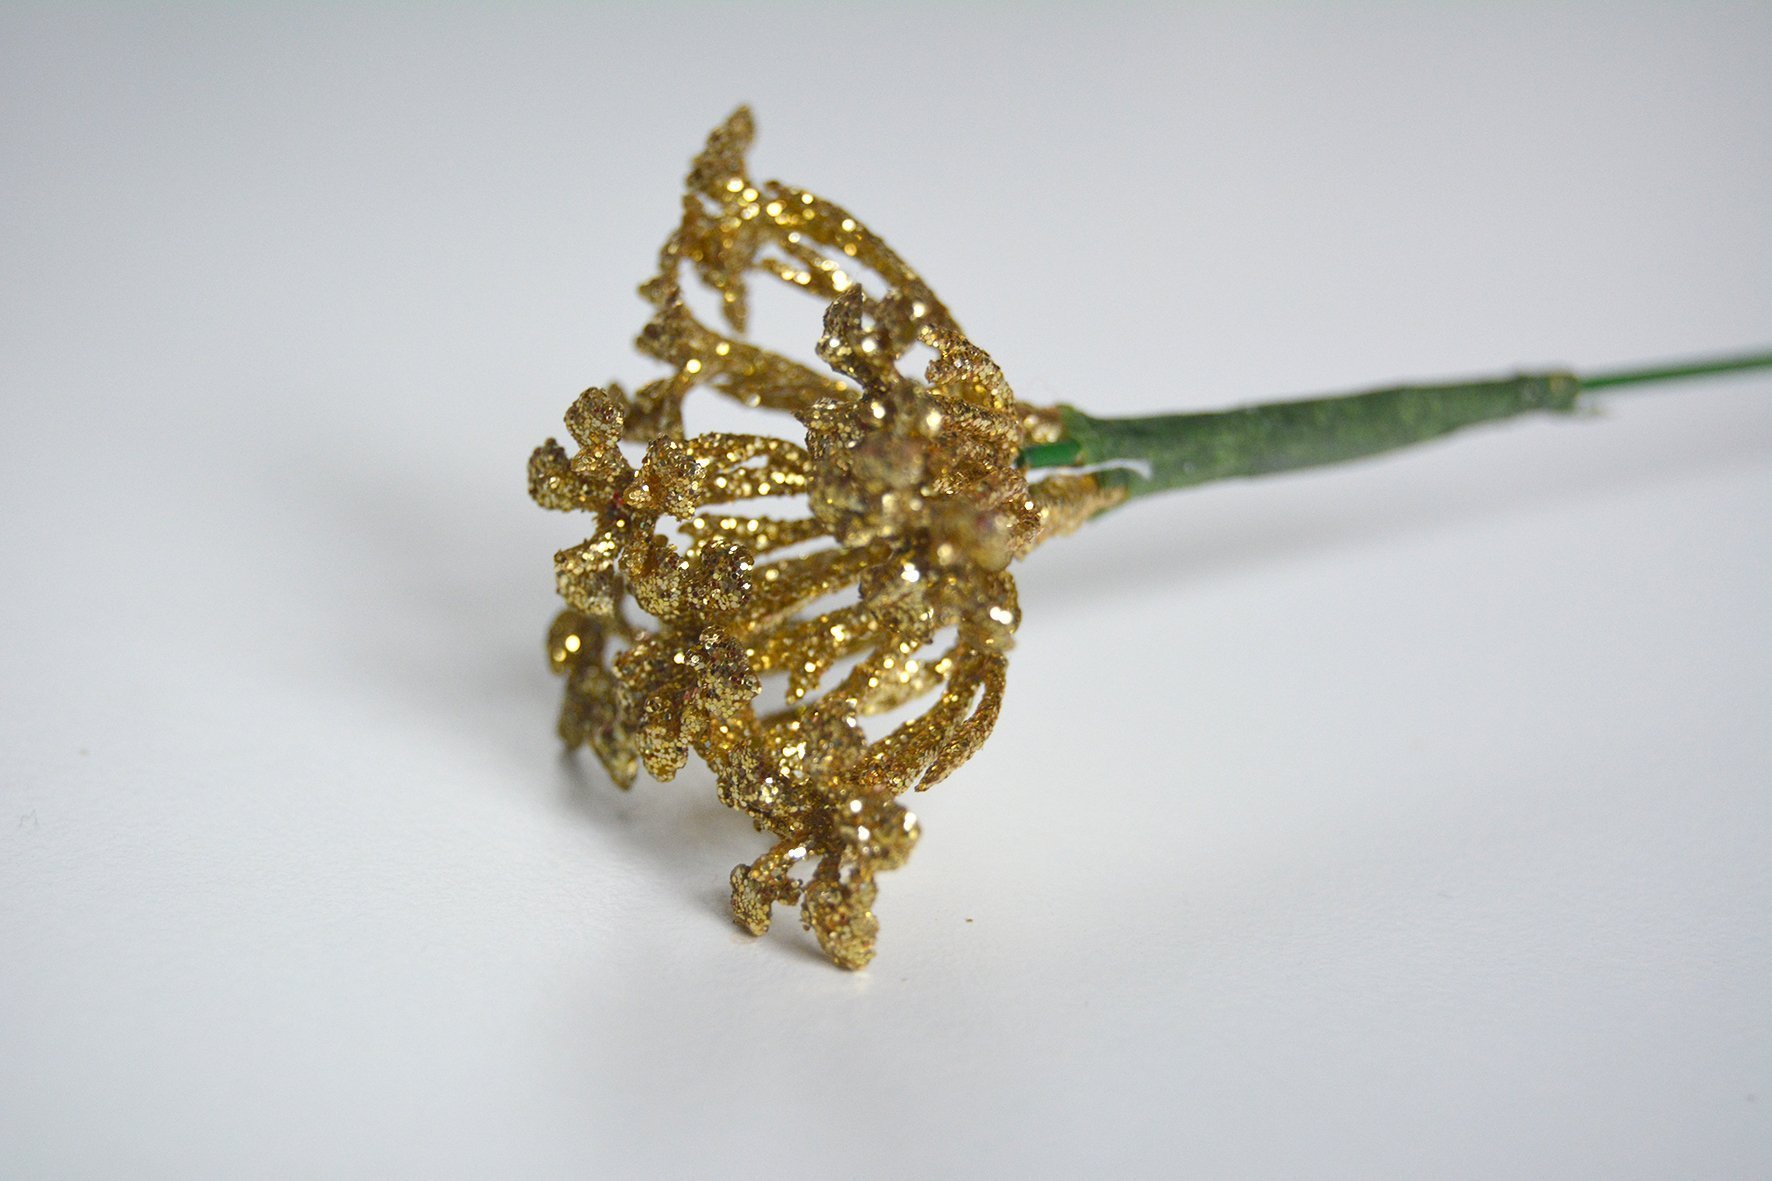
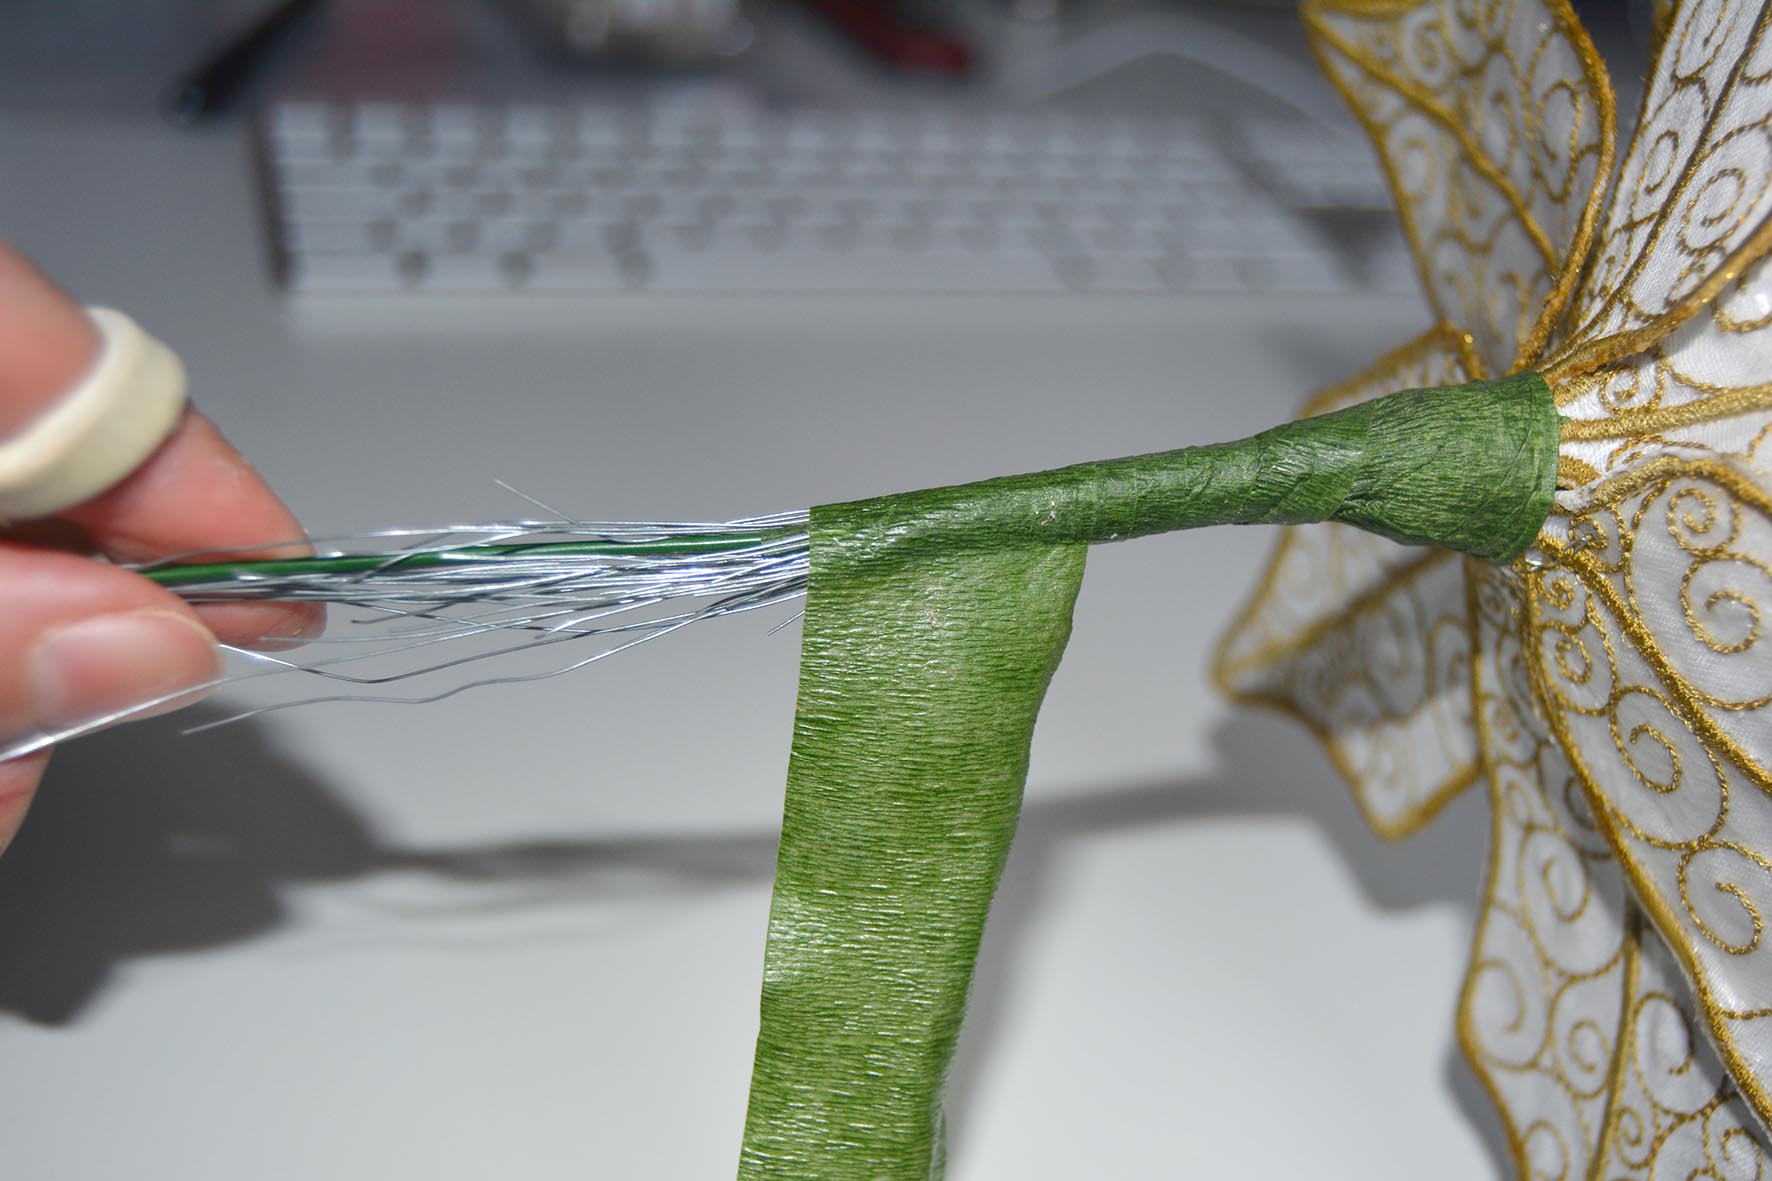
You can also use Ilex berries on wire. They are available in various colors in craft shops. Take the tying wire and use it to fasten the blooms. The florist tape stretches well and is slightly tacky on one side. This is what it should look like …
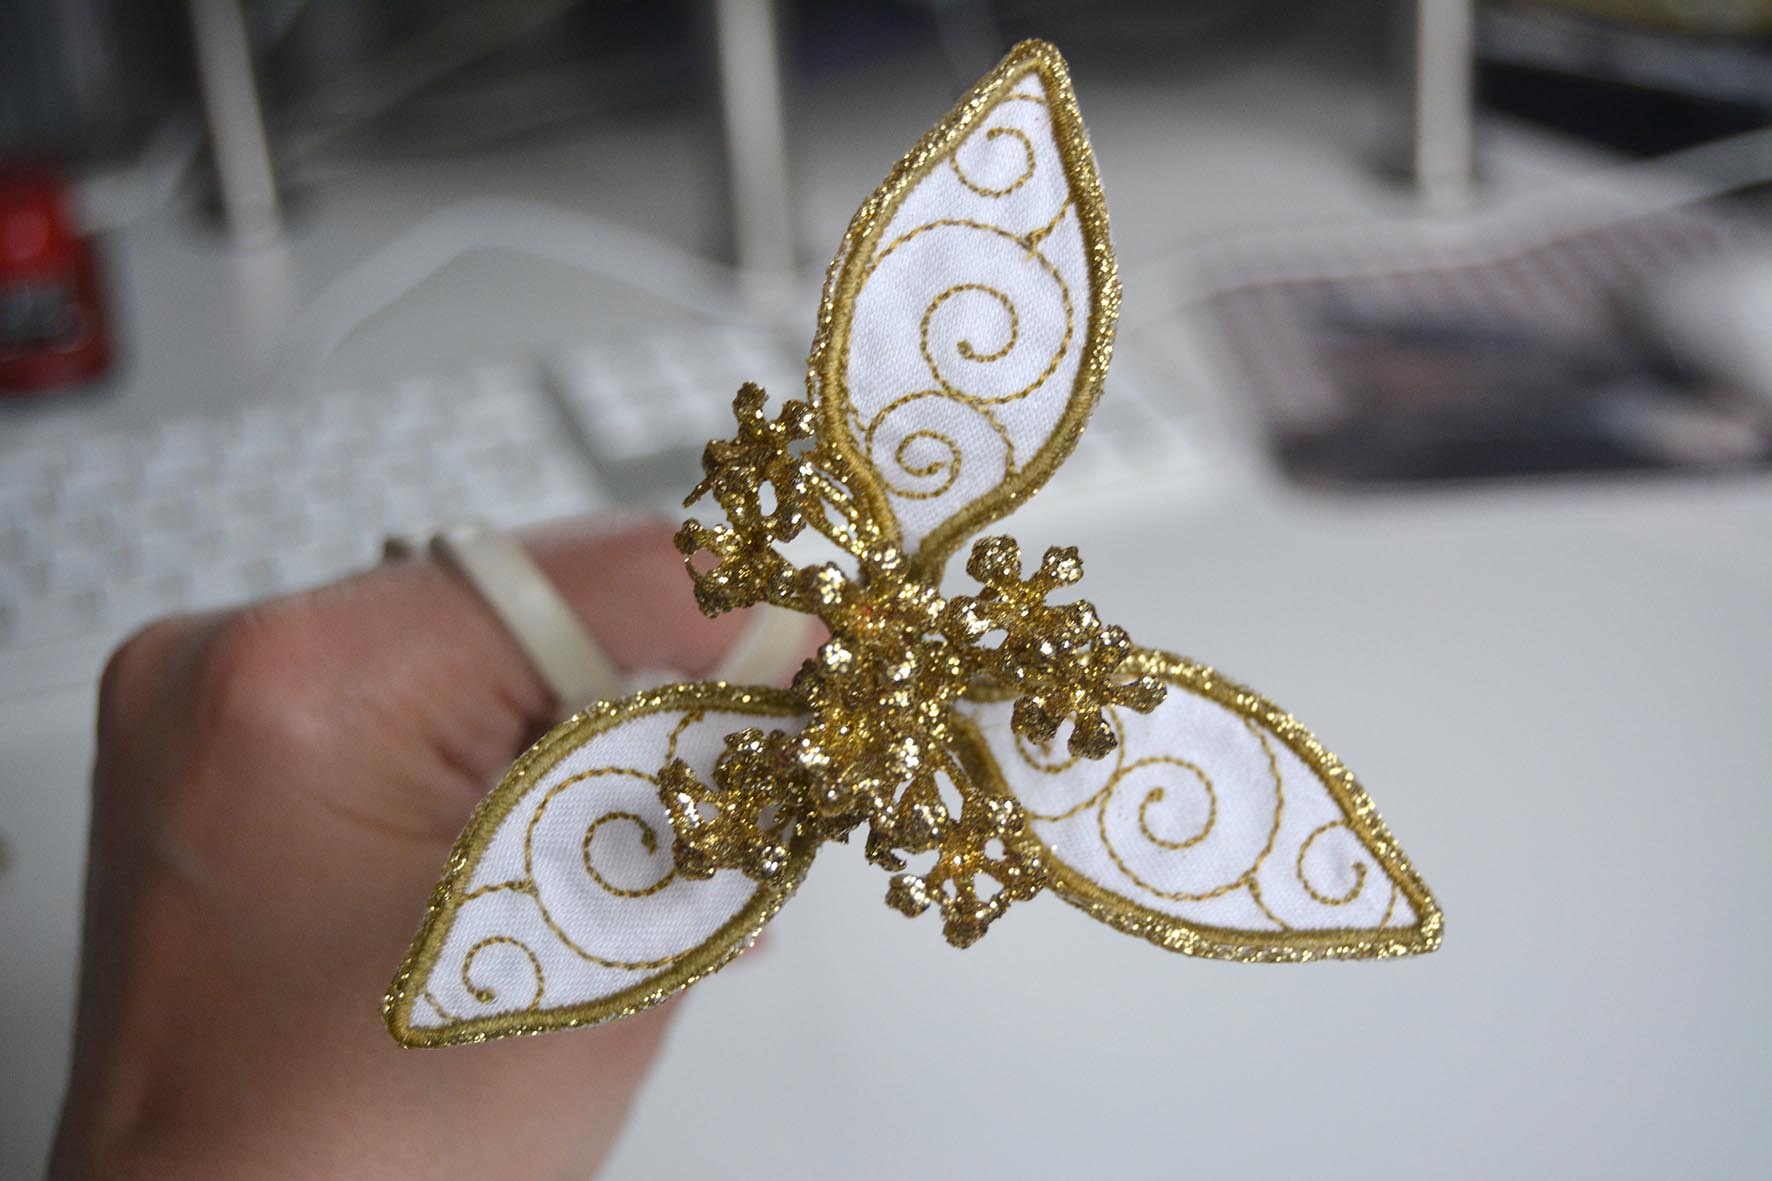
Then place the three smallest leaves close to the pistill and fix everything with flora crèpe:
Now, take larger round leaves and attach them with flora crèpe. Make sure that the leaves sit tightly together …
Repeat this with the next larger size of leaves …
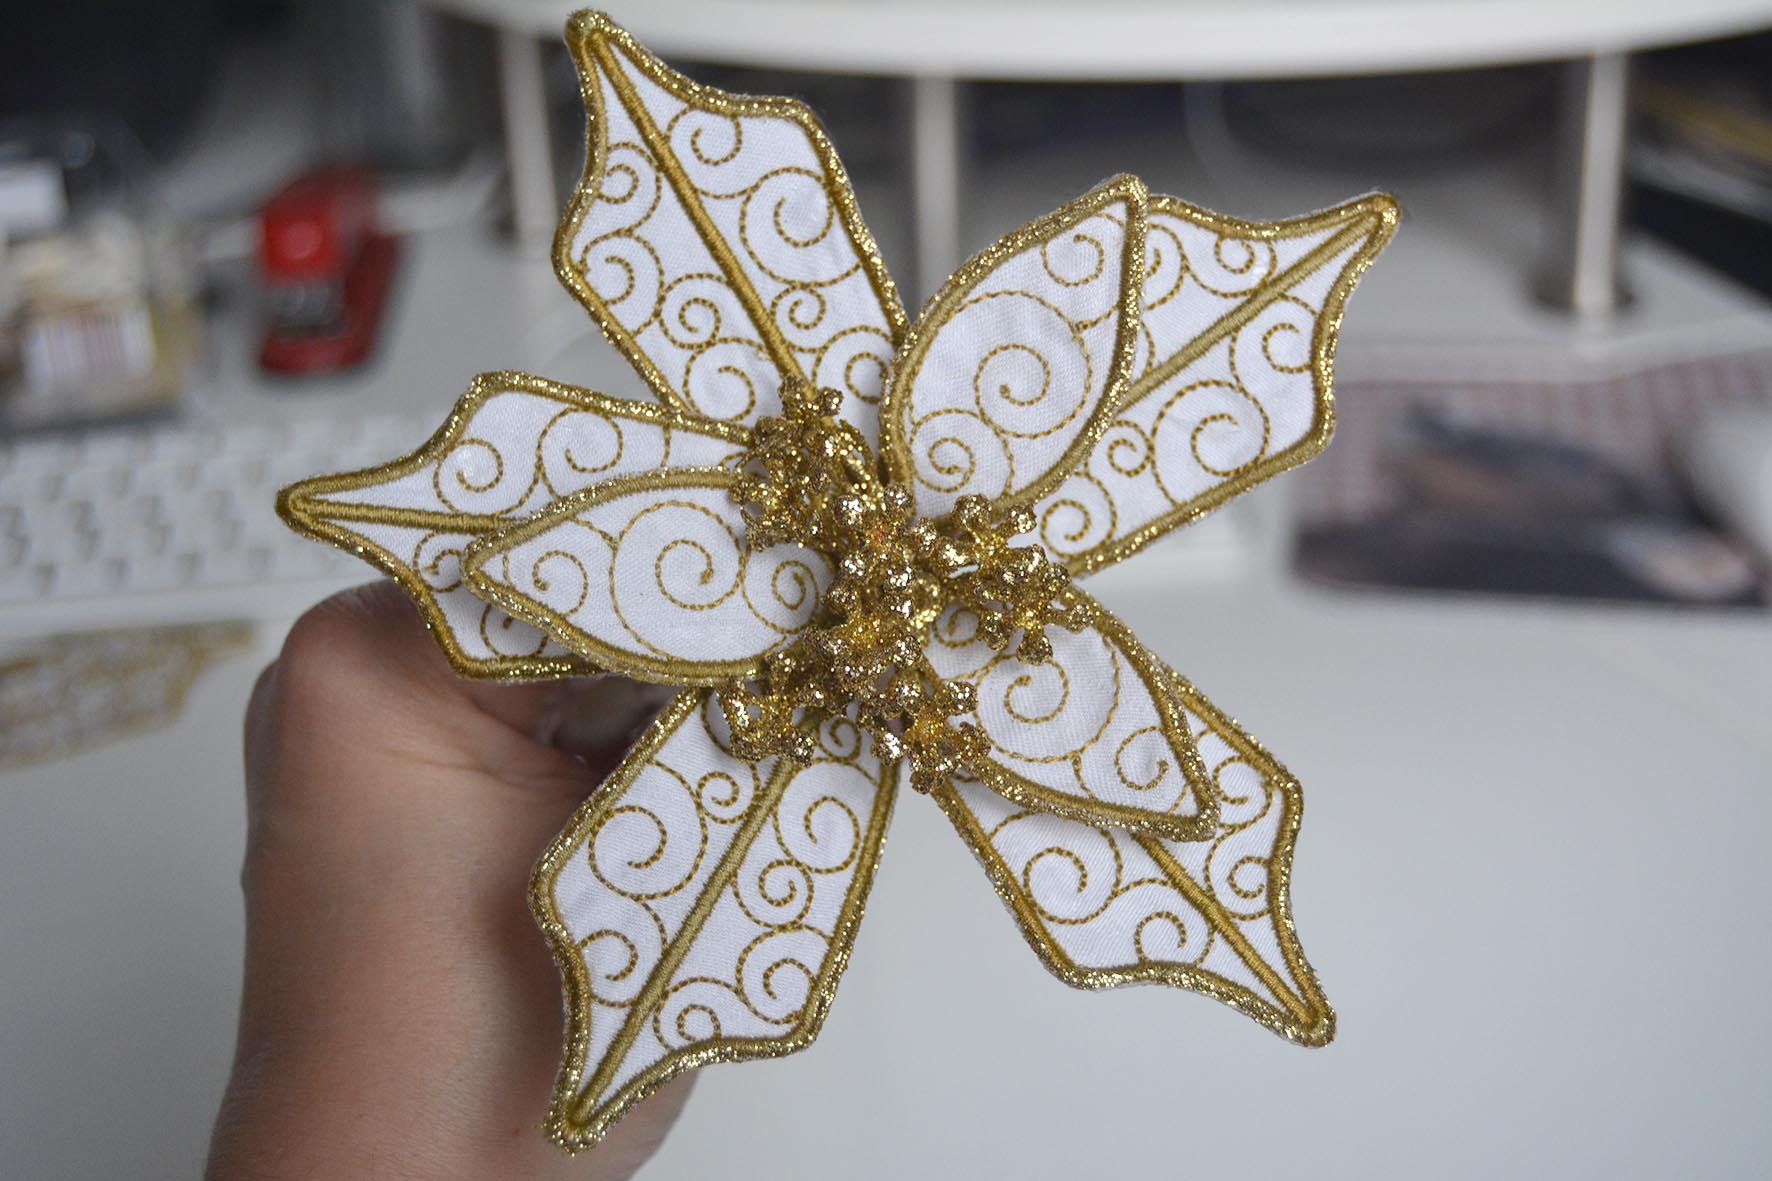
Finally, use the largest leaves. I attached them in 2 sequences with 3 leaves each:
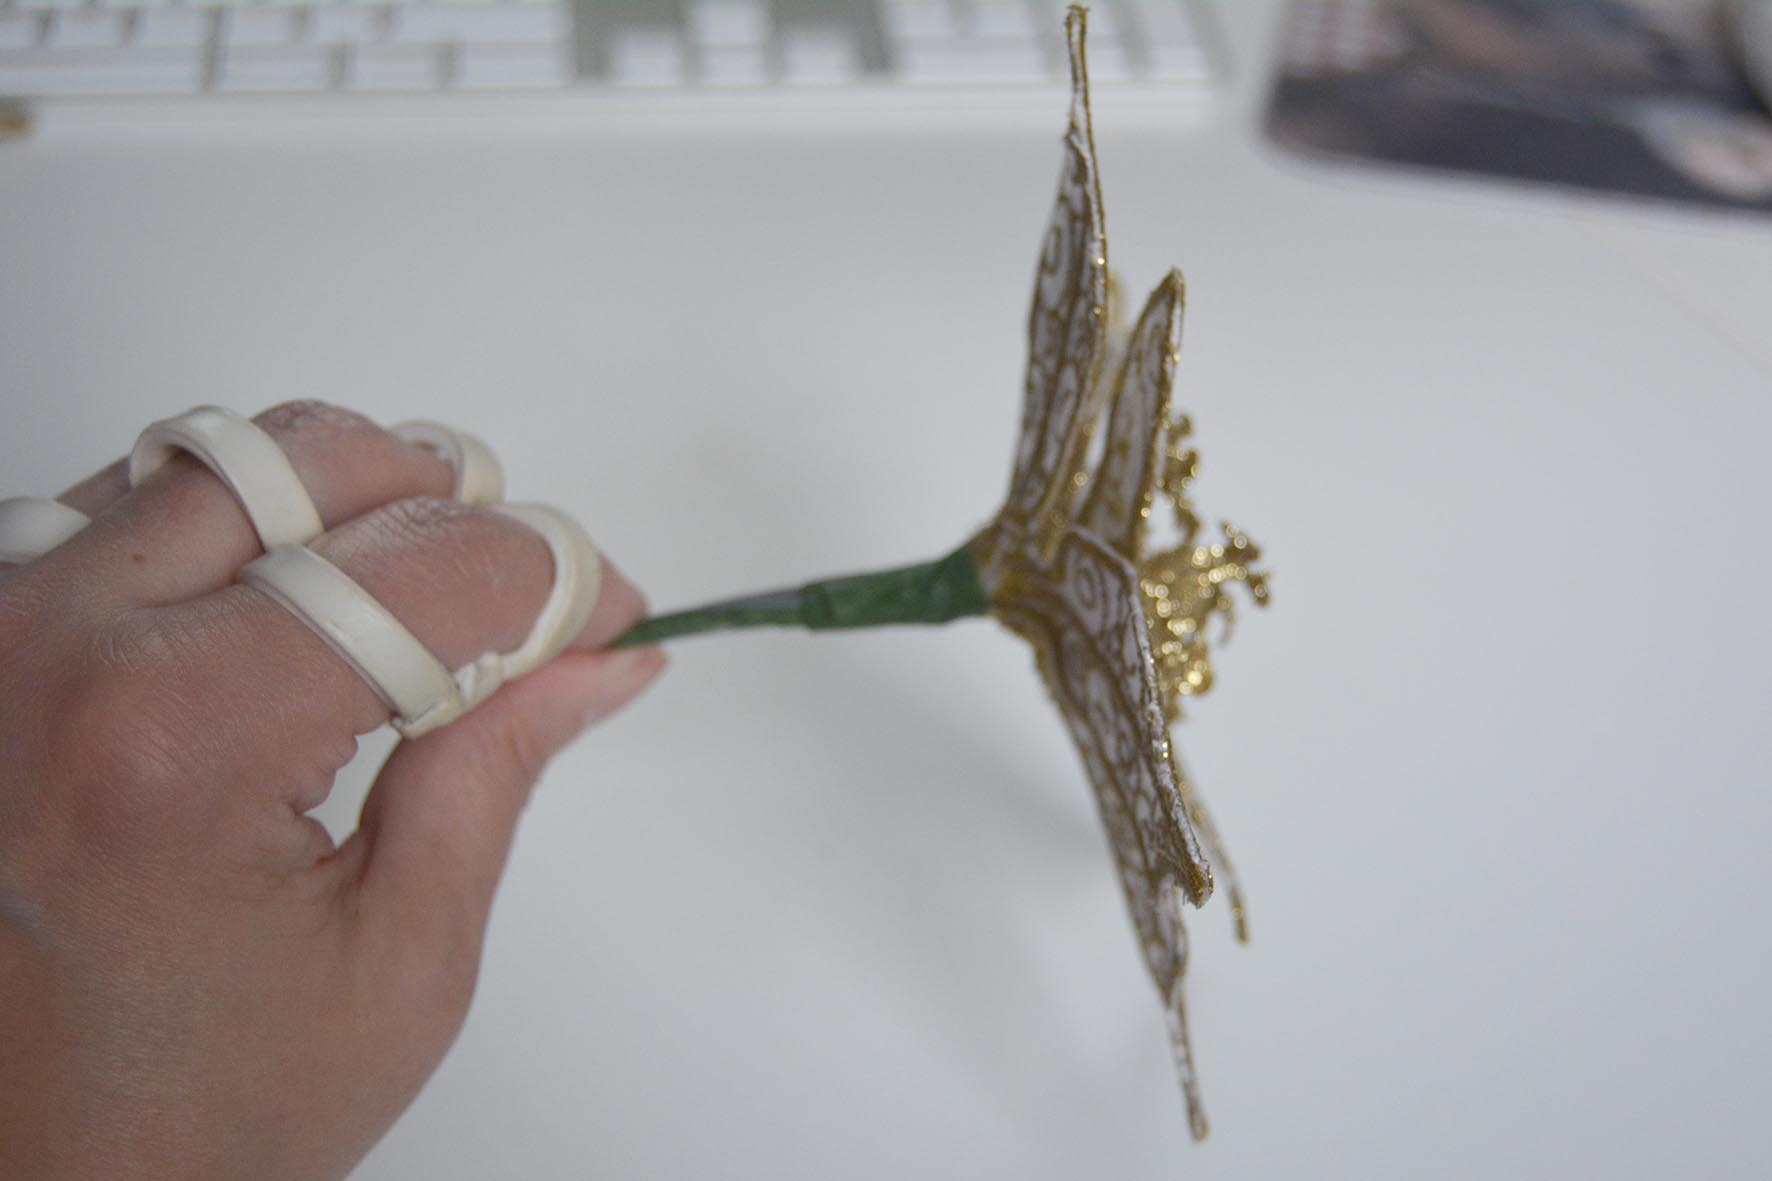
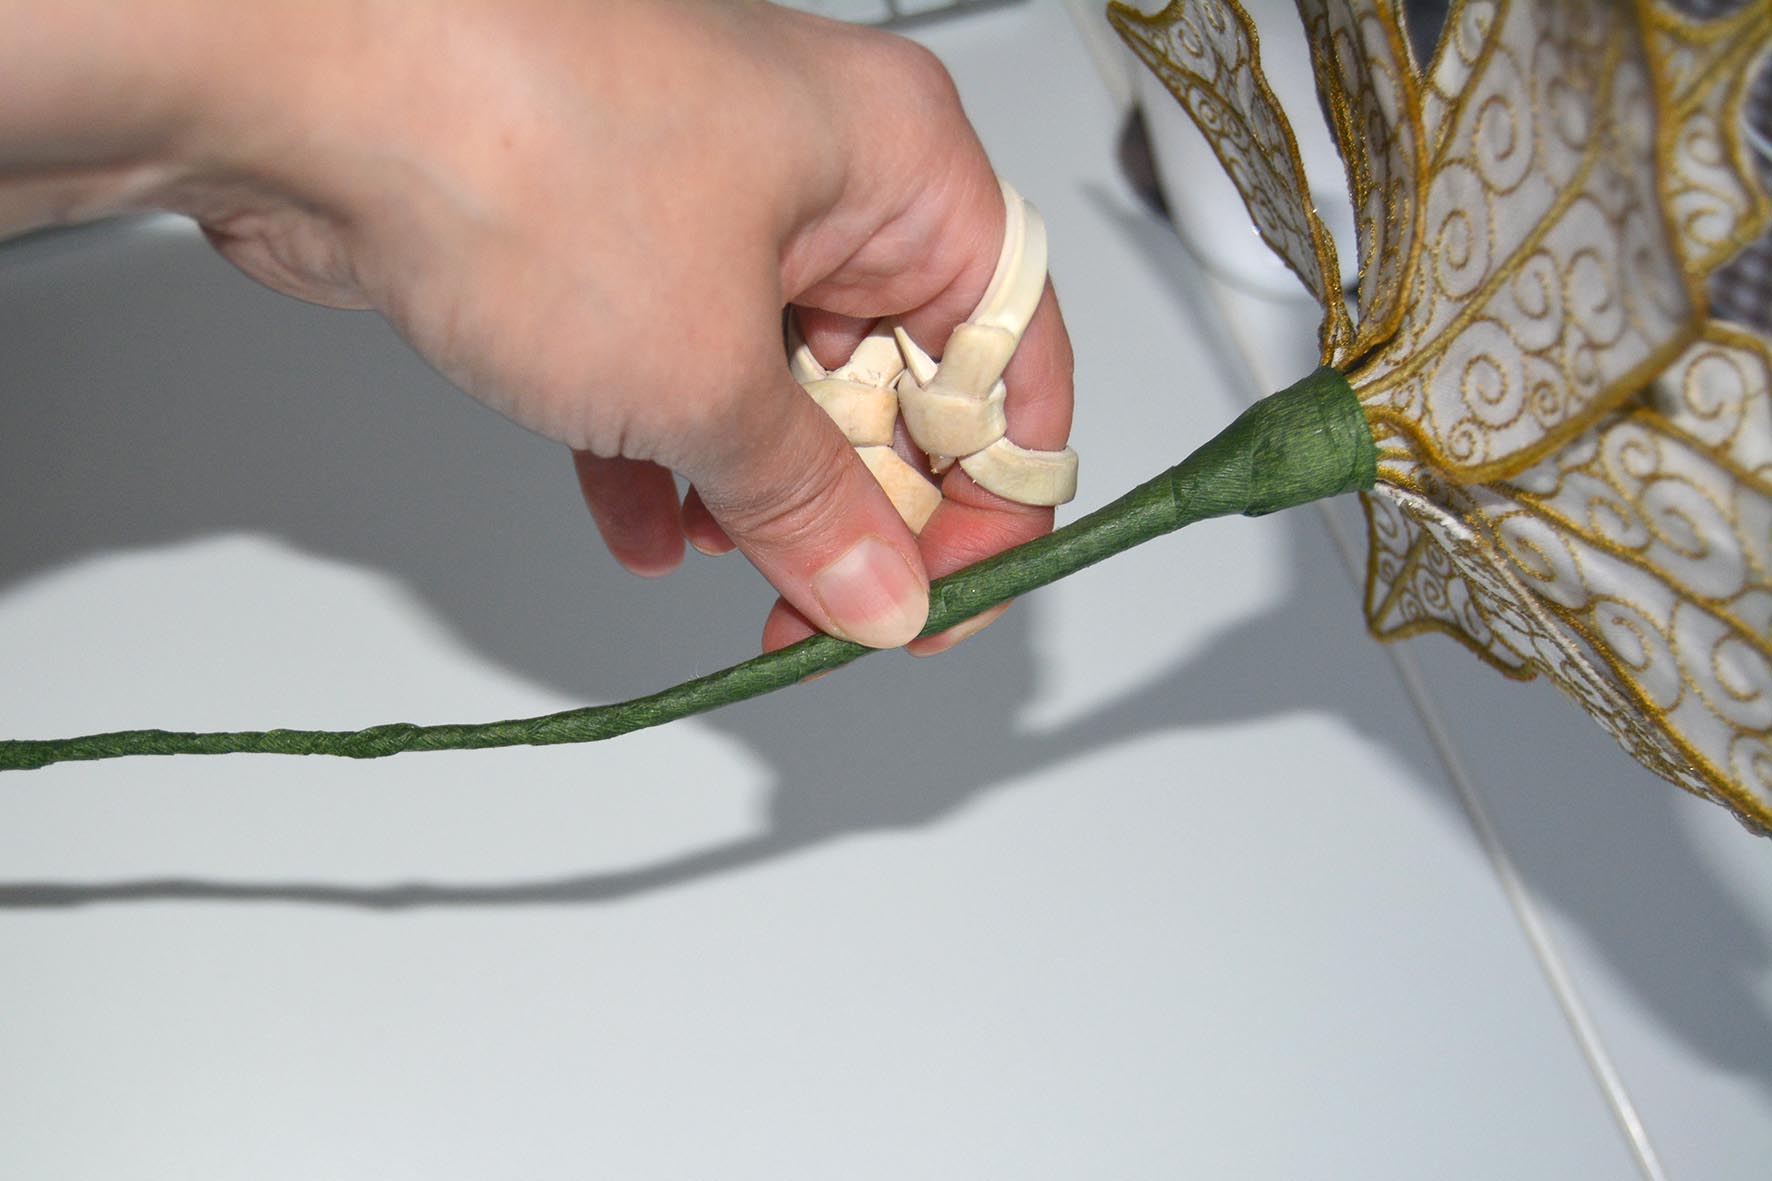
Finally, wrap the whole stem with flora crèpe. Then everything looks clean …
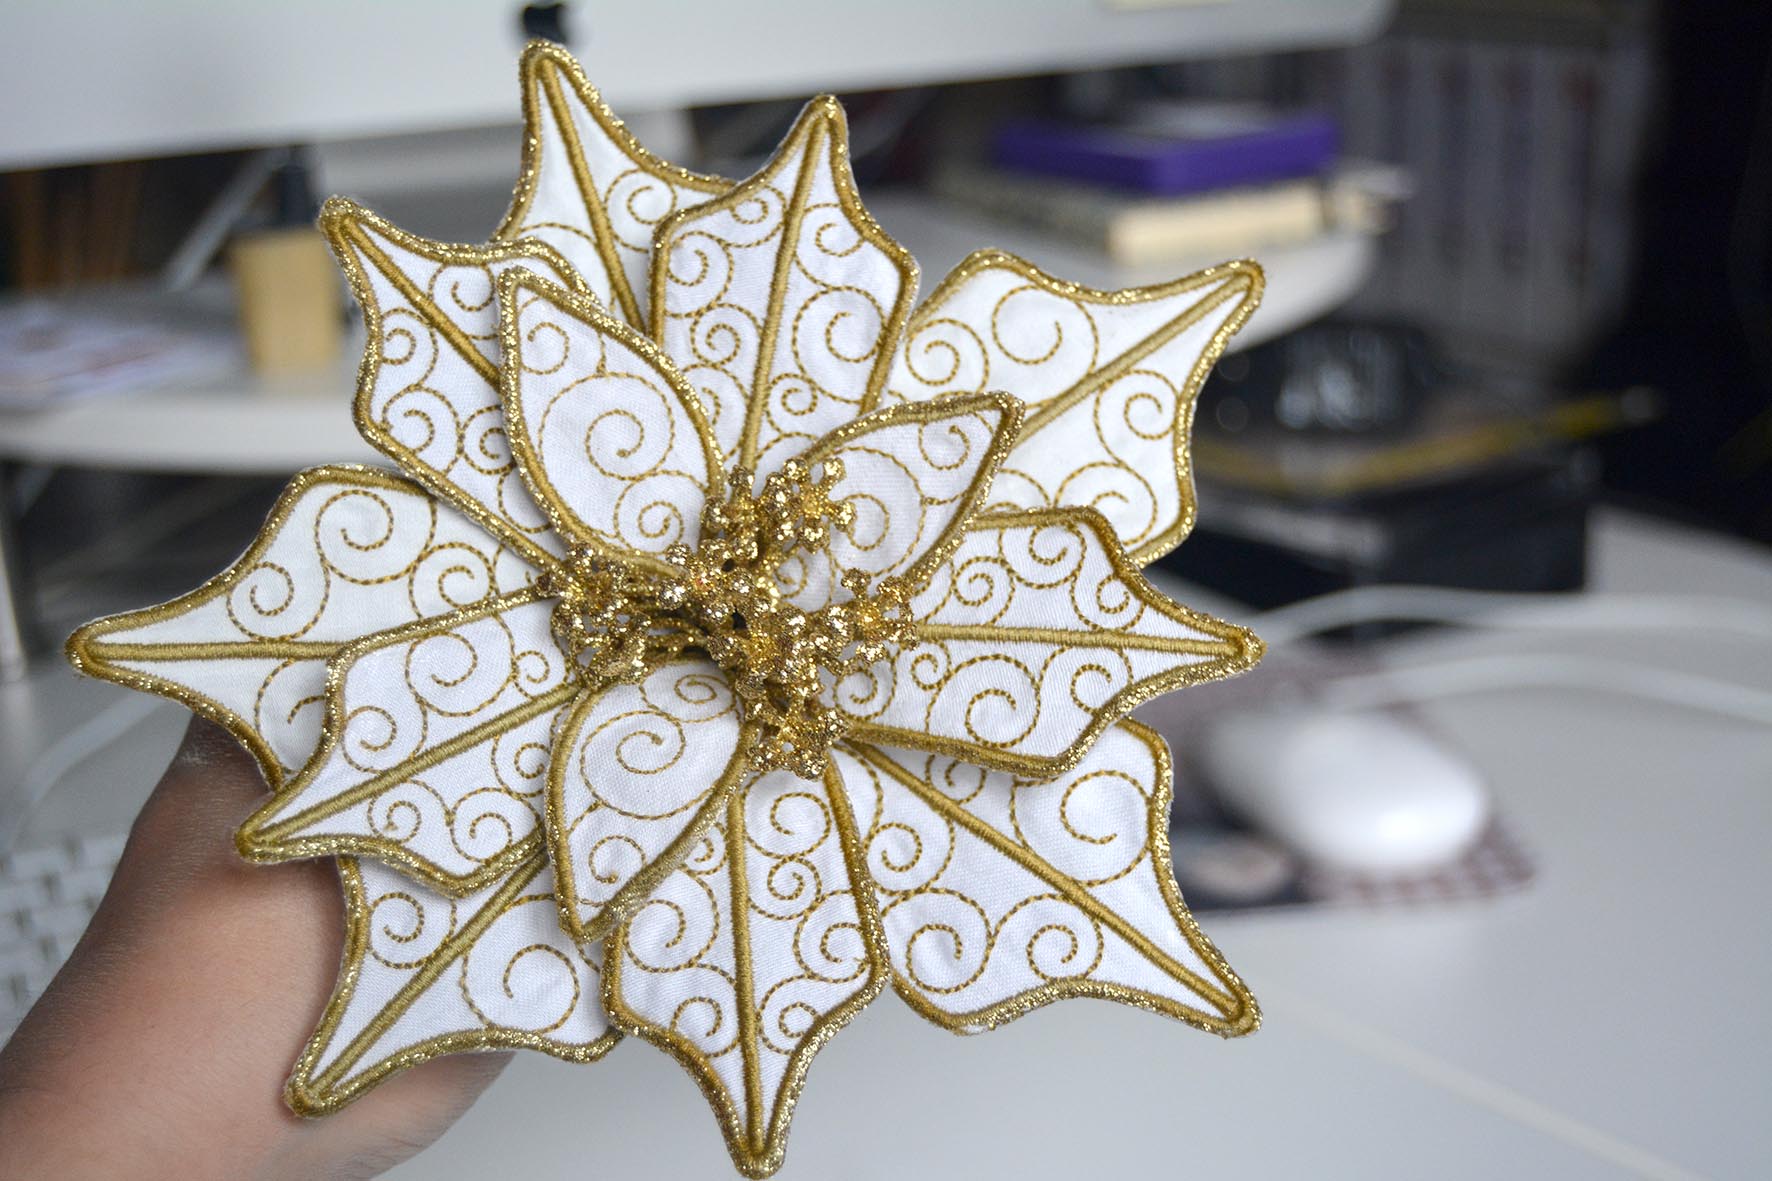
Afterwards, the individual leaves can be plucked in shape …
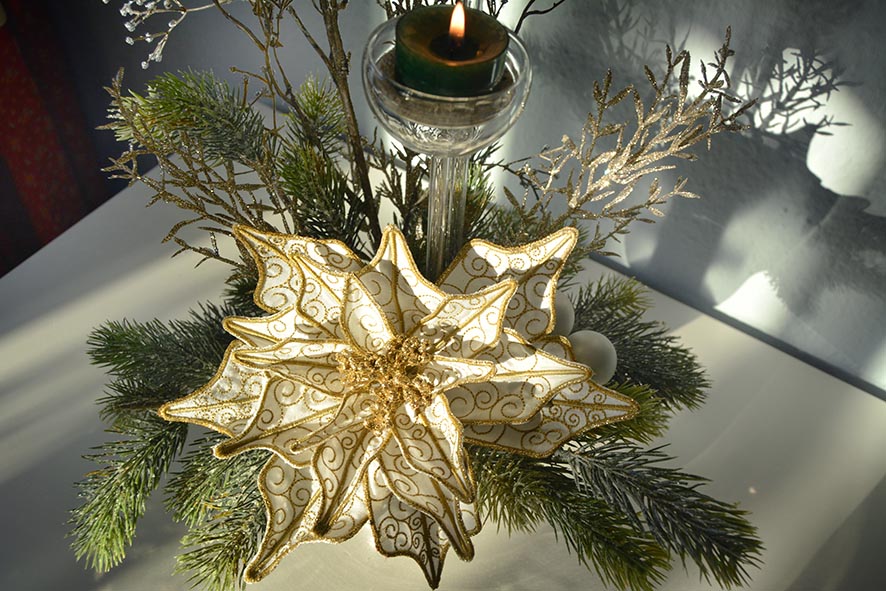
Add decoration according to your own taste and preferences …
I hope you liked this tutorial. I am looking forward to see your Poinsettias in the community section of the blog!
Greetings and a beautiful 4th Advent
Andrea
 BERNINA Corporate Blog -










Thank you for your lesson. I am the owner of Just Learning Bernina V8 Software. I have the most wonderful group. We use Sylvias lessons and other educators lessons. My group is only oriented to use of Bernina information and lessons, plus my own lessons. I also have a wonderful European Educator in Spain that contributes. We sincerely thank you for your lessons. Joann.
Hallo Andrea.
ik was op zoek naar een paasmandje. dat u eens op het blog hebt staan. dat wilde ik graag maken. waar kan ik dat nu vinden. of wil u het mij sturen.
alvast bedankt
groetjes Hermien