Dear community,
in this blog post you can find detailed instructions for sewing covers for hand or pocket warmers.
Today the 22nd door of the Bernina Advent Calendar is opening for you, and behind it are the instructions for sewing practical covers for hand or pocket warmers.
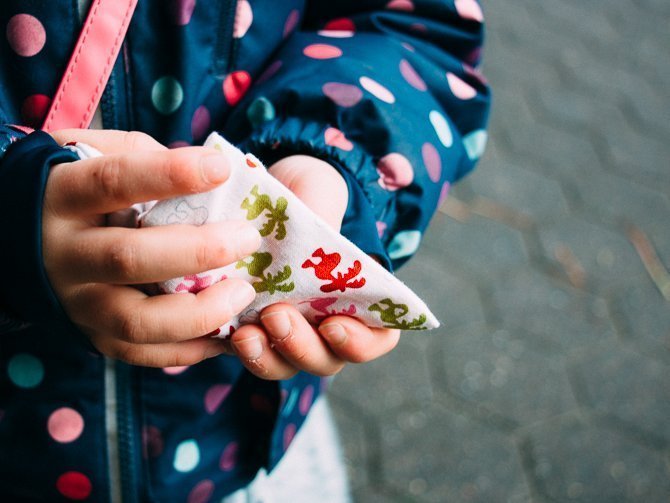
Many children dislike wearing gloves because it restricts what they can do with their fingers. And yet in winter you don’t want their little hands to get cold. To warm them up after sledging or snowball fights, little pocket warmers are a great option. They are now available everywhere (e.g. in chemists). These little gel cushions heat up through a chemical reaction and get hands lovely and warm again. They can be “recharged” by soaking them in boiling water so they can be used several times over.
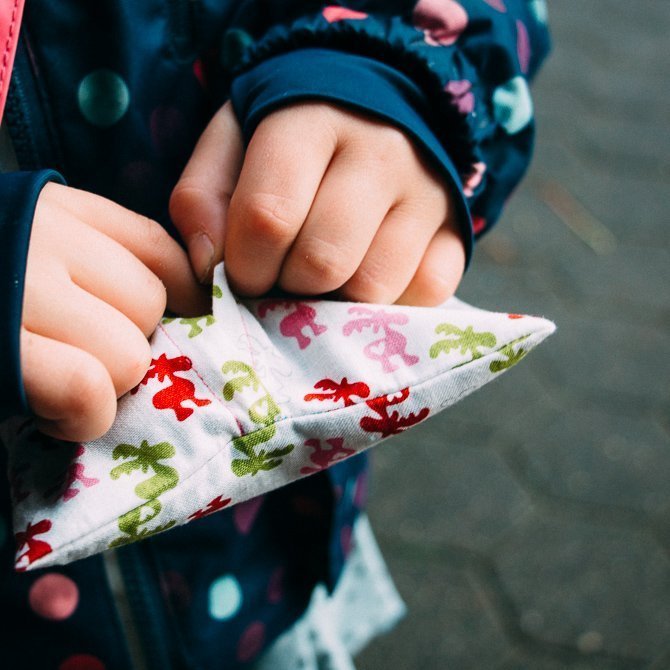
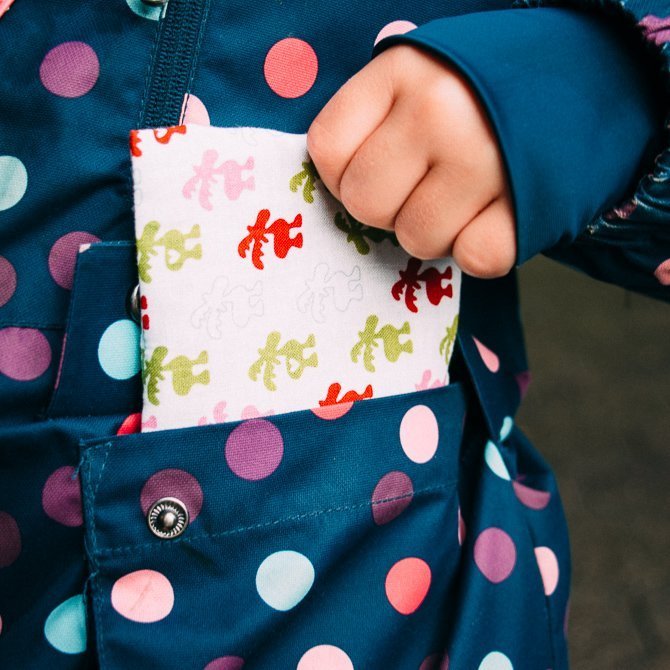
I sewed pretty covers for my children’s gel cushions as they tended to find the pocket warmers too hot. Plus they look much nicer and more child-friendly when covered in fabric.
Sewing instructions for pocket warmer cover
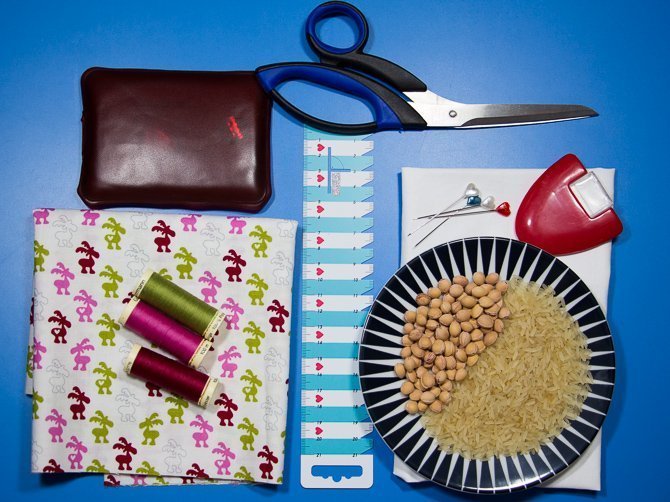
Materials:
- Pretty patterned woven fabric
- Scissors, tape measure, pins and tailor’s chalk
- Sewing thread in matching colour
- Pocket warmers with gel filling or similar
- Fabric remnants and cherry stones/rice to make your own pocket warmer
If you don’t want to use gel-filled pocket warmers, you can easily make your own little heat cushions. Simply sew a few old fabric remnants of your chosen size together on three sides, fill them with cherry stones or rice and close them with a fourth seam.
The little cherry stone or rice-filled cushions can be heated up fast in the microwave and stay warm for a good 20 minutes. These pocket warmers can also be reused as often as you want. Since the little cushions often get dropped into snow and slush, I also sew washable covers for them.
The following sewing instructions can easily be used for home-made pocket warmers.
Work out the size of the pocket warmer cover
You first need to measure the cushion that you need to cover.
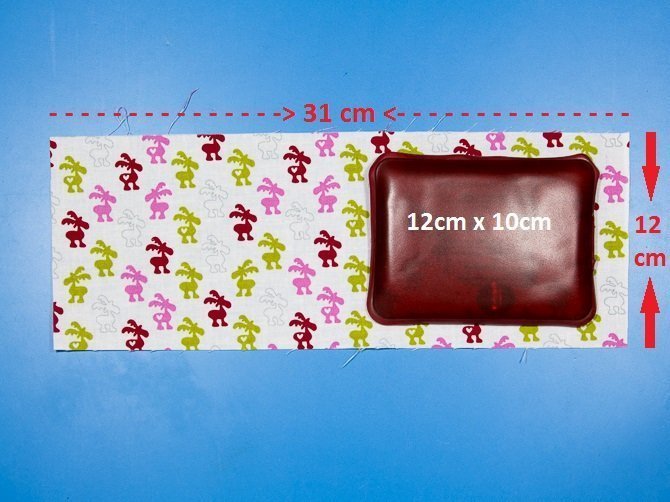
My gel cushion is 12 cm wide and 10 cm high.
Since the cover needs both a front and back we double the width (= 24cm).
Now you have to calculate the seam allowance (SA) on top.
In the width we need a SA of 1.5 cm on each side (0.5 cm more here because the sides will be turned in before we sew them together to make a nice, clean edge), so a total SA of 3 cm. This makes the width 27 cm.
We also need a couple of cm SA for the hotel fold.
Here you reckon + a good 1/3 of the single width, so in my case that’s 1/3 of 12 cm, which is 4 cm. This gives us a total width of 31 cm.
We only need 2 cm SA for the height (1 cm top and bottom), which gives us a total height of 12 cm.
You can use this calculation to work out the right size for any cover.
Finishing edges
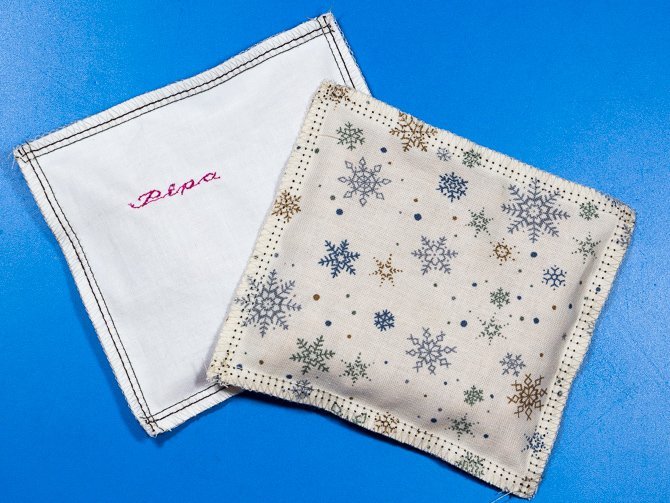
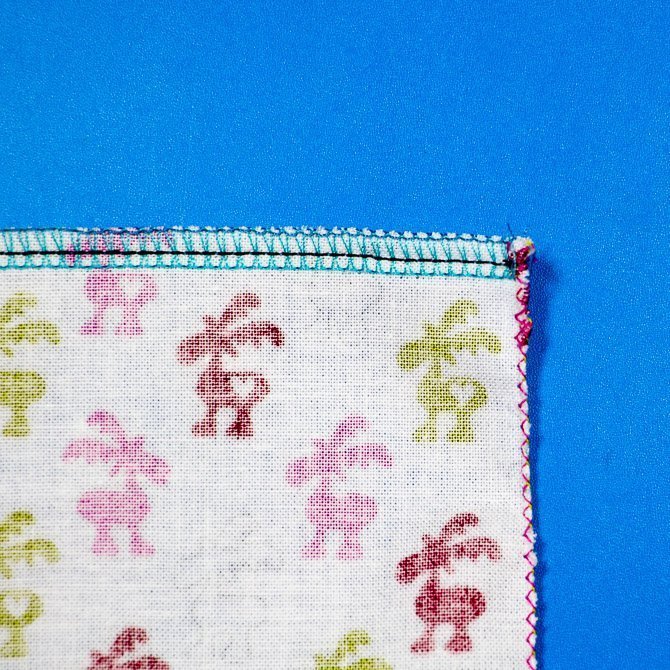
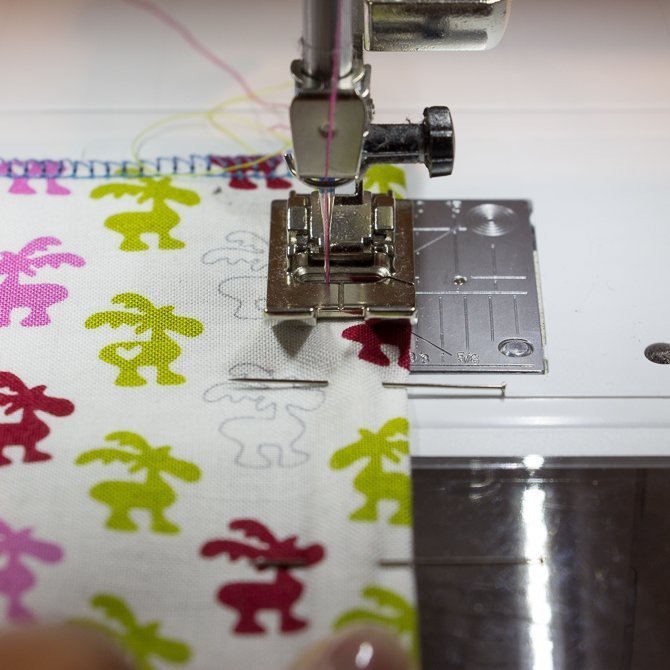
Since woven fabric tends to fray at the edges, all four sides are finished with zigzag stitch on the sewing machine or overlocker (I have given an example of both methods here).
Preparing the hotel fold
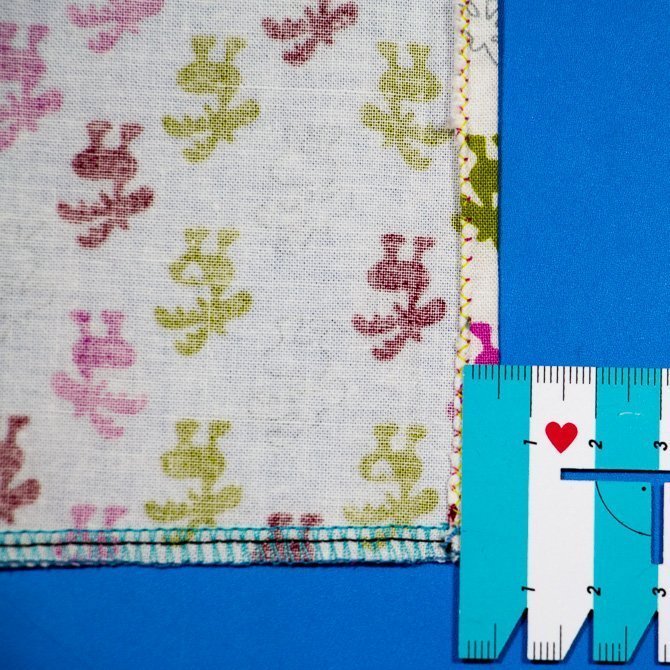
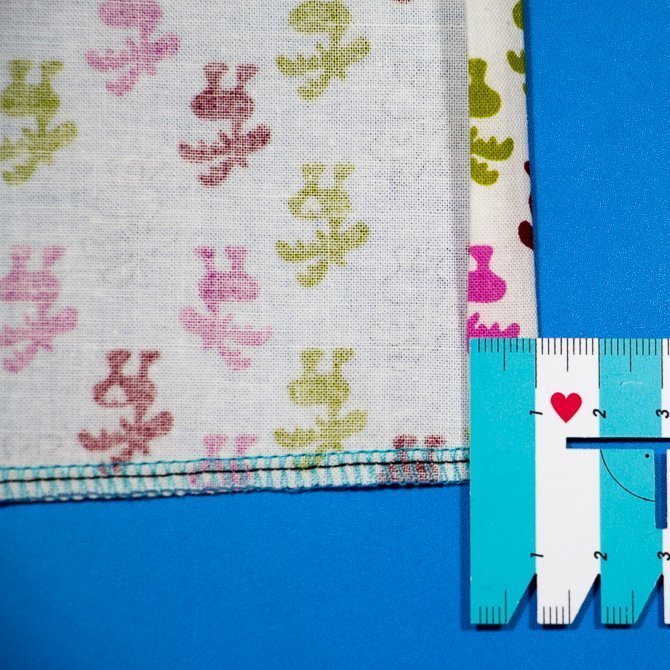
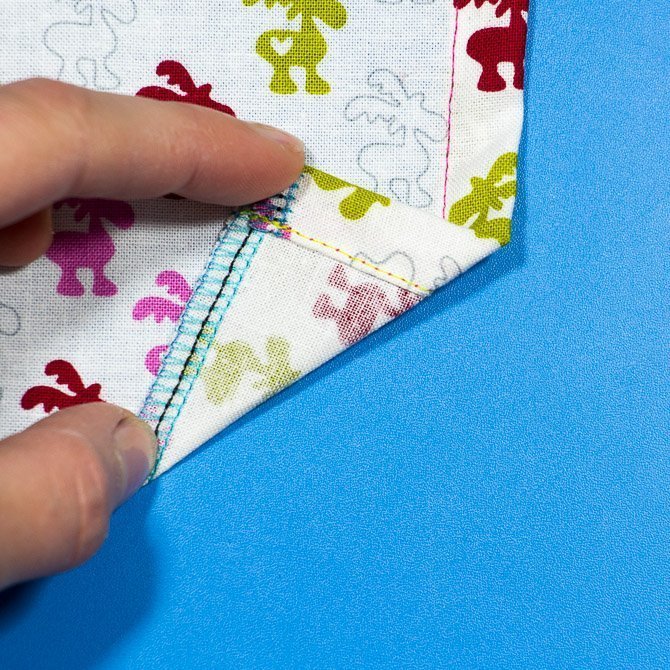
The two outside (short) edges are first put together, left sides facing, with a 0.5 cm overlap, and then ironed.
Then fold the edge over a further 1 cm and iron it flat.
You now have two clean fabric edges, which can be pinned in place and sewn close to the edge using straight stitch and sewing thread in a matching colour.
Final stages
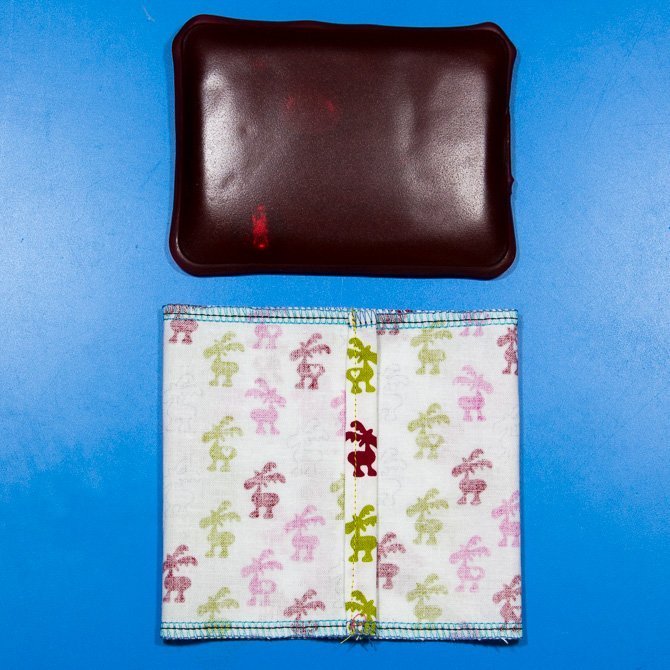
Now lay the fabric down with the right side up and turn both edges over each other so that only one top stitched edge is visible.
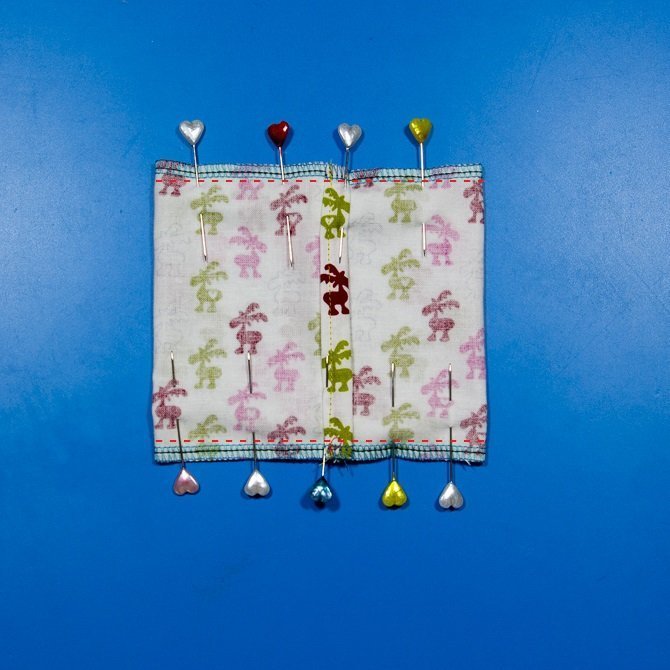
Pin the open sides together and sew them using straight stitch (red dotted line).
To finish, turn the cover inside out, iron it one more time if required and then insert the pocket warmer (the cushion filled with gel, cherry stones or rice).
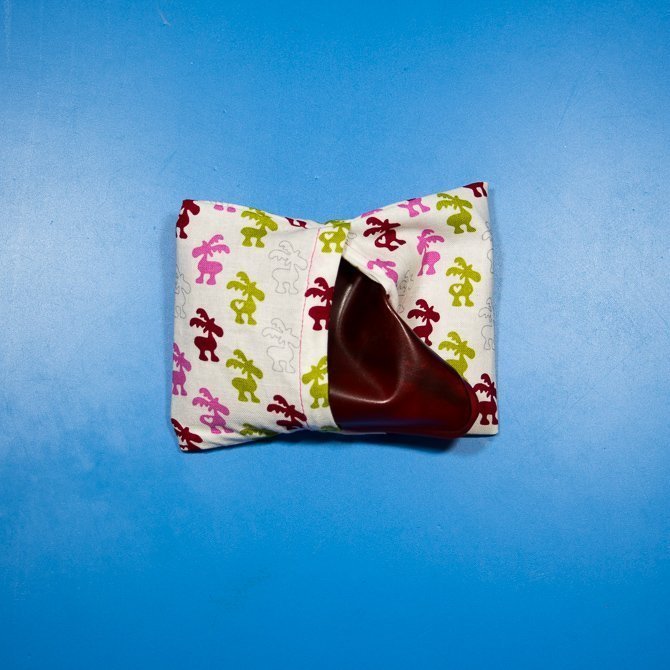
Your pretty, child-friendly pocket warmer cover is now ready to offer protection against too much heat, and against snow and slush.
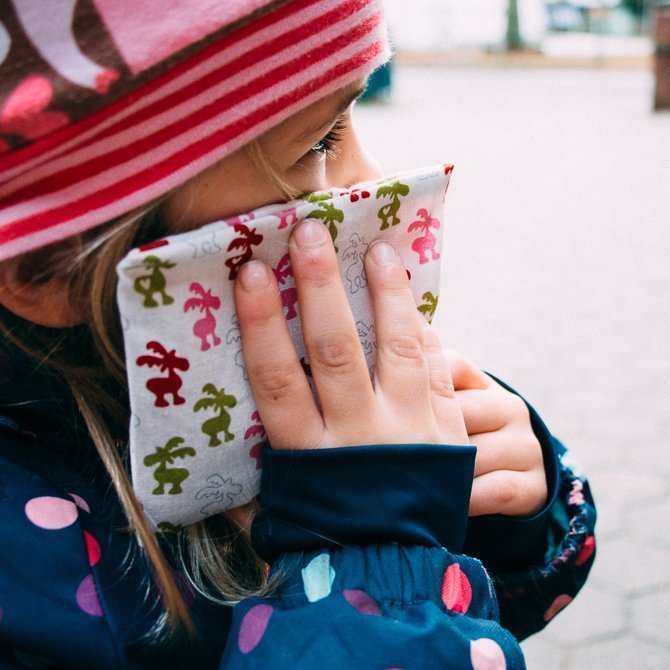
Naturally it’s not just little hands that it can warm, but cheeks and ears too.
I wish you all a peaceful Christmas and hope you’re looking forward to the last two calendar doors.
Paola
 BERNINA Corporate Blog -




0 Responses