 BERNINA Corporate Blog -
Dear community,
in this blog post you can find detailed instructions for sewing embroidered snowflake pendants (with free template) – the perfect decoration for Christmas and New Year’s Eve!

SNOWFLAKES
This is a fun project for children to make exploring the built-in embroidery stitches and using some of the fancy threads they have access to.
I have given a snowflake design but you could make your own by taking a 15cm (6”) square of paper and folding and cutting your own design. But don’t make it too complicated because you have to leave space to stitch in and you have to cut it out afterwards! Remember snowflakes have 6 points.
SUPPLIES
Snowflake:
White felt – 2 x 15cm (6”) squares
Bondaweb/Vlieseline – 2 x 15cm (6”) squares
Sharp fabric scissors
Water soluble marking pen
Metallic or shiny Polyester or Rayon threads (30wt or 40wt is best)
15cm (6”) length of narrow ribbon or cord
Template:
15cm (6”) square of stiff paper or thin card
Glue stick
Paper scissors
METHOD
Template:

Template supplies
- First print out your template or cut out your own snowflake design.
- Glue the design to the stiff paper or card. Allow to dry.
- Now cut out your snowflake template.
Felt:
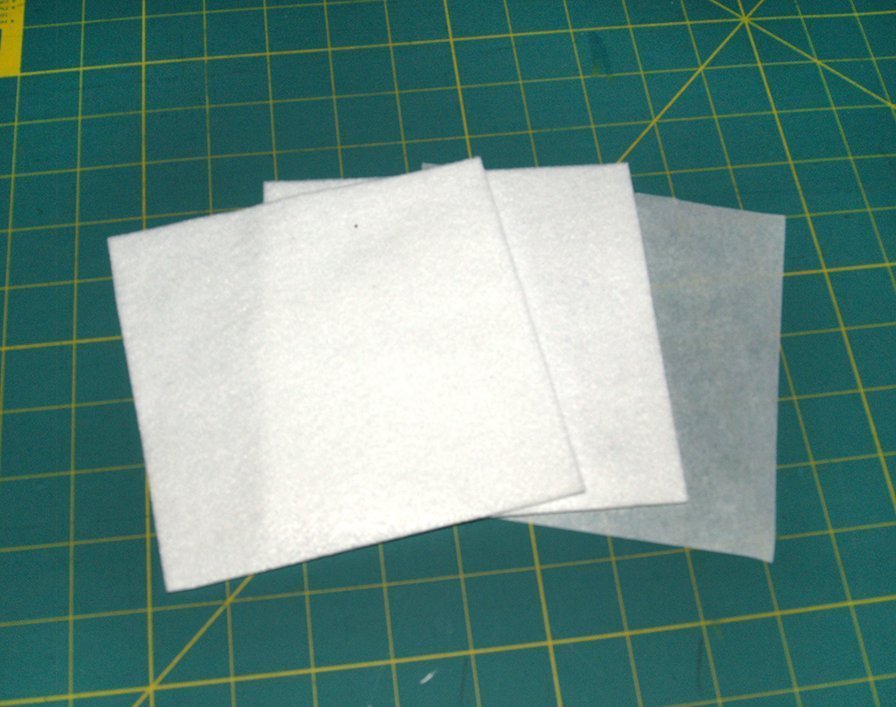
Felt layers
- Fuse two layers of felt together
- Lay your template on top of the felt and draw around the outside with the water soluble pen.
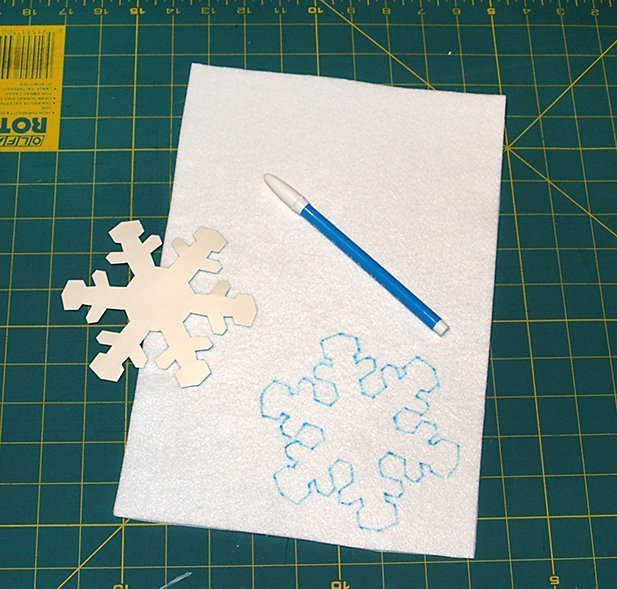
Marking the felt
Stitching:
- Have a good look at all the embroidery stitches on your machine. You will find probably find several that you like. They can be jazzy or funny or more traditional. This is your snowflake so you can use whichever and as many different stitches you fancy.
- Thread the machine with your chosen thread and match the thread colour on the bobbin. If you are using a metallic thread use a cotton or polyester bobbin thread in a matching colour. Make sure the needle is big enough (probably a 90/14 Topstitch needle – you might need a bigger needle or one specially designed for metallic threads).
- Before you start sewing any of the stitches try them out on the side of the felt square to make sure the tension is correct.
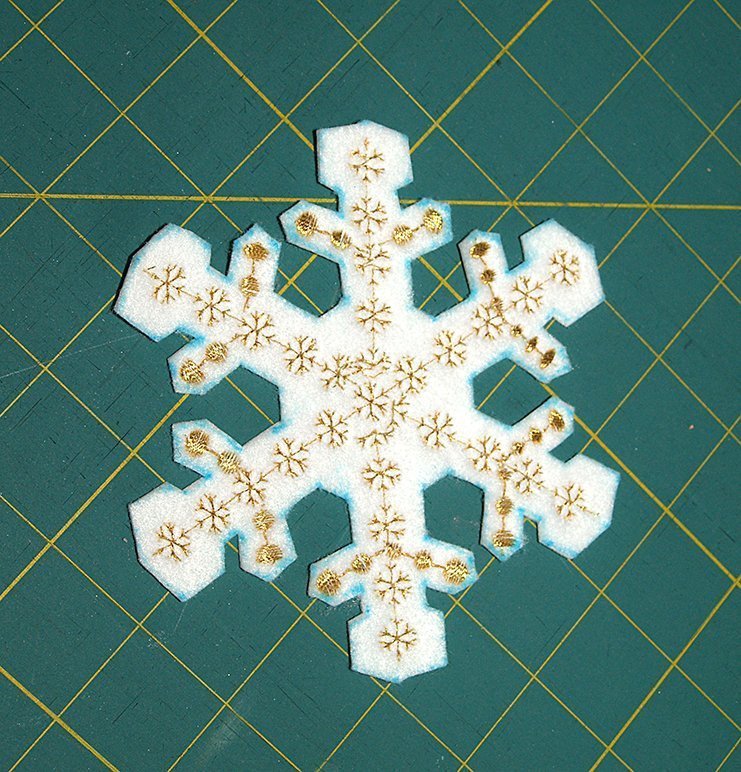
- Once you are happy with the tension, start sewing from one side to the opposite side. You can change the stitch and even the colour thread for each different line of stitching! Add single stitch motives in some areas if you like.

Stitched Snowflake
Finishing:
Snowflake cut out and ready to sponge to remove pen marks
- Once you have done all your stitching, cut out the felt snowflake.
- Use a damp cloth to sponge away any water soluble pen marks.
- Attach your ribbon or cord to a point of the snowflake so you can hang it on the tree.
Options:
- Of course you can use whatever colour felt you fancy.
- Some of the more ‘solid’ embroidery stitches will show up well.
- You can add glitter and sequins, buttons or beads to embellish your snowflakes.
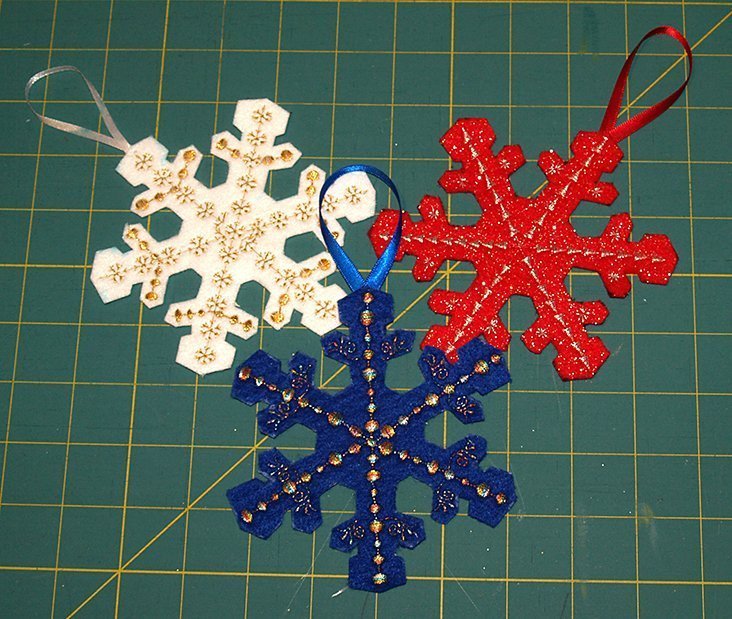
More Snowflakes
Have fun!

This looks like a great project to try out! What a great way to embellish Christmas packages!!!