 BERNINA Corporate Blog -
Dear community,
in this blog post you can find detailed instructions for sewing herb cushions or cherry stone cushions (with free pattern and plotter template).
A few days before Christmas, right in the middle of frosty Advent, children can get overexcited about the forthcoming festivities.
In the 21st door of the BERNINA Advent Calendar I’ve prepared a little something to keep their minds off the butterflies in their tummies 🙂
But my little “tummy-ache stars” serve a second purpose too – with paper and scissors you can create a really quick way of wrapping last minute presents.
A fast project that you can make with your children.
Wrapping paper stars
In order to use my little stars for wrapping presents I’ve prepared a printed template, which you can also use as a pattern for herb or heat cushions.
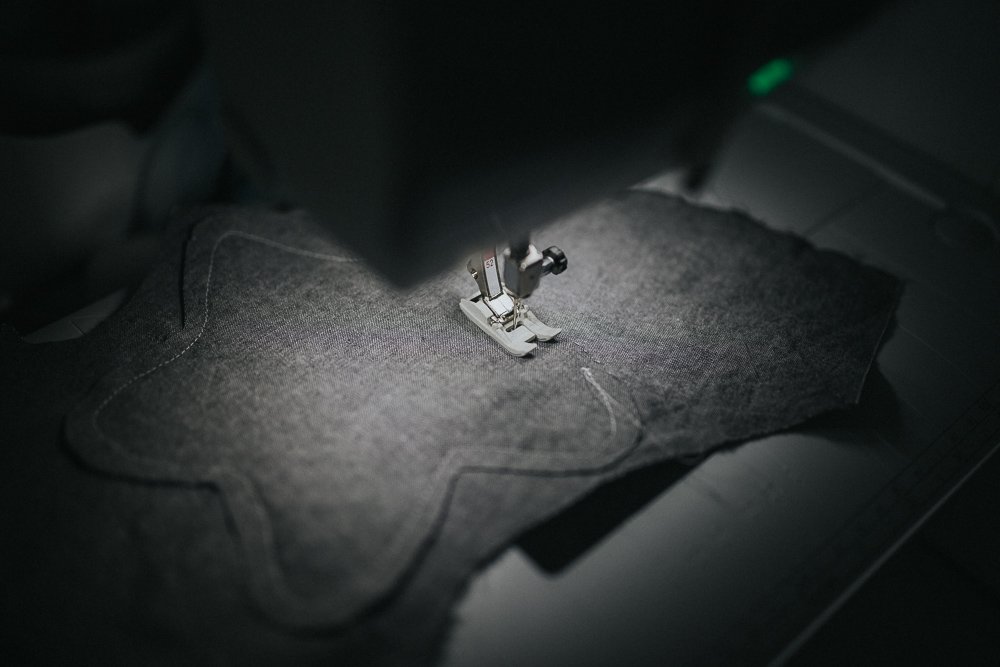
Print out the star, put a second piece of paper underneath it and sew half way round approx. 3 mm from the edge. Drop the needle, lift the foot and position the little present in the inside of the star. Now finish sewing the star.
Finally cut roughly round the seam. And it’s finished!
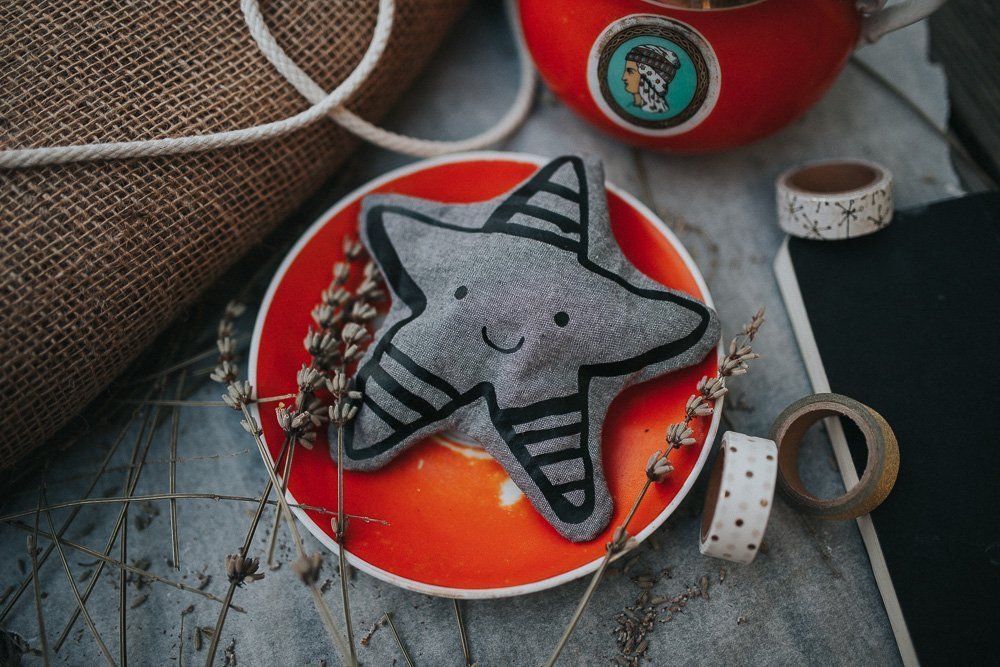
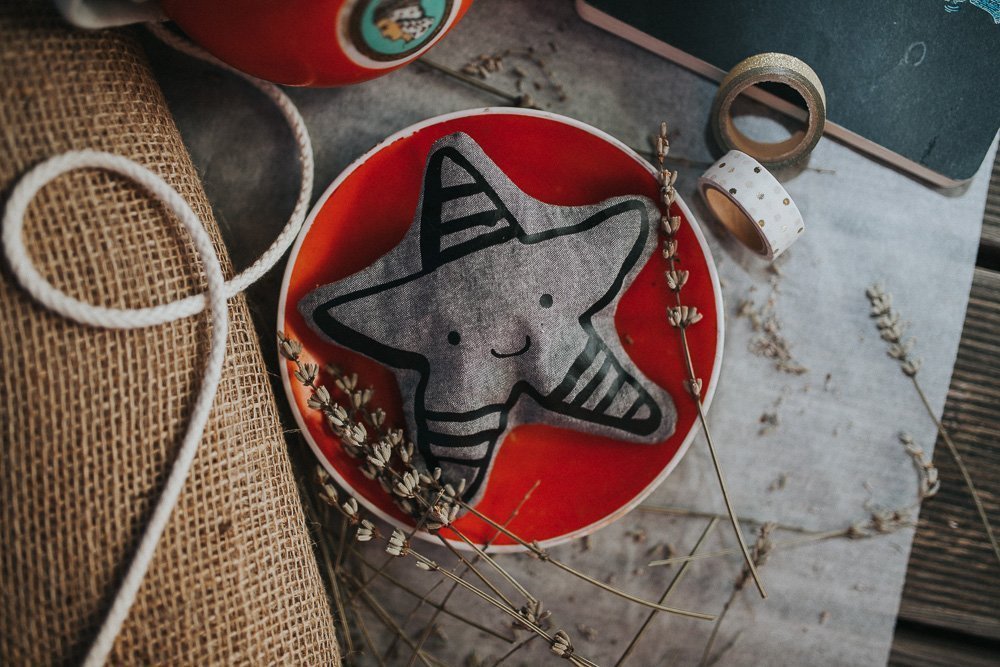
Tummy-ache stars as herb or cherry stone cushions
The tummy-ache stars can be filled with herbs, cherry stones or grape pips – just as you wish.
In my example I sewed a small lavender star. My children love the smell.
If you are making a herb cushion you can use my Plotter file. You can download it here (Bauchweh_Sternchen_Kluntjebunt) .
If you sew a cherry stone cushion which will later be heated, please use either textile print or embroider the face freehand. Be careful to use pure cotton.
Tip: Another lovely option is to get your children to paint the stars and let them make a small cushion for Grandma or Grandpa. 🙂
Tutorial for herb cushions with plotter template
- Open the pattern file and cut it with your plotter. Once this has been peeled off you can lay it to one side.
- Cut the star out twice according to the pattern.
- Mark your star with the plotter template.
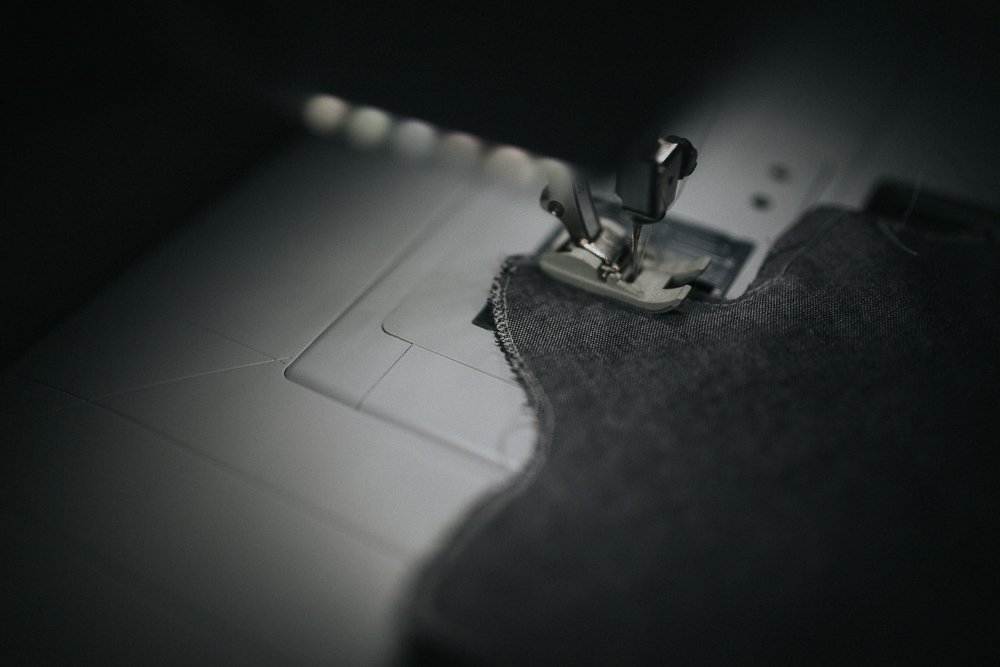
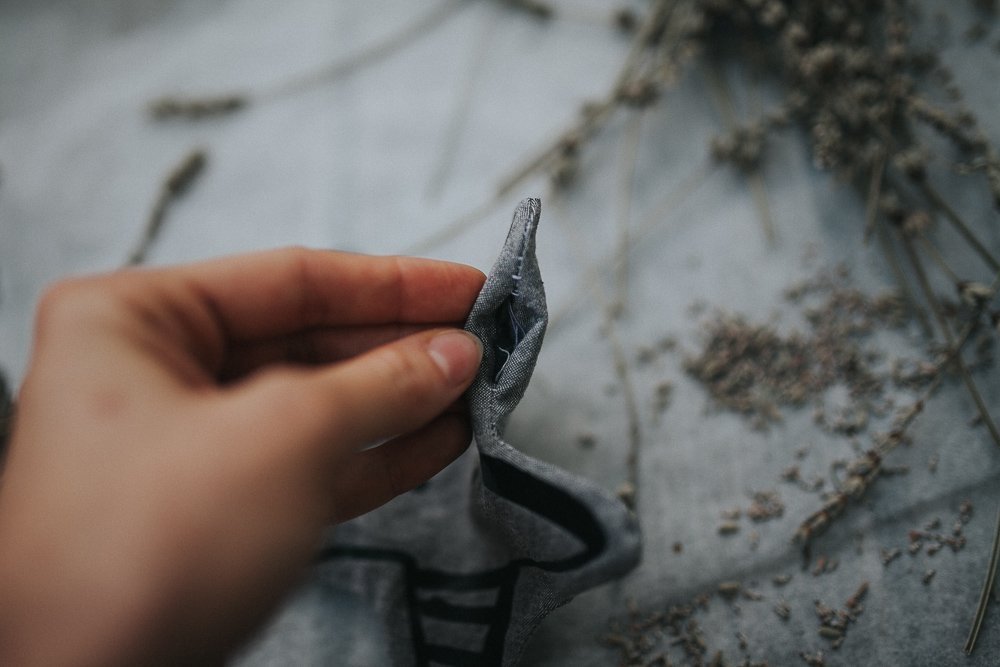
- Once it has cooled, lay the two star pieces left sides together and sew them together, leaving a small opening for turning inside out. Cut the seam allowance on the narrow curves close to the seam. You can create a neat edge using zigzag stitch.
- Turn the star inside out.
- Curl a piece of paper into a tube and poke it into the opening.
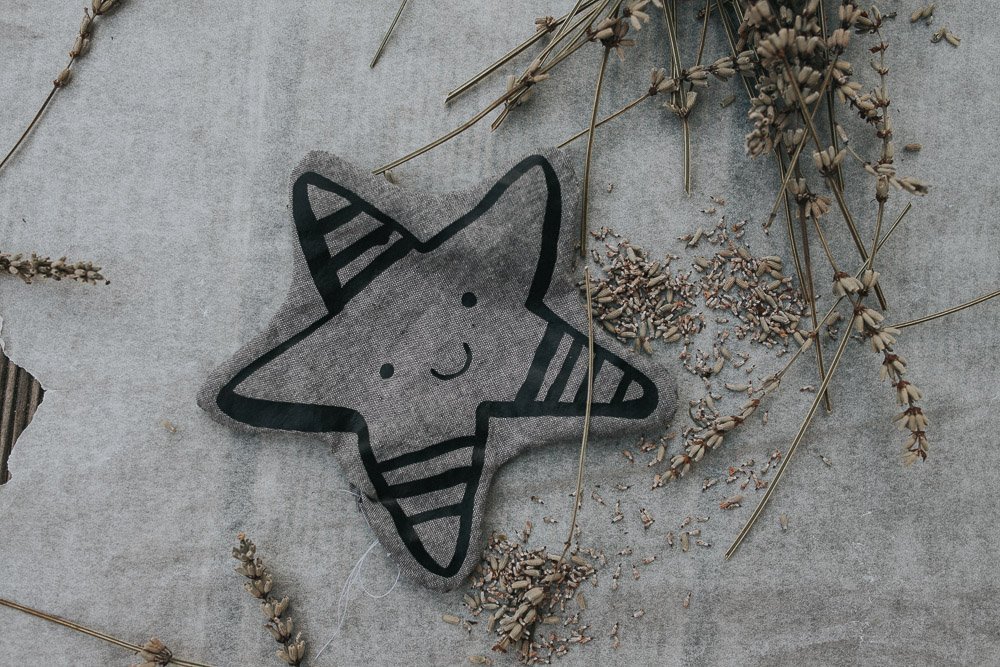

- Fill the star with herbs.
- Once the star is full, close it with mattress stitch.
Cherry stone cushion tutorial
The cherry stone cushion is made in the same way as the herb cushion. However, since it will be heated you should not use plotter film to mark it.
You can print the star with textile paint. You will need to cut the plotter file on vinyl film and transfer it to the fabric.
Then use a small sponge and textile paint to dab the face on. Once the paint is dry you can remove the film.
Now you can continue making the cushion as in points 4-8.
And it’s finished! 🙂
Christmas star, painted by children
Painting star cushions is also a great way to keep children busy and a lovely way to spend the exciting run-up to Christmas.
Cut the star out according to the pattern. Give the children a good protective base layer and fabric pens.
Now the kids can go mad! More stars, a cute face or colourful patterns? Let them choose what they want!
Once the star has been painted, the colour needs to be fixed, according to the manufacturer’s instructions. The star can then be sewn together and filled with wadding or cotton wool.
I hope you liked the 21st door of the BERNINA Advent Calendar and I was able to inspire you to see what wonderful things can be made using very little material and a bit of imagination! There are so many creative ways of wrapping presents – it doesn’t always have to be wrapping paper 🙂
I wonder if I’ll get any lavender stars this Christmas 🙂
I wish you a wonderful Advent with your loved ones!
Bernadette


0 Responses