This year I’ve enjoyed making Christmas cards. Although we now send lots of seasonal greetings by email it’s pleasing to send a few homemade ones to appreciative friends and family.
I left it rather late so wanted something quick to make. My theme was trees. These bring back many memories of Christmas. Decorating the tree built up excitement for the festivities ahead.
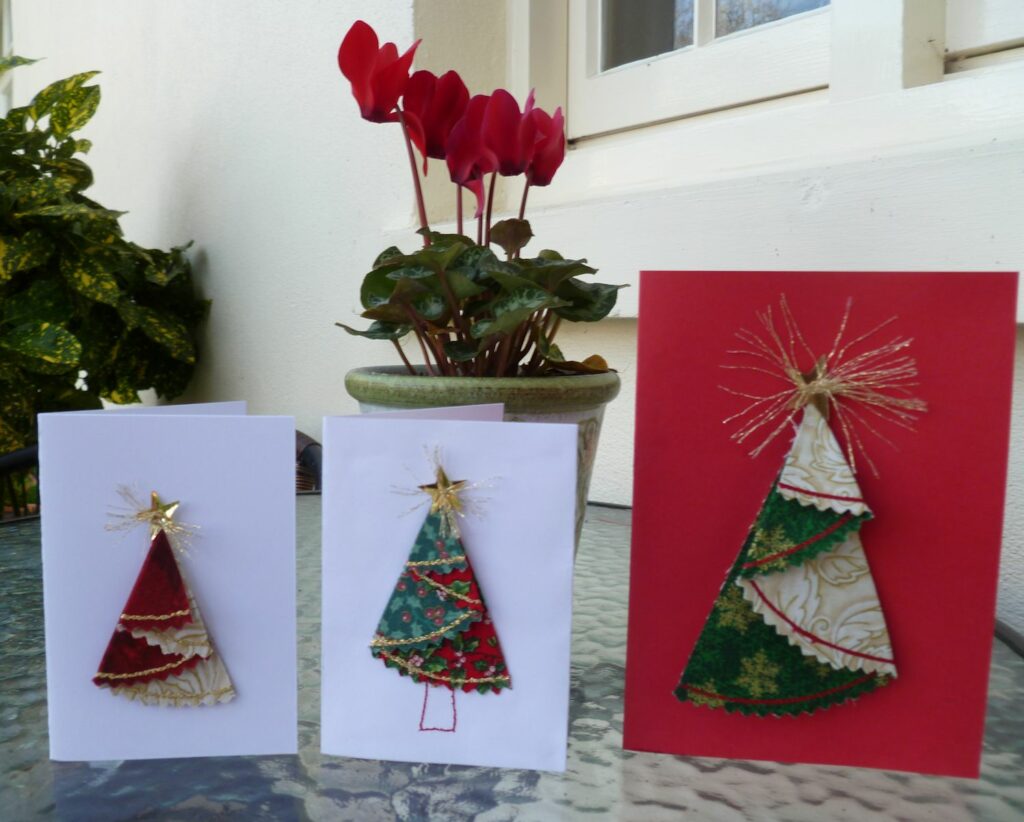
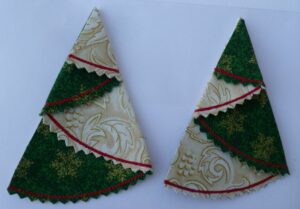
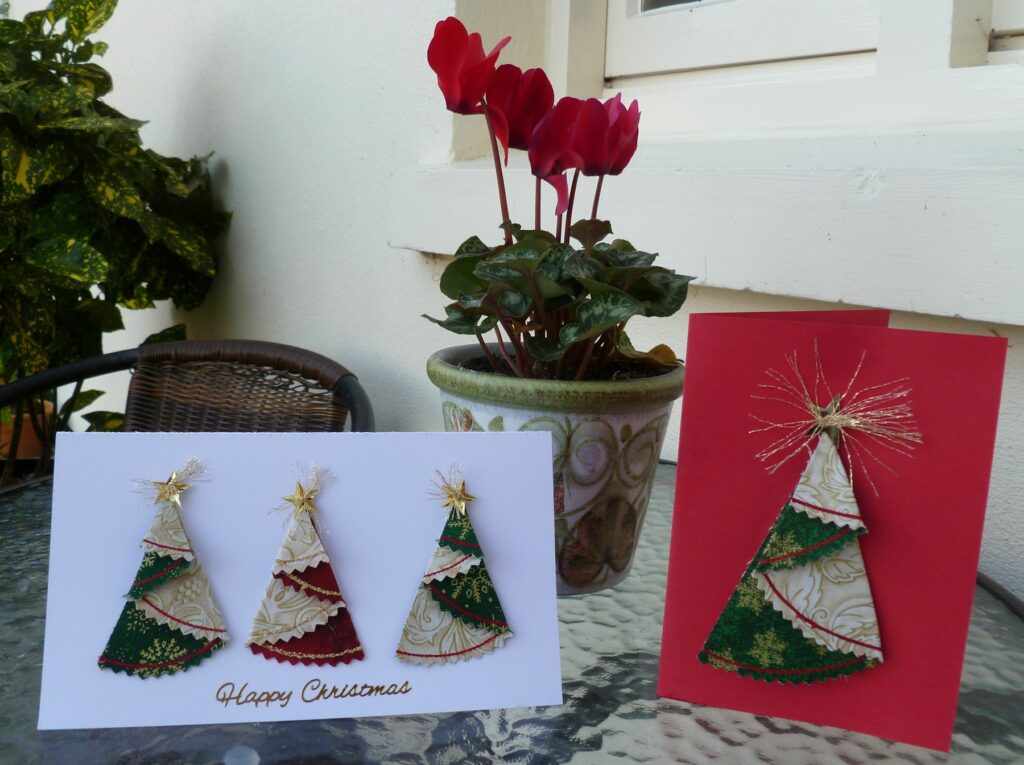
Of all the designs I tried, the one I liked making most was the folded tree. I had seen this idea in paper and liked its dimensional quality so decided to try it in fabric
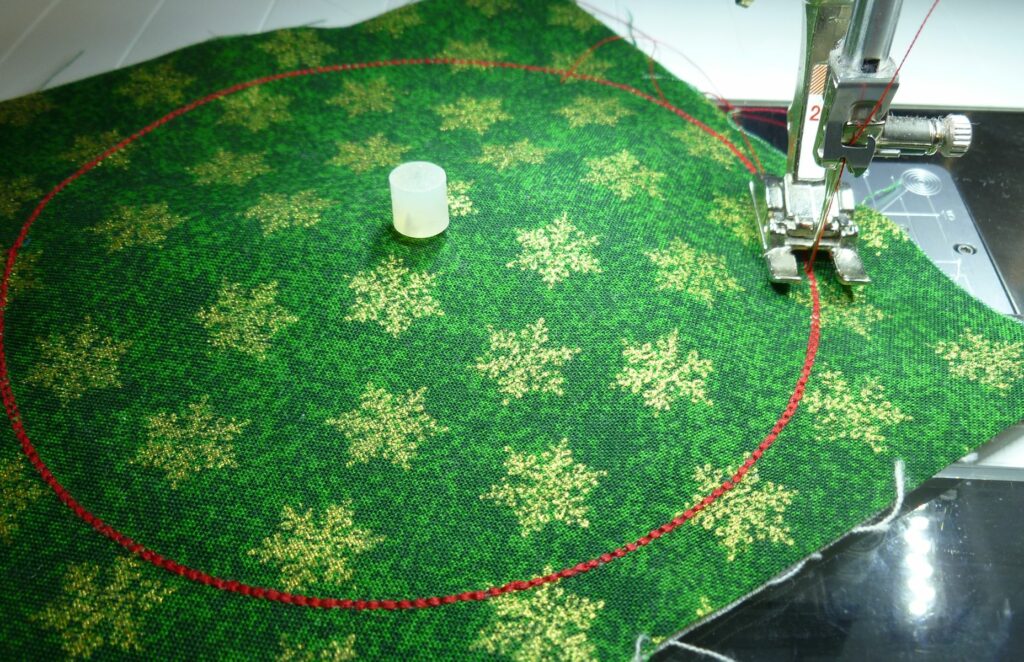
Using the Bernina circular embroidery attachment made them so quick and easy to sew out, but it is not essential.
Here’s how I made mine:
Choose two pieces of fabric. Both will appear on the front so different values work best. Mine were scraps ranging from around 3 to 6 inches square.
Bond them wrong sides together. I used Bondaweb .
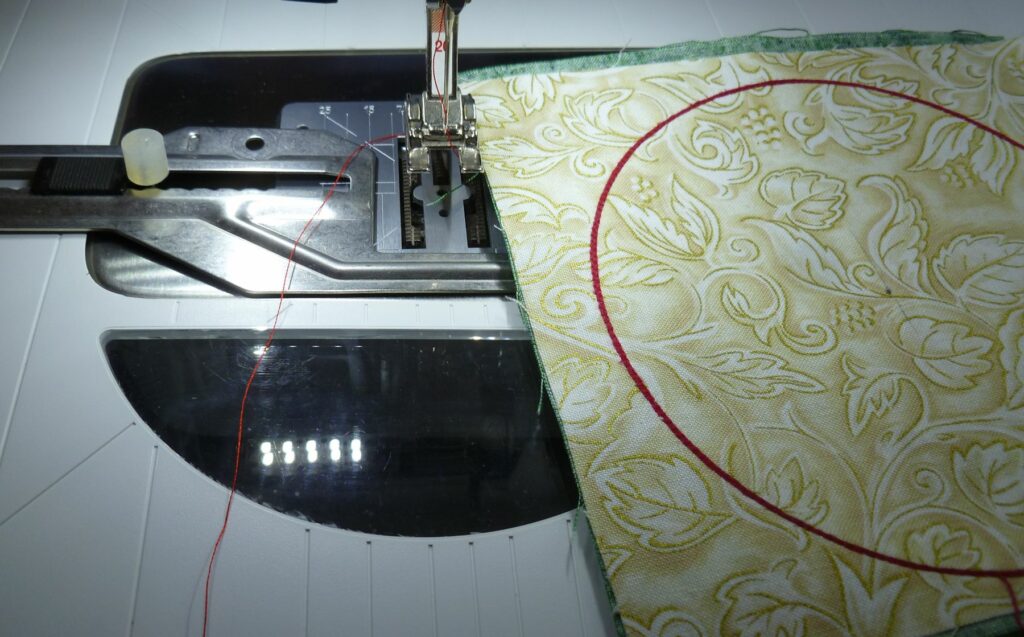
Stitch circles. If you don’t have a circle embroidery attachment draw round a bowl or similar and use that as a guide. I liked the ease with which I could quickly adjust my attachment to accommodate the different sizes of fabric I had. The bonded fabric didn’t need any stabiliser for the straight stitching I used.
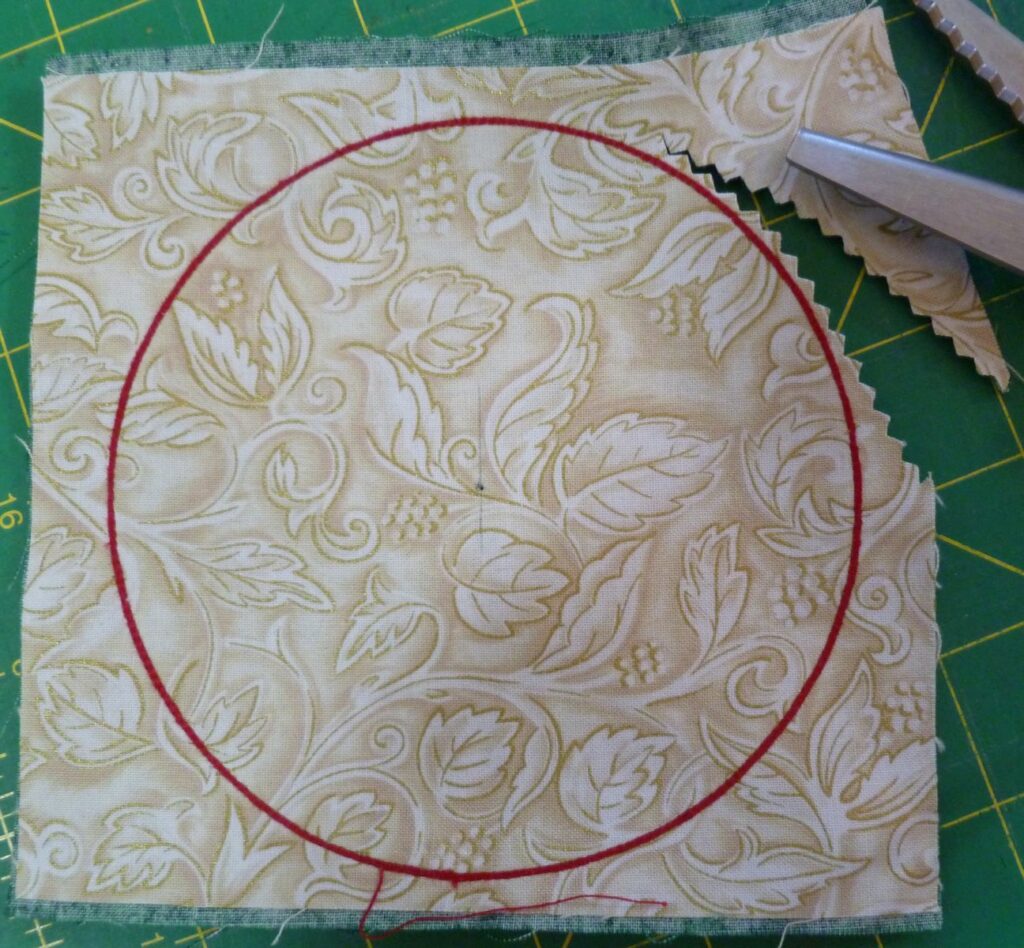
Reduce stitch length to about 2. This makes is less likely stitches will unravel when the circle is cut. I stitched around 3 times to make a defined line using same thread on top and in the bobbin. On some I used a thicker decorative thread in the bobbin so stitched twice but turned the fabric over after the first circuit so the thread would appear on both sides.
Trim the circle close to the stitching. I like the effect of pinking shears for this.
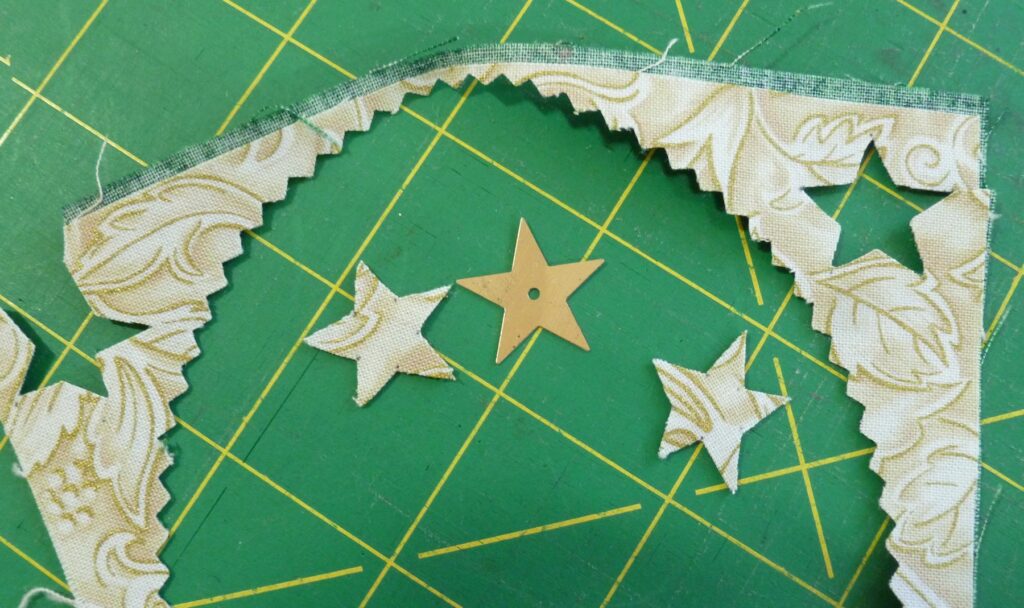
Those left over corners can be utilised for stars on other cards!
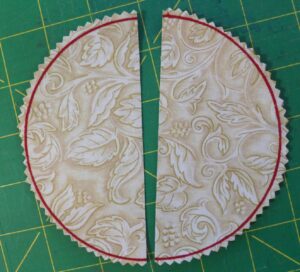
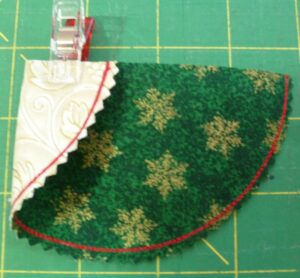
Cut the circle in half.
Two trees can be made from each circle. Think which side to use for the front. You might like one better than the other.
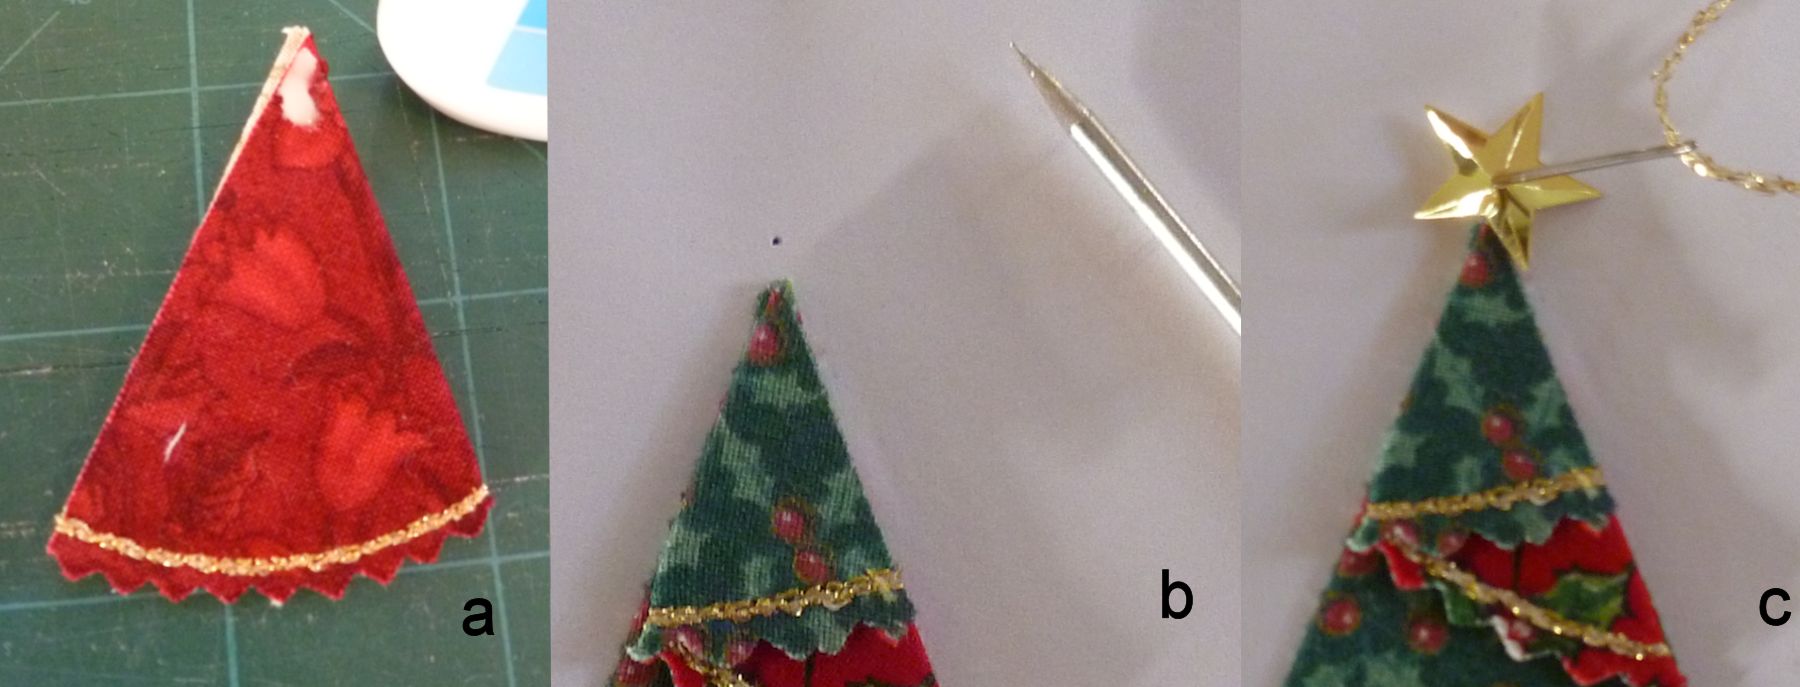
Fold the trees. This was a bit fiddly till I got the idea!
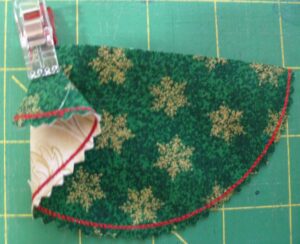
Fold a corner to about the centre of the straight edge.
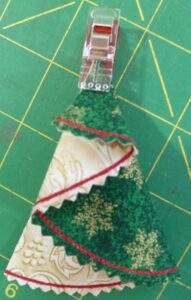
Flip that corner back on itself to line up with the first fold. Clip or pin the point. This will be the top of the tree.
Now fold the remaining straight edge to the back to line up with the first fold.
It’s possible to jiggle it about now to make sure it all lines up to your satisfaction. Of course it doesn’t have to match at the edges if you don’t want it to.
Press. I like my folds to be sharp so I pressed on both sides with a damp cloth.
Mount on card and add star. Gluing straight onto card is the quickest way to do this but I wanted the trees to hang free.
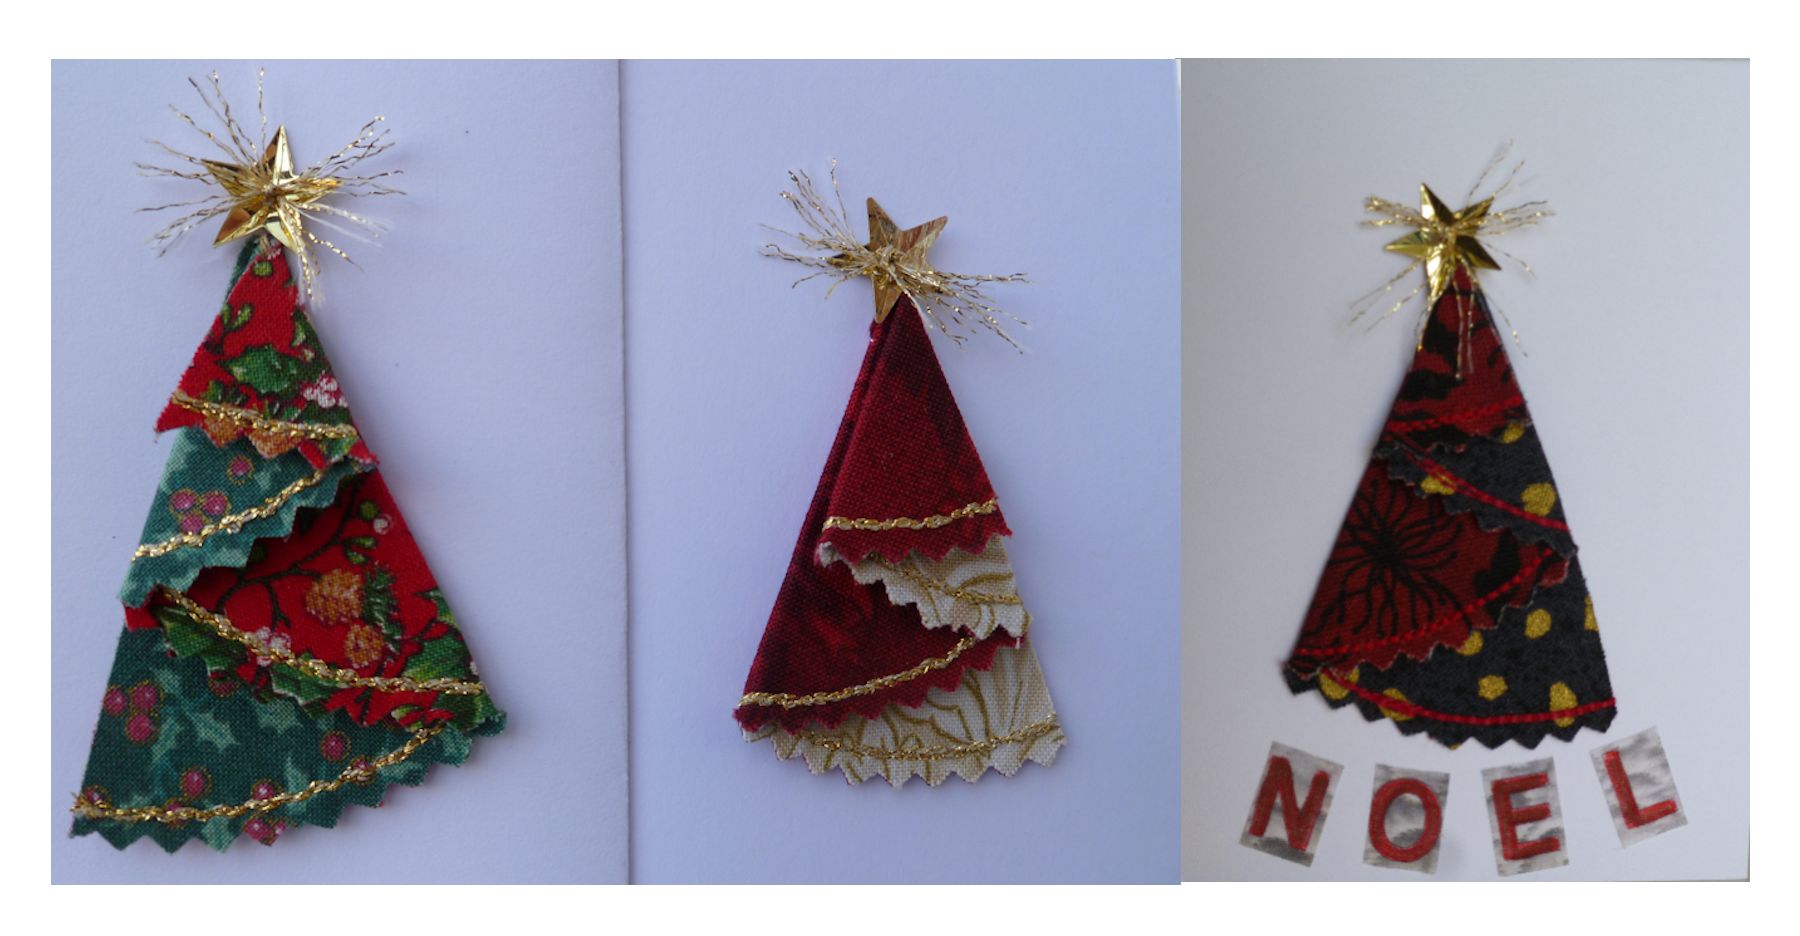 a) Put a small dab of glue near the point and stick tree into position. Used a stranded glittery thread to attach a star.
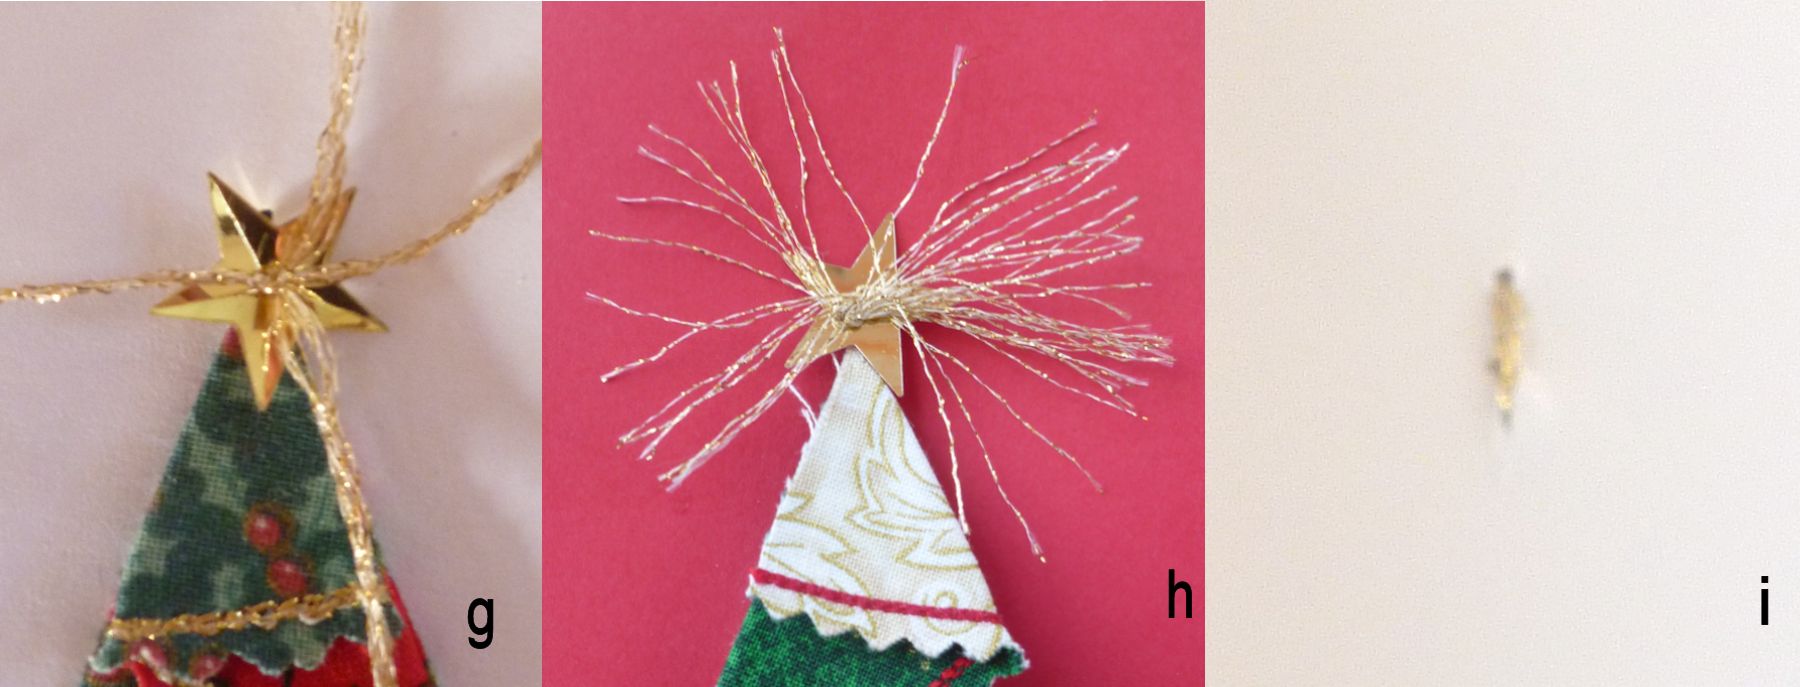
b) Use a needle or stiletto to make a hole in the card where the star will be attached.
c) Start by stitching from the front through the star and hole in the card to the back.
d) Taking a small stitch bring the needle back to the front through the card.
e) Catch the top of the tree as the needle comes through and then through the star again.
f) Both ends of the thread will now come from the front of the star ready to be tied securely.
g) Lay down further strands of thread as you tie in.
h) Trim the thread ends to create a full halo effect. Tease apart the stranded threads with a needle if necessary and add a dab of glue to secure the knot if it seems loose.
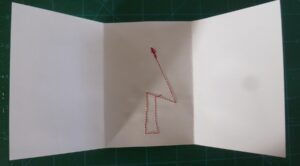
i) Just one stitch created the sparkle and also caught the top of the tree. On the inside of the card the one stitch will show unless you make a 3-fold card.
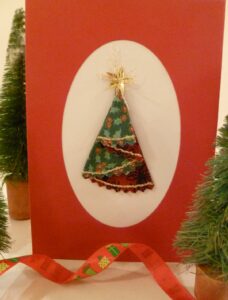
Using ready bought cards for displaying is easy if you have any. Mostly I cut my own from A4 card.
Although taking little longer to make, the trees look good if attached to fabric first. Stitching to the card adds attractive framing.
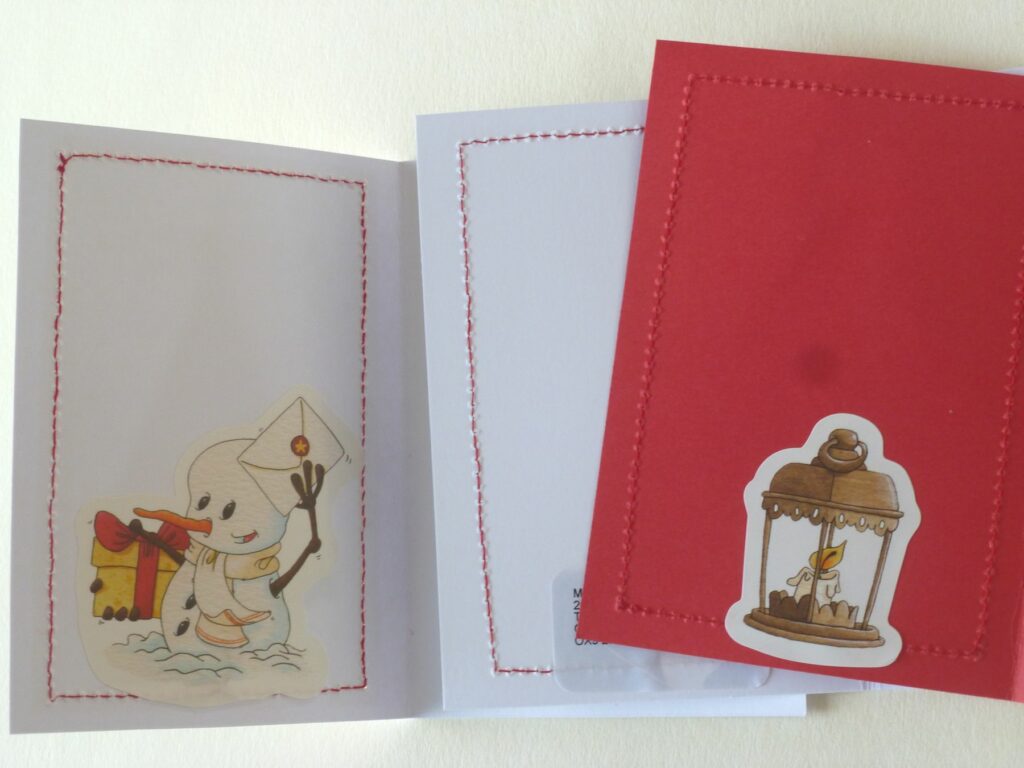
Inside the cards I secured and hid ends of the stitching with stickers or address labels.
Use 3-fold cards if you don’t want the stitching to show on the inside.
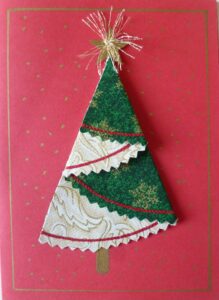
This one shows a stitched trunk and machine stitching of the tree to the card along the fold. When machine stitching on card I lengthen the stitch a little so as not to perforate the card so much it splits.
If there is time you can add further embellishments such as trunks, frames, dots or anything else you fancy. I used pen sometimes if I thought the background looked too plain.
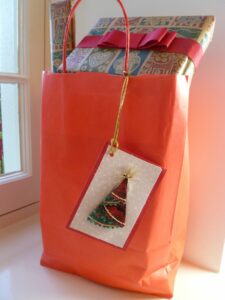
Smaller cards make good gift tags. This card went rather wonky when I bonded fabric to the card but it looks fine on a bag.
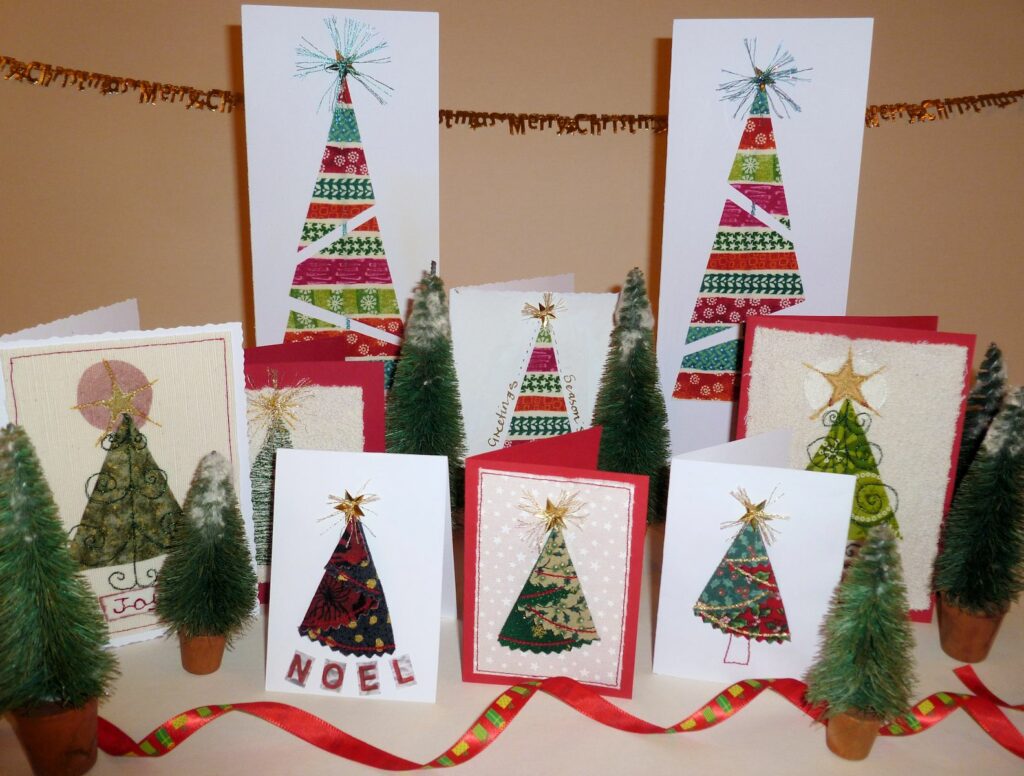
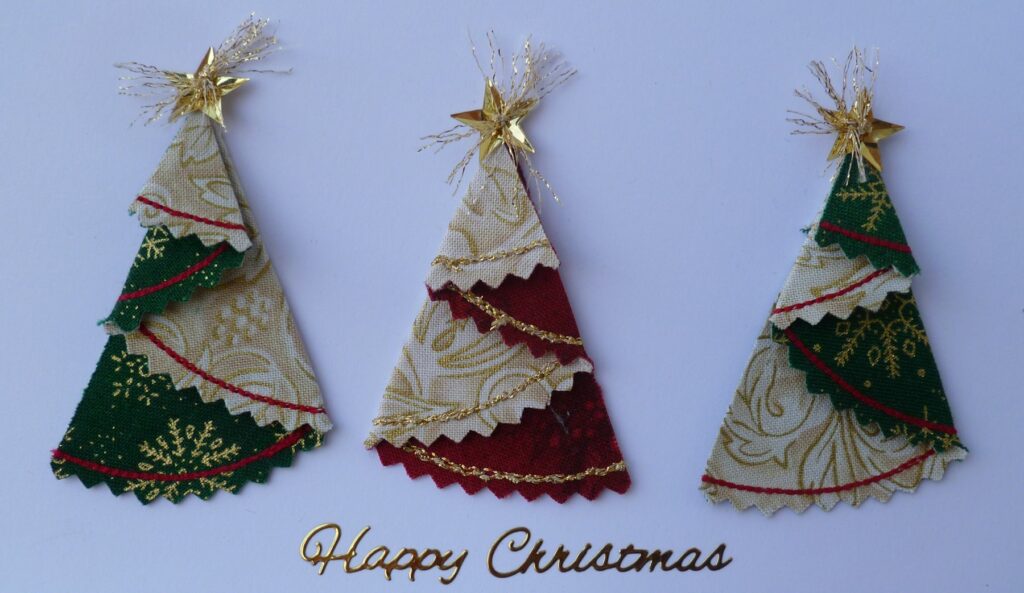
No need to stop at one tree per card!
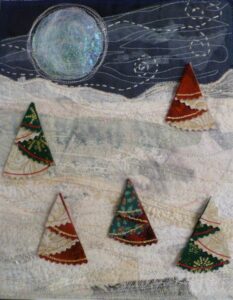
Multiple trees can look good elsewhere. Here I tried them out on a stitched background:
So glad I found time to make these at the last minute.
I hope you too find pleasure and joy in sewing up something to share with family and friends.
Season’s Greetings to you all!
 BERNINA Corporate Blog -




Thank you I love these projects, I’ll be ready for the guilds Xmas sale.
They are stunning Ros. So simple yet so stylish.