Unbelieveable how my Crazy Colors Mystery Quilt 2017 project is running! The number of quilters that has checked in for the Dutch Bernina Blog is over 8500 and counting… and at the English Bernina Blog over 1600! It is so wonderful to see that, after designing and starting a project, so many quilters are enthousiastic!
Many quilters are making the first block, and with that a lot of questions came, which is good! Please ask them so can answer them for all of you, so we can learn from each other. Speciall questions came from quilters, owning a (Bernina) sewing machine without decorative stitches! Some ladies wrote to me, telling that they cannot participate, because of the lack of decorative stitches, but I’ve convinced them that it can be done, with a dash of imagination, a lot of beautiful threads and just two stitches: straight stitch and zig zag stitch.
On my BERNINA 770QE I can use many stitches. But the first basic ones are straight stitch and zigzag stitch. No decoratieve stitches by origin, untill you are working with variegated and metallic threads!
I will explain more about using these straight and zig zag stitches: just basic stitches with a lot of potential!
The straight stitch: a regular stitch, used for sewing two fabrics together. No decorative value?
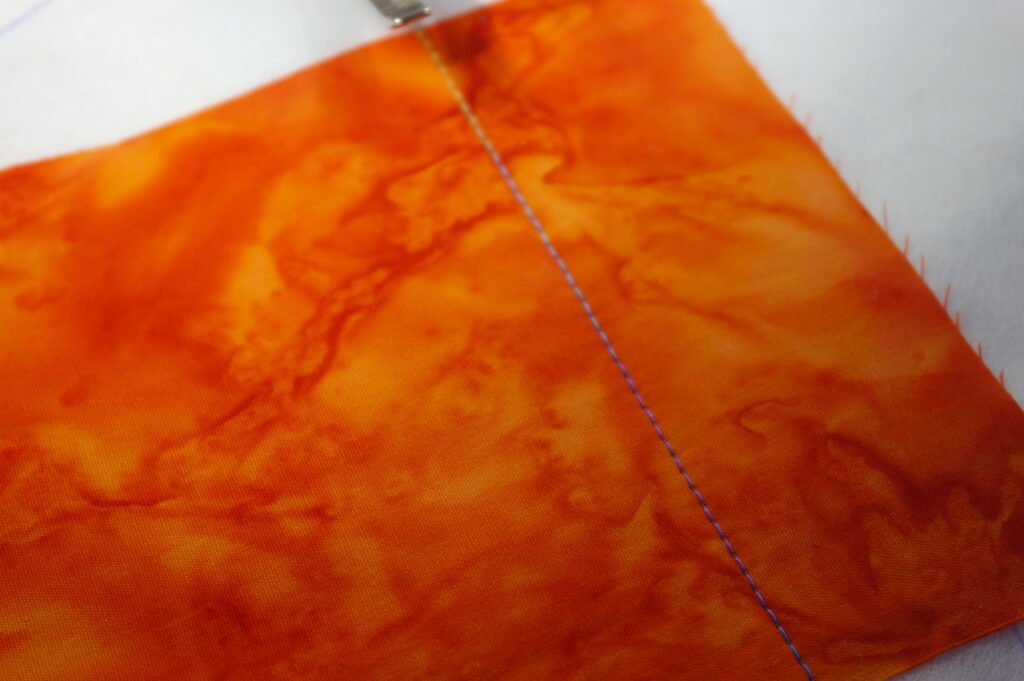
Start making these stitches with variegated thread,
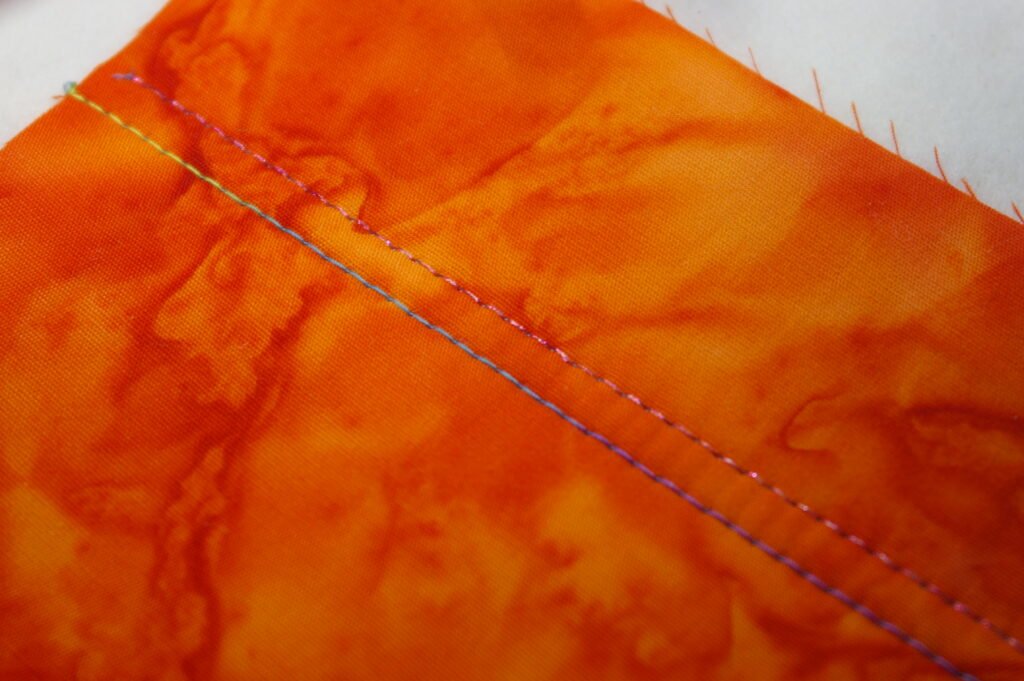
or with metallic thread, than the stitch will stand out!
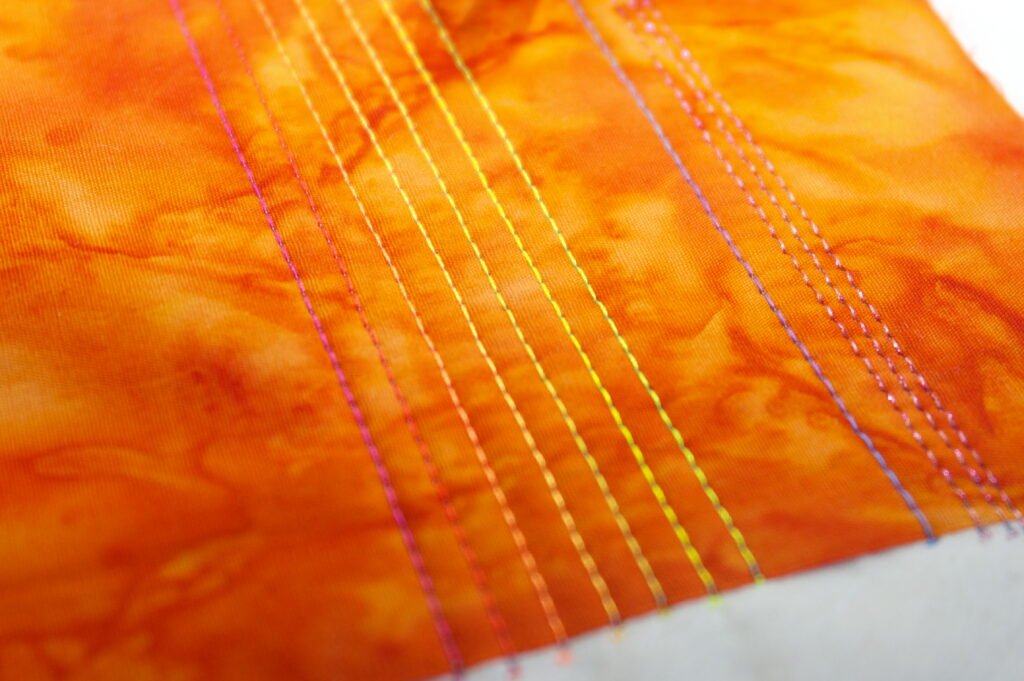
And how about making a couple of rows of straight stitches close togeter; each row with a different color of thread. Such a special effect!
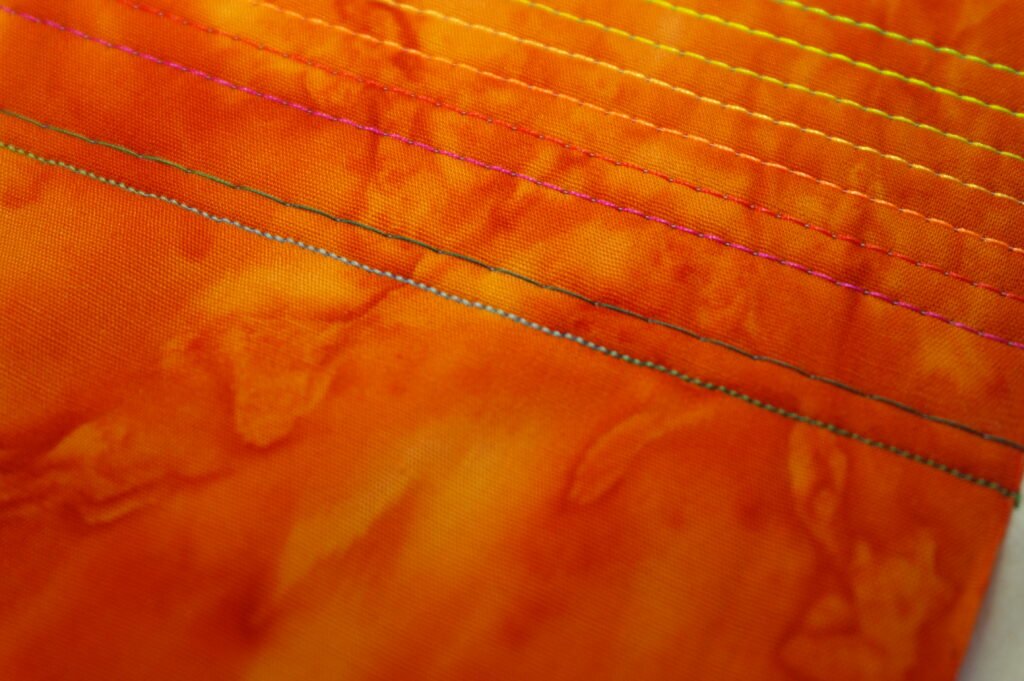
You can also lengthen or shorten the length of the stitch – lengthen them, and the stitches appear as elongated stitches (which works very well with very thick thread anyway), shorten them and they will look like little beads…
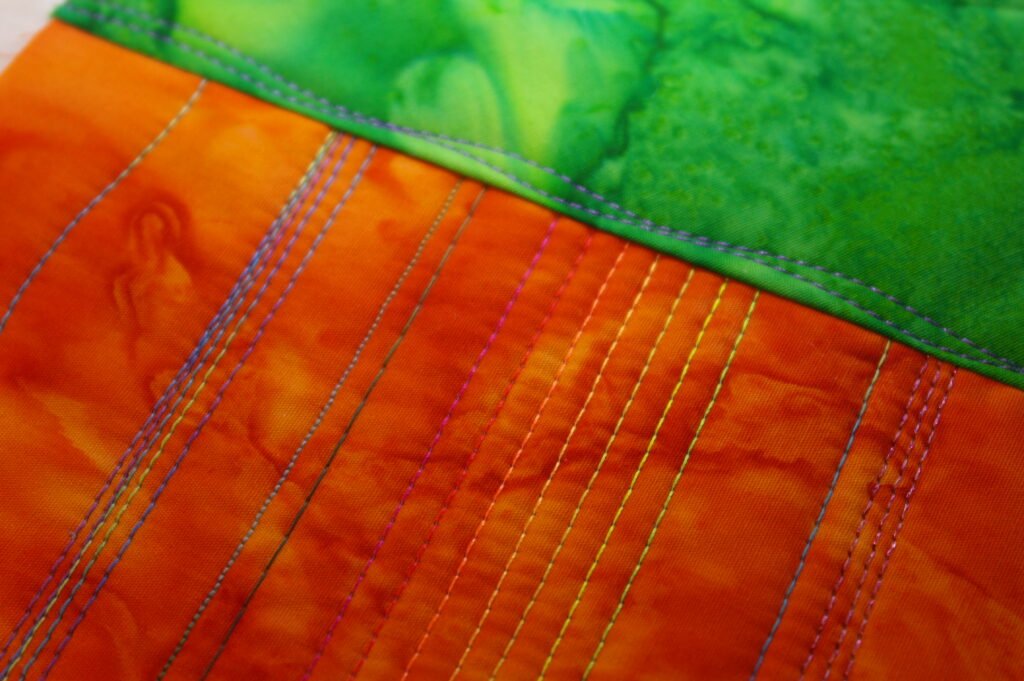
Make waves by slowly twisting the sandwich while making stitches, stitch more lines next to each other…
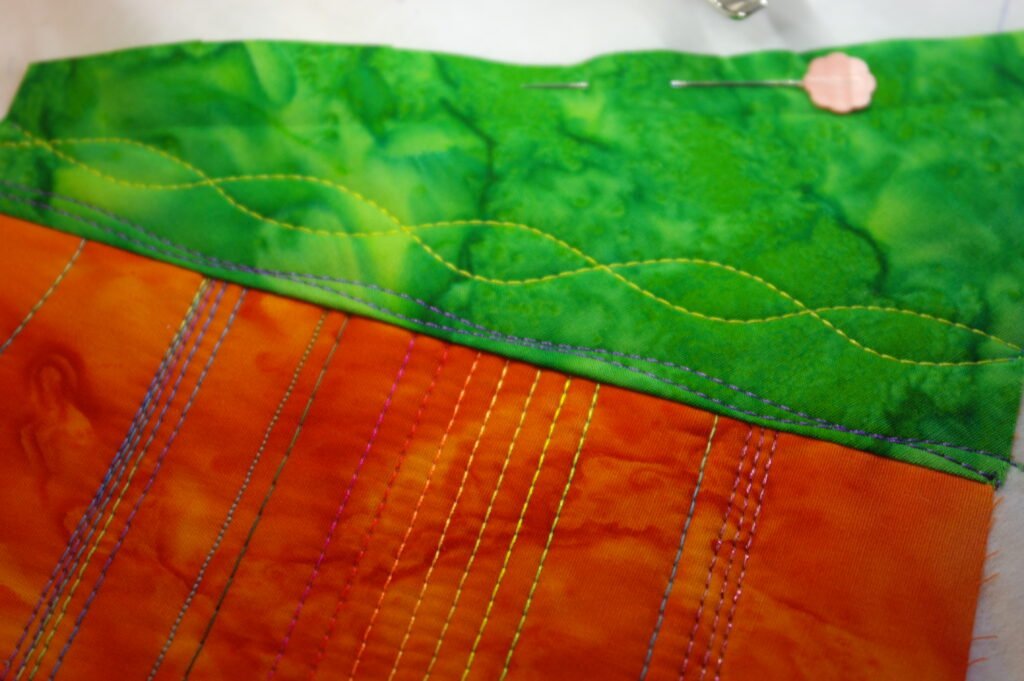
or just cross them, to combine multiple rows. This way you can make your own patterns of straight stitches, even stitch through already made rows!
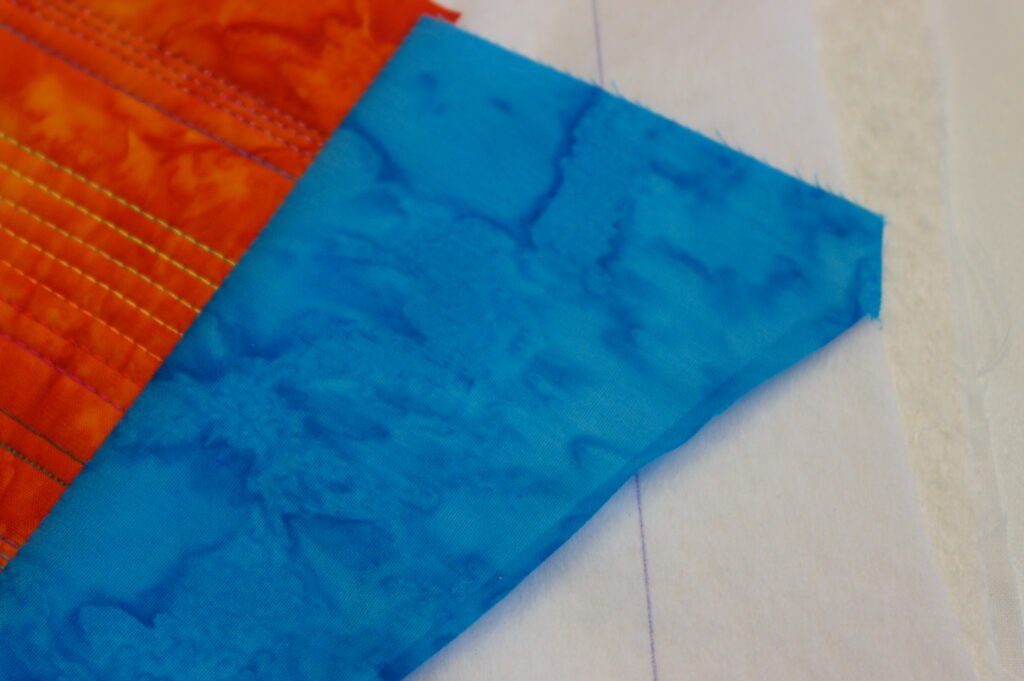
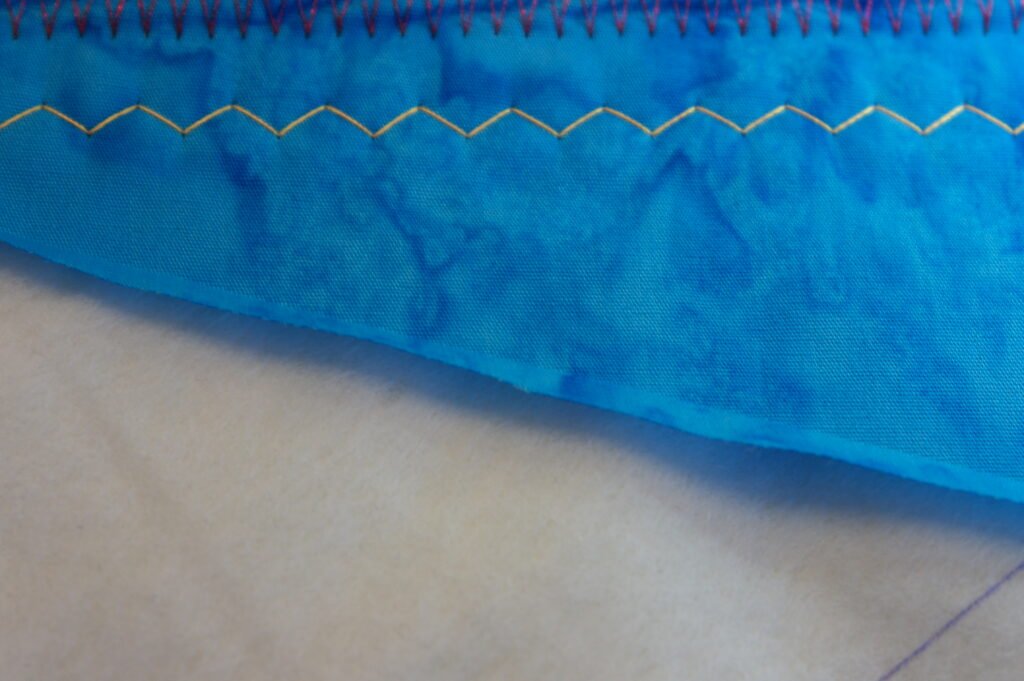
TIP: check the picture above: see how far the batik fabrics will run over the drawn line (square in the center, 26 x 26 cm), way up to the sides of the sandwich 32 x 32 cm. This is important, for assembly in month 12. So be sure the batik fabrics extend to that measurement!
Zig zag stitch. This is also a basic stitch with high decorative value: see what I have sewn on my sandwich.
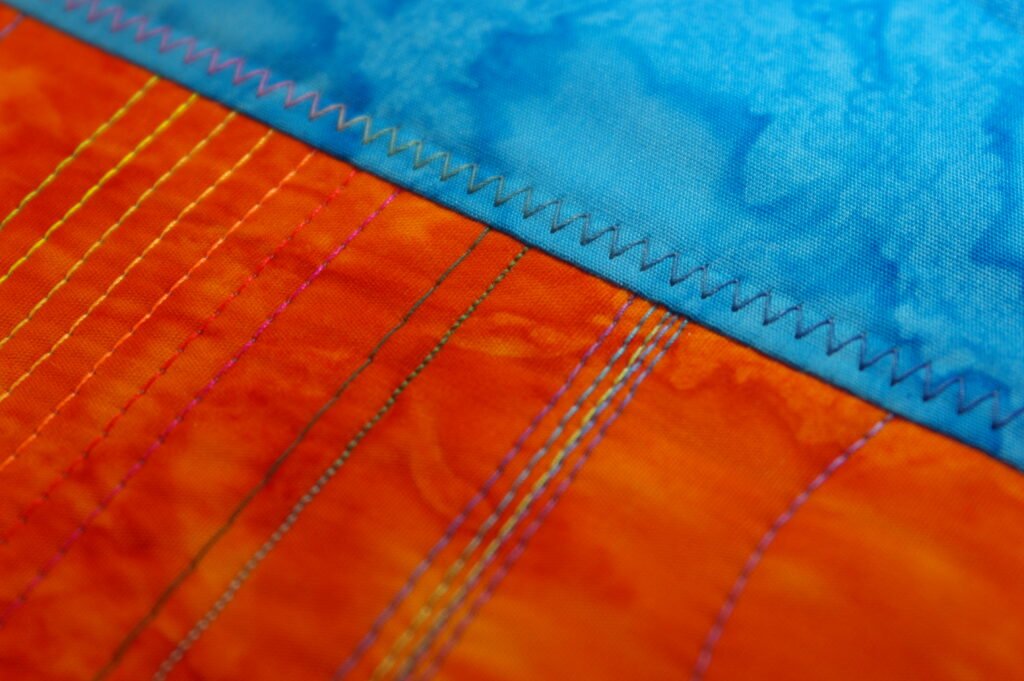
The usual, standard settings, but with variegated threads…
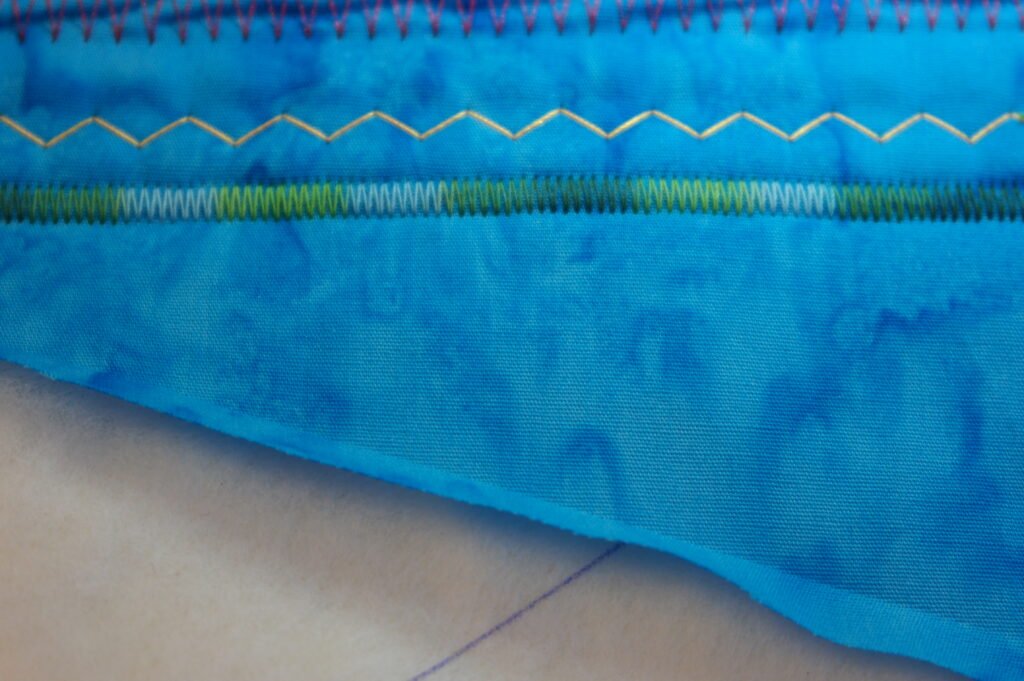
Shorten them to set them closer together, like the satinstitch… and look how beautiful the stitches are with using variegated thread!
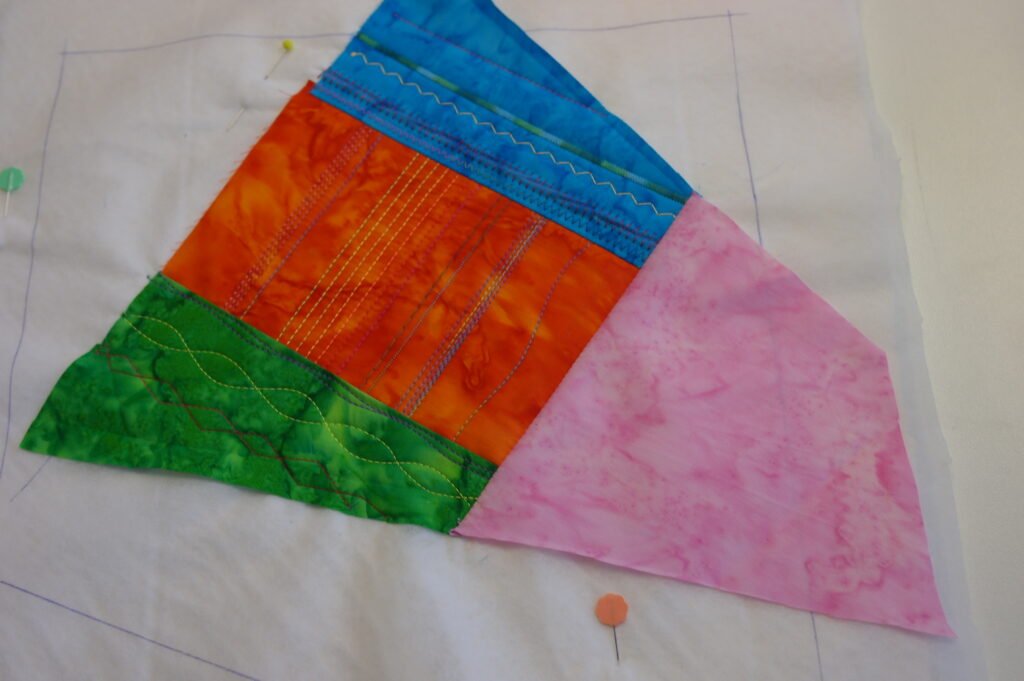
A picture again to shows how much extra seam allowance batik fabrics should have to extend to the edges of the sandwich 32 x 32 cm! Again: aprox. 3 cm outside the square of 26 x 26 cm.
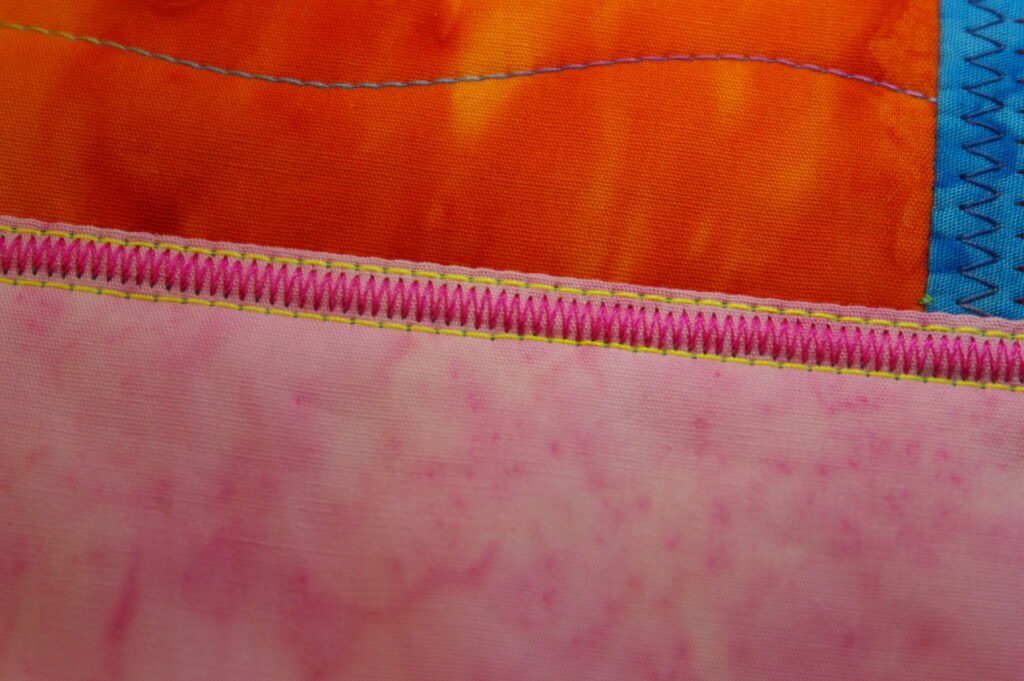
Back to the zig zag stitches: how about combining them with the straight stitch? First make a zig zag stitch that’s made like a satin stitch, and sew straight stitches on both sides with a contrasting thread.
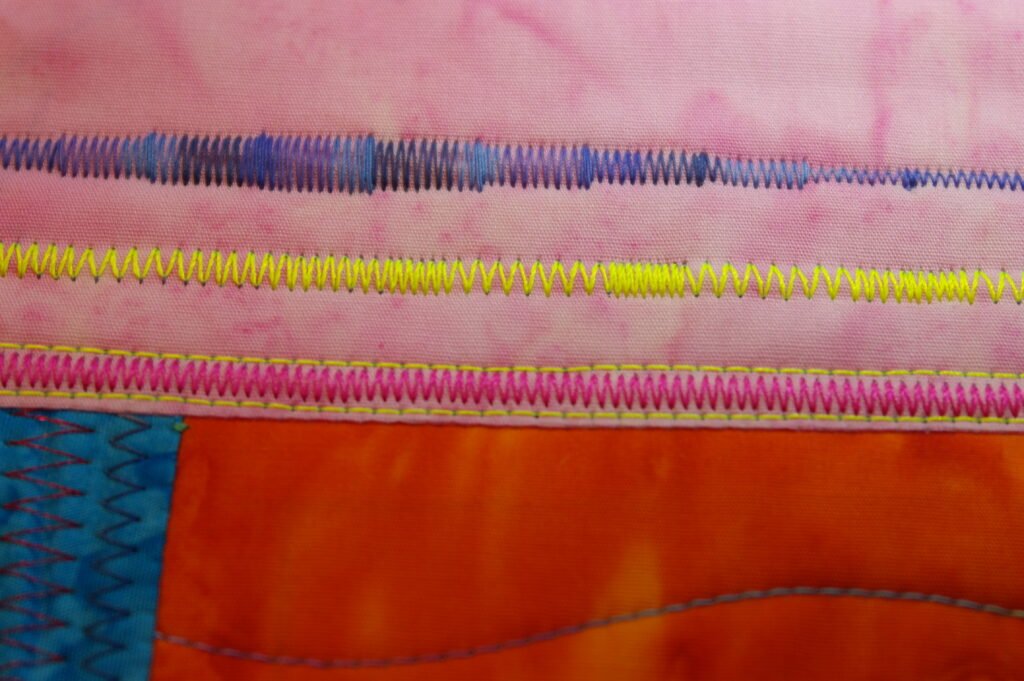
You can also make the zig zag stitches wider and narrower, even while working on them in a row. BUT BEWARE: always raise the needle ánd the presser foot BEFORE changing the width of the zig zag stitches. If you change the width, the needle want to go to the new, wider or narrower position, and that is not possible if the needle is down, inside your work (your needle could bend or break!)
Two rows of zig zag stitches, crossing each other, with different color threads is also higly decorative… it doesn’t matter if the crossing is uneven, just have fun. Manipulate as much as you can, with as many color threads as possible.
And don’t forget to combine both stitches!
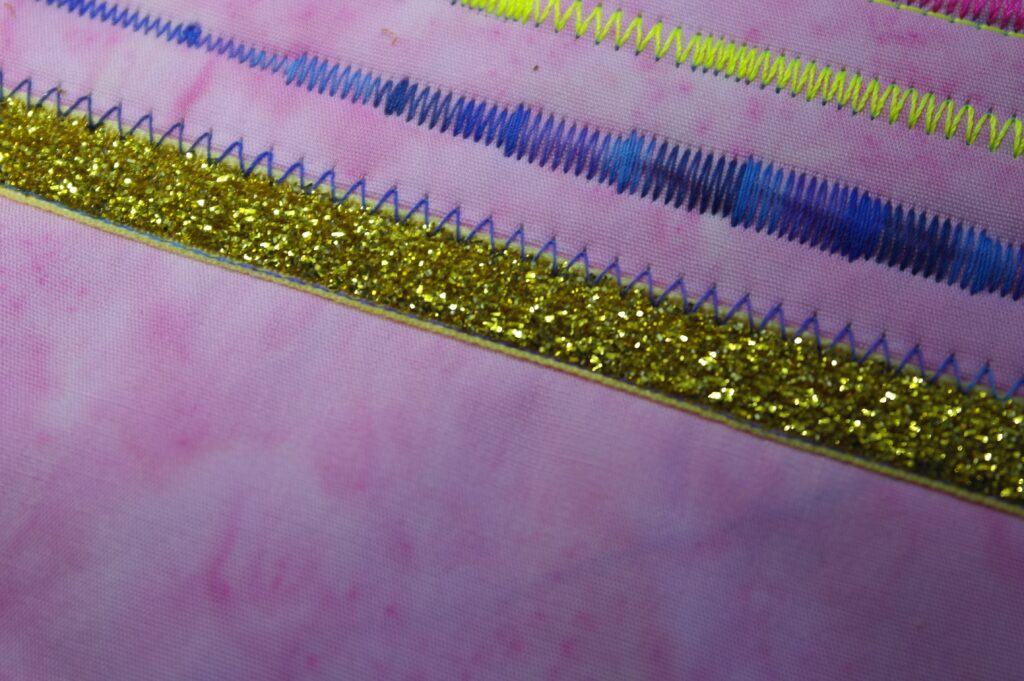
Another tip: use a straight stitch and/or zig zag stitch to sew ribbons or trims to your sandwich. Use metallic or variegated threads for special effect, or different colors next to each other… endless possibilities, just let your imagination go…
DON’T CUT YOUR SANDWICH/BLOCK when it is ready, just leave it like it is and put it aside until month 12.
So don’t be dispirited if your machine has ‘no’ decorative stiches for this Crazy Colors Myster Quilt 2017project: just use both basic stitches and have fun!
Happy Quilting!
Sylvia Kaptein
Sylvia’s Art Quilts Studio
 BERNINA Corporate Blog -

How does one choose the different choices? I want a straight line but my machine came back from service and the manual was lost, it’s sewing a zig zag line and I can’t tell from online manual what knob to change, etc.
Love this idea! I always have a hard time with the other way. My thread breaks on me because I pull to hard.
Regards
Barbara Harris
https://sewingmachinesview.com/
Have fun, Barbara, create something special with special stitches and thread. There is no wrong way, but sometimes getting some directions helps making it easier